Articles
How To Fix Creaking Floors Under Carpet
Modified: March 6, 2024
Learn effective techniques and tips to repair creaking floors under carpet with our informative and detailed articles.
(Many of the links in this article redirect to a specific reviewed product. Your purchase of these products through affiliate links helps to generate commission for Storables.com, at no extra cost. Learn more)
Introduction
Creaking floors under carpet can be an annoying and frustrating problem. Walking across a room and hearing those familiar creaks can disrupt the tranquility of your home. But fear not, there are several methods you can try to fix this issue and restore peace to your floors.
When it comes to creaking floors, prevention is key. Proper installation and maintenance of your flooring can go a long way in preventing these issues from occurring in the first place. However, if you’re already dealing with creaks and squeaks under your carpet, don’t worry – we’ve got you covered.
In this article, we’ll explore the causes of creaking floors under carpet, how to assess the severity of the problem, and various methods you can employ to fix those annoying creaks. Whether you’re a seasoned DIY enthusiast or prefer to leave the job to a professional, you’ll find valuable insights and solutions here.
So, grab your tools and let’s get started on eliminating those pesky creaks and enjoying the silence again.
Key Takeaways:
- Address creaking floors under carpet by securing loose floorboards, lubricating squeaky joists, adding support, using wood screws, reinforcing with adhesive, or hiring a professional for guaranteed results.
- Prevent creaking floors by proper installation and maintenance. Choose the repair method that suits your skills, and always prioritize safety. Enjoy a peaceful and quiet home by taking action today.
Read more: How To Find Floor Joists Under A Carpet
Causes of Creaking Floors Under Carpet
Creaking floors under carpet can be caused by a variety of factors. Understanding the root cause of the problem is crucial in determining the most effective solution. Here are some common causes:
1. Subfloor movement: Over time, the subfloor beneath your carpet may shift or settle, leading to gaps between the subfloor and the floorboards. As a result, when you walk on the floor, the boards rub against each other and create those annoying creaking sounds.
2. Loose floorboards: If the floorboards themselves are loose, they can move and rub against each other, causing creaks. This can occur due to inadequate nailing or screwing during the installation process, or with age and wear.
3. Humidity and moisture: Fluctuations in humidity levels can cause wood to expand and contract. When the moisture content in the wood changes, it can lead to gaps or movement in the floorboards, resulting in creaks.
4. Insufficient support or joist spacing: If the floor joists are too far apart or not properly supported, it can cause the floorboards to sag or flex when weight is applied, leading to creaking sounds.
5. Nails or screws rubbing against the floor joists: If the nails or screws used to secure the floorboards to the subfloor are loose or have come out slightly, they can rub against the floor joists as you walk, creating creaks.
Identifying the specific cause of the creaking is essential in determining the best course of action for the repair. In the next section, we’ll discuss how to assess the severity of the problem to determine if it’s a DIY fix or if professional help is needed.
Assessing the Severity of the Problem
Before diving into the repair process, it’s important to assess the severity of the creaking floor problem. This will help you determine if it’s a simple fix that you can handle on your own or if you should seek the assistance of a professional. Here are some steps to help you evaluate the situation:
1. Locate the source of the creaks: Walk across the floor and listen closely to identify the specific areas where the creaking sounds are coming from. This will give you a starting point for your inspection.
2. Examine the floorboards: Carefully inspect the floorboards, looking for any visible signs of damage, wear, or loose boards. Pay attention to areas where the carpet may be lifting or showing signs of unevenness.
3. Check for movement: Apply pressure to the floor in the areas where the creaks are most prominent. If there’s noticeable movement or a significant shift in the floor, it indicates a more severe problem that may require professional attention.
4. Consider the age of the flooring: Older floors may naturally develop creaks over time due to wear and tear. If the creaking is minimal and the floor is otherwise sturdy, it may not warrant immediate repair.
5. Evaluate the frequency and intensity of the creaking: If the creaking is constant and loud, it can be a sign of a more significant issue. However, occasional or light creaking may be manageable with some DIY repairs.
By assessing these factors, you’ll be able to determine if the creaking floors under your carpet require a simple at-home fix or if professional help is necessary. DIY methods can often resolve mild to moderate creaking, while extensive damage or structural issues may require the expertise of a flooring professional.
Now that you have a better understanding of the severity of the problem, let’s move on to the preparations you’ll need to make before starting the repair process.
Preparing for the Repair
Before you begin fixing the creaking floors under your carpet, it’s important to make some preparations to ensure a smooth and successful repair process. Here are some steps to take:
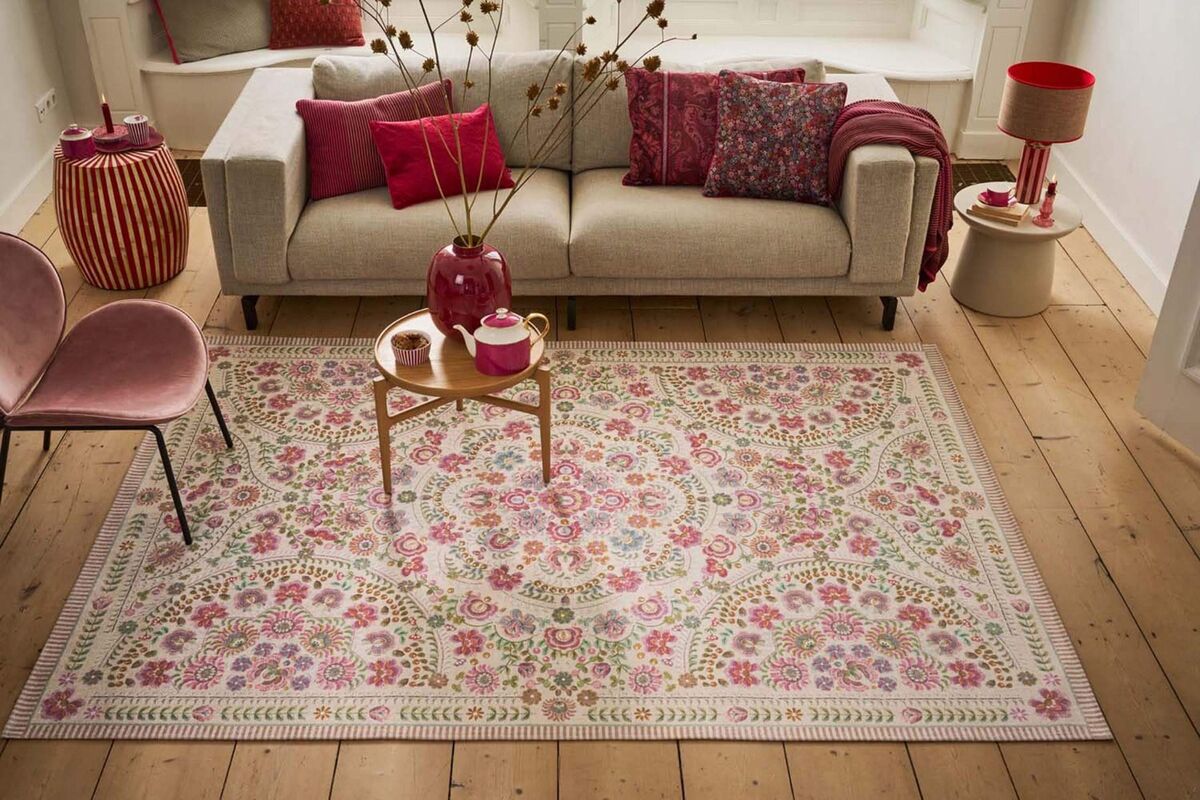
1. Clear the area: Remove any furniture, rugs, or objects that are covering the creaking area. This will give you unrestricted access to the floor and make it easier to identify and fix the problem.
2. Inspect the carpet: Carefully examine the carpet for any signs of wear, tears, or loose sections. If you notice any damage, it’s a good idea to have the carpet repaired or replaced before addressing the underlying creaking issue.
3. Gather the necessary tools: Depending on the specific repair method you’ll be employing, gather the appropriate tools. These may include a hammer, nails, screws, screwdriver, drill, wood adhesive, lubricant, and a flashlight for better visibility underneath the carpet.
4. Ensure safety measures: Before starting the repair, ensure the area is well-lit and ventilated. If you’re using power tools, follow proper safety precautions such as wearing safety glasses and gloves. It’s essential to prioritize your safety throughout the repair process.
5. Plan your approach: Take some time to familiarize yourself with the repair methods you’ll be using. Read through the instructions and gather any additional resources or references that may assist you during the repair. Having a clear plan of action will help streamline the process.
6. Set realistic expectations: Understand that fixing creaking floors may not completely eliminate all noises. While you can significantly reduce the creaking, some residual sounds may still be present. Having realistic expectations will save you from frustration and disappointment.
By following these preparation steps, you’ll be ready to tackle the creaking floor repair project with confidence. Remember to take your time, be patient, and proceed with caution to avoid causing any further damage to your floors.
Now that you’re prepared, let’s explore some of the most effective methods to fix creaking floors under carpet.
Method 1: Securing Loose Floorboards
If the creaking in your floors is caused by loose floorboards, this method will help secure them and eliminate the source of the noise. Follow these steps to secure loose floorboards:
1. Locate the loose boards: Walk across the floor and pinpoint the areas where the floorboards are loose or moving. You may hear squeaks or notice the boards shifting underfoot.
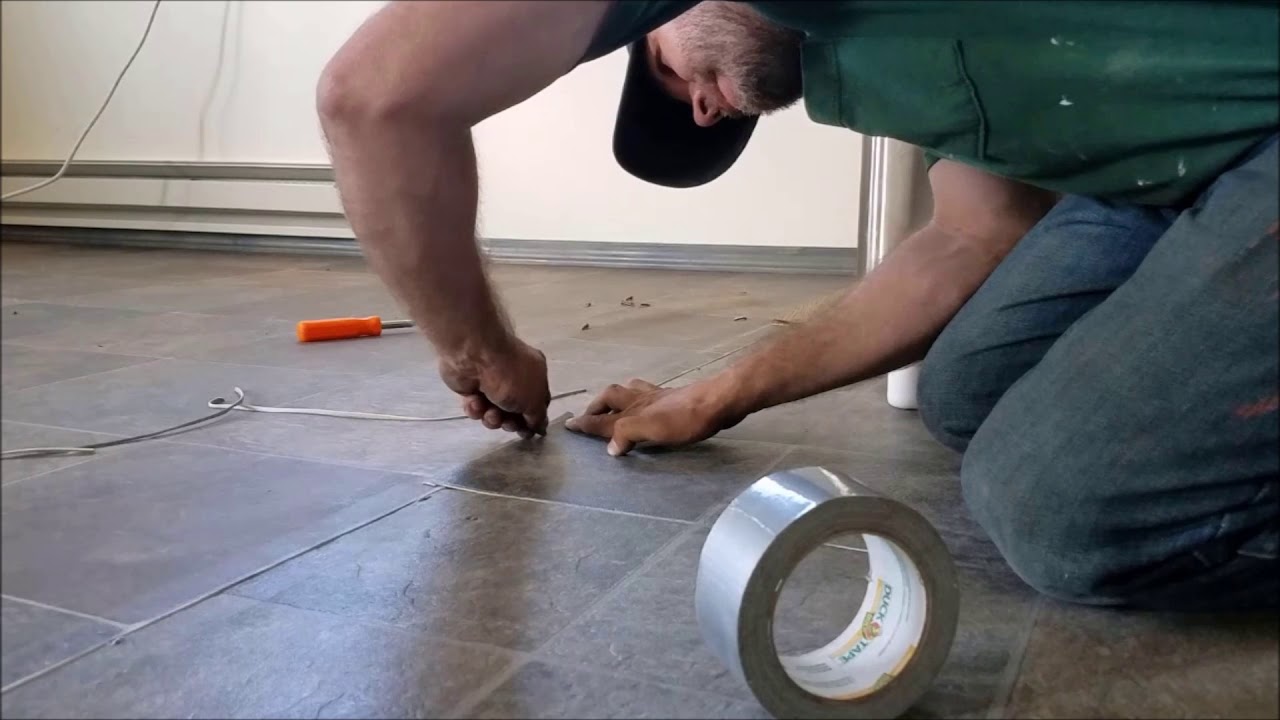
2. Lift the carpet: Gently lift the carpet in the area where the loose floorboards are located. Use a flathead screwdriver or pliers to loosen any carpet tack strips or staples that may be holding the carpet in place.
3. Secure the loose boards: Once the carpet is lifted, you’ll have access to the subfloor and the loose floorboards. Secure the boards back in place by inserting wood shims or wedges between the floor joists and the boards.
4. Nail or screw the boards: With the boards in position, use a hammer and nails or a screwdriver and wood screws to firmly attach the floorboards to the subfloor. Drive the nails or screws through the board and into the subfloor, making sure they are flush with the surface.
5. Trim excess shims: If you used shims to level the floorboards, trim off any excess shim material so that it doesn’t interfere with the carpet reinstallation process.
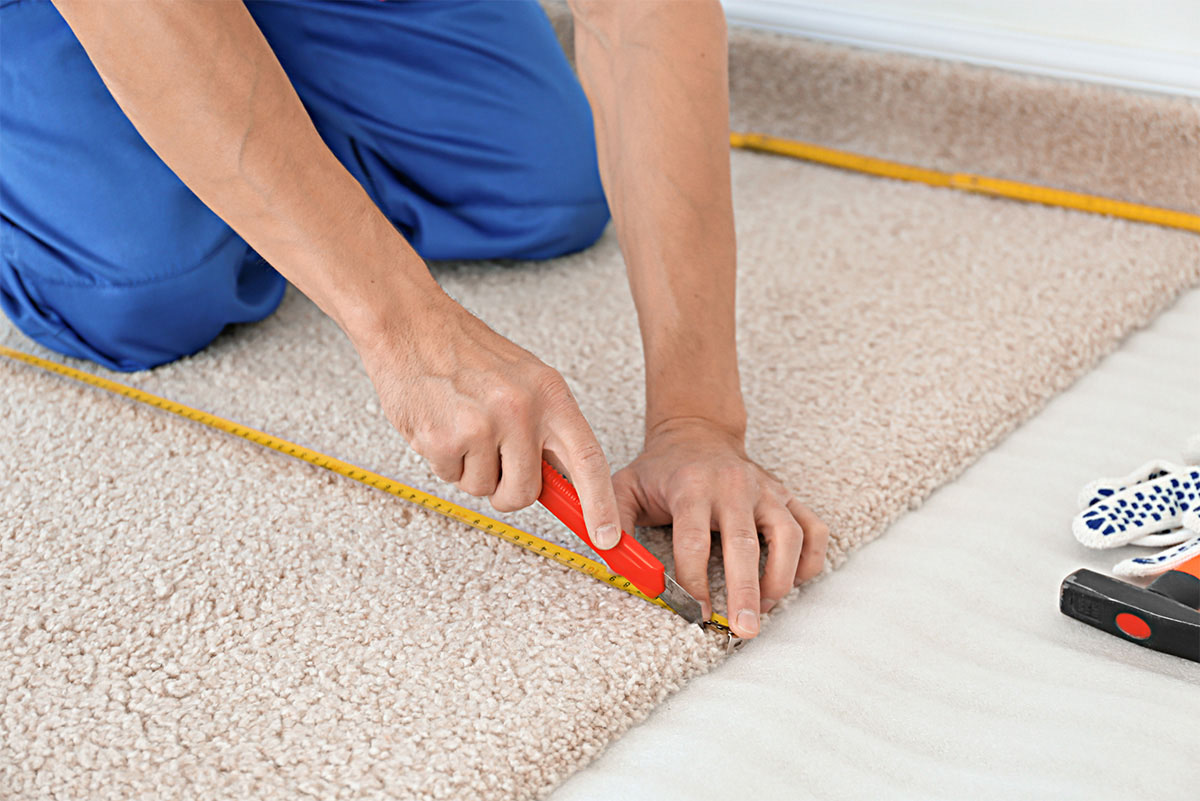
6. Reinstall the carpet: Carefully lay the carpet back into place, making sure it is smooth and properly aligned. Use a knee kicker or carpet stretcher to reattach the carpet to the tack strips or secure it with carpet glue if necessary.
7. Test for creaks: Once the carpet is reinstalled, walk across the previously creaky area to test if the floorboards are now secure. If there are no more creaks, congratulations! You have successfully fixed the creaking floors caused by loose boards.
Securing loose floorboards is a common and effective DIY method for eliminating creaks under your carpet. However, if the creaking persists or you’re unsure about performing the repair yourself, it may be best to consult a professional to avoid any further damage.
Now, let’s explore another method for fixing creaking floors under carpet.
Read more: How To Run A Cable Under A Carpet
Method 2: Lubricating Squeaky Joists and Nails
If the creaking in your floors is caused by squeaky joists or nails, lubrication can help reduce friction and eliminate the noise. Follow these steps to lubricate squeaky joists and nails:
1. Identify the squeaky areas: Walk across the floor and listen for the squeaks. Use a flashlight to visually locate the problem areas where the joists or nails are causing the noise.
2. Lift the carpet if necessary: If the squeaky area is inaccessible, you may need to lift the carpet to gain access to the joists or nails. Use a flathead screwdriver or pliers to carefully lift the carpet without causing any damage.
3. Apply lubricant: Using a silicone-based lubricant, apply a small amount to the area where the joist is rubbing against the subfloor or where the nail is causing friction. Be sure to follow the manufacturer’s instructions for proper application.
4. Work the lubricant in: After applying the lubricant, gently work it into the squeaky areas by walking back and forth or applying pressure with your hands. This will help distribute the lubricant and reduce friction.
5. Reinstall the carpet: Once the lubrication has been applied and worked in, carefully lay the carpet back into place. Make sure it is smooth and properly aligned, using a knee kicker or carpet stretcher to reattach the carpet to the tack strips or secure it with carpet glue if necessary.
6. Test for squeaks: Walk across the previously squeaky area to test if the lubrication has resolved the issue. If the squeaks are significantly reduced or completely eliminated, you have successfully fixed the creaking floors caused by squeaky joists or nails.
Lubricating squeaky joists and nails is a straightforward method that can provide a quick and easy fix for creaking floors under carpet. However, keep in mind that this method may provide temporary relief, and if the problem persists, it’s recommended to consult a professional to address any underlying issues.
Now, let’s move on to another effective method for fixing creaking floors under your carpet.
To fix creaking floors under carpet, try using a squeak elimination kit. These kits include specially designed screws that can be used to secure the subfloor to the joists, eliminating the creaking noise.
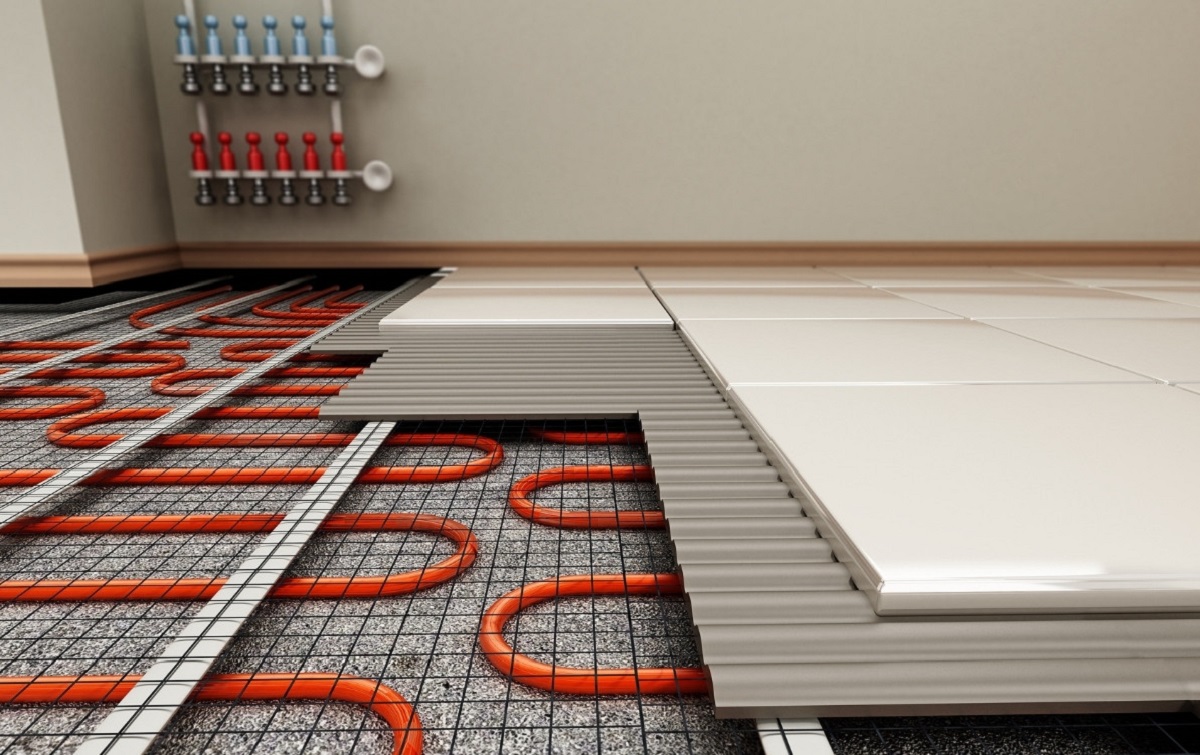
Method 3: Adding Additional Support
If the creaking in your floors is caused by a lack of support or sagging floorboards, adding additional support can help stabilize the floor and eliminate the creaks. Here’s how you can add extra support:
1. Locate the problematic area: Walk across the floor and identify the area where the floorboards are sagging or lacking adequate support. You may notice a visible dip or feel the floor sinking when you step on it.
2. Determine the type of support needed: Depending on the specific situation, there are various methods to provide additional support. The most common methods include adding wooden shims or wedges, installing bridging or blocking between the floor joists, or using adjustable support columns.
3. Wooden shims or wedges: If the sagging or lack of support is localized to a specific area, you can insert wooden shims or wedges between the subfloor and the floor joists. Carefully tap them into place, gradually lifting the sagging board until it is level and supported.
4. Installing bridging or blocking: If the lack of support extends over a larger area, installing bridging or blocking between the floor joists can help distribute the weight more evenly. Cut pieces of lumber to fit snugly between the joists and secure them in place with nails or screws.
5. Adjustable support columns: For more significant structural issues or persistent sagging, adjustable support columns may be necessary. These columns can be installed beneath the floor to provide additional support and stability. Consult a professional for proper installation and to ensure the columns are correctly placed.
6. Reinstall the carpet: Once the additional support has been added and the floor is stable, carefully reinstall the carpet. Ensure it is correctly aligned and smooth, using a knee kicker or carpet stretcher to secure it to the tack strips or using carpet glue if needed.
7. Test for creaks: Walk across the area where the additional support was added to test if the creaking has been eliminated. If the floor feels stable and there are no more creaks, you have successfully fixed the creaking floors caused by lack of support.
Adding extra support is a reliable method for addressing creaking floors under carpet, especially when the issue is related to sagging or insufficient support. However, if you’re unsure about performing this repair or if the problem persists, it’s advisable to seek the assistance of a professional to ensure proper structural integrity.
Now, let’s move on to another effective method for fixing creaking floors under carpet.
Method 4: Using Wood Screws or Nails
If the creaking in your floors is caused by loose nails or screws, using wood screws or nails can help secure the floorboards and eliminate the creaks. Follow these steps to fix the creaking using this method:
1. Identify the loose fasteners: Walk across the floor and listen for the creaking sounds. Use a flashlight to visually locate the loose nails or screws that are causing the problem.
2. Lift the carpet if needed: If the loose fasteners are not accessible, gently lift the carpet in the area where the creaking occurs. Use a flathead screwdriver or pliers to loosen any carpet tack strips or staples that may be holding it in place.
3. Tighten or replace the fasteners: Using a screwdriver or hammer, tighten the loose screws or nails that are causing the creaking. If the fasteners are too damaged or do not hold, remove them and replace them with new ones of the same size and type.
4. Drive the screws or nails into the subfloor: With the loose fasteners tightened or replaced, use a screwdriver or hammer to drive them securely into the subfloor. Make sure they are flush with the surface, but be careful not to overdrive them and damage the floorboard.
5. Reinstall the carpet: Once the screws or nails are secure, carefully lay the carpet back into place. Smooth it out and ensure it is aligned correctly. Use a knee kicker or carpet stretcher to reattach the carpet to the tack strips or secure it with carpet glue if necessary.
6. Test for creaks: Walk across the area where the fasteners were tightened or replaced to test if the creaking has been resolved. If there are no more creaks, you have successfully fixed the creaking floors caused by loose nails or screws.
Using wood screws or nails to secure loose fasteners is a common and effective DIY method for fixing creaking floors under carpet. However, if the creaking persists or you’re uncertain about performing the repair yourself, it’s advisable to consult a professional to avoid any potential damage or safety hazards.
Now, let’s explore another method for fixing creaking floors under your carpet.
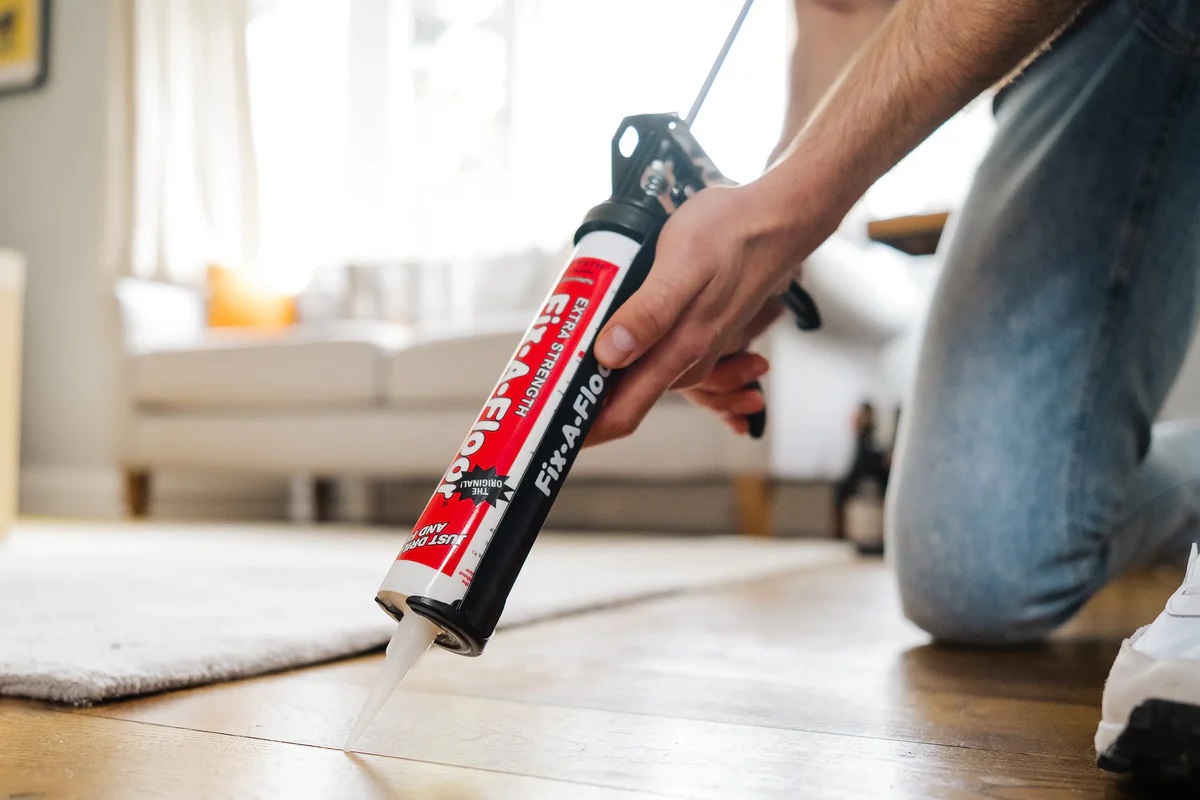
Method 5: Reinforcing with Adhesive
If the creaking in your floors is caused by loose floorboards or gaps between the subfloor and the floorboards, reinforcing with adhesive can help eliminate the creaks and provide extra stability. Follow these steps to reinforce the floor using adhesive:
1. Locate the problem areas: Walk across the floor and listen for the creaking sounds. Use a flashlight to visually identify the loose floorboards or gaps between the subfloor and the floorboards.
2. Lift the carpet if necessary: If the problem areas are not accessible, gently lift the carpet in the creaky areas. Use a flathead screwdriver or pliers to loosen any carpet tack strips or staples that may be holding it in place.
3. Clean the surfaces: Thoroughly clean the surfaces of the subfloor and the bottom of the floorboards to ensure proper adhesion. Remove any debris, dust, or loose particles that may interfere with the adhesive bond.
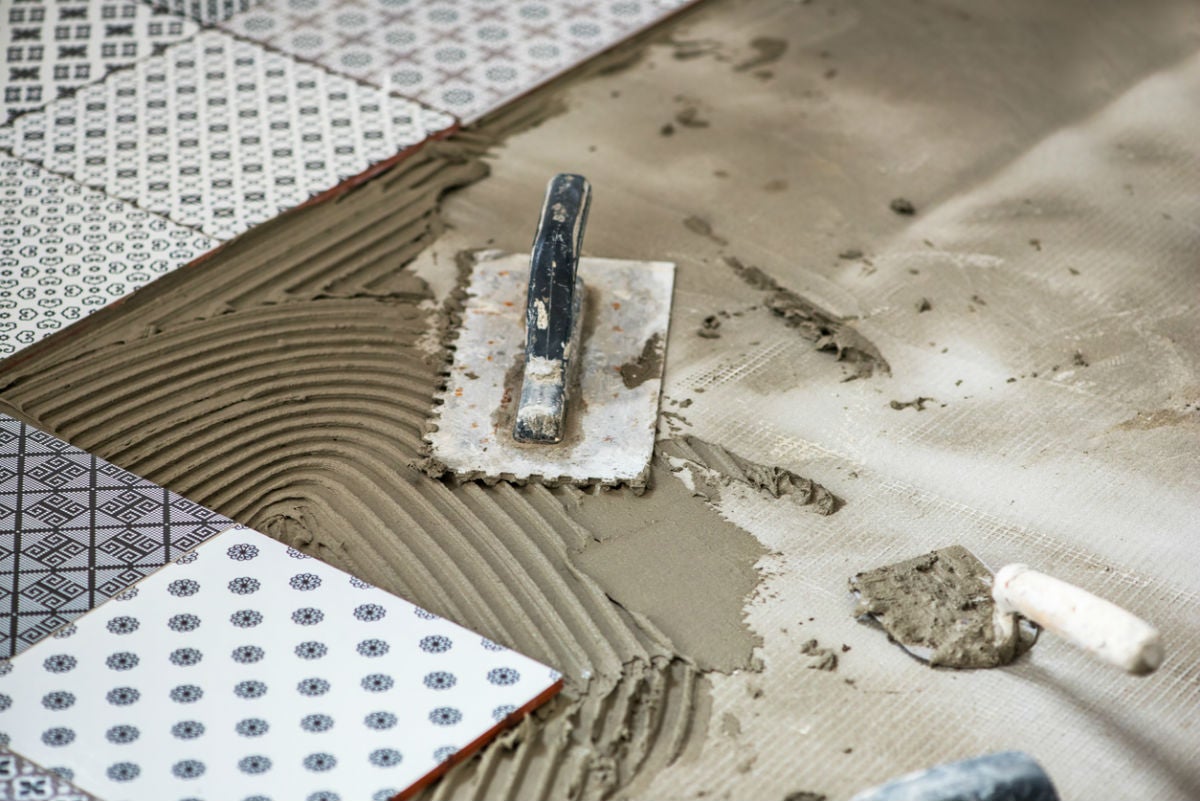
4. Apply adhesive: Using a suitable wood adhesive or construction adhesive, apply a generous amount to the problem area. Spread the adhesive evenly, covering the entire surface where the floorboard and the subfloor will make contact.
5. Press and secure the floorboards: Press the floorboards down firmly onto the adhesive, ensuring they are properly aligned and making full contact with the subfloor. If needed, use clamps or heavy objects to hold the boards in place while the adhesive cures.
6. Reinstall the carpet: Once the adhesive is dry and the floorboards are securely in place, carefully lay the carpet back over the area. Smooth out any wrinkles or unevenness, using a knee kicker or carpet stretcher to reattach it to the tack strips or secure it with carpet glue if necessary.
7. Test for creaks: Walk across the area that was reinforced with adhesive to test if the creaking has been resolved. If the floor feels stable and there are no more creaks, you have successfully fixed the creaking floors by reinforcing them with adhesive.
Reinforcing with adhesive can be an effective method to address loose floorboards and gaps between the subfloor and the floorboards. However, if the creaking persists or you’re uncertain about performing this repair yourself, it’s best to consult a professional to ensure proper adhesion and long-term stability.
Now, let’s move on to the final method for fixing creaking floors under carpet.
Read more: How To Install Insulation Under Floor
Method 6: Hiring a Professional
If the creaking in your floors persists or you’re unsure about performing the repairs yourself, it may be best to hire a professional. A professional flooring contractor or handyman has the expertise and experience to diagnose and fix the underlying issues causing the creaks. Here’s why hiring a professional is a viable method:
1. Professional assessment: An experienced professional will thoroughly assess your floors to determine the root cause of the creaking. They will identify any structural issues, loose floorboards, or subfloor problems that may be contributing to the problem.
2. Quality repairs: Professionals have the necessary tools, skills, and knowledge to perform high-quality repairs. They will use appropriate techniques and materials to ensure a long-lasting and effective solution to the creaking floors.
3. Time-saving: Hiring a professional can save you a significant amount of time and effort. They have the expertise to quickly and efficiently address the issues, minimizing disruptions to your daily routine.
4. Guaranteed results: Reputable professionals often provide guarantees for their work. If the creaking persists after their repairs, they will typically come back and rectify the issue at no additional cost to you.
5. Safety considerations: Some creaking floors may indicate more serious structural issues that require specialized knowledge and equipment to address. Hiring a professional ensures that these complex repairs are handled safely and in compliance with building codes.
6. Expert advice: Professionals can offer valuable advice and insights on maintaining and preventing future creaking floors. They can recommend suitable flooring materials, installation methods, and maintenance practices to help you avoid similar issues in the future.
While hiring a professional may come with an additional cost, it provides peace of mind and ensures that the creaking floors are addressed correctly and efficiently. Consulting with a professional is particularly recommended if you have limited DIY experience or if the creaking persists despite your attempts at self-repair.
Now, armed with these methods, you can confidently address the creaking floors under your carpet. Choose the method that best suits your situation, whether it’s securing loose floorboards, lubricating squeaky joists, adding additional support, using wood screws or nails, reinforcing with adhesive, or enlisting the help of a professional. Enjoy a quiet and comfortable home once again!
Conclusion
Creaking floors under carpet can be a bothersome issue, but with the right knowledge and techniques, you can effectively address and eliminate those annoying noises. By understanding the causes of creaking floors, assessing the severity of the problem, and following the appropriate repair methods, you can restore peace and quiet to your home.
Whether you choose to secure loose floorboards, lubricate squeaky joists, add additional support, use wood screws or nails, reinforce with adhesive, or seek professional help, each method offers its own benefits and considerations. It’s important to choose the method that aligns with your skills, resources, and level of comfort.
Remember to take the necessary precautions and follow proper procedures to ensure your safety throughout the repair process. If you’re uncertain about performing the repairs yourself or if the creaking persists despite your efforts, consulting with a professional is always a reliable option.
Prevention is key to minimizing creaking floors in the future. Proper installation, regular maintenance, and addressing any issues promptly can help prevent creaks from occurring. Take care of your floors and keep an eye out for signs of wear or damage to ensure their longevity and reduce the likelihood of future creaking problems.
Don’t let creaking floors ruin the tranquility of your home. Take action today and enjoy the silent and stable floors you deserve. Say goodbye to those annoying creaks and embrace the comfort of a peaceful living space.
Frequently Asked Questions about How To Fix Creaking Floors Under Carpet
Was this page helpful?
At Storables.com, we guarantee accurate and reliable information. Our content, validated by Expert Board Contributors, is crafted following stringent Editorial Policies. We're committed to providing you with well-researched, expert-backed insights for all your informational needs.