Articles
How To Fix A Concrete Driveway
Modified: February 23, 2024
Learn effective techniques and articles on how to fix your concrete driveway. Get professional tips and step-by-step instructions for a successful repair. Improve the durability and appearance of your driveway today!
(Many of the links in this article redirect to a specific reviewed product. Your purchase of these products through affiliate links helps to generate commission for Storables.com, at no extra cost. Learn more)
Introduction
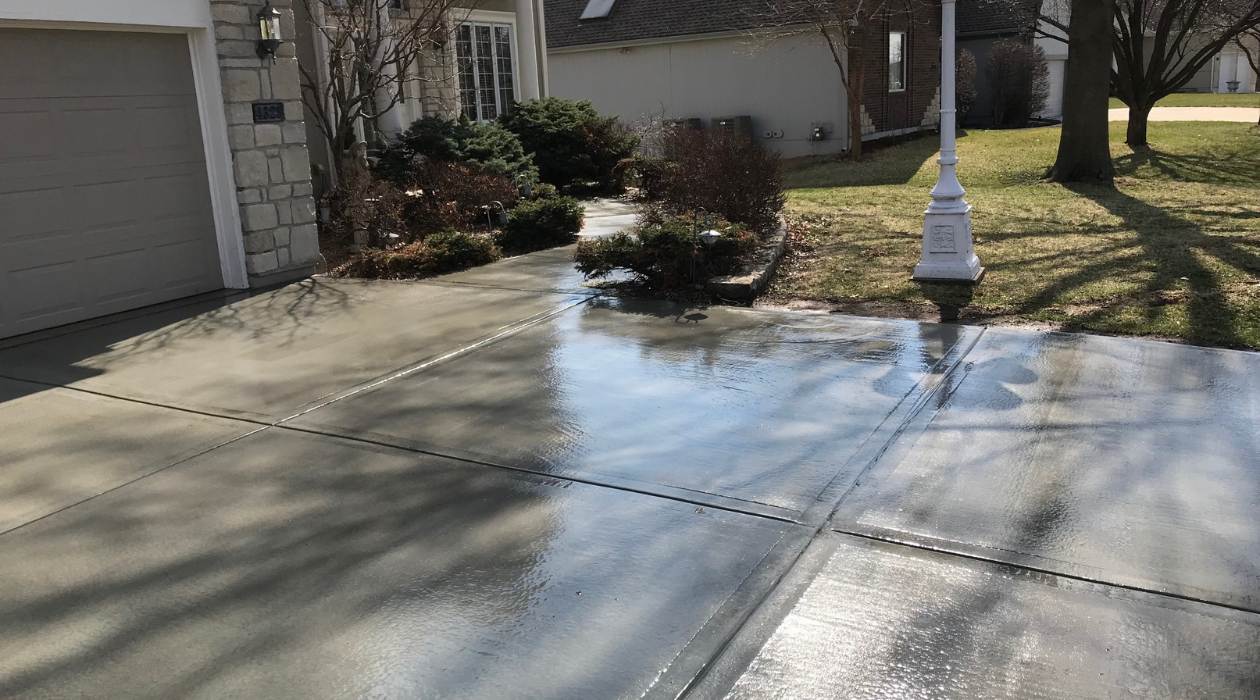
A concrete driveway is not only a functional part of your property, but also contributes to its curb appeal. However, over time, concrete driveways can develop cracks, holes, or become uneven due to various factors such as weather conditions, heavy vehicle traffic, or improper installation. Not only can these issues be unsightly, but they can also lead to further damage and potential hazards. Fortunately, you can fix a concrete driveway to restore its appearance and functionality.
In this article, we will provide you with a step-by-step guide on how to fix a concrete driveway. Whether you are dealing with minor cracks or major damage, following these simple steps can help you restore your driveway and extend its lifespan.
Key Takeaways:
- Restore your concrete driveway’s appearance and functionality by following a step-by-step guide. Assess, clean, fill, repair, resurface, and seal for a long-lasting, visually appealing result.
- Pay attention to details, use the right materials, and follow instructions for a successful driveway repair. Regular maintenance and professional assistance can ensure a beautiful and functional driveway for years to come.
Read more: How To Fix Spalling Concrete Driveway
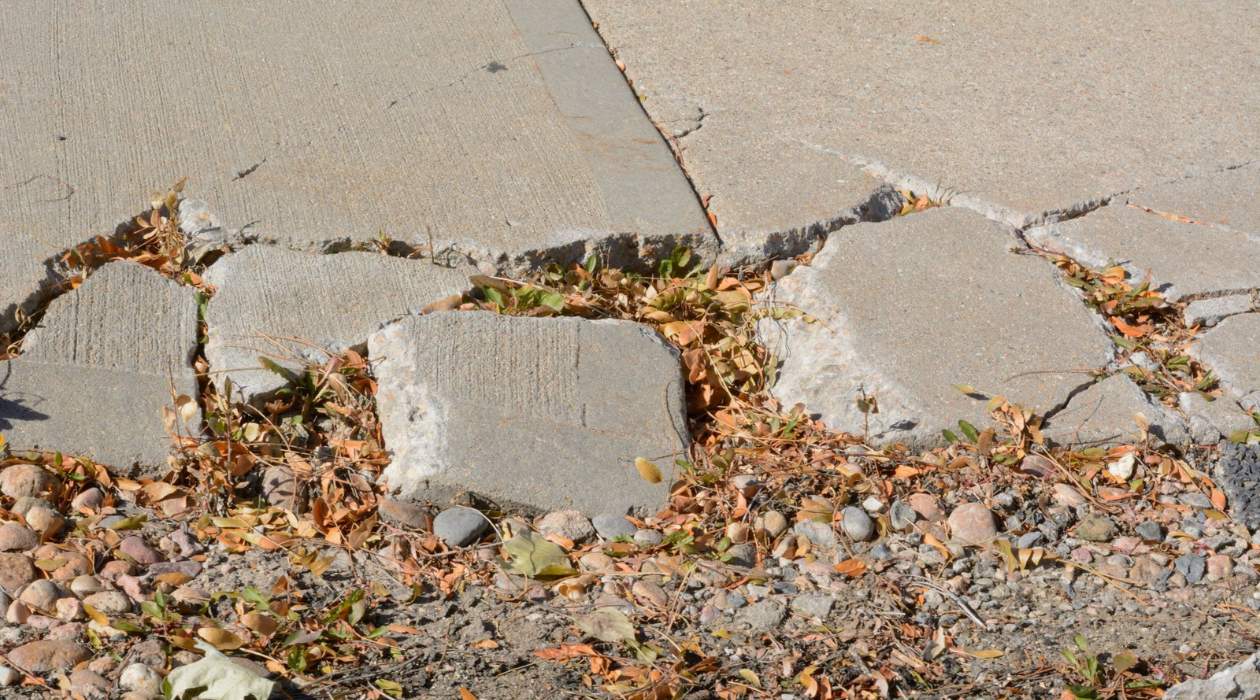
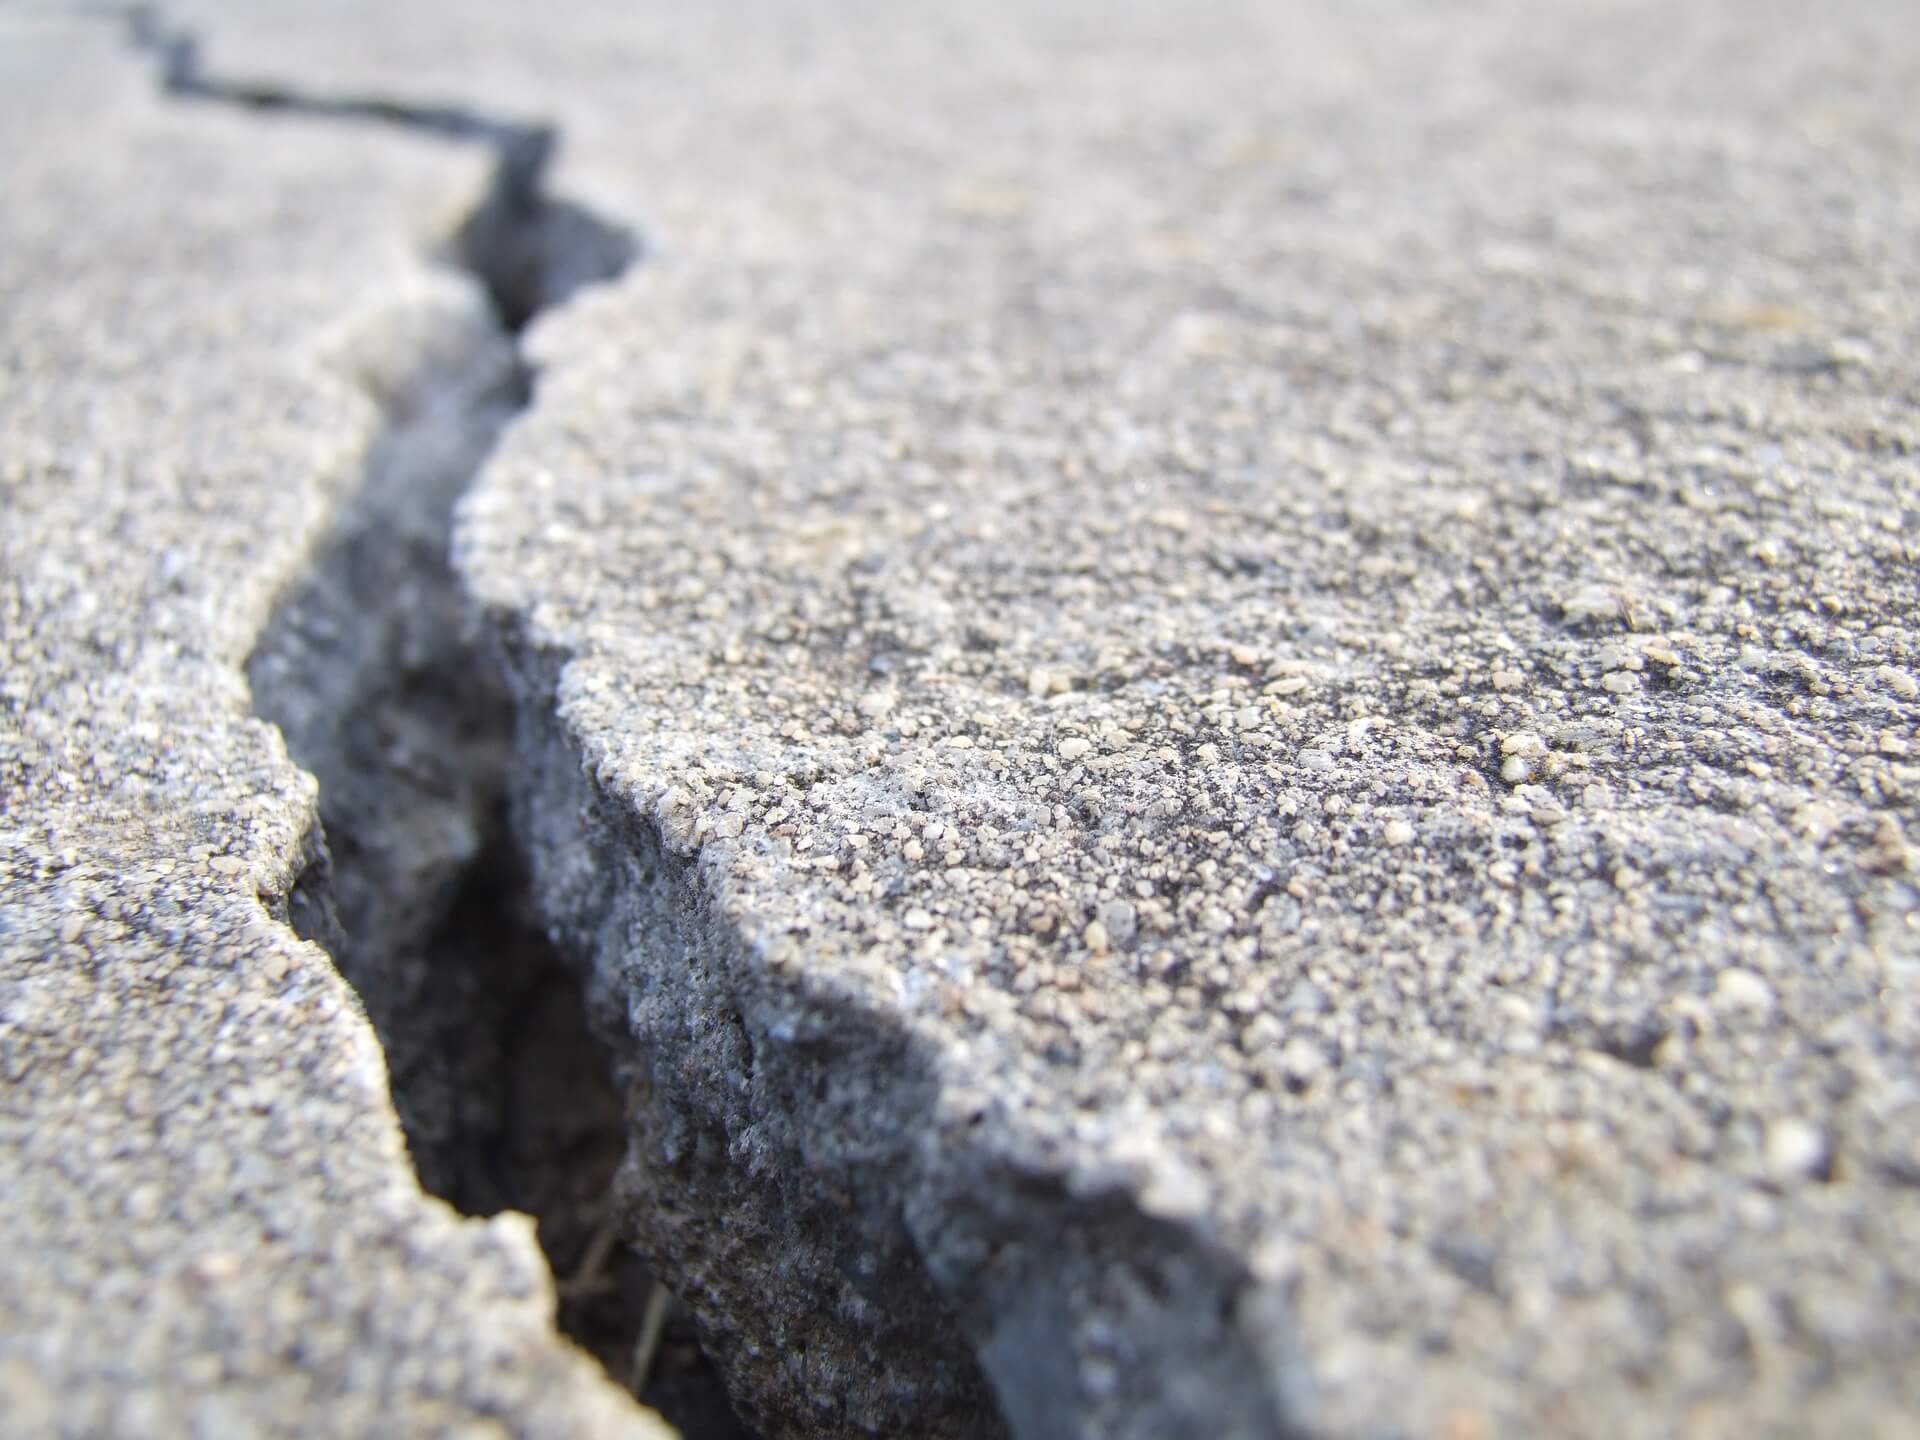
Step 1: Assessing the Damage
The first step in fixing a concrete driveway is to assess the extent of the damage. This will help you determine the best course of action and materials required for the repair.
Start by inspecting the entire driveway for any visible cracks, holes, or areas of unevenness. Take note of their location, size, and depth. Cracks are typically categorized as hairline cracks (less than 1/8 inch wide), minor cracks (1/8 to 1/4 inch wide), or major cracks (wider than 1/4 inch). Similarly, measure the depth of any holes or uneven surfaces.
If the cracks are shallow and limited in number, you may be able to perform a simple cosmetic repair. However, if the cracks are deep or widespread, it may require more extensive repairs.
Additionally, it’s essential to consider the underlying cause of the damage. It could be due to natural settling, water drainage issues, tree roots, or heavy vehicle traffic. Identifying the cause will help prevent future damage and ensure a long-lasting repair.
Once you have assessed the damage and determined the appropriate action, you can move on to the next step: cleaning the driveway.
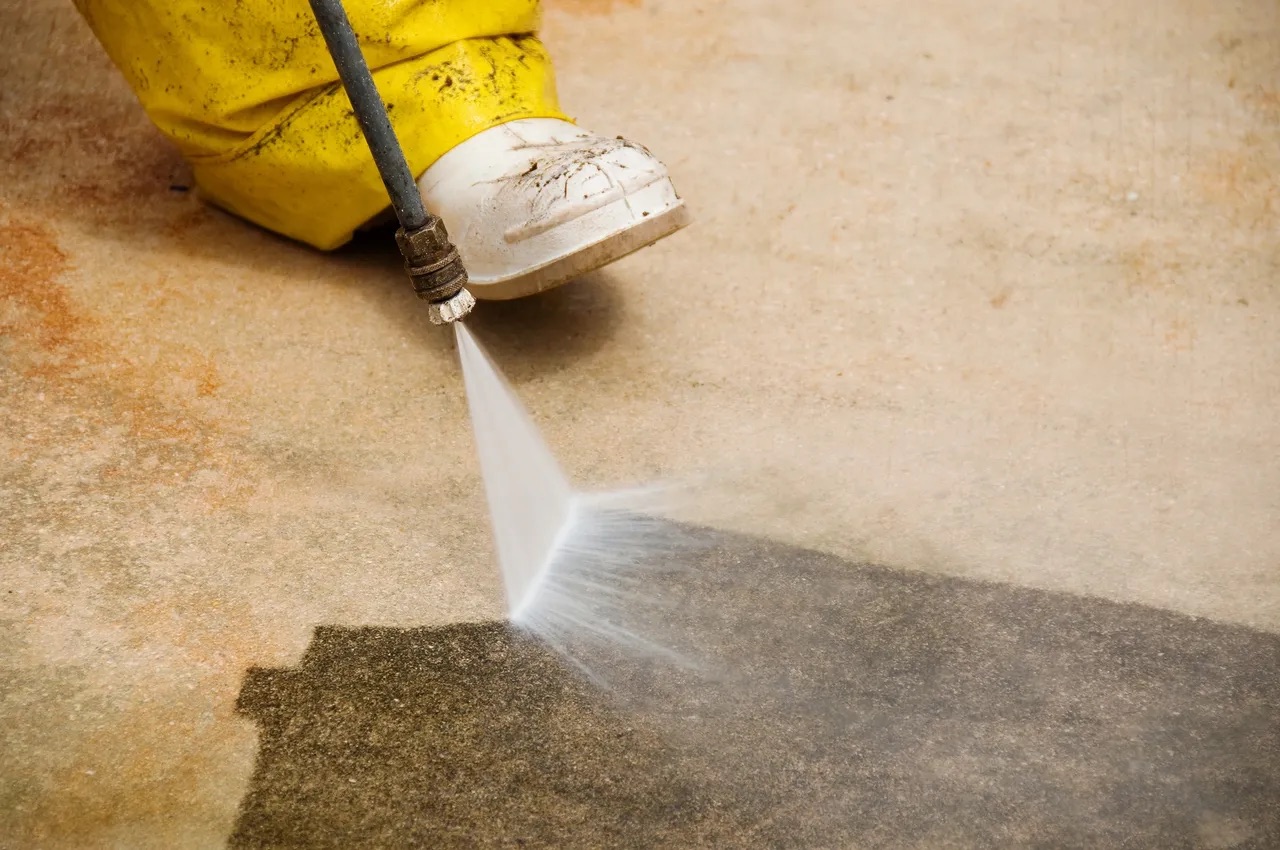
Step 2: Cleaning the Driveway
Before you start repairing your concrete driveway, it is crucial to thoroughly clean the surface. Cleaning will remove any dirt, debris, or loose particles that could interfere with the repair process.
Here are the steps to follow for cleaning your driveway:
- Sweep: Begin by sweeping the driveway with a broom or using a leaf blower to remove loose dirt, leaves, and other debris.
- Pressure Wash: Use a pressure washer to clean the surface. Start from the top of the driveway and work your way down, ensuring all areas are washed. Pay extra attention to cracks and holes, as they may require more thorough cleaning.
- Remove Stains: If your driveway has any stubborn stains, such as oil or grease, apply a concrete cleaner and scrub the area with a stiff brush. Rinse thoroughly with water to remove the cleaner.
- Allow Drying: After cleaning, allow the driveway to dry completely. This may take a few hours or even a full day, depending on the weather conditions.
By cleaning the driveway, you create a clean and smooth surface for the repair materials to adhere to. It also ensures better results and longer-lasting repairs.
Once the driveway is clean and dry, you can proceed to the next step: filling cracks and holes.
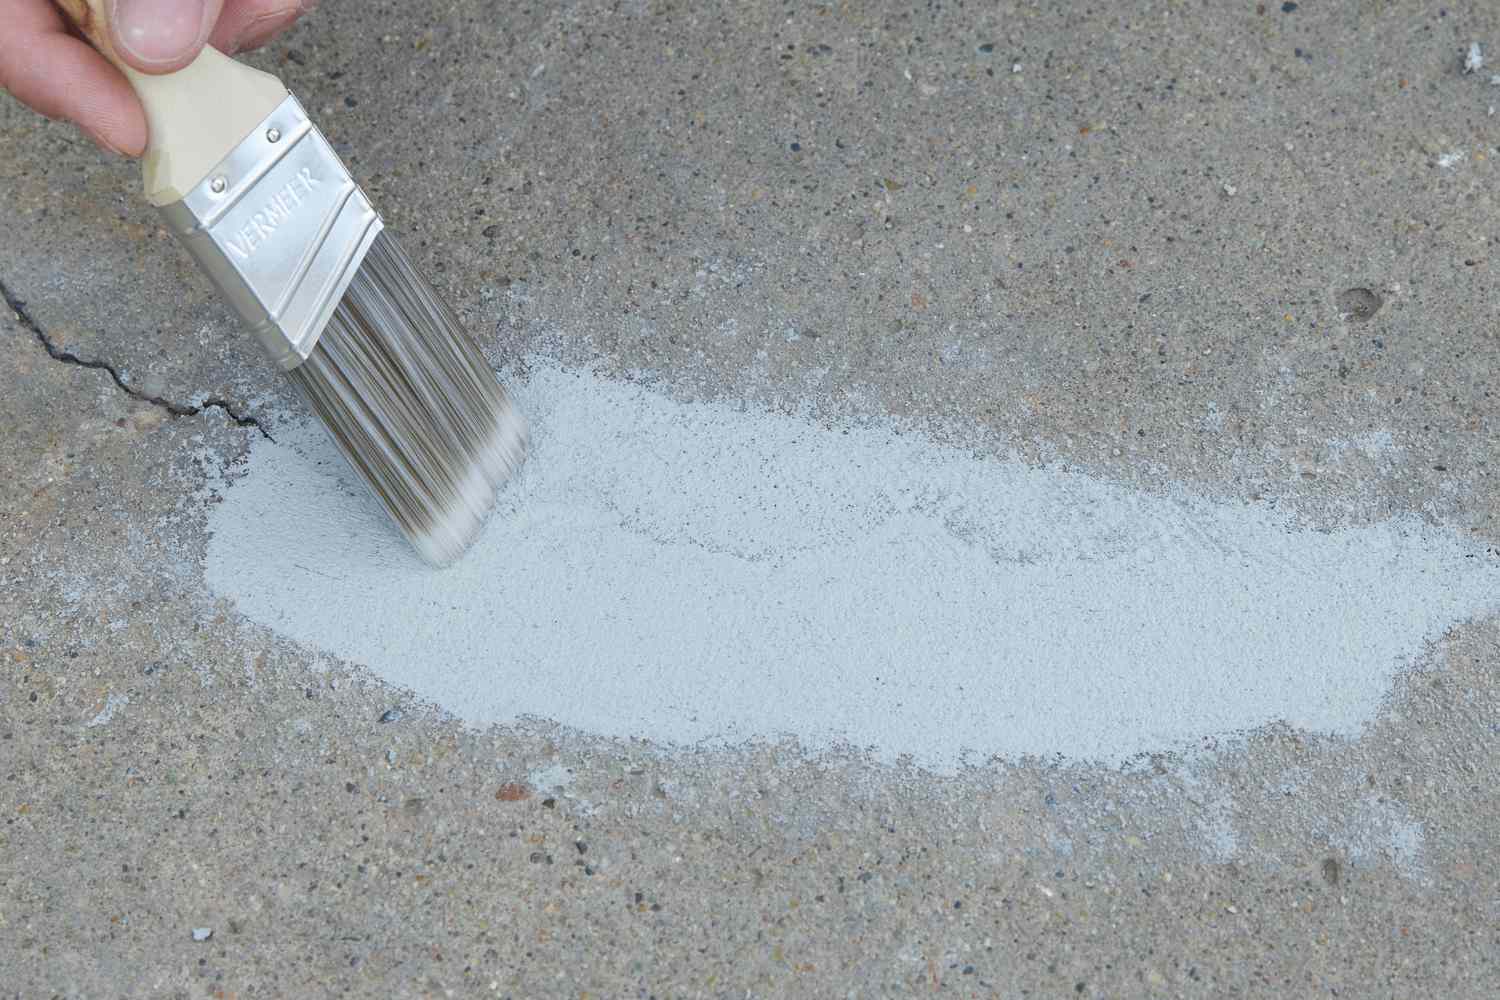
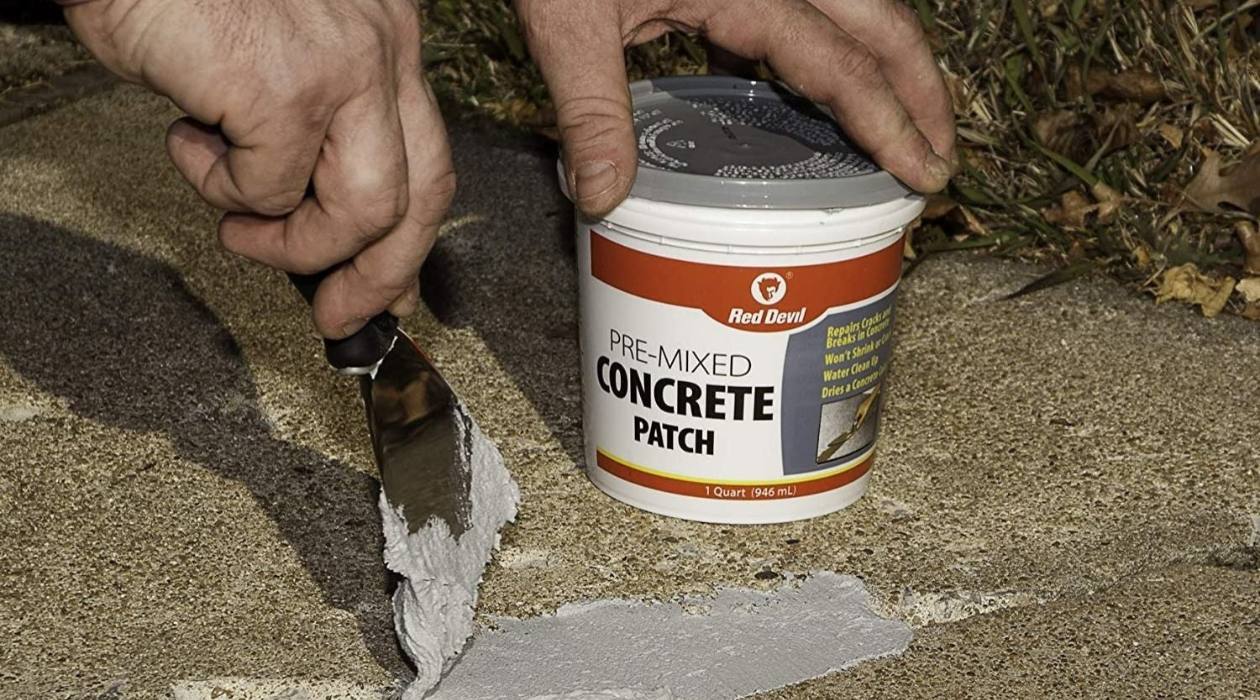
Step 3: Filling Cracks and Holes
Once your driveway is clean and dry, it’s time to fill in any cracks and holes. Filling these imperfections will not only improve the appearance of your driveway but also prevent further damage.
Follow these steps to fill cracks and holes in your concrete driveway:
- Prepare the Crack or Hole: Use a chisel or screwdriver to widen and clean the crack or hole. Remove any loose debris and create a clean, well-defined edge. This will ensure better adhesion for the repair material.
- Apply the Patching Compound: Fill the crack or hole with a concrete patching compound, using a trowel or putty knife. Press the compound firmly into the crack or hole, making sure to eliminate any air pockets.
- Smooth the Surface: Smooth the surface of the patching compound using the edge of the trowel or putty knife. Ensure the patch is level with the surrounding driveway surface.
- Allow Drying: Follow the manufacturer’s instructions for drying time. Typically, it may take a few hours or overnight for the patching compound to fully dry and cure.
For larger cracks or holes, you may need to use a concrete repair caulk or epoxy filler. These products are specifically designed to fill larger gaps and provide a more durable repair. Again, follow the manufacturer’s instructions for application and drying time.
Once the cracks and holes are filled and dried, you can move on to the next step: repairing uneven surfaces.
Regularly inspect your concrete driveway for cracks and damage. Fill in any small cracks with a concrete patching compound to prevent them from getting larger. This will help maintain the integrity and appearance of your driveway.
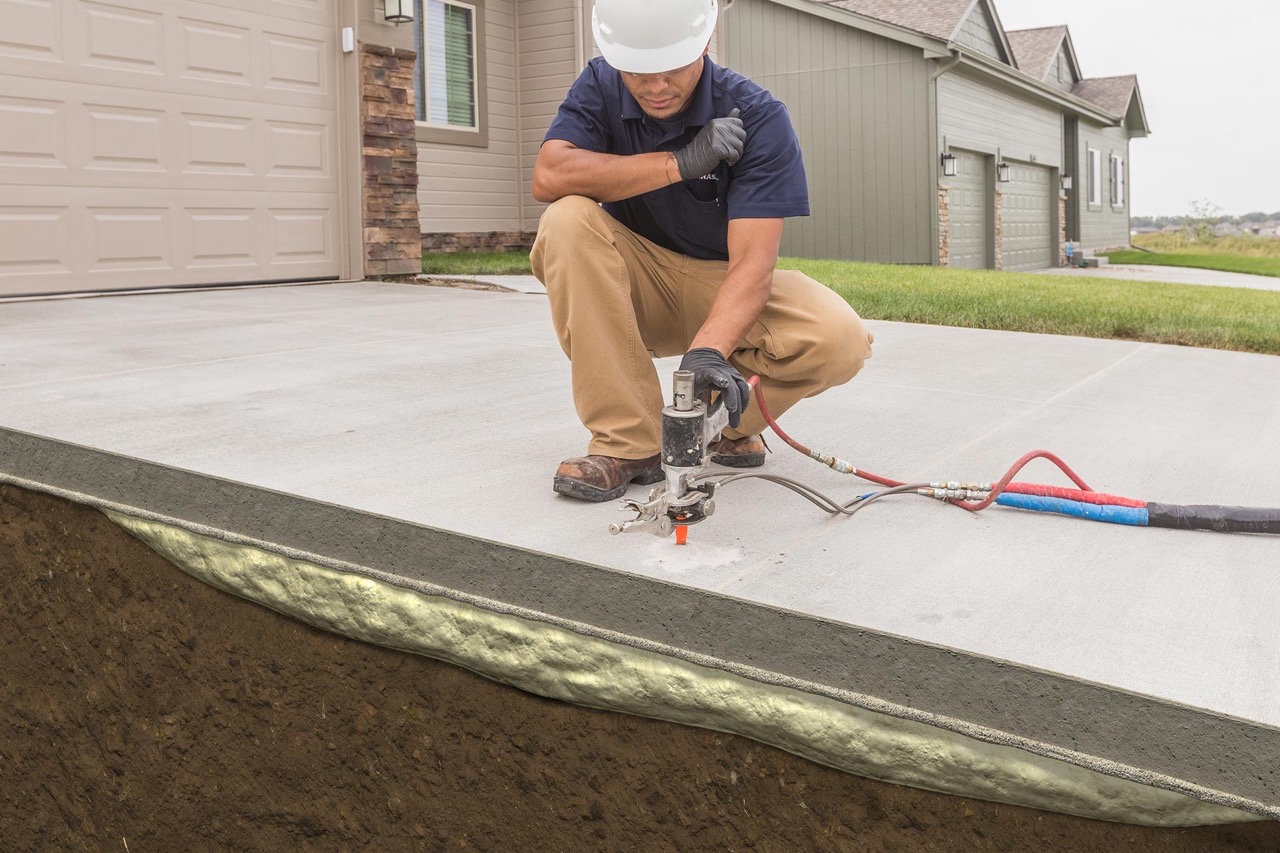
Step 4: Repairing Uneven Surfaces
In order to have a smooth and even concrete driveway, it is important to address any uneven surfaces. These can occur due to settling, weather changes, or improper installation.
Here are the steps to repair uneven surfaces in your concrete driveway:
- Identify the Uneven Areas: Walk along the driveway and mark any areas that are noticeably higher or lower than the surrounding surface.
- Remove the High Spots: Use a grinder or chisel to remove the high spots on the driveway surface. This will help create a more even and level surface.
- Fill in the Low Spots: For low spots or depressions, use a concrete leveling compound or a self-leveling concrete mix. Pour the compound over the low area and spread it using a trowel or squeegee. Allow it to self-level and dry according to the manufacturer’s instructions.
- Smooth and Finish: Once the leveling compound has cured, use a trowel or float to smooth it out and blend it with the surrounding surface. This will ensure a seamless repair.
If the unevenness is significant or extends over a large area, you may need to consider professional help to ensure a proper and long-lasting repair.
After you have repaired the uneven surfaces, the next step is resurfacing the driveway to give it a fresh and uniform appearance.
Read more: How To Fix Holes In A Concrete Driveway
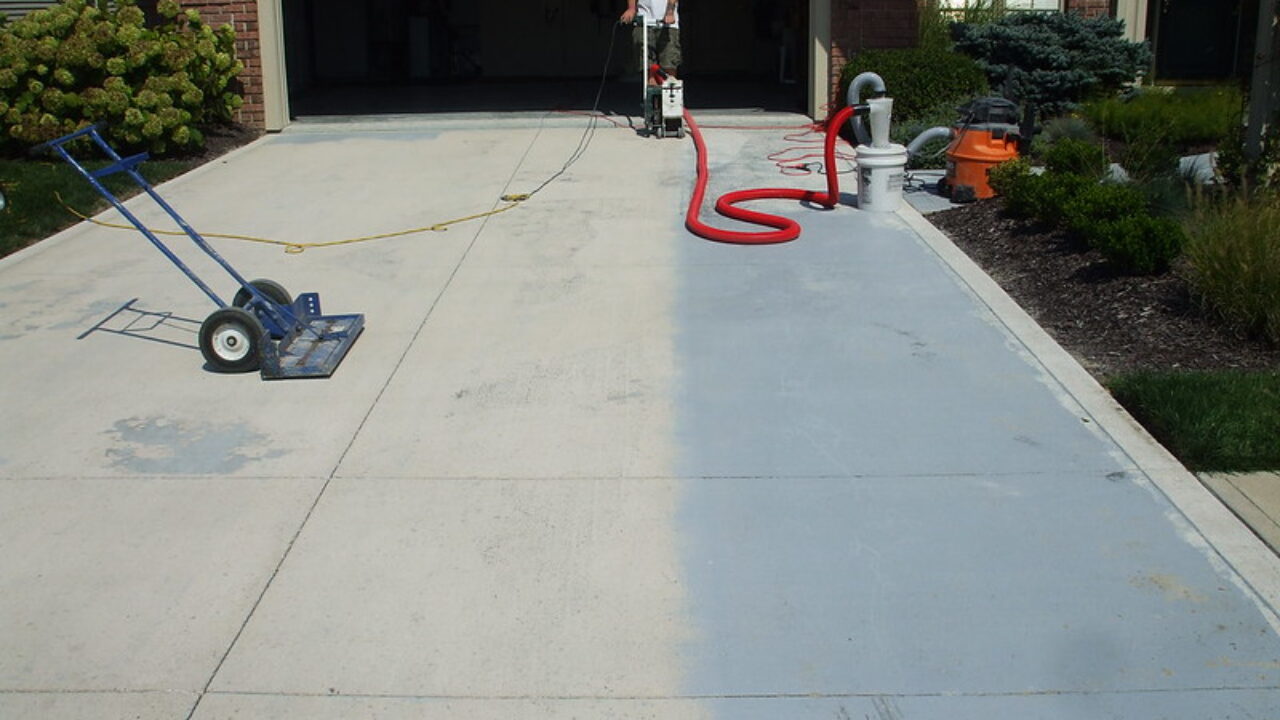
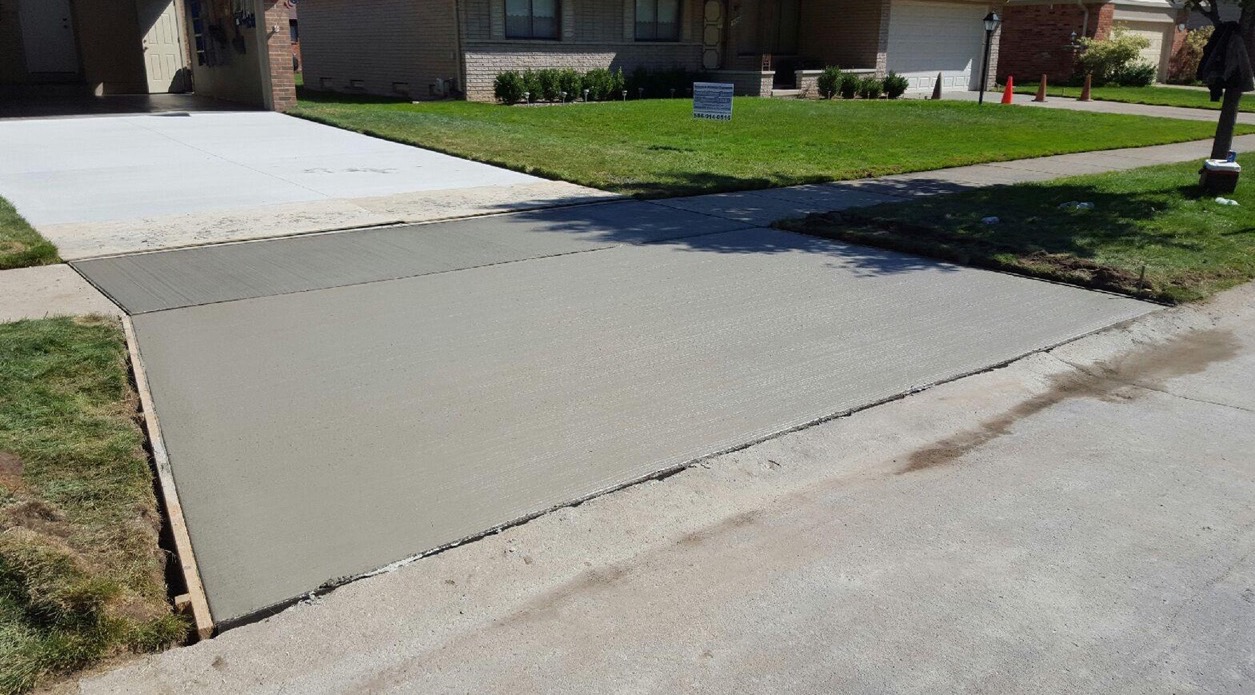
Step 5: Resurfacing the Driveway
Resurfacing your concrete driveway is an effective way to give it a new lease on life and improve its overall appearance. This step will help restore the smoothness and uniformity of the surface.
Follow these steps to successfully resurface your driveway:
- Clean the Surface: Before resurfacing, thoroughly clean the driveway to remove any dirt, debris, or loose particles. You can use a pressure washer or scrub the surface with a concrete cleaner and rinse it off.
- Mix the Resurfacer: Prepare the concrete resurfacer according to the manufacturer’s instructions. Typically, you will need to mix the resurfacer with water to achieve a smooth and workable consistency.
- Apply the Resurfacer: Begin applying the resurfacing mixture to the driveway. Use a long-handled squeegee or a concrete float to spread the mixture evenly across the surface. Work in small sections to ensure proper coverage.
- Smooth and Level: Once the resurfacer has been applied, use a concrete broom or a trowel to create a textured finish and ensure an even surface. This will also help with traction and prevent slipping.
- Allow Drying and Cure: Follow the manufacturer’s instructions for drying and curing time. It is important to let the resurfaced driveway cure properly before you start using it again.
Resurfacing your driveway not only improves its aesthetics but also provides added protection against future damage. The new layer acts as a barrier, sealing the existing concrete and preventing moisture penetration.
Once the resurfacing is complete and the driveway has fully cured, the final step is to seal the driveway for long-term protection.
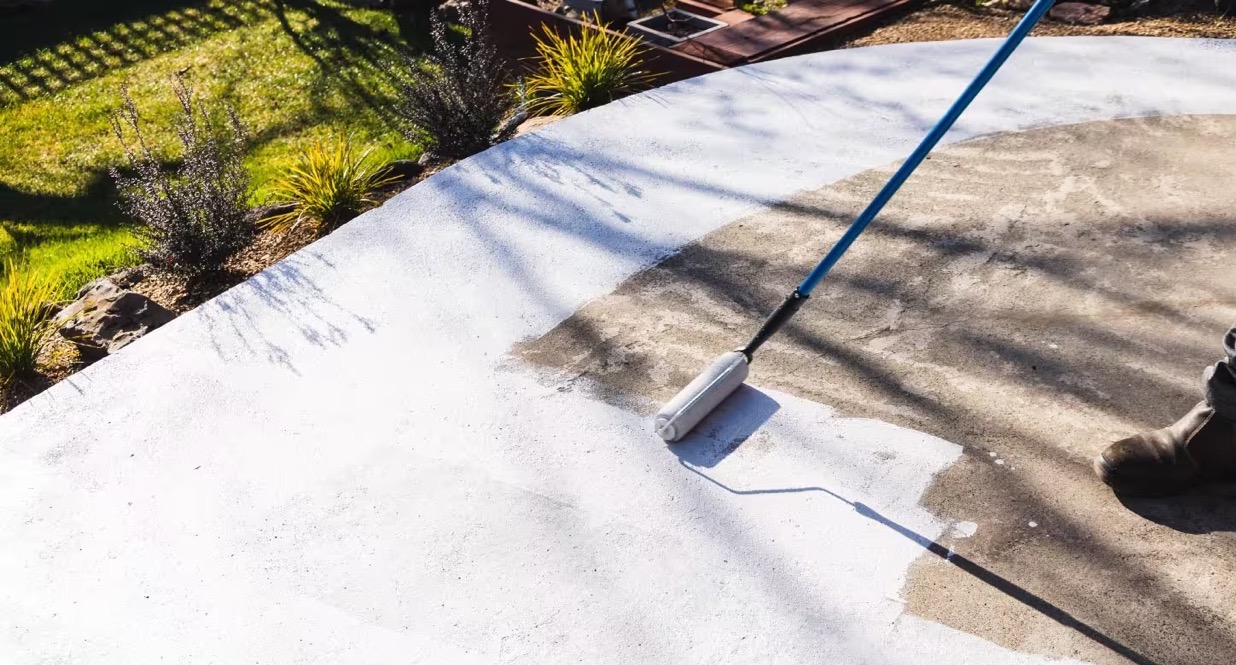
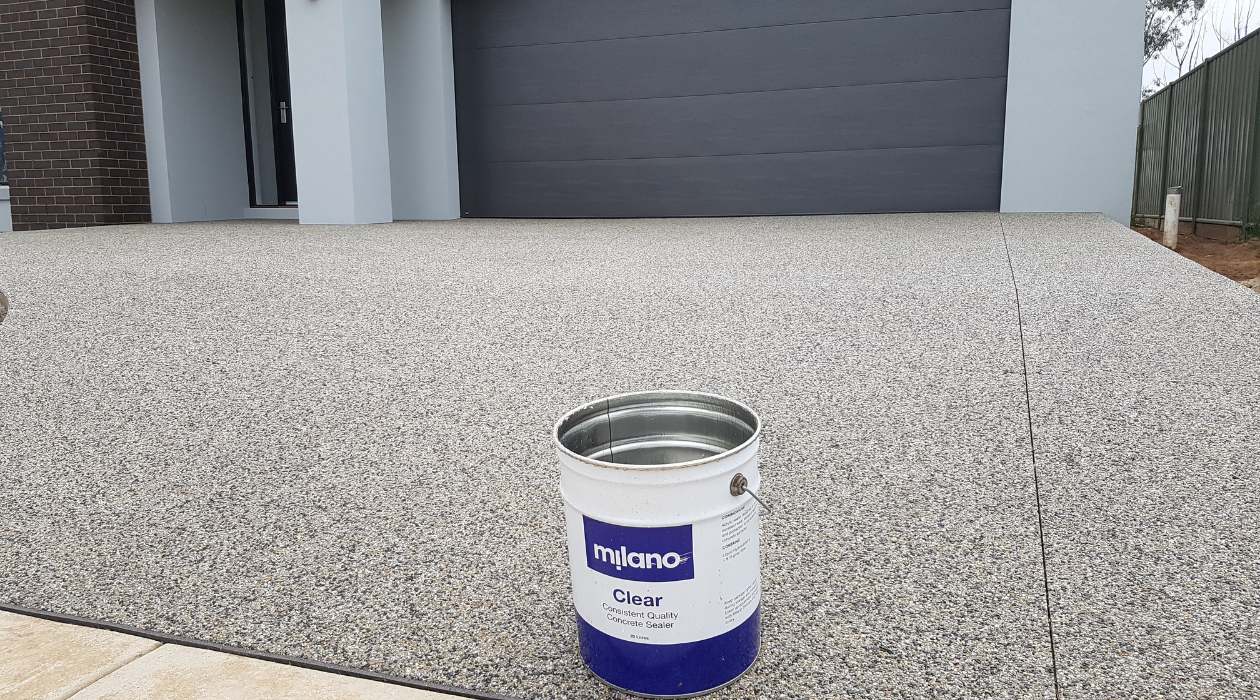
Step 6: Sealing the Driveway
Sealing your concrete driveway is the final step in the repair process, providing an extra layer of protection against stains, moisture, and the damaging effects of weather conditions.
Here are the steps to seal your driveway:
- Clean the Surface: Before sealing, make sure the driveway is clean and free of any debris. Sweep away any dirt or loose particles, and remove any stains with a concrete cleaner if necessary.
- Choose the Right Sealer: There are various types of driveway sealers available, such as acrylic, epoxy, or penetrating sealers. Consider the climate, the desired appearance, and the level of protection you require to select the most suitable sealer for your driveway.
- Apply the Sealer: Follow the manufacturer’s instructions for applying the sealer. Use a brush, roller, or sprayer to evenly distribute the sealer across the surface of the driveway. Make sure to work in small sections for optimal coverage.
- Allow Drying and Cure: After applying the sealer, allow it to dry and cure according to the manufacturer’s instructions. This may take a few hours or even a couple of days, depending on the type of sealer used and the weather conditions.
Sealing your driveway not only enhances its appearance but also helps to prevent moisture intrusion, minimize the effects of UV rays, and extend the lifespan of the concrete. It also makes regular cleaning and maintenance easier by providing a protective barrier.
Remember to reseal your driveway periodically, as recommended by the manufacturer, to maintain its integrity and keep it performing at its best.
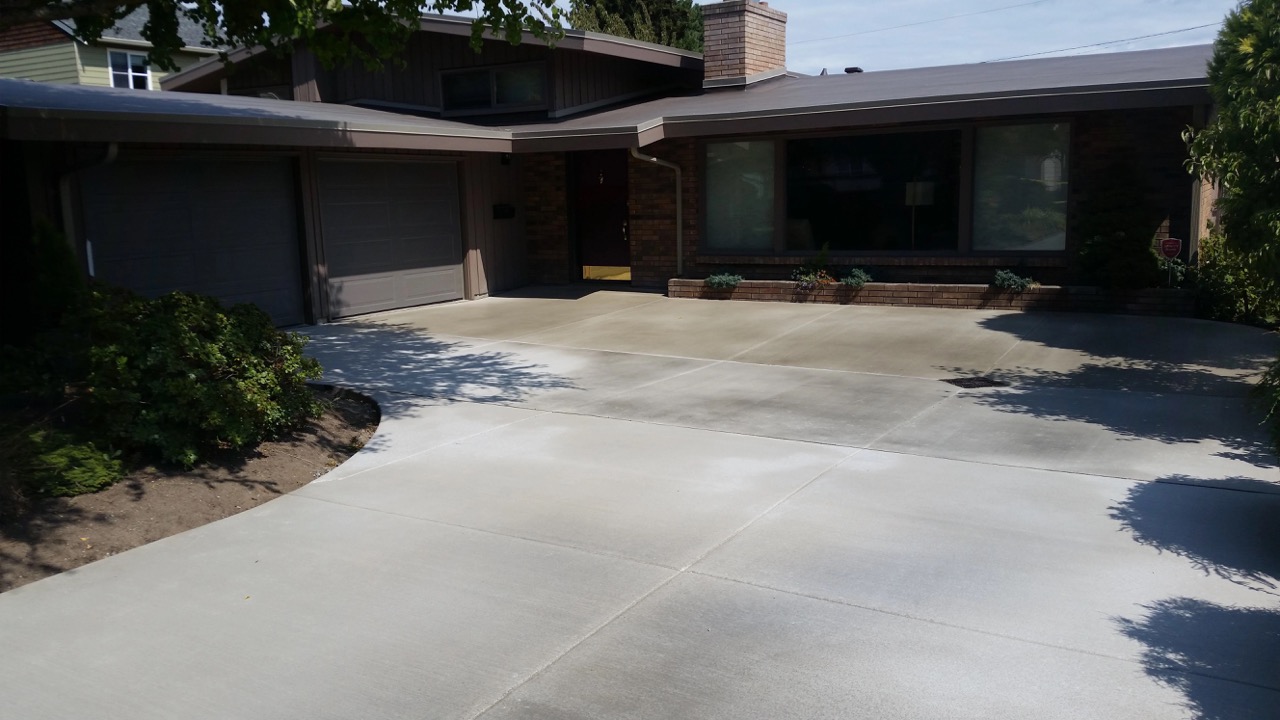
After following these steps and completing the sealing process, your repaired concrete driveway will look rejuvenated and be ready for years of continued use.
Conclusion
Fixing a concrete driveway may seem like a daunting task, but with the right knowledge and steps, it is definitely achievable. By following the step-by-step guide outlined in this article, you can successfully repair and restore your concrete driveway to its former glory.
Assessing the damage, cleaning the driveway, filling cracks and holes, repairing uneven surfaces, resurfacing, and sealing are the key steps to a comprehensive driveway repair process. Each step plays a crucial role in ensuring a long-lasting and visually appealing result.
Remember to pay attention to the details during each step, such as properly preparing the surface, using the right materials, and following the manufacturer’s instructions for drying and curing. Taking these extra precautions will help guarantee the success of your driveway repair.
Regular maintenance and care are also important to keep your concrete driveway in good condition. Perform routine cleaning and inspection, promptly address any new cracks or damage, and reseal the driveway periodically as recommended. Taking proactive measures will help prevent major issues and extend the lifespan of your driveway.
Finally, if you feel overwhelmed or unsure about the repair process, don’t hesitate to seek professional assistance. Concrete experts have the skills and experience to tackle more complex repairs and ensure a superior outcome.
So, don’t let cracks, holes, or uneven surfaces diminish the appeal of your concrete driveway. With the right approach and dedication, you can restore your driveway and enjoy a beautiful and functional addition to your property for years to come.
Frequently Asked Questions about How To Fix A Concrete Driveway
Was this page helpful?
At Storables.com, we guarantee accurate and reliable information. Our content, validated by Expert Board Contributors, is crafted following stringent Editorial Policies. We're committed to providing you with well-researched, expert-backed insights for all your informational needs.


0 thoughts on “How To Fix A Concrete Driveway”