Articles
How To Patch Holes In Driveway
Modified: August 28, 2024
Learn effective techniques for patching holes in your driveway with our informative articles. Find step-by-step instructions, tips, and expert advice to ensure a smooth and durable repair.
(Many of the links in this article redirect to a specific reviewed product. Your purchase of these products through affiliate links helps to generate commission for Storables.com, at no extra cost. Learn more)
Introduction
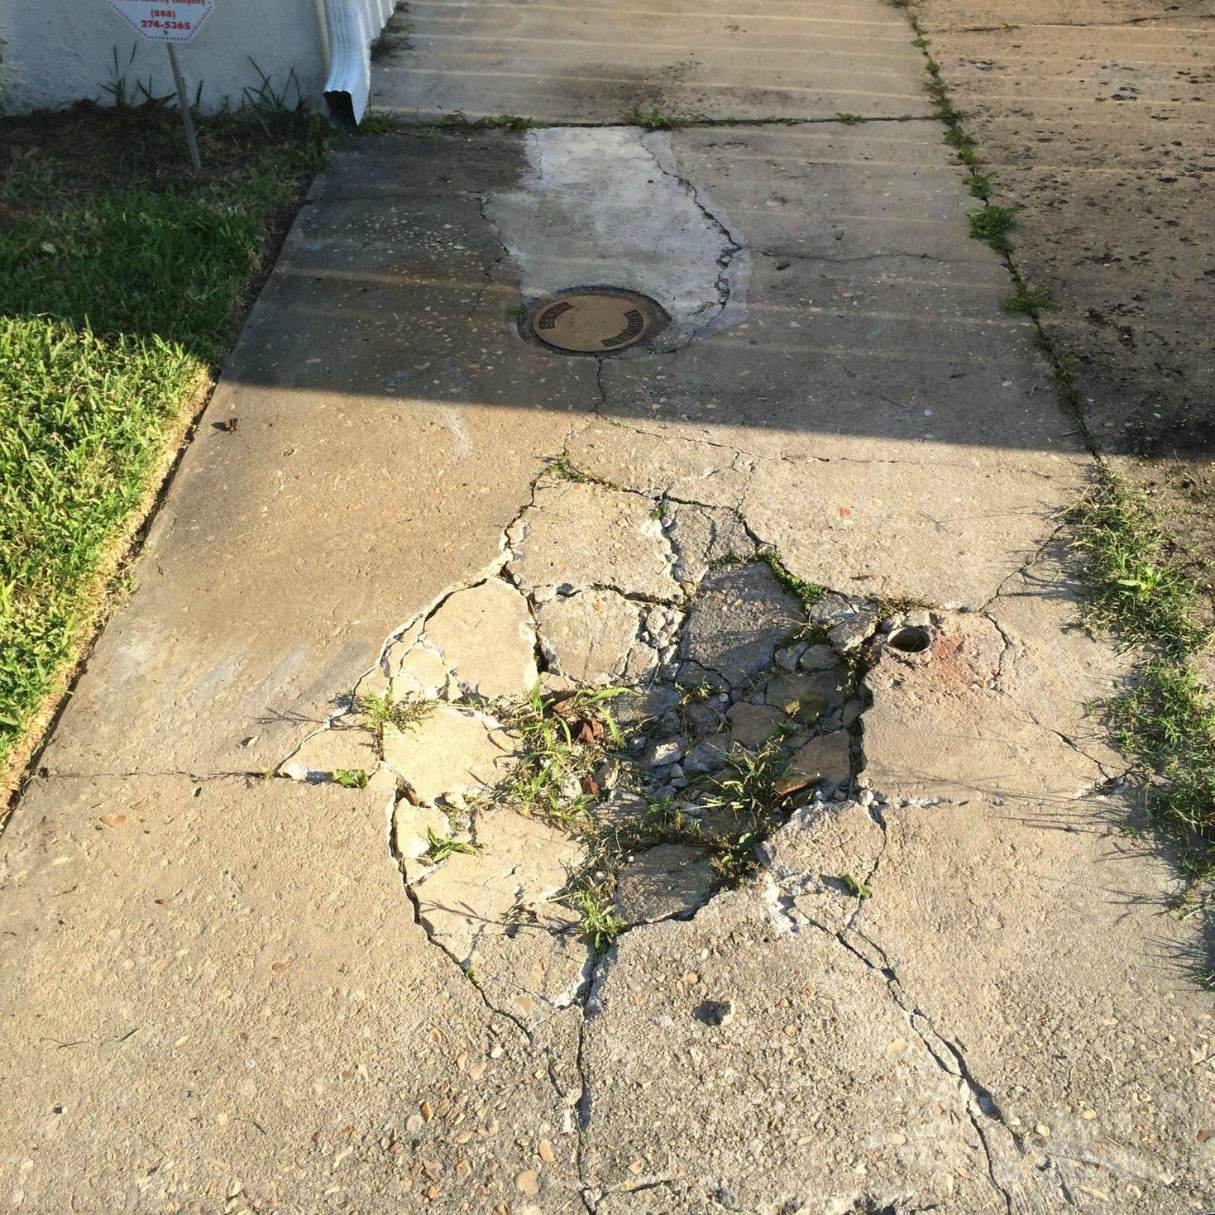
Welcome to our comprehensive guide on how to patch holes in a driveway. Over time, driveways can develop cracks, small holes, or even larger potholes due to various factors like weather conditions, heavy traffic, or the natural aging process. These imperfections not only affect the aesthetics of your driveway but can also lead to more significant damage if not addressed promptly.
Repairing these holes may seem like a daunting task, but with the right knowledge and materials, it can be a straightforward process that you can tackle yourself. In this article, we will provide you with step-by-step instructions on how to patch small cracks and holes, as well as repair larger holes or potholes in your driveway.
Before we dive into the details, it’s important to note that the extent of the damage will determine the specific approach you need to take. Small cracks and holes can be easily filled with simple patching materials, while larger holes or potholes may require more extensive repair work. It’s essential to thoroughly assess the condition of your driveway to determine the best course of action.
Giving your driveway some TLC by patching these imperfections not only improves its appearance but also helps maintain its structural integrity. By taking the time to fix these issues, you can prolong the lifespan of your driveway and prevent more extensive repairs or even complete replacement in the long run.
Now that we’ve covered the importance of patching holes in a driveway, let’s move on to the materials you’ll need to get started.
Key Takeaways:
- Patching holes in your driveway is a manageable DIY task that can improve its appearance and structural integrity. Proper cleaning, choosing the right patching material, and allowing for sufficient drying time are key to a successful repair.
- Prioritize safety, follow manufacturer’s instructions, and consider applying a sealant for added protection. Promptly addressing driveway damage can prolong its lifespan and enhance your property’s overall value.
Read more: How To Patch A Hole In A Roof
Materials Needed
Before you begin patching the holes in your driveway, it’s crucial to gather all the necessary materials. Having everything on hand will make the process more efficient and ensure you’re well-prepared. Here are the materials you’ll need:
- Protective gear: Safety should always be a top priority. Make sure to wear protective gloves, safety glasses, and a dust mask to protect yourself from any potential hazards.
- Cleaning supplies: To prepare the driveway surface, you’ll need a wire brush or stiff broom to remove loose debris, a garden hose or pressure washer for cleaning, and a mild detergent or driveway cleaner to remove any dirt or oil stains.
- Patching material: The type of patching material you’ll need depends on the size of the holes. For small cracks and holes, you can use a ready-to-use patching compound or concrete crack filler. For larger holes or potholes, you may need to use a patching mix, cold asphalt patch, or hot asphalt mix.
- Trowel: A trowel will be essential for applying the patching material and smoothing it out over the holes.
- Float: For larger patches, a float can be helpful in leveling and smoothing the surface of the patch.
- Compactor: If you’re patching larger holes or potholes, you’ll need a plate compactor or tamper to compact the patching material and ensure a solid foundation.
- Sealant or resurfacing product (optional): Depending on the condition of your driveway, you may choose to apply a sealant or resurfacing product once the patch has dried to further protect and enhance the appearance of the surface.
Make sure to have all these materials ready before you start the patching process. It’s always better to be prepared and have everything within reach, allowing you to work efficiently without interruptions.
Step 1: Clean and Prepare the Driveway
Before you can start patching the holes in your driveway, it’s important to thoroughly clean and prepare the surface. This step ensures proper adhesion of the patching material and helps achieve a long-lasting repair. Here’s how to clean and prepare your driveway:
- Clear the area: Remove any objects, such as vehicles, debris, or loose gravel, from the driveway. This will give you open access to the holes and provide a clean working area.
- Remove loose debris: Use a wire brush or stiff broom to sweep away any loose dirt, gravel, or vegetation from the holes and the surrounding area. This ensures a clean surface for the patching material to adhere to.
- Address oil stains: If your driveway has oil stains, use a mild detergent or driveway cleaner to treat the affected areas. Follow the instructions on the cleaner and scrub the stains with a stiff brush. Rinse the area thoroughly with a garden hose or pressure washer to remove the cleaning solution.
- Power wash the driveway: For a more thorough cleaning, you can use a pressure washer to remove embedded dirt, grime, and any remaining stains. Adjust the pressure settings according to your driveway’s material to avoid causing any damage. Start from one end of the driveway and work your way to the other, ensuring all surfaces are cleaned evenly.
- Allow the driveway to dry: After cleaning, give your driveway ample time to dry completely. This ensures that the patching material will adhere properly without any moisture interference. Depending on the weather conditions, drying time may vary, so be patient and allow sufficient time for the surface to dry thoroughly.
By cleaning and preparing your driveway before patching, you create a clean and stable foundation for the patching material. This step is crucial in achieving a successful and long-lasting repair. Once the driveway is dry, you’re ready to move on to the next step: determining the type of patching material needed.
Step 2: Determine the Type of Patching Material Needed
Now that your driveway is clean and prepared, the next step is to determine the appropriate type of patching material to use. The choice will depend on the size and severity of the holes or cracks in your driveway. Here are some guidelines to help you choose:
Small cracks and holes: For small cracks or holes less than 1/2 inch wide, you can use a ready-to-use patching compound or concrete crack filler. These materials come in a caulking tube or tub and are designed to fill and seal minor cracks and small holes. They are easy to apply and don’t require any mixing.
Larger holes or potholes: If you’re dealing with larger holes or potholes, you may need to use a patching mix, cold asphalt patch, or hot asphalt mix. Patching mixes are premixed materials that can be applied directly to the holes. Cold asphalt patch is a ready-to-use product that does not require heating, while hot asphalt mix needs to be heated before application.
To determine the specific type of patching material you need, assess the size and depth of the holes in your driveway. If you’re unsure, consult with a professional or a knowledgeable staff member at your local home improvement store.
It’s worth noting that different patching materials have varying application instructions and drying times. Be sure to read and follow the manufacturer’s guidelines specific to the product you’ve chosen. This will ensure that you achieve the best results and a durable repair.
With the right patching material in hand, you’re now ready to move on to the next step: filling small cracks and holes in your driveway.
Step 3: Fill Small Cracks and Holes
Now that you have determined the appropriate patching material for your small cracks and holes, it’s time to fill them. Follow these step-by-step instructions to effectively fill the small cracks and holes in your driveway:
- Prepare the patching compound: If you’re using a ready-to-use patching compound or concrete crack filler, simply open the container or cut the tip of the caulking tube. If the patching material requires mixing, follow the manufacturer’s instructions to prepare the mixture in a clean bucket.
- Clean the cracks and holes: Use a wire brush or a scraper to remove any loose debris or vegetation from the cracks and holes. Make sure the surfaces are clean and free of any loose material before proceeding.
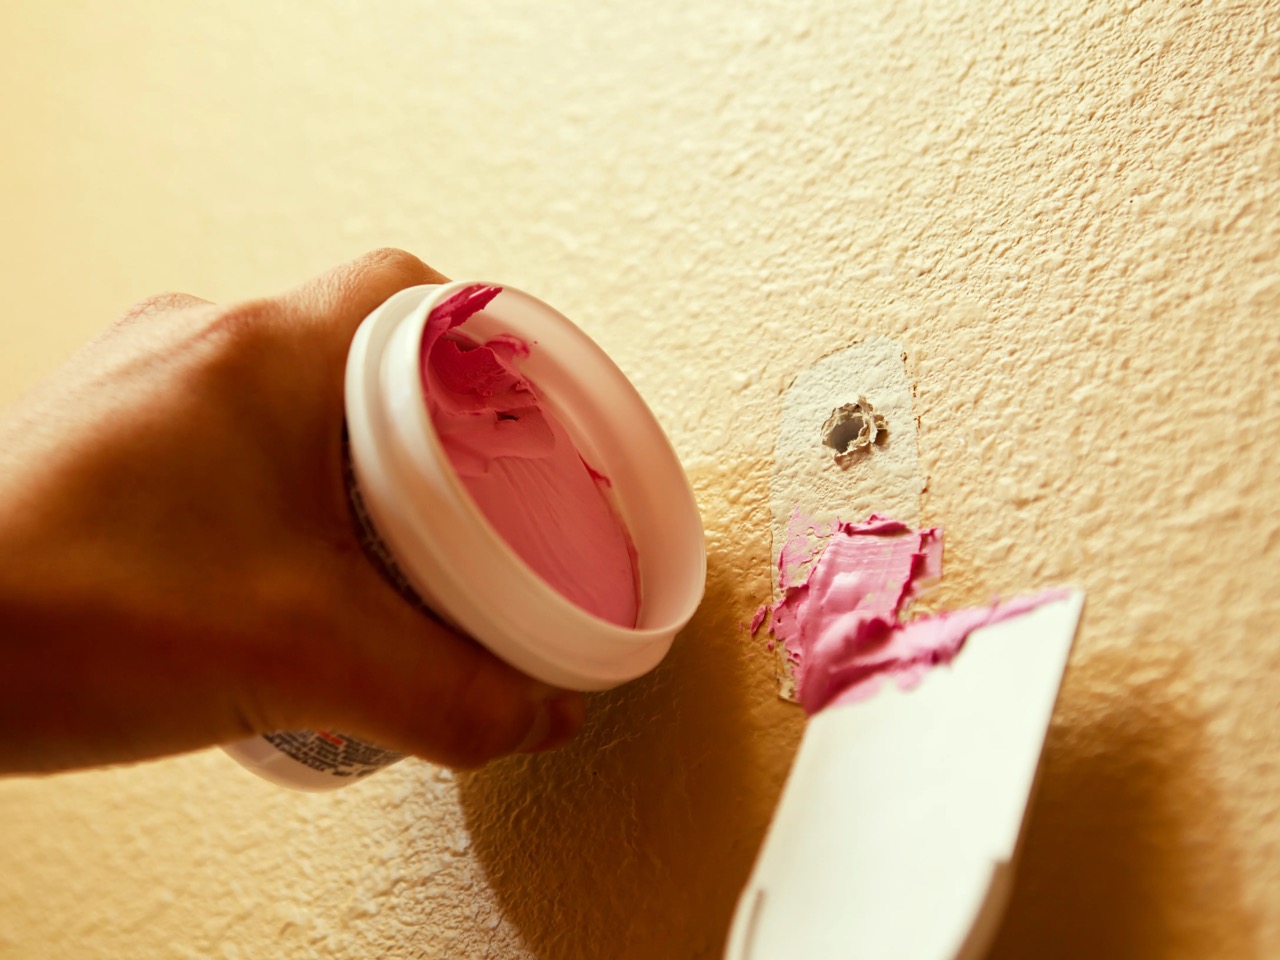
- Apply the patching compound: Using a putty knife or trowel, apply the patching compound directly into the cracks and holes, filling them completely. Ensure that the material is pushed into the crevices and leveled off with the surface of the driveway.
- Smooth the surface: Once the cracks and holes are filled, use a trowel or a float to smooth out the patching material and create a seamless finish. Work the trowel or float over the filled areas in a back-and-forth motion to achieve a level surface.
- Allow the patch to dry: Follow the recommended drying time provided by the manufacturer. Depending on the type of patching material used, it may take a few hours or even longer for the compound to fully dry and cure. Avoid stepping on or driving over the patched areas until they are completely dry.
Remember, the key to successful patching is ensuring that the cracks and holes are completely filled with the patching material. Take your time during the application process and ensure that the surface is smoothed and leveled for a professional-looking finish.
Once the small cracks and holes are filled and dried, you can proceed to the next step: patching larger holes or potholes in your driveway.
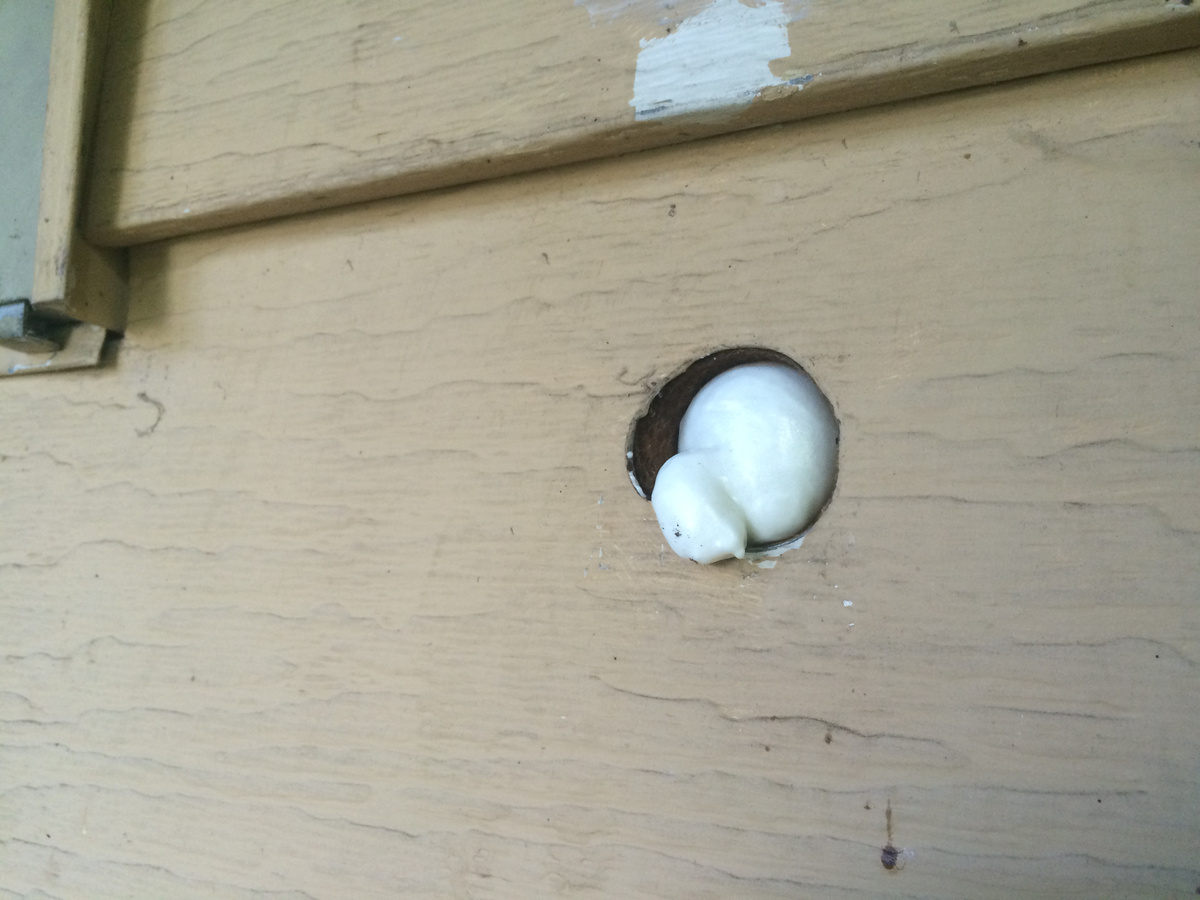
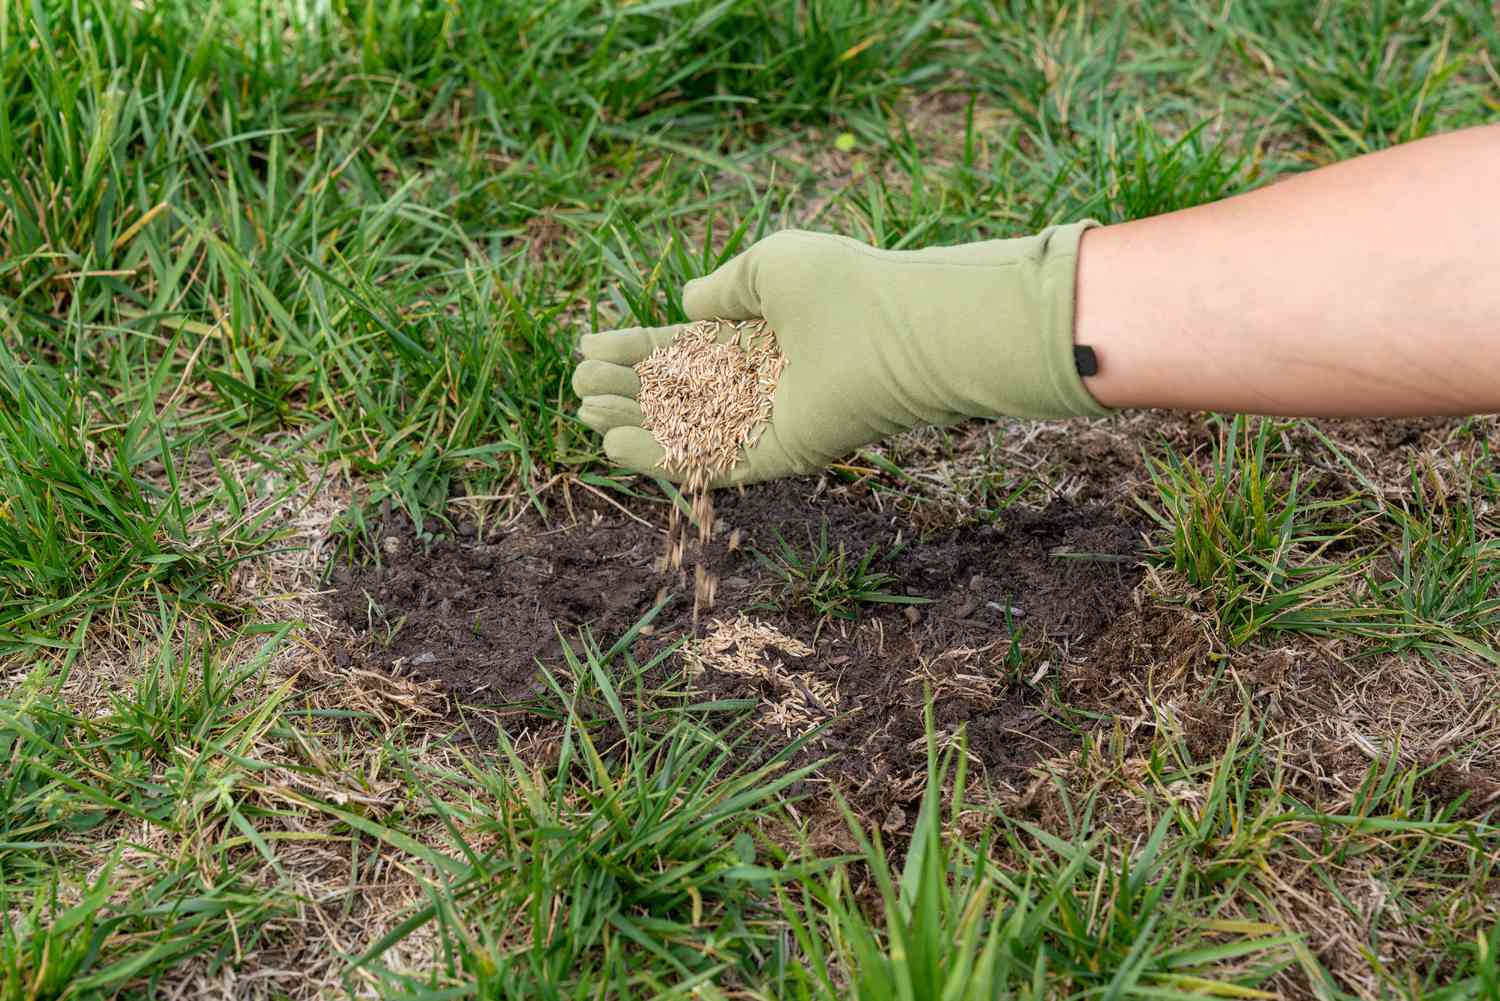
Clean the hole thoroughly before applying a patching compound. Make sure the surface is dry and free of debris to ensure a strong bond.
Read more: How To Patch Holes In Brick
Step 4: Patch Large Holes or Potholes
If your driveway has larger holes or potholes, a different approach is needed to effectively repair these areas. Follow these step-by-step instructions to patch large holes or potholes in your driveway:
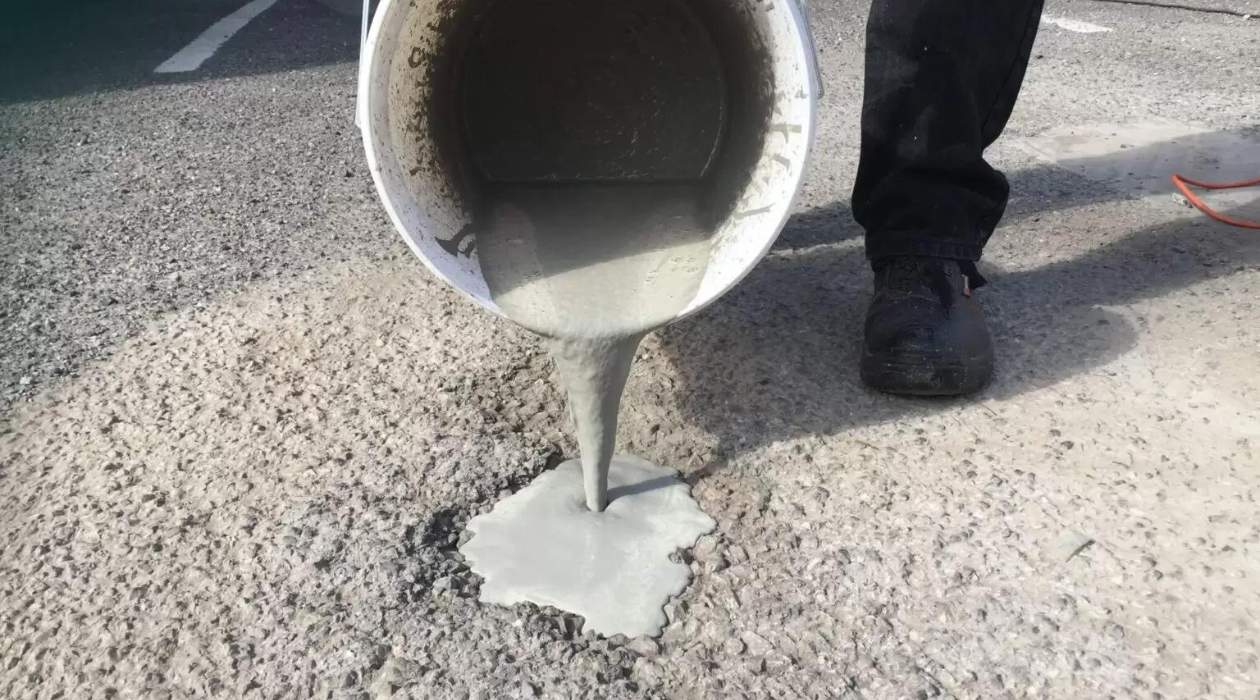
- Prepare the patching material: Depending on the type of patching material you’ve chosen, follow the manufacturer’s instructions to prepare the mixture. This may involve adding water, heating the asphalt mix, or simply opening a container of premixed patching material.
- Clean the damaged area: Use a wire brush, broom, or even a pressure washer to clean the damaged area. Remove any loose debris, dirt, or vegetation, and ensure that the surface is clean and free of any loose material.
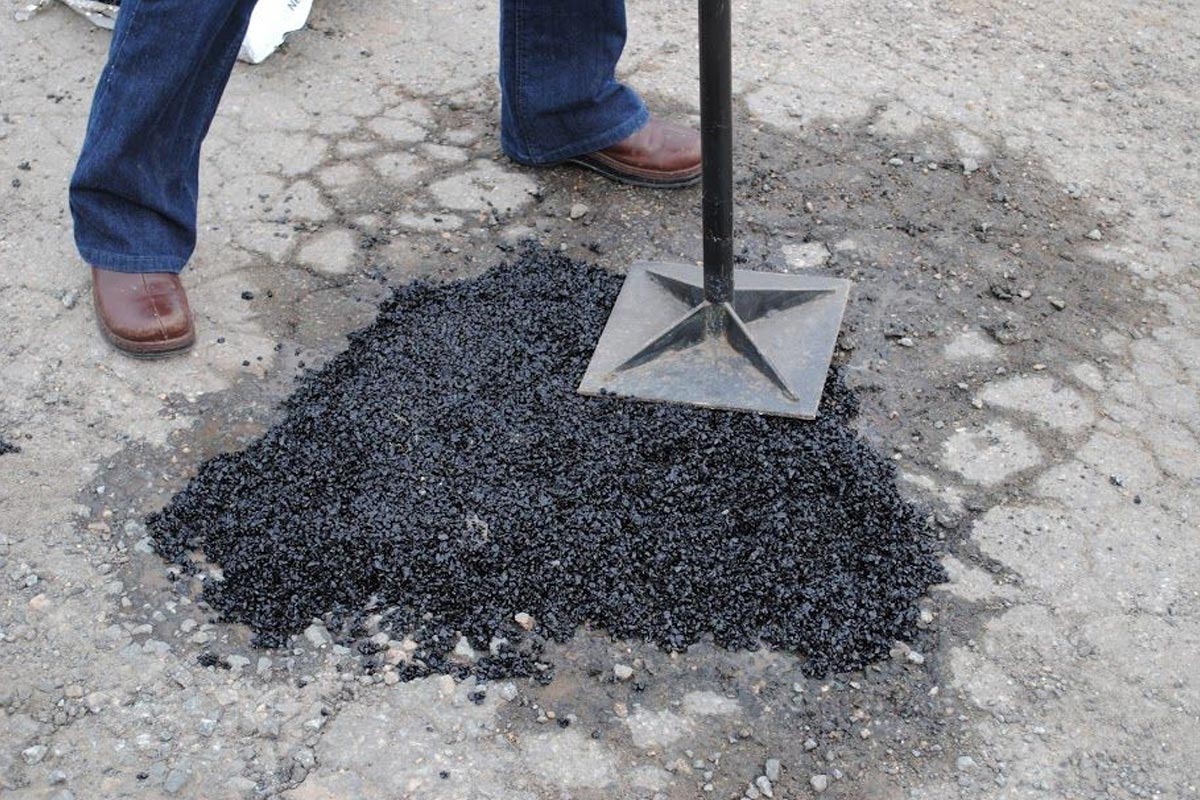
- Fill the hole: Fill the hole or pothole with the patching material, pressing it down firmly and making sure it fully fills the void. For larger holes, you may need to add the material in layers, compacting each layer with a plate compactor or tamper before adding the next one. Continue filling and compacting until the hole is completely filled, slightly overfilled to account for settling.
- Smooth the surface: Use a trowel or a float to level and smooth the surface of the patching material. Ensure that it blends seamlessly with the surrounding driveway surface. Feather the edges of the patch to create a gradual transition between the patch and the existing driveway.
- Compact the patch: After smoothing the surface, use a plate compactor or tamper to firmly compact the patching material. This step helps create a solid and stable repair. Go over the patched area multiple times with the compactor to ensure proper compaction.
- Allow the patch to dry and settle: Follow the recommended drying time provided by the manufacturer. This may take several hours or even days, depending on the type of patching material used. Avoid any heavy traffic or loads on the patched area until it is fully dry and settled.
Patching large holes or potholes requires more attention to detail and proper compaction to ensure a durable repair. Take your time during the process and follow the instructions provided with your chosen patching material for the best results.
Once the patch has dried and settled, you can proceed to the next step: compacting and smoothing the patched area.
Step 5: Compact and Smooth the Patched Area
Once you have filled and patched the holes or potholes in your driveway, the next step is to compact and smooth the patched area. This will ensure a level surface and improve the overall appearance of the repair. Follow these step-by-step instructions:
- Inspect the patch: Before proceeding with compaction, inspect the patched area to ensure that it is filled evenly and there are no visible irregularities. If necessary, add a small amount of additional patching material to any low spots or depressions.
- Use a plate compactor or tamper: If you have a plate compactor or tamper, place it on top of the patched area. Start from the edges and work your way toward the center, making multiple passes over the patched section. Apply firm and even pressure to compress the patching material and ensure a solid, compacted surface.
- Check for settlement: After compacting, check for any settlement or depressions in the patched area. If you notice any low spots, add more patching material and repeat the compaction process until the surface is level and smooth.
- Smooth the surface: Use a trowel or float to smooth the surface of the patched area. Run the tool over the surface in a back-and-forth motion to level any slight imperfections and create a seamless transition between the patch and the surrounding driveway.
- Remove excess material: Use a brush or broom to remove any loose debris or excess patching material from the surface. This will leave you with a clean and finished look.
Compacti+ng and smoothing the patched area is essential for achieving a professional and seamless repair. By following these steps, you’ll ensure that the patching material is properly compacted, resulting in a long-lasting and visually appealing repair.
Now that you’ve compacted and smoothed the patched area, it’s time to allow sufficient drying time before proceeding to the next step, which involves applying a sealant or resurfacing product, if desired.
Step 6: Allow Sufficient Drying Time
After you’ve completed the patching and smoothing process, it’s crucial to allow sufficient drying time for the patching material to fully set and cure. This will ensure the durability and longevity of your driveway repair. Follow these guidelines to ensure proper drying:
- Refer to manufacturer’s instructions: Check the product label or the manufacturer’s instructions to determine the recommended drying time for the specific patching material used. Drying times can vary depending on the type of material and environmental conditions.
- Avoid traffic or heavy loads: During the drying period, avoid driving vehicles or placing heavy objects on the patched area. Doing so can disrupt the curing process and compromise the quality of the repair. It’s best to keep the area clear until it is fully dried and hardened.
- Consider weather conditions: Take into account the weather conditions when estimating the drying time. Cold or humid conditions may prolong the drying process, while warm and dry conditions can expedite it. Ensure that the patching material is protected from rain or excessive moisture during the drying period.
- Perform a touch test: Before resuming regular use of the driveway, perform a touch test to check if the patched area is fully dry. Gently press your finger on the surface of the patching material. If it feels firm and does not leave any residue on your finger, it is likely dry. If it feels soft or sticky, it needs more drying time.
Allowing sufficient drying time is crucial for the integrity of the repair. Rushing the process can result in a compromised patching job and the need for rework. Patience is key to achieving a successful and long-lasting driveway repair.
Once the patching material is completely dry, you can move on to the final step: considering the application of a sealant or resurfacing product to further protect and enhance your driveway.
Step 7: Apply Sealant or Resurfacing Product (Optional)
After allowing sufficient drying time for the patched area, you have the option to apply a sealant or resurfacing product to further enhance the appearance and extend the lifespan of your driveway. While this step is optional, it can provide additional protection against weather elements, UV rays, and regular wear and tear. Here’s how you can apply sealant or a resurfacing product:
- Clean the patched area: Before applying any product, make sure the patched area is clean and free of debris. Use a broom or brush to sweep away any loose dirt or debris.
- Choose the right product: Select a sealant or resurfacing product that is compatible with your driveway material and meets your specific needs. There are various options available, such as acrylic sealers, concrete sealers, or resurfacing products. Read the manufacturer’s instructions carefully to ensure proper application.
- Apply the product: Follow the manufacturer’s instructions for the application of the chosen product. Typically, you will need a roller or a sprayer to evenly apply the sealant or resurfacing product to the patched area. Apply multiple thin coats, allowing each coat to dry before applying the next one. Pay attention to any specific curing or drying times mentioned by the manufacturer.
- Allow for curing: After applying the desired number of coats, allow the product to cure according to the manufacturer’s instructions. This may involve keeping the driveway clear of traffic or heavy loads for a certain period. Adhering to the curing time will ensure the product sets properly and provides maximum protection.
- Maintain the sealed or resurfaced area: Once the sealant or resurfacing product has fully cured, make sure to regularly clean and maintain the area as per the manufacturer’s recommendations. This will help preserve the appearance and effectiveness of the applied product for an extended period.
Applying a sealant or resurfacing product is an optional step that can add an extra layer of protection to your driveway, keeping it looking fresh and well-maintained. Consider your specific needs and consult the manufacturer’s guidelines to choose the most suitable product for your driveway material.
Congratulations! By following these steps, you have successfully patched the holes in your driveway and taken steps to maintain its integrity. Regular maintenance and prompt repairs when needed will ensure the longevity and aesthetic appeal of your driveway for years to come.
Remember, it’s always important to closely follow the manufacturer’s instructions and guidelines for the specific patching materials and products you use. Make safety a priority by wearing protective gear throughout the entire process, and consult a professional if you have any doubts or concerns.
Read more: How To Patch Cracks In A Driveway
Conclusion
Repairing and patching holes in your driveway is an essential maintenance task that can enhance the durability and appearance of this important part of your property. By following the step-by-step instructions outlined in this guide, you can successfully patch small cracks, fill holes, and even repair larger potholes in your driveway.
Starting with the proper preparation of the driveway, such as clearing debris and cleaning the surface, sets the stage for a successful repair. Determining the right patching material based on the size and severity of the damage ensures effective results. Whether you’re using a ready-to-use compound or a mixing your own patching material, filling the cracks and holes thoroughly and smoothing the surface is crucial for a professional-looking finish.
If you’re dealing with larger holes or potholes, additional steps like compacting the patch and smoothing the surface are necessary for a durable repair. Allowing sufficient drying time is vital to ensure the patching material sets properly and achieves maximum strength.
Lastly, applying a sealant or resurfacing product can provide an added layer of protection and enhance the overall appearance of your driveway. This optional step can help extend the life of your repair and keep your driveway looking its best.
Remember to prioritize safety throughout the entire process, wear protective gear, and carefully follow the manufacturer’s instructions for the specific materials and products you use. If you have any doubts or concerns, consult with a professional who can provide guidance and assistance.
With proper maintenance and prompt attention to any issues, you can ensure that your driveway remains in excellent condition for years to come. By taking the time to patch holes and address any damage, you’re not only improving the aesthetics of your property but also protecting your investment and enhancing its overall value.
Frequently Asked Questions about How To Patch Holes In Driveway
Was this page helpful?
At Storables.com, we guarantee accurate and reliable information. Our content, validated by Expert Board Contributors, is crafted following stringent Editorial Policies. We're committed to providing you with well-researched, expert-backed insights for all your informational needs.

0 thoughts on “How To Patch Holes In Driveway”