
Articles
How To Fix A Washer Machine
Modified: August 24, 2024
Learn how to fix a washer machine with our helpful articles! Whether it's troubleshooting common issues or performing repairs, our articles have got you covered.
(Many of the links in this article redirect to a specific reviewed product. Your purchase of these products through affiliate links helps to generate commission for Storables.com, at no extra cost. Learn more)
Introduction
Welcome to this guide on how to fix a washer machine. Dealing with a malfunctioning washer can be frustrating, especially when you’re faced with a growing pile of dirty laundry. Before you call a professional or consider purchasing a new machine, it’s worth exploring some common issues that can be easily fixed.
While washer machines come in different makes and models, many of the problems they encounter are similar. Throughout this article, we will cover step-by-step instructions on how to identify and resolve common washer machine issues. From power supply problems to faulty components, we’ll guide you through the troubleshooting process.
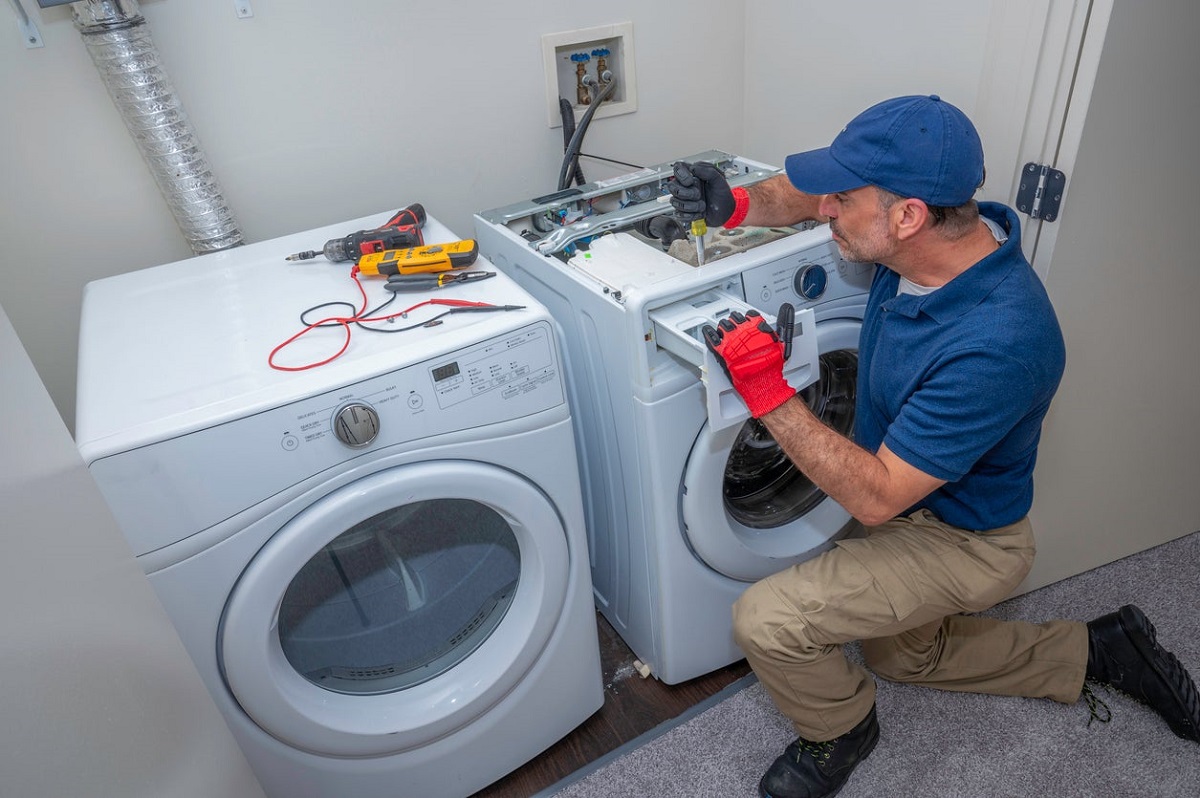
It’s important to note that not all washer machine problems can be fixed by the average homeowner. If you are uncomfortable working with electrical components or if the issue seems to be more complex, it’s best to consult a professional technician. However, for minor issues, following the steps in this guide can potentially save you time and money.
Before we dive into the troubleshooting process, it’s essential to remember to always prioritize safety. Make sure to unplug the washer machine or turn off the power supply before attempting any repairs. Additionally, if you’re unsure about any step, don’t hesitate to seek professional assistance.
Now that we’ve covered the initial precautions, let’s get started with the first step: identifying the problem.
Key Takeaways:
- Troubleshoot and fix common washer machine issues, from power supply problems to faulty components, with step-by-step instructions. Prioritize safety and save time and money by addressing minor issues yourself.
- Regular maintenance, such as cleaning filters and checking hoses, can prevent washer machine problems and prolong its life. Seek professional help for complex repairs and prioritize safety at all times.
Read more: How To Fix A Leaking Washer
Step 1: Identify the Problem
The first step in the troubleshooting process is to identify the specific issue with your washer machine. There can be various factors contributing to the malfunction, so it’s important to carefully observe and assess the problem.
Start by observing the behavior of the machine when you attempt to run a cycle. Is it not turning on at all? Is it making unusual noises? Is it not agitating or spinning? These observations will help narrow down the potential causes.
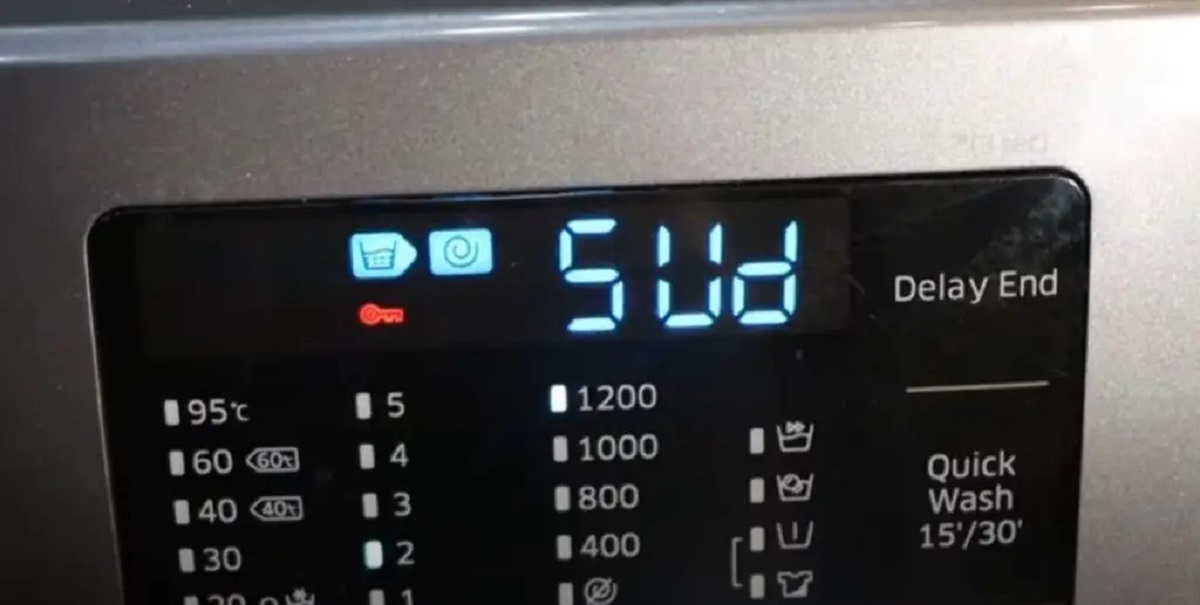
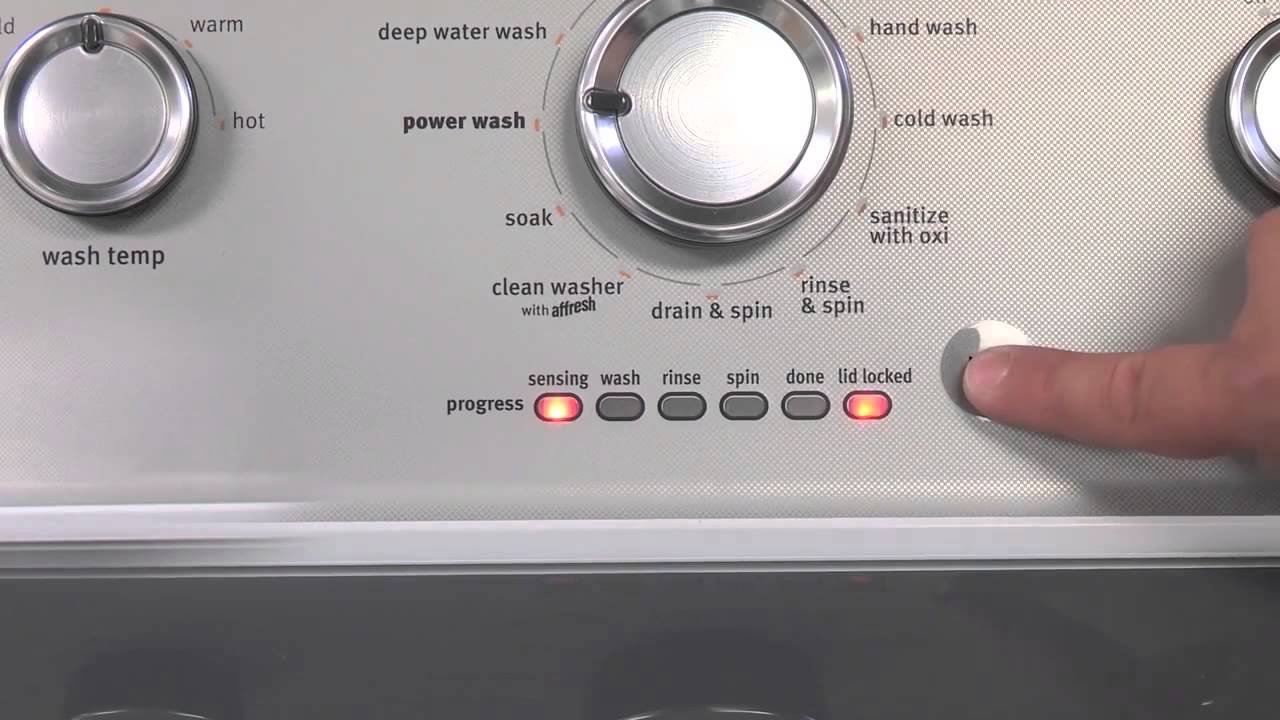
Next, check for any error codes that may be displayed on the machine’s control panel. Many modern washer machines have built-in diagnostic systems that provide error codes to indicate specific problems. Refer to the manufacturer’s manual to decipher these codes and gain insight into the issue.
If there are no error codes or if they don’t provide enough information, it’s time to visually inspect the machine. Check for any obvious signs of damage, loose connections, or leaks. Ensure that the water supply hoses are securely attached and not kinked or damaged.
Another important aspect to consider is the age and usage of the machine. If it’s an older machine that has been used extensively, certain components may simply be worn out and in need of replacement.
By carefully identifying the problem, you’ll have a better understanding of what needs to be addressed in the following steps. Now that you have identified the problem, it’s time to move on to step 2: checking the power supply.
Step 2: Check Power Supply
When your washer machine fails to turn on or show any signs of power, the first thing you need to check is the power supply. This might seem obvious, but it’s important to rule out any power-related issues before moving on to more complex troubleshooting.
Start by checking that the machine is properly plugged into a working electrical outlet. Ensure that the power cord is securely connected and not damaged in any way. If the cord appears to be damaged, consider replacing it with a new one.
Next, double-check that there is power flowing to the outlet by plugging in a different device such as a lamp or a phone charger. If the other device doesn’t work either, then the issue is likely with the outlet or the circuit breaker. In this case, you may need to call an electrician to fix the problem.
If the outlet is functioning correctly, but your washer machine is still not receiving power, it’s time to examine the power cord. Look for any frayed wires, loose connections, or signs of damage. If you notice any issues, it’s best to replace the power cord to ensure safe and reliable operation.
In some cases, the power supply issue might be internal, related to the control board or the power switch. If you’re comfortable working with electrical components, you can use a multimeter to test for continuity and voltage at various points in the machine’s electrical system. However, if you’re unsure or uncomfortable, it’s best to leave these repairs to a professional.
Once you’ve checked and resolved any power supply-related issues, try turning on your washer machine to see if it starts working. If it still doesn’t turn on, it’s time to move on to the next step: testing the lid switch.
Step 3: Test the Lid Switch
The lid switch is a safety feature in most washer machines that prevents the machine from running when the lid is open. If the lid switch is faulty or not functioning properly, it can cause the machine to not start or stop mid-cycle.
To test the lid switch, start by locating it. The lid switch is typically located near the door hinge or underneath the lid of the washer. Consult the manufacturer’s manual or online resources specific to your model for the exact location.
Once you have located the lid switch, open and close the lid while listening for a clicking sound. This clicking sound indicates that the lid switch is engaging properly. If you don’t hear the click, it could mean that the lid switch is faulty and needs to be replaced.
If you’re unsure whether the lid switch is functioning correctly, you can also use a multimeter to test its continuity. Disconnect the power supply to the washer machine and locate the lid switch’s wiring harness. Remove the wiring harness and use the multimeter to test for continuity by placing the meter’s probes on the switch’s terminals. If there is no continuity, it indicates a faulty lid switch that needs to be replaced.
If the lid switch is indeed faulty, you can purchase a replacement switch from an appliance parts store or directly from the manufacturer. Follow the manufacturer’s instructions to safely and correctly install the new lid switch.
After replacing the lid switch, plug in the washer machine and test it to see if the issue is resolved. If the machine still doesn’t start or stops mid-cycle, proceed to the next step: examining the water inlet valve.
Step 4: Examine the Water Inlet Valve
The water inlet valve in your washer machine is responsible for controlling the flow of water into the machine. If the water inlet valve is malfunctioning, it can lead to issues such as low water pressure, no water, or continuous water flow. Here’s how you can examine the water inlet valve:
Start by unplugging the washer machine and turning off the water supply. The water inlet valve is usually located at the back of the machine, where the water hoses are connected. Disconnect the hoses by turning them counterclockwise.
Inspect the inlet valve for any signs of leaks, cracks, or blockages. Look for debris or mineral buildup that may be clogging the valve. If there’s excessive buildup, you can clean the valve using a soft brush and a solution of vinegar and water.
Next, you’ll want to test the functionality of the water inlet valve. Connect the hoses back to the valve and turn on the water supply. Keep a bucket or towel handy to catch any water that may spill out during the test.
Plug in the washer machine and select a water cycle. Observe the water flow into the machine. If water is not flowing or if it’s trickling in, it’s likely a sign of a faulty water inlet valve that needs to be replaced.
You can purchase a new water inlet valve from an appliance parts store or directly from the manufacturer. Follow the instructions provided with the replacement valve to install it correctly and securely.
Once you’ve replaced the water inlet valve, reconnect the hoses, turn on the water supply, plug in the machine, and run a test cycle to ensure that the issue has been resolved. If the problem persists, continue to the next step: inspecting the drain hose.
Read more: How To Fix A Kenmore Washer
Step 5: Inspect the Drain Hose
The drain hose in your washer machine is responsible for removing the dirty water from the tub. If the drain hose is clogged or damaged, it can lead to drainage problems and potentially cause water to back up or leak. Here’s how to inspect the drain hose:
Start by unplugging the washer machine and moving it away from the wall to gain access to the back. Locate the drain hose, which is typically attached to the back of the machine near the bottom. It is often gray or black and made of flexible plastic.
Check the drain hose for any visible signs of damage such as cracks, leaks, or kinks. If you notice any issues, you may need to replace the drain hose. You can find a replacement hose at an appliance parts store or contact the manufacturer for a compatible replacement.
In addition to physical damage, it’s important to check for any blockages inside the drain hose. Disconnect the hose from the machine and place a bucket or a towel beneath it to catch any water that may have remained in the hose.
Inspect both ends of the hose and use a flashlight to check for any debris or clogs. If you spot any blockages, try using a plumber’s snake or a long, flexible brush to gently remove the obstruction. Alternatively, you can run water through the hose to flush out any debris.
After inspecting and clearing the drain hose, reconnect it to the machine and ensure that it is properly secured. Make sure that the hose is not kinked or twisted to ensure smooth water flow.
Finally, plug in the washer machine, move it back into place, and run a test cycle to ensure that the water drains properly without any leaks or backups. If the drainage issues persist, move on to the next step: cleaning the filter.
Check the water supply and ensure the hoses are not kinked or clogged. Also, clean the detergent dispenser and run a cleaning cycle with vinegar to remove any build-up.
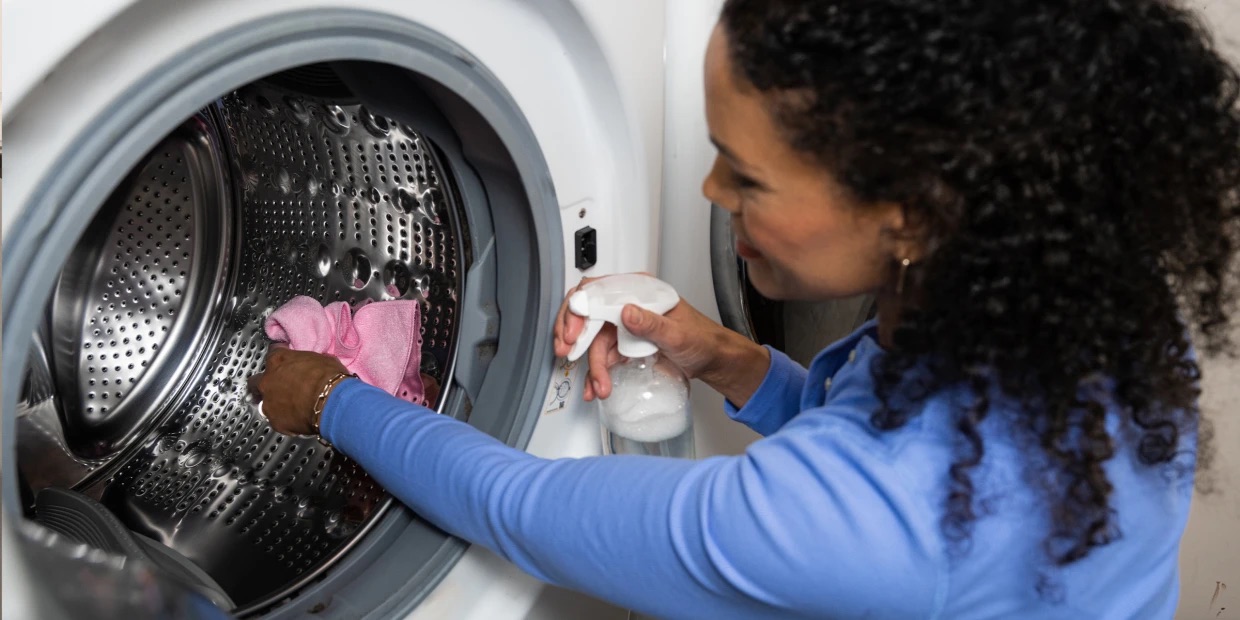
Step 6: Clean the Filter
The filter in your washer machine is responsible for trapping lint, debris, and other small objects that may have been left in the pockets of your clothes. Over time, this filter can become clogged, leading to drainage issues, poor cleaning performance, and even foul odors. Here’s how to clean the filter:
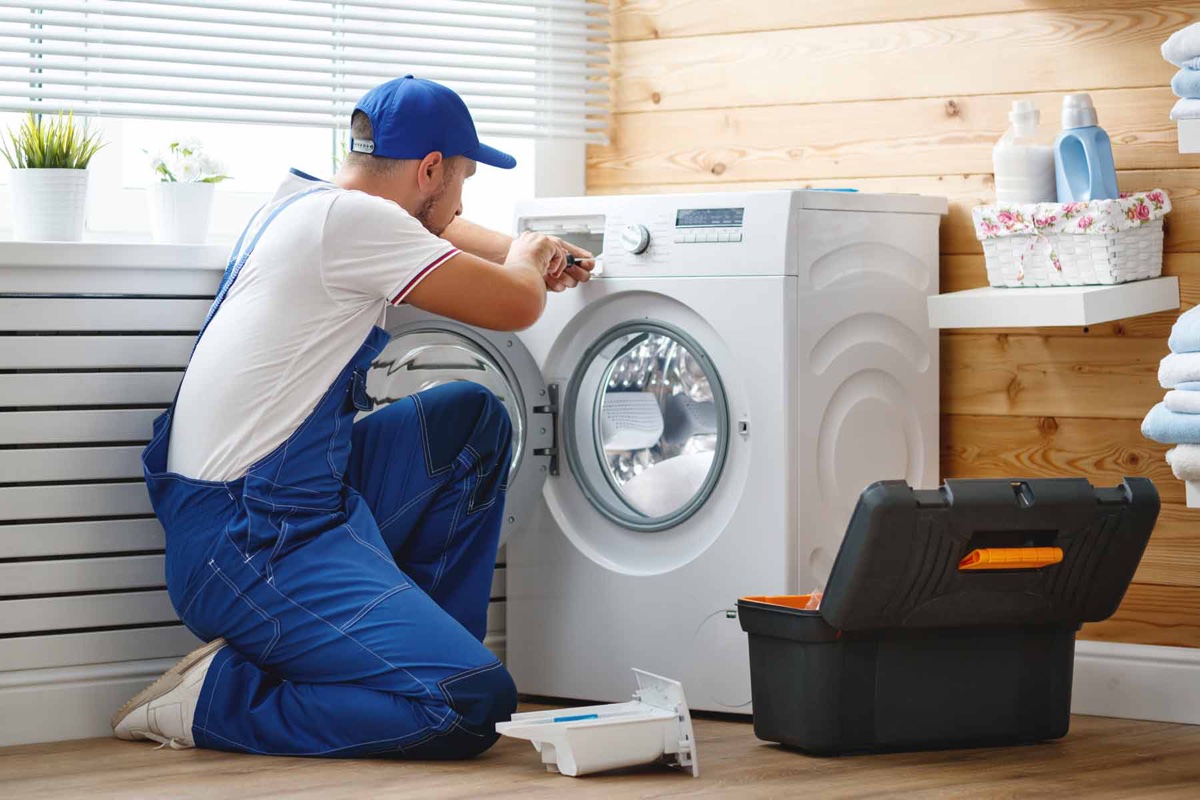
Start by unplugging the washer machine. Depending on the model, the filter can be located at the front bottom of the machine or inside the agitator (if your machine has one). Refer to the manufacturer’s manual or online resources specific to your model for the exact location and instructions.
If the filter is at the front bottom, you may need to remove a panel or access cover to gain access. Use a screwdriver or the necessary tools to remove the panel, taking care not to damage it in the process.
Once you have access to the filter, place a towel or a shallow container beneath it to catch any water that may spill out during the cleaning process.
Open the filter housing and carefully remove the filter. It might be helpful to have a brush or an old toothbrush to gently scrub away any debris or residue that has accumulated on the filter.
Rinse the filter thoroughly under running water to remove any remaining dirt or build-up. If the filter is severely clogged, you may need to soak it in warm water with a mild detergent to help loosen stubborn debris.
While the filter is out, take the opportunity to check the filter housing for any blockages or debris. Use a damp cloth or brush to clean the housing, ensuring that it is free from any obstructions.
Once the filter and housing are clean and dry, reinstall the filter back into its original position. Make sure it is securely fastened and that any panels or access covers are properly and securely reattached.
Finally, plug in the washer machine and run a test cycle to ensure proper functioning. Regularly cleaning the filter will help maintain the efficiency and performance of your washer machine. If you continue to experience issues, proceed to the next step: clearing the pump.
Step 7: Clear the Pump
If your washer machine is not draining properly or producing unusual noises during the draining process, it’s possible that the pump may be clogged or faulty. Cleaning the pump can help resolve these issues. Here’s how to clear the pump:
Start by unplugging the washer machine and ensuring that there is no power supply. Locate the pump, which is usually located at the bottom of the machine, underneath the tub.
Depending on the model, you may need to remove a panel or access cover to access the pump. Refer to the manufacturer’s manual or online resources specific to your model for the exact location and instructions.
Once you have access to the pump, you may notice a small catch or filter cap that can be unscrewed. Place a towel or a shallow container beneath the pump to catch any water that may spill out during the removal process.
Open the catch or filter cap and check for any debris or foreign objects that may be blocking the pump. This can include items such as coins, buttons, or lint. Use a pair of tweezers or needle-nose pliers to carefully remove any visible blockages.
If the pump is completely clogged, you may need to manually remove the water from the tub using a bucket or towels before proceeding. It’s also a good idea to have a wet-dry vacuum on hand to assist with the removal of excess water.
After clearing the visible debris, reach into the pump with your fingers or a small brush to remove any remaining blockages. Take extra caution not to damage the pump or any delicate components.
Once the pump is clear of any debris, reattach the catch or filter cap securely. Ensure that it is properly tightened to avoid any leaks during operation.
Finally, plug in the washer machine and run a test cycle to check if the draining issue has been resolved. If the machine is now draining properly and without noise, the pump cleaning was successful. However, if the problem persists, proceed to the next step: examining the belt.
Step 8: Examine the Belt
If your washer machine is experiencing issues with agitation or spinning, it’s possible that the belt responsible for driving these functions may be worn out, loose, or broken. Checking and examining the belt can help determine if it needs to be replaced. Here’s how to examine the belt:
Begin by unplugging the washer machine and moving it away from the wall to access the back. Locate the belt, which is usually located at the bottom of the machine and is connected to the motor and the drum.
Inspect the belt for any signs of wear, such as fraying, cracks, or stretching. If the belt appears damaged or excessively worn, it may need to be replaced. You can find a replacement belt at an appliance parts store or by contacting the manufacturer for a compatible replacement.
In some cases, the belt may be loose rather than worn out. To check for proper tension, push down on the belt with your finger. It should have some give but should not feel overly loose. If it feels loose, it may need to be adjusted or replaced.
Next, check the belt’s alignment. Ensure that it is properly aligned with the pulleys on the motor and the drum. Misalignment can cause the belt to slip or not engage properly, resulting in agitation or spinning issues.
If the belt is misaligned, you can adjust it by loosening the motor mounting bolts and shifting the motor until the belt is properly aligned. Once aligned, tighten the motor mounting bolts securely.
After examining, adjusting, or replacing the belt, plug in the washer machine and run a test cycle to ensure that the agitation and spinning functions are working correctly. If the problem persists, move on to the next step: checking the motor coupling.
Read more: How To Fix Washer Off Balance
Step 9: Check the Motor Coupling
If your washer machine is not agitating or spinning properly, the issue may lie with the motor coupling. The motor coupling is a small, rubber and plastic component that connects the motor to the transmission. Over time, it can wear out or become damaged, causing the machine to malfunction. Here’s how to check the motor coupling:
Start by unplugging the washer machine and moving it away from the wall to access the back. You may need to remove a panel or access cover to gain access to the motor and motor coupling. Refer to the manufacturer’s manual or online resources specific to your model for the exact location and instructions.
Once you have access to the motor coupling, visually inspect it for any signs of wear, cracking, or damage. If you notice any issues, you will need to replace the motor coupling. You can find a replacement coupling at an appliance parts store or by contacting the manufacturer for a compatible replacement.
Next, test the motor coupling’s functionality. Gently try to rotate the motor and the transmission pulley in opposite directions. If the coupling is intact, both should rotate smoothly. If the motor coupling is worn or broken, you may notice that the motor rotates but the transmission pulley does not, or vice versa.
If the motor coupling is faulty, carefully remove the old coupling by disconnecting it from both the motor and the transmission. Follow the manufacturer’s instructions to properly install the new motor coupling, ensuring a secure connection between the motor and the transmission.
Once the new motor coupling is installed, plug in the washer machine and run a test cycle to confirm that the agitating and spinning functions are now working properly. If the issue persists, proceed to the final step: evaluating the control board.
Step 10: Evaluate the Control Board
If you’ve reached this step and your washer machine is still experiencing issues, it’s time to evaluate the control board. The control board, also known as the main control or electronic control board, is responsible for directing the different functions of the washer machine. If the control board is faulty or malfunctioning, it can cause various problems. Here’s how to evaluate the control board:
Start by unplugging the washer machine and gaining access to the control board. The control board is typically located behind the control panel at the top of the machine. Refer to the manufacturer’s manual or online resources specific to your model for the exact location and instructions.
Visually inspect the control board for any signs of damage, such as burnt marks, loose connections, or blown fuses. If you notice any physical damage, it’s likely that the control board needs to be replaced. Contact the manufacturer or a qualified technician for assistance in obtaining and installing a new control board.
Additionally, check if there are any error codes displayed on the control board. These codes can provide valuable information about the specific problem and may lead to a more accurate diagnosis. Refer to the manufacturer’s manual for a list of error codes and their corresponding meanings.
If there are no visible signs of damage and no error codes displayed, the issue may be related to a faulty component on the control board itself. In this case, it’s best to consult a professional technician or contact the manufacturer for further assistance. They will have the necessary equipment and expertise to diagnose and repair control board issues.
Evaluating the control board can be a complex task, and it often requires specialized knowledge and tools. Don’t hesitate to seek professional help if you’re unsure or uncomfortable with the process. A qualified technician will be able to assess the control board thoroughly and determine the best course of action.
With the evaluation of the control board complete, you have gone through the troubleshooting steps to address common washer machine issues. If the problem persists, it may be time to consider contacting a professional repair service or exploring the possibility of purchasing a new washer machine.
We hope this guide has been helpful in assisting you with resolving the issues with your washer machine. Remember to always prioritize safety and consider seeking professional assistance for complex repairs. Happy washing!
Conclusion
Fixing a washer machine can be a daunting task, but with the right guidance and troubleshooting steps, many common issues can be resolved without the need for professional help or buying a new machine. By following the steps outlined in this guide, you can save time and money by identifying and addressing the problems yourself.
Throughout this article, we covered ten essential steps to help you fix your washer machine. From identifying the problem to evaluating the control board, each step provided valuable insights and instructions to guide you through the troubleshooting process.
Remember to always prioritize safety when working with electrical components. Unplug the machine and take necessary precautions to avoid injuries or accidents. If you’re unsure about any step or uncomfortable with the repairs, it’s best to seek professional assistance.
Regular maintenance of your washer machine, such as cleaning filters and checking hoses, can help prevent issues and prolong the life of your appliance. Additionally, being aware of how to troubleshoot common problems can save you time and frustration in the long run.
If, after following all the steps, the issue still persists, it may be time to consider consulting a professional repair service or exploring the option of purchasing a new washer machine. Sometimes, certain problems require specialized expertise or replacement of major components, which may be best left to professionals.
We hope this guide has been informative and helpful in assisting you with fixing your washer machine. By following the steps and utilizing the tips provided, you can potentially resolve common issues and get your washer machine back up and running smoothly.
Remember, taking care of your washer machine through regular maintenance and timely repairs can contribute to its longevity, improve its performance, and ensure clean and fresh laundry for years to come.
Frequently Asked Questions about How To Fix A Washer Machine
Was this page helpful?
At Storables.com, we guarantee accurate and reliable information. Our content, validated by Expert Board Contributors, is crafted following stringent Editorial Policies. We're committed to providing you with well-researched, expert-backed insights for all your informational needs.


0 thoughts on “How To Fix A Washer Machine”