
Articles
How To Install Metal Fence Post
Modified: August 17, 2024
Learn how to install metal fence posts with our informative articles. Find step-by-step instructions and expert tips for a successful installation.
(Many of the links in this article redirect to a specific reviewed product. Your purchase of these products through affiliate links helps to generate commission for Storables.com, at no extra cost. Learn more)
Introduction
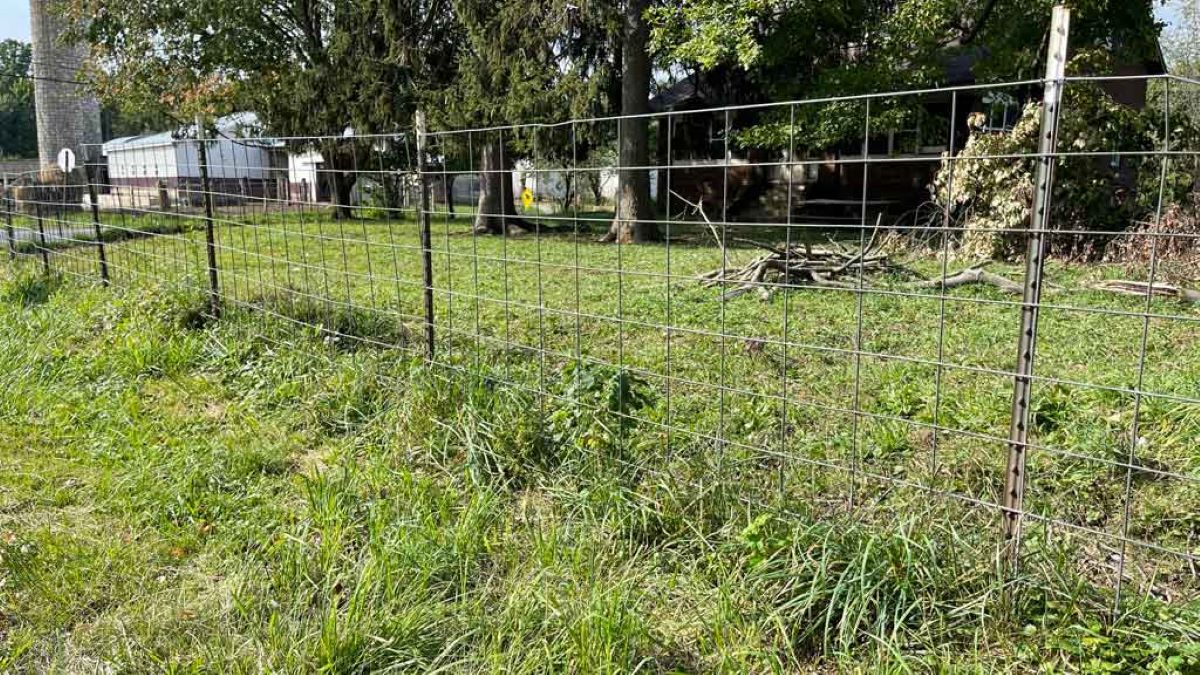
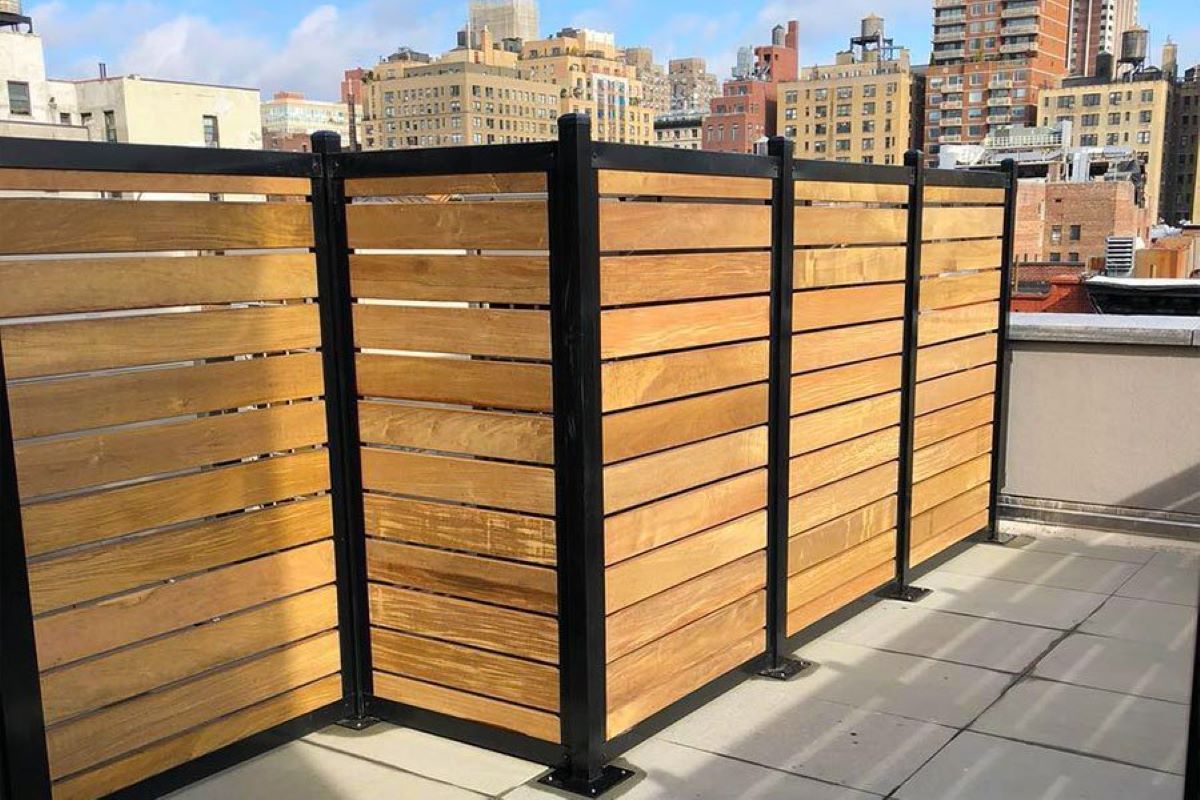
Installing a metal fence can provide both security and aesthetic appeal to your property. Whether you’re looking to enclose your backyard, secure a commercial space, or establish boundaries around your garden, metal fence posts offer durability and strength that can withstand the test of time.
In this comprehensive guide, we will walk you through the step-by-step process of installing metal fence posts. We’ll cover everything from gathering the necessary tools and materials to securing the posts and attaching the fence panels. By following these instructions, you’ll be able to successfully install a metal fence post and create a sturdy and attractive fencing solution for your property.
Before we get started, it’s important to note that different types of metal fence posts may require slightly different installation methods. This guide primarily focuses on the installation of common metal fence posts, such as steel or aluminum. For specific instructions on installing specialized metal fence posts, such as ornamental or wrought iron posts, it is recommended to consult the manufacturer’s guidelines or seek professional assistance.
Now, let’s dive into the process of installing a metal fence post from start to finish!
Key Takeaways:
- Proper preparation is essential for successful metal fence post installation. From gathering tools to determining layout and preparing the ground, attention to detail ensures a sturdy and visually appealing fence.
- Attention to alignment, stability, and finishing touches is crucial. Checking for plumb and level, securing posts with concrete, and adding decorative elements result in a durable and attractive metal fence.
Read more: How To Install Metal Posts For Wood Fence
Step 1: Gather the necessary tools and materials
Before you begin the installation process, it’s important to gather all the tools and materials you’ll need. Having everything prepared in advance will ensure a smooth and efficient installation. Here are the tools and materials you’ll need:
- Post hole digger: This tool is essential for digging the holes where the metal fence posts will be installed. It allows for precise and efficient digging.
- Tape measure: You’ll need a tape measure to accurately measure and mark the locations for the fence posts. This will help ensure proper alignment and spacing.
- Level: A level is necessary to ensure that the fence posts are installed vertically and are not leaning. It will help you achieve a straight and professional-looking fence.
- Concrete mix: Concrete will be used to secure the metal fence posts in the ground. Make sure to choose a high-quality concrete mix that is suitable for outdoor use and can withstand the elements.
- Water source: You’ll need access to water in order to mix the concrete properly. Make sure you have a nearby water source or a hose that can reach the installation area.
- Screws or brackets: Depending on the type of metal fence panels you have, you’ll need screws or brackets to secure them to the metal fence posts.
- Post caps or decorative accessories (optional): If you want to add a finishing touch to your metal fence, you may choose to install post caps or other decorative accessories. These can enhance the appearance of your fence and add a touch of personal style.
In addition to these tools and materials, it’s important to ensure you have proper safety equipment, such as gloves and safety goggles, to protect yourself during the installation process. Safety should always be a top priority when working with tools and construction materials.
By having all the necessary tools and materials prepared, you’ll be ready to tackle the installation process with confidence and efficiency.
Step 2: Determine the location and layout
Before you start digging the post holes, it’s crucial to determine the precise location and layout of your metal fence. This step involves assessing the property boundaries and finalizing the fence layout.
The first step is to assess the property boundaries. Review your property survey or consult the property lines documentation to identify the exact boundaries. This will ensure that you install your fence within your property boundaries and avoid any potential disputes with neighbors.
Next, you’ll need to finalize the layout of your fence. Consider the purpose of your fence and your specific needs. Are you installing the fence for privacy, security, or purely decorative purposes? This will help determine the height and design of your fence.
Once you have determined the purpose, think about the placement of the fence. Are there any specific areas of your property that require more privacy or additional security? Are there any existing structures, trees, or obstacles that you need to take into account?
Use a tape measure to mark the locations where the fence posts will be installed. Measure and mark the distances between each post, ensuring an equal spacing between them. This will help you achieve a consistent and visually appealing fence.
Consider using stakes and string to outline the fence layout on the ground. This will give you a visual representation of how the fence will look and allow you to make any necessary adjustments before moving forward with the installation.
Remember to consider any local building codes or regulations regarding fence installation. Some areas may have restrictions on the height or material of the fence, so it’s important to comply with these regulations to avoid any potential issues.
By assessing the property boundaries and finalizing the fence layout in advance, you’ll have a clear plan in place before you start digging the post holes. This will help ensure a smooth and successful installation process.
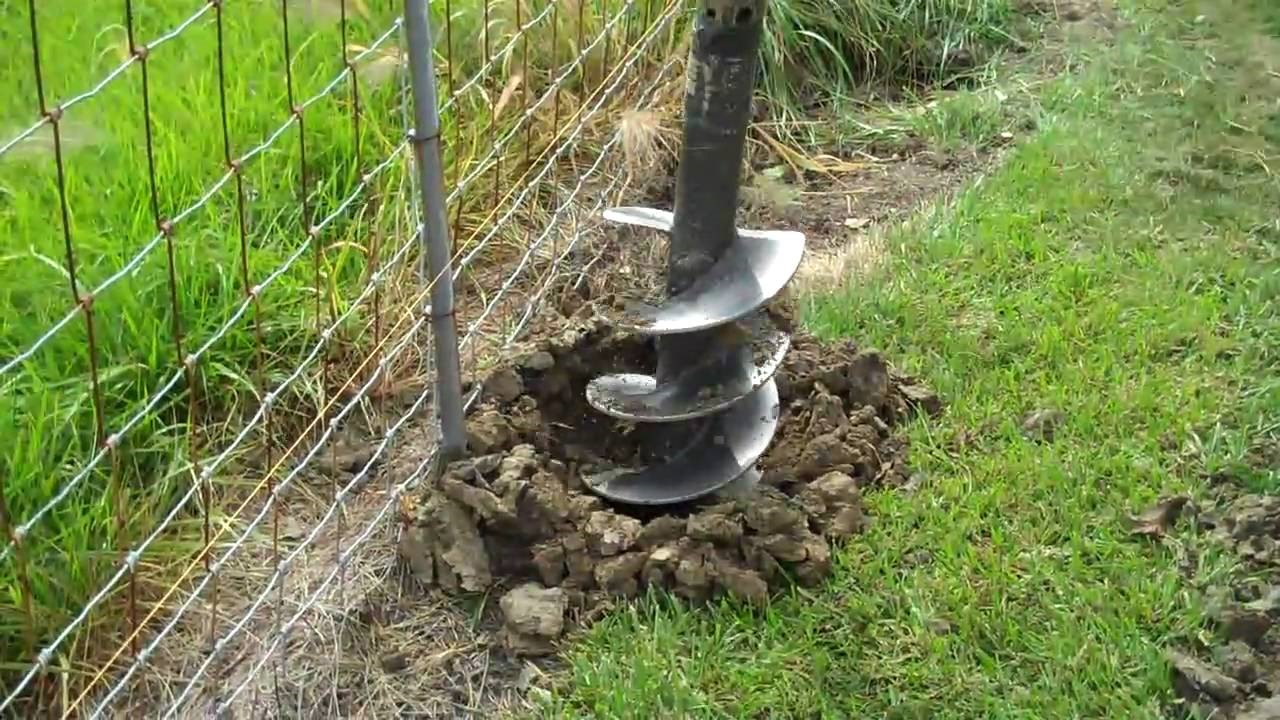
Step 3: Prepare the ground for installation
Once you have finalized the layout of your metal fence, it’s time to prepare the ground for installation. This step involves clearing the area, measuring and marking the post locations, and digging the post holes.
The first task is to clear the area where the fence will be installed. Remove any obstacles, such as rocks, debris, or vegetation, that may obstruct the installation process. Clearing the area will provide a clean and even surface for the installation of the fence.
Next, use a tape measure and the markings from the previous step to determine the precise locations of the fence posts. Measure the distance from the boundary or the previous post to ensure accuracy and consistency.
Mark the post locations on the ground using stakes or paint. This will serve as a guide when digging the post holes and help ensure that the posts are installed in the correct positions.
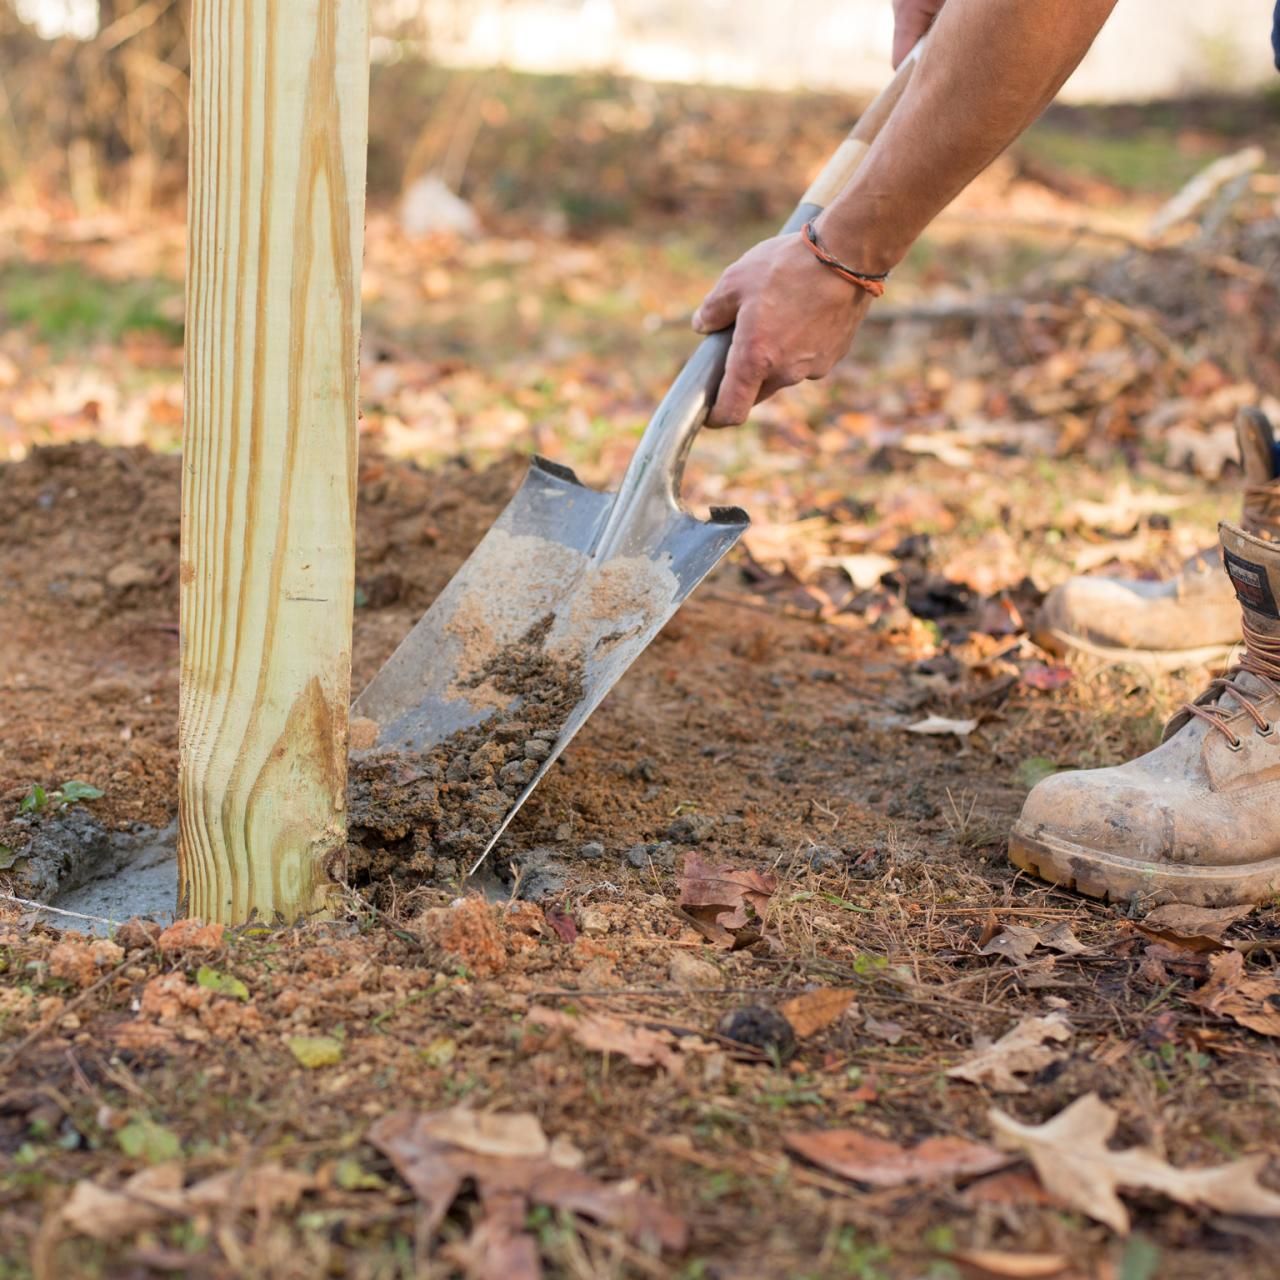
Now it’s time to dig the post holes. Using a post hole digger, follow the marked locations and begin digging. The depth and diameter of the holes will depend on the specific requirements of your metal fence posts. Check the manufacturer’s guidelines for the recommended dimensions.
As you dig, periodically check the depth of the holes using a tape measure and adjust if necessary. The depth of the holes should be sufficient to accommodate one-third of the length of the metal fence posts, plus an additional few inches for gravel and concrete.
Ensure that the post holes are evenly spaced and aligned by using a level. This will help maintain a straight and visually pleasing fence.
It’s important to note that the number of post holes and their spacing will depend on the length of your metal fence panels and the specific design of your fence. Refer to your fence plans or the manufacturer’s guidelines for the recommended spacing.
By properly preparing the ground, measuring and marking the post locations, and digging the post holes, you’ll have a solid foundation for the installation of your metal fence posts.
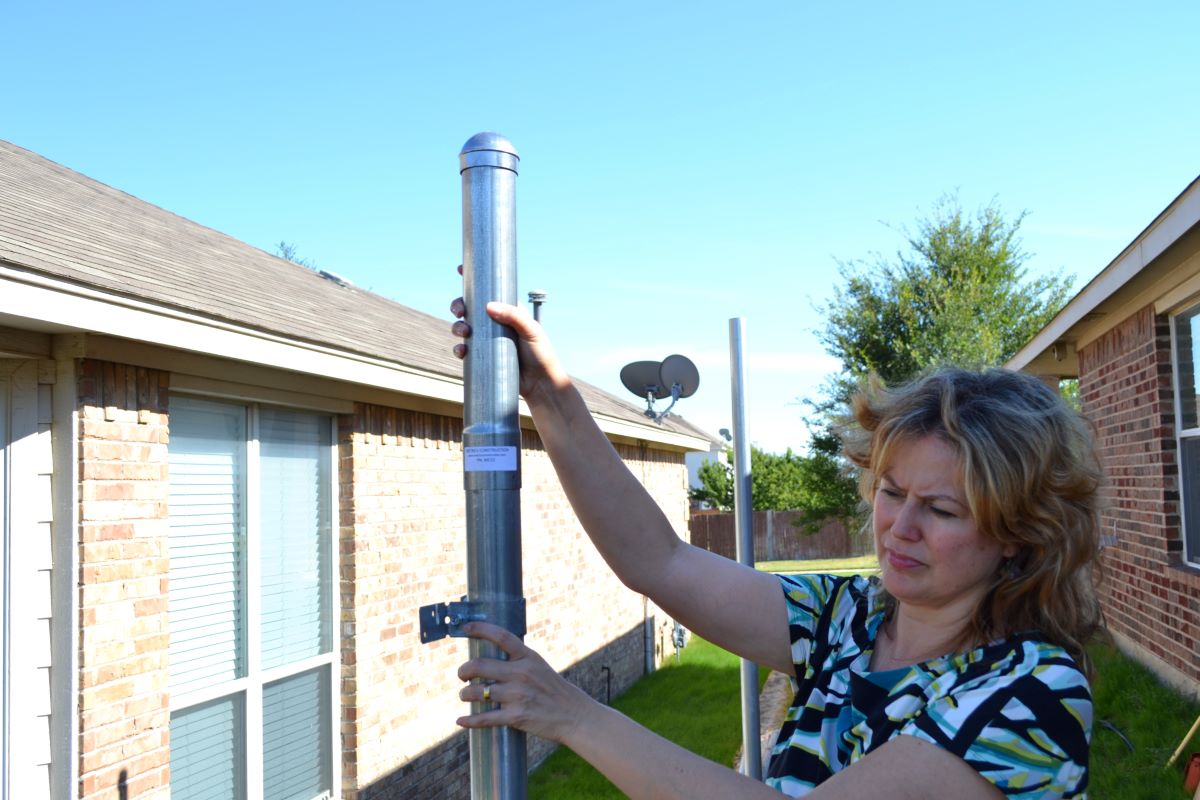
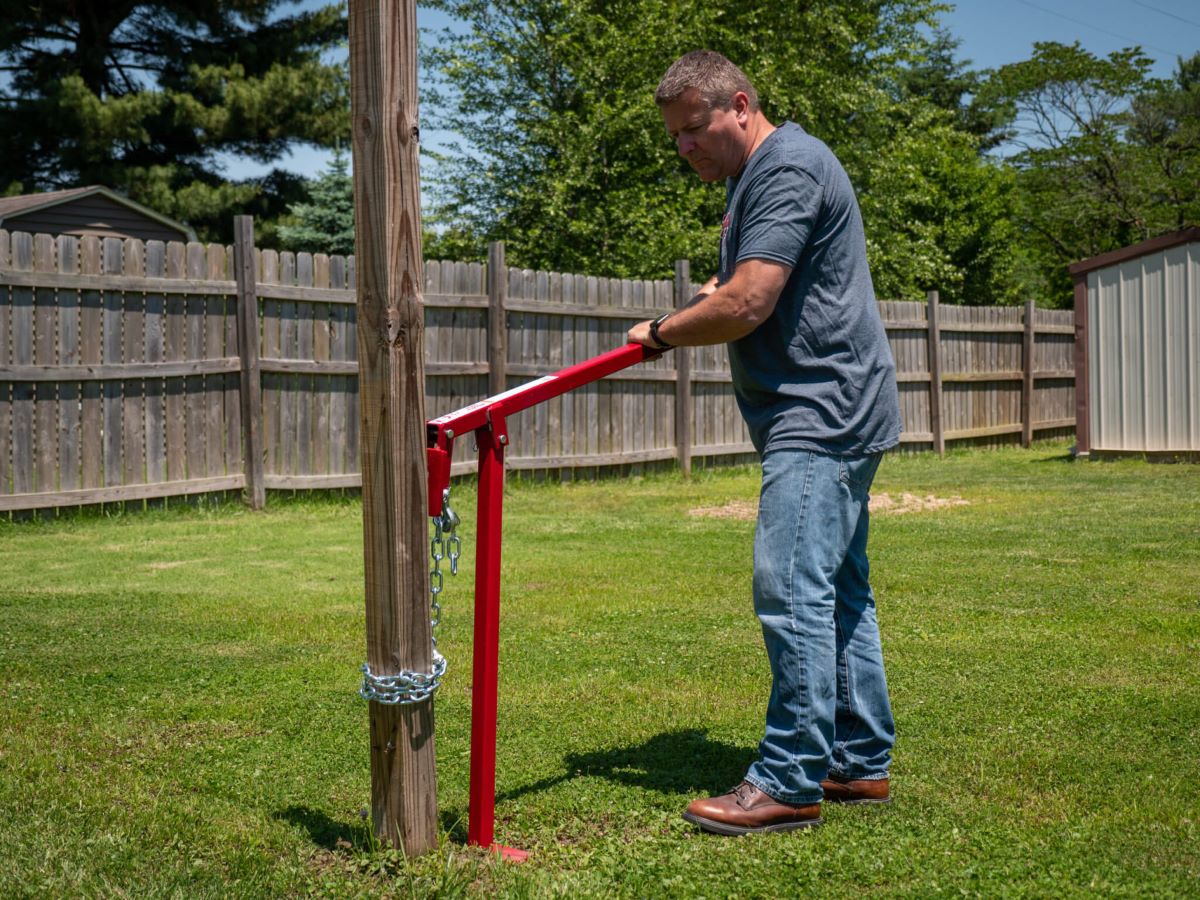
Step 4: Install the metal fence posts
With the ground prepared and the post holes dug, it’s time to move on to the installation of the metal fence posts. This step involves inserting the first post and continuing to install the remaining posts.
Begin by inserting the first metal fence post into the first post hole. Ensure that the post is plumb (vertically straight) and level (horizontally even). Use a level to double-check the alignment and make any necessary adjustments.
Once the first post is properly aligned, backfill the hole with gravel or pea gravel. This will provide stability and drainage for the post. Tamp down the gravel using a tamper or the end of a wooden post to compact it.
Move on to the next post hole and repeat the process. Insert the metal fence post into the hole, ensuring it is plumb and level. Backfill the hole with gravel and tamp it down. Continue this process for all remaining posts.
Make sure to double-check the alignment and spacing of each post as you go along. This will help ensure that your fence is straight, visually appealing, and properly secured.
Depending on the design of your fence and the number of panels, you may need additional posts to provide support. Follow the manufacturer’s guidelines or your fence plans for the recommended placement of these additional posts.
Keep in mind that some metal fence posts may require brackets or additional hardware for installation. Refer to the manufacturer’s instructions for the specific requirements of your fence posts.
By carefully inserting each metal fence post and ensuring proper alignment and stability, you’ll create a strong foundation for your fence and ensure its durability for years to come.
When installing metal fence posts, make sure to dig the post holes to the recommended depth and use a level to ensure the posts are straight before securing them in place. This will help ensure a sturdy and long-lasting fence.
Read more: How To Install Fence Post Without Concrete
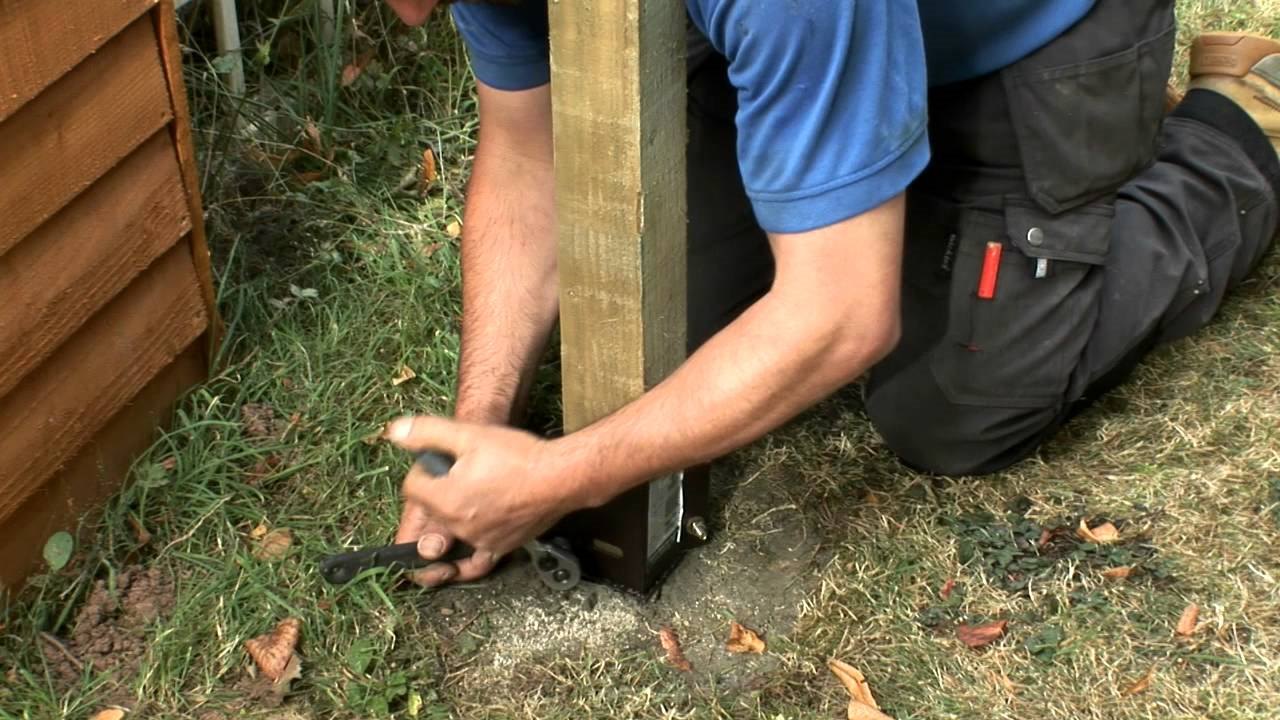
Step 5: Secure the posts
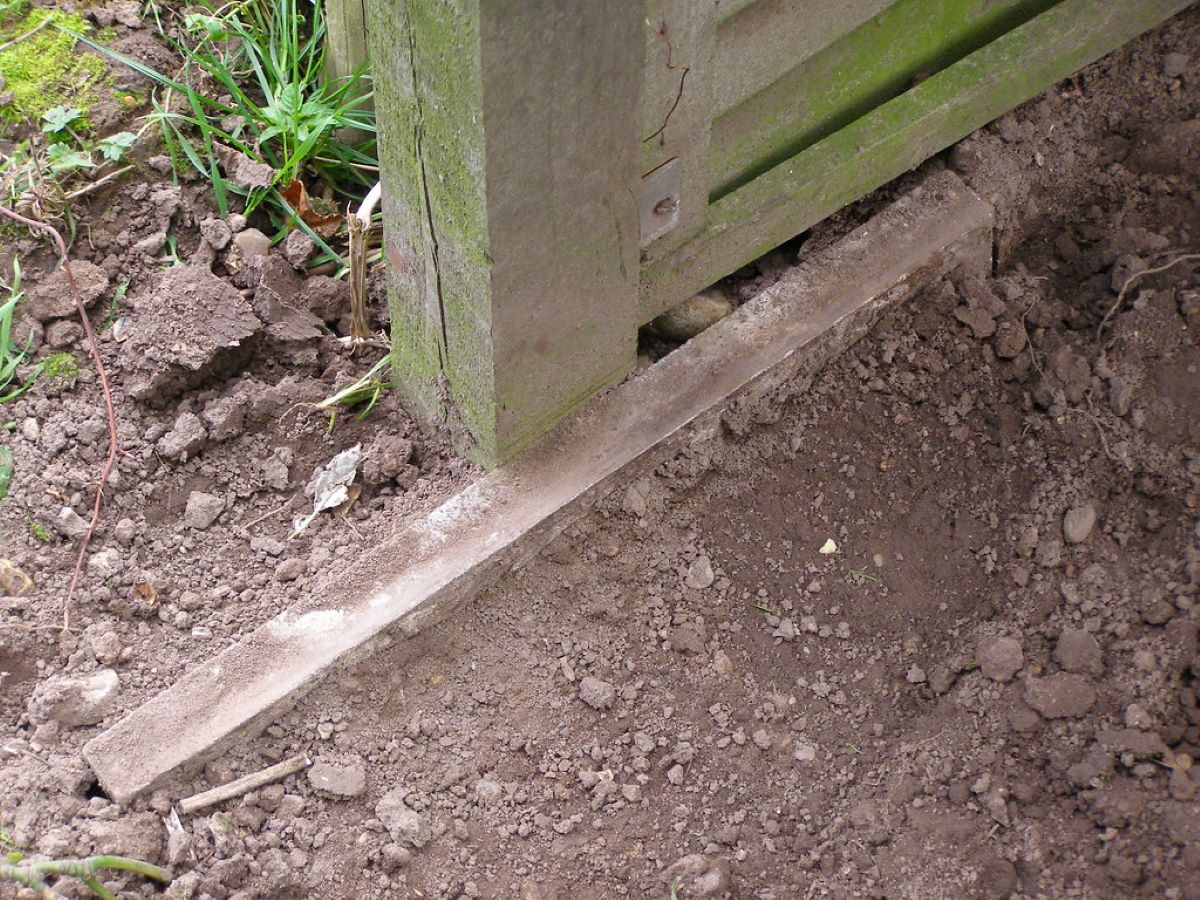
Now that the metal fence posts are installed, it’s important to secure them properly to ensure the stability and longevity of your fence. This step involves checking for plumb and level and backfilling the post holes with concrete.
Take a moment to check each post for plumb and level. Plumb refers to the vertical alignment of the post, while level refers to the horizontal alignment. Use a level to ensure that each post is straight both vertically and horizontally. Make any necessary adjustments by gently tapping the posts with a mallet.
Once you have confirmed that all posts are plumb and level, it’s time to backfill the post holes with concrete. This will provide additional support and strength to the fence posts.
Prepare the concrete mixture according to the manufacturer’s instructions. It’s crucial to use the right proportions of water and concrete mix to ensure the proper consistency and strength of the concrete.
Pour the concrete mixture into each post hole, ensuring that it completely fills the hole. Use a shovel or trowel to consolidate the concrete and remove any air pockets. Smooth the surface of the concrete to create a neat and even finish.
As the concrete sets, double-check the alignment of the posts to ensure that they haven’t shifted. Make any necessary adjustments immediately to maintain the straightness of the fence.
Allow the concrete to fully cure according to the manufacturer’s instructions. This process usually takes several days. During this time, it’s important to protect the posts from any disturbance or heavy loads that could compromise their stability.
Once the concrete is fully cured, the metal fence posts will be securely and permanently anchored in the ground, providing the necessary support for your fence.
By checking for plumb and level and backfilling the post holes with concrete, you’ll ensure that your fence posts are properly secured and ready for the next step of the installation process.
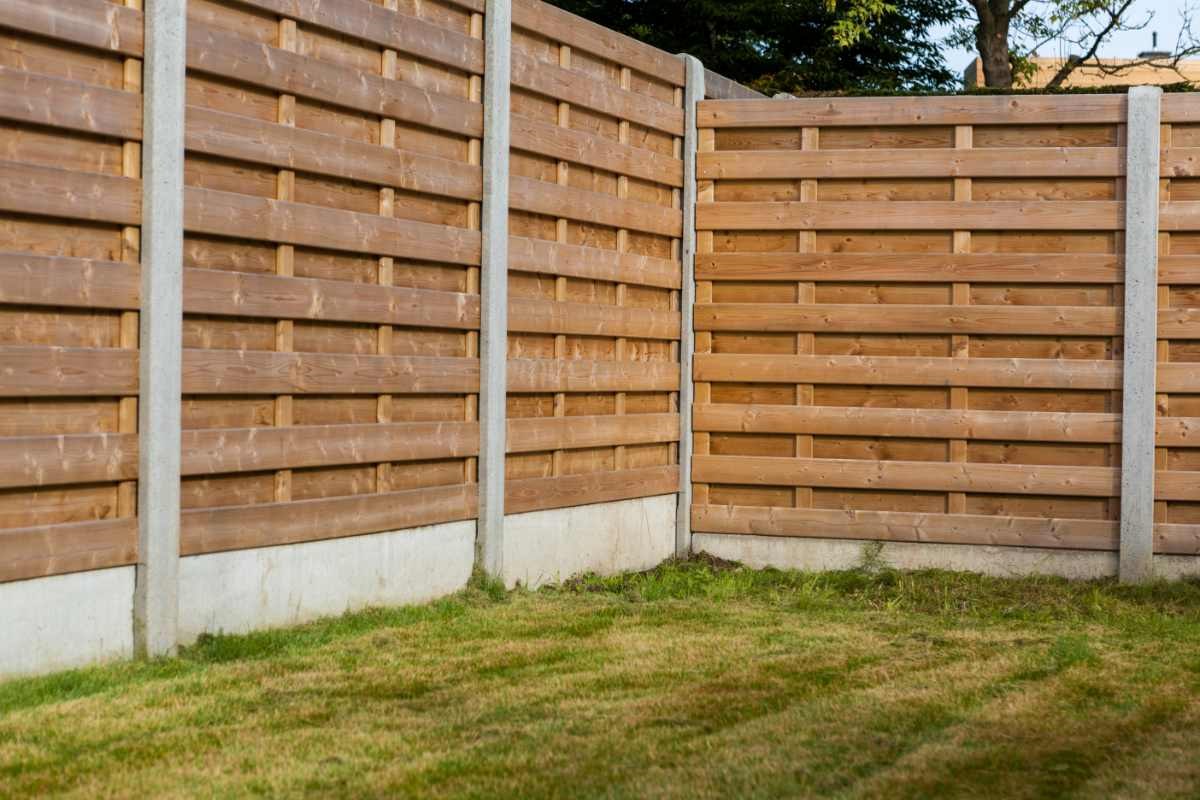
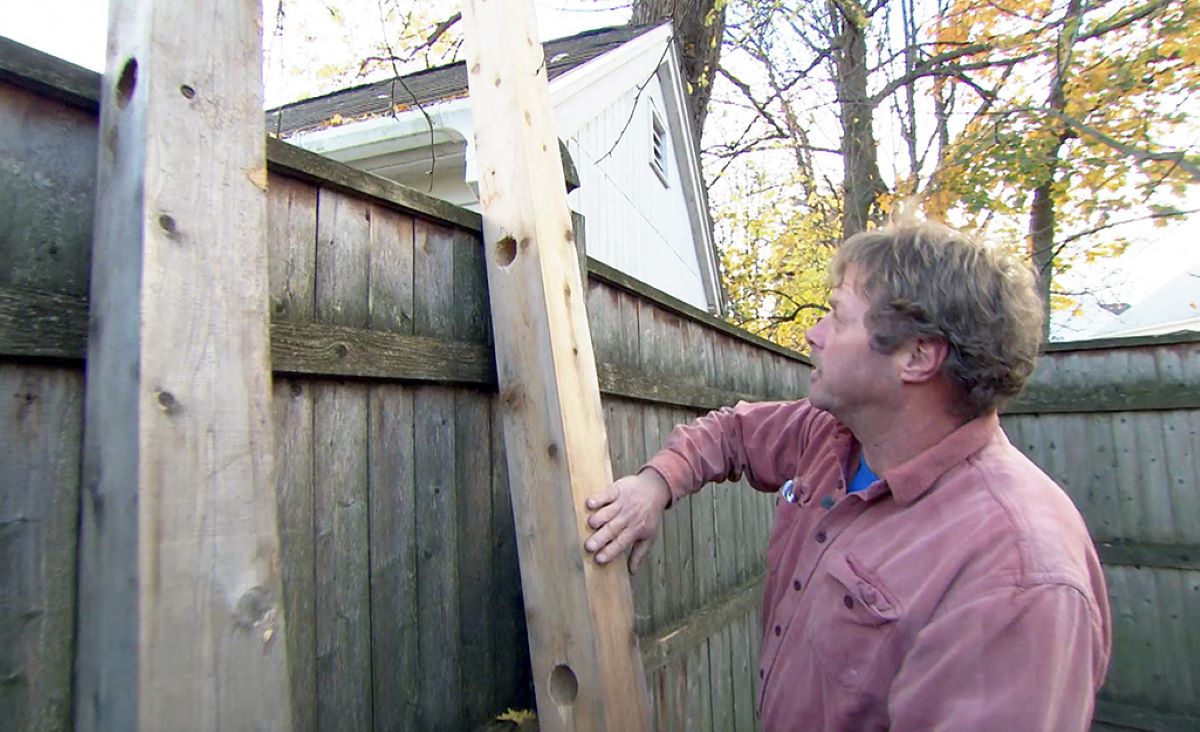
Step 6: Attach the fence panels
With the metal fence posts securely in place, it’s time to attach the fence panels. This step involves sliding the panels into the posts and securing them with screws or brackets.
Start by carefully sliding the first fence panel into the slots or brackets on the metal fence posts. Ensure that the panel is properly aligned and level. Use a level to make any necessary adjustments to ensure a straight and even fence.
Once the first panel is in place, secure it to the metal fence posts using screws or brackets. Follow the manufacturer’s instructions for the recommended method of attachment. If using screws, make sure to use ones that are suitable for outdoor use and can withstand exposure to weather conditions.
Continue sliding the remaining fence panels into place and securing them to the metal fence posts. Ensure consistent spacing between the panels for a visually appealing and functional fence.
Pay attention to any specific instructions from the manufacturer regarding the installation of the fence panels. Some panels may require additional hardware or specific techniques for attachment. Always refer to the manufacturer’s guidelines to ensure a proper installation.
If your fence panels are designed to interlock, make sure that each panel is properly connected to the adjacent panels. This will provide added stability and strength to the fence.
As you attach each panel, periodically check for any gaps or misalignments. Adjust the panels as necessary to ensure a seamless and uniform appearance.
Finally, take the time to inspect the entire fence once all the panels are attached. Make sure that all panels are secure and properly aligned. This will help you identify any areas that may require further adjustments or additional support.
By sliding the fence panels into the metal fence posts and securely attaching them, you will create a cohesive and sturdy fence that will serve its intended purpose.
Step 7: Finishing touches
After successfully attaching the fence panels, it’s time to add the final touches to your metal fence installation. This step involves trimming the posts to the desired height and adding post caps or other decorative accessories.
Start by measuring the desired height for your fence posts. Use a tape measure to determine the appropriate height, keeping in mind any local regulations or personal preferences. Mark the height on each post.
Using a saw suitable for cutting metal, carefully trim the posts to the marked height. Take precautions to ensure your safety during this process. Use the appropriate safety equipment, such as goggles and gloves.
Once the posts are trimmed, take a moment to inspect each one for any sharp edges or burrs. Use a file or sandpaper to smooth out any rough areas, ensuring a clean and safe finish.
Now it’s time to add decorative touches to your metal fence. Consider installing post caps on the top of each post. Post caps not only provide a visually appealing element but also protect the tops of the posts from damage and moisture. Choose post caps that suit your style and complement the overall design of your fence.
In addition to post caps, you can also enhance your metal fence with other decorative accessories such as ornamental scrolls, finials, or lattice inserts. These elements can add a touch of elegance and personalization to your fence.
Remember to follow the manufacturer’s instructions when attaching decorative accessories. Use the recommended hardware and techniques to ensure proper installation and durability.
Finally, take a step back and admire your finished metal fence. Walk around the perimeter to ensure that everything is secure and visually appealing. Make any final adjustments or additions as necessary.
By trimming the posts to the desired height and adding post caps or other decorative accessories, you’ll add the perfect finishing touches to your metal fence, creating a polished and attractive look.
Conclusion
Congratulations! You have successfully completed the installation of your metal fence posts. By following the step-by-step process outlined in this guide, you have created a sturdy and visually appealing fencing solution for your property.
Throughout the installation process, you gathered the necessary tools and materials, determined the location and layout of your fence, prepared the ground, installed the metal fence posts, secured them, attached the fence panels, and added the finishing touches.
It’s important to remember that proper installation is crucial to the durability and longevity of your metal fence. Taking the time to ensure accurate measurements, vertical and horizontal alignment, and secure attachment will result in a professional-looking and functional fence that will withstand the test of time.
Regular maintenance is key to preserving the appearance and functionality of your metal fence. Inspect the fence periodically for any signs of damage, such as loose panels or rust, and make any necessary repairs promptly. Clean the fence as needed to remove dirt, debris, or mildew.
Lastly, always consult the manufacturer’s instructions and local regulations when installing any type of fence. Different types of metal fence posts may have specific requirements and guidelines that should be followed for optimal results and compliance with building codes.
Now you can enjoy the benefits of your newly installed metal fence – whether it’s for added security, privacy, or simply to enhance the overall aesthetic of your property. Sit back, relax, and take pride in creating a beautiful and functional outdoor space with your metal fence.
Remember, if you’re ever unsure about any steps or need additional assistance, don’t hesitate to consult a professional or seek guidance. Proper installation is essential for a successful metal fence project.
Thank you for using this comprehensive guide. We hope it has been informative and helpful in your metal fence installation journey. Here’s to enjoying the beauty and functionality of your metal fence for many years to come!
Now that you've mastered installing metal fence posts, why not take your outdoor space to the next level? If you're looking for creative and practical ideas to enhance your garden's appeal, our article on garden fence ideas offers a wealth of inspiration. From simple enhancements to elaborate designs, this guide provides valuable insights into transforming any garden into a visually stunning landscape. Don't miss out on these exciting opportunities to beautify your outdoor living area.
Frequently Asked Questions about How To Install Metal Fence Post
Was this page helpful?
At Storables.com, we guarantee accurate and reliable information. Our content, validated by Expert Board Contributors, is crafted following stringent Editorial Policies. We're committed to providing you with well-researched, expert-backed insights for all your informational needs.

0 thoughts on “How To Install Metal Fence Post”