Articles
How To Set Wooden Fence Posts
Modified: October 18, 2024
Learn how to set wooden fence posts with this comprehensive guide. Our articles provide step-by-step instructions and tips for a successful installation.
(Many of the links in this article redirect to a specific reviewed product. Your purchase of these products through affiliate links helps to generate commission for Storables.com, at no extra cost. Learn more)
Introduction
Building a wooden fence can add beauty, privacy, and security to your property. One of the crucial steps in constructing a durable and sturdy fence is setting the wooden fence posts properly. The posts serve as the foundation, providing stability and support to the entire fence structure.
In this article, we will guide you through the process of setting wooden fence posts, ensuring that your fence stands the test of time. From determining the post placement to securing them with concrete or gravel, we will cover all the necessary steps for a successful installation.
Before getting started, it is essential to gather all the required tools and materials. You will need a measuring tape, string or chalk line, post hole digger or auger, shovel, level, wood preservative or sealant, concrete or gravel, and of course, the wooden fence posts and panels.
So let’s dive in and discover how to set wooden fence posts properly, ensuring a strong and durable fence that will enhance the aesthetics and functionality of your property.
Key Takeaways:
- Properly setting wooden fence posts is crucial for a durable and sturdy fence. Follow the steps outlined in this article to ensure stability, longevity, and a visually appealing fence that enhances your property.
- From determining post placement to securing with concrete or gravel, each step plays a vital role in creating a strong foundation for your fence. Take the time and effort to set your wooden fence posts properly for a beautiful, sturdy, and long-lasting fence.
Read more: How To Secure Fence Post
Step 1: Determine the post placement
Before starting the installation process, it’s crucial to determine the proper placement of the wooden fence posts. The spacing between the posts will depend on the type of fence panels or rails you will be using. Generally, the posts are placed 6 to 8 feet apart for standard fence panels, but it’s best to consult the manufacturer’s instructions for the specific spacing recommendation.
Using a measuring tape, mark the location of each post on the ground. Ensure that the distance between each post is consistent to maintain a uniform appearance. To ensure straight lines, you can use a string or chalk line to connect the marked spots.
Additionally, consider the terrain of your property. If the ground is sloped or uneven, you may need to adjust the placement of the posts to accommodate the landscape. Making these adjustments early on will save you time and effort in the later stages of the installation process.
Take the time to check with your local municipality or homeowner’s association to determine any regulations or permits required for building a fence. It’s important to ensure that you comply with any guidelines in your area to avoid any legal issues.
Once you have determined the proper post placement and obtained any necessary permits, you can move on to the next step of gathering the tools and materials required for the installation.
Step 2: Gather necessary tools and materials
Before you begin setting the wooden fence posts, it’s essential to gather all the necessary tools and materials. Having everything prepared in advance will streamline the installation process and ensure that you have everything you need.
Here are the tools and materials you will need:
- Measuring tape: To accurately measure the distance between each post and ensure proper spacing.
- String or chalk line: Used to create straight lines and maintain consistent placement of the posts.
- Post hole digger or auger: Needed to dig the holes for the fence posts. You can choose between a manual post hole digger or a power auger, depending on your preference and the size of the project.
- Shovel: Used to remove soil and debris from the post holes.
- Level: Essential for ensuring that the fence posts are straight and level during the installation process.
- Wood preservative or sealant: Applying a preservative or sealant to the bottom of the wooden fence posts will help protect them from moisture and prolong their lifespan.
- Concrete or gravel: Depending on your preference and local regulations, you can use either concrete or gravel to secure the fence posts in the ground and provide stability. Concrete offers a more permanent and sturdy solution, while gravel allows for easier removal or adjustment if needed.
- Wooden fence posts and panels: Purchase high-quality, rot-resistant wooden posts and panels that are suitable for your fence design and requirements.
Make sure to have all the tools and materials readily available at the start of the installation process. This will save you from any unnecessary delays or interruptions.
Once you have gathered all the necessary tools and materials, you are ready to move on to the next step: digging the post holes.
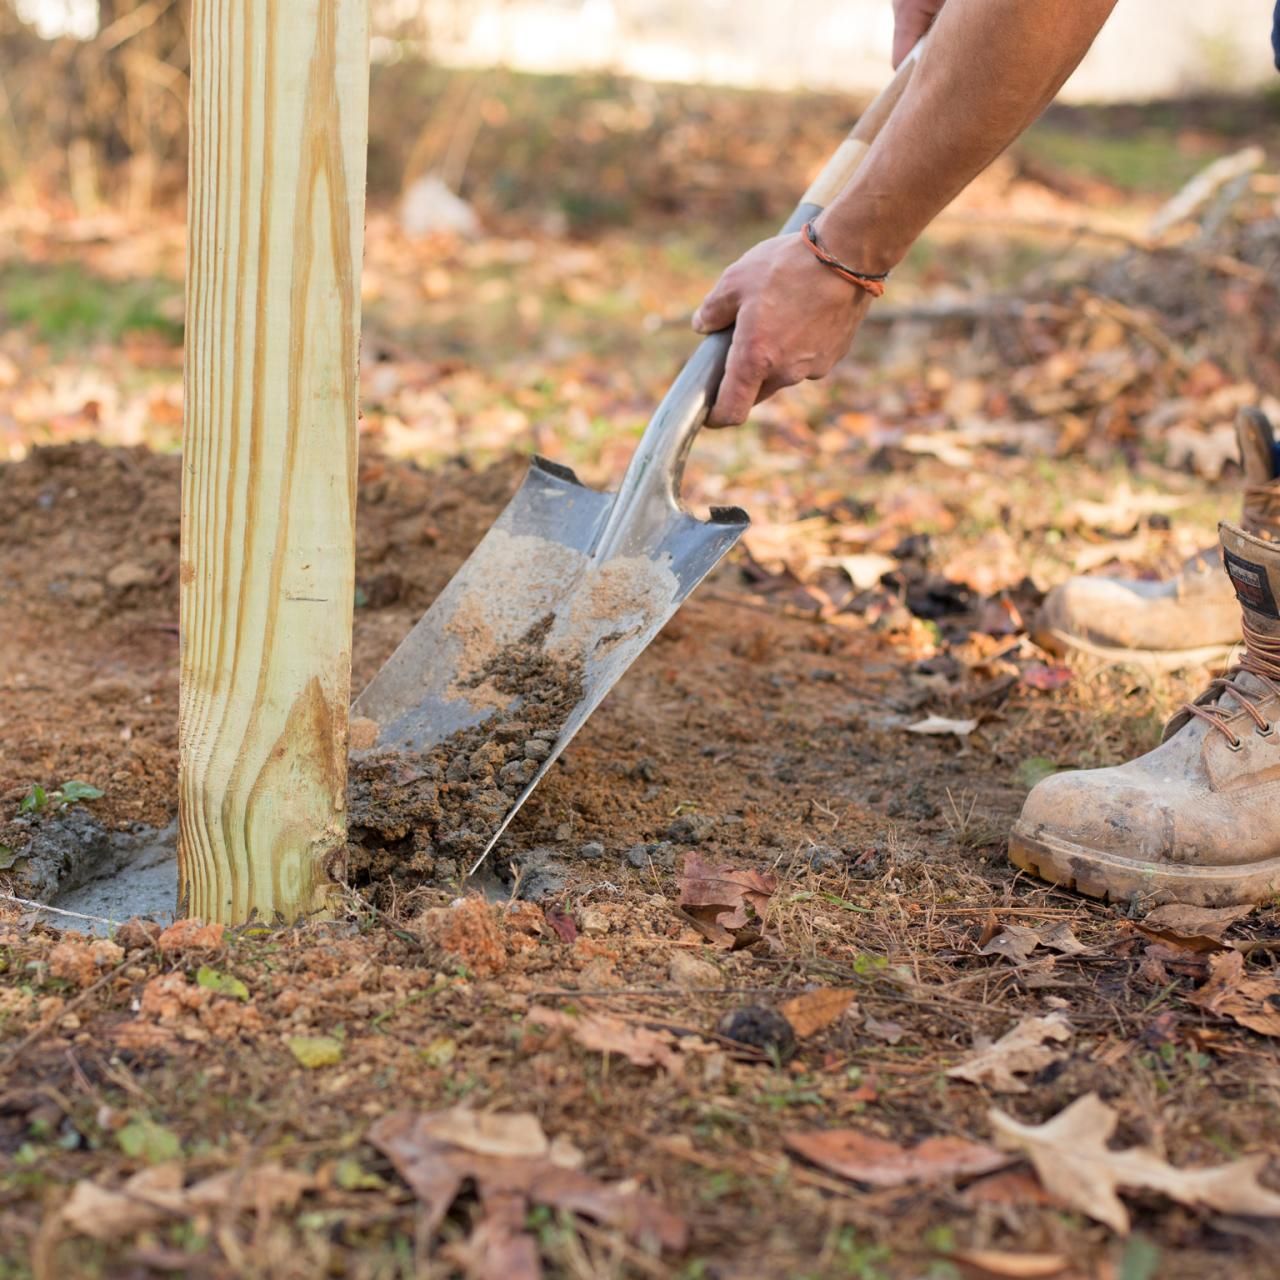
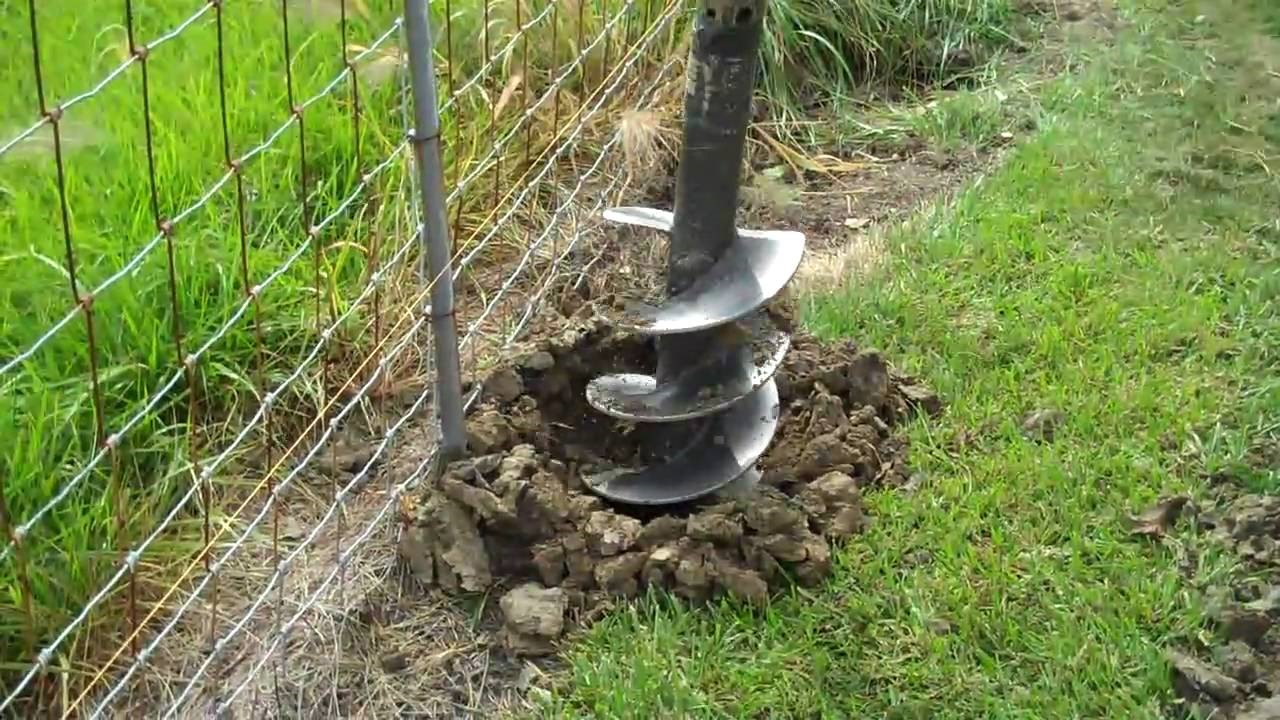
Step 3: Dig the post holes
Now that you have determined the post placement and gathered all the necessary tools and materials, it’s time to start digging the post holes. The size and depth of the holes will depend on the size of your wooden fence posts and the type of soil you have.
Here’s how to dig the post holes:
- Using the post hole digger or auger, start by digging the first hole at the marked location. Make sure the hole is wide enough to accommodate the base of the wooden fence post.
- Continue digging the remaining post holes along the marked line, maintaining consistent spacing between each hole.
- The depth of the hole should be approximately one-third the length of the fence post. For example, if your fence post is 6 feet tall, the hole should be about 2 feet deep.
- As you dig, periodically use the shovel to remove any soil or debris from the hole. This will prevent the post from sitting on uneven ground, ensuring stability.
- Ensure that the bottom of each hole is level and flat. If the soil is soft or loose, you may need to add some gravel or sand to create a stable base for the post.
It’s important to take your time while digging the post holes, ensuring that they are the correct size and depth. This will provide a solid foundation for your fence and prevent any future shifting or leaning.
Once you have finished digging the post holes, you are ready to move on to the next step: setting the wooden fence posts.
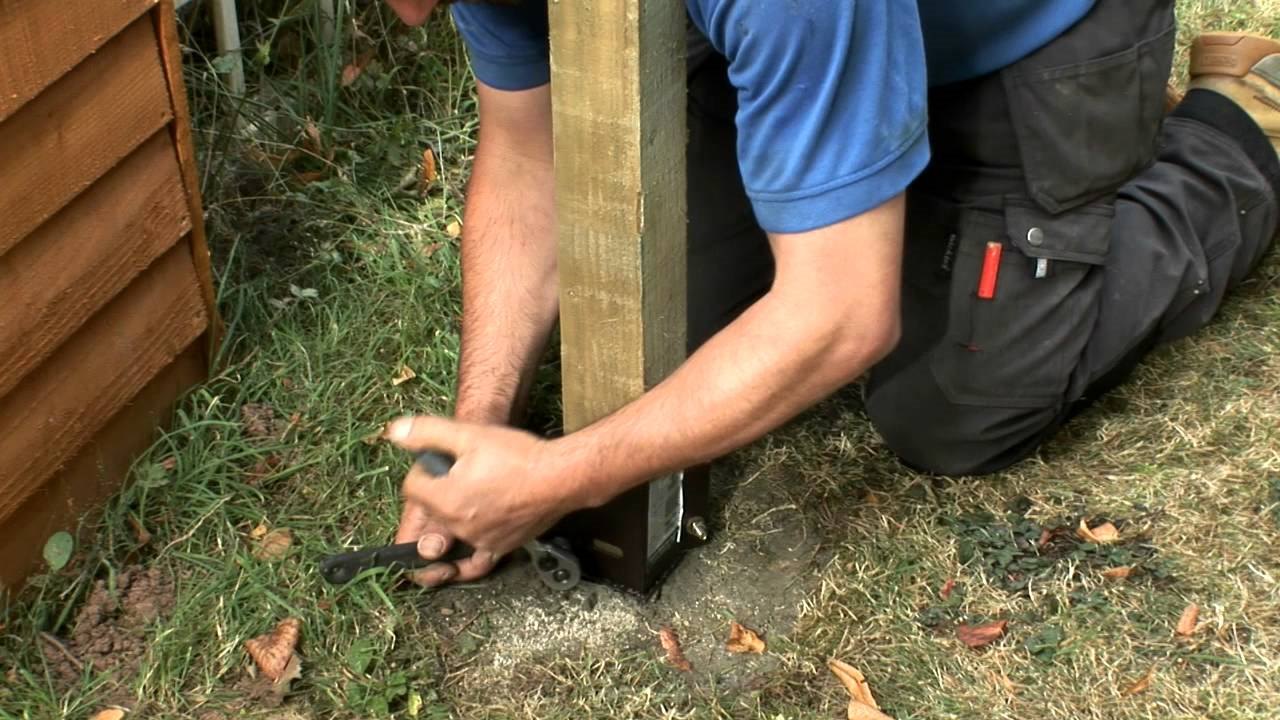
Step 4: Set the wooden fence posts
Now that you have prepared the post holes, it’s time to set the wooden fence posts. This step is crucial as it determines the stability and durability of your fence. Follow these steps to properly set the posts:
- Apply a coat of wood preservative or sealant to the bottom of each fence post. This will protect the wood from moisture and prolong its lifespan.
- Place one wooden fence post into its designated hole, ensuring that it is centered and upright. Use a level to confirm that the post is perfectly vertical.
- If needed, have a helper hold the post in place while you fill the hole with soil to temporarily secure the post.
- Repeat the process for each remaining fence post, ensuring they are all aligned and upright.
- Double-check the alignment and spacing of the fence posts using a tape measure and string or chalk line. Make any necessary adjustments before proceeding to the next step.
Setting the wooden fence posts properly is essential to maintain the integrity and stability of the fence. Take the time to ensure that each post is positioned correctly before moving on to the next step.
Once you have set all the fence posts, you are ready to secure them in place using concrete or gravel. This will provide additional support and stability for your fence. Let’s move on to the next step: securing the posts.
When setting wooden fence posts, make sure to dig the holes at least one-third the length of the post and use gravel at the bottom for drainage. Also, use a level to ensure the posts are straight before securing them in place.
Read more: How To Extend Fence Posts
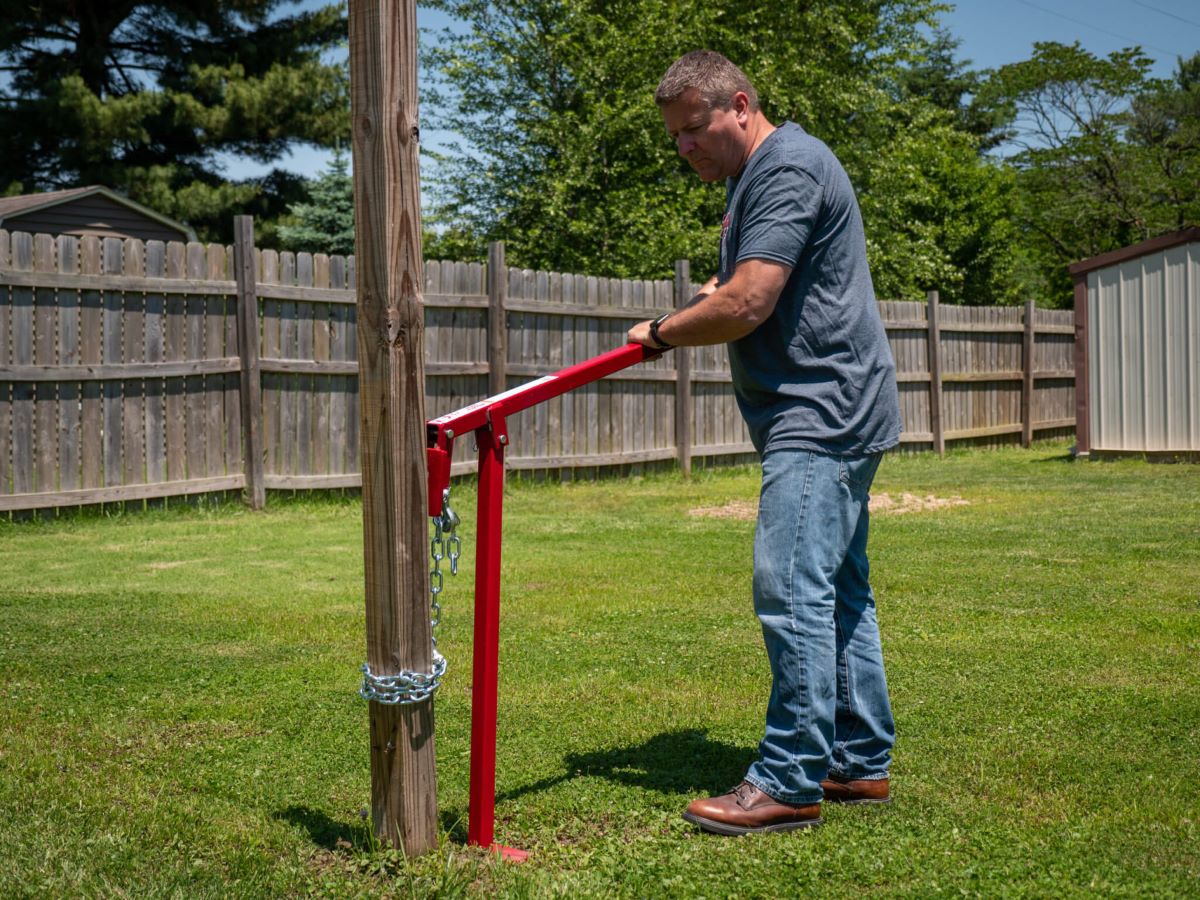
Step 5: Secure the posts with concrete or gravel
Securing the fence posts with either concrete or gravel is an important step to ensure the stability and longevity of your wooden fence. The method you choose will depend on your personal preference, local regulations, and the specific requirements of your fence design.
Concrete:
Using concrete is a popular and durable option for securing fence posts. Follow these steps to secure the posts with concrete:
- Prepare the concrete mix according to the manufacturer’s instructions. Typically, you will need to mix the concrete with water in a wheelbarrow or large bucket.
- Fill each post hole with the concrete mix, ensuring that it completely surrounds the base of the wooden fence post.
- Use a level to ensure that each post is still upright and aligned correctly. Make any adjustments as necessary.
- Allow the concrete to dry and cure according to the manufacturer’s instructions before moving on to the next step. This can take anywhere from 24 to 48 hours.
Gravel:
If you prefer a more flexible and removable option, you can choose to secure the fence posts with gravel. Here’s how:
- Fill each post hole with gravel, ensuring that it reaches about one-third of the way up the hole.
- Tamp the gravel down firmly using a tamper or the back of a shovel to create a stable base for the posts.
- Check the alignment and stability of each post using a level. Make any necessary adjustments.
Whether you choose concrete or gravel, securing the fence posts will provide additional stability and ensure that your wooden fence remains upright and secure for years to come.
Now that you have secured the fence posts, you can proceed to the next step: allowing the concrete to dry (if applicable).
Step 6: Allow the concrete to dry (if applicable)
If you have chosen to secure your fence posts with concrete, it’s essential to allow the concrete to dry and cure properly before proceeding with the installation of the fence panels or rails. This step ensures the stability and strength of the posts.
The drying time for concrete can vary depending on factors such as temperature, humidity, and the specific concrete mix used. It is essential to follow the manufacturer’s instructions for drying and curing times.
Here are some general guidelines for allowing the concrete to dry:
- Avoid applying any pressure to the fence posts until the concrete has dried completely. This includes leaning against or attaching any weight to the posts.
- Protect the concrete from excessive moisture or rainfall during the drying period. Covering the concrete with plastic or a tarp can help prevent water from seeping into the mix.
- Keep the area around the fence posts clear to allow for proper airflow and drying.
- Monitor the concrete’s drying progress by checking for signs of hardness. You can lightly tap the surface of the concrete with a tool or your fingers. If it feels solid and no longer damp, it may be ready for the next step.
- Consult the manufacturer’s instructions or a concrete professional for specific drying times based on the type of concrete mix used.
Allowing the concrete to dry properly will ensure that your fence posts are solidly set in place, providing the necessary support for the fence panels or rails.
Once the concrete is fully dried, you can move on to the next step: attaching the fence panels or rails.
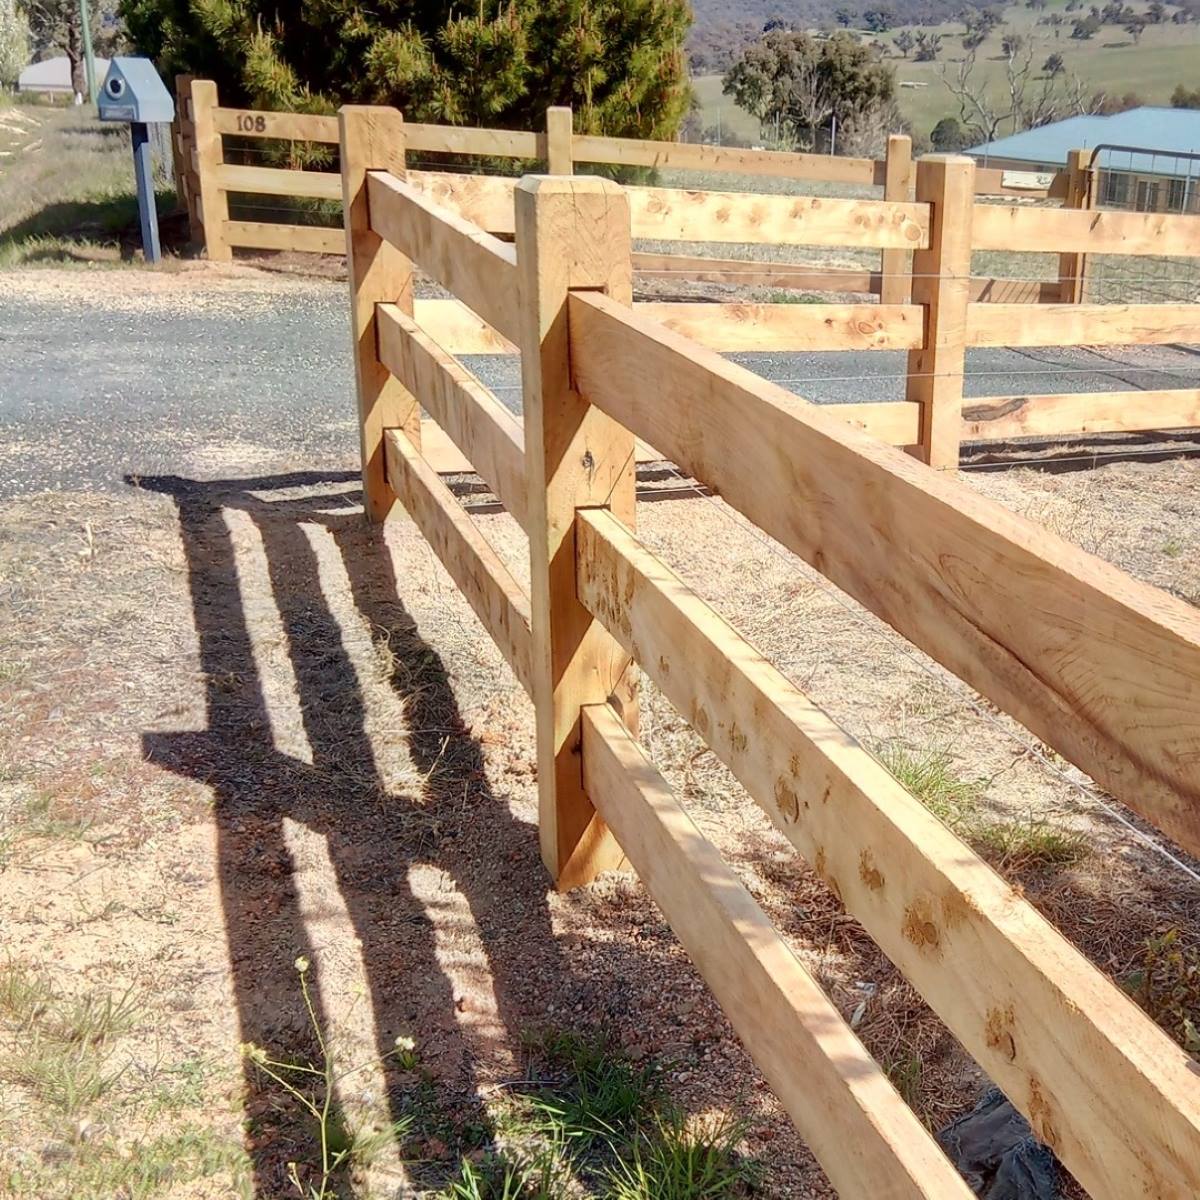
Step 7: Attach the fence panels or rails
With the fence posts securely set and the concrete dried (if applicable), it’s time to attach the fence panels or rails to complete the installation of your wooden fence. This step will bring your fence to life and provide the desired level of privacy and security.
Here’s how to attach the fence panels or rails:
- Start by positioning the first fence panel or rail against the first pair of fence posts. Ensure that it is level and aligned correctly.
- Use galvanized screws or nails to attach the panel or rail to the posts. Make sure to place the fasteners at evenly spaced intervals to secure the panel firmly.
- Check the levelness and alignment of the first panel or rail. Make any necessary adjustments before moving on.
- Continue attaching the remaining fence panels or rails in the same manner, ensuring consistent spacing and alignment between each one.
- If you are using fence panels, you may need to trim the last panel to fit the remaining space. Measure and cut the panel using a saw to ensure a proper fit.
As you attach the fence panels or rails, periodically check the levelness and alignment to ensure the overall straightness and appearance of the fence. Adjust the panels or rails as needed to maintain a visually pleasing and functional fence.
Once all the fence panels or rails are securely attached, you have completed the major steps of installing your wooden fence. However, there is one final step to ensure stability and adjustability. Let’s move on to step 8: ensuring stability and adjusting as needed.
Step 8: Ensure stability and adjust as needed
After attaching the fence panels or rails, it’s crucial to ensure the stability of your wooden fence and make any necessary adjustments to ensure its functionality and appearance.
Here’s what you need to do:
- Check the levelness of the fence panels or rails using a level. Adjust the panels or rails as needed to ensure a straight and even surface.
- Inspect each fence post for stability. Gently shake or apply pressure to the posts to check for any wobbling or movement. If a post feels loose, it may need to be reinforced with additional concrete or gravel.
- Make any necessary adjustments to the height or alignment of the fence panels or rails. Use a saw or trimmer to cut any excess material or adjust the height to create a uniform and visually appealing fence.
- Inspect all the fasteners (screws or nails) to ensure they are securely in place. Replace any loose or damaged fasteners to maintain the structural integrity of the fence.
- If you notice any gaps between the fence panels or rails, you can use wooden spacers or filler strips to create a seamless appearance.
By thoroughly checking the stability and making necessary adjustments, you will ensure that your wooden fence stands strong and looks its best.
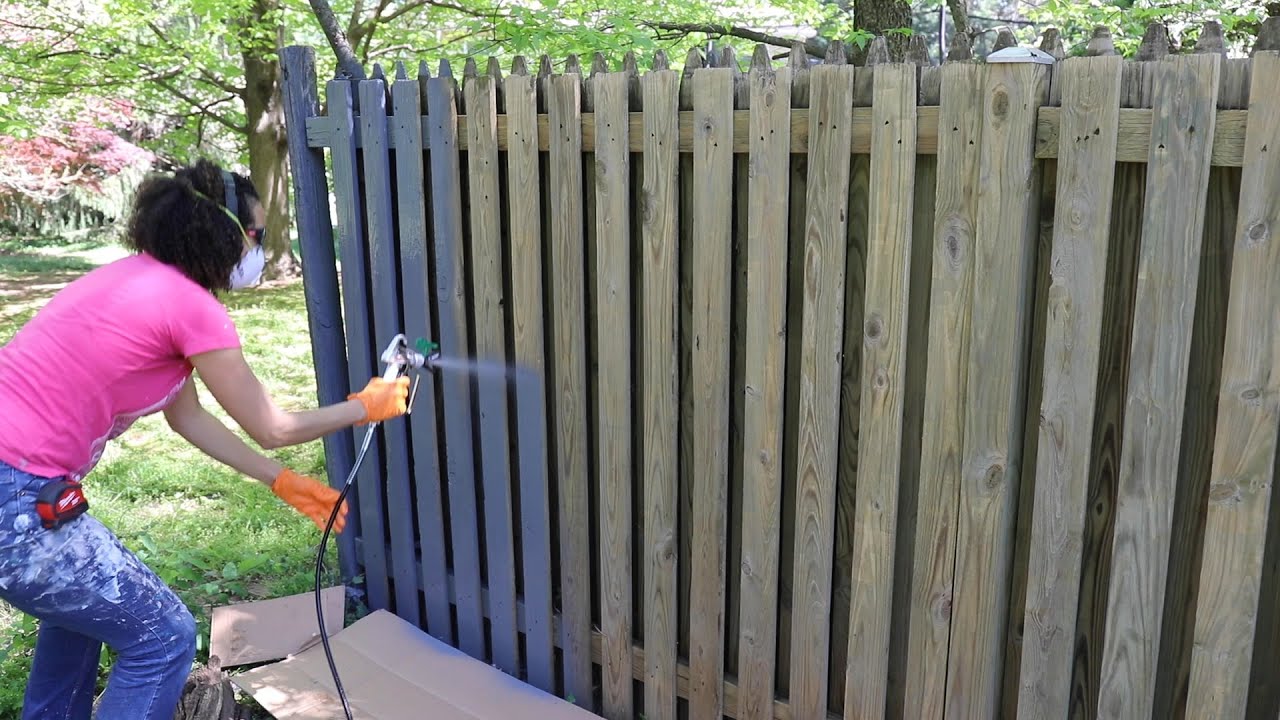
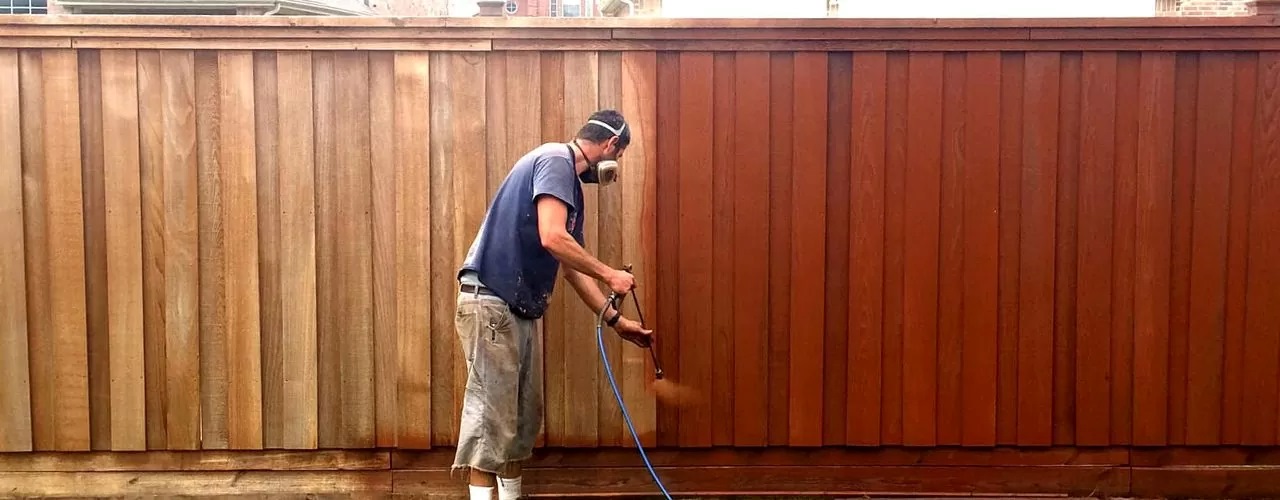
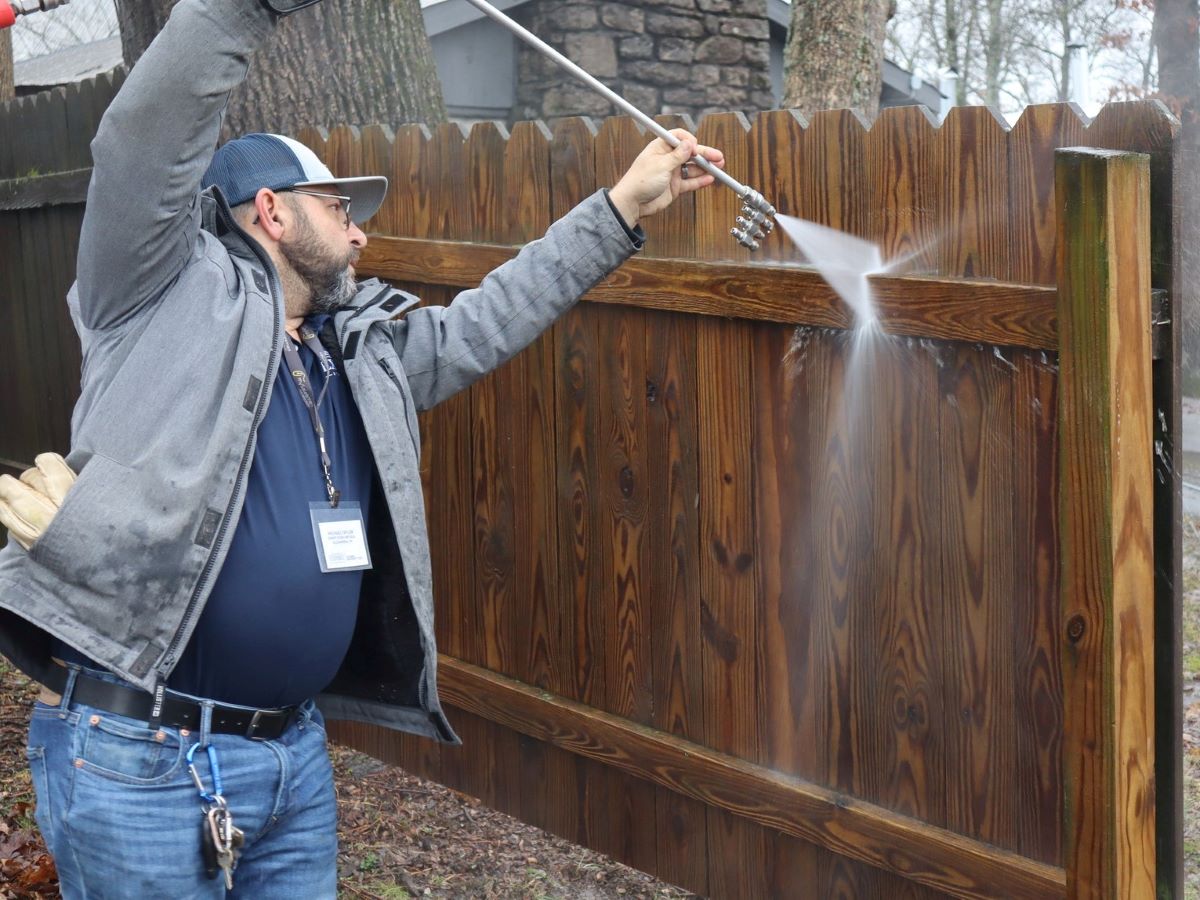
Remember to periodically inspect your fence over time and perform any maintenance needed, such as resealing or repainting, to keep it in optimal condition.
With Step 8 completed, you have successfully set and installed your wooden fence! Your property now has the privacy, security, and aesthetic appeal that a well-built fence provides.
Congratulations on completing the installation process, and enjoy your beautiful wooden fence for years to come!
Read more: How To Repair A Fence Post
Conclusion
Setting wooden fence posts is a crucial step in the installation process of a durable and sturdy fence. By following the steps outlined in this article, you can ensure that your fence stands the test of time, providing privacy, security, and enhancing the aesthetic appeal of your property.
Starting with determining the post placement and gathering the necessary tools and materials, to digging the post holes and setting the fence posts, each step plays a vital role in creating a strong foundation for your fence. Securing the posts with concrete or gravel adds stability and longevity to the structure.
Once the posts are set, attaching the fence panels or rails completes the installation process, and the fence takes shape before your eyes. Checking for stability, adjusting as needed, and ensuring the overall alignment of the fence will guarantee its appearance and functionality.
Remember to carefully follow any local regulations and guidelines, obtain necessary permits, and consult the manufacturer’s instructions when working with specific fence materials.
By taking the time and effort to properly set your wooden fence posts, you can enjoy a beautiful, sturdy, and long-lasting fence that enhances your property for years to come.
So grab your tools, gather your materials, and get started on setting those wooden fence posts. With meticulous planning and execution, your fence project will be a success!
Frequently Asked Questions about How To Set Wooden Fence Posts
Was this page helpful?
At Storables.com, we guarantee accurate and reliable information. Our content, validated by Expert Board Contributors, is crafted following stringent Editorial Policies. We're committed to providing you with well-researched, expert-backed insights for all your informational needs.


0 thoughts on “How To Set Wooden Fence Posts”