Articles
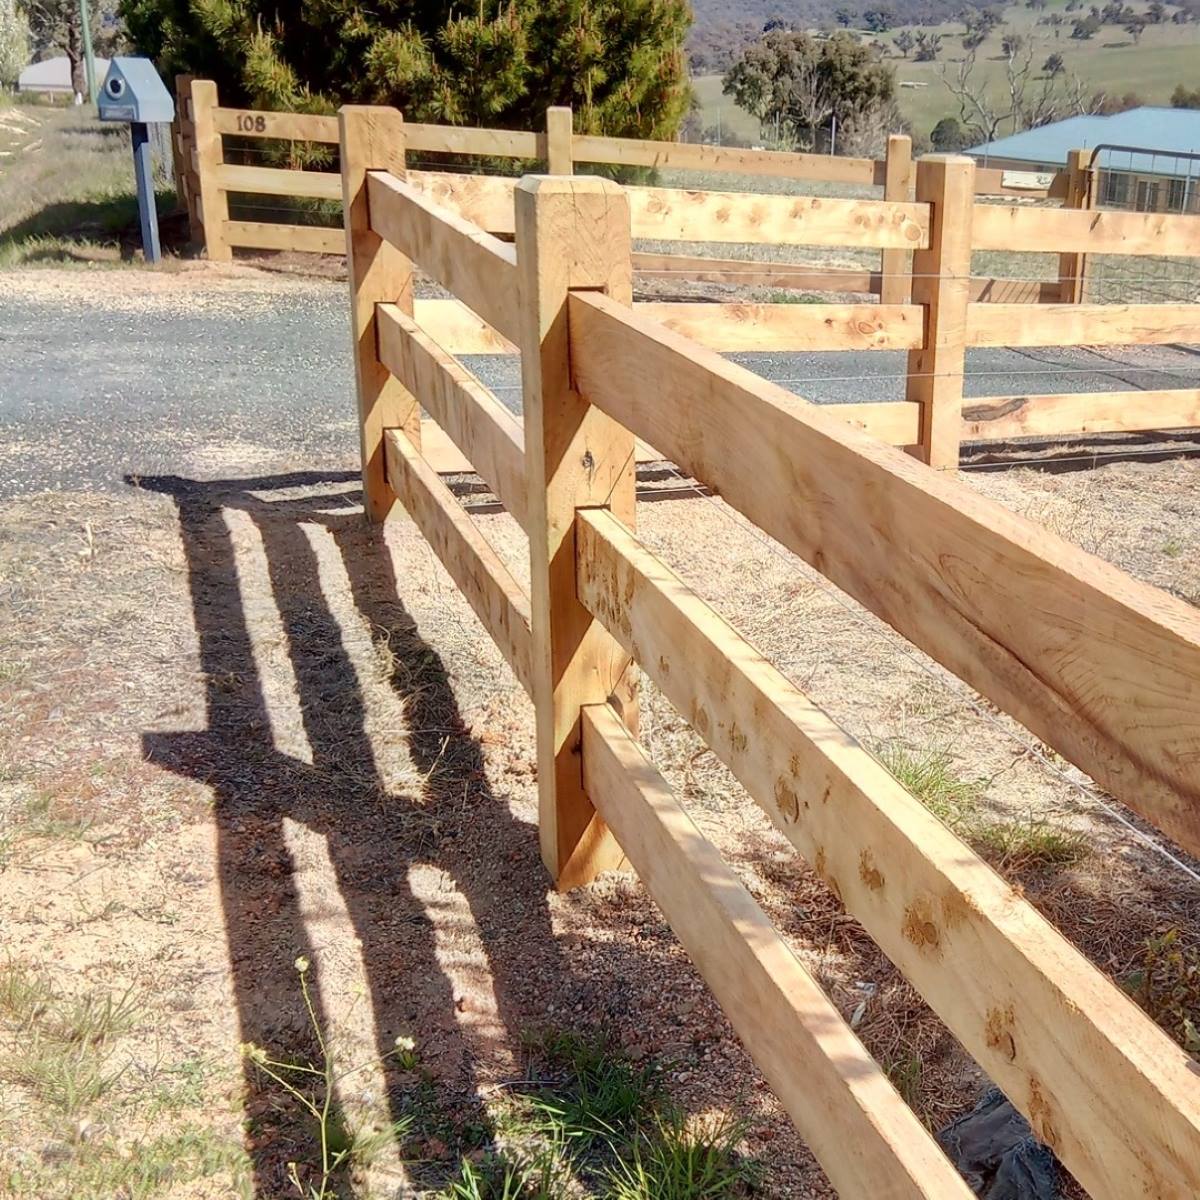
How To Fix A Loose Fence Post
Modified: February 23, 2024
Learn how to fix a loose fence post with these helpful articles. Find step-by-step instructions and tips to ensure a secure and sturdy fence in no time.
(Many of the links in this article redirect to a specific reviewed product. Your purchase of these products through affiliate links helps to generate commission for Storables.com, at no extra cost. Learn more)
Introduction
A loose fence post can be a common issue for homeowners, leading to a number of potential problems, such as a crooked or unstable fence. It’s important to address this issue promptly to ensure the integrity and functionality of your fence. Fortunately, fixing a loose fence post doesn’t have to be a complicated or expensive task. With some basic tools and a little bit of know-how, you can easily repair the problem and have your fence looking and functioning as good as new.
In this guide, we’ll take you through the step-by-step process of fixing a loose fence post. We’ll cover everything from assessing the damage to securing the post and adding the finishing touches. So, let’s dive in and get your fence back in top shape!
Key Takeaways:
- Assess the damage thoroughly to determine the best repair approach. Consider the type of fence and materials used to ensure a successful and long-lasting fix.
- Prioritize safety and regular maintenance to prevent future issues. By following the step-by-step process, you can restore your fence’s stability and aesthetic appeal.
Read more: How To Fix Leaning Fence Post
Step 1: Assessing the Damage
The first step in fixing a loose fence post is to assess the extent of the damage. This will help you determine the best course of action and the materials you’ll need for the repair.
Start by examining the post to see if it’s wobbly or leaning. Use your hands to gently push and pull the post to assess its stability. If the post moves significantly or feels loose, it’s likely that the post has come out of its original position or has become dislodged from the ground.
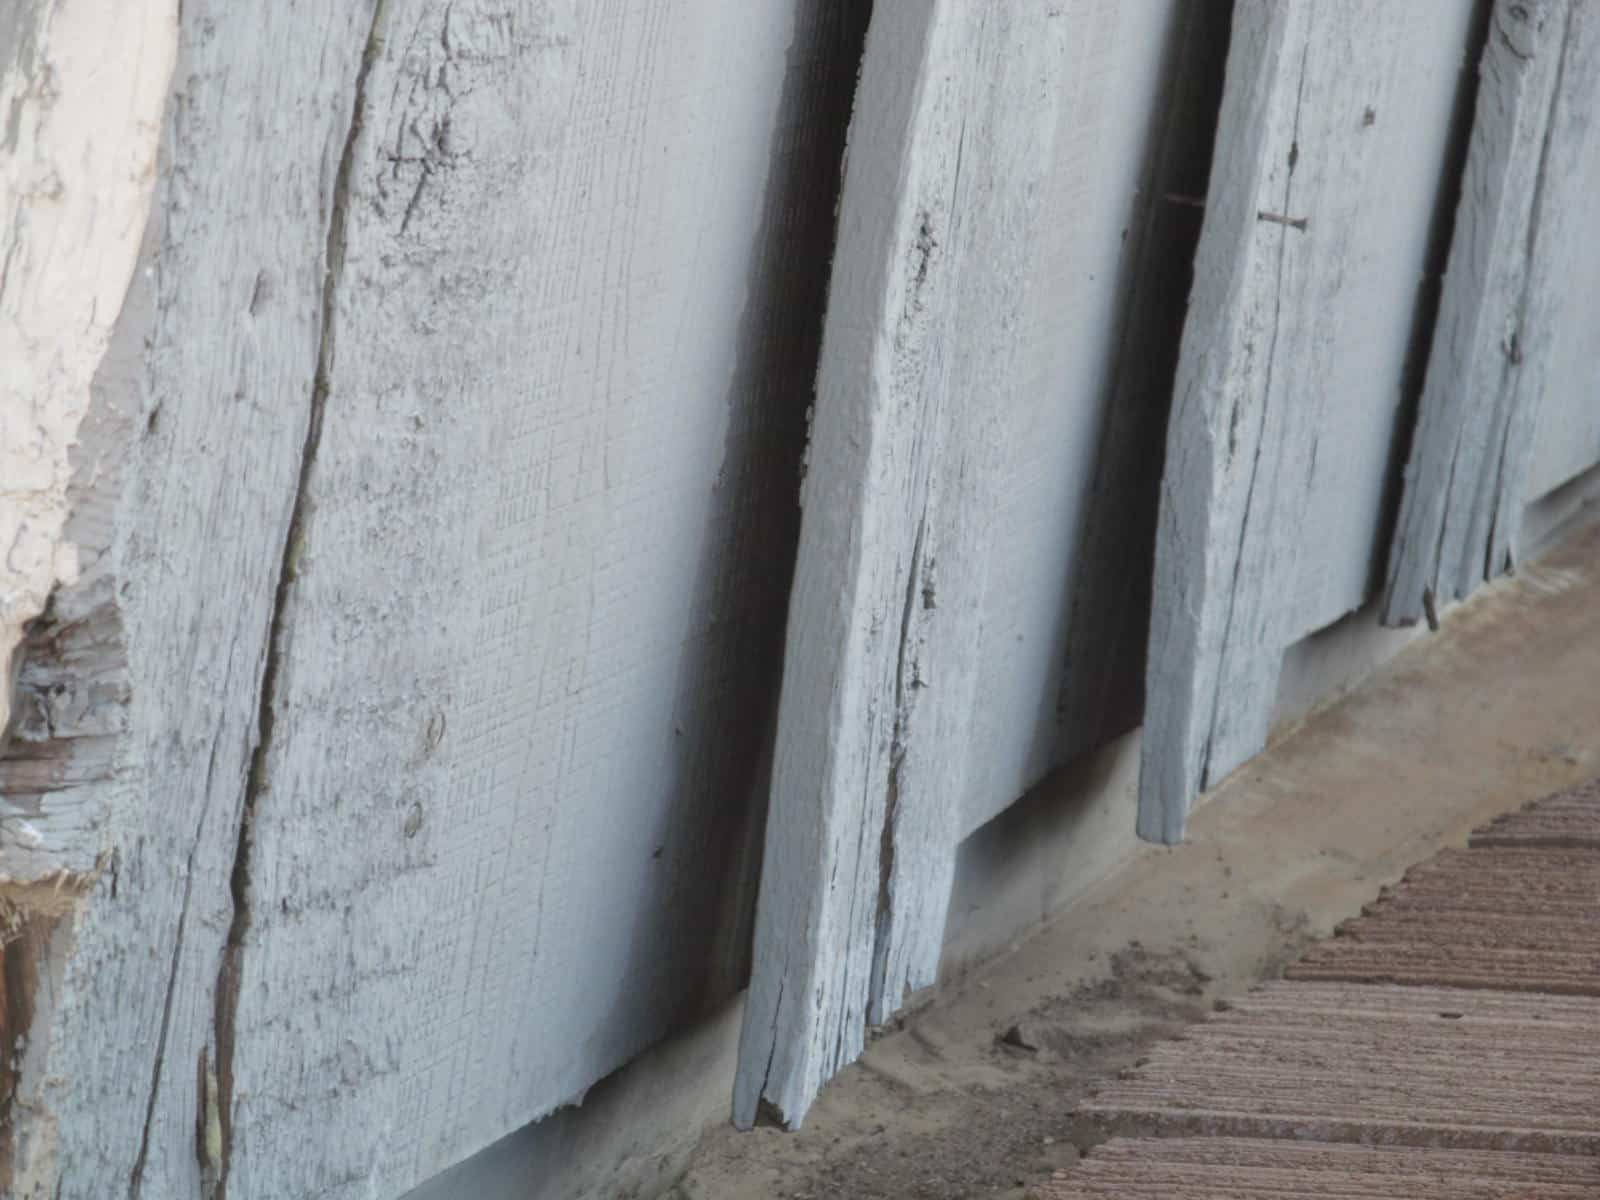
Next, check the surrounding area for any signs of damage or deterioration. Look for rot, cracks, or decay in the post, as well as any damage to the surrounding fence panels or supports. This will help you determine if the post needs to be repaired or replaced entirely.
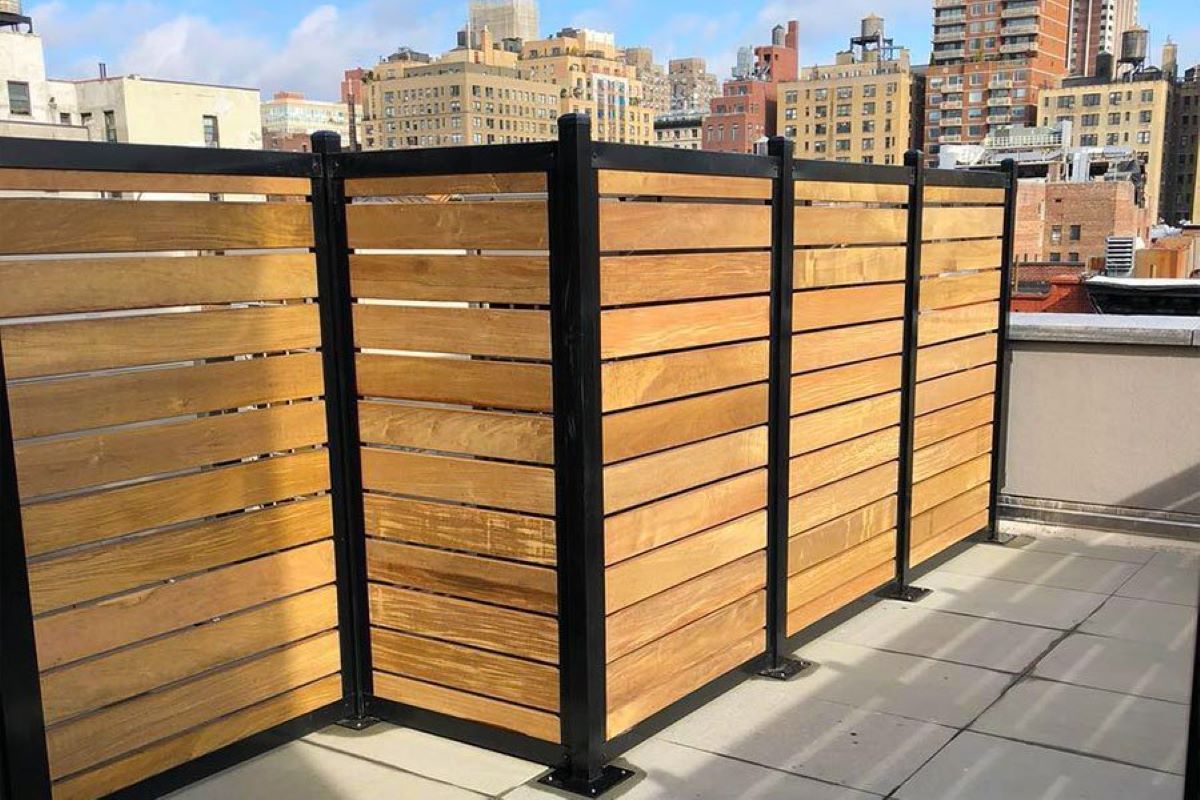
Additionally, consider the type of fence you have and the materials it’s made of. Different materials, such as wood, metal, or vinyl, may require different repair techniques and tools. Take note of any specific requirements or considerations for your particular fence.
Once you’ve assessed the damage, you’ll have a better understanding of what needs to be done to fix the loose fence post. Whether it’s a minor adjustment or a more involved repair, being thorough in your assessment will ensure that you address the root cause of the problem and prevent further damage.
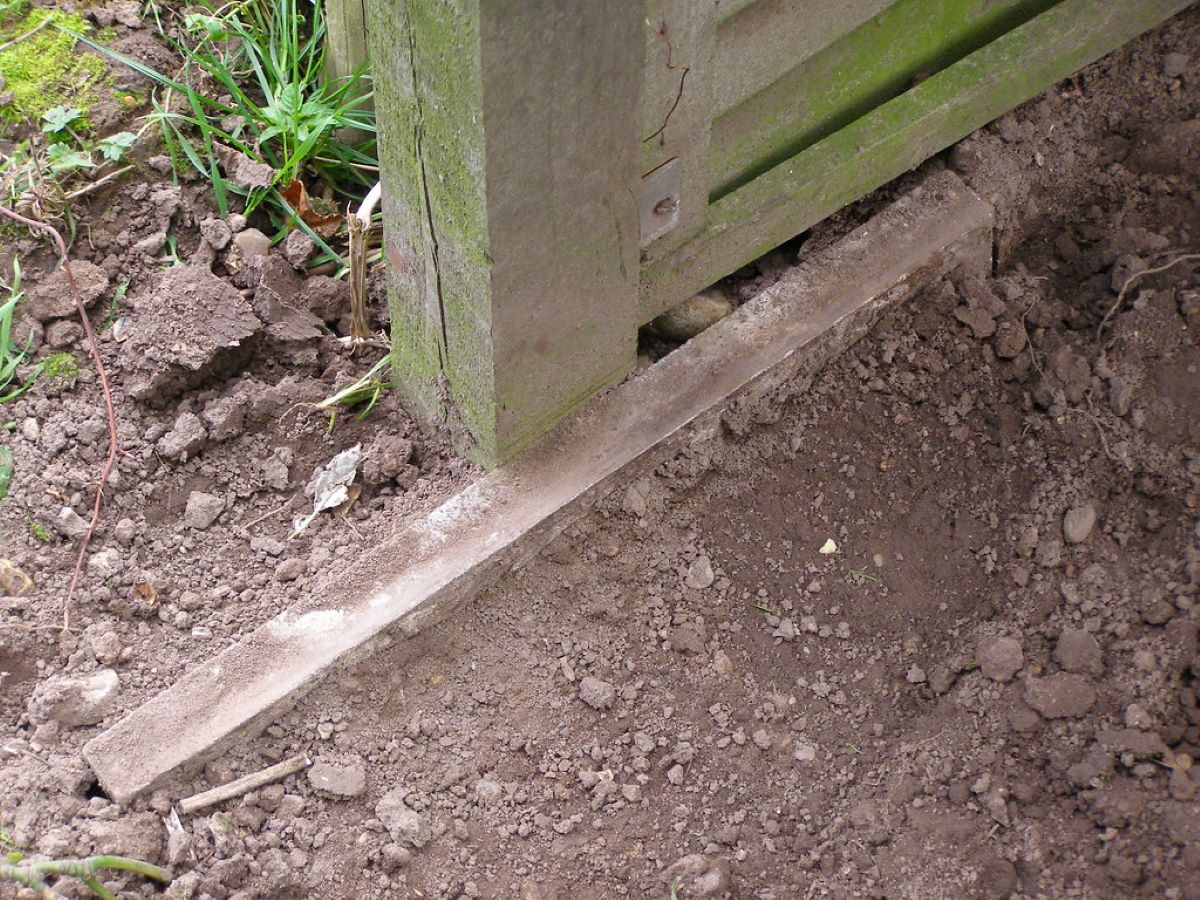
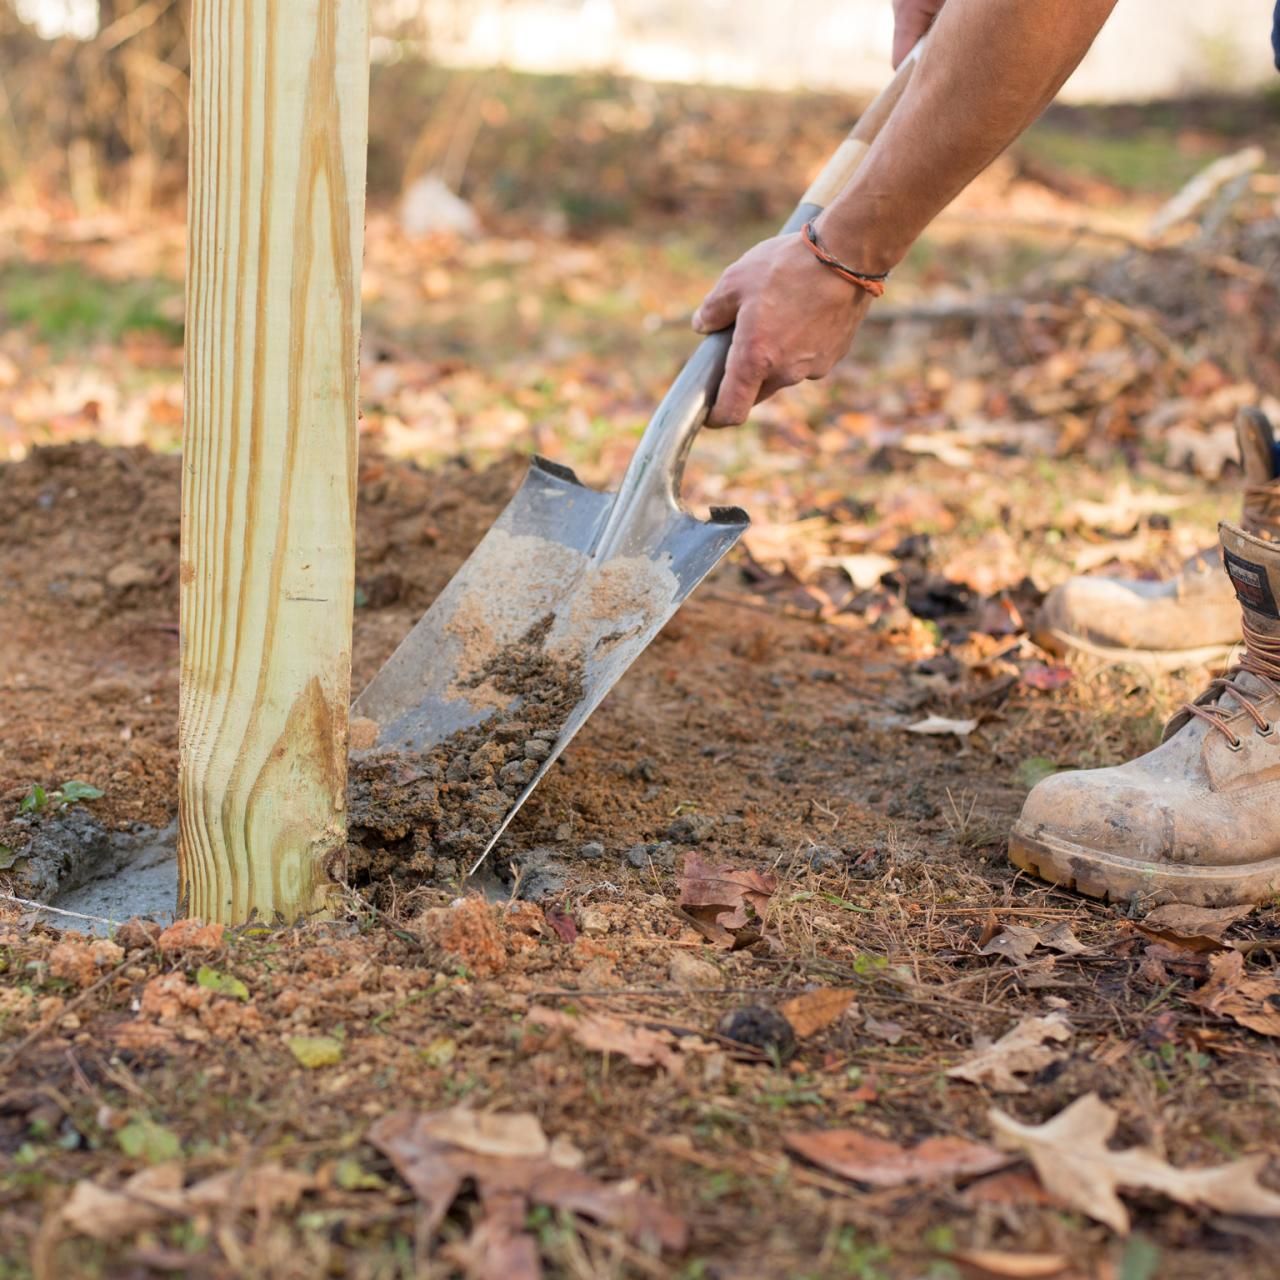
Step 2: Digging Out the Post
Once you’ve assessed the damage, it’s time to move on to the next step: digging out the loose fence post. This step is crucial to ensure that you can properly realign and secure the post for a sturdy and long-lasting repair.
Before you begin digging, gather the necessary tools for the job. You’ll need a shovel, a post hole digger, and a pry bar or a post puller. Additionally, it’s a good idea to wear gloves and safety glasses to protect yourself during the process.
First, clear the area around the post by removing any grass, weeds, or debris. This will make it easier to access the base of the post and prevent any interference during the digging process.
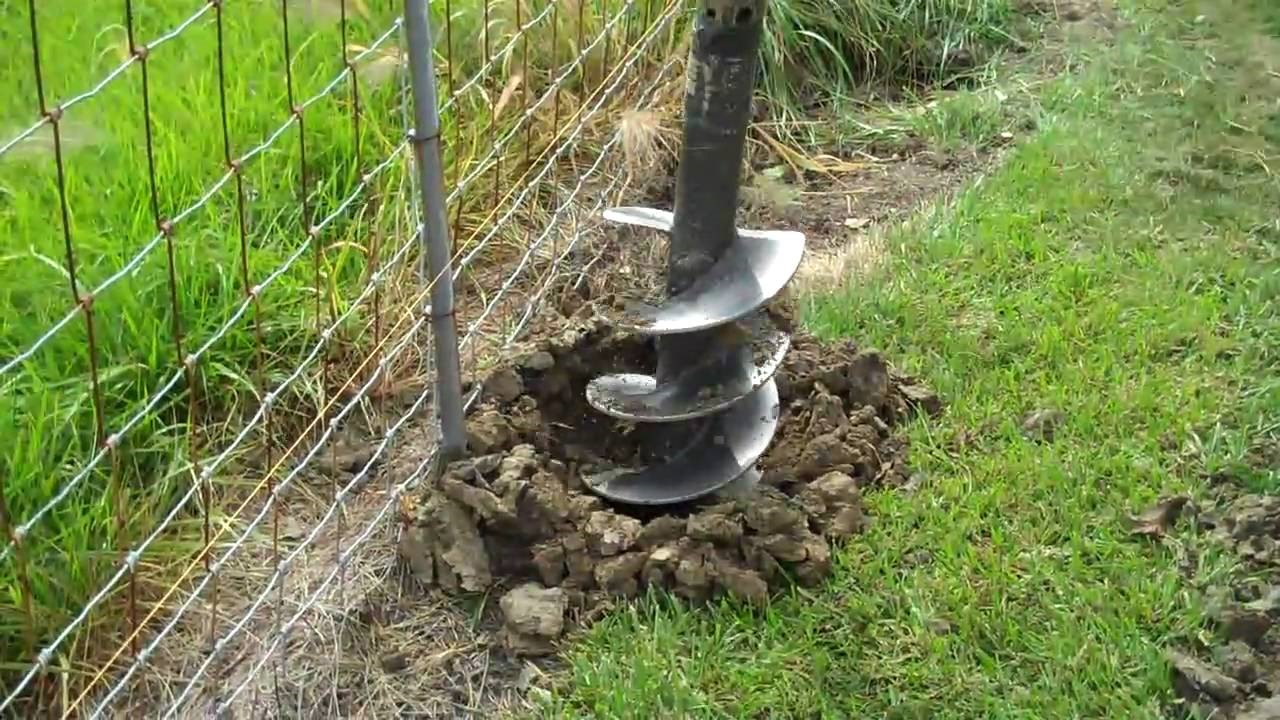
Next, use the shovel or post hole digger to start digging around the post. Begin at least a foot away from the post and dig down until you reach a depth of at least one-third to one-half the height of the post. Be careful not to damage any underground utilities or irrigation systems.
Once you’ve dug around the post, use the pry bar or post puller to leverage the post out of the ground. Gently apply force to loosen the post and lift it out. If the post is stubborn and doesn’t come out easily, you may need to use additional tools or methods, such as rocking it back and forth or using water to soften the soil.
Once the post is out of the ground, inspect the hole for any signs of damage or decay. If necessary, clean out the hole and make any repairs before proceeding to the next step.
With the post removed and the hole prepared, you’re now ready to move on to the next step: realigning the post.
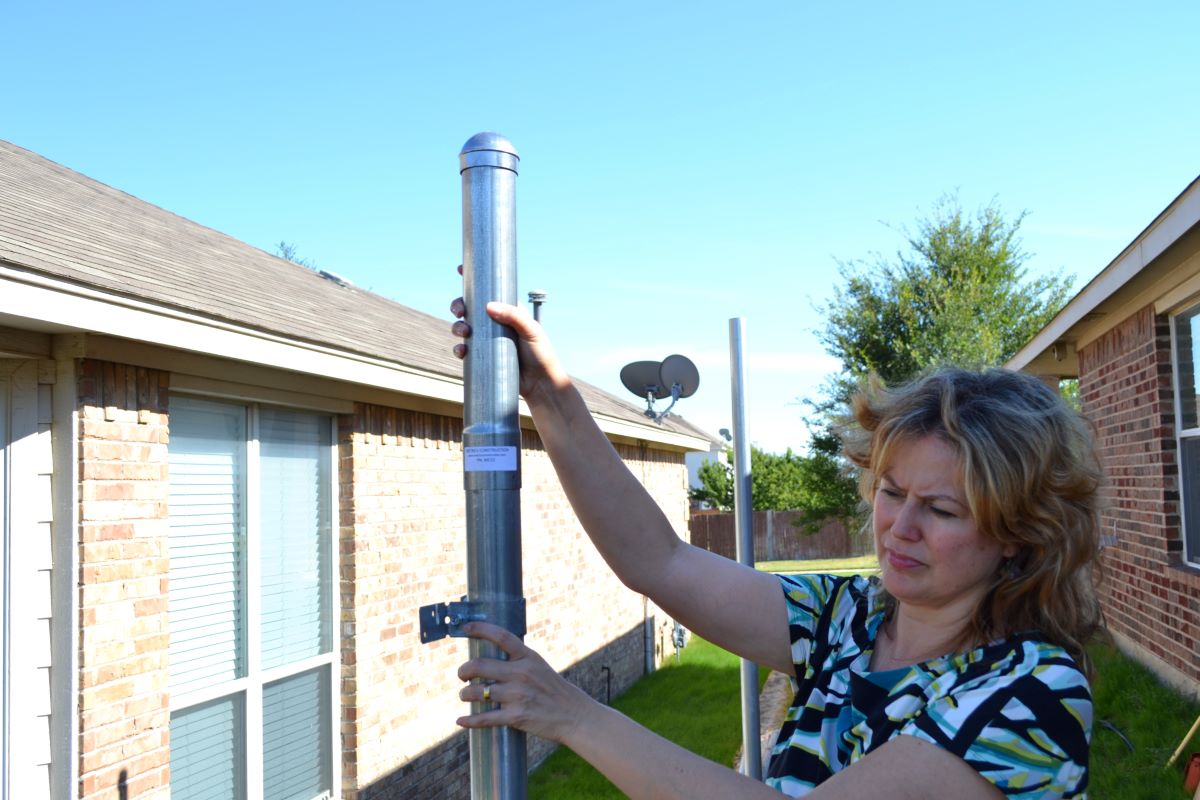
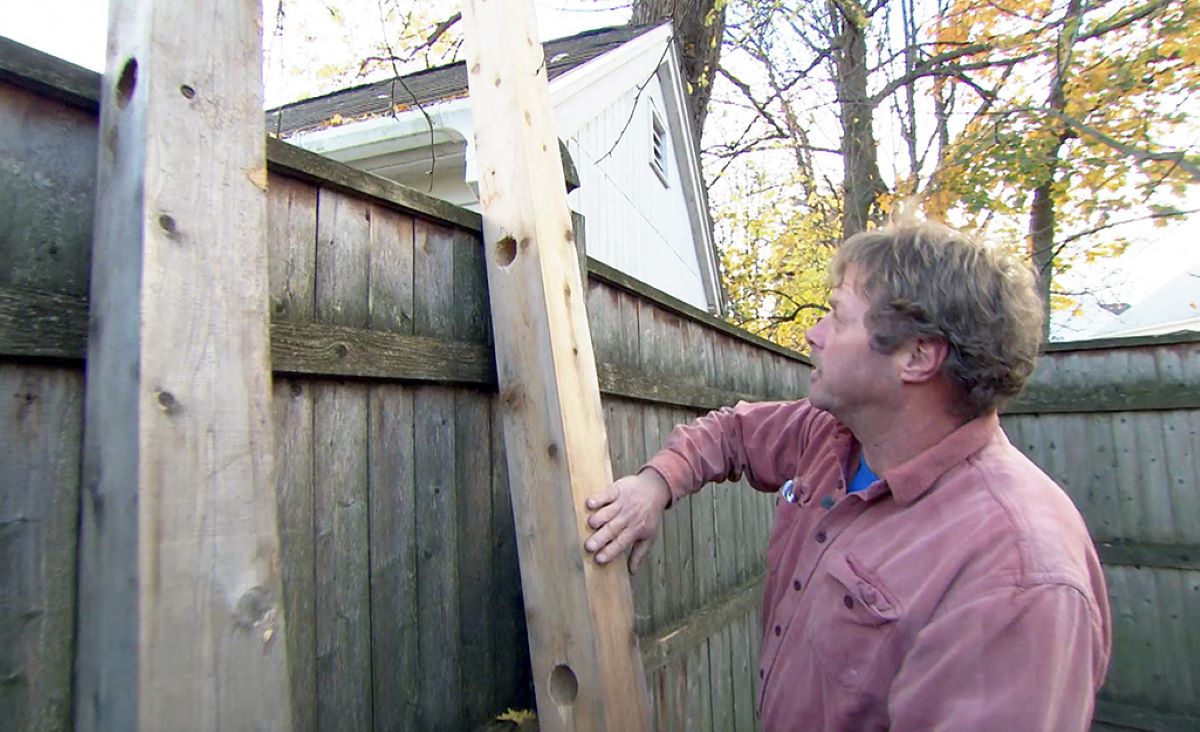
Step 3: Realigning the Post
With the loose fence post out of the ground, it’s time to realign it and ensure that it is properly positioned before securing it. This step is crucial in maintaining the stability and functionality of your fence.
Start by examining the base of the post for any damage or deterioration. If there are any cracks or signs of rot, it may be necessary to repair or reinforce the post before proceeding. Use wood filler, epoxy, or metal bracing to strengthen the post if needed.
Next, determine the correct alignment of the post. Use a level and a tape measure to ensure that the post is straight and at the appropriate height. Make any necessary adjustments by adding or removing soil at the bottom of the hole.
Once the post is properly aligned, use braces or clamps to hold it in place temporarily. This will prevent the post from moving while you prepare to secure it permanently.
Take this opportunity to check the surrounding area for any additional damage or issues. Inspect the nearby fence panels, brackets, and supports to ensure that everything is in good condition. If necessary, make any repairs or replacements before moving on to the next step.
With the post aligned and braces in place, you’re now ready to secure the post and ensure its stability for years to come.
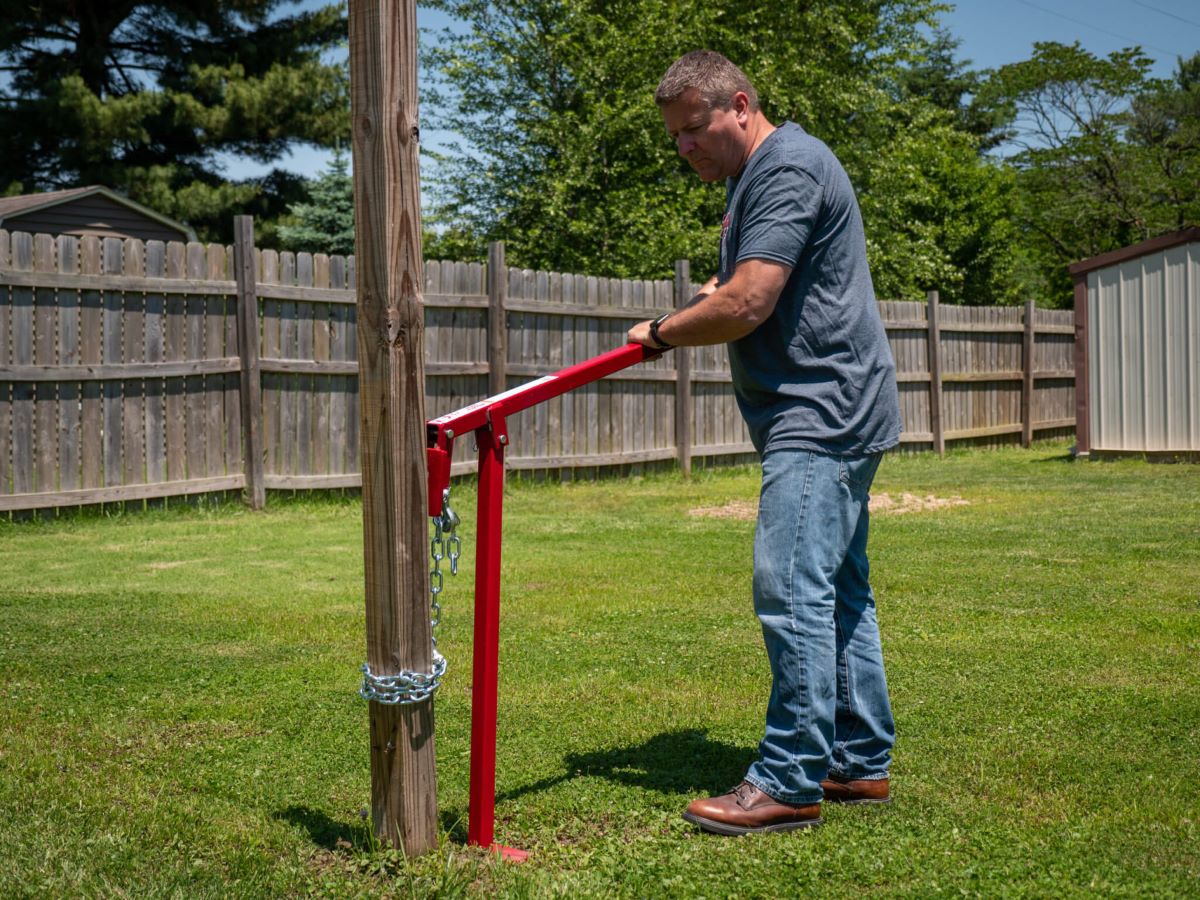
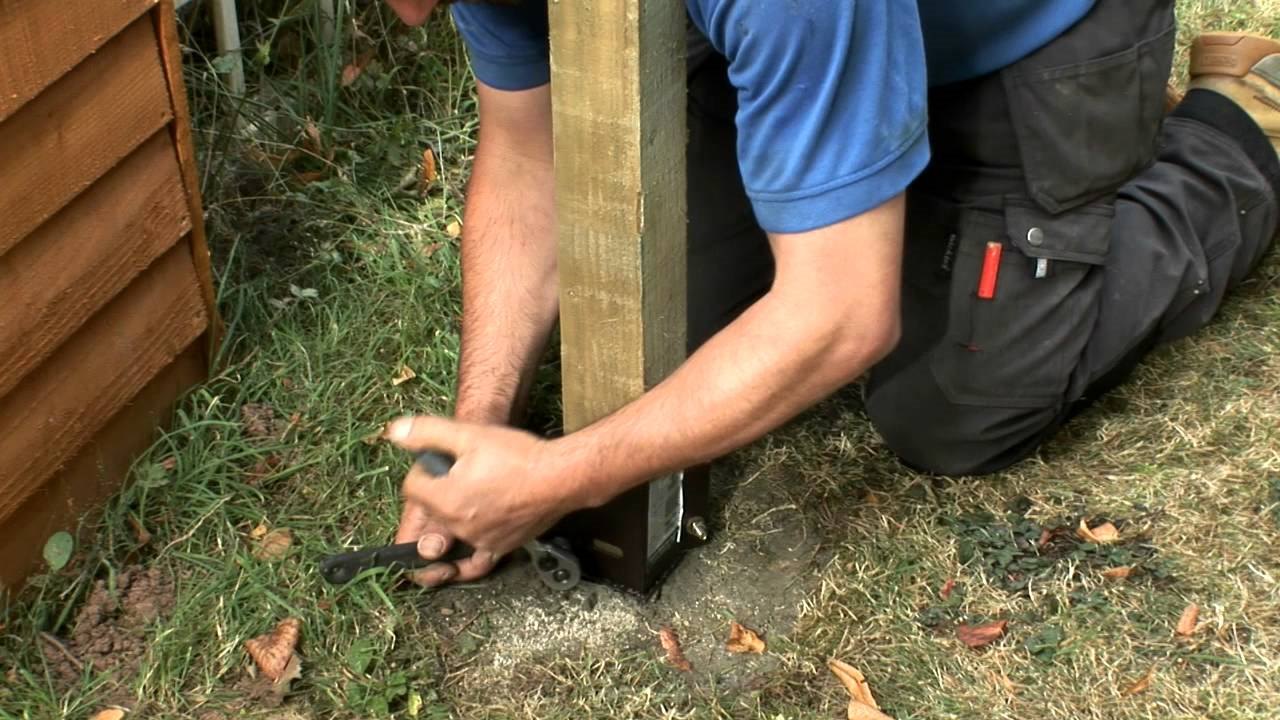
Use a fence post mender to fix a loose post. Simply drive the mender into the ground next to the post and secure it with screws. This will provide extra support and stability to the post.
Step 4: Securing the Post
Securing the loose fence post is a critical step in ensuring the stability and longevity of your fence. By properly anchoring the post, you can prevent it from becoming loose again and maintain the overall integrity of the fence.
Before securing the post, gather the necessary materials, such as concrete mix, gravel, or post-setting foam, depending on the type of anchor you choose. Additionally, you’ll need a level, a tape measure, and a mixing container for the concrete.
If you’re using concrete, follow the manufacturer’s instructions for mixing the concrete mix with water in the proper ratio. Ensure that the concrete is mixed thoroughly and has a workable consistency.
Start by pouring a layer of gravel or a small amount of concrete mix into the bottom of the hole. This helps with drainage and provides a stable base for the post.
Place the post into the hole, making sure it is aligned properly with the surrounding fence panels. Use a level to check that the post is straight in both directions.
Pour the concrete mix into the hole around the post, filling it up to a few inches below ground level. Use a trowel or a stick to evenly distribute the concrete and remove any air pockets.
While the concrete is still wet, continue to check the alignment of the post and make any adjustments if necessary. Use the level to ensure the post is still straight as the concrete sets.
Allow the concrete to fully dry and cure as per the manufacturer’s instructions, which typically takes 24 to 48 hours. During this time, avoid placing any weight on the post or disturbing the surrounding area.
Once the concrete is completely dry, remove the temporary braces or clamps. Inspect the post to ensure it is securely anchored and does not move when pressure is applied. If needed, make any final adjustments to ensure a solid and stable installation.
With the post securely anchored, you’re ready to move on to the final step: backfilling and adding the finishing touches to complete the repair.
Read more: How To Secure Fence Post
Step 5: Backfilling and Finishing Touches
The final step in fixing a loose fence post is backfilling the hole and adding the finishing touches to ensure a seamless and polished repair. This step will not only improve the overall appearance of your fence but also provide additional stability and support to the repaired post.
To begin, gather the necessary materials for backfilling, such as soil, gravel, or a mix of both. It’s important to choose a material that is suitable for your specific fence type and offers good drainage.
Start by backfilling the hole around the post with the chosen material. Use a shovel or your hands to carefully fill the gap, ensuring that the material is evenly distributed and firmly packed around the post. Gradually fill the hole, layer by layer, until it is level with the surrounding ground.
Once the backfill is complete, use a piece of plywood or a tamper to compact the soil and enhance its stability. This will help prevent any future settling or movement of the post.
If necessary, add a layer of gravel on top of the backfill to further improve drainage and provide additional support. This can be particularly beneficial for posts in areas with high moisture or heavy rain.
Next, inspect the surrounding fence panels and make any necessary adjustments or repairs. Ensure that all brackets, screws, or nails are securely in place and that the panels are aligned properly with the repaired post.
To add the finishing touches, apply a wood sealer or paint to the repaired post. This will protect the wood from weathering and extend its lifespan. Choose a color that matches the existing fence for a seamless and cohesive look.
Finally, step back and admire your repaired fence post. Take a moment to ensure that everything looks sturdy, straight, and visually appealing. Your fence is now fixed and ready to withstand the elements and provide security and privacy to your property.
Remember to regularly inspect and maintain your fence to prevent any future issues and prolong its lifespan. By addressing minor repairs early on and staying proactive, you can avoid more significant problems down the line.
Congratulations on successfully fixing your loose fence post and restoring the functionality and beauty of your fence!
Conclusion
Fixing a loose fence post may seem like a daunting task, but with the right knowledge and techniques, it can be a manageable and rewarding project. By following the step-by-step process outlined in this guide, you can repair your fence and restore its stability, functionality, and aesthetic appeal.
Remember, assessing the damage, digging out the post, realigning the post, securing the post, and backfilling are all important steps in the repair process. Each step plays a crucial role in ensuring that your fence post is properly fixed and able to withstand the test of time.
Throughout the repair process, it’s essential to prioritize safety. Use the appropriate tools, wear protective gear, and take necessary precautions when working with heavy objects and materials.
Additionally, regular maintenance and inspections of your fence can help prevent future issues. Consider performing routine checks for any signs of damage, rot, or loose posts to address them promptly and avoid more extensive repairs.
The satisfaction of a job well done and a functioning fence that stands strong will make all the efforts worthwhile. Not only will your repaired fence post enhance the appearance of your property, but it will also provide security, privacy, and peace of mind.
Remember, if you ever feel unsure or overwhelmed by the repair process, it’s always best to consult a professional for assistance. They will have the expertise and experience to ensure that the repair is done correctly and effectively.
Now that you have the knowledge and guidance to fix a loose fence post, go ahead and tackle the project. Restore your fence to its former glory and enjoy the benefits of a sturdy and reliable barrier around your property. Good luck!
Frequently Asked Questions about How To Fix A Loose Fence Post
Was this page helpful?
At Storables.com, we guarantee accurate and reliable information. Our content, validated by Expert Board Contributors, is crafted following stringent Editorial Policies. We're committed to providing you with well-researched, expert-backed insights for all your informational needs.


0 thoughts on “How To Fix A Loose Fence Post”