Articles
How To Set Fence Post On Concrete
Modified: October 18, 2024
Learn how to set fence posts on concrete with our informative articles. Find step-by-step instructions and expert tips to ensure a sturdy and long-lasting fence installation.
(Many of the links in this article redirect to a specific reviewed product. Your purchase of these products through affiliate links helps to generate commission for Storables.com, at no extra cost. Learn more)
Introduction
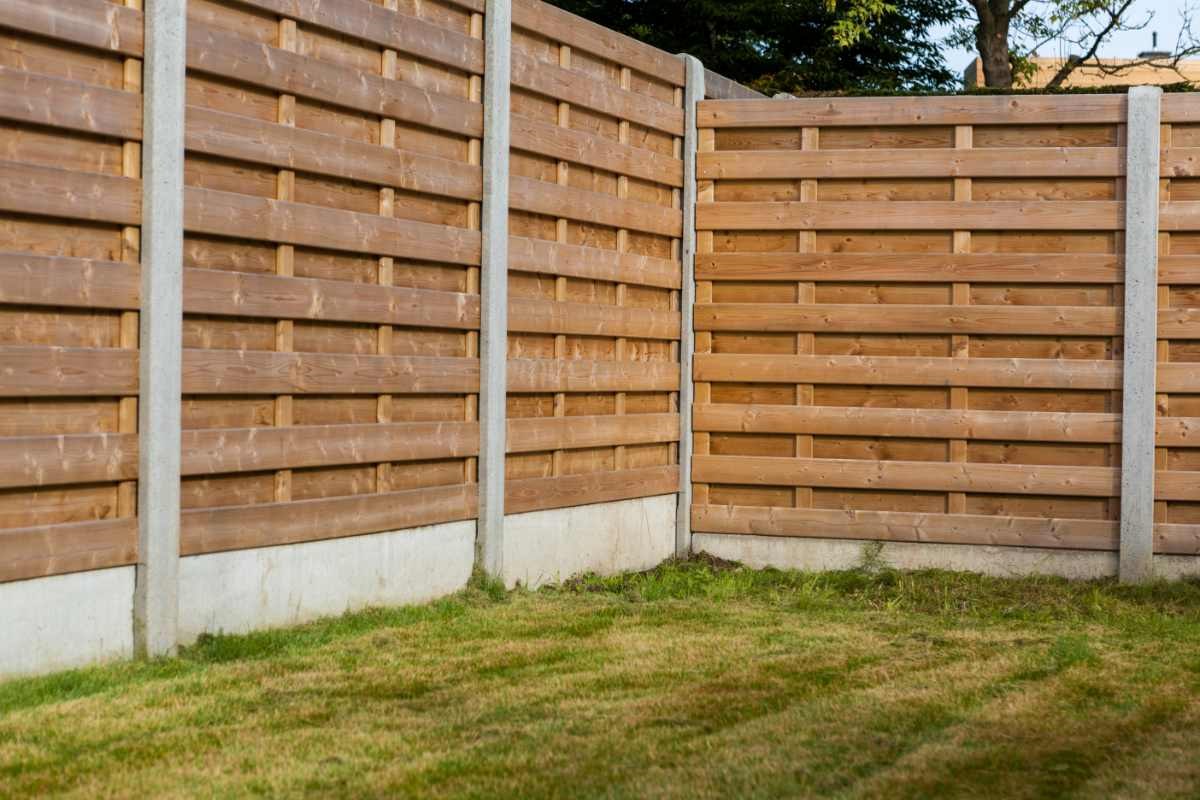
Setting fence posts on concrete is a common practice used to ensure stability and durability. Whether you’re installing a new fence or repairing an existing one, properly setting the fence posts is essential for a long-lasting and sturdy fence. In this article, we will guide you through the step-by-step process of how to set fence posts on concrete.
When setting fence posts on concrete, it is crucial to follow the correct methods and use the appropriate materials. This will help ensure that the posts are securely positioned and able to withstand the elements and any external pressure exerted on the fence. Taking the time to set the posts correctly will save you from potential headaches and repairs in the future.
Before diving into the process, it’s essential to gather the necessary materials and tools. This will help you work efficiently and effectively. You will need the following items:
- Concrete mix
- Water
- Shovel
- Level
- Post hole digger or auger
- Tape measure
- Wooden stakes
- String
- Mixing bucket or wheelbarrow
- Trowel
- Clamps or brackets for securing the posts
- Fence panels and appropriate hardware
Once you have gathered all the necessary materials, it’s time to begin the process of setting fence posts on concrete. Follow the step-by-step instructions provided in the subsequent sections to ensure a successful and durable result.
Key Takeaways:
- Properly setting fence posts on concrete is crucial for a sturdy and visually appealing fence. Attention to detail, accurate measurements, and allowing for proper drying time are key factors in achieving a durable and long-lasting installation.
- Gathering the necessary materials and tools, following the step-by-step process, and ensuring levelness at each stage are essential for successfully setting fence posts on concrete. Taking the time to do it right will save you from potential headaches and repairs in the future.
Read more: What Concrete To Use For Fence Posts
Materials Needed
Before you begin setting fence posts on concrete, ensure that you have the right materials and tools. Having everything prepared in advance will help make the installation process smoother. Here is a list of materials you will need:
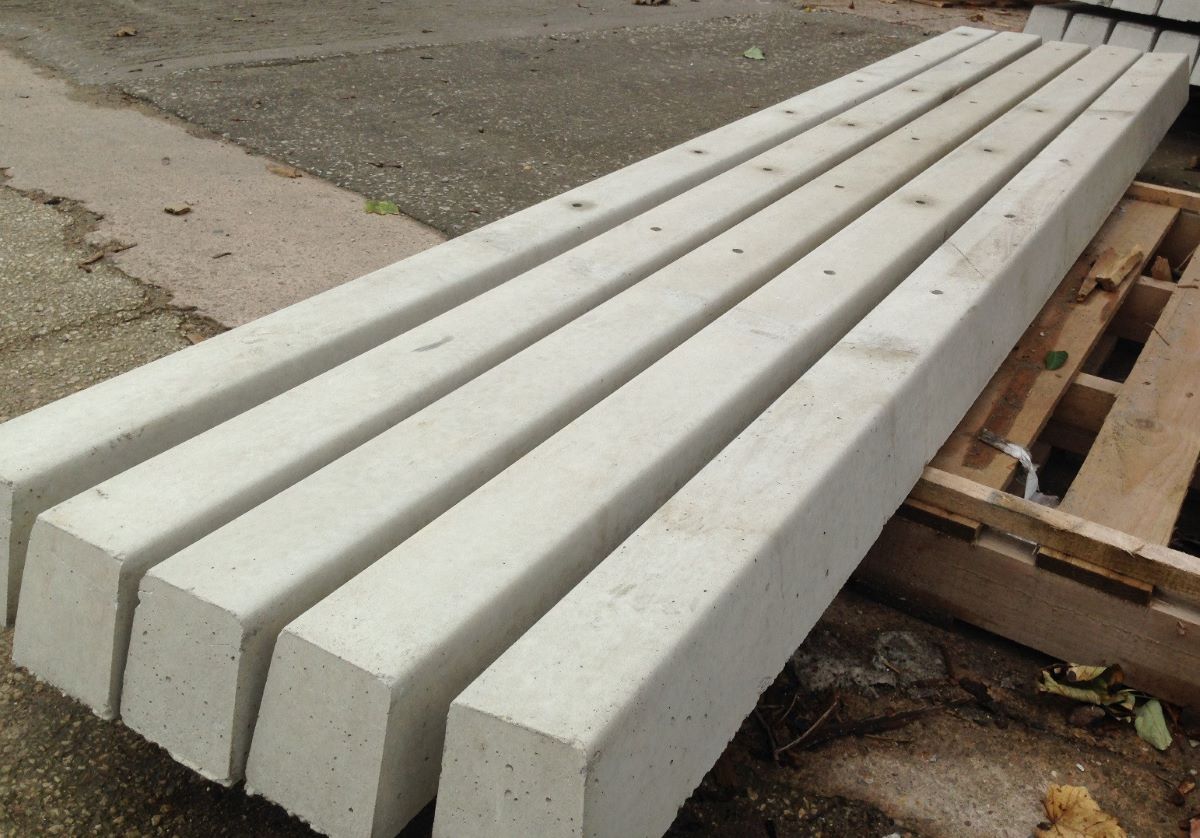
- Concrete mix: Choose a high-quality concrete mix specifically designed for fence post installations. Opt for a mix that has a high strength rating to ensure durability.
- Water: You will need water to mix with the concrete. Ensure a sufficient water supply for the project.
- Shovel: A shovel is essential for digging holes in the ground. Choose a sturdy and well-built shovel to make the digging process easier.
- Level: A level tool is necessary to ensure that the fence posts are perfectly vertically aligned. It helps maintain accuracy and balance throughout the installation process.
- Post hole digger or auger: Depending on the size and nature of the project, you may need either a post hole digger or an auger. These tools assist in digging deep and evenly-spaced holes for the fence posts.
- Tape measure: Accurate measurements are crucial for positioning the fence posts correctly. A tape measure will help you determine the precise distances and ensure that the posts are placed at uniform intervals.
- Wooden stakes: Wooden stakes are useful for marking the positions of the fence posts before digging the holes. They help provide a visual guide for accurate installation.
- String: String is used in conjunction with the wooden stakes to create a straight guideline for the fence posts. It helps ensure that the posts are aligned and installed in a straight line.
- Mixing bucket or wheelbarrow: You will need a container for mixing the concrete. A sturdy mixing bucket or a wheelbarrow can be used to prepare the concrete mix.
- Trowel: A trowel is essential for spreading and leveling the concrete in the holes. It helps provide a smooth and even surface for the fence posts to sit on.
- Clamps or brackets: These are used to secure the fence posts in place while the concrete sets. Choose clamps or brackets suitable for your specific fence post size and material.
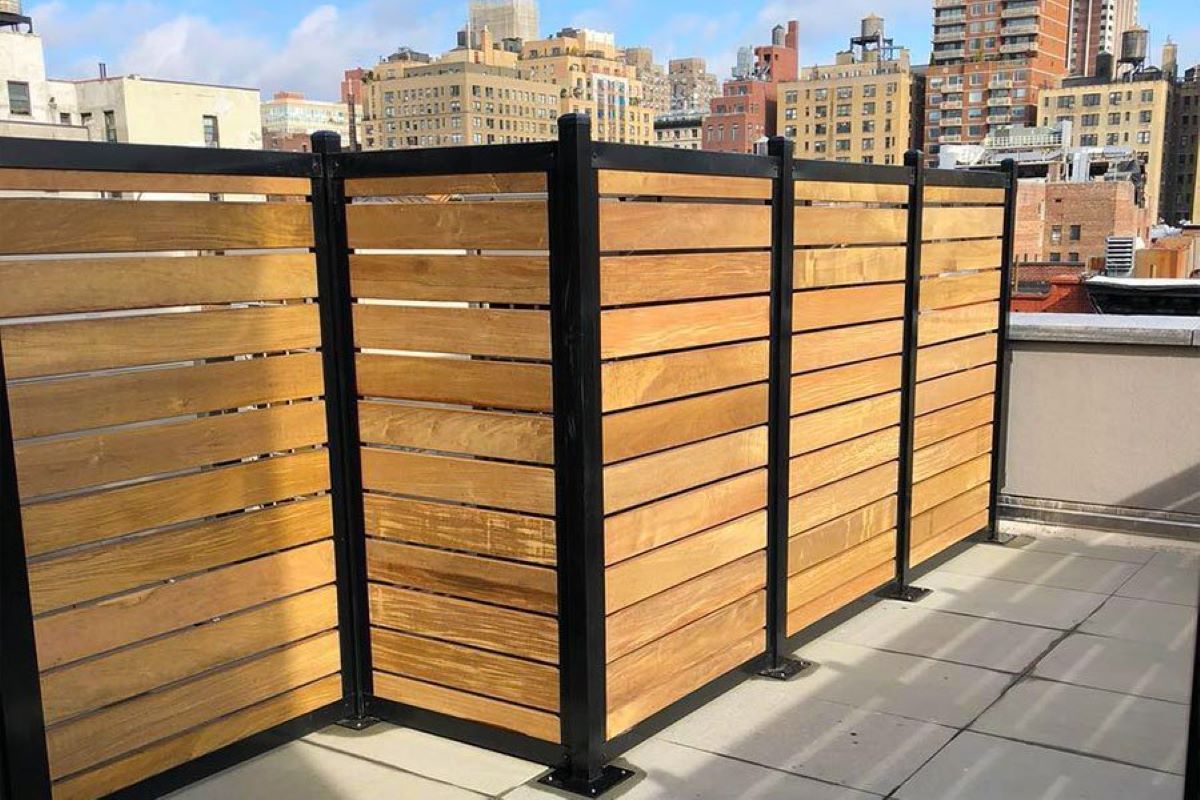
- Fence panels and appropriate hardware: Finally, you will need the fence panels and the necessary hardware, such as screws or nails, to attach the panels to the fence posts. Ensure that you have the correct dimensions for a proper fit.
By gathering all the required materials beforehand, you will be well-prepared to complete the fence post installation efficiently and effectively. Having the right tools and materials will significantly contribute to the overall durability and stability of your fence.
Step 1: Marking the Post Locations
To begin setting fence posts on concrete, you need to mark the locations where the posts will be installed. Properly marking the positions is crucial to ensure that the fence line is straight and evenly spaced. Here’s how you can do it:
- Start by determining the desired distance between each fence post. This will depend on the type of fence and your personal preference. Measure the distance using a tape measure and mark it with a wooden stake.
- Place a second wooden stake a few feet away from the first one, at the desired distance for the next fence post.
- Attach a string to the first stake and stretch it to the second stake. Make sure the string is taut and level. This will create a straight line to guide the placement of the fence posts.
- Continue this process for the remaining fence posts, placing stakes and stretching the string to create a clear guideline for the entire fence line.
- Double-check the alignment and positioning of the string to ensure that it is straight. Adjust the stakes as needed to maintain a straight line. This will help ensure that your fence has a professional and visually pleasing appearance.
By carefully marking the post locations, you’ll ensure that your fence is aesthetically pleasing and has a consistent spacing between each post. Taking the time to do this step accurately will save you from potential errors and adjustments in the later stages of the installation process. Double-checking the alignment of the string and making any necessary adjustments will help you achieve a straight and well-positioned fence line.
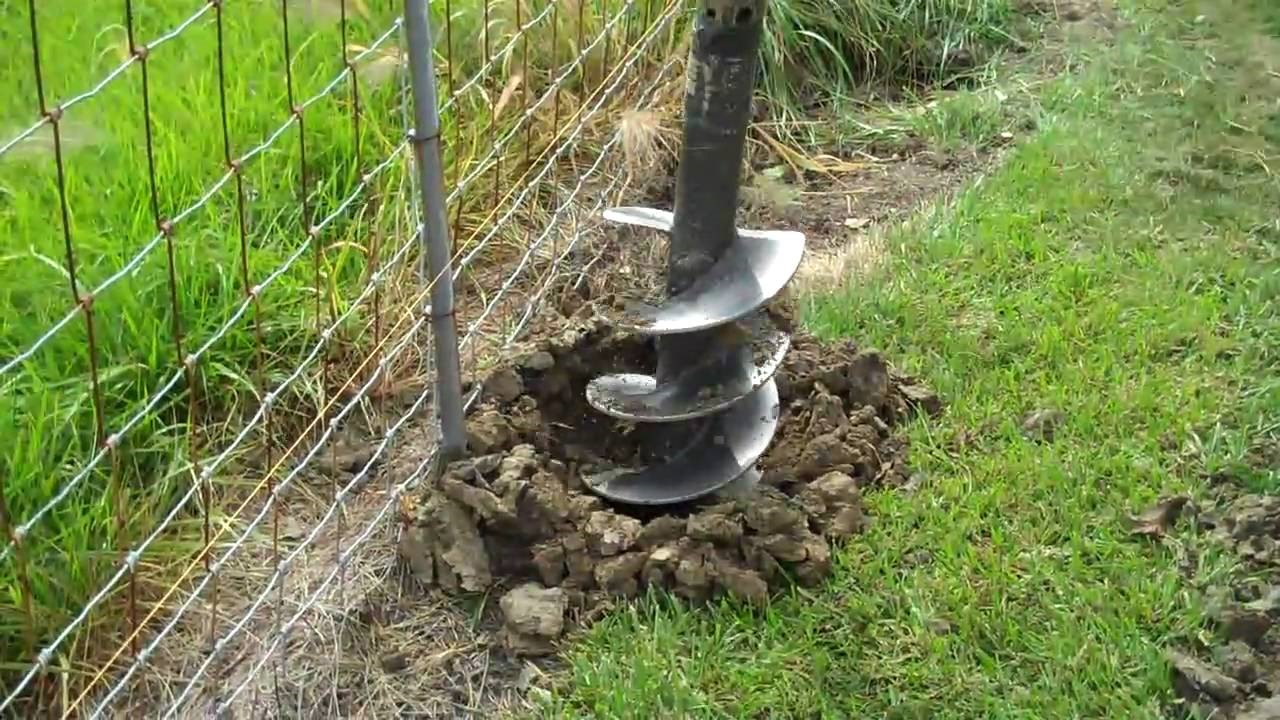
Step 2: Digging the Holes
After marking the post locations, the next step in setting fence posts on concrete is digging the holes. The depth and diameter of the holes will depend on the type of fence and the local building codes. Follow these instructions to dig the holes properly:
- Using a post hole digger or an auger, begin digging the first hole at one of the marked locations. Make sure to dig deep enough to reach below the frost line in your region. This will prevent the posts from shifting due to frost heave during colder seasons.
- The diameter of the hole should be larger than the width of the fence post. A general rule of thumb is to dig a hole that is approximately three times wider than the width of the post. This extra width will allow space for concrete to be added around the post for stability.
- Continue digging the remaining holes, making sure they are evenly spaced along the marked fence line. Use the first hole as a reference for the depth and diameter of the subsequent holes.
- During the digging process, periodically check the depth and diameter of the holes using a tape measure or a level. This will help ensure consistency and accuracy throughout the installation.
- As you dig, remove any rocks, roots, or debris from the holes. These obstructions can affect the stability of the fence posts and should be cleared away.
- Once all the holes are dug, double-check their depth and diameter to ensure they meet the required specifications for your fence.
Digging the holes properly is essential for the stability and longevity of your fence. By following these steps and paying attention to the size and depth of the holes, you will ensure that the fence posts are securely positioned in the ground. Taking the time to dig the holes correctly will contribute to a solid foundation for your fence and prevent any shifting or sagging in the future.
Step 3: Preparing the Concrete
Once the holes are dug, the next step in setting fence posts on concrete is preparing the concrete mixture. Properly mixed and prepared concrete is crucial for providing stability and ensuring that the fence posts stay in place. Follow these steps to prepare the concrete mixture:
- In a mixing bucket or a wheelbarrow, pour the appropriate amount of concrete mix. The instructions on the bag of concrete mix will guide you on the ratio of water to mix.
- Add water gradually while continuously mixing the concrete with a shovel or a mixing tool. Follow the instructions on the bag to ensure that you achieve the correct consistency. The concrete should be thick and able to hold its shape, but not too dry or too runny.
- Continue mixing the concrete until it is well blended and there are no clumps or dry pockets. Ensure that all the dry mix is fully saturated with water to guarantee a strong and durable concrete mixture.
- Check the consistency of the mix by scooping a small amount with a trowel. It should hold its shape without excessive moisture or dryness. Adjust the water-to-mix ratio as needed to achieve the desired consistency.
It is important to mix the concrete thoroughly to ensure a uniform consistency. Properly mixed concrete will provide the necessary strength and stability for the fence posts to withstand external pressures and weather conditions. Take your time to achieve the correct consistency, as this will contribute to the durability and longevity of your fence.
Remember to read and follow the specific instructions provided on the bag of concrete mix used, as different brands and types may have varying ratios and mixing requirements. Following the instructions will help you achieve the best results and ensure a solid foundation for your fence posts.
Read more: How Much Concrete Needed For Fence Post
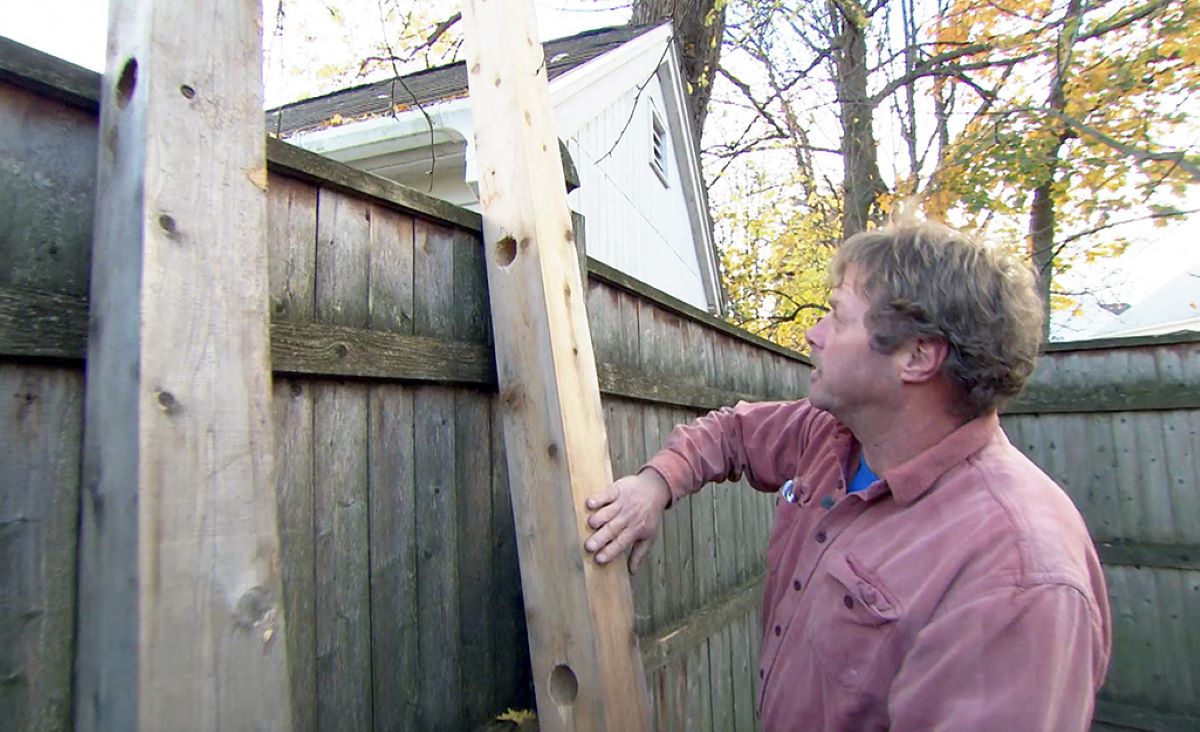
Step 4: Setting the Fence Posts
After preparing the concrete mixture, it’s time to set the fence posts securely in the holes. This step requires careful positioning and precise placement to ensure the stability of the fence. Follow these instructions to set the fence posts correctly:
- Begin by placing one of the fence posts into the first hole. Make sure it is aligned with the string guideline and positioned evenly in the hole.
- Hold the post firmly in place while another person fills the hole with the prepared concrete mixture. Gradually pour the concrete around the post, ensuring that it completely fills the hole and surrounds the post evenly.
- Use a trowel to compact and adjust the concrete around the base of the post. Smooth out the surface to create a level and even finish. Ensure that the post is vertically aligned by using a level tool on two sides of the post.
- Repeat these steps for the remaining fence posts, ensuring that they are all set at the appropriate height and alignment. Check the level of each post to ensure they are all straight and aligned with the string guideline.
- As you set each fence post, make sure to work efficiently and quickly, as the concrete mixture will begin to set within a relatively short time frame.
When setting the fence posts, it’s important to pay attention to their height and alignment. Ensure that all the posts are set at the same height to provide a uniform appearance to your fence. Additionally, check the alignment of each post to guarantee a straight fence line. This step is crucial for the structural integrity and overall aesthetics of your fence.
Once all the fence posts are securely set, take the time to double-check their alignment and make any necessary adjustments before the concrete fully sets. This will ensure a strong foundation for your fence and help prevent any future issues or misalignments.
With the fence posts in place, you’re one step closer to completing the installation. The next step is to check for levelness to ensure that your fence will be straight and visually appealing.
Before setting fence posts on concrete, make sure the concrete is fully cured and level. Use a post level to ensure the posts are straight before securing them in place.
Step 5: Checking for Level
After setting the fence posts in the concrete, it’s important to check for levelness to ensure that your fence will be straight and visually appealing. An uneven fence can not only look unappealing but also affect its overall stability. Follow these steps to check for level:
- Using a level tool, place it vertically against one side of the first fence post. Ensure that it is flush against the post and accurately shows whether it is perfectly vertical or not.
- Adjust the positioning of the post by pushing or pulling it slightly until it is perfectly vertical. Use a level on both sides of the post to ensure accuracy.
- Once the first post is level, move on to the next post along the fence line. Repeat the same process of checking for levelness and making any necessary adjustments.
- Continue checking and adjusting the level for each fence post in the installation.
- Additionally, ensure that the posts are leveled with each other, creating a straight and even fence line. This will contribute to a professional and visually appealing appearance.
Checking for level is essential to ensure the overall stability, appearance, and functionality of your fence. It helps maintain the structural integrity and prevents any leaning or sagging. Taking the time to properly level each fence post will result in a fence that stands straight and looks cohesive.
Remember to check for levelness on both sides of each post to guarantee accuracy. It’s also a good idea to have a second person help you with this step to ensure better precision and efficiency. By checking for level at this stage, you can address any issues or adjustments before the concrete fully sets, saving you time and effort in the long run.
Once you have confirmed that all the fence posts are level, you’re ready to move on to the next step: allowing the concrete to dry and set.
Step 6: Allowing the Concrete to Dry
After setting the fence posts and ensuring they are level, it’s crucial to allow the concrete to dry and set properly. This process will provide the necessary strength and stability for your fence. Follow these steps to allow the concrete to dry effectively:
- Check the instructions provided on the concrete mix bag for the recommended drying time. This can vary depending on the type of concrete mix used.
- Avoid disturbing the posts or adding any additional weight to them during the drying process. This can compromise the stability and integrity of the concrete.
- Depending on the weather conditions, it may take several days for the concrete to fully dry and set. To protect the fence posts during this time, you can place temporary barriers or caution tape around the area to prevent accidental damage.
- During the drying process, regularly inspect the set fence posts to ensure there are no signs of shifting or instability.
- Once the concrete is completely dry and set, you can proceed with attaching the fence panels.
It’s important to allow sufficient drying time for the concrete to ensure the stability and longevity of your fence posts. Rushing this step can lead to weakened concrete and potential issues with your fence’s structural integrity in the future.
Keep in mind that drying times can vary depending on factors such as temperature, humidity, and the specific type of concrete mix used. It’s essential to follow the recommended drying time provided on the mix bag for the best results.
By allowing the concrete to fully dry and set before moving forward, you’re ensuring that your fence will be strong, stable, and able to withstand the test of time and environmental conditions.
Once the concrete has dried, it’s time to move on to the next step: attaching the fence panels to the posts.
Step 7: Attaching the Fence Panels
Now that the concrete has dried and set, you can proceed with attaching the fence panels to the installed posts. This step brings your fence to life and transforms it into a functional barrier. Follow these steps to properly attach the fence panels:
- Start by positioning the first fence panel against the installed fence posts. Ensure that it is aligned with the string guideline and level with the ground.
- Using appropriate screws or nails, attach the fence panel to the posts. Make sure to use the appropriate hardware for your specific fence panel type and material.
- Repeat this process for each fence panel, ensuring they are evenly spaced and aligned with each other.
- As you attach each panel, double-check that it is level and plumb using a level tool. Make any necessary adjustments to maintain a straight and visually appealing fence line.
- If needed, trim the last fence panel to fit the desired length. Measure and mark the excess portion, then use a saw or appropriate cutting tool to trim it.
Attaching the fence panels properly is crucial for the strength, stability, and overall aesthetics of your fence. Ensure that the panels are securely fastened to the posts to prevent any movement or damage.
Take your time during this step to ensure that each panel is installed neatly and evenly. Double-checking the levelness and alignment of each panel will contribute to the overall professional appearance of your fence.
Once you have attached all the fence panels, you’re ready to move on to the final step: securing the posts.
Read more: How To Install Fence Post Without Concrete
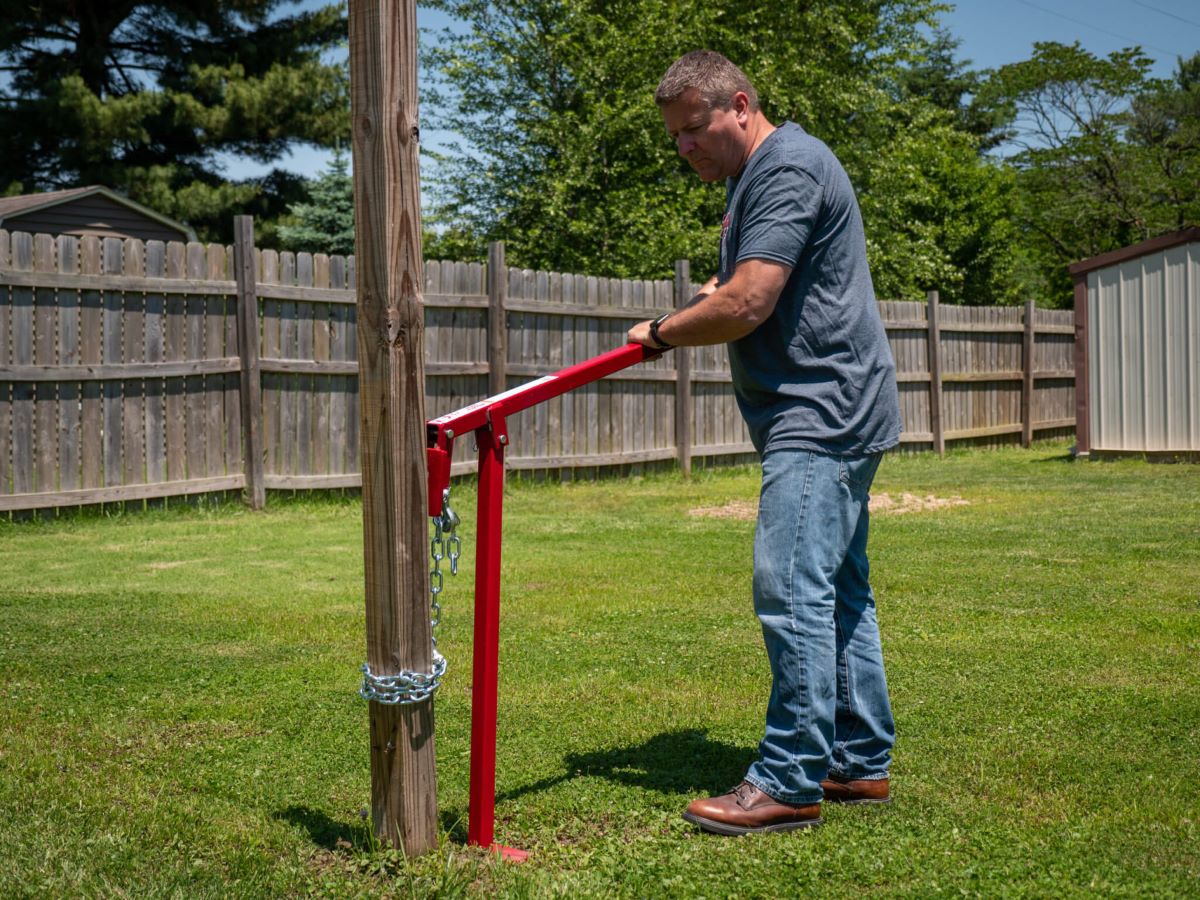
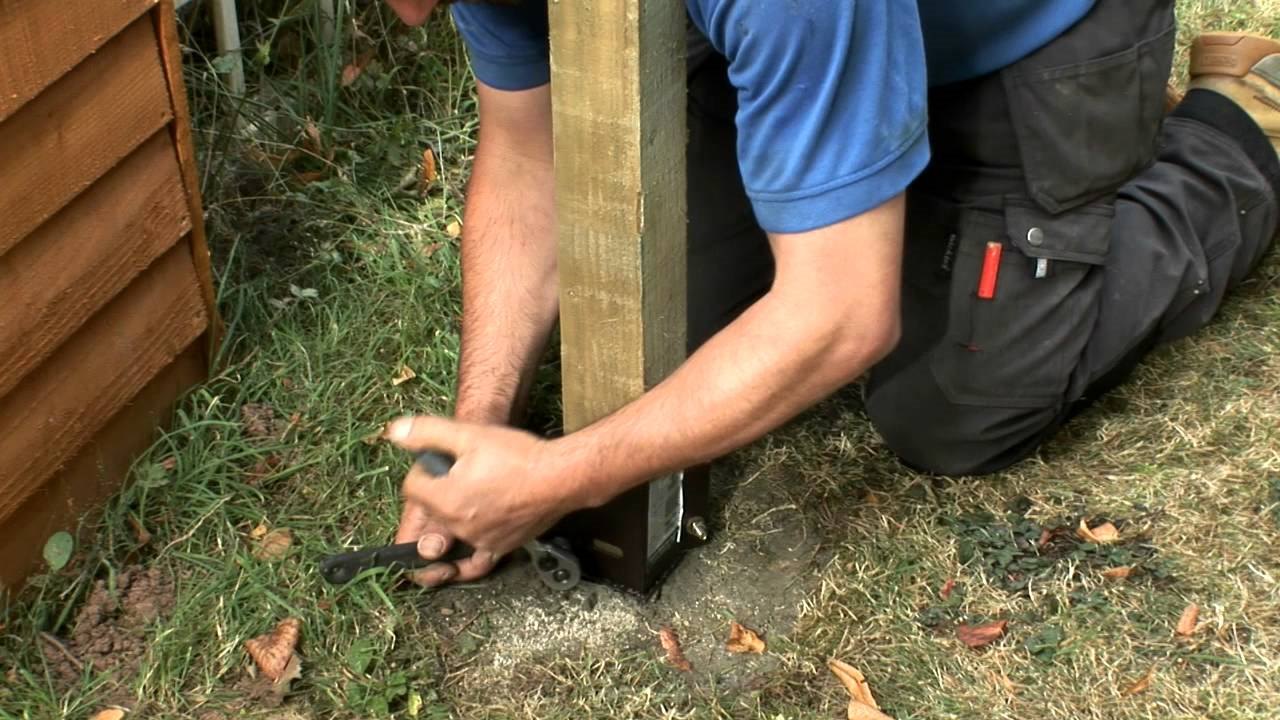
Step 8: Securing the Posts
After attaching the fence panels, the final step in setting fence posts on concrete is securing them in place. This step ensures that the fence posts are stable and able to withstand external forces. Follow these steps to properly secure the posts:
- Using clamps or brackets specifically designed for securing fence posts, attach them to the posts and the adjacent fence panels. Make sure to use the appropriate hardware and follow the manufacturer’s instructions.
- Check the alignment and positioning of the posts one last time before securing them. Adjust the posts, if needed, to maintain a straight and level fence line.
- Tighten the clamps or brackets to securely hold the posts in place. Ensure that they are snug and provide enough support to prevent any movement or shifting.
- Inspect all the secured posts to ensure that they are stable and properly aligned. Make any necessary adjustments to the clamps or brackets to ensure a secure fit.
Securing the posts is crucial to the overall stability and longevity of your fence. The clamps or brackets act as additional reinforcement, preventing any potential wobbling or shifting in the future.
By securing the fence posts, you can have peace of mind that your fence will remain in place, even during inclement weather or other external forces.
With the posts securely in place, you have successfully completed the process of setting fence posts on concrete. Take a step back and admire your finished fence, knowing that it is securely anchored and ready to serve its purpose.
By following these steps and taking your time throughout the installation process, you will ensure a sturdy, durable, and visually pleasing fence that will enhance your property for years to come.
Conclusion
Setting fence posts on concrete is a critical step in the installation and maintenance of a fence. By following the step-by-step process outlined in this guide, you can ensure that your fence is sturdy, level, and visually appealing. Properly set fence posts provide the necessary foundation for a long-lasting and reliable fence.
Throughout the process, it is important to gather all the necessary materials and tools. This includes concrete mix, water, a shovel, a level, post hole digger or auger, tape measure, wooden stakes, string, mixing bucket or wheelbarrow, trowel, clamps or brackets for securing the posts, and fence panels with appropriate hardware.
The step-by-step process includes marking the post locations, digging the holes, preparing the concrete, setting the fence posts, checking for level, allowing the concrete to dry, attaching the fence panels, and securing the posts.
Properly setting the fence posts ensures that your fence will be stable, withstand external pressure, and add beauty and privacy to your property. Taking the time to set the fence posts correctly will save you from potential repairs and issues in the future.
When working on the project, remember to pay attention to detail, properly mix the concrete, check for levelness at each step, and ensure proper drying time. These factors contribute to the overall success and durability of your fence.
By following these guidelines, you will be able to set fence posts on concrete like a pro, ensuring a fence that is not only functional but also aesthetically pleasing. So grab your tools, gather your materials, and get ready to create a fence that will enhance your property for years to come.
Frequently Asked Questions about How To Set Fence Post On Concrete
Was this page helpful?
At Storables.com, we guarantee accurate and reliable information. Our content, validated by Expert Board Contributors, is crafted following stringent Editorial Policies. We're committed to providing you with well-researched, expert-backed insights for all your informational needs.


0 thoughts on “How To Set Fence Post On Concrete”