Articles
How To Install Metal Posts For Wood Fence
Modified: January 8, 2024
Learn how to install metal posts for your wood fence with our informative articles. Follow our step-by-step guide for a durable and long-lasting fence installation.
(Many of the links in this article redirect to a specific reviewed product. Your purchase of these products through affiliate links helps to generate commission for Storables.com, at no extra cost. Learn more)
Introduction
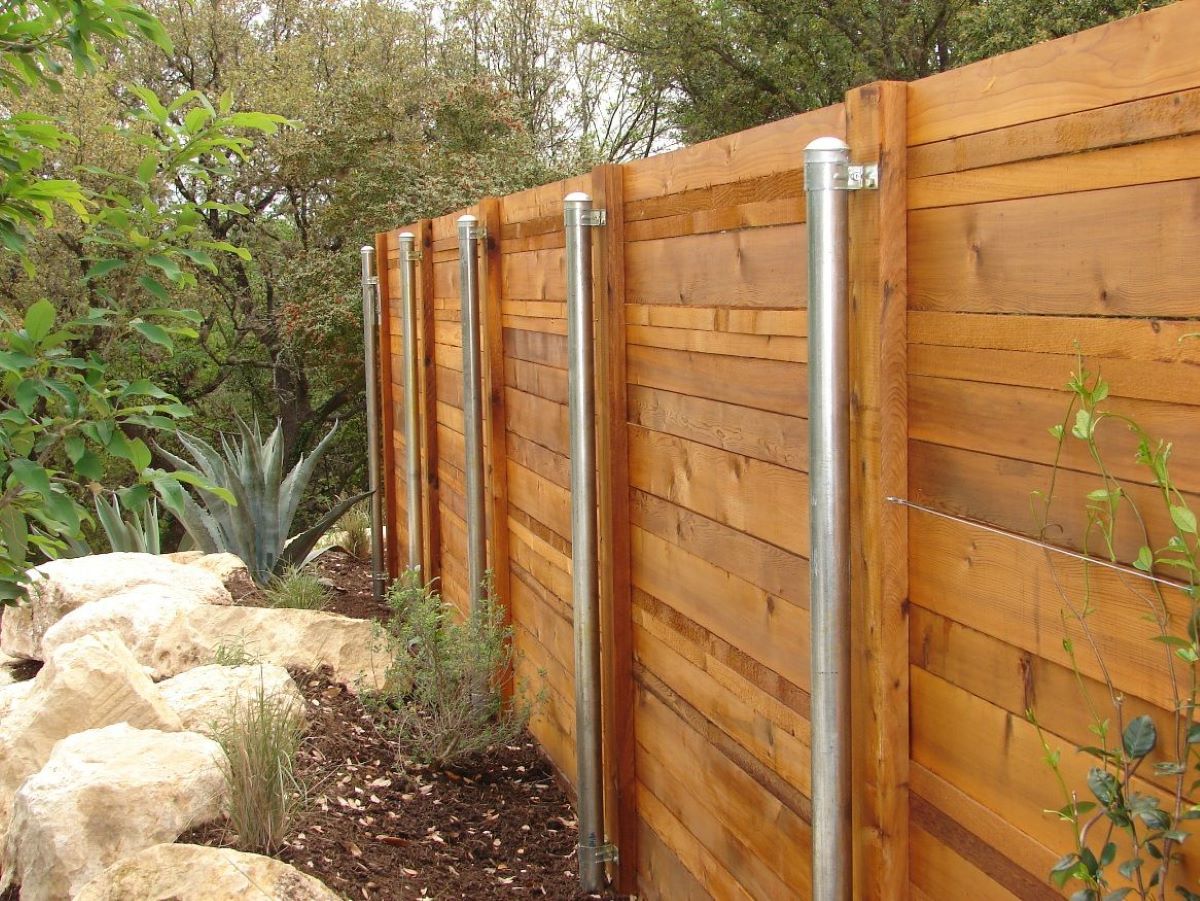
Installing a wood fence can provide both privacy and aesthetic appeal to your property. While traditional wooden fence posts are commonly used, metal posts offer a more durable and long-lasting alternative. Metal posts are resistant to rot and can withstand harsh weather conditions, making them an excellent choice for supporting your wood fence. In this article, we will guide you through the step-by-step process of installing metal posts for a wood fence.
Before you begin the installation, it’s important to gather the necessary tools and materials. This will help ensure that you have everything you need to complete the project efficiently. Let’s take a look at the tools and materials you will need for this task.
Key Takeaways:
- Installing metal posts for a wood fence offers durability and longevity. By following the step-by-step process, you can achieve a sturdy and visually appealing fence that enhances your property’s privacy and aesthetic appeal.
- Prioritize safety, use the right tools, and pay attention to detail to achieve professional results. Regular maintenance and inspections will help prolong the lifespan of your wood fence with metal posts, ensuring long-term enjoyment of your DIY accomplishment.
Read more: How To Install Metal Fence Post
Tools and Materials Needed
Before you start installing metal posts for your wood fence, it’s important to gather the necessary tools and materials. Here’s a list of what you’ll need:
- Post hole digger: This tool is essential for digging the holes where the metal posts will be inserted.
- Level: You’ll need a level to ensure that the metal posts are straight and level.
- Tape measure: Use a tape measure to accurately mark the locations for the metal posts and determine the spacing between them.
- Concrete: Concrete is needed to secure the metal posts in the ground and provide stability.
- Quick-setting cement: Quick-setting cement is a fast-drying option that allows you to expedite the installation process.
- Wood fence panels: You will need wood fence panels to attach to the metal posts. Make sure you have enough panels to cover the desired length of your fence.
- Screws or nails: You’ll need screws or nails to attach the wood fence panels to the metal posts securely.
- Drill or screwdriver: Depending on your preference, you can use a drill or screwdriver to attach the wood fence panels to the metal posts.
- Leveling gravel or sand: This material is used to create a stable base for the metal posts.
- Safety gear: Don’t forget to wear gloves, safety glasses, and any other necessary protective gear when handling tools and materials.
Once you have gathered all the tools and materials listed above, you’re ready to move on to the next step: marking the post locations.
Step 1: Marking the Post Locations
Before you can start digging the post holes, you’ll need to accurately mark the locations where the metal posts will be inserted. Here’s how you can do that:
- Measure and mark the desired spacing between each metal post. Use a tape measure to ensure consistent spacing throughout your fence.
- Using a can of marking paint or a stake, mark the center point of each post location on the ground. Make sure the marks are visible and easily distinguishable.
- Connect the marked points using a string or chalk line to create a straight line where the fence will be installed. This line will serve as a guide for digging the post holes.
- Double-check your measurements and adjust the markings if necessary.
Once you have marked the post locations, you are ready to move on to the next step: digging the post holes.
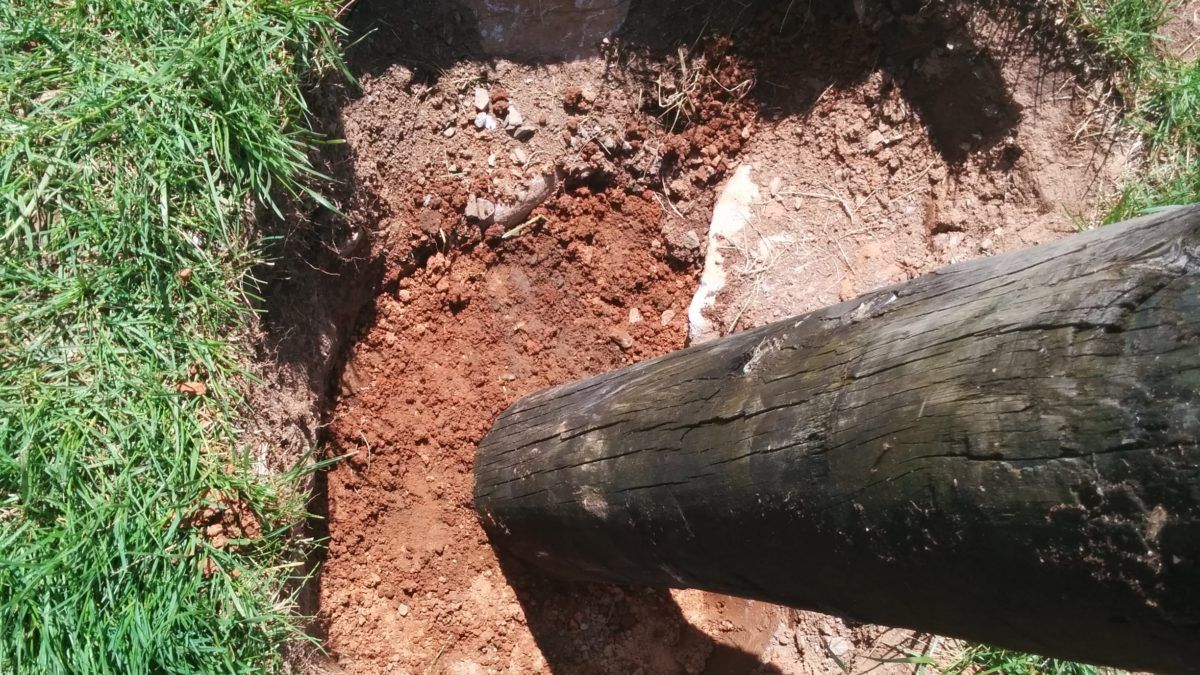
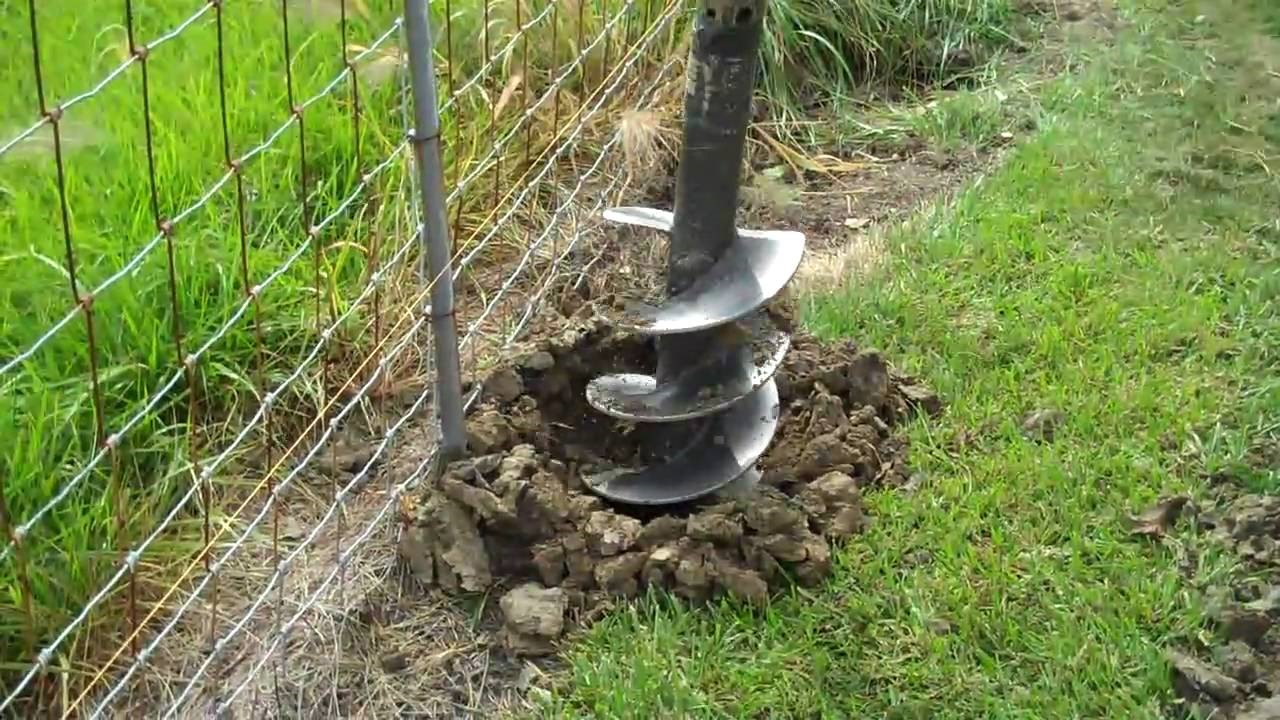
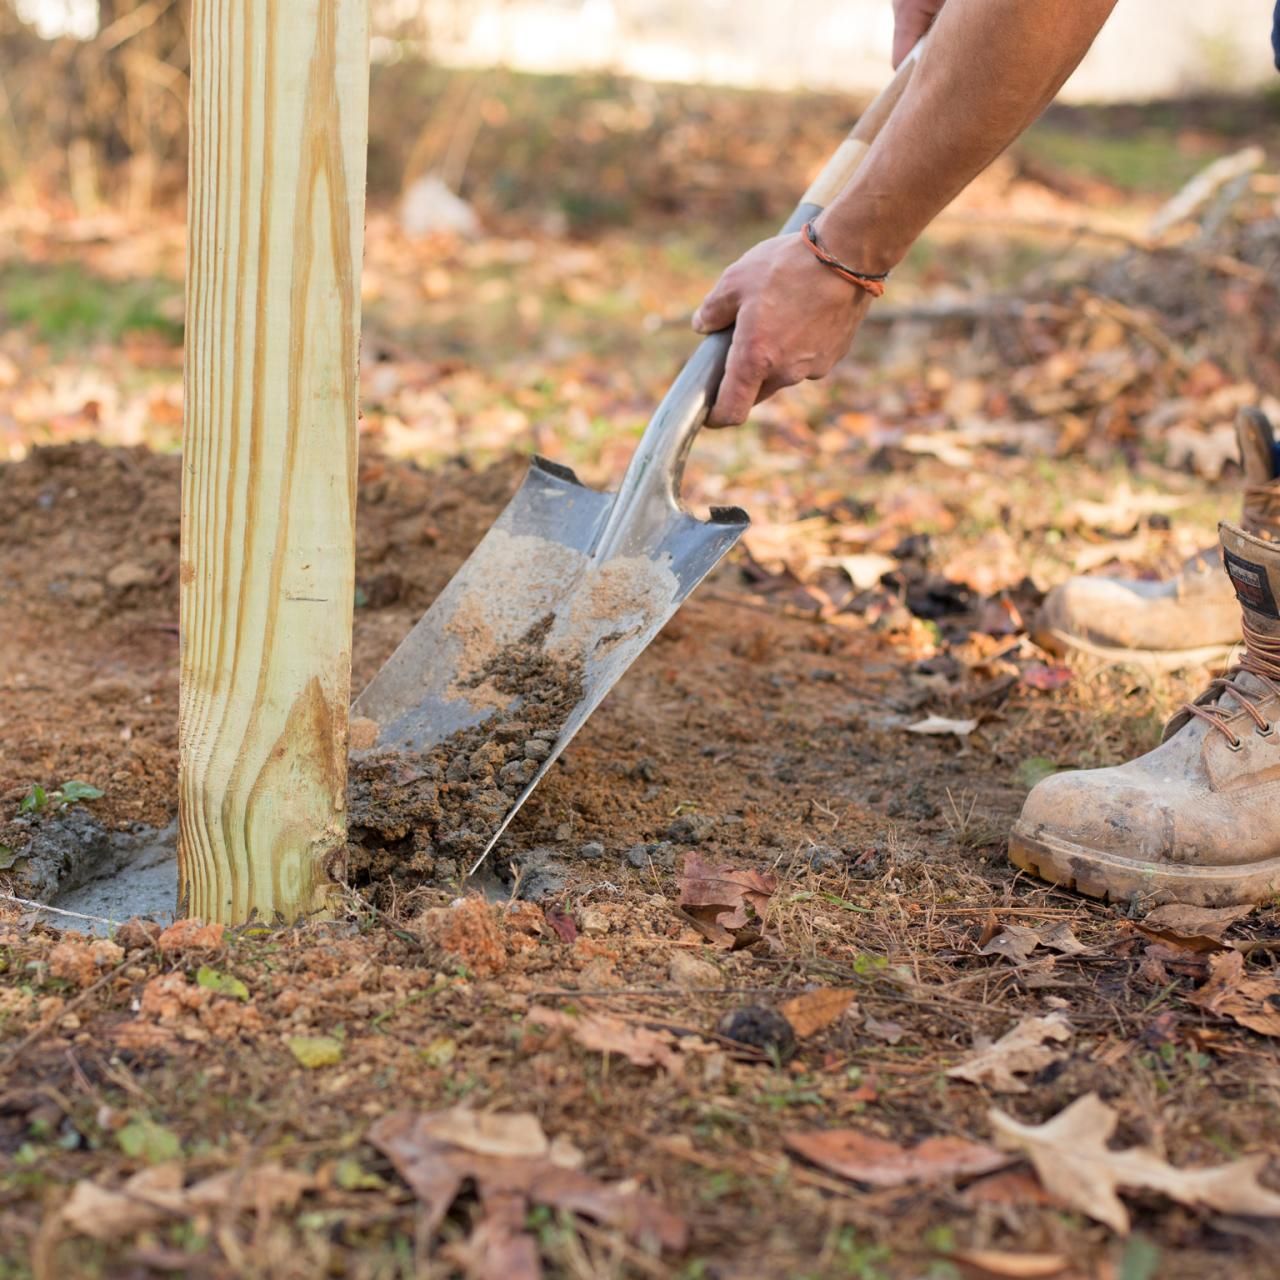
Step 2: Digging the Post Holes
Now that you have marked the locations for the metal posts, it’s time to start digging the post holes. Follow these steps to dig the holes:
- Using a post hole digger, start digging a hole at the first marked location. The hole should be deep enough to accommodate about one-third of the length of the metal post.
- Continue digging the remaining post holes, ensuring that they are consistent in depth and width. The width of the hole should be wider than the diameter of the metal post to allow for proper placement and stability.
- As you dig, periodically check the depth of the hole using a tape measure or by comparing it to the length of the metal post.
- Remove any debris or excess dirt from the holes to ensure a clean and level surface for inserting the metal posts.
Once you have completed digging the post holes, it’s time to move on to the next step: inserting the metal posts.
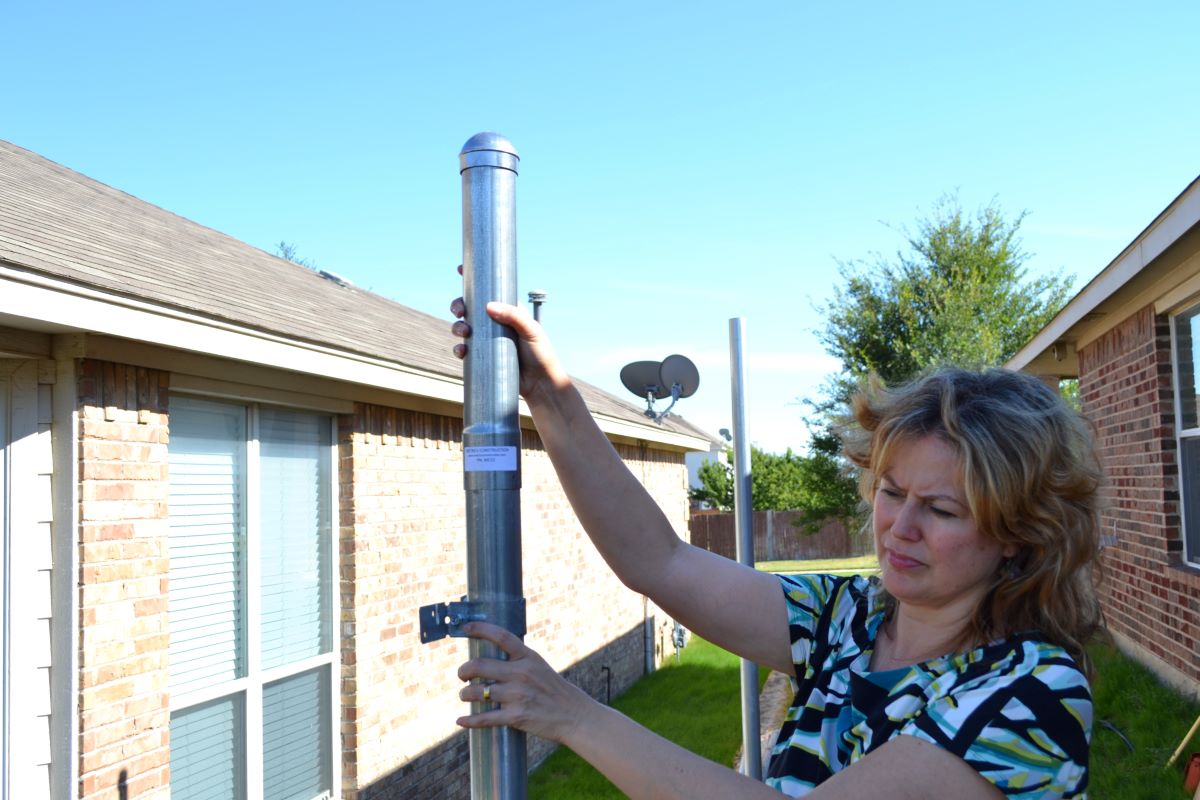
Step 3: Inserting the Metal Posts
After digging the post holes, it’s time to insert the metal posts. Follow these steps to ensure proper installation:
- Begin by placing a leveling gravel or sand at the bottom of each hole. This will help to stabilize the metal posts and ensure proper drainage.
- Lower the metal post into the hole, making sure it is centered and straight.
- Use a level to ensure that the post is perfectly vertical. Adjust the post as necessary until it is level in all directions.
- Repeat these steps for each metal post, inserting them into their respective holes and checking for levelness.
Once all the metal posts are inserted and leveled, you’re ready to move on to the next step: securing the metal posts.
When installing metal posts for a wood fence, make sure to dig the post holes at least 2 feet deep for stability. Use a level to ensure the posts are straight before securing them with concrete.
Read more: How To Attach Wire Fence To Wood Post
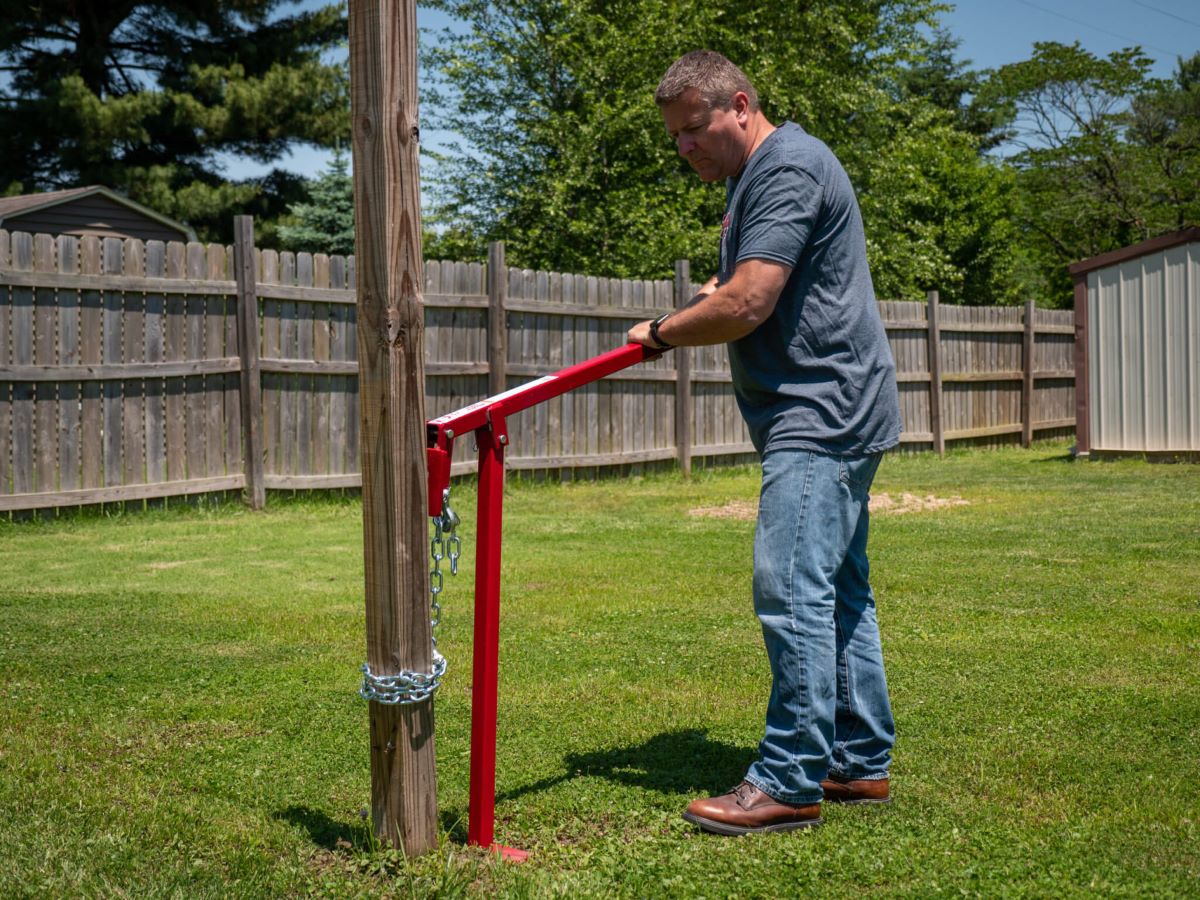
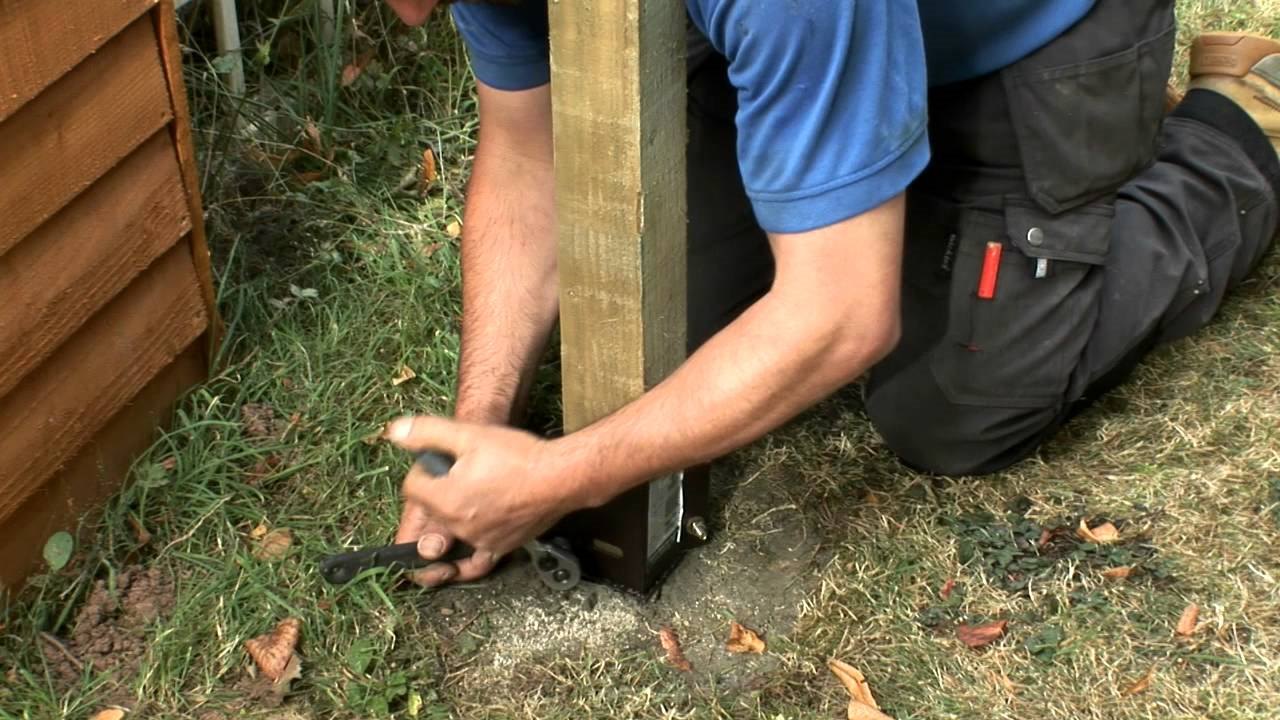
Step 4: Securing the Metal Posts
Now that the metal posts are inserted into the holes, it’s time to secure them in place. Follow these steps to ensure the posts are properly secured:
- Pour concrete around the base of each metal post to provide stability and reinforcement. Make sure to follow the manufacturer’s instructions for mixing and applying the concrete.
- Use a trowel to smooth the surface of the concrete around each post, ensuring it is level and evenly distributed.
- Allow the concrete to dry and cure according to the manufacturer’s instructions.
- Once the concrete is fully dried and cured, double-check the stability of each metal post. Give them a gentle shake to ensure they are firmly set in the ground.
With the metal posts securely in place, you can now proceed to the next step: attaching the wood fence panels.
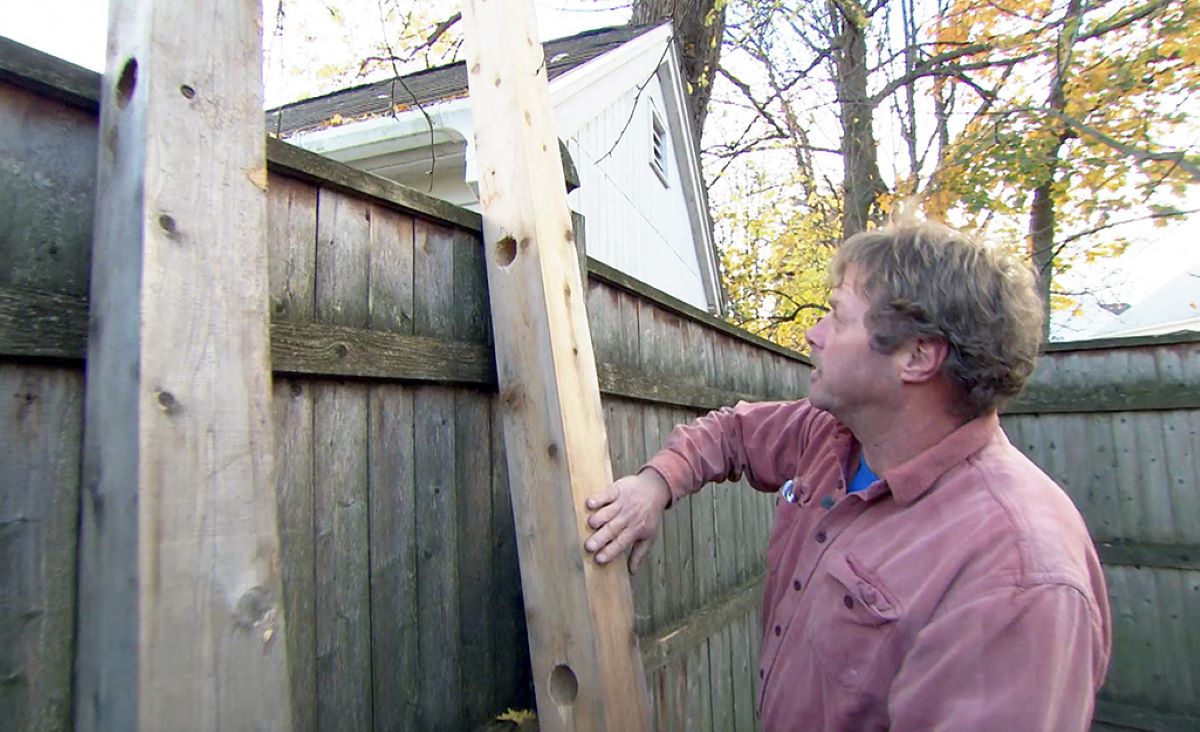
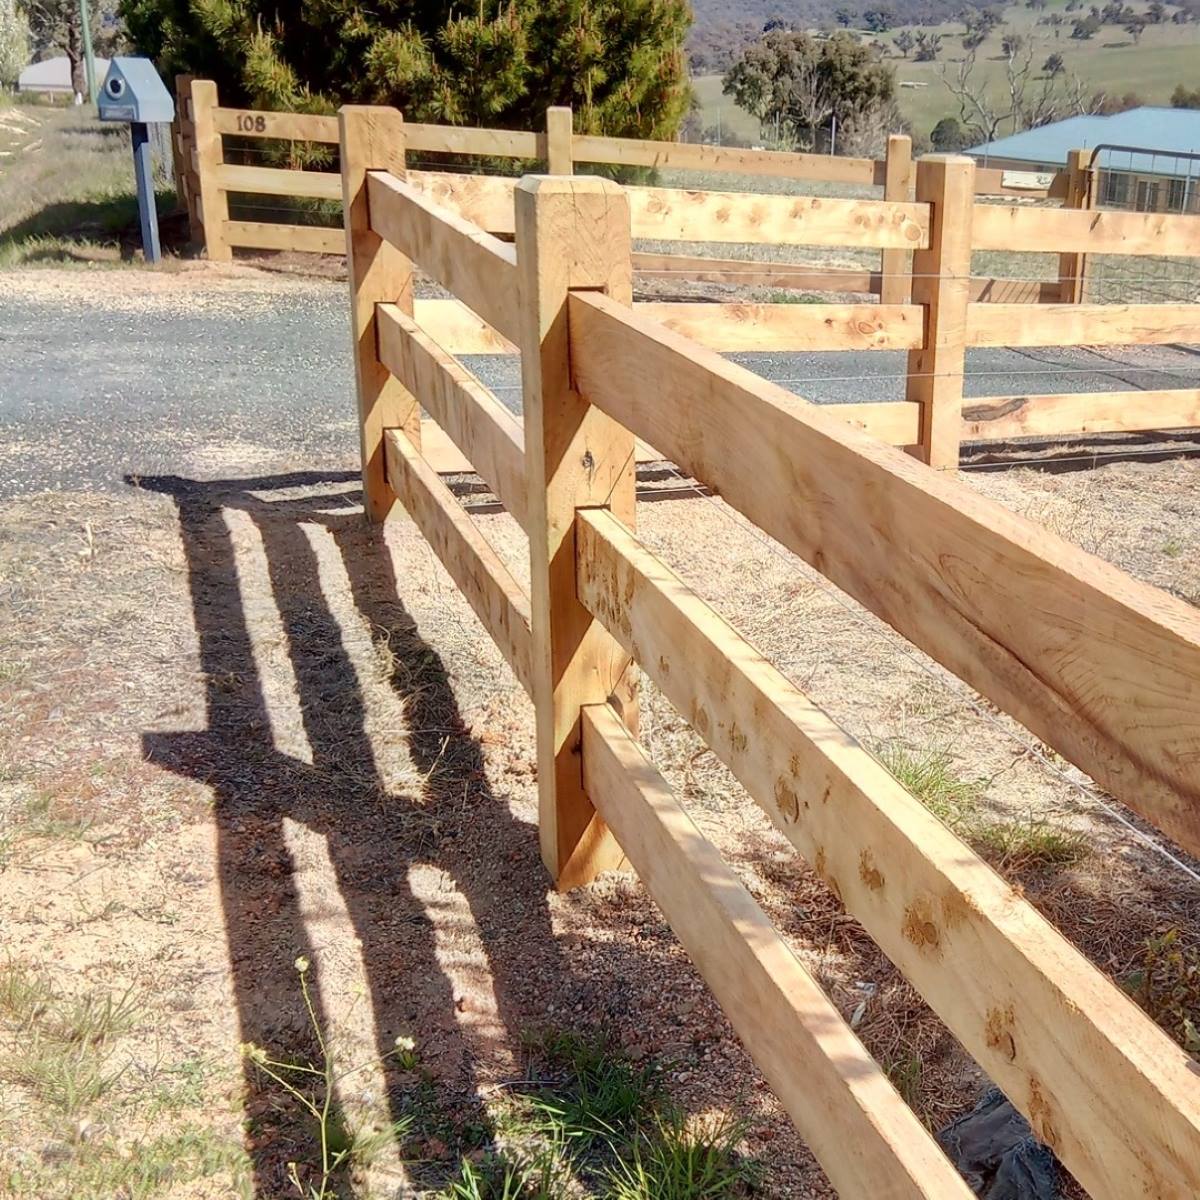
Step 5: Attaching the Wood Fence Panels
Now that the metal posts are securely in place, it’s time to attach the wood fence panels. Follow these steps to complete the installation:
- Measure the length between two metal posts to determine the size of the wood fence panel needed.
- Place the first wood fence panel against the metal posts, ensuring that it is level and aligned properly.
- Use screws or nails to attach the wood fence panel to the metal posts. Make sure to place the fasteners at equal distances along the top, bottom, and sides of the panel for stability.
- Repeat the process for each wood fence panel, making sure to leave a small gap between each panel to allow for expansion and contraction due to weather conditions.
- Check the alignment and levelness of each wood fence panel as you go along, adjusting if necessary.
Once all the wood fence panels are securely attached to the metal posts, you’re ready for the final step: finishing touches.
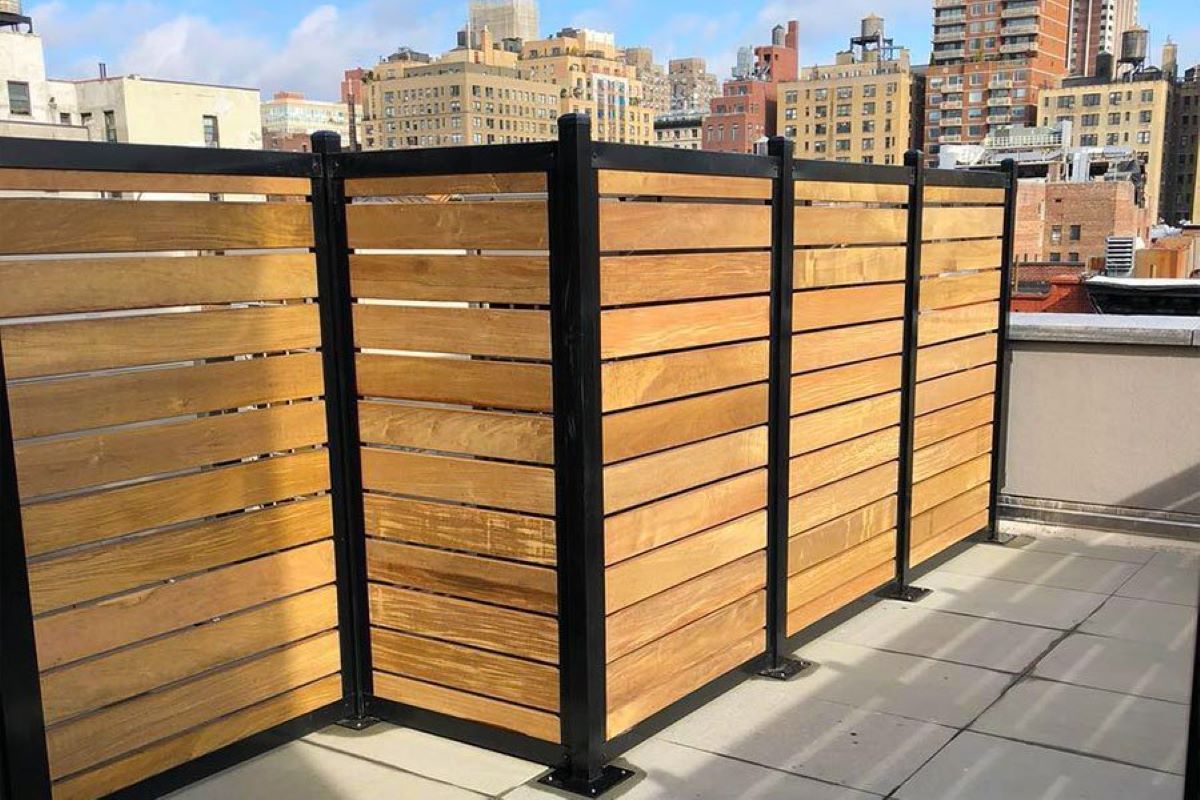
Step 6: Finishing Touches
With the wood fence panels securely attached to the metal posts, it’s time to add the finishing touches to complete the installation. Follow these steps to give your fence a polished appearance:
- Inspect the entire fence to ensure that all screws or nails are securely fastened and there are no loose parts.
- If desired, you can apply a protective coat of paint or stain to the wood fence panels to enhance their durability and appearance. Make sure to choose a paint or stain suitable for outdoor use.
- Clean up any debris or excess dirt around the fence area to create a neat and tidy finish.
- Consider adding decorative elements, such as post caps or trellises, to enhance the aesthetic appeal of your fence.
- Regularly maintain and inspect your fence to ensure its longevity. This may include repainting or restaining, replacing damaged panels, and addressing any structural issues that arise.
With the finishing touches complete, you can now step back and admire your newly installed wood fence supported by sturdy metal posts. Not only will it provide privacy and security, but it will also add a beautiful touch to your property.
Remember, if you’re unsure about any part of the installation process, it’s always a good idea to consult with a professional or seek guidance from an experienced DIY enthusiast. Safety should be a priority throughout the installation process, so make sure to use protective gear and follow all safety guidelines.
Enjoy the benefits of your newly installed wood fence with metal posts and relish in the sense of accomplishment that comes with completing a successful fence installation project.
Conclusion
Installing metal posts for a wood fence can be a rewarding DIY project that provides durability and longevity to your fence. By following the step-by-step process outlined in this article, you can ensure a successful installation and enjoy the benefits of a sturdy and attractive fence.
From marking the post locations to securing the metal posts and attaching the wood fence panels, each step plays a vital role in creating a well-built and visually appealing fence. By using the right tools, following proper techniques, and paying attention to detail, you can achieve professional results.
Remember to prioritize safety and take necessary precautions when handling tools and materials. Wear appropriate safety gear, such as gloves and safety glasses, and ensure the work area is clear of hazards.
Regular maintenance and inspections will help prolong the lifespan of your wood fence with metal posts. Keep an eye out for any signs of damage, such as loose panels or deteriorating posts, and address them promptly to prevent further issues.
With your new wood fence in place, you can enjoy increased privacy, security, and aesthetic appeal to your property. Take pride in your DIY accomplishment and enjoy the beauty and functionality your fence adds to your outdoor space.
Now that you have the knowledge and guidance to install metal posts for a wood fence, it’s time to get started on your project. Follow each step, stay patient, and enjoy the process of creating a fence that will stand the test of time.
Frequently Asked Questions about How To Install Metal Posts For Wood Fence
Was this page helpful?
At Storables.com, we guarantee accurate and reliable information. Our content, validated by Expert Board Contributors, is crafted following stringent Editorial Policies. We're committed to providing you with well-researched, expert-backed insights for all your informational needs.

0 thoughts on “How To Install Metal Posts For Wood Fence”