Articles
How To Build A Post And Rail Fence
Modified: May 6, 2024
Learn the step-by-step process of building a durable post and rail fence with our comprehensive articles. Expert tips and techniques for a successful DIY project.
(Many of the links in this article redirect to a specific reviewed product. Your purchase of these products through affiliate links helps to generate commission for Storables.com, at no extra cost. Learn more)
Introduction
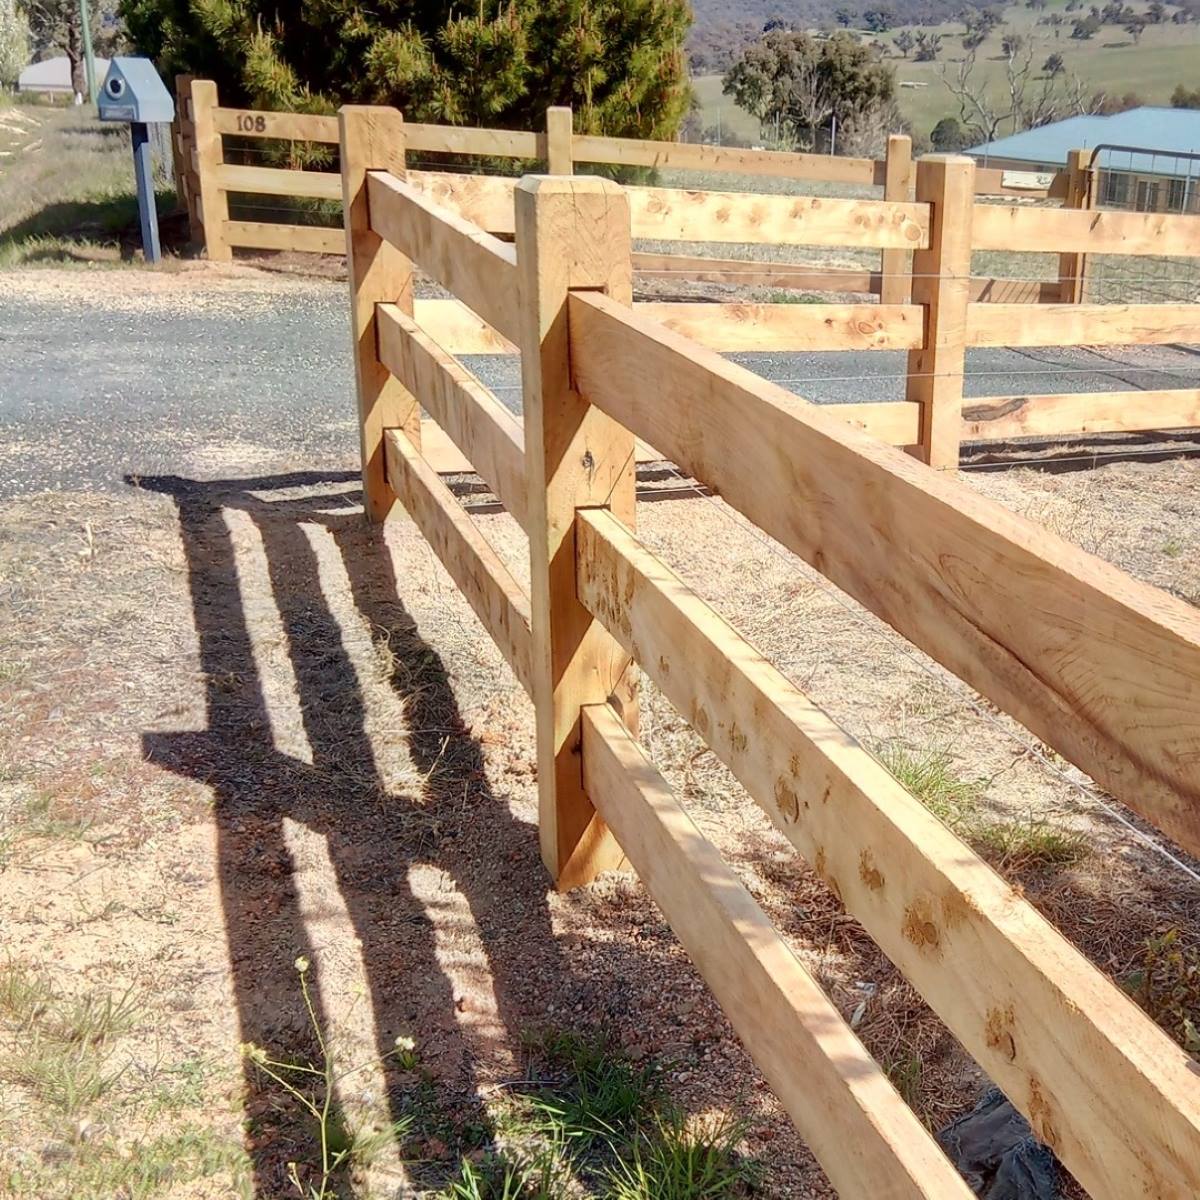
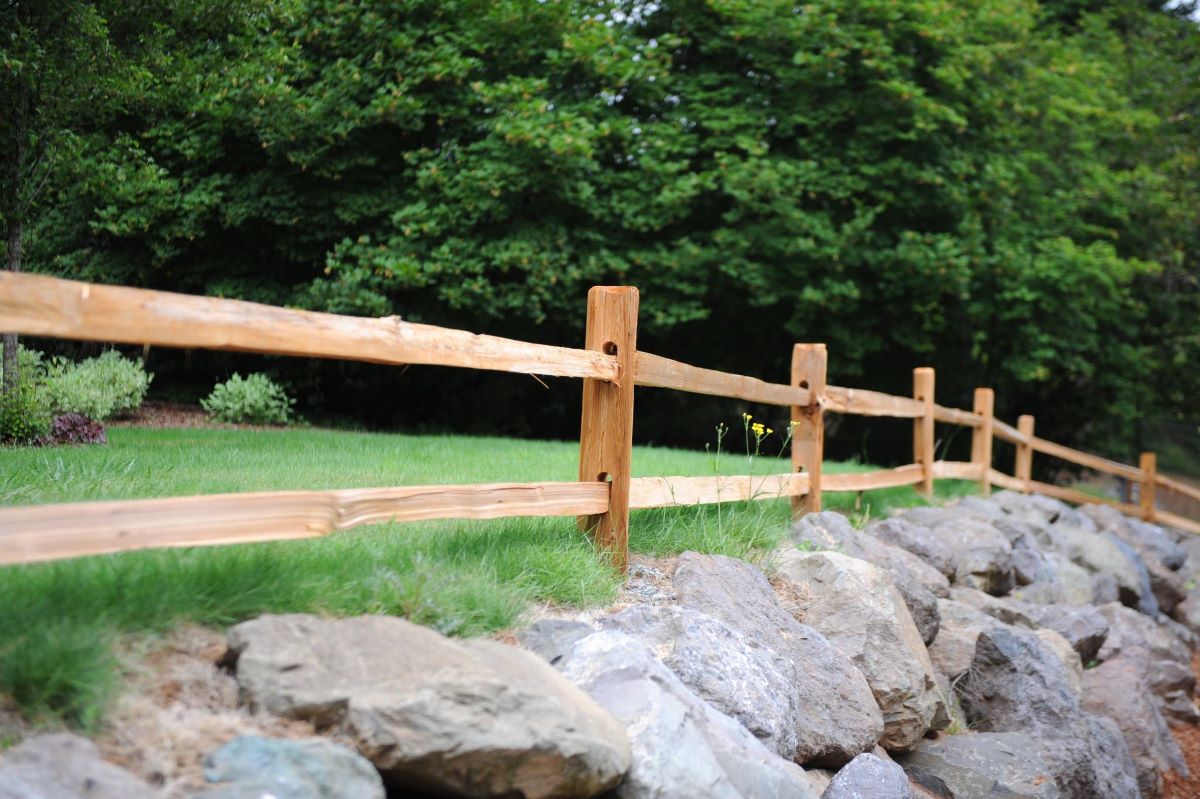
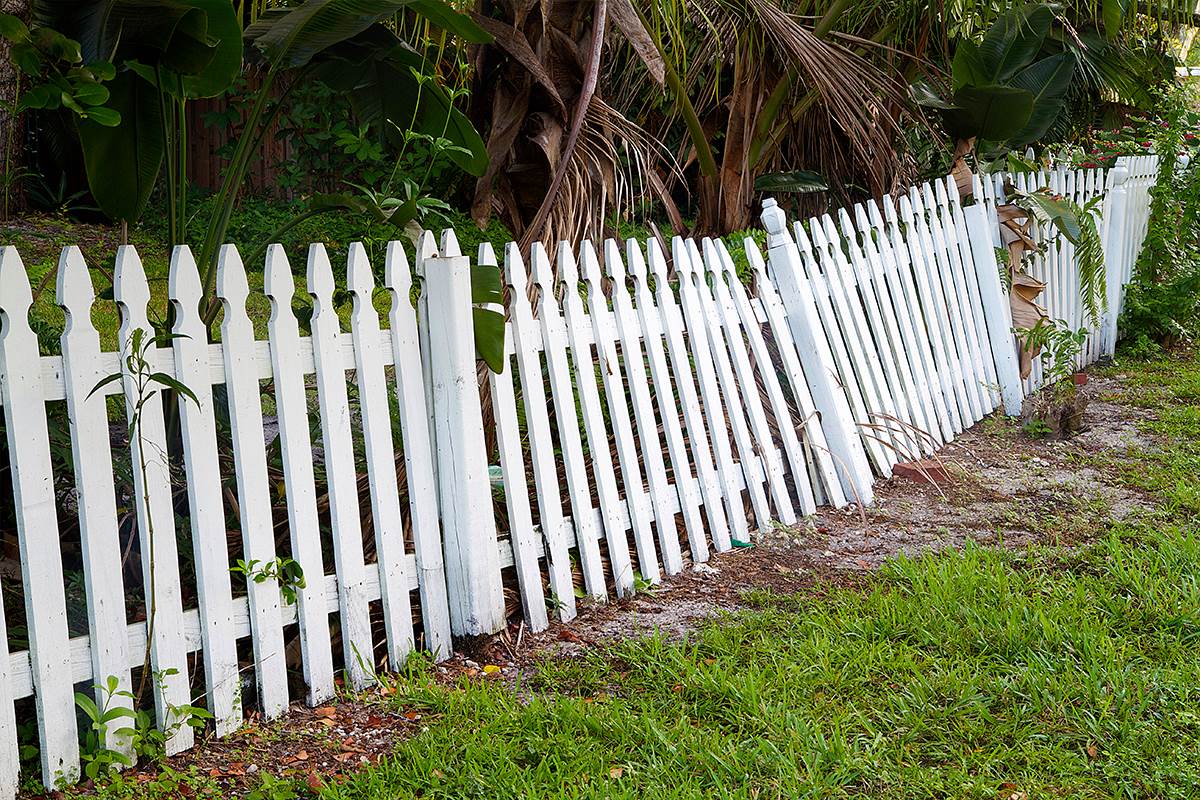
Building a post and rail fence is a popular choice for homeowners who want to add a rustic and charming touch to their property. This type of fence, also known as a split rail fence, consists of horizontal wooden rails supported by vertical wooden posts. It offers an open and natural look that blends well with various landscapes.
Not only does a post and rail fence add aesthetic appeal, but it also serves practical purposes. It can define property boundaries, provide a safe enclosure for pets or livestock, and create a barrier to keep unwanted animals out. Additionally, a well-built post and rail fence can enhance privacy while still maintaining an open feel.
In this guide, we will walk you through the process of building a post and rail fence. From the materials needed to the step-by-step installation instructions, you will have all the information necessary to create a sturdy and visually appealing fence that stands the test of time.
Before you start, it’s important to note that local regulations and homeowner association guidelines may dictate specific requirements or limitations for building fences in your area. Be sure to check with the relevant authorities or consult your local building codes to ensure compliance.
Now, let’s explore the materials needed for this project.
Key Takeaways:
- Building a post and rail fence not only adds rustic charm but also serves practical purposes such as defining property boundaries and providing a safe enclosure for pets or livestock.
- Proper planning, precise installation of posts and rails, and regular maintenance are essential for creating a sturdy and visually appealing post and rail fence that stands the test of time.
Read more: How To Build Split Rail Fence
Materials Needed
Before you begin building your post and rail fence, gather the following materials:
- Wood posts: These vertical supports provide the foundation for your fence. Choose sturdy and durable wood, such as treated pine or cedar, that can withstand the elements and last for years.
- Wooden rails: The horizontal elements of the fence, the rails are attached to the posts and provide stability and support. Consider using pressure-treated or rot-resistant wood for longevity.
- Nails or screws: You will need these fasteners to secure the rails to the posts. Use galvanized or stainless steel nails or screws for outdoor applications to prevent rusting.
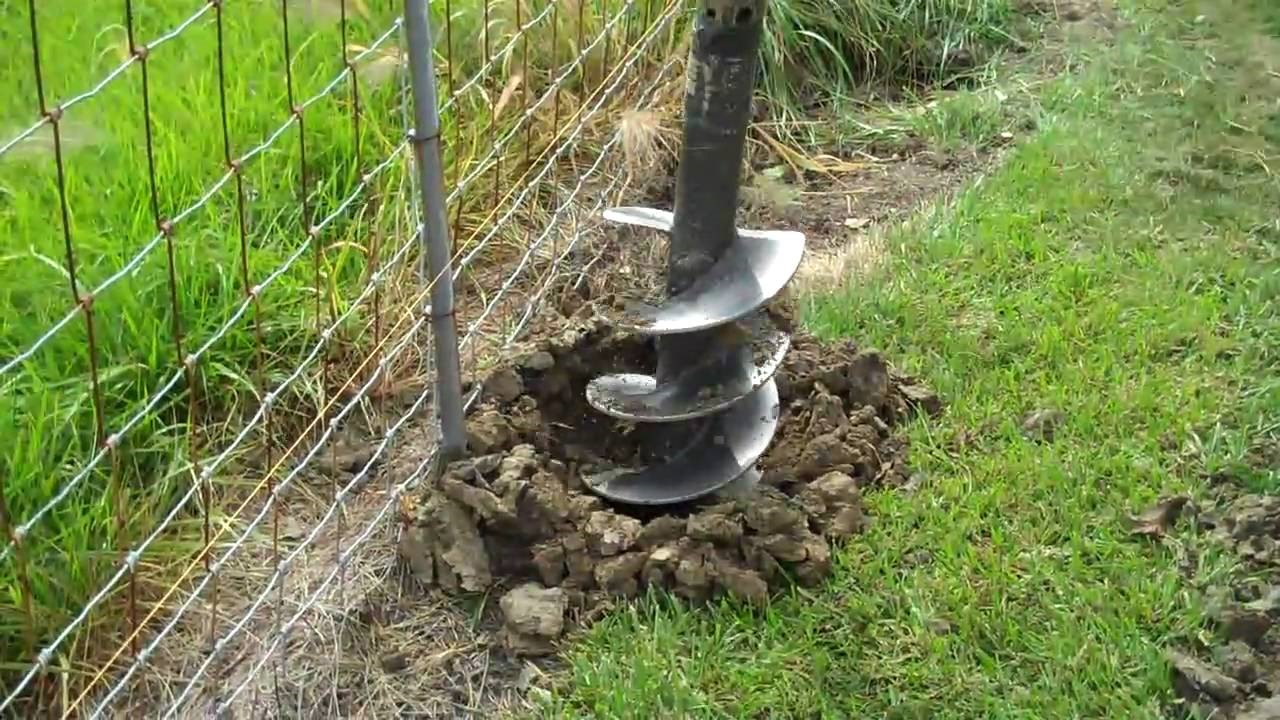
- Post hole digger: This tool is essential for digging the holes where the posts will be installed. A manual post hole digger is suitable for smaller projects, while larger projects may require a powered auger.
- Measuring tape: Accurate measurements are crucial for a properly aligned and balanced fence. Use a measuring tape to determine the spacing between posts and rails.
- Level: A level ensures that your posts and rails are installed straight and level. It helps maintain the structural integrity and visual appeal of your fence.
- Quick-setting concrete: To ensure stability and prevent posts from shifting over time, use quick-setting concrete to secure them in the ground. Quick-setting concrete reduces the curing time and speeds up the installation process.
- Hammer: A hammer is necessary for driving nails into the wood. Choose a hammer with a comfortable grip and sufficient weight for efficient and effective installation.
- Saw: A saw is required for cutting the wooden rails to the desired length. Depending on the type of wood and your preference, you can use a handsaw, circular saw, or miter saw.
Having these materials on hand will ensure a smooth and efficient construction process. Now that you have everything ready, let’s move on to the planning and preparation stage.
Planning and Preparation
Before diving into the construction of your post and rail fence, proper planning and preparation are essential. This phase ensures that you have a clear understanding of the project requirements and can proceed with confidence. Here are the key steps involved in the planning and preparation stage:
- Checking local regulations: Contact your local authorities or homeowner association to determine any specific regulations or restrictions regarding fence construction. These may include height limitations, setback requirements, or other guidelines that need to be followed.
- Determining fence layout: Decide on the layout of your fence, considering factors such as the property lines, terrain, and any existing structures or obstacles. A well-planned layout ensures optimal functionality and aesthetics.
- Marking the locations of posts: Once the fence layout is finalized, use stakes and string to mark the locations where the posts will be installed. This step allows you to visualize the fence line and ensures accurate positioning of the posts.
- Measuring and cutting the rails: Measure the desired length for the horizontal rails based on the fence layout. Use a saw to cut the rails to the appropriate size. Remember to account for any space required between rails for the overall look and functionality of the fence.
By checking local regulations, determining the fence layout, marking post locations, and measuring and cutting the rails, you are setting yourself up for success during the construction phase. These steps help ensure that the fence adheres to regulations, fits the designated area, and is built with precision.
Now that the planning and preparation are complete, it’s time to move on to the installation process, starting with the corner and end posts. Let’s continue with the next section.
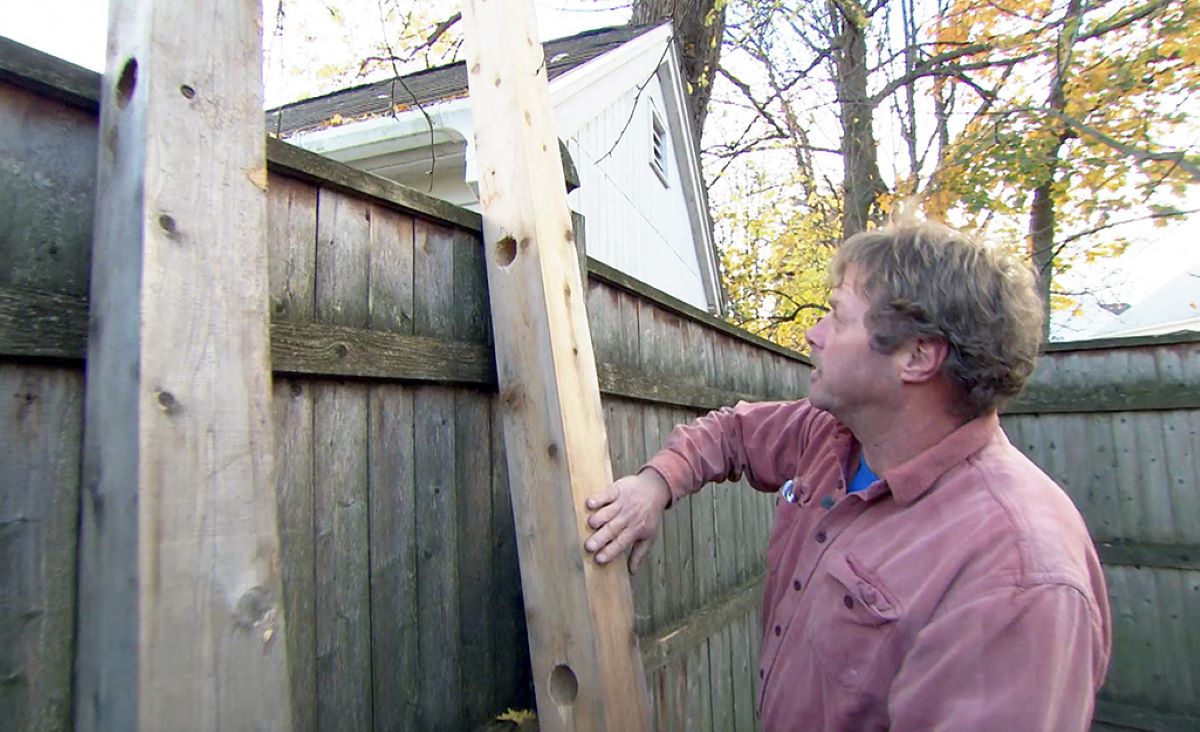
Installing Corner and End Posts
The corner and end posts are crucial for providing stability and defining the boundaries of your post and rail fence. Follow these steps to properly install these important components:
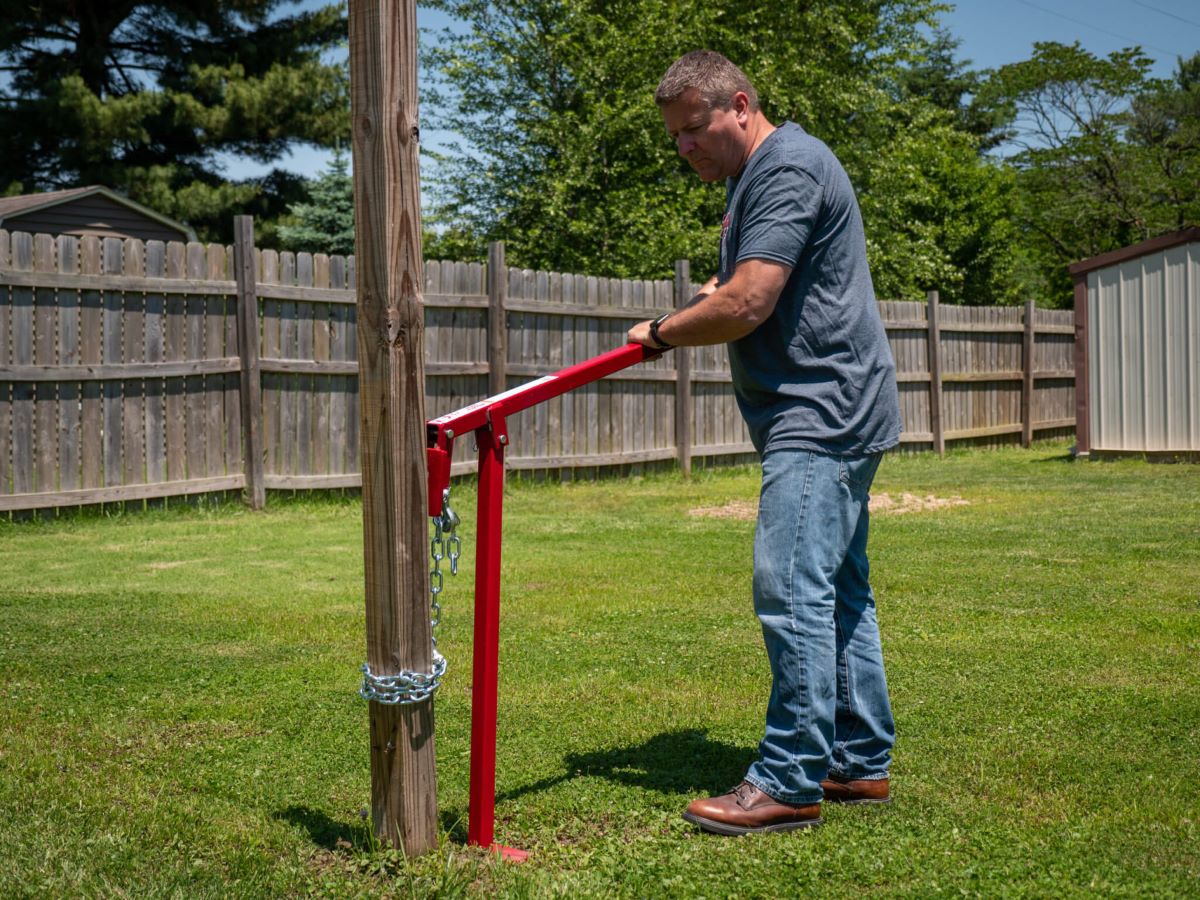
- Digging post holes: Use a post hole digger to dig holes for the corner and end posts. The depth of the holes should be approximately one-third the height of the posts. Ensure that the holes are deep and wide enough to accommodate the posts securely.
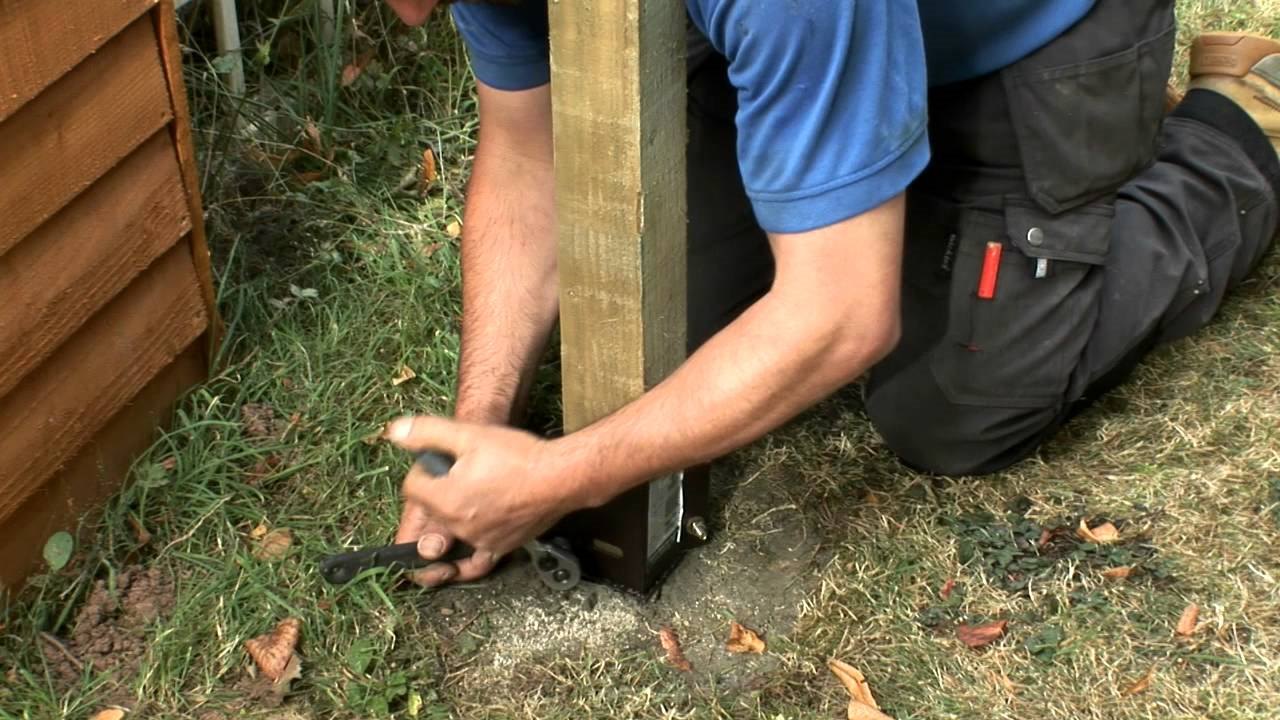
- Setting corner and end posts: Place the corner and end posts into the prepared holes. Position them vertically and adjust their alignment as necessary. Use a level to ensure that the posts are straight and plumb in all directions.
- Ensuring proper alignment and leveling: Once the posts are in position, check that they are properly aligned and level with each other. Adjust as needed, adding or removing soil from the bottom of the holes to achieve the desired alignment. Temporary braces may be used to hold the posts steady while you check their alignment.
It’s important to ensure that the corner and end posts are securely set in place and properly aligned. These posts provide the foundation and stability for the entire fence, so taking the time to do this step correctly is crucial.
Now that the corner and end posts are installed, it’s time to move on to the installation of the intermediate posts. This will help to further distribute the weight and provide additional support to the fence. Let’s continue with the next section.
When building a post and rail fence, make sure to set the corner and end posts first, then evenly space the intermediate posts to ensure a sturdy and visually appealing fence line.
Installing Intermediate Posts
After installing the corner and end posts for your post and rail fence, it’s time to proceed with the installation of the intermediate posts. These posts provide additional support and stability to the fence structure. Follow these steps to install the intermediate posts:
- Digging post holes at regular intervals: Use a post hole digger to dig holes for the intermediate posts along the fence line. The spacing between these posts will depend on your desired design and the length of your rails. A standard spacing is usually between 6 to 10 feet.
- Setting intermediate posts in the ground: Place the intermediate posts into the prepared holes, ensuring that they are aligned with the corner and end posts. Adjust their position as necessary, making sure they are vertically straight and level with the surrounding posts.
When setting the intermediate posts, it’s crucial to maintain consistency in spacing and alignment. This helps to ensure that the rails will be positioned correctly and that the overall appearance of the fence is visually appealing.
By installing the intermediate posts, you are adding stability and support to the post and rail fence. These additional posts help to distribute the weight evenly along the fence line, reducing the potential for sagging or leaning over time.
With the intermediate posts installed, the next step is to attach the rails and add bracing to further reinforce the structure. Let’s move on to the next section.
Read more: How To Build A Wire Fence With T-Posts
Attaching Rails and Bracing
Now that you have installed the corner, end, and intermediate posts for your post and rail fence, it’s time to attach the rails and add bracing for additional support. Follow these steps for a secure and sturdy fence:
- Attaching rails to posts: Begin by positioning the first rail at the desired height, usually a few inches above the ground. Use nails or screws to secure the rail to the posts, ensuring that it is level and firmly attached. Repeat this process for each rail, evenly spacing them along the length of the fence.
- Adding bracing for additional support: Depending on the length of your fence and the terrain, it may be necessary to add bracing to reinforce the structure. Bracing involves attaching additional wooden pieces diagonally from the corners or ends of the fence to provide extra stability. This helps to prevent the fence from leaning or shifting over time.
When attaching the rails, ensure that they are securely fastened to the posts using nails or screws that are appropriate for outdoor use. It’s important to maintain a consistent level and alignment throughout the fence to achieve a professional and visually pleasing result.
Adding bracing is particularly important for longer fences or areas with uneven terrain. The diagonal bracing provides additional support against lateral forces and helps to maintain the integrity of the fence over time.
By following these steps to attach the rails and add bracing, you are reinforcing the structure of your post and rail fence, making it more durable and resilient. With the installation complete, a few finishing touches will give your fence a polished look. Let’s move on to the next section.
Finishing Touches
With the main construction of your post and rail fence complete, it’s time to add the finishing touches to ensure its stability, longevity, and overall appearance. Follow these final steps for a professionally finished fence:
- Checking for stability and adjust as needed: Take a moment to inspect the fence for any signs of instability or misalignment. Check that all posts are securely set in the ground and that the rails are properly attached. If you notice any areas that require adjustment, make the necessary changes to ensure the stability and integrity of the fence.
- Applying finish or sealer to wood: If you chose to use untreated wood for your fence, it’s recommended to apply a protective finish or sealer. This helps to prevent rot, decay, and insect damage, extending the lifespan of your fence. Follow the manufacturer’s instructions for application, and allow sufficient drying time before interacting with the fence.
- Cleaning up the worksite: Once the fence construction is finished, clean up the worksite by removing any debris, excess materials, or tools. Dispose of waste responsibly and ensure that the area around the fence is clear and tidy.
By checking for stability, applying a finish or sealer, and cleaning up the worksite, you’re adding the final touches that will enhance the longevity and appearance of your post and rail fence. Regular maintenance, such as cleaning and refinishing, will help to keep your fence looking great for years to come.
Congratulations! You have successfully built your post and rail fence. Not only does it add functionality and property value, but it also enhances the overall aesthetic appeal of your outdoor space. Enjoy the beauty and charm of your new fence!
If you have any questions or need further assistance, don’t hesitate to consult with a professional or refer to additional resources specific to your region or type of fence.
Happy fencing!
Conclusion
Building a post and rail fence is a rewarding project that adds both practicality and charm to your property. By following the steps outlined in this guide, you have learned how to construct a sturdy and visually appealing fence that withstands the test of time.
Throughout the process, you have gathered the necessary materials, planned and prepared for the installation, and meticulously executed each step. From checking local regulations to setting the corner, end, and intermediate posts, attaching the rails, adding bracing, and applying finishing touches, you have created a fence that not only serves its purpose but enhances the overall aesthetics of your outdoor space.
Remember to regularly inspect and maintain your post and rail fence. Check for any signs of damage, perform necessary repairs promptly, and clean and refinish the wood as needed. This will ensure that your fence remains in top condition and continues to be a source of pride for years to come.
It’s important to note that while this guide provides a general overview of the construction process, the specific details may vary depending on your location, local regulations, and personal preferences. Be sure to consult with professionals or refer to additional resources that are relevant to your specific situation.
So, go ahead and enjoy the beauty, functionality, and the classic charm of your newly built post and rail fence. Whether it’s enclosing your garden, defining property boundaries, or adding a touch of rustic elegance to your landscape, your fence will surely be a standout feature.
Thank you for choosing this guide to help you with your post and rail fence project. Happy fencing!
Now that you've mastered building a post and rail fence, why not tackle more outdoor projects or hone your woodworking skills? Whether you're looking to enhance your backyard with creative structures or dive into detailed crafts, our guides have you covered. For those inspired by fresh designs, explore various garden fence ideas that can transform any outdoor space. Ready for your next project? Let's get those hands busy and creativity flowing!
Frequently Asked Questions about How To Build A Post And Rail Fence
Was this page helpful?
At Storables.com, we guarantee accurate and reliable information. Our content, validated by Expert Board Contributors, is crafted following stringent Editorial Policies. We're committed to providing you with well-researched, expert-backed insights for all your informational needs.


0 thoughts on “How To Build A Post And Rail Fence”