Articles
How To Fix Sagging Roof
Modified: December 7, 2023
Looking for articles on how to fix a sagging roof? Explore our expert guide and find step-by-step solutions and helpful tips to address this common issue.
(Many of the links in this article redirect to a specific reviewed product. Your purchase of these products through affiliate links helps to generate commission for Storables.com, at no extra cost. Learn more)
Introduction
A sagging roof can be a cause for concern for any homeowner. Not only does it compromise the structural integrity of your property, but it can also lead to other issues such as leaks, water damage, and even potential collapse. It’s essential to address a sagging roof as soon as possible to avoid further damage and ensure the safety of your home and family.
In this article, we will explore the signs of a sagging roof, the common causes behind it, and provide you with step-by-step guidance to effectively fix the issue. We will also discuss the importance of safety precautions and weigh the pros and cons of hiring a professional versus undertaking the repairs yourself. By the end of this article, you will have a clear understanding of how to address a sagging roof and restore the stability and protection of your home.
Key Takeaways:
- Promptly addressing a sagging roof is crucial to prevent further damage and safety hazards. Thoroughly assess the signs, prioritize safety, and consider professional help for complex repairs.
- Whether hiring a professional or opting for DIY repairs, safety should always be the top priority. Act promptly, consult experts, and follow proper procedures to restore the stability and protection of your home.
Read more: How To Fix A Sagging Flat Shed Roof
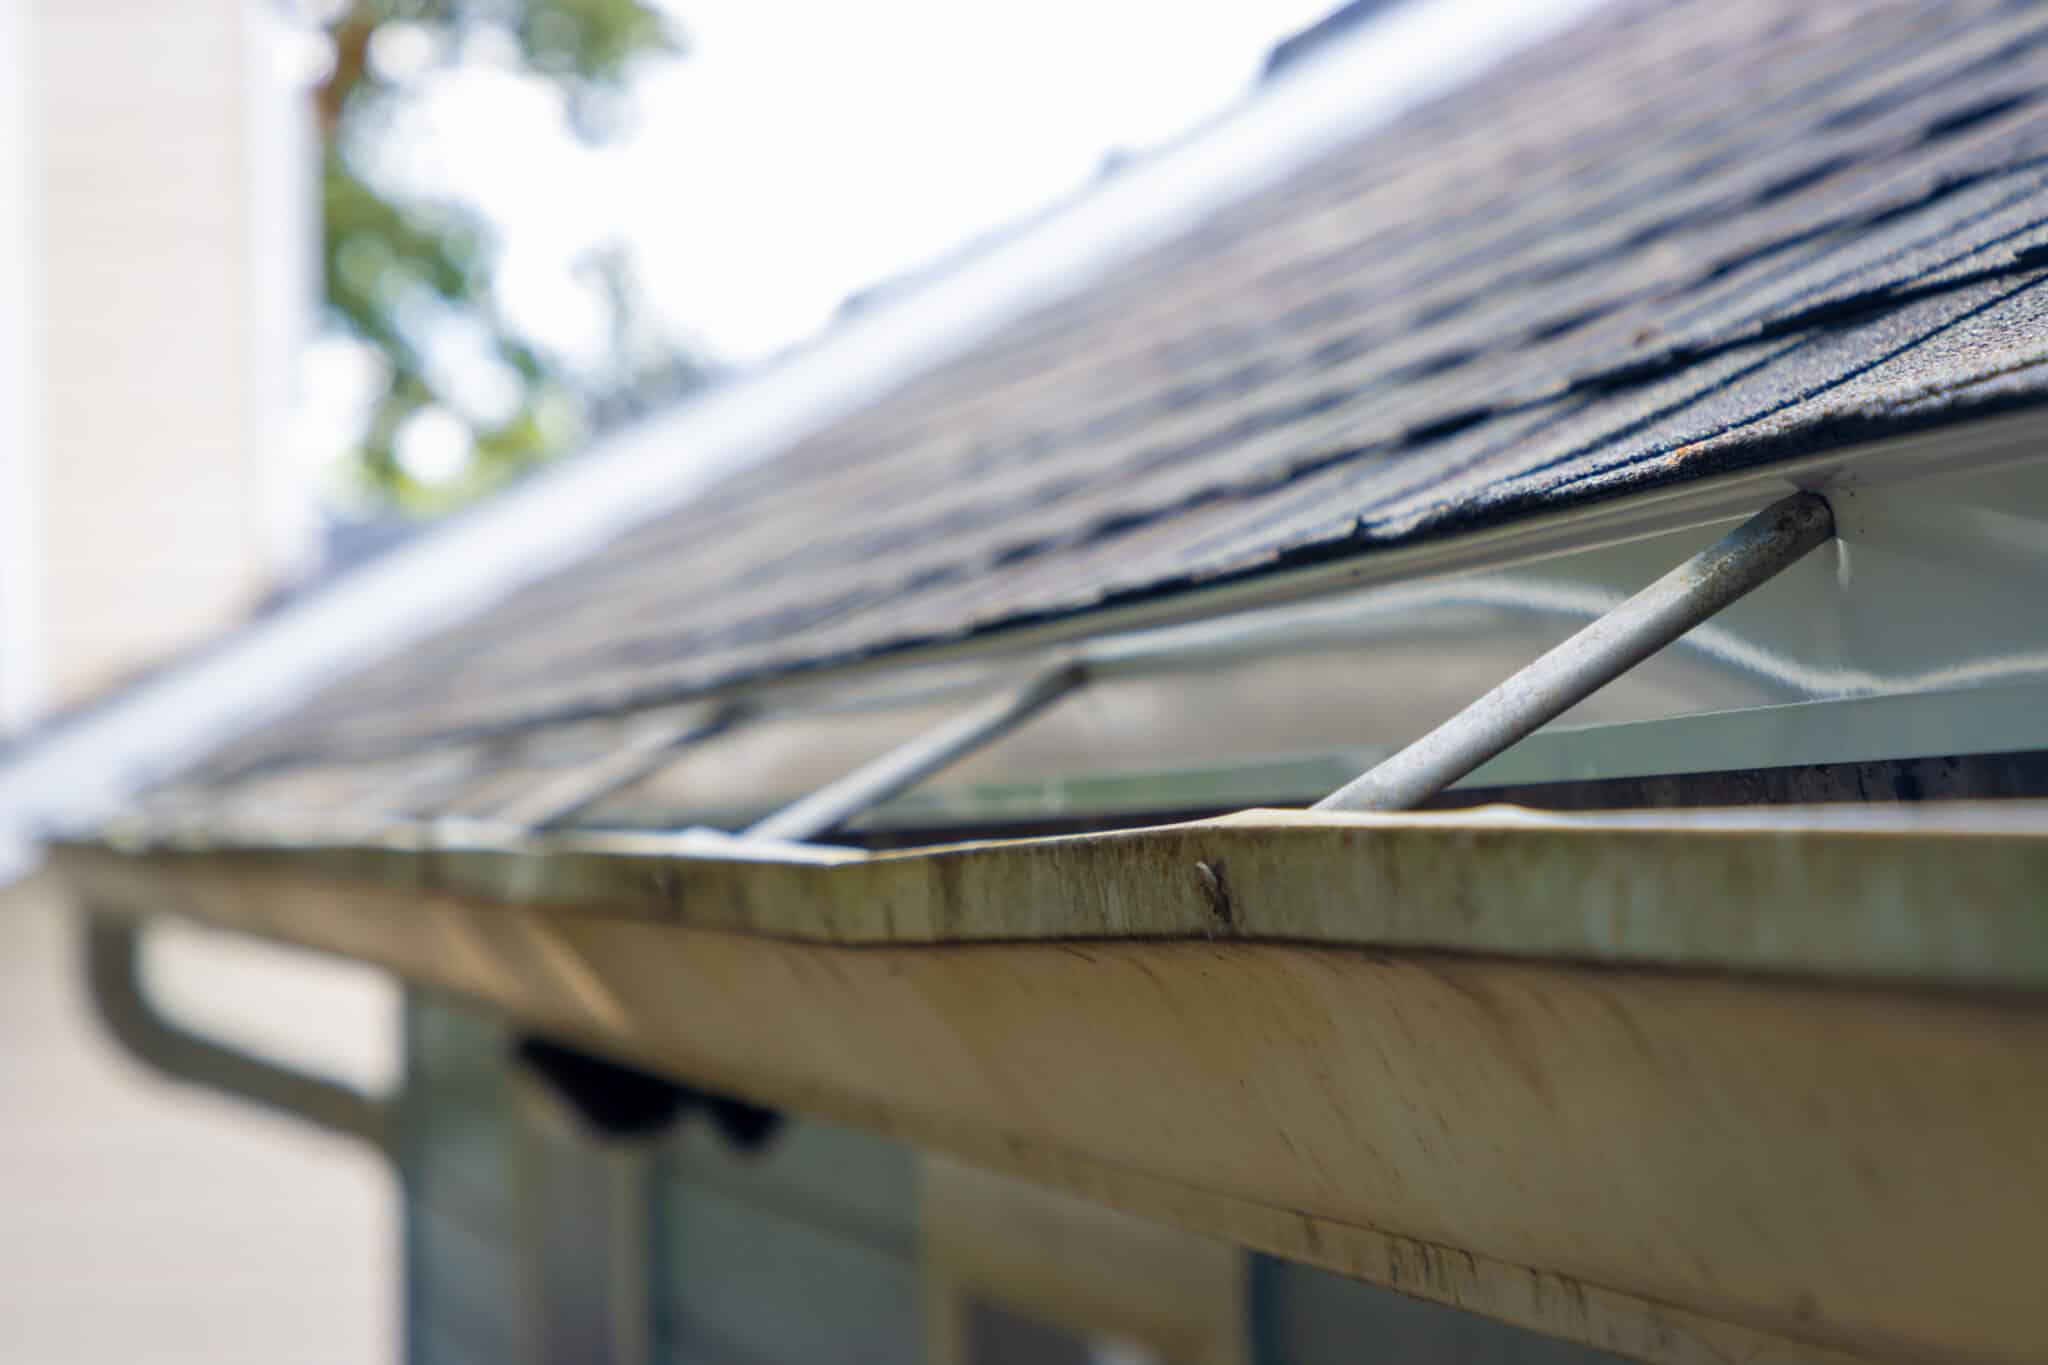
Signs of a Sagging Roof
Identifying the signs of a sagging roof is crucial in preventing further damage and potential hazards. Here are some common indicators to look out for:
- Sagging or dipping roofline: One of the most obvious signs of a sagging roof is a visibly uneven or dipping roofline. This could be observed from a distance or from inside your home.
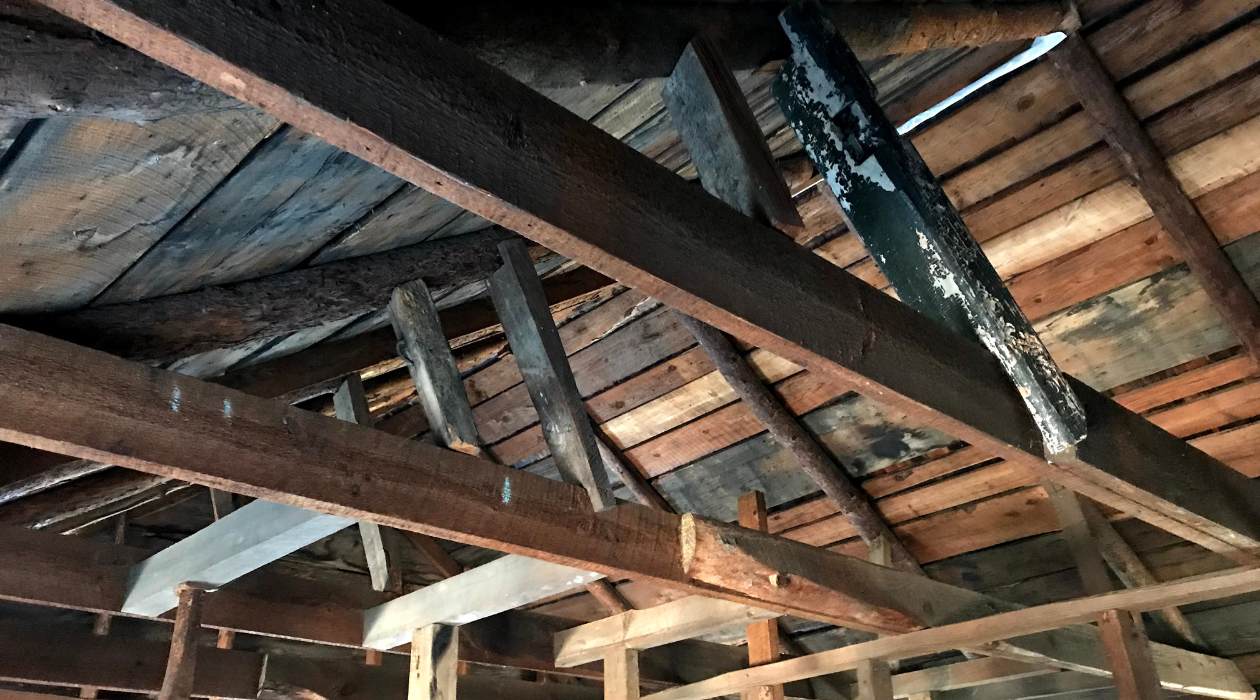
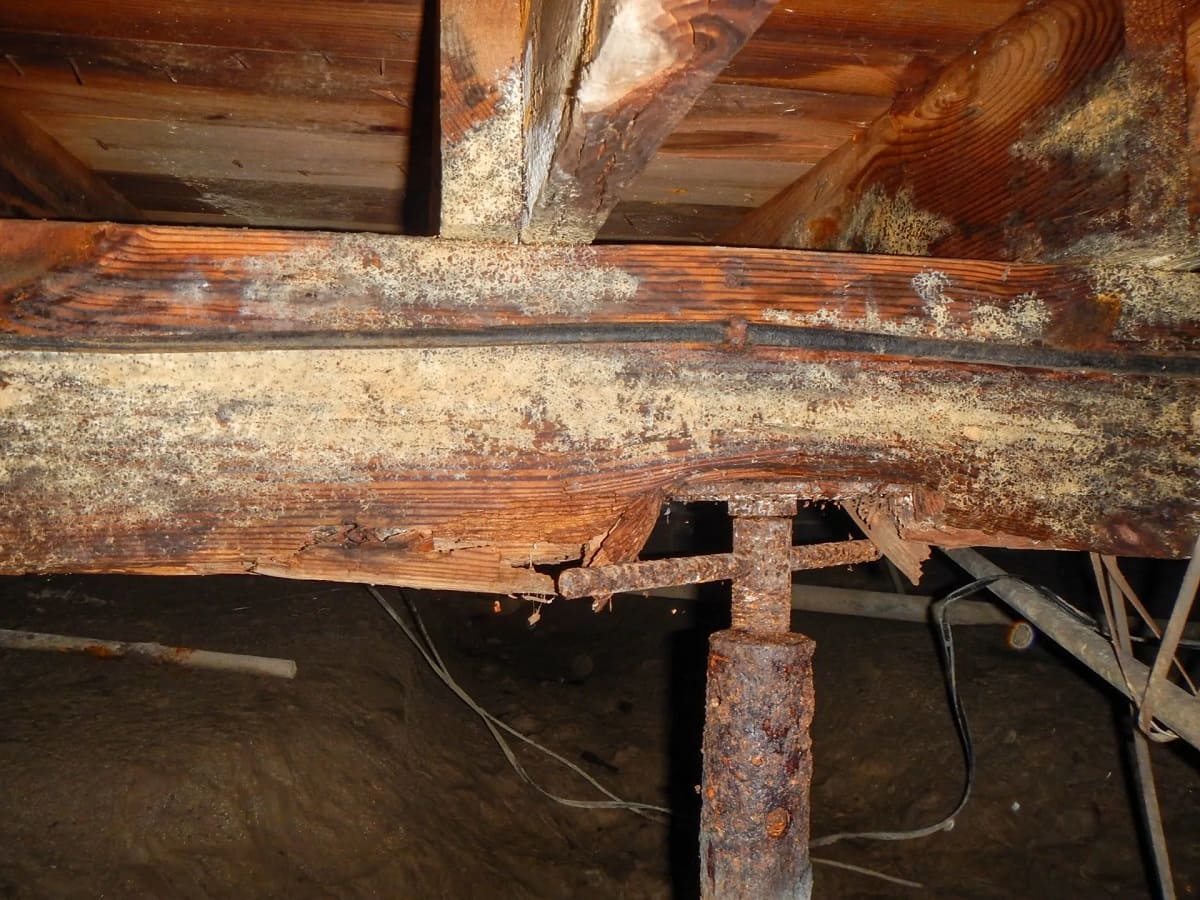
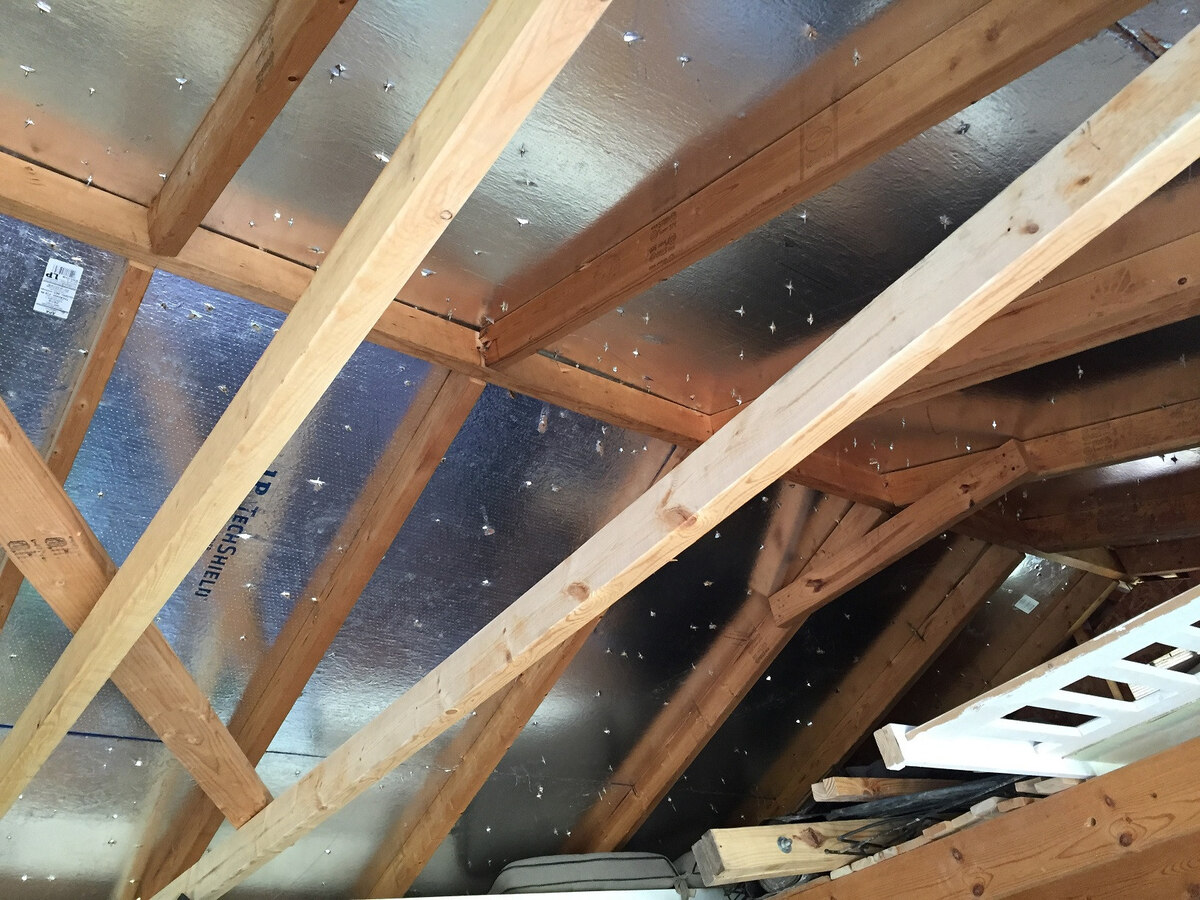
- Visible roof deck sagging: If you have access to your attic or crawl space, carefully inspect the roof deck. If you notice any areas where the roof deck is sagging or bowing, this is a clear indication of structural damage.
- Cracks in the walls or ceiling: A sagging roof can cause stress on the walls and ceilings of your home. Look for cracks that appear near the corners of windows, doors, or along the ceiling. These cracks may indicate that the roof is putting excessive pressure on the supporting walls.
- Water stains or leaks: A sagging roof can create gaps or openings that allow water to seep into your home. Look for water stains on your walls or ceilings, as well as signs of water damage such as dampness or mold growth.
- Doors and windows not closing properly: A shifting or sagging roof can cause your doors and windows to become misaligned. If you notice that doors and windows are suddenly difficult to open or close, it could be due to the roof’s structural issues.
If you notice any of these signs, it is essential to take action immediately to prevent further damage and potential safety hazards. Now that we have identified the signs of a sagging roof, let’s explore the underlying causes that may be contributing to this problem.
Causes of a Sagging Roof
A sagging roof can have various causes, ranging from structural issues to environmental factors. It’s important to understand the underlying causes to effectively address the problem. Here are some common reasons for a sagging roof:
- Age and deterioration: Over time, a roof can naturally deteriorate due to age, wear and tear, and exposure to the elements. This can weaken the roofing materials and the supporting structure, leading to sagging.
- Improper installation: If the roof was not installed correctly in the first place, it can lead to structural problems that manifest as a sagging roof. This can include issues with the roof trusses, beams, or rafters that form the foundation of the roof.
- Excessive roof load: A roof can sag if it is subjected to excessive weight or load. This can occur due to accumulated snow, ice, or debris on the roof, or from the installation of heavy equipment such as HVAC units or solar panels without proper structural reinforcement.
- Inadequate roof ventilation: Poor ventilation in the attic can cause moisture buildup, leading to the rotting of the roof deck and supporting structures. This can weaken the roof and contribute to sagging.
- Settling of the foundation: If the foundation of your home experiences settling or shifting, it can impact the stability of the entire structure, including the roof. Uneven settling can cause the roof to sag in certain areas.
It’s important to note that the causes of a sagging roof can be complex and may involve a combination of factors. It’s recommended to consult with a professional roofing contractor or structural engineer to accurately assess the cause of the sagging and determine the best course of action for repairs.
Now that we have explored the common causes of a sagging roof, let’s move on to the next important step: assessing the damage.
Assessing the Damage
Before proceeding with any repairs, it’s crucial to assess the extent of the damage to your sagging roof. Take the following steps to evaluate the condition of your roof:
- Visual inspection: Start by inspecting your roof from the ground. Look for any visible signs of sagging or dipping in the roofline. Use binoculars if necessary to get a closer look. Take note of any areas that appear to be significantly sagging or where the roof deck is visibly bowing.
- Attic inspection: If you have access to your attic, carefully inspect the interior. Look for any signs of sagging or bowing in the roof deck. Check for cracks, water stains, or other indications of moisture damage. Pay attention to any areas where the roof structure seems compromised.
- Consult a professional: If you are unsure about the severity of the damage or if you lack the expertise to assess it accurately, it’s recommended to consult a professional roofing contractor or a structural engineer. They can conduct a thorough inspection and provide you with an expert assessment of the damage.
Assessing the damage is crucial because it will help you determine the appropriate course of action. In some cases, minor repairs or reinforcement may be sufficient to address the sagging. However, if the damage is severe or widespread, a more extensive repair or even a roof replacement may be necessary.
Once you have evaluated the damage and determined the extent of the repairs needed, it’s essential to prioritize safety precautions to ensure your well-being during the fixing process. Let’s explore some safety measures to keep in mind.
Safety Precautions
When dealing with a sagging roof, it’s important to prioritize safety to protect yourself and avoid any accidents. Here are some essential safety precautions to consider:
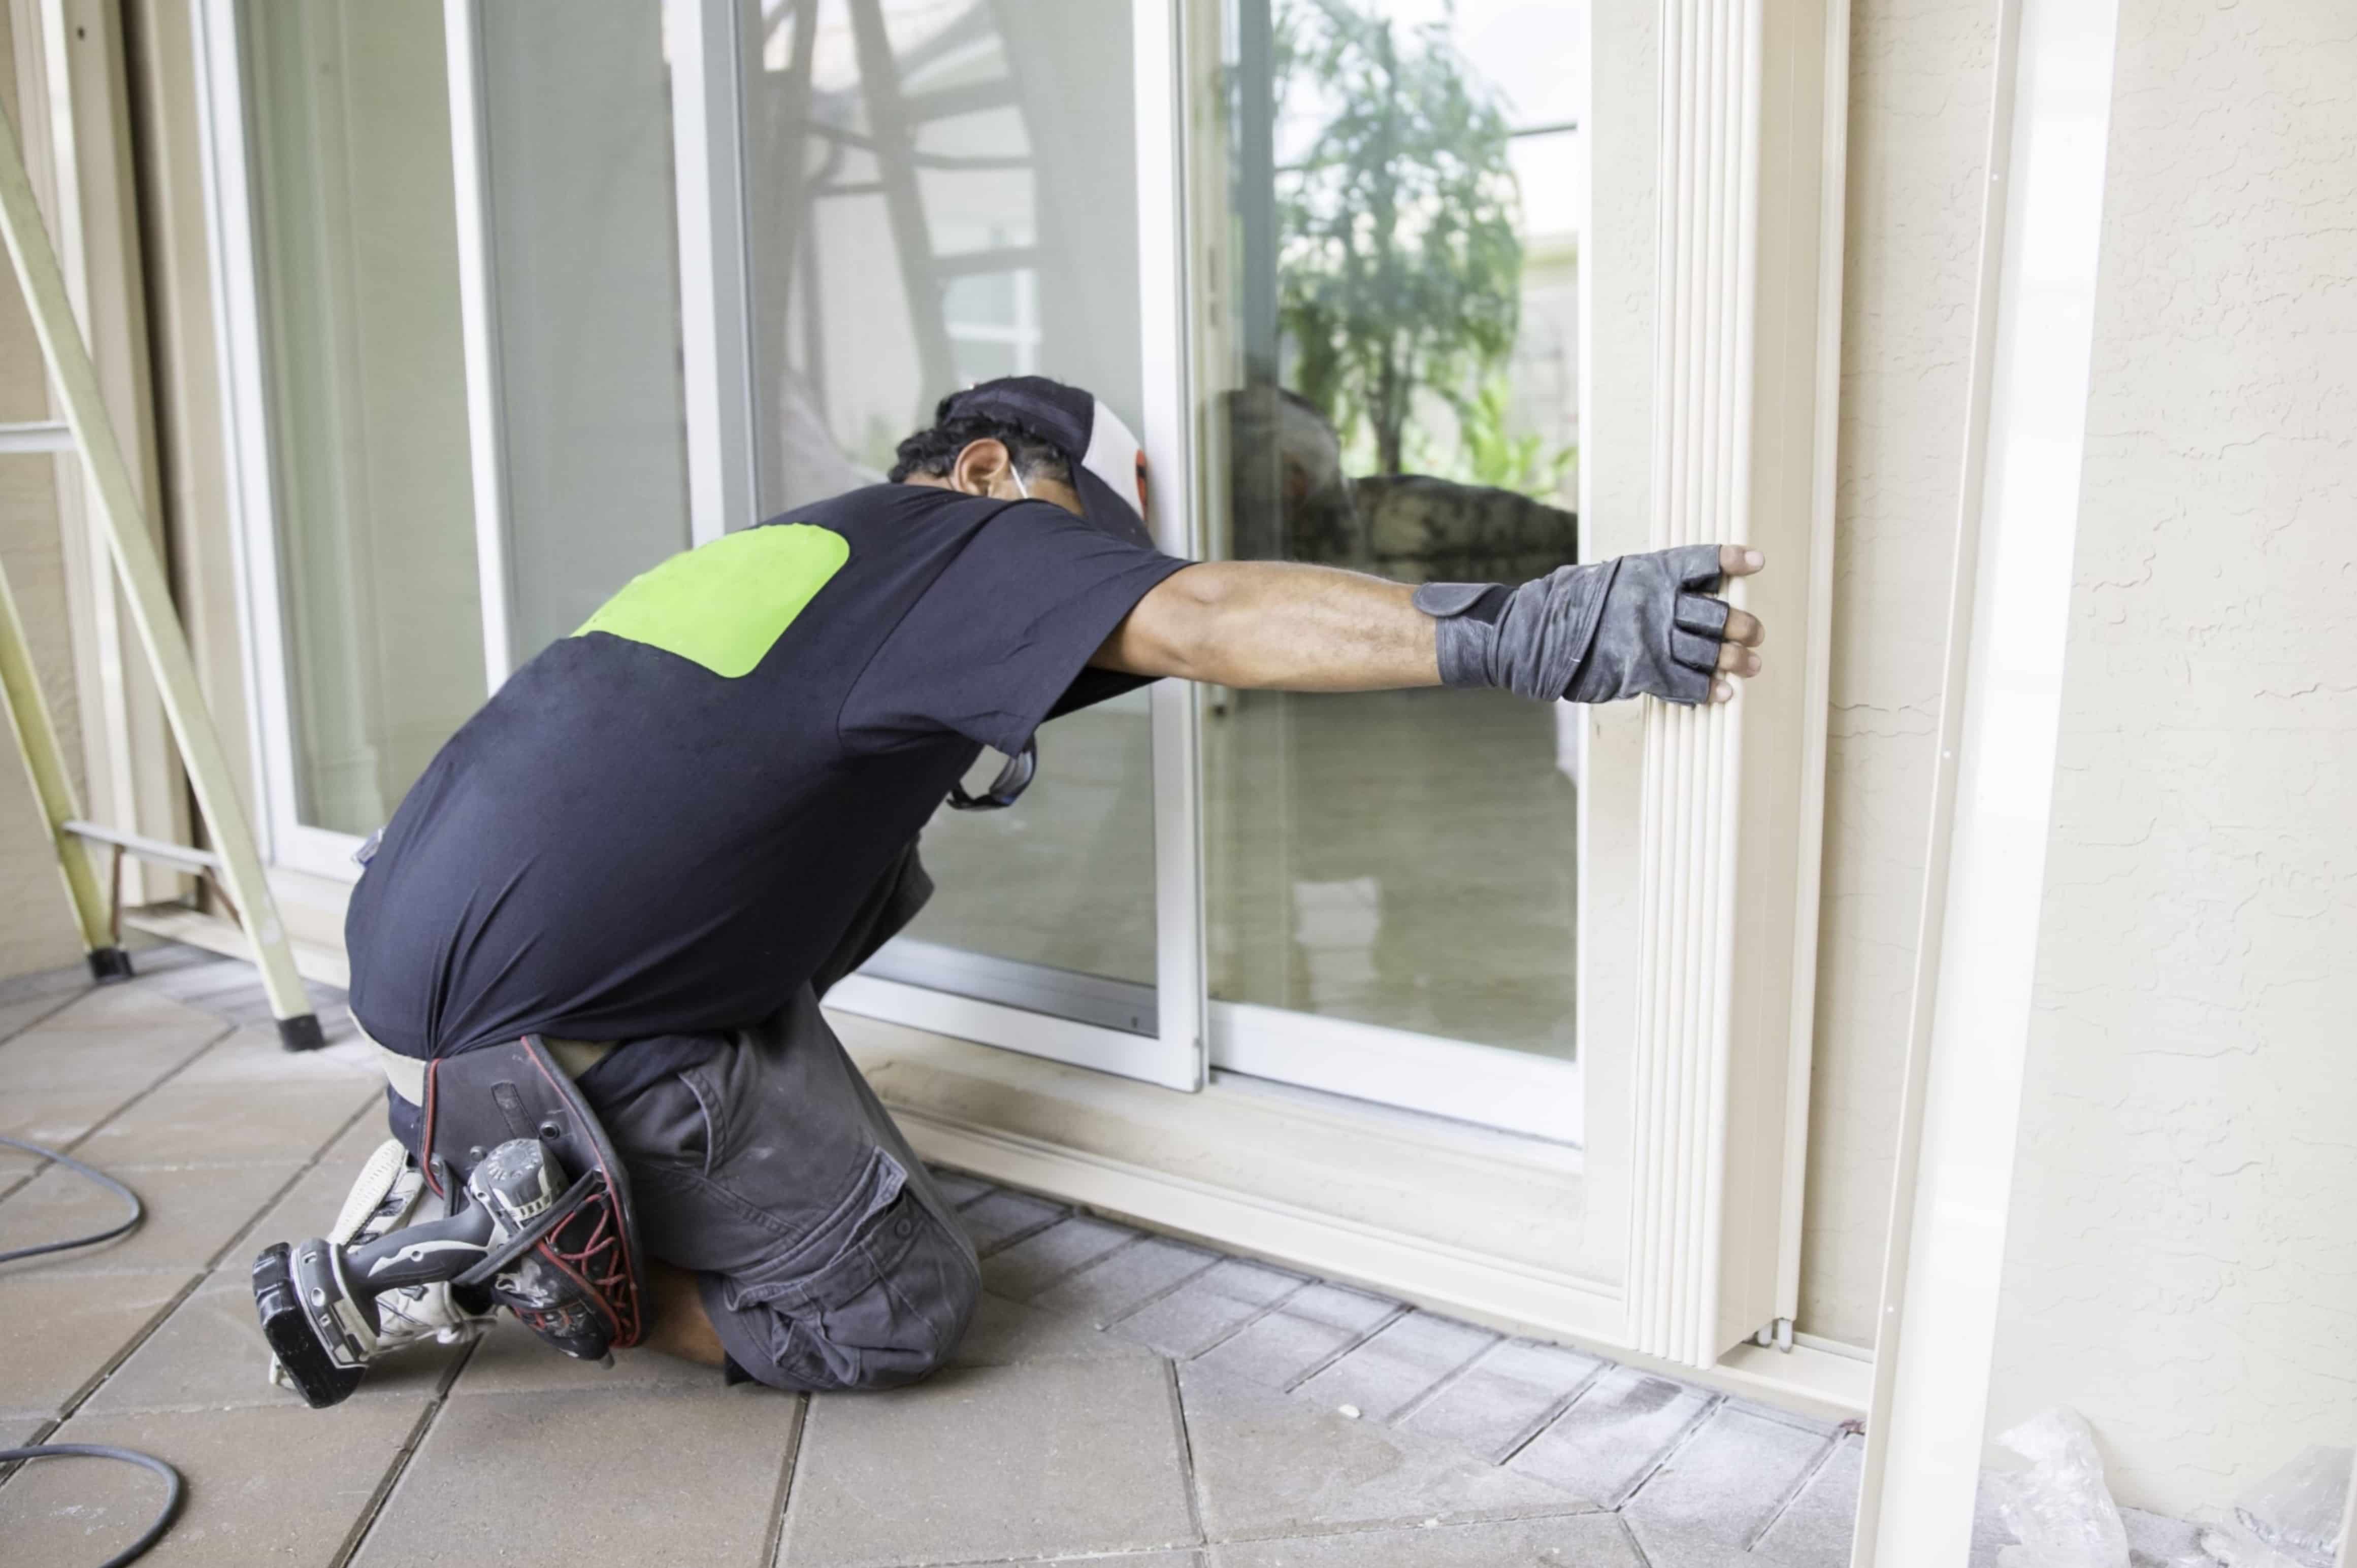
- Use proper safety equipment: Always wear appropriate safety gear such as a hard hat, safety goggles, and non-slip footwear when working on the roof. Additionally, use a sturdy ladder and ensure it is properly secured before climbing up.
- Secure the work area: Clear the work area of any debris or obstacles that can pose a tripping hazard. If possible, cordon off the area to prevent anyone from accidentally entering while work is ongoing.
- Work with a partner: Having a partner to assist you during the repairs can make the process smoother and safer. They can provide support, hold tools, and help in case of emergencies.
- Check weather conditions: Avoid working on the roof during inclement weather conditions, such as strong winds or heavy rainfall. Wet surfaces can be slippery and increase the risk of falls or accidents.
- Disconnect electrical connections: If you need to work near electrical connections, ensure that they are properly turned off and disconnected to prevent any potential electrical hazards.
- Follow proper ladder safety: When using a ladder, make sure it is placed on a stable and level surface. Always maintain three points of contact when climbing up or down, and avoid overreaching or leaning too far to the side.
- Know your limits: If you are uncertain about your ability to safely perform the repairs or if the damage is extensive, it is highly recommended to hire a professional roofing contractor who is trained and equipped to handle such jobs.
Remember, safety should always be your top priority. By following these safety precautions, you can minimize the risk of accidents and injuries while fixing your sagging roof. Now that you are aware of the necessary safety measures, let’s move on to the next step: fixing a sagging roof.
Read more: How To Fix Sagging Bookshelves
Fixing a Sagging Roof
Fixing a sagging roof requires careful planning and execution to ensure the structural integrity of your home. Here is a step-by-step guide to help you in the process:
- Assess the damage: Begin by assessing the extent of the damage as mentioned earlier. Determine if the sagging is localized to a specific area or if it affects the entire roof structure.
- Reinforce the roof structure: In some cases, reinforcing the roof structure may be necessary to provide additional support. This can involve adding support beams, braces, or trusses to strengthen the affected area. Consult with a professional contractor or structural engineer to determine the best approach.
- Replace damaged roofing materials: If the sagging is caused by damaged or deteriorated roofing materials, such as rotting wood, cracked tiles, or corroded metal, these materials should be replaced. Remove the old materials and install new ones to restore the integrity of the roof surface.
- Address underlying issues: It’s important to identify and address any underlying issues that may have contributed to the sagging roof. This could include repairing or improving ventilation, resolving drainage issues, or fixing any structural problems with the foundation of your home.
- Monitor the repairs: After completing the necessary repairs, closely monitor the roof for any signs of further sagging or damage. Regularly inspect the roof and promptly address any issues that arise to prevent future problems.
It’s worth mentioning that the complexity of the repairs will depend on the specific circumstances of your sagging roof. In some cases, minor repairs and reinforcement may solve the problem, while in more severe cases, a professional roofing contractor may need to be involved. Always consider your own limitations and consult with professionals when needed.
Now, let’s discuss the decision to hire a professional versus undertaking the repairs yourself.
Inspect and replace any damaged or missing roof trusses or rafters to provide proper support and fix the sagging roof.
Reinforcing the Roof Structure
Reinforcing the roof structure is an essential step in fixing a sagging roof, as it provides the necessary support and stability. Here are some methods to reinforce the roof structure:
- Add support beams: Installing additional support beams can help distribute the weight of the roof more evenly and alleviate stress on the affected areas. These beams can be made of wood, steel, or other durable materials based on the specific needs of your roof.
- Install braces or trusses: Braces or trusses can be used to reinforce the roof structure, particularly if the sagging is significant or widespread. These structural elements are designed to bear the weight of the roof and provide stability and support.
- Replace or repair damaged rafters: If any rafters are damaged or compromised, it’s important to replace or repair them. Damaged or weakened rafters can contribute to the sagging and may need to be reinforced or completely replaced to ensure the structural integrity of the roof.
- Inspect and reinforce the ridge board: The ridge board is an important component at the peak of the roof. It helps to maintain the roof’s structural integrity. Inspect the ridge board for any damage or sagging, and reinforce it as necessary using appropriate techniques and materials.
- Consult with professionals: Reinforcing the roof structure can be a complex task, especially if the sagging is extensive. It’s advisable to consult with a professional roofing contractor or a structural engineer. They can assess the specific needs of your roof and provide expert guidance on the best methods for reinforcing the structure.
It’s important to note that reinforcing the roof structure is a job that requires expertise and knowledge of structural engineering principles. If you are not confident in your ability to perform these tasks or if the damage is severe, it’s best to hire a professional to ensure the work is done correctly and safely.
Now that we have discussed reinforcing the roof structure, let’s move on to the next step: replacing damaged roofing materials.
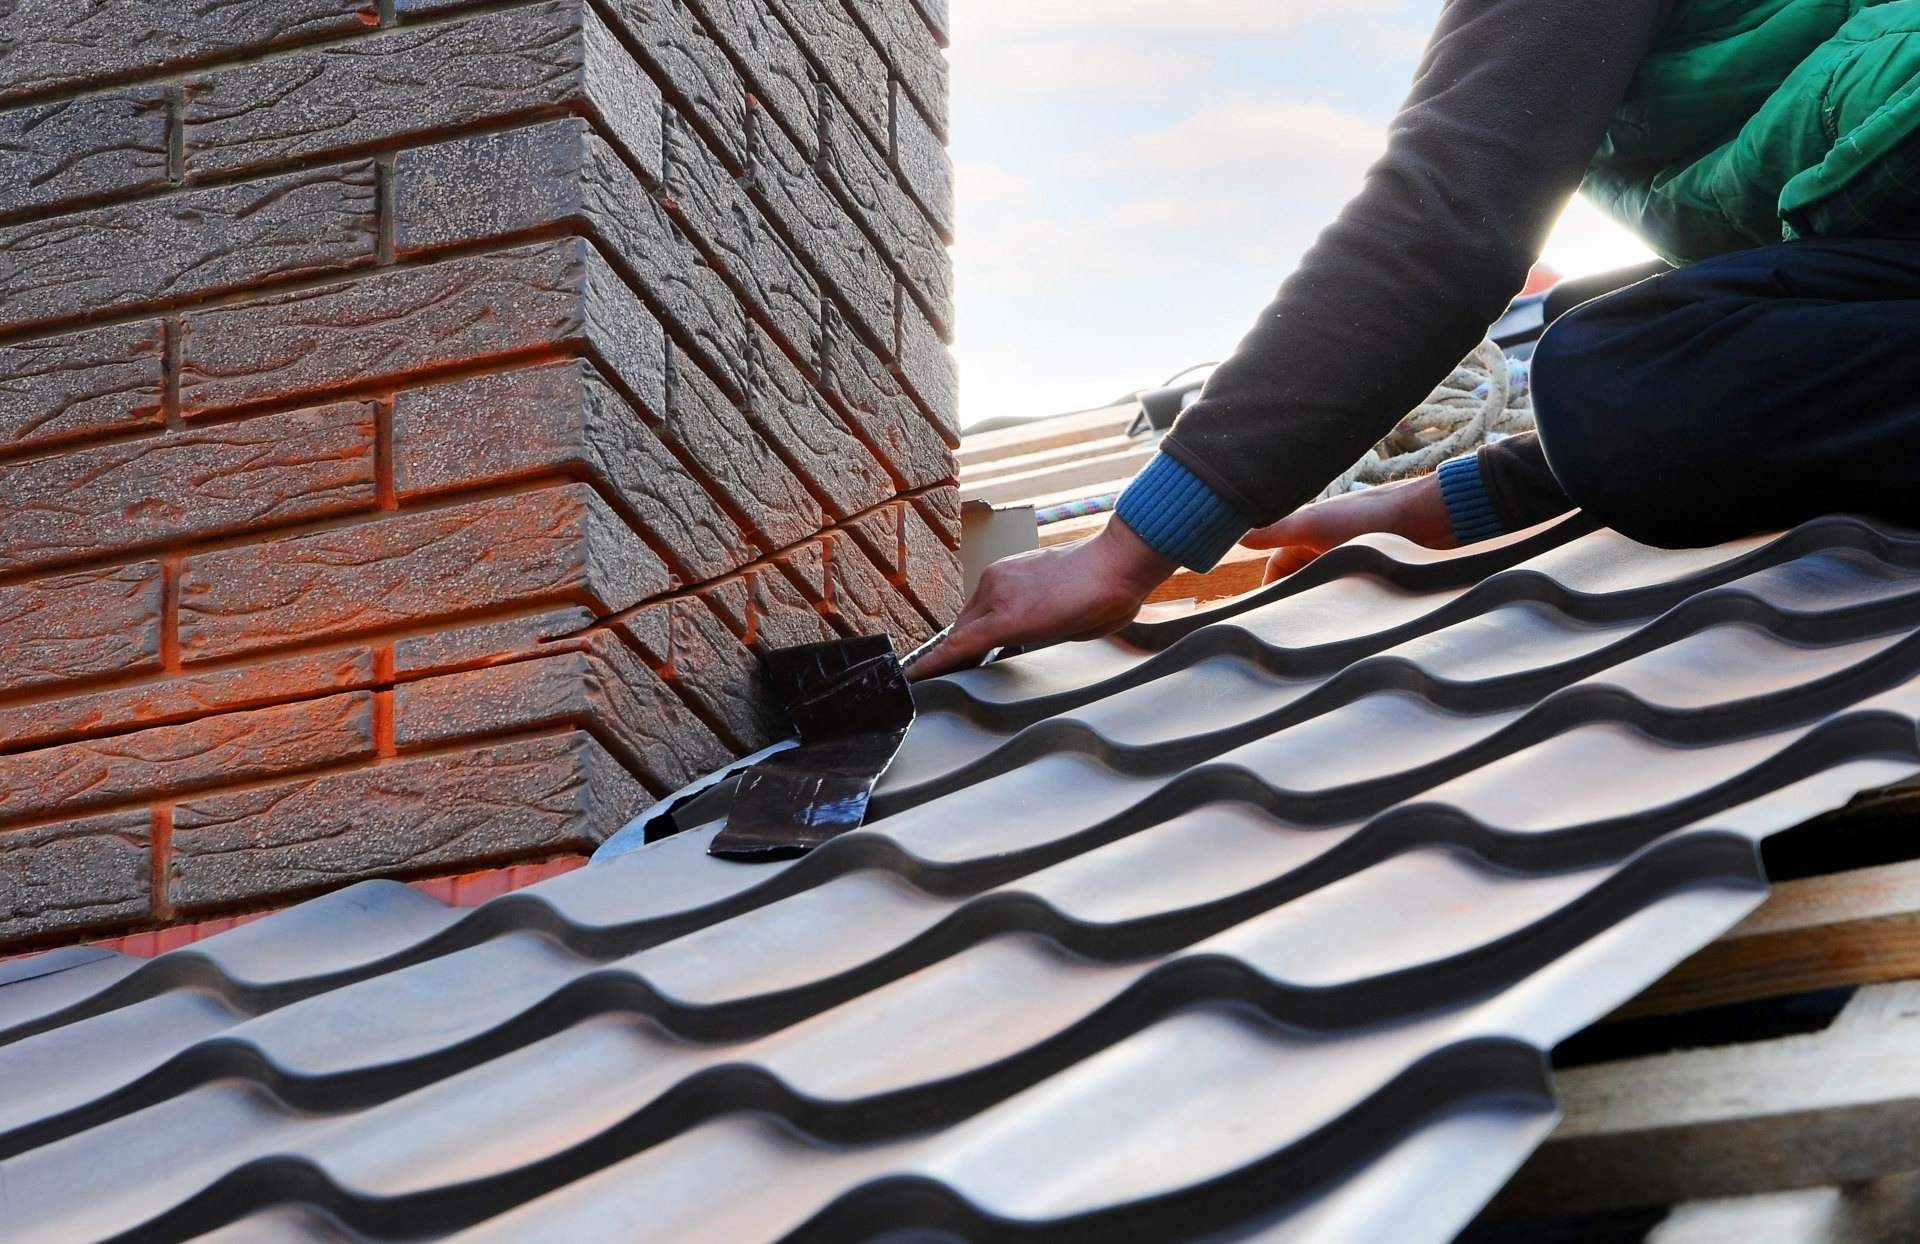
Replacing Damaged Roofing Materials
Replacing damaged roofing materials is a crucial step in fixing a sagging roof. Here’s a guide on how to effectively replace these materials:
- Identify the damaged materials: Conduct a thorough inspection of your roof to identify the specific areas where the roofing materials are damaged. This can include cracked or missing tiles, rotted wood, corroded metal, or damaged shingles.
- Remove the old materials: Carefully remove the damaged roofing materials. Use appropriate tools and techniques, ensuring you don’t cause further damage to the surrounding materials. Take necessary precautions to avoid injury or accidents while working on the roof.
- Inspect the underlying structure: While removing the old materials, examine the underlying structure for any signs of damage or deterioration. Ensure that the roof deck or supporting beams are in good condition before proceeding with the replacement.
- Select and install new materials: Choose replacement materials that match the existing roofing system in terms of style, color, and durability. Follow the manufacturer’s instructions for installation, or consult with a professional to ensure proper installation techniques are followed.
- Seal and secure the new materials: Properly seal and secure the new roofing materials to prevent any potential leaks or damage. Use appropriate adhesives, fasteners, or sealants as recommended by the manufacturer or professional roofing contractor.
- Consider a complete roof replacement: If the damage to the roofing materials is extensive and widespread, or if the roof is nearing the end of its lifespan, it may be more cost-effective and beneficial to opt for a complete roof replacement. Consult with professionals to determine the best course of action for your specific situation.
Replacing damaged roofing materials requires attention to detail and adherence to proper installation techniques. If you are unsure about your ability to perform these tasks correctly, it’s recommended to hire a professional roofing contractor. They will have the necessary expertise and experience to ensure the replacement is done properly and effectively.
Now that we have covered the steps for replacing damaged roofing materials, let’s discuss the decision of hiring a professional versus undertaking the repairs yourself.
Hiring a Professional vs. DIY
When it comes to fixing a sagging roof, you may be faced with the decision of hiring a professional or undertaking the repairs yourself. Here are some factors to consider when making this choice:
Read more: How To Fix A Sagging Floor
Hiring a Professional
Expertise and Experience: Professional roofing contractors have the knowledge, skills, and experience required to handle a sagging roof. They are familiar with the best practices, industry standards, and proper techniques for assessing and repairing structural issues.
Efficiency and Time-saving: Hiring professionals can save you time and effort. They have the necessary tools, equipment, and manpower to complete the repairs efficiently, minimizing any disruption to your daily life.
Safety and Insurance: Professional roofers are trained to work safely at heights and adhere to safety regulations. They also carry insurance that protects both you and them in case of any accidents or damages during the repair process.
Warranty and Guarantees: Reputable roofing contractors often offer warranties and guarantees on their workmanship. This provides you with peace of mind, knowing that any issues that arise after the repair will be addressed by the professionals.
DIY (Do-It-Yourself)
Cost Savings: DIY repairs can potentially save you money, as you won’t have to pay for professional labor. However, be aware that you may need to invest in tools, materials, and possibly additional time and effort to learn the necessary skills for the repairs.
Control and Flexibility: Taking on the repairs yourself allows you to have full control over the process. You can work at your own pace and make decisions based on your preferences. It also provides the flexibility to prioritize the repairs according to your schedule.
Sense of Accomplishment: Successfully fixing a sagging roof on your own can be a rewarding experience. It allows you to take pride in your own handiwork and gives you a valuable sense of accomplishment.
Ultimately, the decision between hiring a professional and undertaking the repairs yourself depends on your specific circumstances, skill level, and comfort with the tasks involved. It’s important to consider the complexity of the repairs, the potential risks involved, and your own capabilities when making this decision.
Regardless of your choice, whether you hire a professional or take the DIY route, it’s crucial to prioritize the safety and structural integrity of your home. Consult with professionals if needed, and always follow proper guidelines and procedures to ensure a successful repair.
Now, let’s conclude our article.
Conclusion
Dealing with a sagging roof can be a challenging task for any homeowner. However, by being proactive and addressing the issue promptly, you can restore the stability and safety of your home. In this article, we have discussed the signs of a sagging roof, the common causes behind it, and the steps to effectively fix the problem.
We explored the importance of assessing the damage and taking necessary safety precautions before beginning any repairs. We also discussed the process of reinforcing the roof structure and replacing damaged roofing materials. Additionally, we weighed the decision of hiring a professional versus undertaking the repairs yourself, highlighting the benefits of each approach.
When addressing a sagging roof, it’s crucial to prioritize safety, consult professionals when needed, and follow proper guidelines and procedures. While DIY repairs can be a cost-effective option for some, others may prefer to hire professional roofing contractors for their expertise, efficiency, and guarantees.
Remember, the key to successfully fixing a sagging roof lies in thoroughly assessing the damage, understanding the underlying causes, and implementing the appropriate repairs. By taking the necessary steps, you can restore the structural integrity of your roof, prevent further damage, and ensure the long-term protection of your home and family.
Don’t ignore the signs of a sagging roof or postpone the repairs. Act promptly to avoid potential safety hazards and costly damages. Whether you choose to hire a professional or tackle the repairs yourself, make sure to prioritize safety, follow proper procedures, and consult with experts when in doubt.
We hope this article has provided you with valuable insights and guidance on how to fix a sagging roof. Remember, a well-maintained and structurally sound roof is crucial for the overall well-being and longevity of your home. Stay proactive, stay safe, and take the necessary steps to protect your investment.
Frequently Asked Questions about How To Fix Sagging Roof
Was this page helpful?
At Storables.com, we guarantee accurate and reliable information. Our content, validated by Expert Board Contributors, is crafted following stringent Editorial Policies. We're committed to providing you with well-researched, expert-backed insights for all your informational needs.


0 thoughts on “How To Fix Sagging Roof”