Home>Furniture>Office Furniture>How To Fix Sagging Bookshelves

Office Furniture
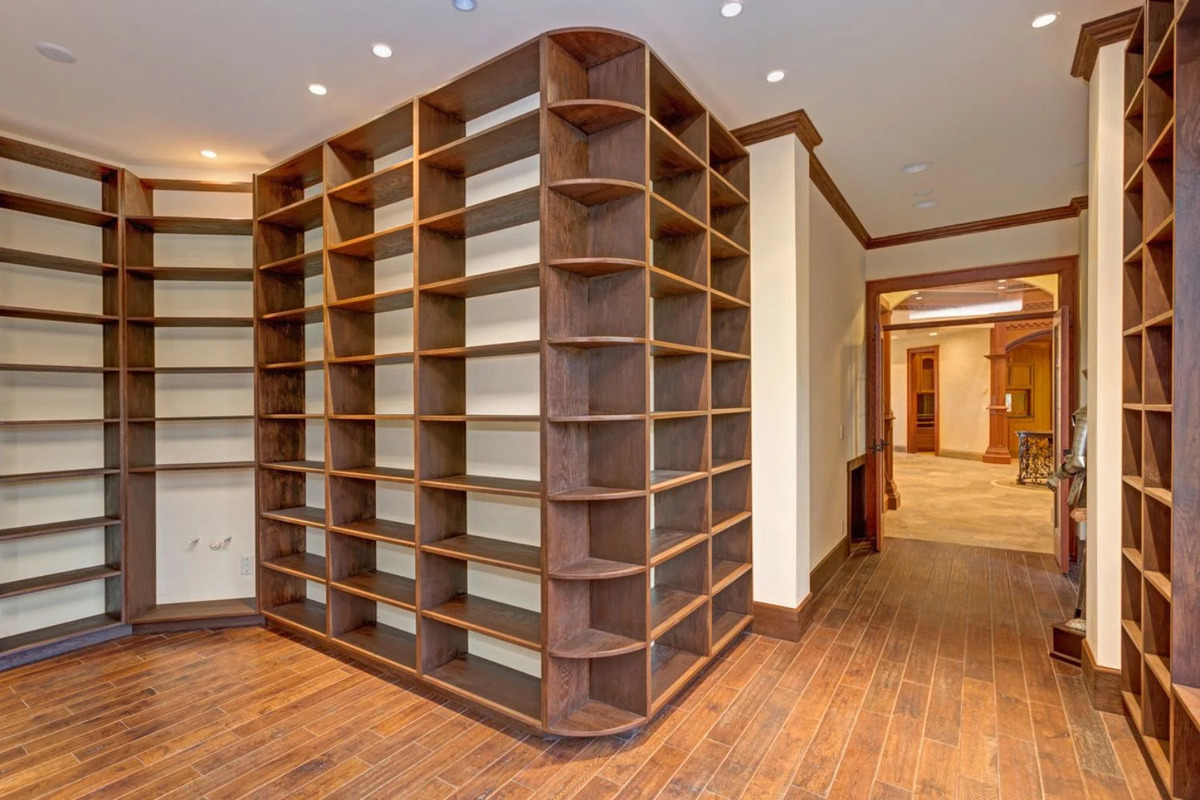
How To Fix Sagging Bookshelves
Modified: August 17, 2024
Learn how to easily fix sagging bookshelves with our expert tips and tricks. Upgrade your office furniture with this simple solution.
(Many of the links in this article redirect to a specific reviewed product. Your purchase of these products through affiliate links helps to generate commission for Storables.com, at no extra cost. Learn more)
Introduction
Welcome to this comprehensive guide on how to fix sagging bookshelves. As avid readers and book lovers, we understand the frustration that comes with a sagging bookshelf. Not only does it look unsightly, but it also poses a risk to your beloved book collection.
Sagging bookshelves are a common problem that many people encounter, especially if the bookshelf is older or has been overloaded with heavy books. The good news is that you don’t have to replace your bookshelf altogether. With a few simple steps, you can restore its sturdiness and bring it back to its former glory.
In this guide, we will walk you through each step of the process, from assessing the condition of the bookshelves to preventing future sagging. By following these steps, you can ensure that your bookshelf remains sturdy and can withstand the weight of your books for years to come.
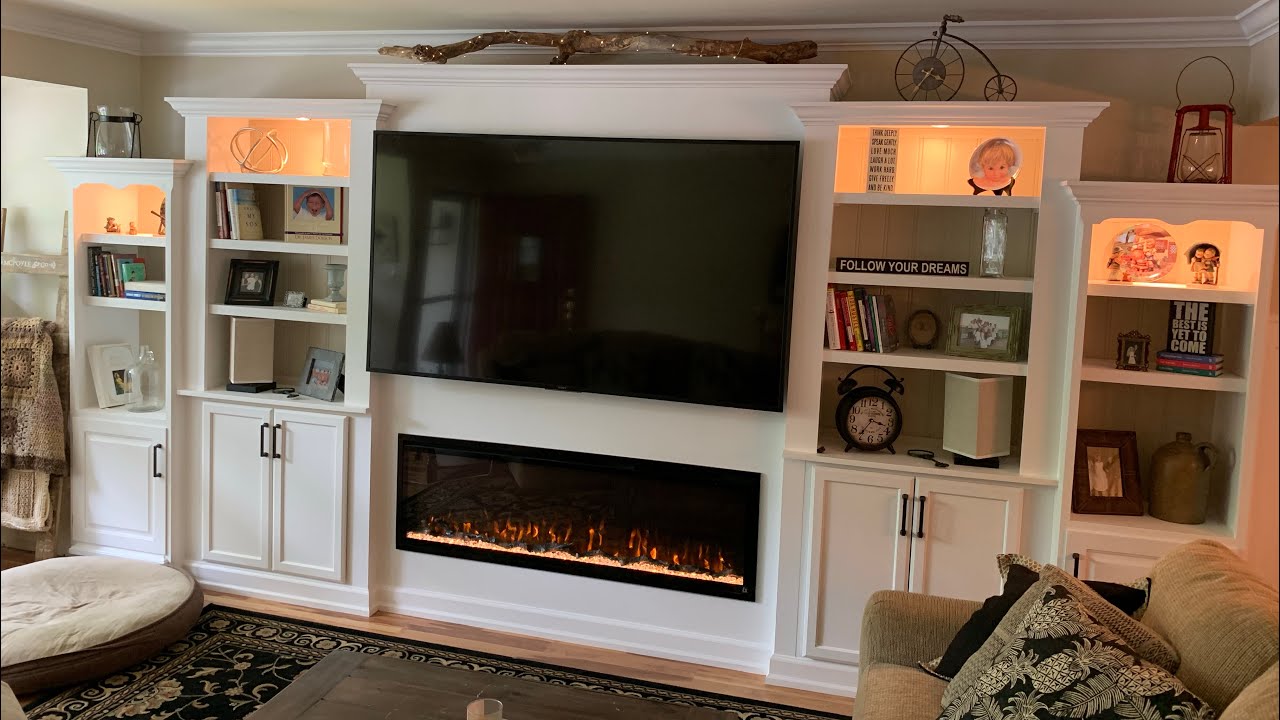
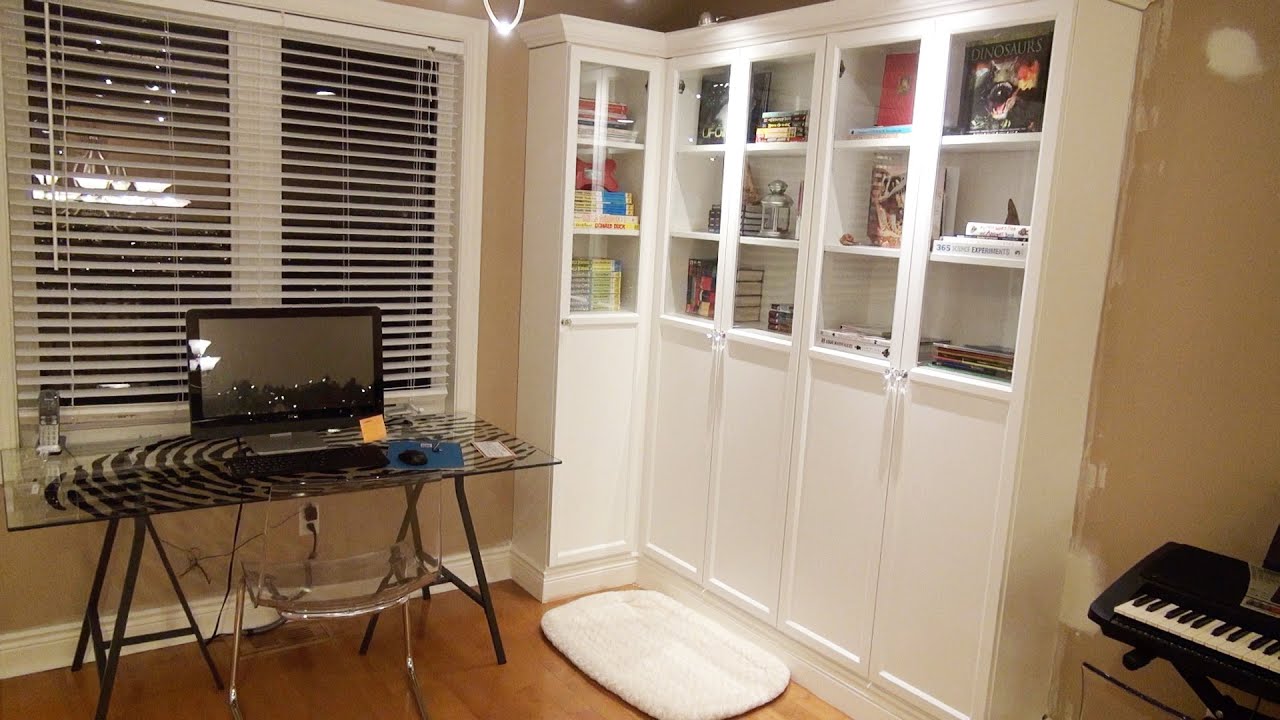
Whether you have a traditional wooden bookshelf, a built-in shelving unit, or even a DIY bookcase, the methods outlined here can be applied to any type of bookshelf. So, without further ado, let’s dive into the steps of fixing your sagging bookshelves!
Key Takeaways:
- Assess the condition of your sagging bookshelves by removing all items, inspecting the shelves and support system, and considering the material. This will guide you in the subsequent fixing process.
- Reinforce your bookshelves by adding support brackets, installing corner braces, using adjustable shelf supports, reinforcing the back panel, and using L-shaped metal brackets. This will restore stability and prevent future sagging.
Read more: How To Fix A Sagging Floor
Step 1: Assess the Condition of the Bookshelves
Before you start the process of fixing your sagging bookshelves, it’s important to assess their condition. This will help you identify the extent of the sagging and determine the best course of action to take. Here’s how you can assess the condition of your bookshelves:
- Remove all Books and Items from the Shelves
- Inspect the Shelves
- Check the Support System
- Assess the Material
The first step is to clear the bookshelves completely. Take out all the books, decorative items, and any other items that may be sitting on the shelves. This will give you a clear view of the structure of the bookshelf and make it easier to detect any signs of sagging.
Once the shelves are empty, carefully examine each shelf for signs of sagging. Look for noticeable dips or bowing in the wood, as well as any cracks or damage that may have contributed to the sagging. Take note of any particular shelves that seem to be sagging more than others.
Next, take a close look at the support system of the bookshelf. This includes the brackets, screws, dowels, or other hardware that holds the shelves in place. Check for any loose or broken components that may need tightening or replacement.
Consider the material that the bookshelf is made of. Different materials may require different approaches for fixing sagging. For example, wooden bookshelves may need reinforcement with additional support, while metal bookshelves may require adjustments to the frame or brackets.
By thoroughly assessing the condition of your bookshelves, you will gain a better understanding of the issues causing the sagging. This knowledge will guide you through the subsequent steps of the fixing process. So, let’s move on to Step 2 and prepare the bookshelves for repair.
Step 2: Remove all Books and Items from the Shelves
Now that you have assessed the condition of your sagging bookshelves, it’s time to empty them completely. Removing all books and items from the shelves is an essential step in the repair process. Here’s why:
1. Evaluate the True Sagging: By removing all the weight from the shelves, you can accurately assess the extent of the sagging. It will give you a clear picture of how much the shelves are bowing under the load. This information will help you determine the necessary repairs and reinforcements.
2. Protect Your Books and Items: Removing your books and items from the shelves will prevent any potential damage during the repair process. It’s crucial to handle your collection with care, ensuring they remain safe and undamaged while you work on the bookshelves.
3. Create an Open Space: Emptying the bookshelves provides you with a clean and open workspace. It allows you to maneuver more easily and access all areas of the bookshelves. This will make the repair process much smoother and more manageable.
4. Clean and Dust: While the shelves are empty, take the opportunity to give them a thorough cleaning. Dust off any accumulated debris and wipe the surfaces with a soft cloth. This will not only improve the appearance of your bookshelves but also remove any potential allergens.
5. Sort and Organize: As you remove the books and items, take the time to sort and organize them. You can use this as an opportunity to declutter and rearrange your collection. Consider sorting your books by genre, author, or any other category that makes sense to you.
Remember to handle your books with care when removing them from the shelves. Use both hands and avoid dragging them across the surface to prevent any accidental damage. Once everything is cleared, you’re ready to move on to the next step of fixing your sagging bookshelves.
Step 3: Determine the Cause of Sagging
Now that your bookshelves are empty and ready for repair, it’s time to identify the underlying cause of the sagging. Understanding the cause will help you choose the most effective solutions to fix the issue. Here are some common reasons for sagging bookshelves:
1. Overloaded Shelves: One of the most common causes of sagging bookshelves is overloading them with too many heavy books. The weight of the books can put excessive strain on the shelves, causing them to bow over time. This is particularly common in book collections that have grown over the years.
2. Weak or Insufficient Support: Another cause of sagging is a lack of proper support. Bookshelves may have inadequate or weak support systems, such as brackets or dowels, that fail to hold the weight of the books. Over time, this can result in sagging shelves.
3. Poor Quality Materials: Bookshelves made from low-quality materials may be more prone to sagging. Inferior wood, thin boards, or weak joinery can contribute to the structural instability of the shelves, leading to sagging over time.
4. Moisture and Humidity: Moisture and humidity can weaken the structural integrity of the bookshelves, causing the wood to warp or bend. This can result in noticeable sagging. Ensure that your bookshelves are placed in a well-ventilated area and away from any sources of moisture.
5. Improper Installation: Sagging bookshelves can also be the result of improper installation. If the shelves are not level or secured properly, they may not be able to support the weight evenly, leading to sagging in certain areas.
By identifying the cause of the sagging, you can address the root issue and implement the necessary repairs or adjustments. In the upcoming steps, we will explore various methods to reinforce and restore your bookshelves, depending on the specific cause of the sagging.
Now that you know what may have caused your bookshelves to sag, it’s time to move on to Step 4 and reinforce the structure to restore their stability and usability.
Check the shelves for any signs of damage or warping. If the shelves are still in good condition, try tightening the screws and brackets to provide additional support. If the shelves are damaged, consider replacing them with new, sturdier ones.
Step 4: Reinforce the Bookshelves
Now that you have determined the cause of the sagging in your bookshelves, it’s time to reinforce and strengthen them. Strengthening the structure will help restore the stability and prevent further sagging. Here are some effective methods to reinforce your bookshelves:
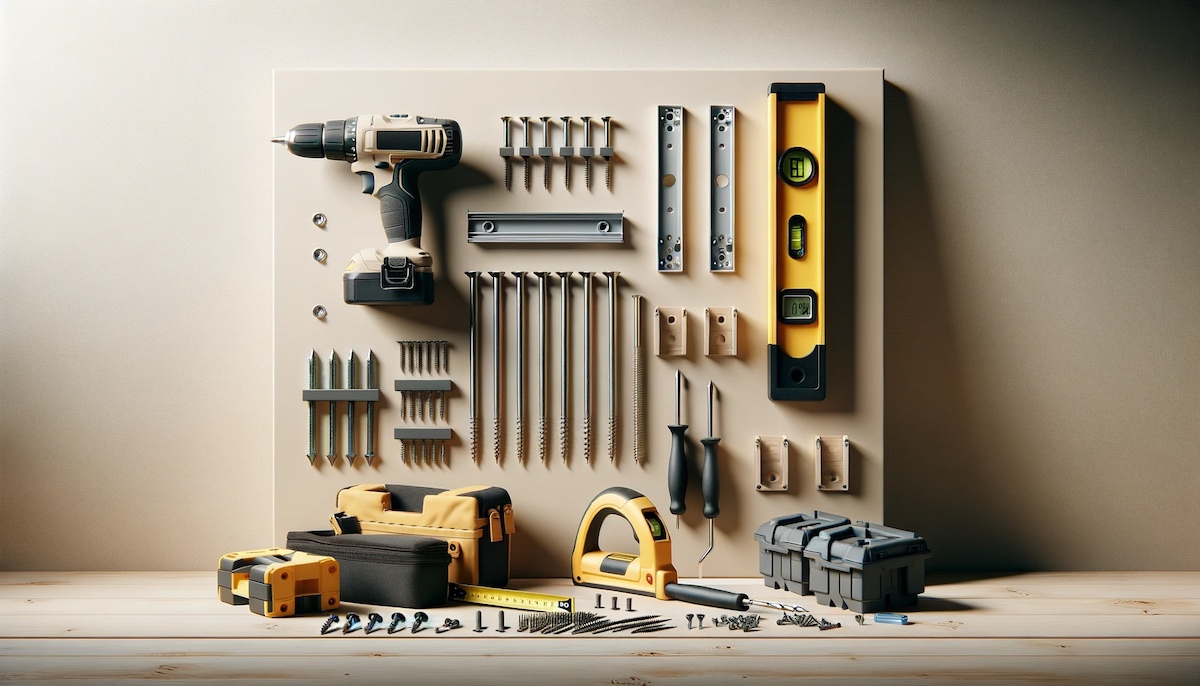
1. Add Support Brackets: One of the simplest ways to reinforce a sagging bookshelf is by adding support brackets. These can be metal or wooden brackets that are attached underneath each shelf. They help distribute the weight more evenly and provide additional support for the shelves. Make sure to align the brackets with the sagging areas of the shelf for maximum reinforcement.
2. Install Corner Braces: For bookshelves with noticeable sagging in the corners, corner braces can be a great solution. These metal or wooden braces are placed in the corners of the shelves to reinforce the joints and prevent further sagging. They provide extra stability and support to the weak areas of the bookshelf.
3. Use Adjustable Shelf Supports: If the sagging is due to an overloaded shelf, consider replacing fixed shelves with adjustable shelf supports. These supports allow you to customize the height of the shelves according to the size of your books. By distributing the weight evenly, you can prevent future sagging and maintain the structural integrity of the bookshelf.
4. Reinforce the Back Panel: The back panel of a bookshelf often provides structural support. If it’s weak or damaged, it can lead to sagging. Reinforce the back panel by attaching additional plywood or MDF boards to it. This will strengthen the entire structure and prevent any further bowing.
5. Use L-Shaped Metal Brackets: For bookshelves made of sturdy materials like wood or MDF, using L-shaped metal brackets can provide additional reinforcement. Attach the brackets to the top of the bookshelf and secure them to the wall. This will help distribute the weight evenly, reducing the strain on the shelves and preventing sagging.
Choose the method or combination of methods that best suit your bookshelf and address the specific cause of the sagging. Remember to carefully follow the manufacturer’s instructions when installing any additional support components.
Once the reinforcement is complete, proceed to the next step to reorganize your books and items back onto the shelves.
Read more: How To Fix A Sagging Garage Door
Step 5: Reorganize the Books and Items on the Shelves
Now that you have reinforced your sagging bookshelves, it’s time to reorganize your books and items back onto the shelves. Proper organization not only enhances the aesthetic appeal of your bookshelves but also ensures even weight distribution and minimizes the risk of future sagging. Here’s how you can reorganize your books:
1. Remove Excess Items: Take this opportunity to declutter your collection. Remove any books or items that you no longer need or want. This will free up space and reduce the weight on the shelves, minimizing the chances of sagging in the future.
2. Sort by Size and Weight: Group your books based on their size and weight. Place heavier books on the lower shelves to distribute the weight more evenly. Lighter items or decorative pieces can be placed on the upper shelves.
3. Use Bookends: Use bookends to keep your books upright and prevent them from leaning or leaning against the sides of the bookshelves. This will help maintain the proper alignment and prevent additional strain on the shelves.
4. Alternate the Orientation: To further distribute the weight, alternate the orientation of your books. Instead of placing all the books in the same direction, alternate between horizontal and vertical orientations. This will help distribute the load and maintain the stability of the shelves.
5. Consider Shelf Reinforcements: If you have particularly heavy books or items, you can add additional reinforcements to specific shelves. This can be in the form of extra support brackets, adjustable shelf supports, or even additional plywood or MDF boards underneath the shelf.
By carefully organizing your books and items, you can ensure that the weight is evenly distributed across the bookshelves. This will reduce the strain on the shelves and maintain their structural integrity over time.
Now that you have successfully reorganized your books, let’s move on to the final step to prevent future sagging.
Step 6: Prevent Future Sagging
After investing time and effort in fixing your sagging bookshelves, it’s important to take preventive measures to ensure they remain sturdy for the long term. Here are some tips to help you prevent future sagging:
1. Avoid Overloading: As tempting as it may be to fill every inch of your bookshelves, it’s important to avoid overloading them. Be mindful of the weight capacity of your bookshelves and distribute the books and items evenly across the shelves. Consider periodically decluttering your collection to prevent excess weight.
2. Use Quality Materials: When purchasing or building bookshelves, opt for high-quality materials that can withstand the weight of your books. Look for sturdy construction, strong joints, and durable finishes. Investing in quality bookshelves from the start will reduce the risk of sagging in the future.
3. Regularly Check for Damage: Regularly inspect your bookshelves for any signs of damage or wear. Look for cracks, warped wood, loose joints, or any other potential issues. Addressing these problems early on can prevent further damage and potential sagging.
4. Keep Moisture and Humidity in Check: Moisture and humidity can compromise the stability of your bookshelves, leading to sagging. Ensure the area where your bookshelves are located is well-ventilated and away from any sources of moisture. Consider using a dehumidifier or moisture absorbers to maintain optimal conditions.
5. Reevaluate Storage Solutions: Over time, your book collection may grow, requiring reevaluation of your storage solutions. Consider investing in additional bookshelves or alternative storage options to distribute the weight and prevent overloading.
6. Reinforce Weak Areas: Periodically check for any signs of sagging or weak areas in your bookshelves. If you notice any, reinforce those areas with additional support brackets, adjustable shelf supports, or other appropriate reinforcements to prevent further sagging.
By following these preventive measures, you can prolong the lifespan of your bookshelves and maintain their stability. Remember to periodically check their condition and make any necessary adjustments to ensure they remain in good shape.
Congratulations! You have successfully learned how to fix sagging bookshelves and prevent future sagging. Now you can enjoy your collection of books with peace of mind, knowing that your bookshelves are sturdy and reliable.
This concludes our comprehensive guide on fixing sagging bookshelves. We hope you found this information helpful and that it has empowered you to tackle this common issue with confidence.
Conclusion
Fixing sagging bookshelves doesn’t have to be a daunting task. With a systematic approach and a little bit of effort, you can restore the stability and functionality of your bookshelves. By following the steps outlined in this guide, you can assess the condition, remove the books and items, determine the cause of sagging, reinforce the bookshelves, reorganize the books and items, and implement preventive measures to maintain their durability.
Remember to be mindful of the weight capacity of your bookshelves and distribute the load evenly to prevent overloading. Use quality materials and regularly inspect your bookshelves for any signs of damage. Keep moisture and humidity at bay and be proactive in reinforcing weak areas whenever necessary.
By taking the time to fix sagging bookshelves, you are not only prolonging their lifespan but also preserving the condition of your beloved book collection. It’s a worthwhile investment to ensure that your books are stored in a secure and stable environment.
We hope this comprehensive guide has provided you with the knowledge and confidence to tackle sagging bookshelves effectively. Remember, fixing sagging bookshelves can be a rewarding DIY project, giving you a sense of accomplishment and ensuring the long-term enjoyment of your books.
Thank you for reading, and we wish you success in restoring and maintaining your bookshelves for years to come!
Frequently Asked Questions about How To Fix Sagging Bookshelves
Was this page helpful?
At Storables.com, we guarantee accurate and reliable information. Our content, validated by Expert Board Contributors, is crafted following stringent Editorial Policies. We're committed to providing you with well-researched, expert-backed insights for all your informational needs.


0 thoughts on “How To Fix Sagging Bookshelves”