
Articles
How To Fix Sagging Ceiling Joists
Modified: December 7, 2023
Learn effective techniques and solutions for fixing sagging ceiling joists with our informative articles. Discover expert advice and step-by-step instructions to restore the structural integrity of your ceilings.
(Many of the links in this article redirect to a specific reviewed product. Your purchase of these products through affiliate links helps to generate commission for Storables.com, at no extra cost. Learn more)
Introduction
In every home, the roof plays a vital role in providing shelter and protection. However, over time, various issues can arise, such as sagging ceiling joists. Sagging ceiling joists not only compromise the structural integrity of your home but can also be visually unappealing. If left unaddressed, they can lead to further problems, such as cracks in the walls or even a collapsed ceiling.
In this article, we will guide you through the steps required to fix sagging ceiling joists and restore the stability and aesthetics of your home. With some careful inspection, proper reinforcement, and a little bit of elbow grease, you can tackle this task successfully.
Before we dive into the solution, it’s important to understand the importance of taking action sooner rather than later. Sagging joists can cause additional strain on the overall structure and can lead to significant issues down the line. By addressing the problem promptly and accurately, you can prevent further damage and potentially save yourself from expensive repairs in the future.
Now let’s get started with step one, inspecting the ceiling joists, so we can identify the root cause of the problem.
Key Takeaways:
- Addressing sagging ceiling joists promptly is crucial to prevent further structural damage and costly repairs. Thorough inspection, reinforcement, and careful lifting are essential steps in restoring stability to your home.
- Utilizing temporary supports, hydraulic jacks, and additional reinforcement techniques are vital in successfully fixing sagging ceiling joists. Prioritizing safety and precision throughout the repair process is key to achieving long-term stability.
Read more: What Is A Ceiling Joist
Step 1: Inspecting the Ceiling Joists
The first step in fixing sagging ceiling joists is to thoroughly inspect them to determine the extent of the problem and identify any underlying issues.
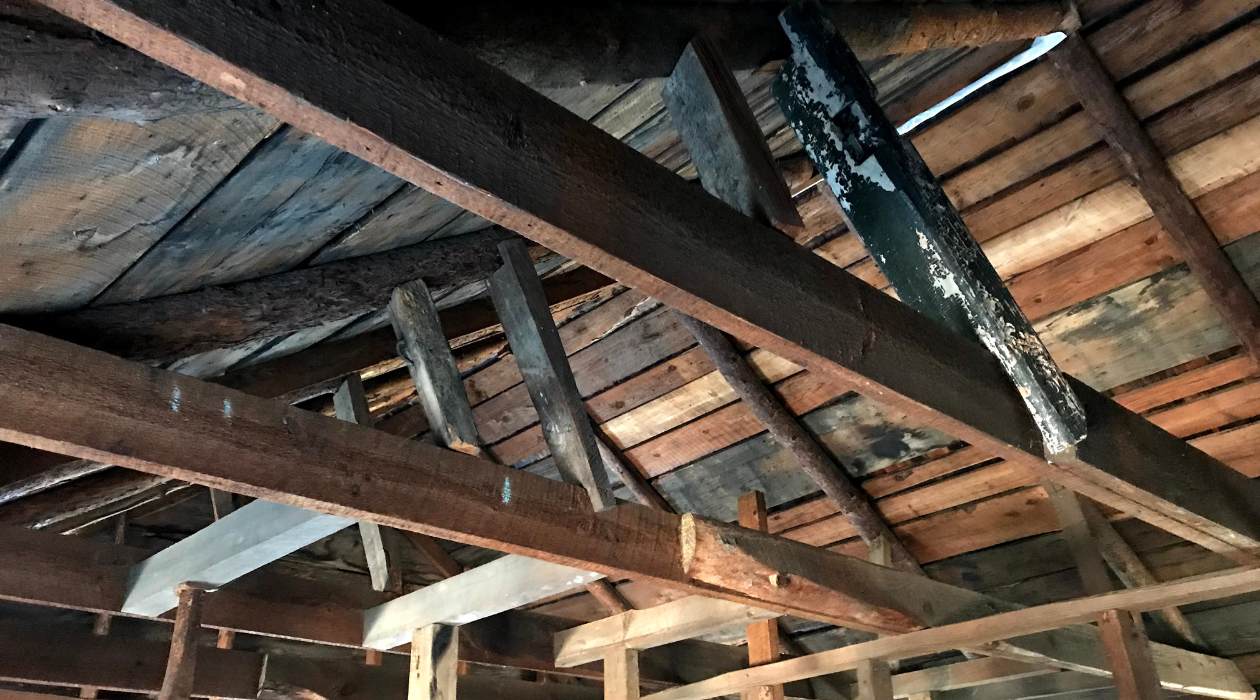
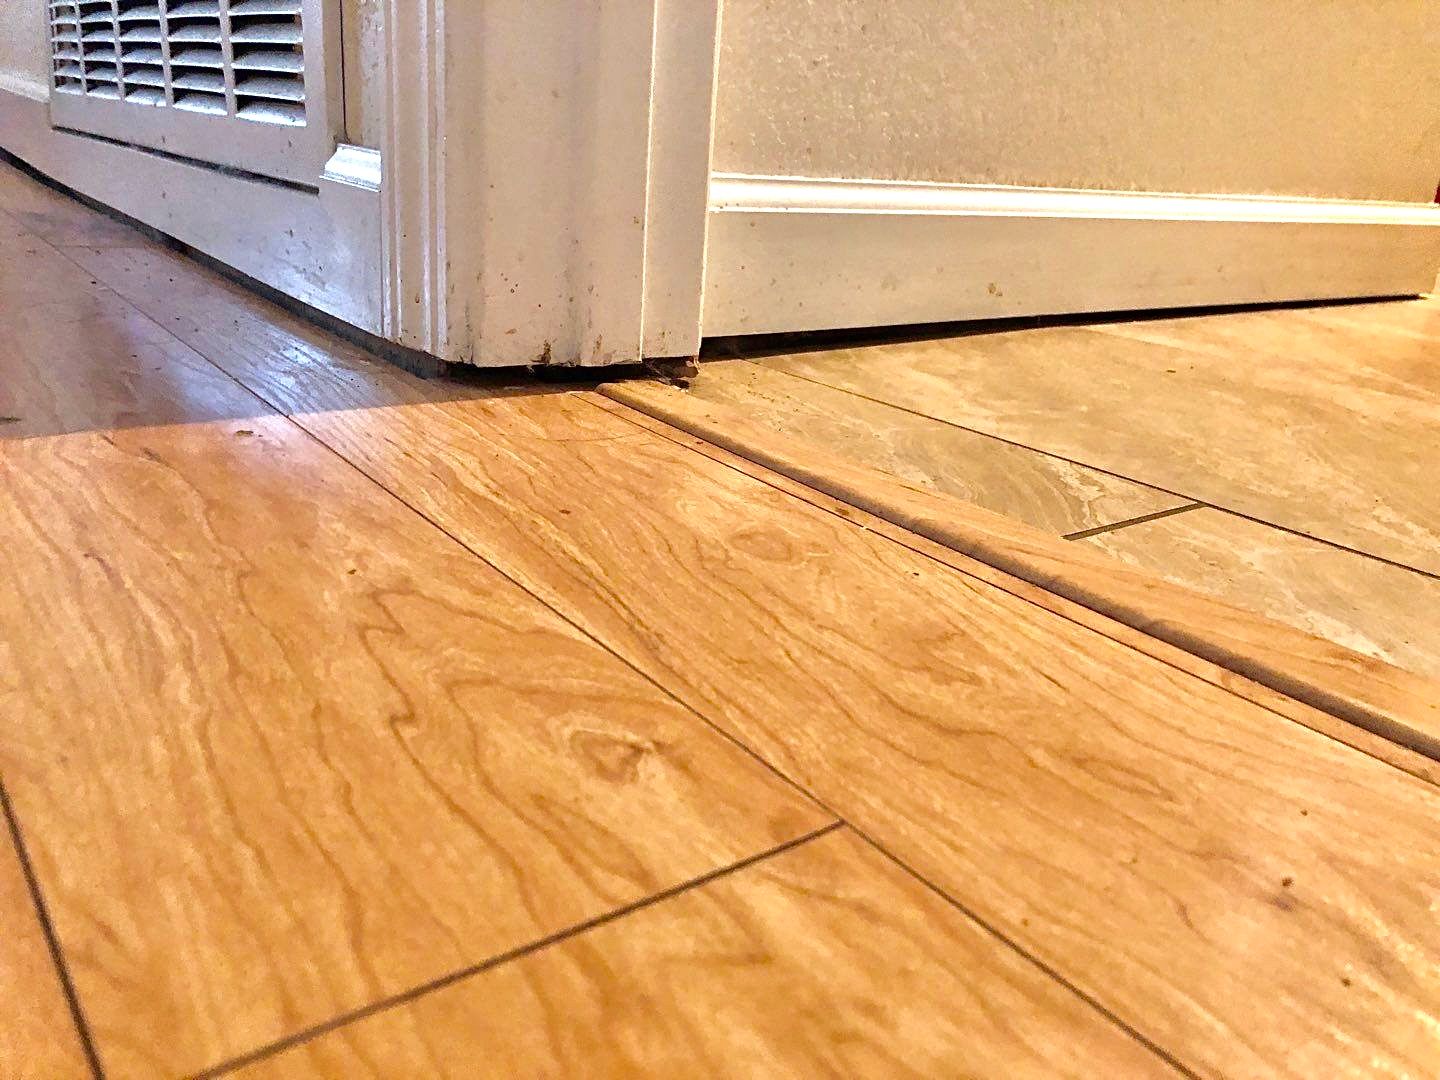
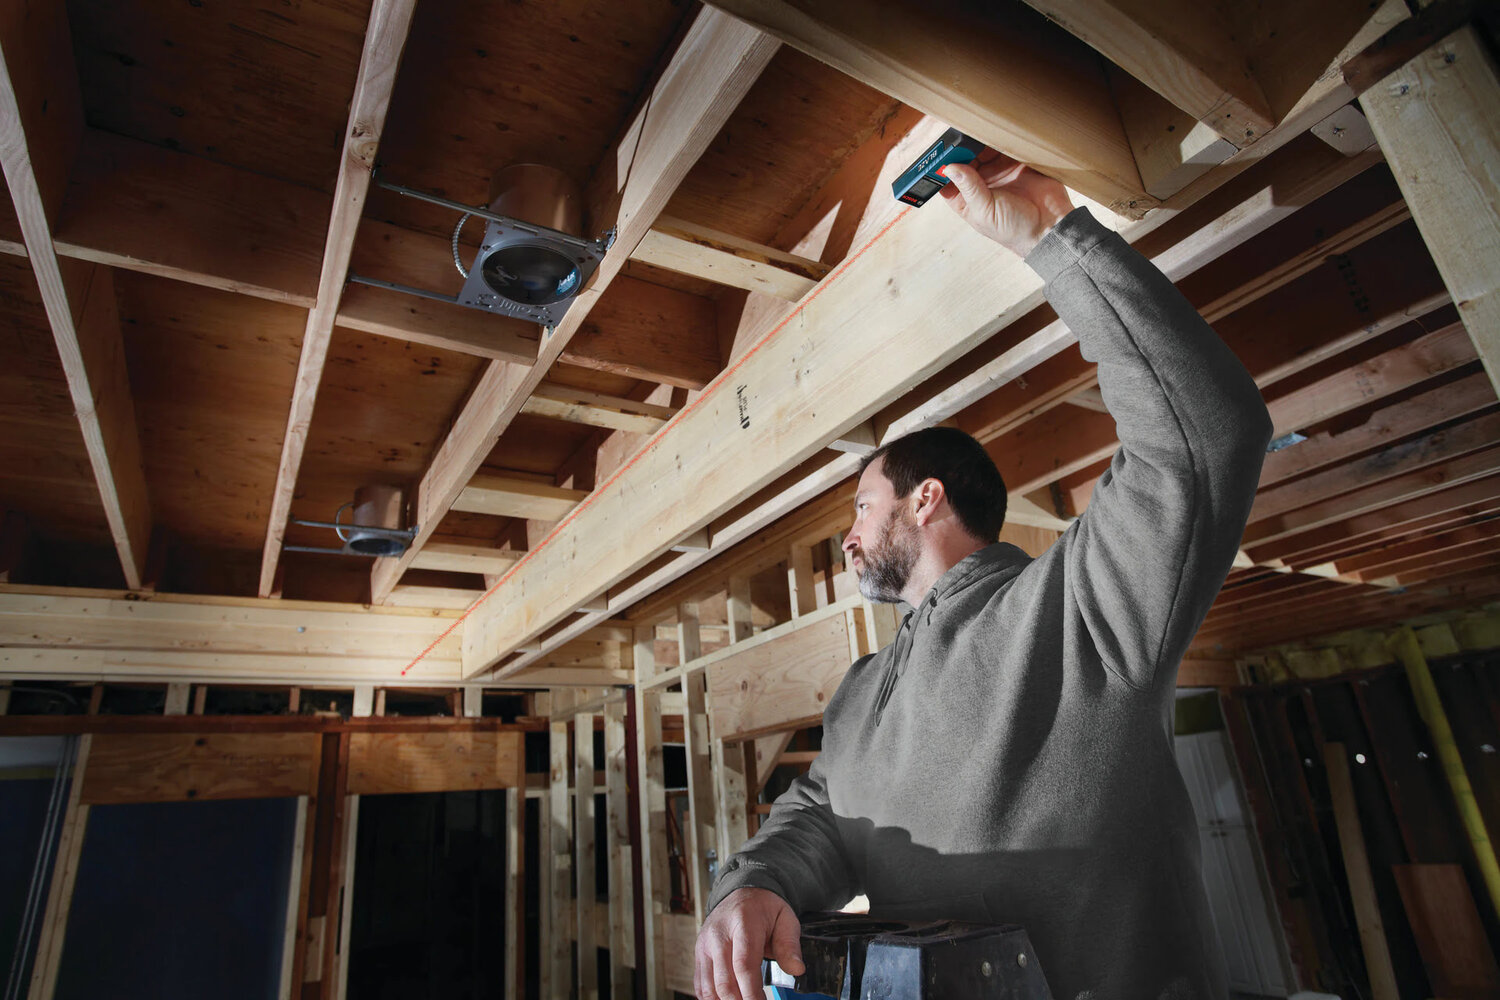
Start by visually examining the ceiling for any noticeable signs of sagging, such as visible bowing or unevenness. Use a level to check if the ceiling is flat and measure any deviations from the desired level. Additionally, look for any cracks or gaps in the ceiling or walls, as these can indicate structural issues.
Next, access the attic or crawl space above the ceiling to get a closer look at the joists. Be sure to wear protective clothing and use appropriate safety measures, such as a sturdy ladder and proper lighting.
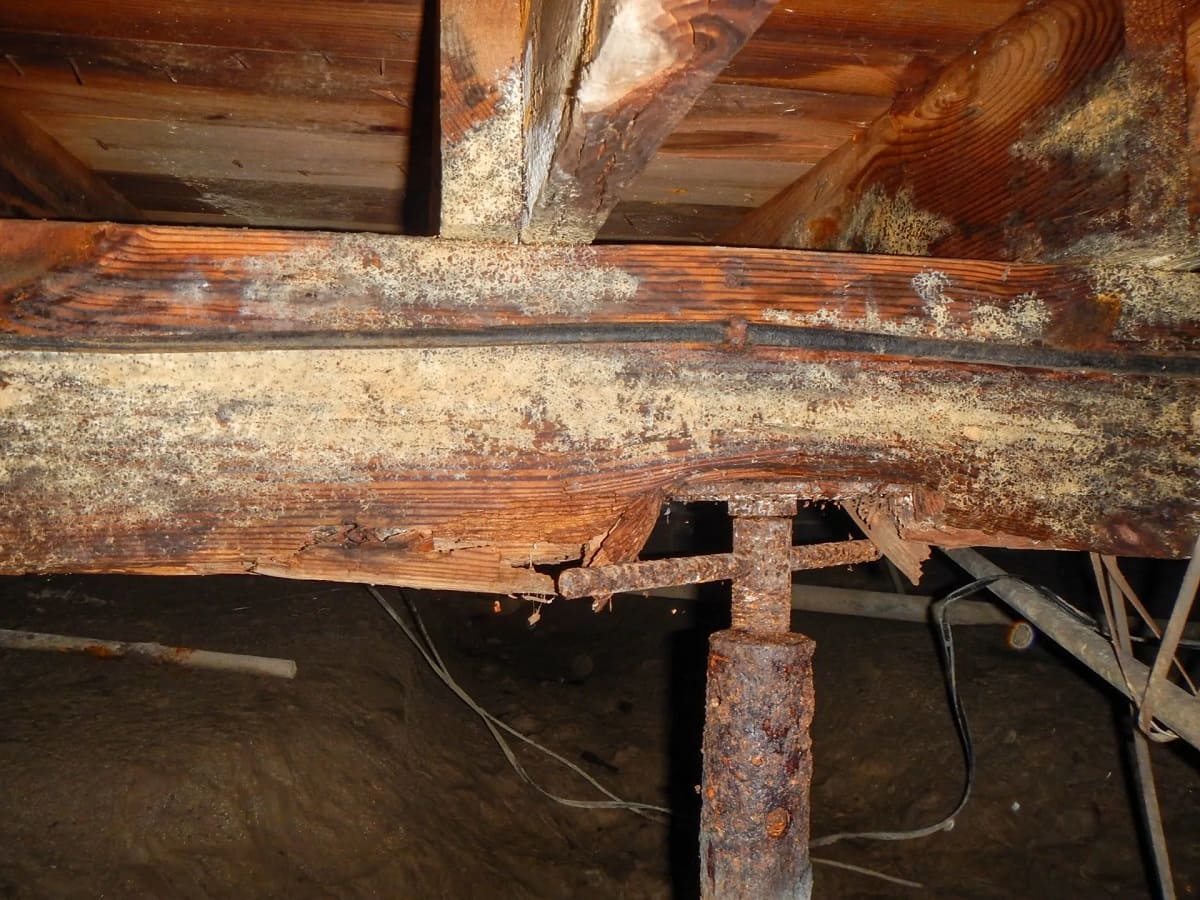
While inspecting the joists, pay close attention to any visible signs of damage, such as cracks, bending, splitting, or rot. These can be indications of moisture damage, pest infestation, or structural weakness.
Inspect all connections and attachments, such as joist hangers, nails, or screws, to ensure they are secure and in good condition. Look for any signs of movement or looseness.
Take note of the spacing between the joists. If the spacing is uneven or wider than recommended, it could contribute to the sagging. You may need to adjust or reinforce the spacing during the repair process.
Once you have thoroughly inspected the ceiling joists and identified any issues, it’s time to move on to step two: determining the cause of the sagging.
Step 2: Determining the Cause of Sagging
Identifying the cause of sagging ceiling joists is crucial to determine the appropriate solution and prevent the issue from recurring in the future. There can be several factors contributing to the sagging, and understanding the root cause helps in implementing the most effective repair strategy.
The following are some common causes of sagging ceiling joists:
- Excessive load: If the joists are bearing more weight than they can handle, such as heavy furniture or multiple layers of drywall, it can cause them to sag over time. Consider reducing the load on the joists or reinforcing them to bear the weight properly.
- Moisture damage: Water leaks or excessive moisture can weaken the wood, leading to sagging. Inspect the area for signs of water damage, such as discoloration, mold, or rot. Fix any leaks and address the moisture issue before proceeding with the repairs.
- Age and structural wear: Over time, the structural components of a building can deteriorate, including the ceiling joists. Aging joists may lose their strength, resulting in sagging. Assess the overall condition of the joists and determine if reinforcement or replacement is necessary.
- Inadequate support: Insufficient or improper support of the joists during construction can lead to sagging. Check if there are any missing or damaged support beams, braces, or other structural elements. Reinforce or add support as needed.
- Improper installation: If the joists were not installed correctly, with inadequate fasteners or inadequate spacing, it can lead to sagging. Evaluate the installation and make necessary adjustments or repairs.
Once you have identified the cause of the sagging, you can move forward with the appropriate repair method. Keep in mind that some cases may require professional assistance, especially if the issue is complex or extensive. It’s essential to prioritize safety and consult with experts if needed.
Now that you know how to determine the cause of sagging ceiling joists, let’s proceed to step three: reinforcing the ceiling joists.
Step 3: Reinforcing the Ceiling Joists
Once you have identified the cause of the sagging ceiling joists, it’s time to reinforce them to restore their strength and stability. Reinforcement methods vary depending on the severity of the sagging and the underlying issue.
Here are a few common techniques for reinforcing ceiling joists:
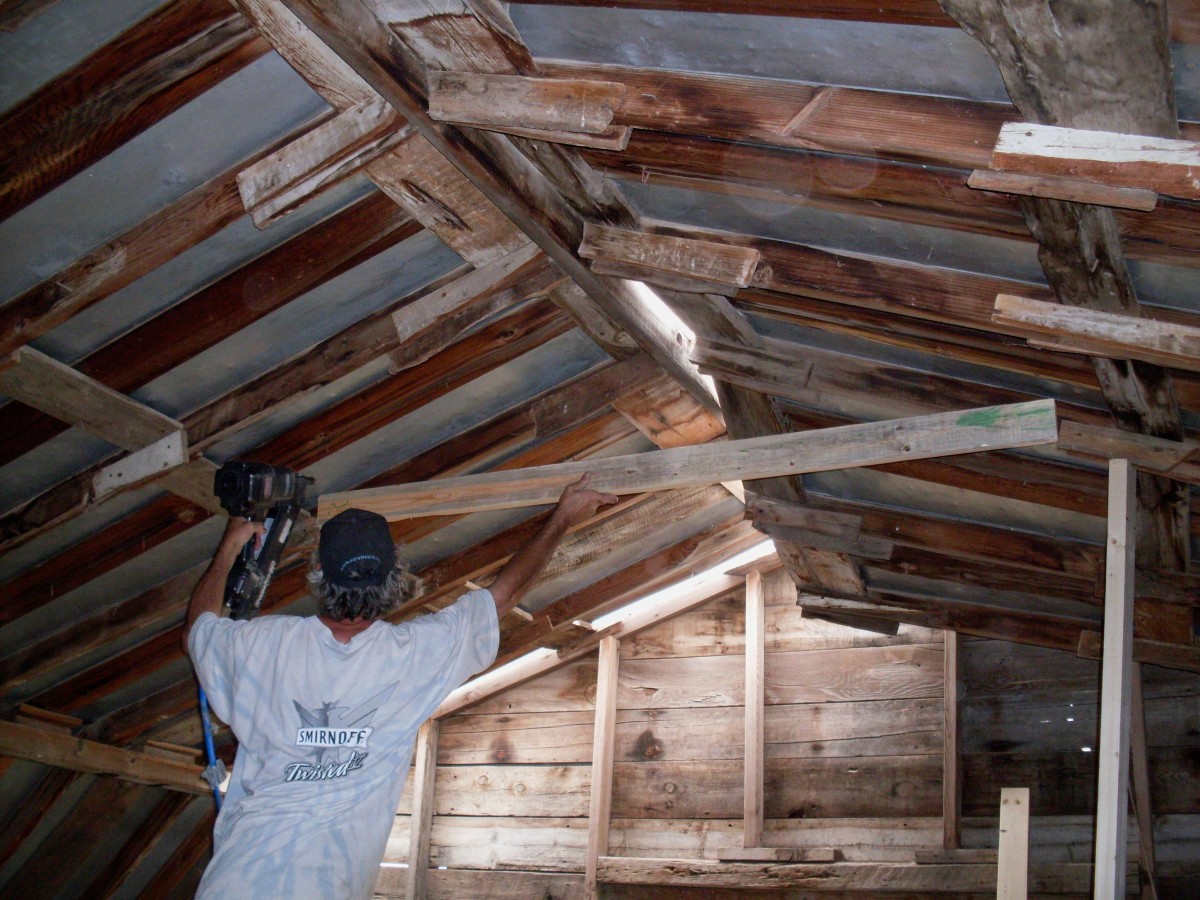
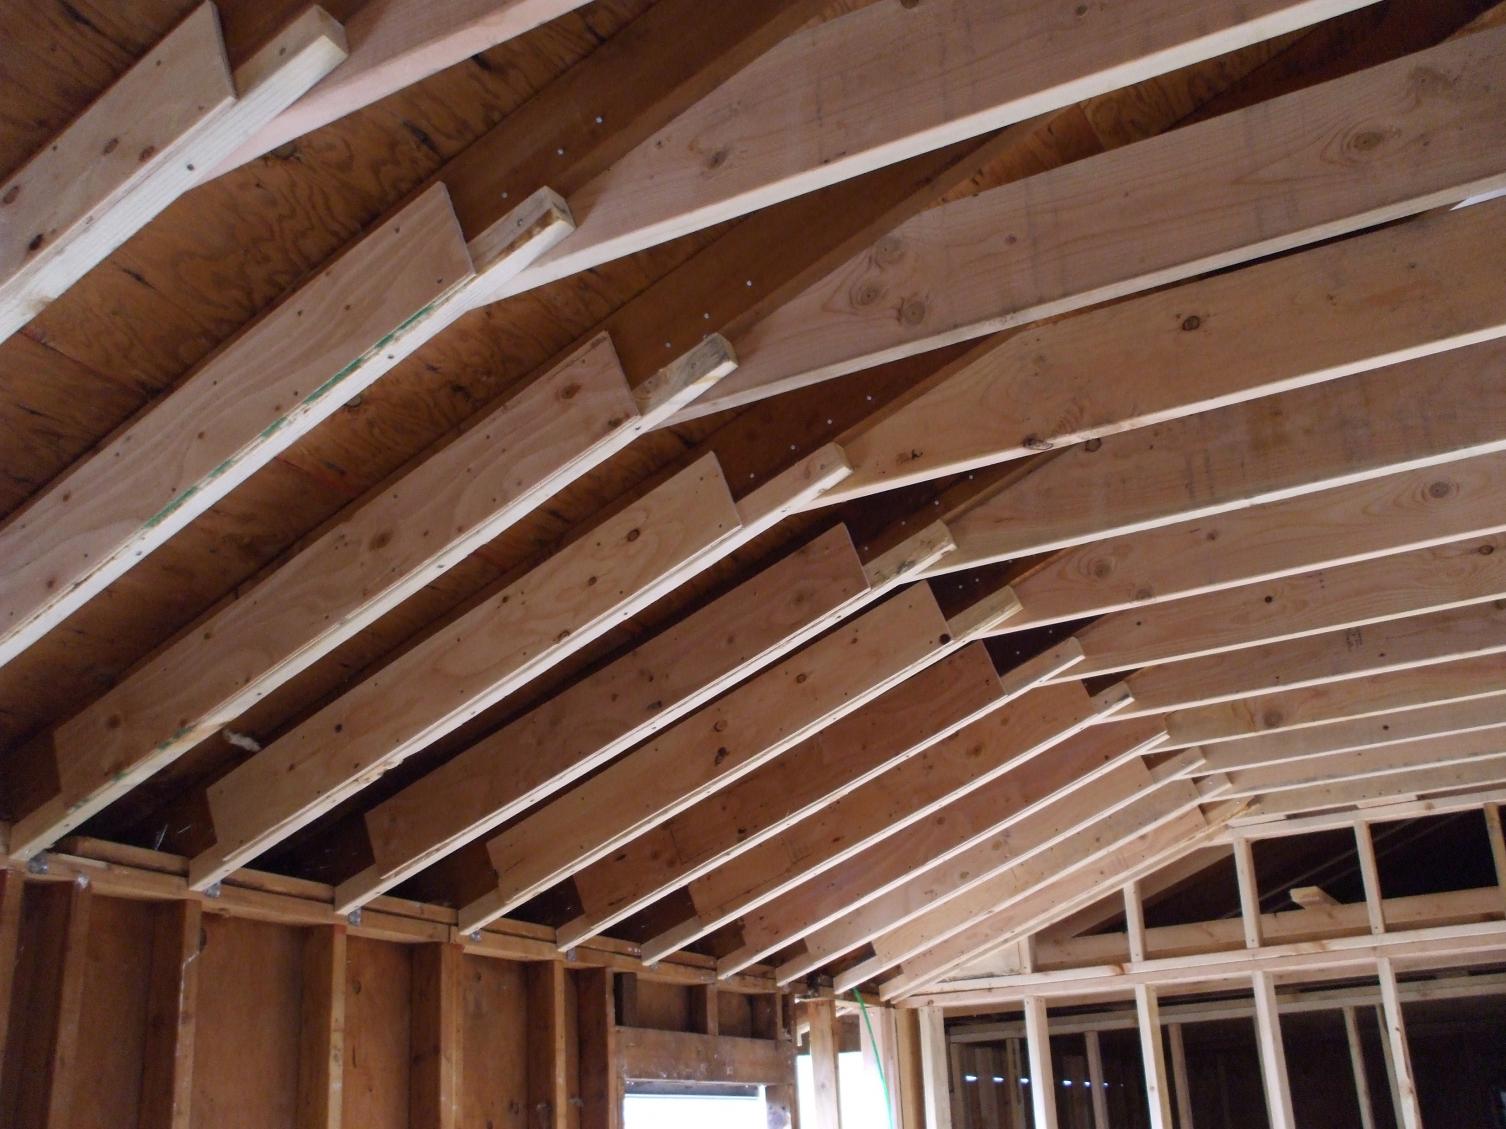
- Adding sister joists: Sistering involves attaching additional joists alongside the existing ones to provide extra support. This method is suitable for joists that are structurally sound but need reinforcement. Use construction adhesive and nails or screws to secure the sister joists to the existing ones.
- Installing steel reinforcing plates: Steel plates can be used to strengthen sagging joists. Place the plates perpendicular to the joists and secure them using screws or nails. This method is often used when the sagging is due to overloading or structural wear.
- Using engineered wood beams: In severe cases of sagging, engineered wood beams, such as laminated veneer lumber (LVL) or parallel strand lumber (PSL), can provide substantial reinforcement. These beams are stronger and more resistant to sagging compared to traditional lumber.
- Adding adjustable support columns: Adjustable support columns, also known as lally columns or jack posts, can be used to provide temporary or permanent support to sagging joists. These columns can be adjusted to the desired height, helping to lift and level the sagging area.
It’s important to note that reinforcing ceiling joists may require some advanced carpentry skills. If you are not confident or comfortable with these tasks, it is recommended to consult a professional contractor who specializes in structural repairs.
Once the reinforcement is complete, it’s time to move on to step four: using temporary supports to provide stability during the repair process.
Step 4: Using Temporary Supports
When fixing sagging ceiling joists, using temporary supports is essential to provide stability and ensure the safety of the repair process. Temporary supports help to alleviate the weight and pressure from the sagging area while you work on reinforcing or lifting the joists.
Here is how you can use temporary supports:
- Positioning adjustable support columns: Place adjustable support columns or jack posts at strategic locations underneath the sagging area. These columns should be positioned on solid, load-bearing surfaces, such as beams or concrete footers.
- Adjusting the supports: Extend the adjustable support columns slowly and carefully until they come into contact with the sagging joists. Gradually increase the height until the sagging area is adequately supported and level.
- Installing additional bracing: To enhance stability, you can install temporary bracing, such as diagonal supports or cross beams, between the adjustable support columns and the sagging joists. This will help distribute the load evenly and prevent any further sagging during the repair process.
- Continuously monitor: Throughout the repair process, it is crucial to monitor the temporary supports regularly to ensure they remain stable and secure. Make any necessary adjustments or reinforcement if needed.
Temporary supports should remain in place until the reinforcing and leveling of the ceiling joists are complete. Once the joists are adequately reinforced and stable, you can proceed to the next step of lifting the sagging joists.
Now that you have set up temporary supports, let’s move on to step five: lifting the sagging joists.
Consider adding additional support by installing new joists or reinforcing the existing ones with braces or sistering. Consult a structural engineer for the best solution.
Read more: How To Fix Sagging Roof
Step 5: Lifting the Sagging Joists
Lifting the sagging joists is a critical step in the process of fixing sagging ceiling joists. By gradually lifting the sagging area, you can restore the levelness and reduce the visible signs of sagging.
Here is how you can lift the sagging joists:
- Position hydraulic jacks: Place hydraulic jacks beneath the sagging area, near the temporary supports. These jacks will allow you to exert controlled pressure and gradually lift the joists.
- Apply pressure: Begin by slowly pumping the jacks to apply upward pressure on the sagging joists. Take your time and increase the pressure gradually.
- Monitor and adjust: Continuously monitor the joists and observe for any signs of movement or excessive strain. If needed, make adjustments to the jacks or temporary supports to ensure a controlled and even lift.
- Check for levelness: Use a level to check the levelness of the lifted area. Adjust the pressure on the jacks to achieve the desired levelness. Keep in mind that it may take multiple adjustments to achieve the desired result.
- Measure and record: Take measurements to record the levelness of the lifted area. This will help in the next step when installing additional support.
It’s important to note that lifting the sagging joists should be done carefully and gradually to avoid any sudden shifts or damage to the surrounding structures. If you are unsure about performing this step, it’s recommended to seek professional assistance.
Once the sagging joists are lifted and level, you can proceed to step six: installing additional support to ensure long-term stability.
Step 6: Installing Additional Support
Installing additional support is a crucial step in fixing sagging ceiling joists to ensure long-term stability and prevent future sagging issues. This step involves reinforcing the joists with permanent support mechanisms.
Here are some methods for installing additional support:
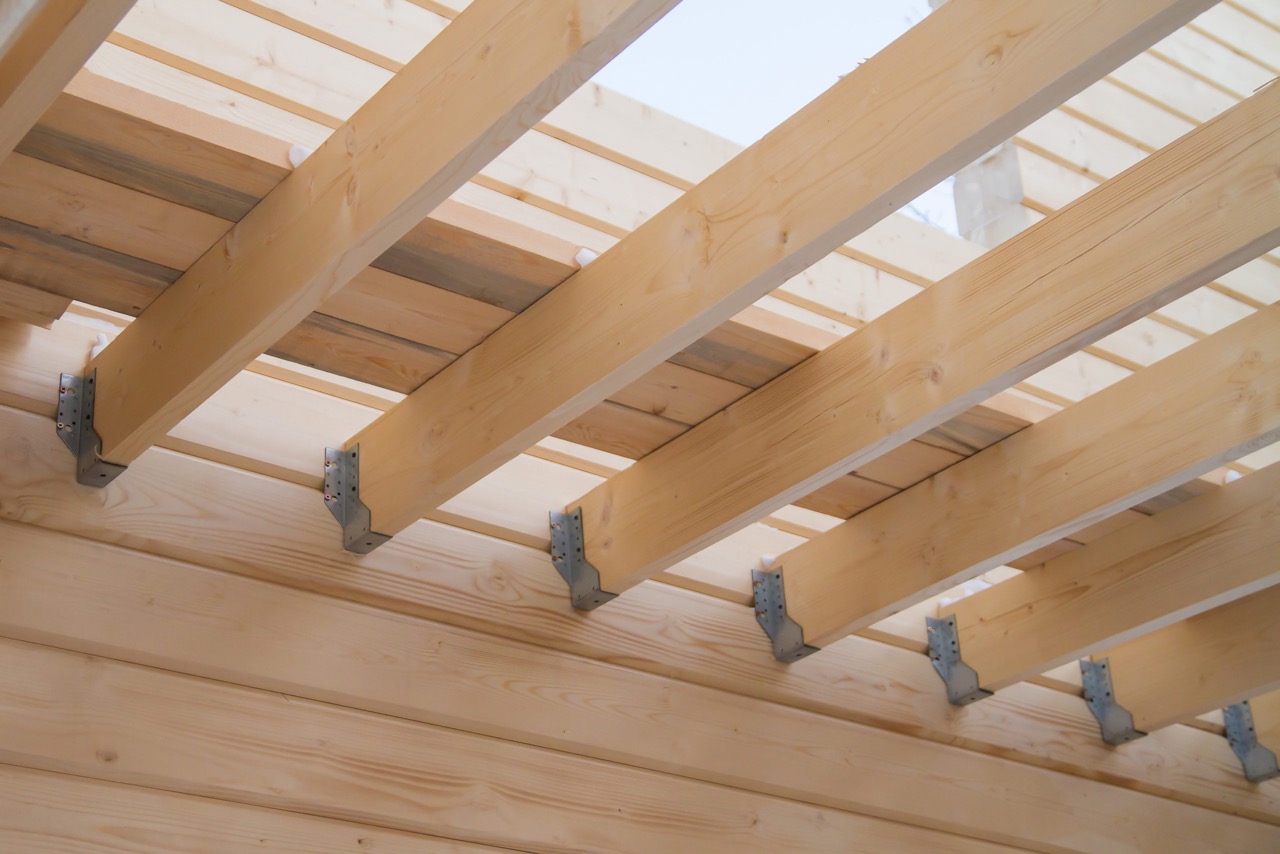
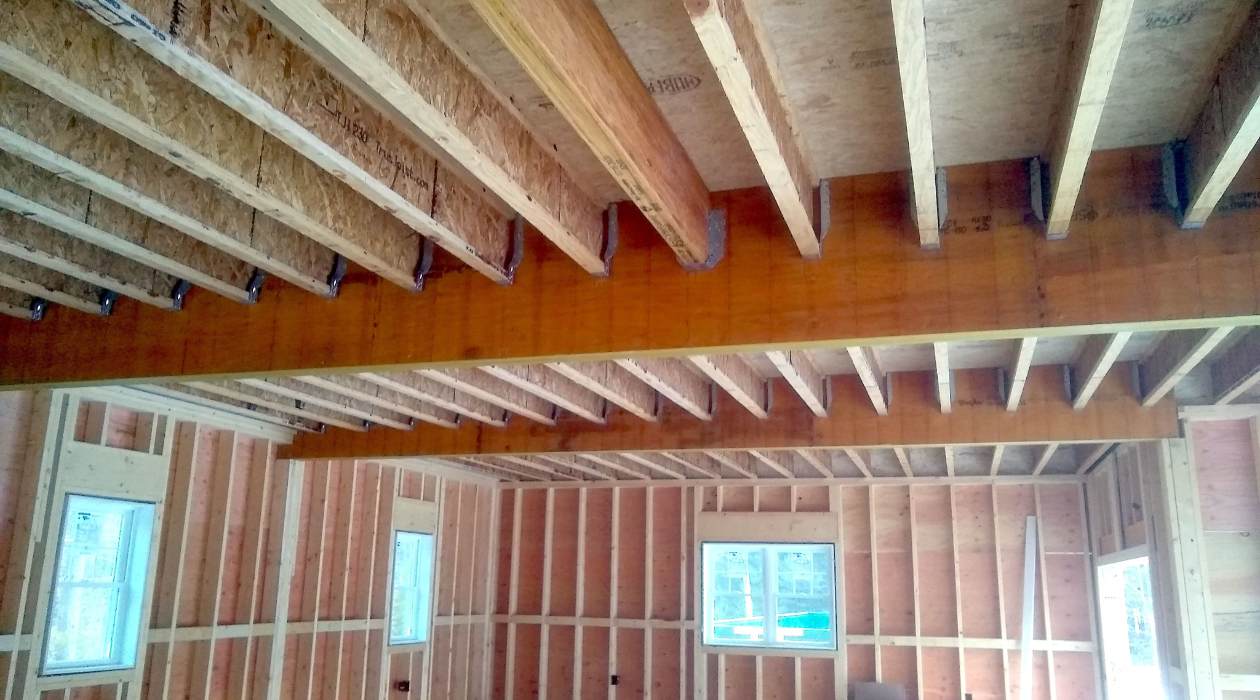
- Installing joist hangers: Joist hangers are metal brackets that attach the joists to the support beams or walls. They provide additional support and help distribute the weight more evenly. Ensure that the joist hangers are properly sized for your joists and secured with appropriate fasteners.
- Adding support beams: Installing support beams parallel to the joists can provide extra reinforcement and help distribute the load. These beams should be securely attached to the joists and supported by load-bearing walls or beams.
- Using cross bridging: Cross bridging is a technique that involves installing diagonal braces between the joists to stabilize them and prevent any lateral movement. This can help strengthen the overall structure and reduce the chances of sagging.
- Reinforcing with plywood or OSB: Adding a layer of plywood or oriented strand board (OSB) to the underside of the joists can provide additional rigidity and support. Securely attach the plywood or OSB to the joists using screws or nails.
When installing additional support, ensure that all connections are properly secured and that the support mechanisms are appropriately sized and positioned. It’s crucial to follow manufacturer’s guidelines and industry best practices to achieve effective and long-lasting results.
Once you have installed the additional support, it’s time to move on to the final step: securing and leveling the joists.
Step 7: Securing and Leveling the Joists
The final step in fixing sagging ceiling joists is to secure and level them to ensure a stable and even surface. This step involves making necessary adjustments and ensuring that all connections are secure.
Here is how you can secure and level the joists:
- Tighten connections: Check all connections, including joist hangers, support beams, and temporary supports, to ensure they are properly tightened and secure. Use appropriate fasteners, such as nails or screws, and tighten them as necessary.
- Trim or reinforce uneven joists: If any of the joists are uneven or not flush, you can trim them using a saw or reinforce them with additional support. This will help achieve a level and uniform surface.
- Check for levelness: Use a level to ensure that the joists are perfectly level throughout the repaired area. Make any adjustments as needed by adding shims or making minor alterations to the temporary supports or additional support mechanisms.
- Inspect for gaps or cracks: Look for any gaps or cracks in the ceiling or walls and repair them as necessary. This will help improve the overall appearance and integrity of the repaired area.
- Perform a final inspection: Once all adjustments and repairs are complete, perform a thorough inspection of the repaired area to ensure that everything is secure, level, and structurally sound.
It’s important to note that securing and leveling the joists may require some precision and attention to detail. Take your time and ensure that each step is done correctly to avoid any future issues or the need for further repairs.
By following these steps, you can successfully fix sagging ceiling joists and restore the stability and aesthetics of your home. However, if you are unsure about any aspect of the repair process or encounter any complexities, it’s recommended to consult a professional contractor for guidance and assistance.
With the sagging ceiling joists addressed, you can now enjoy a secure and visually appealing living space.
We hope this guide has been helpful in assisting you with fixing sagging ceiling joists. Remember to prioritize safety, and always consult professionals if needed. Happy repairing!
Conclusion
Sagging ceiling joists can be a common issue in homes, but it is not something that should be overlooked. Addressing sagging joists is crucial to maintain the structural integrity of your home and prevent further damage. By following the steps outlined in this guide, you can successfully fix sagging ceiling joists and restore stability to your home.
The process begins with a thorough inspection of the joists to identify the cause of the sagging. Whether it is due to excessive load, moisture damage, age, or poor support, understanding the root cause is essential in determining the most appropriate repair method.
Reinforcing the joists through techniques like sistering, installing steel plates, or adding support beams is the next step. These methods provide the necessary strength and stability to the sagging joists, reducing the risk of further damage.
Using temporary supports during the repair process is crucial to ensure the safety of the work area. Adjustable support columns, along with additional bracing, help to alleviate the weight from the sagging area, making it easier to work on the reinforcement.
Lifting the sagging joists allows for the restoration of levelness and reduces the visible signs of sagging. Hydraulic jacks are used to carefully apply pressure and gradually lift the joists to the desired level.
Installing additional support is an important step in ensuring the long-term stability of the joists. Joist hangers, support beams, cross bridging, or plywood/OSB can be used to provide extra reinforcement and distribute weight evenly.
Finally, securing and leveling the joists completes the repair process. Ensuring that all connections are tightened, trimming or reinforcing uneven joists, and performing a final inspection are crucial for a successful repair.
Remember, if you are unsure about any aspect of the repair process or encounter complex issues, it’s advisable to consult a professional contractor with expertise in structural repairs. Your safety and the integrity of your home should always be the top priority.
By following these steps and taking the necessary precautions, you can fix sagging ceiling joists and preserve the stability and aesthetics of your home. Don’t let sagging joists go unaddressed – a timely repair can save you from more significant problems down the line. Now, armed with this knowledge, you can confidently tackle the task of fixing sagging ceiling joists and enjoy a stable and secure living environment.
Frequently Asked Questions about How To Fix Sagging Ceiling Joists
Was this page helpful?
At Storables.com, we guarantee accurate and reliable information. Our content, validated by Expert Board Contributors, is crafted following stringent Editorial Policies. We're committed to providing you with well-researched, expert-backed insights for all your informational needs.





0 thoughts on “How To Fix Sagging Ceiling Joists”