Articles
How To Fix Metal Roof Leak
Modified: January 6, 2024
Learn effective techniques and preventive measures to fix metal roof leaks with our informative articles. Replace, repair, and maintain your metal roof to avoid costly damages.
(Many of the links in this article redirect to a specific reviewed product. Your purchase of these products through affiliate links helps to generate commission for Storables.com, at no extra cost. Learn more)
Introduction
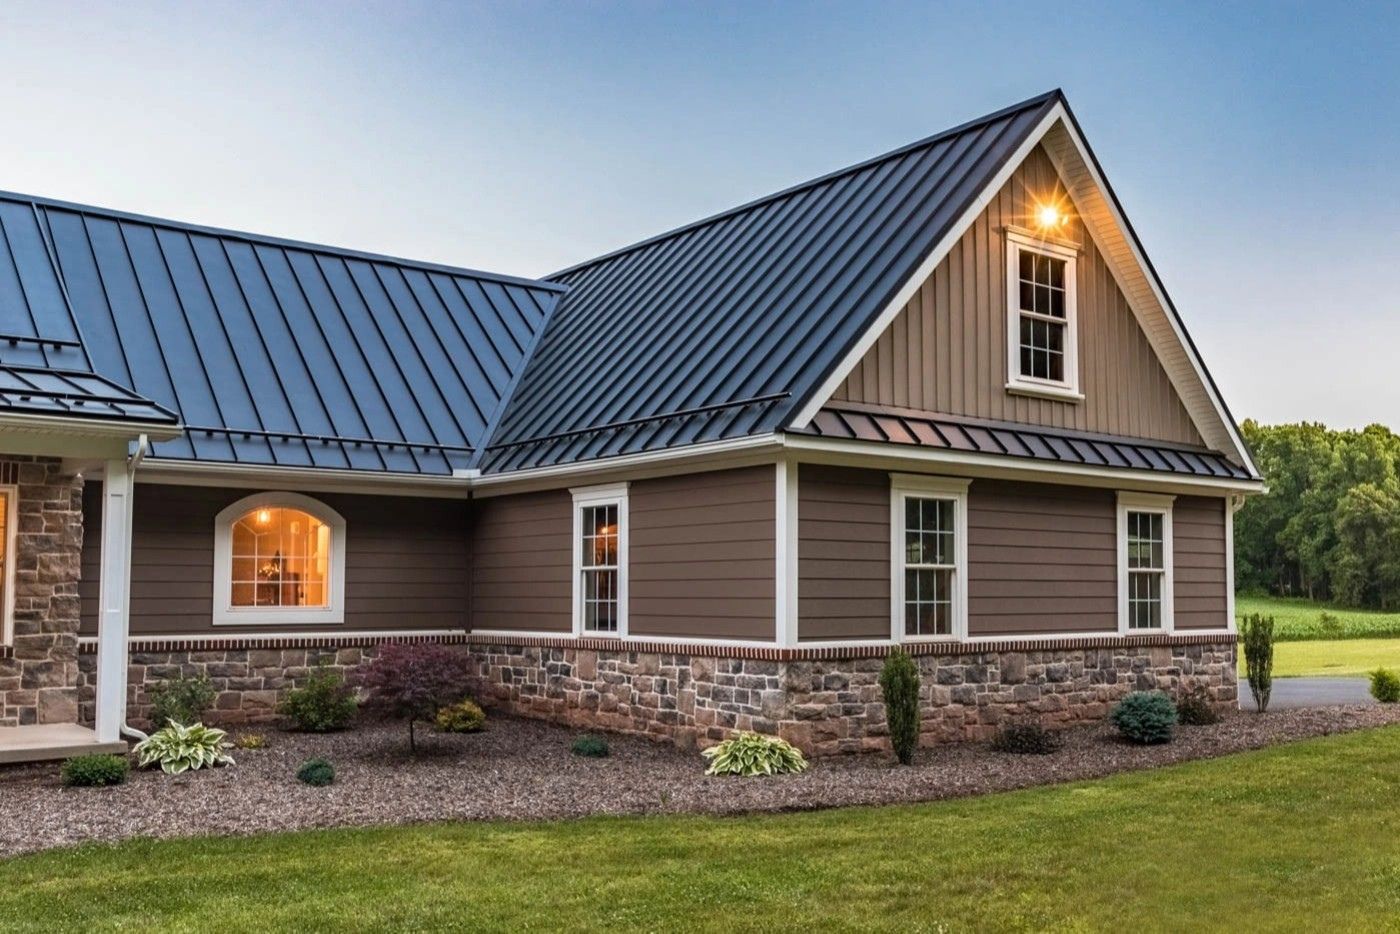
Welcome to our guide on how to fix a metal roof leak. Metal roofs are known for their durability and long lifespan, but like any other roof, they can develop leaks over time. Whether it’s due to aging, improper installation, or severe weather conditions, a leaky metal roof can cause water damage to your property if left unaddressed. Fortunately, with the right tools and techniques, you can easily fix the leak and restore the integrity of your metal roof.
In this article, we will provide you with a step-by-step guide on how to identify the source of the leak, gather the necessary tools and materials, clean and prepare the metal roof surface, apply a metal roof sealant, and inspect and test the repaired area. We will also share some essential tips for performing regular maintenance to prevent future leaks.
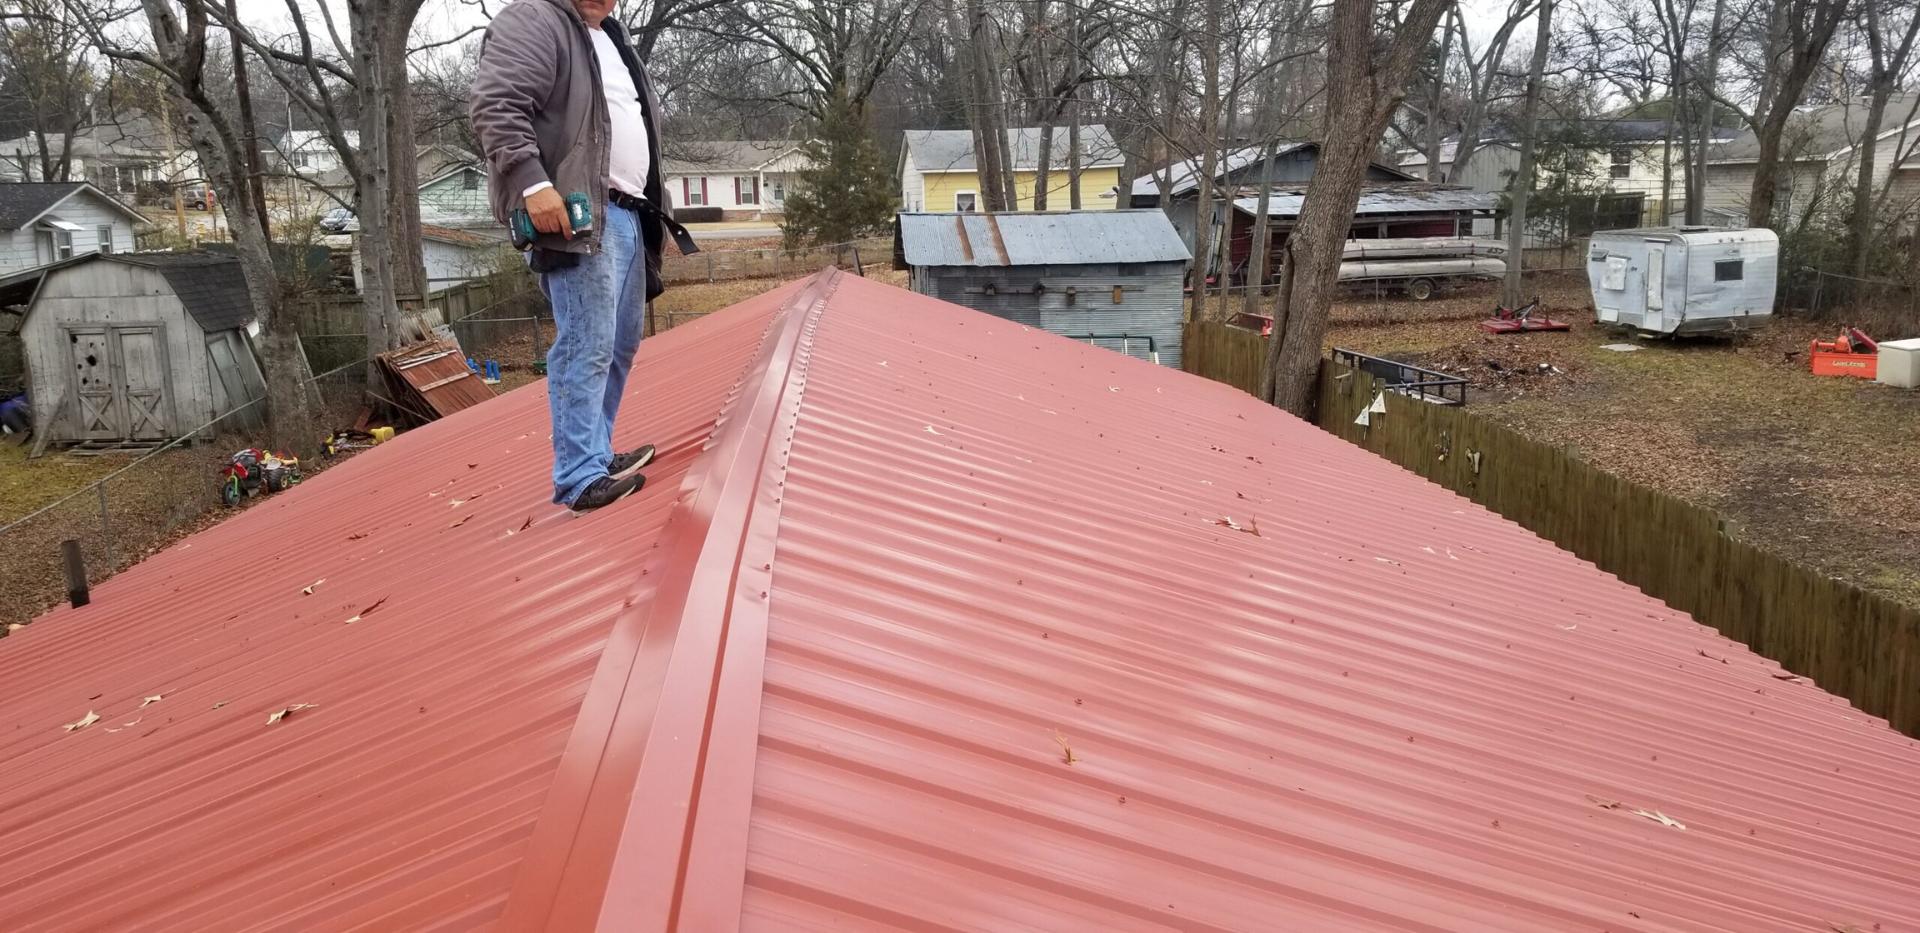
Before we dive into the specifics, it’s important to note that safety should always be your top priority when working on a roof. Make sure to wear appropriate protective gear, such as gloves, safety glasses, and non-slip shoes, and use a sturdy ladder or scaffolding to access the roof. If you feel uncertain or uncomfortable performing any of the steps, it’s best to consult a professional roofer for assistance.
With that said, let’s get started on fixing that metal roof leak and ensuring the longevity of your roof!
Key Takeaways:
- Properly identifying the source of a metal roof leak is crucial. Use a combination of interior and exterior inspections, water trails, and a hose test to pinpoint the exact location before beginning repairs.
- Regular maintenance is key to preventing future metal roof leaks. Implement a routine of inspections, cleaning, and prompt repairs to ensure the longevity and durability of your roof.
Read more: How To Fix A Leak In The Roof
Step 1: Identify the Source of the Leak
Before you can fix a leak in your metal roof, you need to pinpoint its source. Water can be tricky, as it doesn’t always penetrate directly above the visible signs of a leak. Here are a few steps to help you identify the source of the leak:
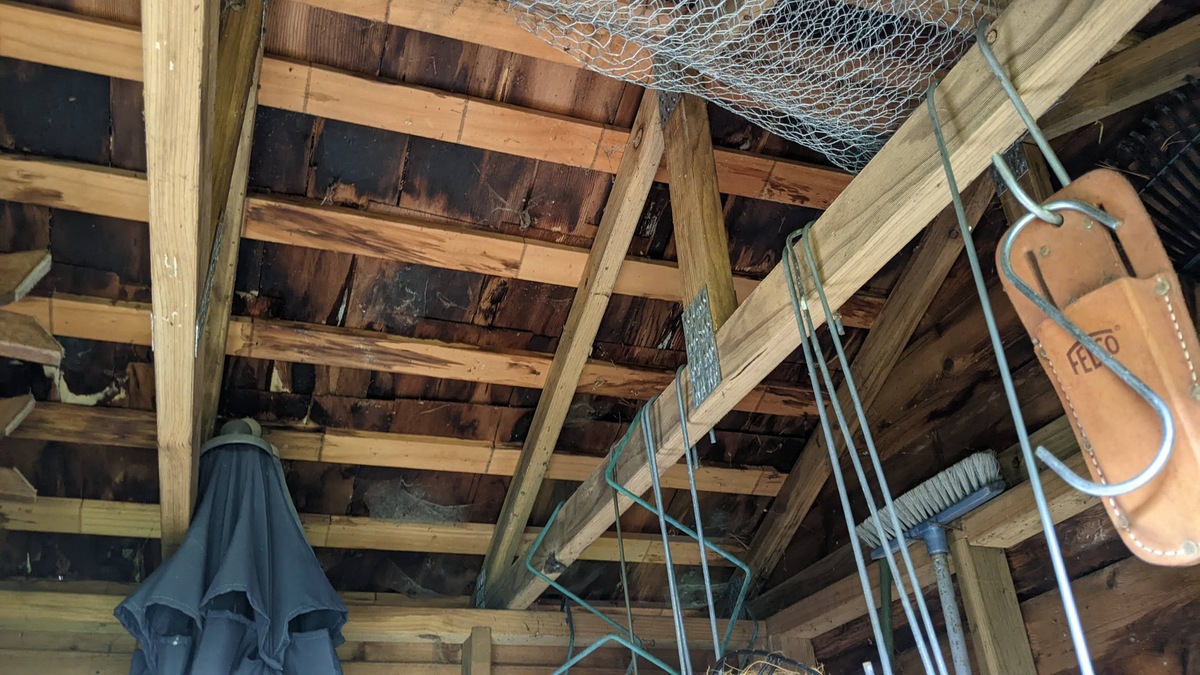
- Inspect the interior: Start by examining the ceiling or attic space directly beneath where you notice water stains or signs of leakage. Look for any visible water trails or damp areas that can indicate the general location of the leak.
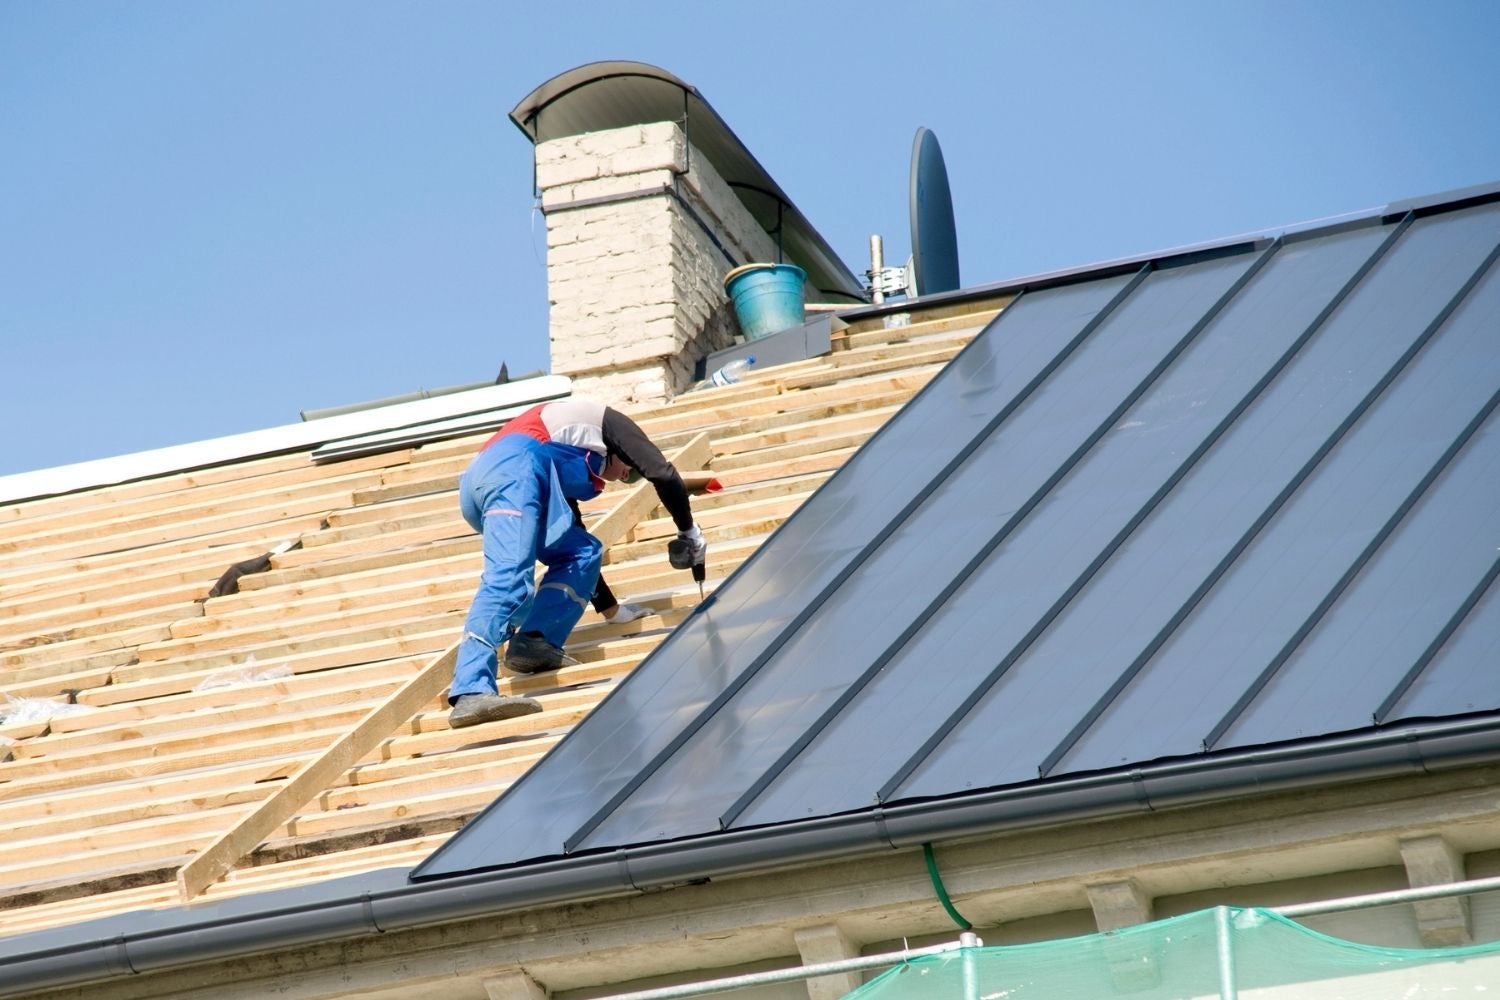
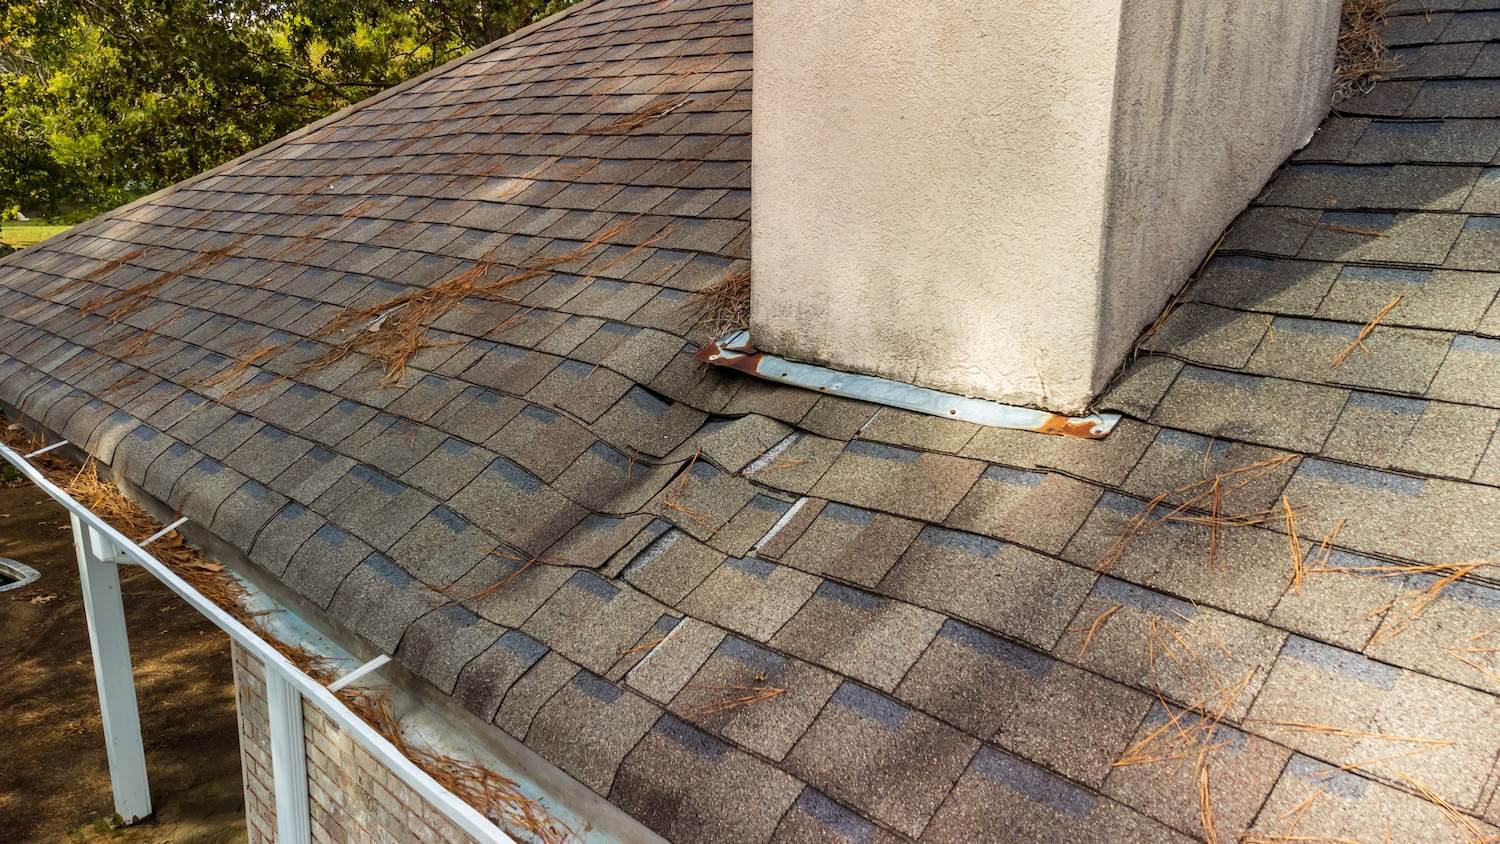
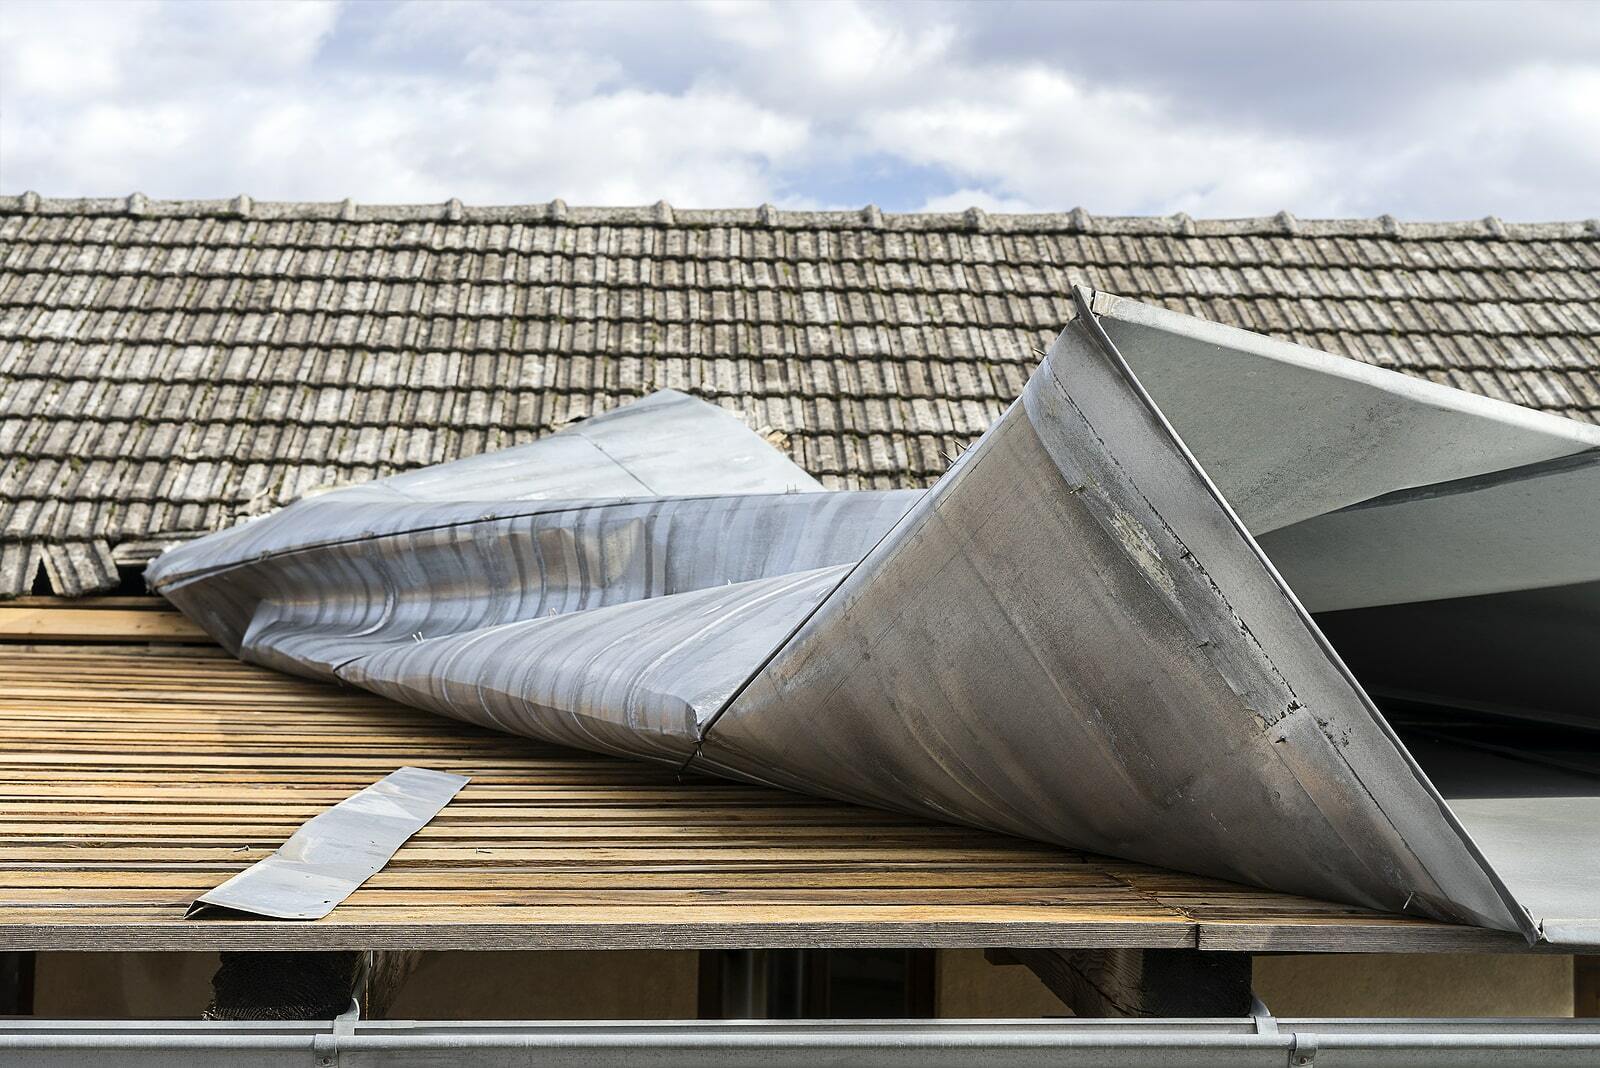
- Check for obvious damage: Next, visually inspect the exterior of your roof. Look for any obvious signs of damage, such as missing or damaged shingles, loose flashing, or rusted panels. These areas are common entry points for water.
- Follow the water trails: If you notice water stains or trails on the interior or exterior, trace them back to their origin. Keep in mind that water can travel along beams or other structural elements before finally dripping down.
- Perform a hose test: To further narrow down the location of the leak, enlist the help of a friend and use a garden hose to simulate rainfall. Start at the bottom of the roof and gradually work your way up, paying attention to where water begins to intrude.
By following these steps, you should be able to locate the approximate area of the leak. Remember that the source may not always be directly above the signs of leakage, so be thorough in your examination. Once you have identified the general location, you can proceed with gathering the necessary tools and materials to fix the problem.
Step 2: Gather the Necessary Tools and Materials
Before you can start repairing your metal roof leak, it’s important to gather all the tools and materials you’ll need. Here is a list of items commonly required for fixing a metal roof leak:
- Roofing sealant: Choose a high-quality sealant specifically designed for metal roofs. Look for a product that is weather-resistant, flexible, and UV-stable to ensure long-lasting results.
- Caulking gun: This tool is used to apply the sealant evenly and accurately. Make sure you have a sturdy caulking gun that can accommodate the size of the sealant tube.
- Safety gear: Ensure you have the appropriate safety equipment, including gloves, safety glasses, and non-slip shoes. Roofing work can be dangerous, so it’s important to protect yourself.
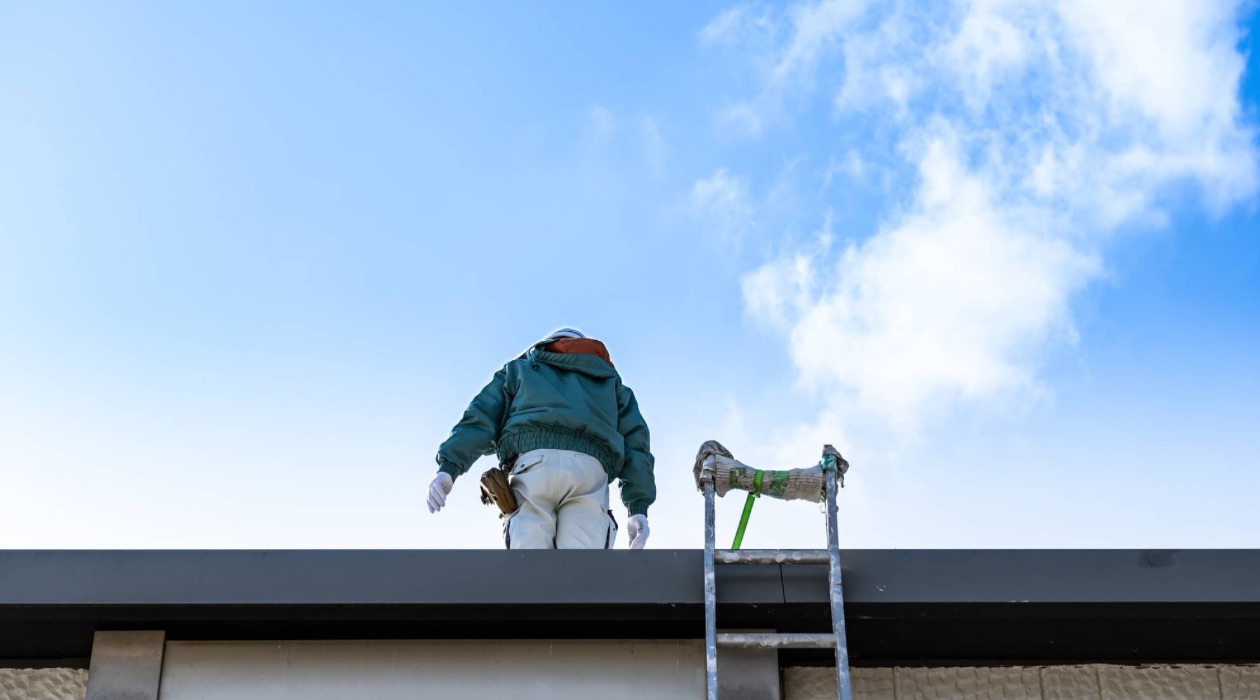
- Ladder or scaffolding: Depending on the height of your roof, you’ll need a stable ladder or scaffolding to safely access the area that needs repair. Make sure the ladder or scaffolding is in good condition and properly positioned.
- Wire brush or sandpaper: Use a wire brush or sandpaper to clean the affected area before applying the sealant. This will help remove any dirt, rust, or loose particles, ensuring better adhesion.
- Clean cloth or sponge: Have a clean cloth or sponge on hand to wipe away any excess sealant or moisture from the roof surface.
- Roofing nails: If you need to secure any loose panels or flashing, having a few roofing nails can come in handy. Make sure the nails are appropriate for your type of metal roof.
- Putty knife or trowel: Use a putty knife or trowel to spread the sealant evenly over the affected area. This will help ensure a smooth and seamless repair.
It’s important to have all these tools and materials readily available before you begin the repair process. This will save you time and allow for a more efficient workflow. Once you have everything you need, you can proceed to the next step of cleaning and preparing the metal roof surface.
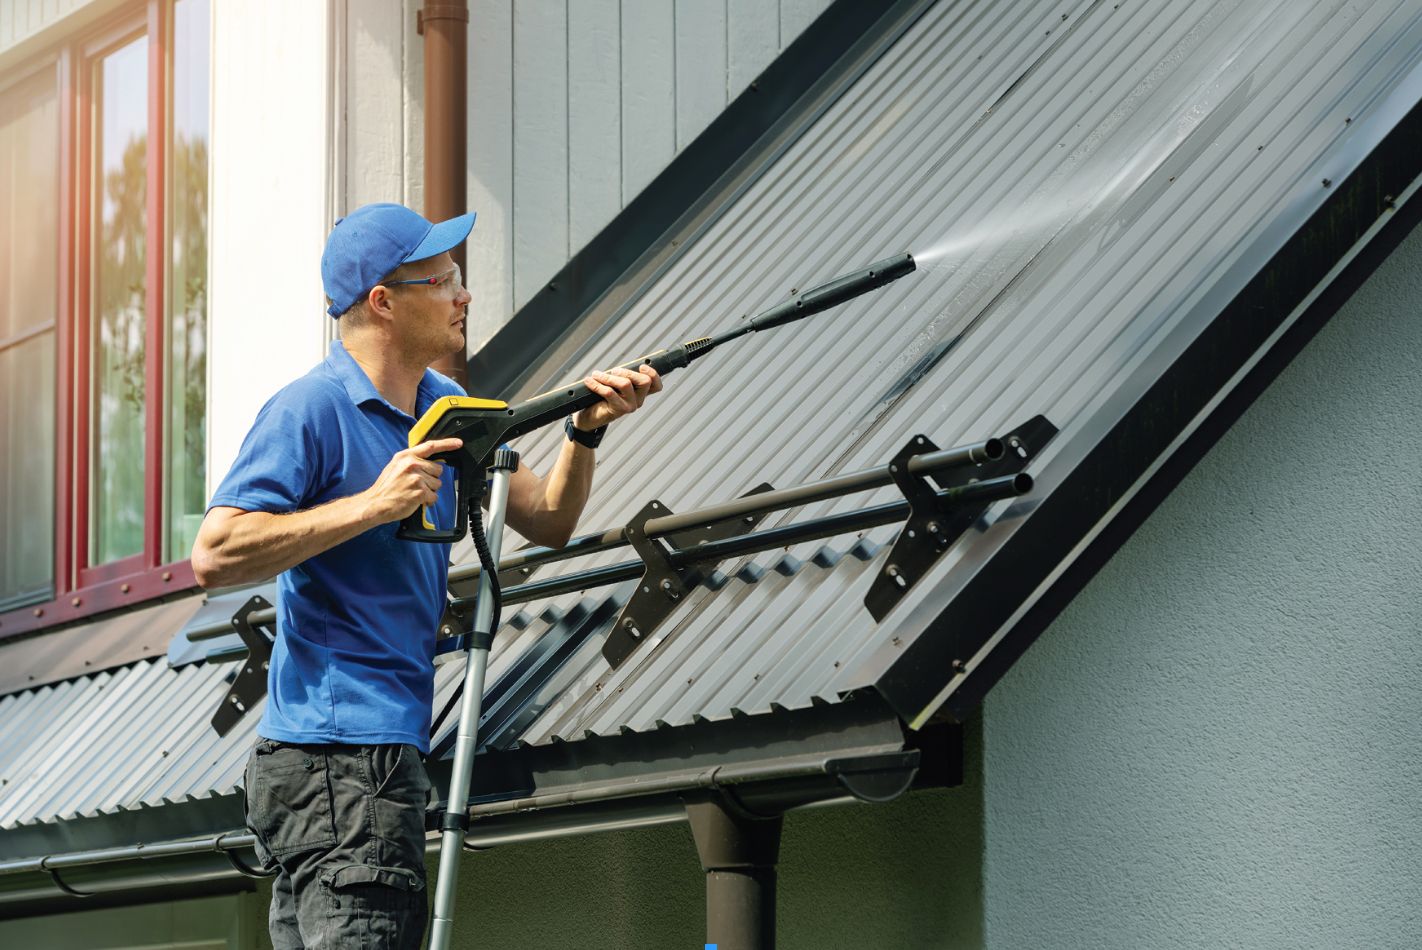
Step 3: Clean and Prepare the Metal Roof Surface
Before applying any sealant or making repairs, it’s essential to thoroughly clean and prepare the surface of your metal roof. Here are the steps to follow:
- Safety first: Ensure you are wearing the appropriate safety gear, including gloves and safety glasses, to protect yourself during this process.
- Clear the area: Remove any debris, leaves, or branches from the roof. Use a broom or brush to sweep away dirt and loose particles.
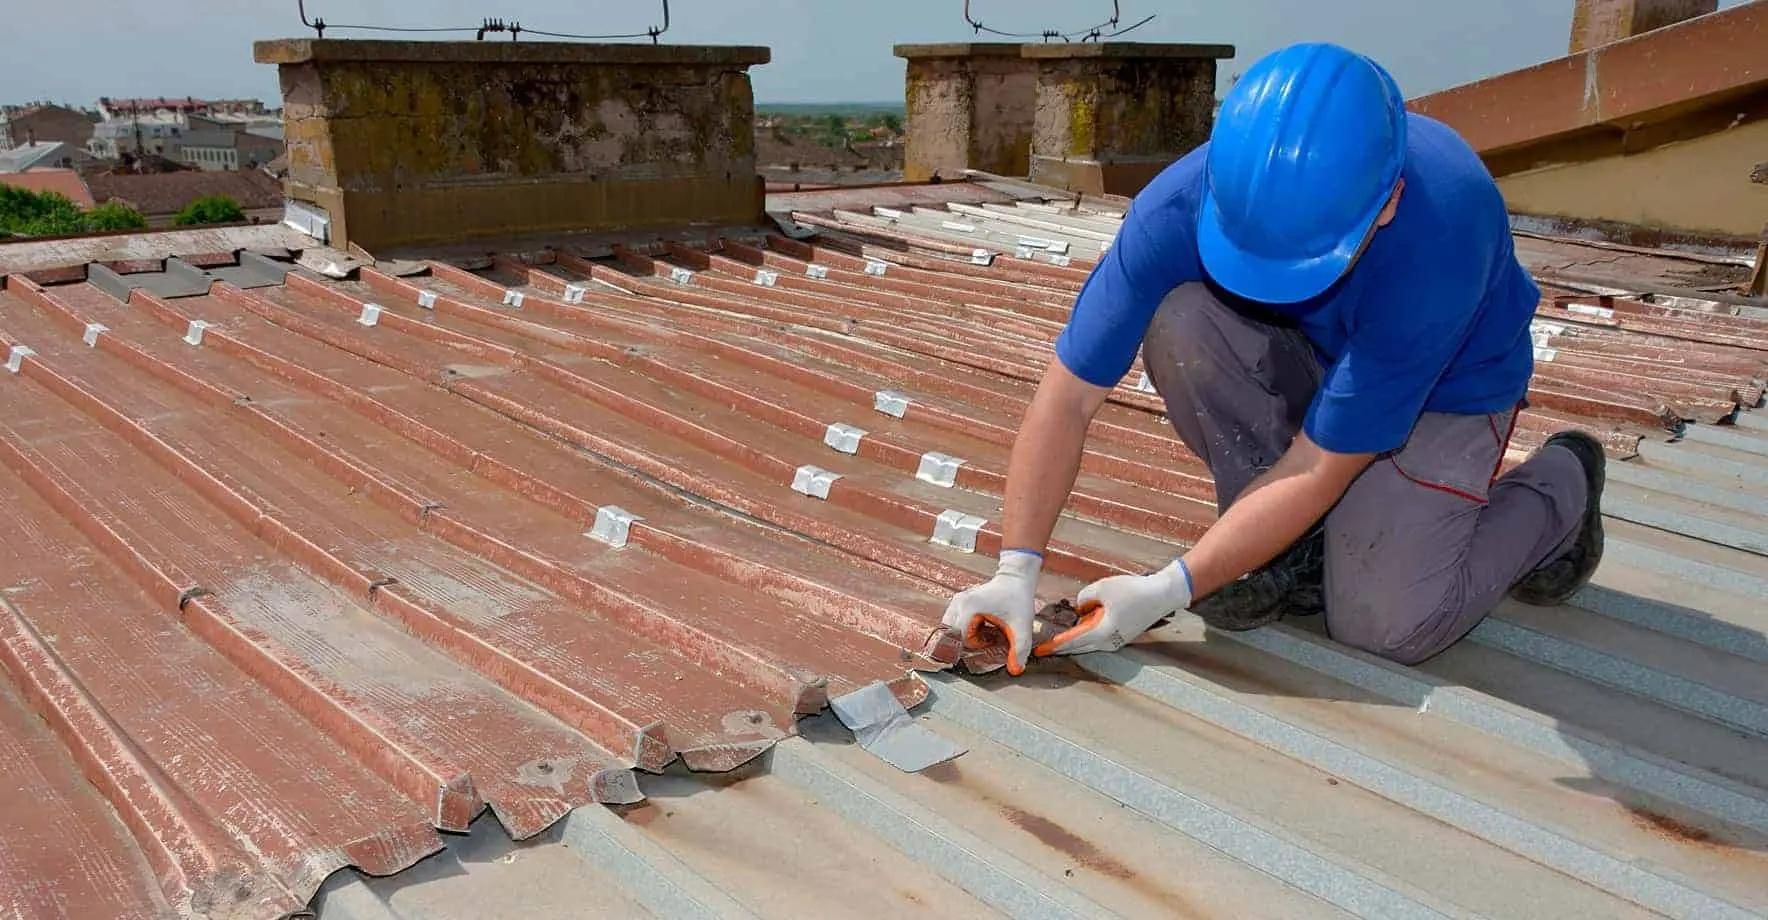
- Inspect for damage: Look for any signs of rust, corrosion, or damage on the metal roof. If you come across any loose panels or flashing, secure them with roofing nails.
- Clean the surface: Use a wire brush or sandpaper to clean the affected area. Remove any rust and loose paint, and smooth out any rough edges. This step promotes better adhesion of the sealant.
- Wipe down the area: Use a clean cloth or sponge to wipe away any dust, dirt, or residue from the surface. Ensure that the area is dry and free from debris before proceeding to the next step.
- Apply primer (if necessary): Depending on the condition of your metal roof and the type of sealant you are using, you may need to apply a primer. Follow the manufacturer’s instructions on how to apply the primer effectively.
By thoroughly cleaning and preparing the metal roof surface, you are creating an optimal environment for the sealant to adhere properly. This will ensure a more effective and durable repair. Once the surface is clean and prepped, you are ready to move on to the next step of applying the metal roof sealant.
Inspect the metal roof for any visible damage or loose seams. Use a high-quality sealant to patch any small holes or cracks. Consider hiring a professional for larger repairs.
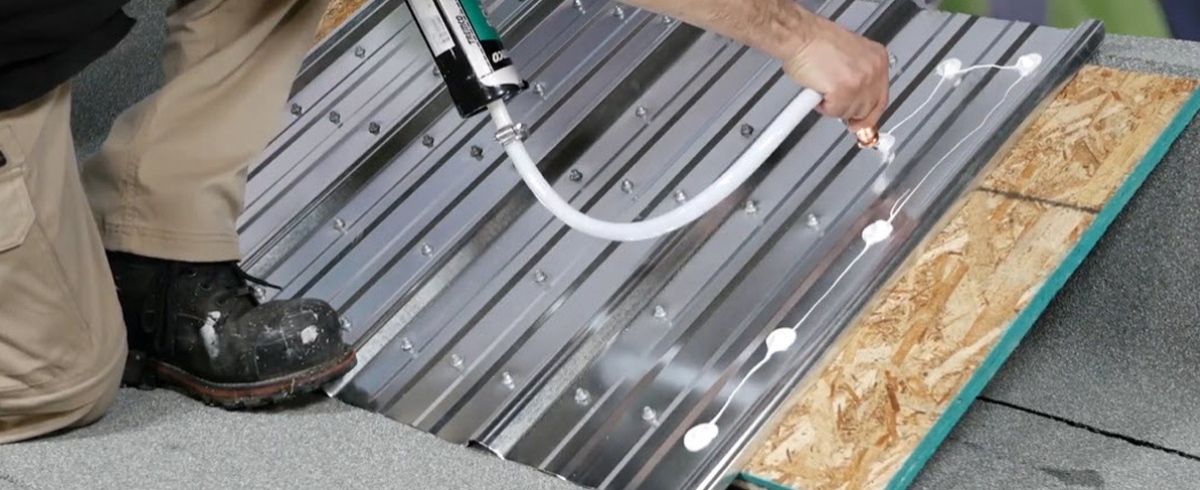
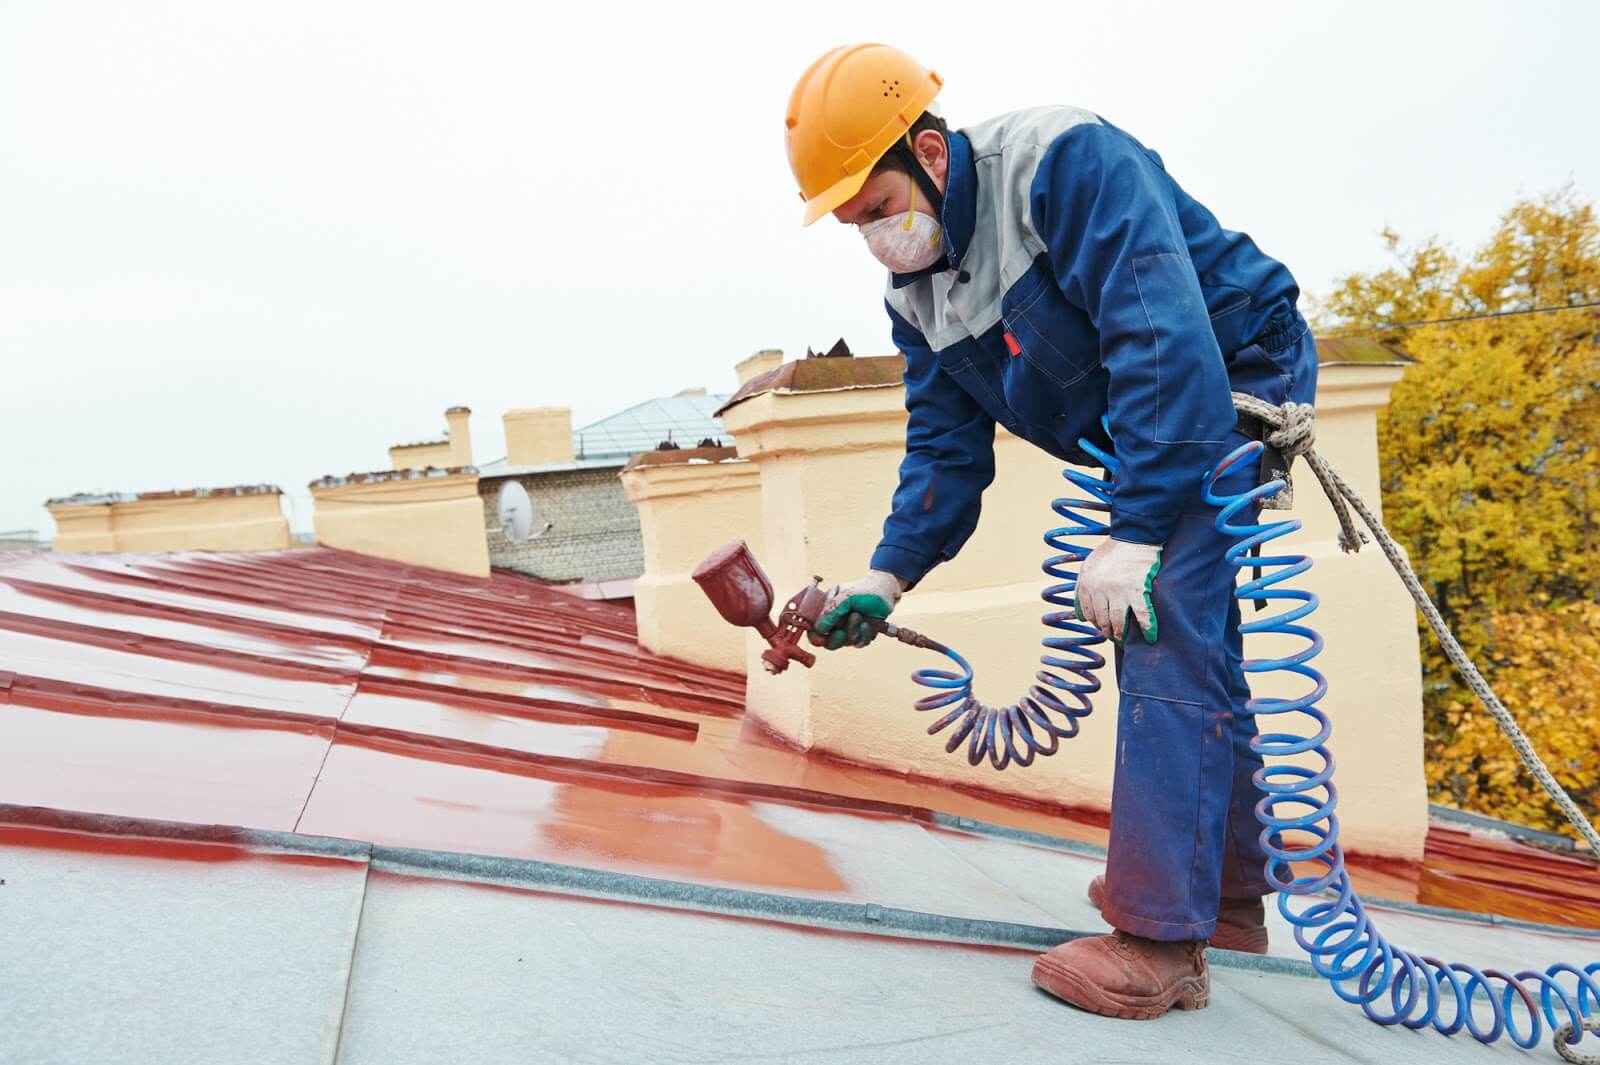
Step 4: Apply a Metal Roof Sealant
Applying a metal roof sealant is a crucial step in fixing a metal roof leak. The sealant forms a protective barrier that prevents water from penetrating and causing further damage. Here’s how to apply the sealant:
- Select the appropriate sealant: Choose a high-quality sealant specifically designed for metal roofs. Ensure that it is compatible with the type of metal used in your roof and that it is formulated to withstand the elements.
- Load the sealant tube into the caulking gun: Insert the tube of sealant into the caulking gun and ensure it is securely in place.
- Cut the nozzle: Use a utility knife to cut the nozzle of the sealant tube at a slight angle. The size of the opening will depend on the width of the area you need to seal.
- Apply the sealant: Starting at one end of the affected area, squeeze the trigger of the caulking gun to apply a steady and even bead of sealant. Move along the length of the area, ensuring that the sealant is being applied directly over the leak or damaged area.
- Smooth the sealant: Use a putty knife or trowel to spread and smooth the sealant over the repaired area. This will help create a seamless, watertight seal.
- Wipe away excess sealant: Use a clean cloth or sponge to wipe away any excess sealant that may have dripped or spread beyond the intended area. This will result in a neater and more aesthetically pleasing repair.
Take your time during the application process to ensure that you have covered the entire leak or damaged area. Pay attention to any seams, joints, or other vulnerable spots on your metal roof. The goal is to create a strong and durable seal that will provide long-lasting protection against water intrusion.
Allow the sealant to cure according to the manufacturer’s instructions. This typically involves waiting for a specific amount of time for the sealant to dry and form a waterproof barrier. Once the sealant is fully cured, you can proceed to the next step of inspecting and testing the repaired area.
Read more: How To Fix Leaking Porch Roof
Step 5: Inspect and Test the Repaired Area
After applying the metal roof sealant, it’s essential to inspect and test the repaired area to ensure that the leak has been effectively addressed. Here are the steps to follow:
- Allow the sealant to cure: Depending on the type of sealant used, it may take anywhere from a few hours to a few days for the sealant to fully cure. Refer to the manufacturer’s instructions for the recommended curing time.
- Conduct a visual inspection: Once the sealant has cured, visually inspect the repaired area to ensure that the sealant has adhered properly and there are no signs of gaps or voids. Check for any visible cracks or fissures that may require additional attention.
- Perform a water test: To test the effectiveness of the repair, simulate rainfall by spraying water directly onto the repaired area. Use a garden hose or a bucket of water and pour it gently over the repaired spot. Observe closely for any signs of water leakage.
- Check the interior for signs of moisture: While conducting the water test, have someone inspect the interior of the building directly beneath the repaired area. Look for any signs of water penetration, such as dripping, wet spots, or water stains.
- Make any necessary adjustments: If you notice any water leakage or signs of moisture, it may indicate that the repair was not successful or that there are additional issues that need to be addressed. In this case, you may need to repeat the previous steps or consult a professional to determine the best course of action.
It’s important to take the time to thoroughly inspect and test the repaired area to ensure the leak has been properly fixed. Water intrusion can lead to extensive damage, so it’s crucial to address any issues promptly and effectively. By ensuring that the repaired area is watertight, you can have peace of mind knowing that your metal roof is protected against future leaks.
Remember, regular maintenance and inspections are essential for the long-term health of your roof. By being proactive and addressing any leaks or damages as soon as they are noticed, you can prevent further issues and extend the lifespan of your metal roof.
Step 6: Perform Regular Maintenance to Prevent Future Leaks
In order to prevent future leaks and maintain the integrity of your metal roof, it’s important to establish a regular maintenance routine. Here are some tips to help you keep your roof in optimal condition:
- Inspect your roof regularly: Set a schedule to inspect your roof at least twice a year, ideally in the spring and fall. Look for any signs of damage, such as loose panels, rusted areas, or damaged flashing. Address any issues promptly to prevent them from escalating.
- Clean your gutters: Clogged gutters can prevent proper water drainage and lead to water pooling on your roof. Remove any debris, leaves, or branches from your gutters to ensure proper water flow.
- Trim overhanging branches: Tree branches that hang over your roof can scrape against the surface and cause damage, especially during high winds. Trim any branches that come in contact with your metal roof to prevent potential leaks and scratches.
- Remove moss or algae: If you notice any moss or algae growing on your metal roof, remove it promptly. These organisms can trap moisture and lead to corrosion or damage. Use a soft bristle brush or a moss removal solution to safely clean the affected area.
- Check your roof after severe weather: After a storm or extreme weather event, inspect your roof for any signs of damage. Look for dents, loose panels, or areas where sealant may have been compromised. Address any issues as soon as possible to prevent water penetration.
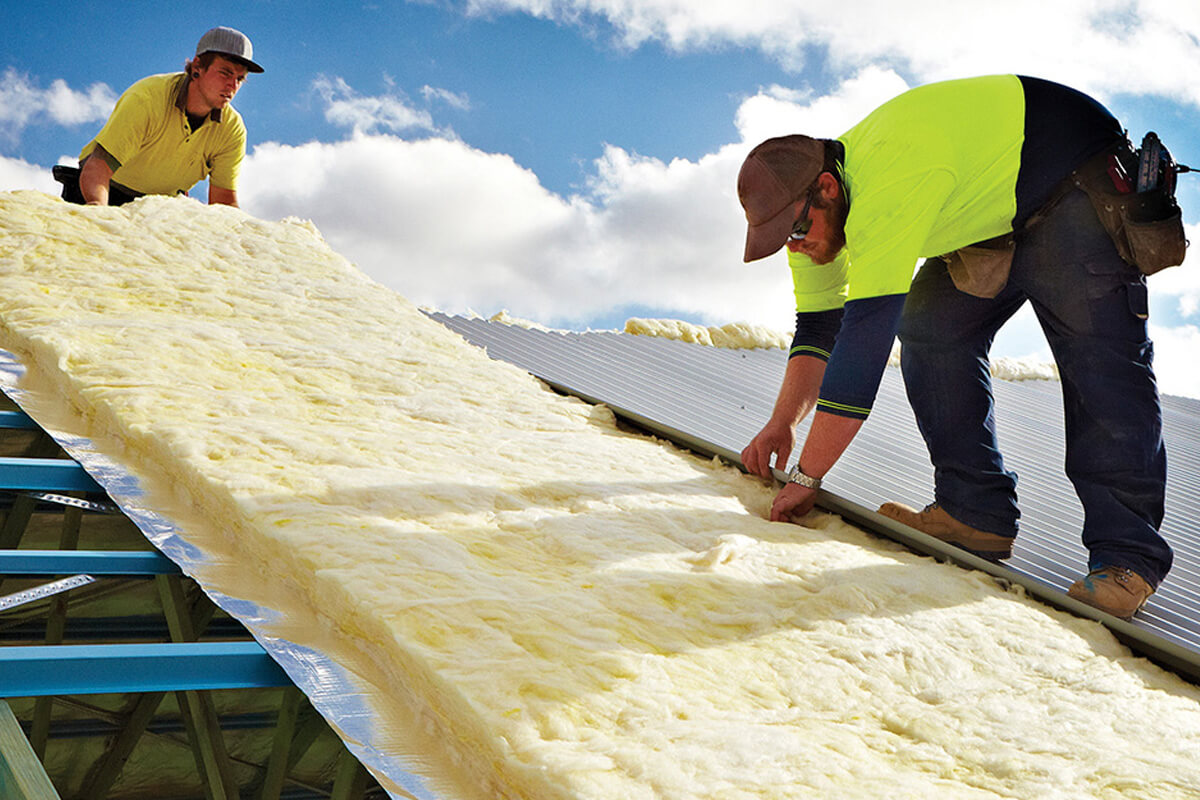
- Ensure proper ventilation: Proper ventilation is crucial for maintaining the health of your metal roof. Check that your attic or roof space has adequate ventilation to prevent moisture buildup, which can contribute to roof deterioration.
- Address small issues promptly: Don’t neglect small issues or minor damage on your metal roof. Even the smallest crack or loose panel can worsen over time and lead to leaks. Address these issues promptly to prevent more extensive damage.
- Consult a professional when needed: If you’re unsure about performing any maintenance tasks or if you notice significant damage, it’s best to consult a professional roofer. They have the expertise and knowledge to assess and resolve any roof-related issues.
By implementing a regular maintenance routine and taking proactive measures, you can significantly reduce the risk of future leaks and prolong the lifespan of your metal roof. Remember, prevention is key when it comes to maintaining the structural integrity and protection of your home.
With these steps and tips in mind, you now have a comprehensive guide on how to fix a metal roof leak and prevent future issues. By following these guidelines, you can keep your metal roof in optimal condition and enjoy its durability and longevity for years to come.
Conclusion
Congratulations! You have successfully learned how to fix a metal roof leak and prevent future issues. By following the step-by-step guide and implementing regular maintenance practices, you can ensure the durability and longevity of your metal roof for years to come.
Remember, identifying the source of the leak is the first and most crucial step. Take your time to inspect the interior and exterior of your roof, follow water trails, and conduct a hose test to pinpoint the location of the leak accurately.
Gathering the necessary tools and materials is essential for a smooth repair process. Make sure you have the right sealant, caulking gun, safety gear, ladder or scaffolding, and other tools required to fix the leak effectively.
Cleaning and preparing the metal roof surface ensures better adhesion of the sealant. Clear debris, inspect for damage, clean the area, and, if necessary, apply a primer to create an optimal environment for the sealant to adhere to.
Applying a metal roof sealant forms a protective barrier that prevents water from entering and causing further damage. Be sure to choose a high-quality sealant designed specifically for metal roofs and apply it evenly using a caulking gun. Smooth the sealant and wipe away any excess for a seamless and watertight repair.
To ensure the success of your repair, conduct a thorough inspection and perform a water test to check for any signs of leakage. Make any necessary adjustments and address additional issues promptly to prevent future leaks.
Lastly, establish a regular maintenance routine to prevent future leaks and keep your metal roof in optimal condition. Inspect your roof regularly, clean gutters, trim overhanging branches, remove moss or algae, and address small issues promptly. Consult a professional when needed to ensure the best care for your metal roof.
By following these steps and implementing regular maintenance practices, you can enjoy the benefits of a leak-free metal roof that provides reliable protection for your property for years to come.
Remember, if you ever feel uncertain or uncomfortable with any of the repair steps, it’s always best to consult a professional roofing contractor for assistance. Stay safe and enjoy the longevity of your metal roof!
Frequently Asked Questions about How To Fix Metal Roof Leak
Was this page helpful?
At Storables.com, we guarantee accurate and reliable information. Our content, validated by Expert Board Contributors, is crafted following stringent Editorial Policies. We're committed to providing you with well-researched, expert-backed insights for all your informational needs.


0 thoughts on “How To Fix Metal Roof Leak”