Home>Renovation & DIY>Home Renovation Guides>How To Fix A Sagging Storm Door

Home Renovation Guides
How To Fix A Sagging Storm Door
Modified: January 21, 2024
Learn how to easily fix a sagging storm door with our comprehensive home renovation guide. Get step-by-step instructions and expert tips. Perfect for DIY enthusiasts!
(Many of the links in this article redirect to a specific reviewed product. Your purchase of these products through affiliate links helps to generate commission for Storables.com, at no extra cost. Learn more)
Introduction
Welcome to our comprehensive guide on fixing a sagging storm door! A sagging storm door not only looks unsightly but can also cause inconvenience and potential safety hazards. However, fear not, as we are here to equip you with the knowledge and skills to tackle this issue head-on. In this guide, we'll walk you through the step-by-step process of identifying the problem, gathering the necessary tools and materials, and executing the repairs with confidence.
A sagging storm door is often the result of wear and tear, weather exposure, or improper installation. It can lead to difficulty in opening and closing the door, misalignment, and even damage to the door and its components. By addressing this issue promptly, you can restore the functionality and aesthetics of your storm door, ensuring smooth operation and enhanced security for your home.
Whether you're a seasoned DIY enthusiast or a novice homeowner eager to learn new skills, this guide is designed to be accessible and informative for all levels of expertise. With a few basic tools, a bit of patience, and our expert guidance, you'll soon have your storm door swinging back into shape.
So, roll up your sleeves, gather your tools, and let's dive into the process of rejuvenating your sagging storm door. It's time to restore both function and curb appeal to your home with this satisfying and practical repair project. Let's get started!
Key Takeaways:
- Tighten loose screws and adjust the door closer to fix a sagging storm door. Regular maintenance can prevent future issues and keep your home safe and attractive.
- Replace worn-out components and rehang the door to restore its functionality. Proactive home maintenance enhances your property’s value and appeal.
Read more: How To Fix A Sagging Garage Door
Tools and Materials Needed
Before embarking on the journey to fix your sagging storm door, it's essential to ensure that you have the necessary tools and materials at your disposal. Here's a comprehensive list to help you prepare for the task:
Tools:
- Phillips-head screwdriver
- Flat-head screwdriver
- Adjustable wrench
- Tape measure
- Power drill
- Replacement drill bits
- Hammer
- Center punch
- Utility knife
- Safety goggles
Materials:
- Replacement hinge screws
- Replacement closer
- Replacement door sweep
- Wood filler or shims
- Lubricating oil or silicone spray
- Paint or wood finish (if necessary)
Having these tools and materials on hand will enable you to address a wide range of issues that may be contributing to the sagging of your storm door. From tightening loose screws to replacing worn-out components, you'll be well-equipped to tackle the task at hand with confidence and efficiency.
Now that you've gathered your tools and materials, it's time to roll up your sleeves and begin the process of rejuvenating your sagging storm door. With the right preparations in place, you're one step closer to restoring both function and aesthetics to your home. Let's dive into the step-by-step repair process and breathe new life into your storm door!
Step 1: Inspect the Door
Before diving into the repairs, it’s crucial to conduct a thorough inspection of your sagging storm door to identify the root cause of the issue. Here’s how to go about it:
Start by carefully observing the door in both its open and closed positions. Look for any visible signs of misalignment, dragging, or gaps between the door and the frame. Pay close attention to the hinges, screws, and the area where the door meets the frame. Additionally, check the condition of the door closer and the door sweep at the bottom of the door.
Next, test the door’s movement by opening and closing it several times. Take note of any unusual sounds, resistance, or sticking points. This will help you pinpoint the specific areas that require attention.
Inspect the hinges and screws for any signs of wear, rust, or looseness. Tighten any loose screws using a screwdriver or replace them with new ones if they are worn or stripped. Ensure that the hinges are securely attached to both the door and the frame.
Examine the door closer to determine if it’s functioning correctly. Check for leaks, visible damage, or signs of wear. If the closer is not operating smoothly, it may need to be adjusted or replaced.
Lastly, inspect the door sweep at the bottom of the door. Look for wear and tear, damage, or misalignment. A worn-out or improperly positioned door sweep can contribute to the door’s sagging and should be addressed accordingly.
By conducting a methodical inspection, you’ll gain valuable insights into the specific issues affecting your storm door. This careful assessment will guide you in determining the most effective course of action to remedy the sagging and restore the door’s functionality.
With a clear understanding of the door’s condition, you’re now ready to move on to the next steps of tightening hinges and screws, adjusting the closer, and replacing any worn components. By addressing these key areas, you’ll soon have your storm door operating smoothly and looking as good as new.
Read more: How To Fix A Storm Door Hinge
Step 2: Tighten Hinges and Screws
One of the most common causes of a sagging storm door is loose hinges and screws. Addressing this issue is a fundamental step in restoring the door’s alignment and functionality. Follow these steps to tighten the hinges and screws effectively:
Begin by examining each hinge to identify any loose screws. Using a screwdriver that matches the screw head, carefully tighten each screw. If the screw doesn’t tighten securely, it may be stripped, requiring replacement. Be sure to support the hinge with one hand while tightening the screws to prevent the door from shifting or dropping during this process.
If the screw holes in the door frame or the door itself have become enlarged due to wear, you can use wooden toothpicks, wooden matches, or a suitable wood filler to fill the holes before reinserting the screws. This will provide a more secure anchor for the screws and help restore the stability of the hinges.
Once all the screws are tightened, test the door’s movement to see if there is any improvement. Open and close the door to assess whether the sagging has been alleviated and if the door is operating more smoothly. If the door still exhibits signs of sagging, you may need to consider additional adjustments or component replacements.
It’s important to remember that over-tightening the screws can lead to damage, so exercise caution and ensure that the screws are snug without being forced. Additionally, applying a small amount of thread-locking adhesive to the screws can help prevent them from loosening over time.
By addressing loose hinges and screws, you’ll take significant strides toward rectifying the sagging of your storm door. This simple yet impactful repair can have a substantial effect on the door’s alignment and overall performance. With the hinges and screws securely tightened, you’re now prepared to move on to the next steps in the repair process.
Step 3: Adjust the Closer
The door closer plays a crucial role in controlling the speed and force with which the storm door closes. If the closer is improperly adjusted, worn out, or damaged, it can contribute to the door’s sagging and misalignment. Follow these steps to adjust the closer and restore its optimal functionality:
Start by carefully inspecting the closer for any visible signs of damage, leaks, or misalignment. If the closer is leaking hydraulic fluid or shows visible wear, it may need to be replaced with a new one. Additionally, check for any loose screws or mounting brackets that may be affecting the closer’s stability.
Refer to the manufacturer’s instructions for your specific door closer model to understand the adjustment options available. Most door closers feature adjustment screws or valves that control the closing speed and latching force. Using a screwdriver or an adjustable wrench, make incremental adjustments to these settings to achieve the desired closing speed and force.
Test the door’s closing action after each adjustment to assess the impact on the door’s alignment and overall operation. Ideally, the door should close smoothly and securely without slamming shut or leaving a significant gap between the door and the frame.
If the closer continues to exhibit issues or fails to provide the desired closing action, it may be necessary to replace it with a new, compatible closer. Ensure that the replacement closer matches the specifications of your storm door and follow the manufacturer’s guidelines for installation and adjustment.
By effectively adjusting or replacing the closer, you’ll significantly contribute to the restoration of your storm door’s functionality and alignment. A properly functioning closer not only addresses the sagging issue but also enhances the overall security and convenience of your storm door.
With the closer adjusted or replaced, you’re now ready to proceed to the next steps of replacing worn components and rehanging the door. By systematically addressing each aspect of the door’s functionality, you’re well on your way to achieving a fully rejuvenated storm door.
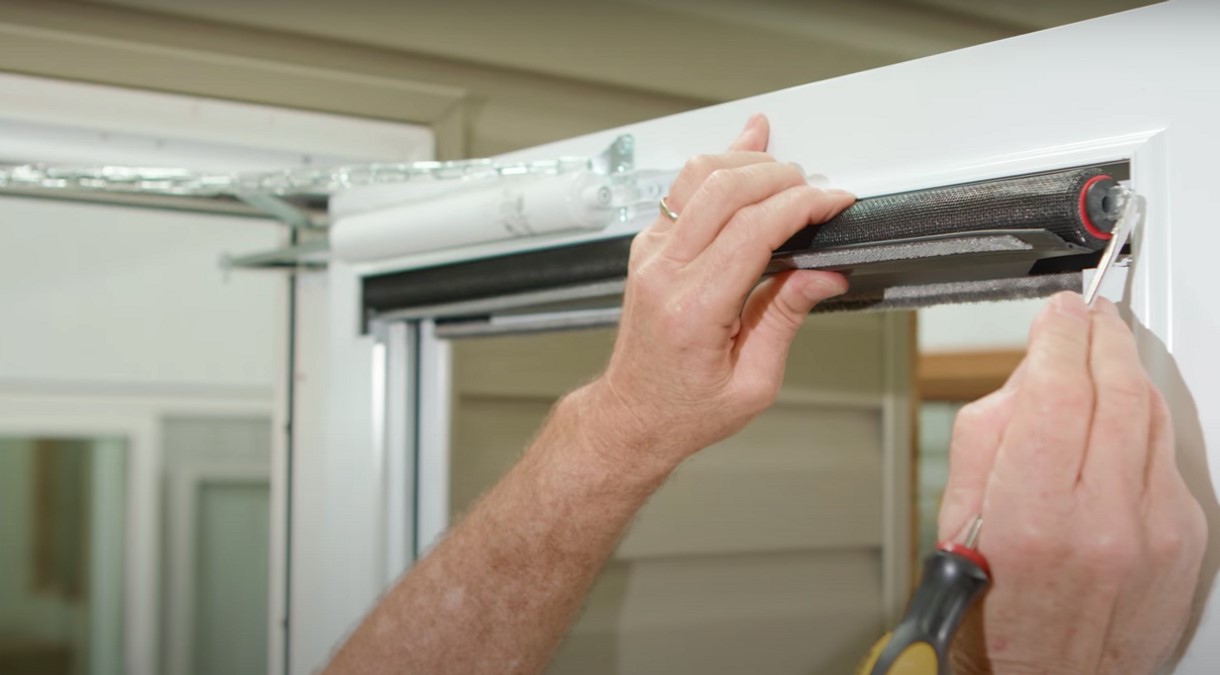
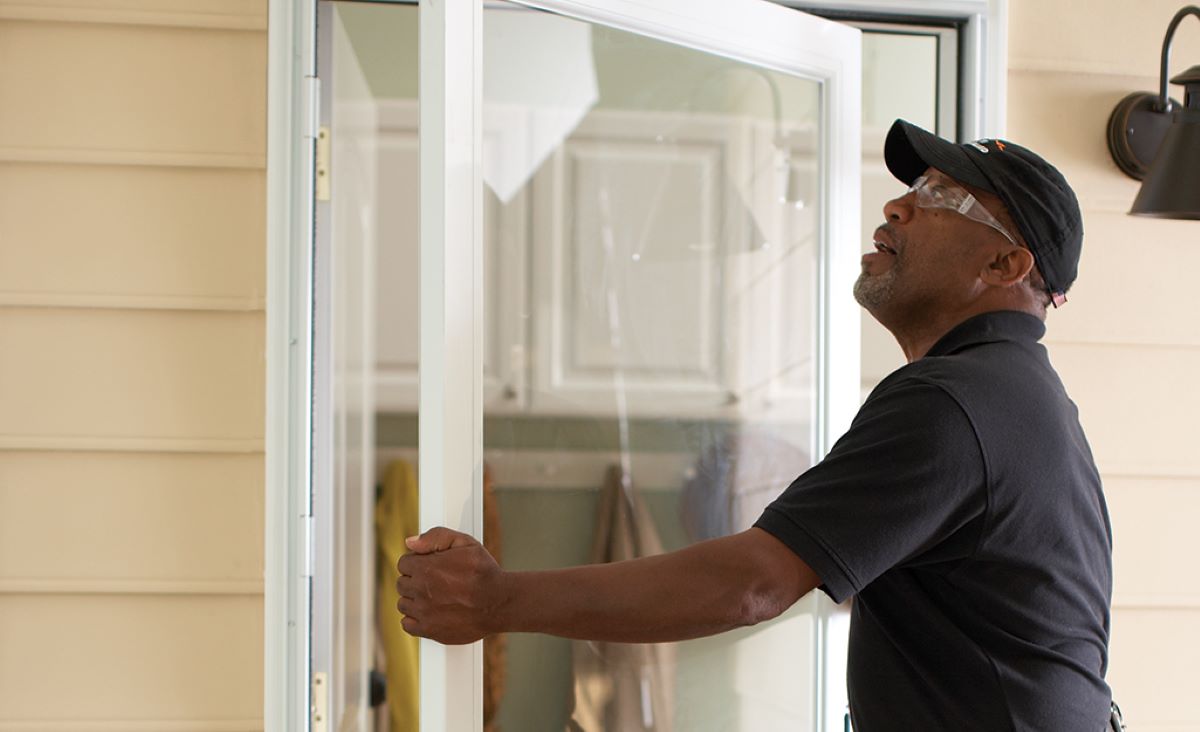
Check the hinges and screws on the storm door to make sure they are tight and secure. If they are loose, tighten them to help fix the sagging problem.
Step 4: Replace Worn Components
Over time, various components of a storm door can succumb to wear and tear, contributing to its sagging and diminished performance. By identifying and replacing these worn components, you can effectively restore the door’s functionality and structural integrity. Here’s how to address this crucial step:
Begin by examining the door sweep, which is the flexible strip located at the bottom of the door. Inspect it for signs of wear, damage, or misalignment. A worn-out or improperly positioned door sweep can allow drafts, debris, and moisture to enter while also contributing to the door’s misalignment. If the door sweep is damaged or worn, it’s advisable to replace it with a new one that matches the dimensions and specifications of your storm door.
Next, assess the condition of the hinges, particularly the hinge pins and bushings. Worn or damaged hinge components can lead to misalignment and sagging. If the hinge pins or bushings show signs of wear, consider replacing them with new, compatible parts to ensure smooth and stable door operation.
Inspect the door closer for any visible damage, leaks, or malfunctions. If the closer is not functioning optimally despite adjustments, it may be necessary to replace it with a new one that matches the specifications of your storm door. Follow the manufacturer’s guidelines for selecting and installing a compatible replacement closer.
Additionally, check the condition of the hinge screws and other fasteners. If these components show signs of wear, rust, or stripping, it’s advisable to replace them with new, corrosion-resistant screws and fasteners to ensure the structural stability of the door.
By systematically replacing worn components, you’ll address the underlying causes of the door’s sagging and restore its structural integrity. This proactive approach not only resolves the immediate issue but also contributes to the long-term durability and functionality of your storm door.
With the worn components replaced, you’re now prepared to move on to the final step of rehanging the door. By diligently addressing each aspect of the door’s components, you’re well on your way to achieving a fully rejuvenated and reliable storm door.
Step 5: Rehang the Door
Rehanging the storm door is the final step in the process of addressing its sagging and restoring its optimal functionality. By ensuring proper alignment and secure installation, you’ll complete the rejuvenation of your storm door. Follow these steps to rehang the door with precision and care:
Begin by removing the door from its hinges, taking care to enlist the assistance of another person if the door is heavy or cumbersome. Place the door on a stable surface, ensuring that it is fully supported and does not sustain any damage during the rehanging process.
Inspect the hinges and hinge pins for any signs of wear, damage, or misalignment. If the hinge pins or bushings are worn, consider replacing them with new, compatible components to ensure smooth and stable door movement. Additionally, clean the hinges and hinge areas to remove any debris or obstructions that may hinder proper alignment.
If the door frame or jamb shows signs of wear or damage, it’s advisable to address these issues before rehanging the door. Repair any damaged areas, reinforce weak spots, and ensure that the frame provides a secure and stable foundation for the door.
With the assistance of another person, carefully rehang the door on the hinges, taking care to align the hinge knuckles and pins accurately. Ensure that the door is level and plumb during the rehanging process, making any necessary adjustments to achieve proper alignment.
Once the door is securely rehung, test its movement by opening and closing it to ensure that it operates smoothly and without resistance. Verify that the door aligns correctly with the frame and that any previous signs of sagging have been effectively addressed.
Finally, secure the hinges with their respective screws, ensuring that they are tightened securely to maintain the door’s stability and alignment. Check the overall operation of the door to confirm that it swings smoothly and securely within the frame.
By diligently rehanging the door with attention to detail and precision, you’ll finalize the process of rejuvenating your storm door. With the door reinstalled and operating smoothly, you can take pride in the successful restoration of both its functionality and aesthetic appeal.
Congratulations! With the door rehung and the repair process complete, you’ve successfully addressed the sagging of your storm door, ensuring its continued reliability and performance for years to come.
Read more: How To Fix Gap At Top Of Storm Door
Conclusion
Congratulations on successfully rejuvenating your sagging storm door! By following the comprehensive steps outlined in this guide, you’ve taken proactive measures to address the door’s misalignment and restore its optimal functionality. Through careful inspection, component adjustments, and replacements, you’ve effectively resolved the issues contributing to the door’s sagging, ensuring its continued reliability and performance.
It’s important to remember that regular maintenance and periodic inspections can help prevent future sagging and prolong the life of your storm door. By addressing minor issues promptly and maintaining the door’s components, you can mitigate the risk of more significant problems arising in the future.
As you reflect on your successful repair project, take pride in the knowledge and skills you’ve gained in rejuvenating your storm door. Your proactive approach to home maintenance not only enhances the functionality and aesthetics of your property but also contributes to its long-term value and appeal.
We hope this guide has empowered you to tackle not only this repair project but also future home maintenance tasks with confidence and expertise. Remember, a well-maintained storm door not only enhances the curb appeal of your home but also provides essential protection and convenience for you and your family.
Thank you for joining us on this journey to rejuvenate your sagging storm door. We trust that the knowledge and skills you’ve acquired will serve you well in your ongoing pursuit of a well-maintained and welcoming home environment. Here’s to many more successful DIY endeavors and the continued comfort and security of your home!
Frequently Asked Questions about How To Fix A Sagging Storm Door
Was this page helpful?
At Storables.com, we guarantee accurate and reliable information. Our content, validated by Expert Board Contributors, is crafted following stringent Editorial Policies. We're committed to providing you with well-researched, expert-backed insights for all your informational needs.


0 thoughts on “How To Fix A Sagging Storm Door”