Home>Gardening & Outdoor>Outdoor Structures>How To Fix A Shed Roof
Outdoor Structures
How To Fix A Shed Roof
Modified: August 27, 2024
Learn how to fix a shed roof and protect your outdoor structures with our expert tips and step-by-step guide. Keep your outdoor space safe and secure!
(Many of the links in this article redirect to a specific reviewed product. Your purchase of these products through affiliate links helps to generate commission for Storables.com, at no extra cost. Learn more)
Introduction
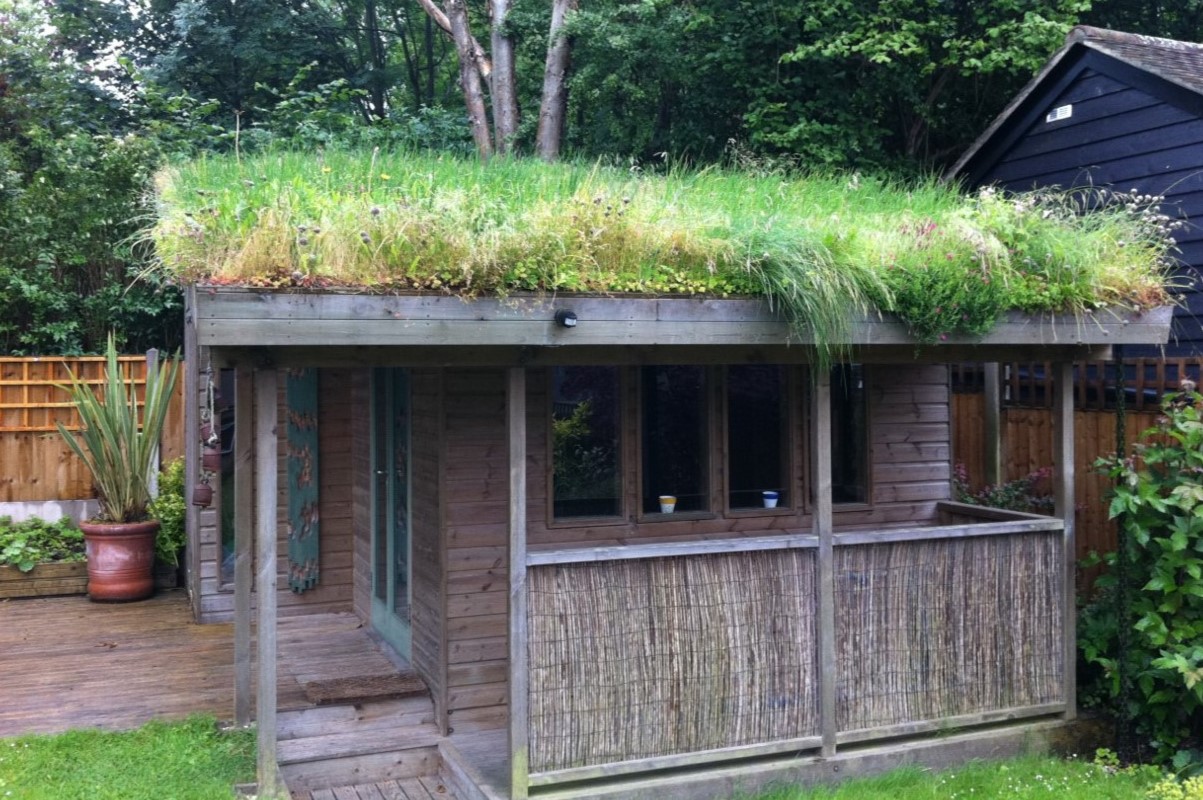
Welcome to the ultimate guide on fixing a shed roof! A well-maintained shed is essential for protecting your outdoor tools, equipment, and other belongings from the elements. However, over time, the roof of your shed may experience wear and tear, leading to leaks and other issues. In this comprehensive guide, we will walk you through the step-by-step process of assessing and repairing a damaged shed roof. Whether you're a seasoned DIY enthusiast or a novice looking to tackle your first outdoor structure project, this guide is designed to provide you with the knowledge and confidence to restore your shed to its former glory.
A sturdy and watertight roof is crucial for preserving the integrity of your shed and safeguarding its contents from moisture and environmental damage. By addressing roof issues promptly, you can prevent further deterioration and extend the lifespan of your shed. Throughout this article, we will cover everything from assessing the extent of the damage to selecting the right materials and tools for the job. Additionally, we'll delve into the nitty-gritty of repairing the roof, sealing any potential entry points for water, and applying waterproofing treatments to enhance the durability of your shed's roof.
Whether your shed serves as a storage space, a workshop, or a cozy retreat, maintaining its structural integrity is paramount. With the guidance provided here, you'll be equipped to tackle roof repairs with confidence and precision. So, roll up your sleeves, gather your tools, and let's embark on a journey to revitalize your shed and ensure its resilience against the elements. Let's dive in and learn how to fix a shed roof like a pro!
Key Takeaways:
- Assessing the damage and gathering the right materials and tools are crucial for successfully fixing a shed roof. Thorough inspection and preparation set the stage for a durable and effective repair.
- After repairing the shed roof, sealing and waterproofing are essential for long-term protection. Applying sealant, reinforcing flashing, and regular inspections ensure resilience against the elements.
Read more: How To Fix A Leaking Shed Roof
Assessing the Damage
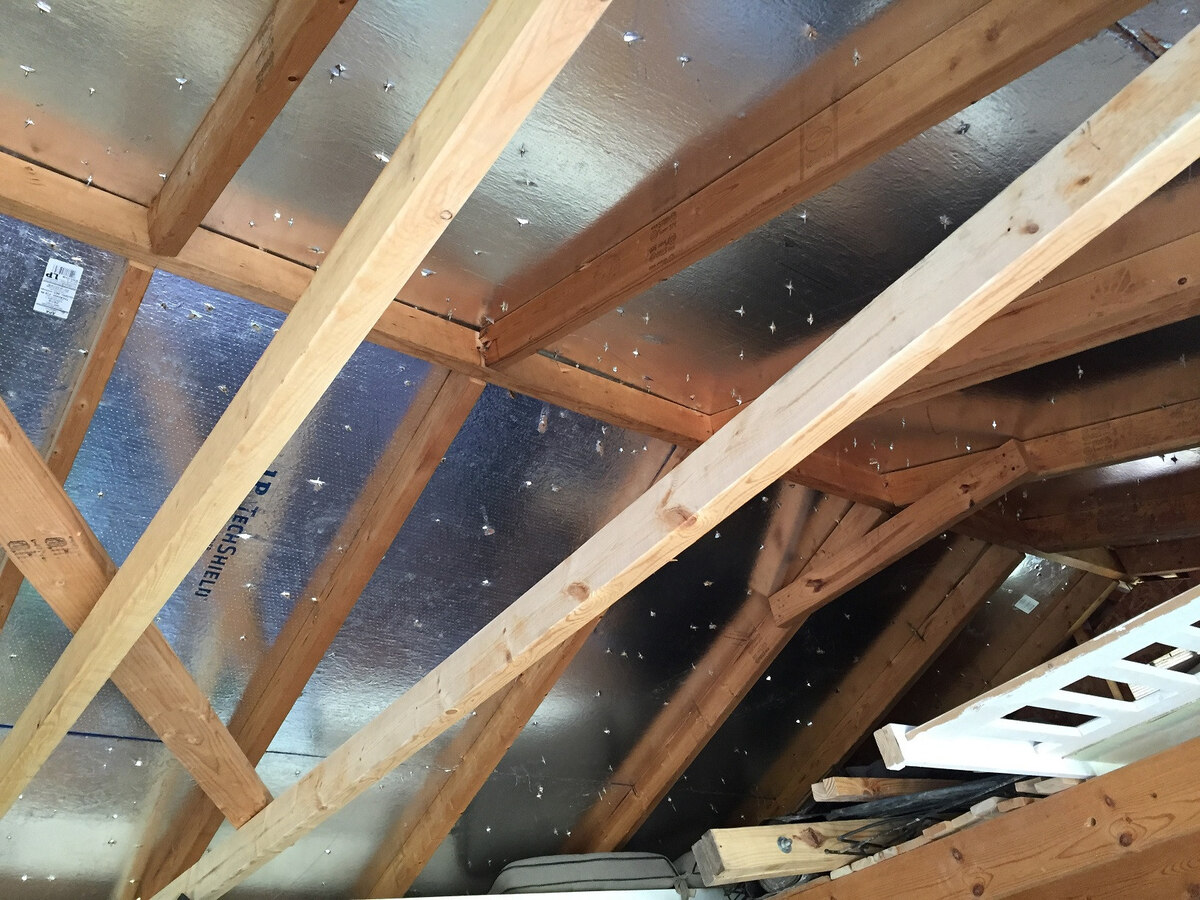
Before diving into the repair process, it’s crucial to thoroughly assess the extent of the damage to your shed roof. Begin by visually inspecting the entire surface, paying close attention to any signs of wear, water stains, or areas of deterioration. Look for missing or damaged shingles, warped wood, or signs of water penetration. Additionally, check the roof’s supporting structure for any indications of rot or weakness.
Once you’ve completed the visual inspection, it’s time to venture inside the shed to examine the ceiling. Look for water stains, mold, or any other visible signs of water intrusion. Identifying the source and scope of the damage is pivotal to formulating an effective repair plan.
After the visual inspection, it’s essential to conduct a tactile assessment. Carefully run your hands over the surface of the roof, feeling for any soft spots, uneven areas, or signs of decay. Pay close attention to the areas around the edges and corners, as these are common trouble spots for water infiltration.
If your shed has a shingled roof, look for loose, cracked, or missing shingles. Damaged or deteriorating shingles can compromise the roof’s ability to repel water and protect the underlying structure. Additionally, inspect the flashing around vents, chimneys, and other roof penetrations, as these areas are prone to leaks if the flashing is damaged or improperly installed.
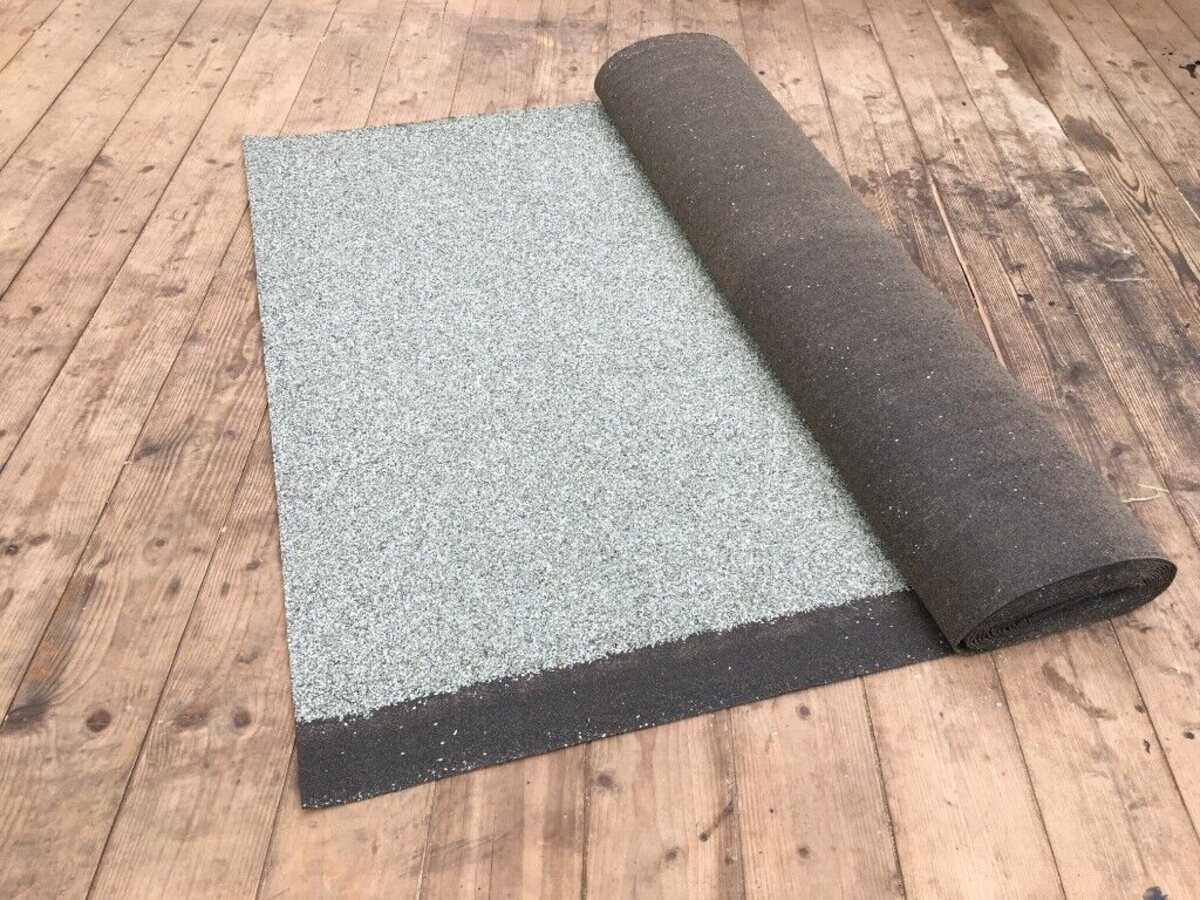
Furthermore, assess the condition of the roof’s underlayment. If it’s visibly damaged or compromised, it may need to be replaced to ensure the roof’s overall integrity. Keep in mind that addressing underlying issues is just as important as repairing the visible surface of the roof.
By thoroughly evaluating the damage, you’ll gain a clear understanding of the necessary repairs and materials needed to restore your shed roof. Remember, a comprehensive assessment is the foundation of a successful repair project, setting the stage for a thorough and effective restoration process.
Materials and Tools Needed
Equipping yourself with the right materials and tools is essential for executing a successful shed roof repair. Here’s a comprehensive list of what you’ll need to tackle the task:
Materials:
- Shingles: Ensure you have an ample supply of replacement shingles that match the style and color of your existing ones.
- Roofing Cement: This waterproof adhesive is ideal for securing shingles and sealing potential leak points.
- Underlayment: If the existing underlayment is damaged, you'll need to replace it to safeguard the roof's structure.
- Flashing: Depending on the condition of the existing flashing, you may need to replace or repair it to prevent water infiltration around roof penetrations.
- Nails and Screws: Stock up on roofing nails and screws to secure shingles, underlayment, and other components.
- Wood Preservative: If the roof's wooden components show signs of decay, a wood preservative can help fortify and protect the wood.
- Waterproof Sealant: A high-quality sealant is essential for sealing gaps, cracks, and potential entry points for water.
- Paint or Stain: If your shed's roof is made of wood, having paint or stain on hand can help restore its appearance and provide an additional layer of protection.
Tools:
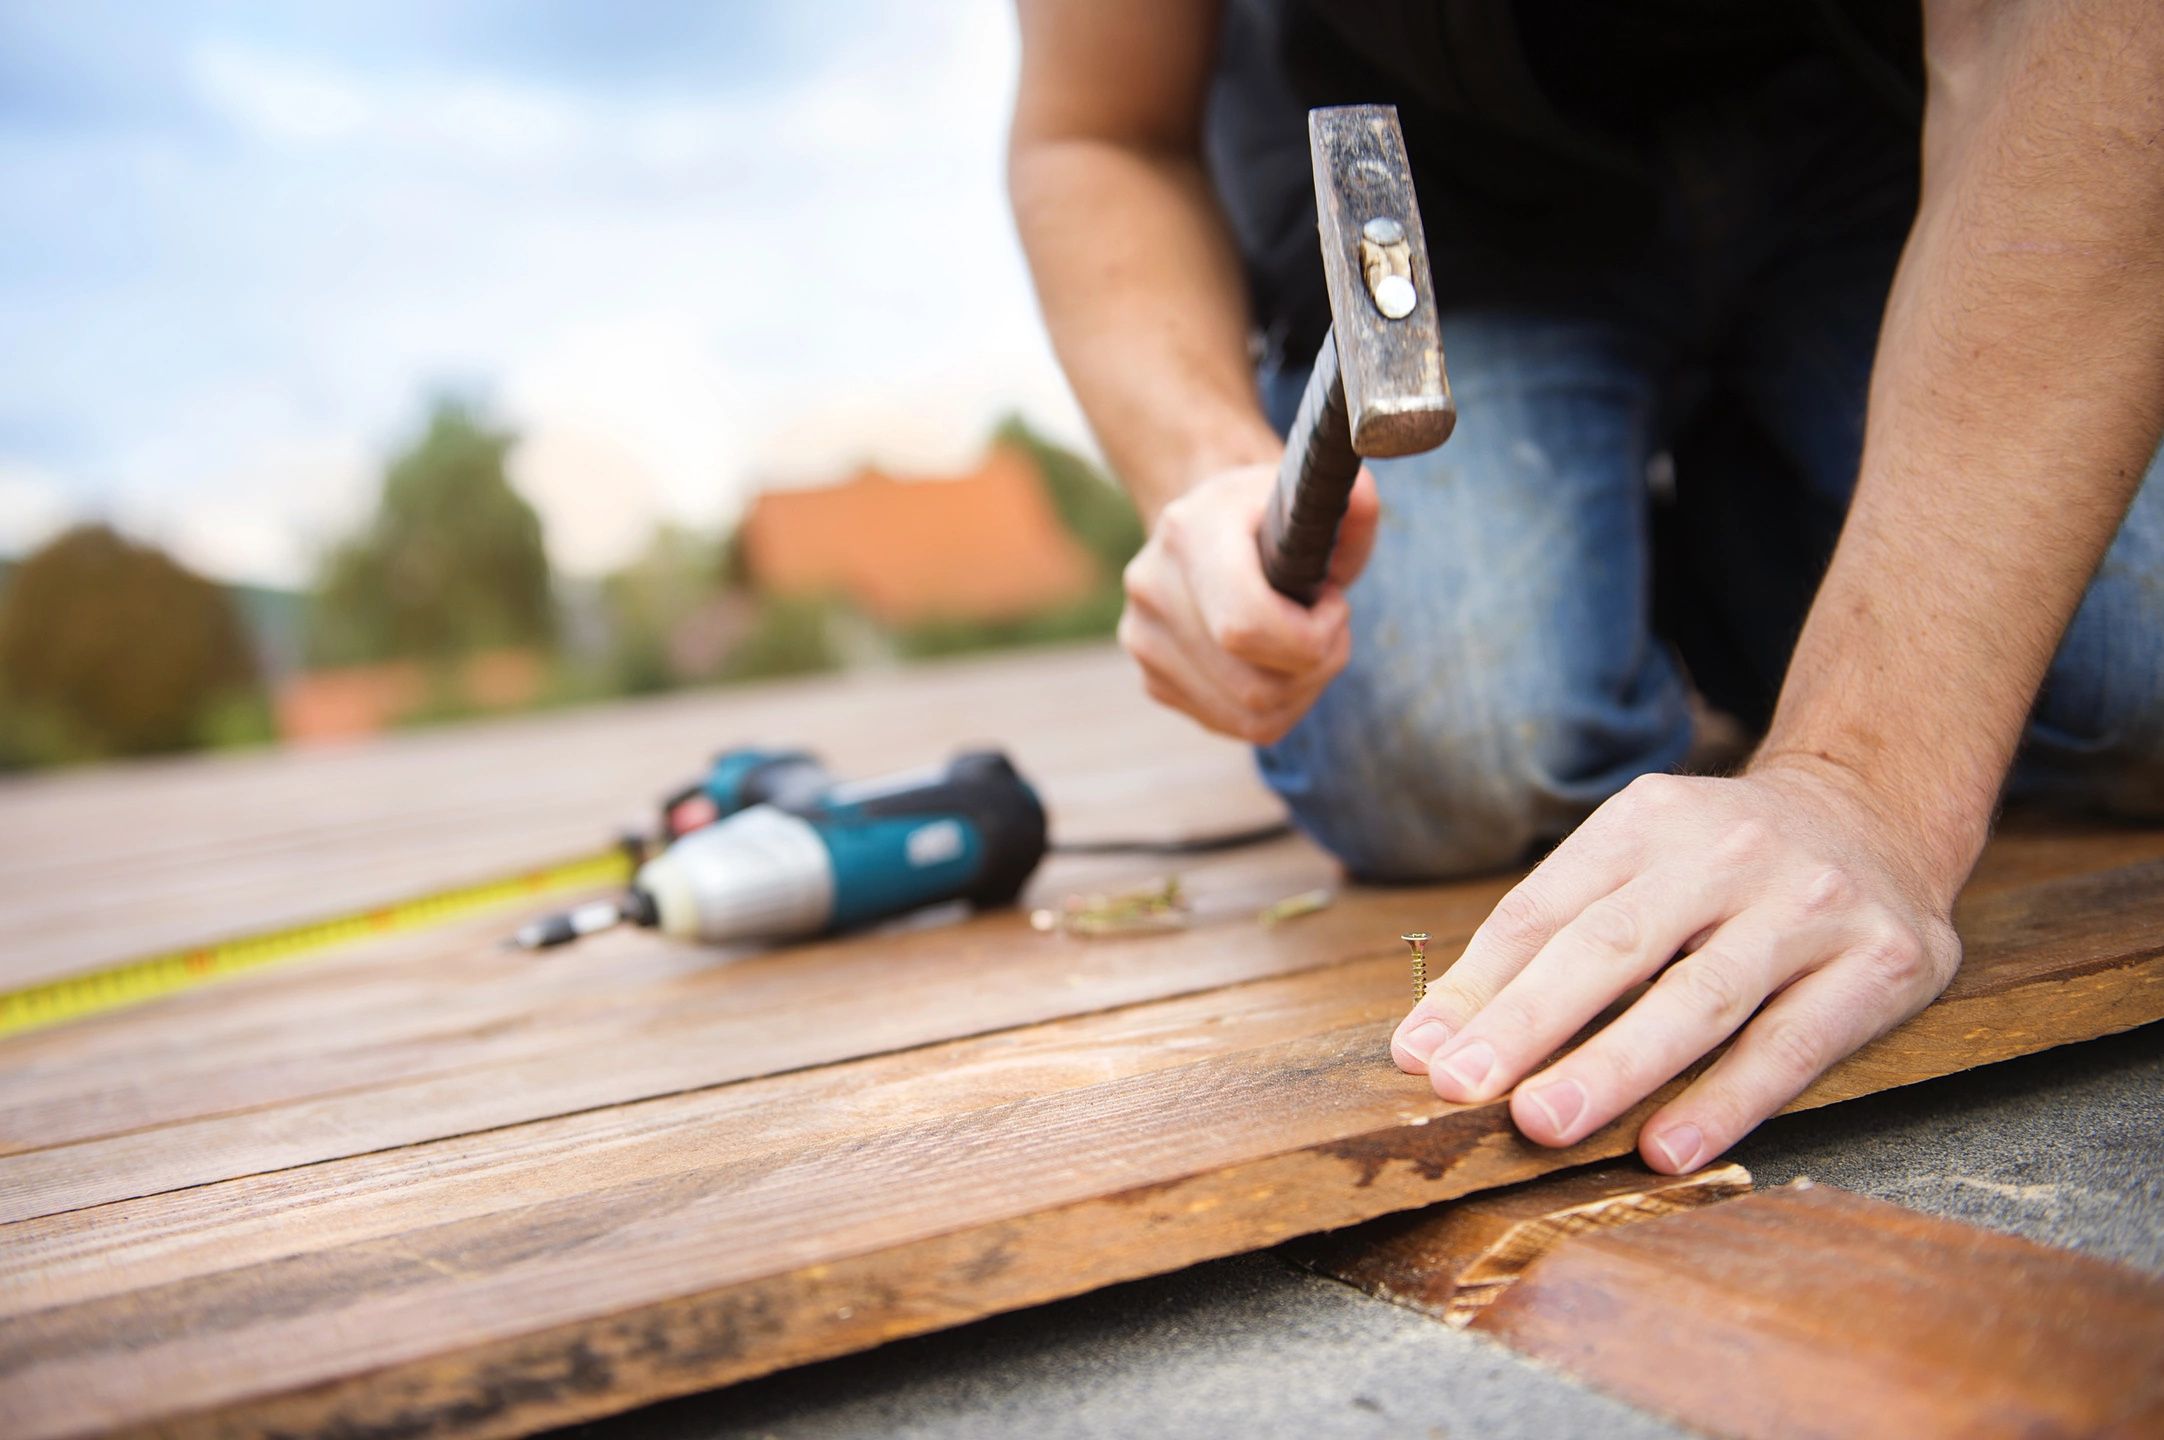
- Hammer: A sturdy hammer is essential for securing nails and making adjustments to the roof's structure.
- Roofing Nailer: If you're dealing with a significant shingle replacement or repair, a roofing nailer can expedite the process.
- Utility Knife: This versatile tool is handy for cutting shingles, underlayment, and flashing to the required size and shape.
- Roofing Trowel: A trowel is indispensable for applying roofing cement and sealant with precision.
- Ladder: Safety is paramount, and a sturdy ladder is essential for accessing the roof and working at elevated heights.
- Chalk Line: This tool aids in creating straight, uniform guidelines for laying shingles and other roofing materials.
- Protective Gear: Don't forget to equip yourself with safety goggles, gloves, and appropriate footwear to ensure personal safety during the repair process.
By gathering these materials and tools, you’ll be well-prepared to address a wide range of shed roof issues, from minor repairs to more extensive restoration projects. With the right resources at your disposal, you can approach the repair process with confidence and efficiency, ensuring a durable and long-lasting solution for your shed’s roof.
Read more: How To Fix A Sagging Flat Shed Roof
Repairing the Roof
Now that you’ve assessed the damage and assembled the necessary materials and tools, it’s time to roll up your sleeves and begin the repair process. Here’s a comprehensive guide to repairing your shed roof:
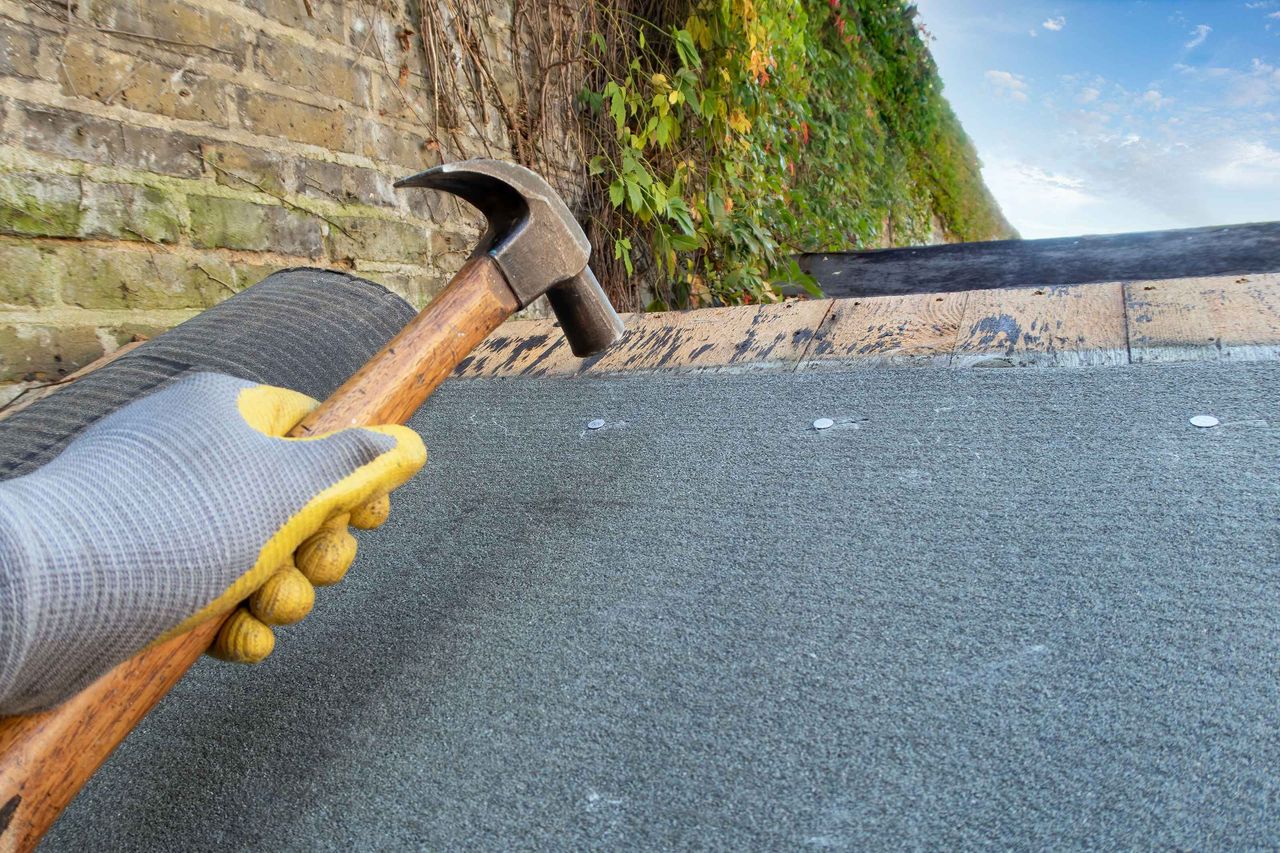
Step 1: Remove Damaged Shingles
Start by carefully removing any damaged or deteriorated shingles from the roof surface. Use a hammer and a flat bar to gently pry up the shingles and expose the underlying underlayment and roof structure. Take care not to cause further damage to the surrounding shingles during this process.
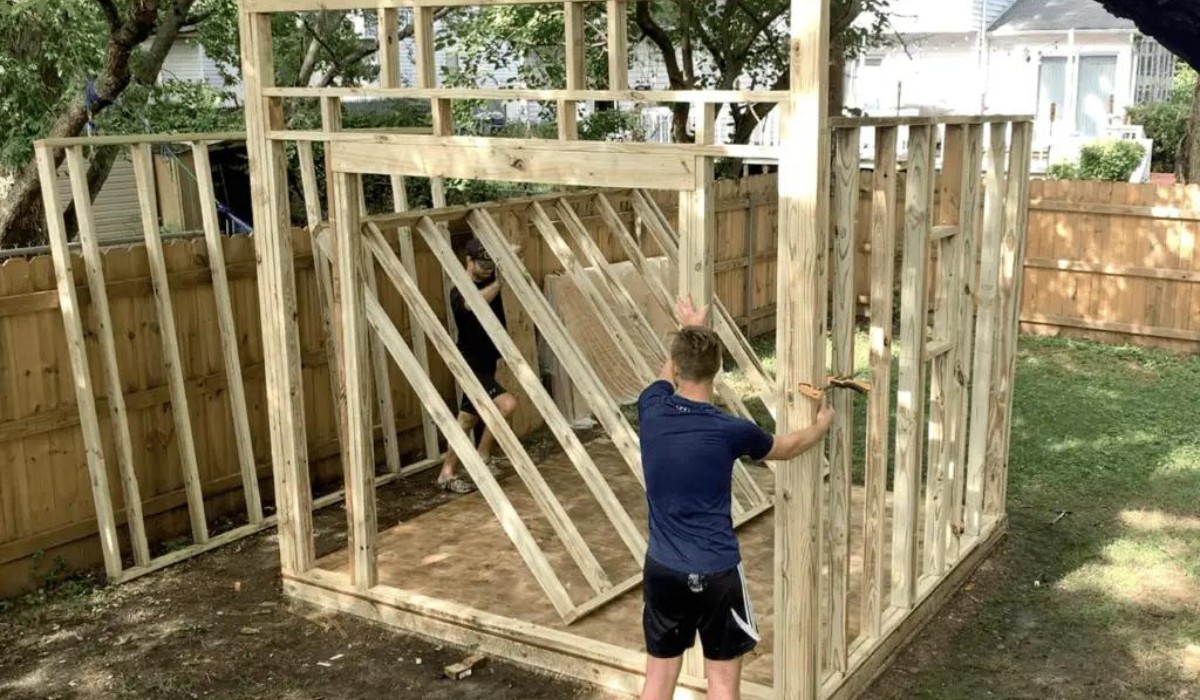
Step 2: Address Underlying Issues
Inspect the underlying underlayment and roof structure for any signs of damage or decay. If the underlayment is compromised, replace it with a new, high-quality material to ensure the roof’s integrity. Additionally, address any structural issues or rot that may have developed, taking the necessary steps to fortify the roof’s framework.
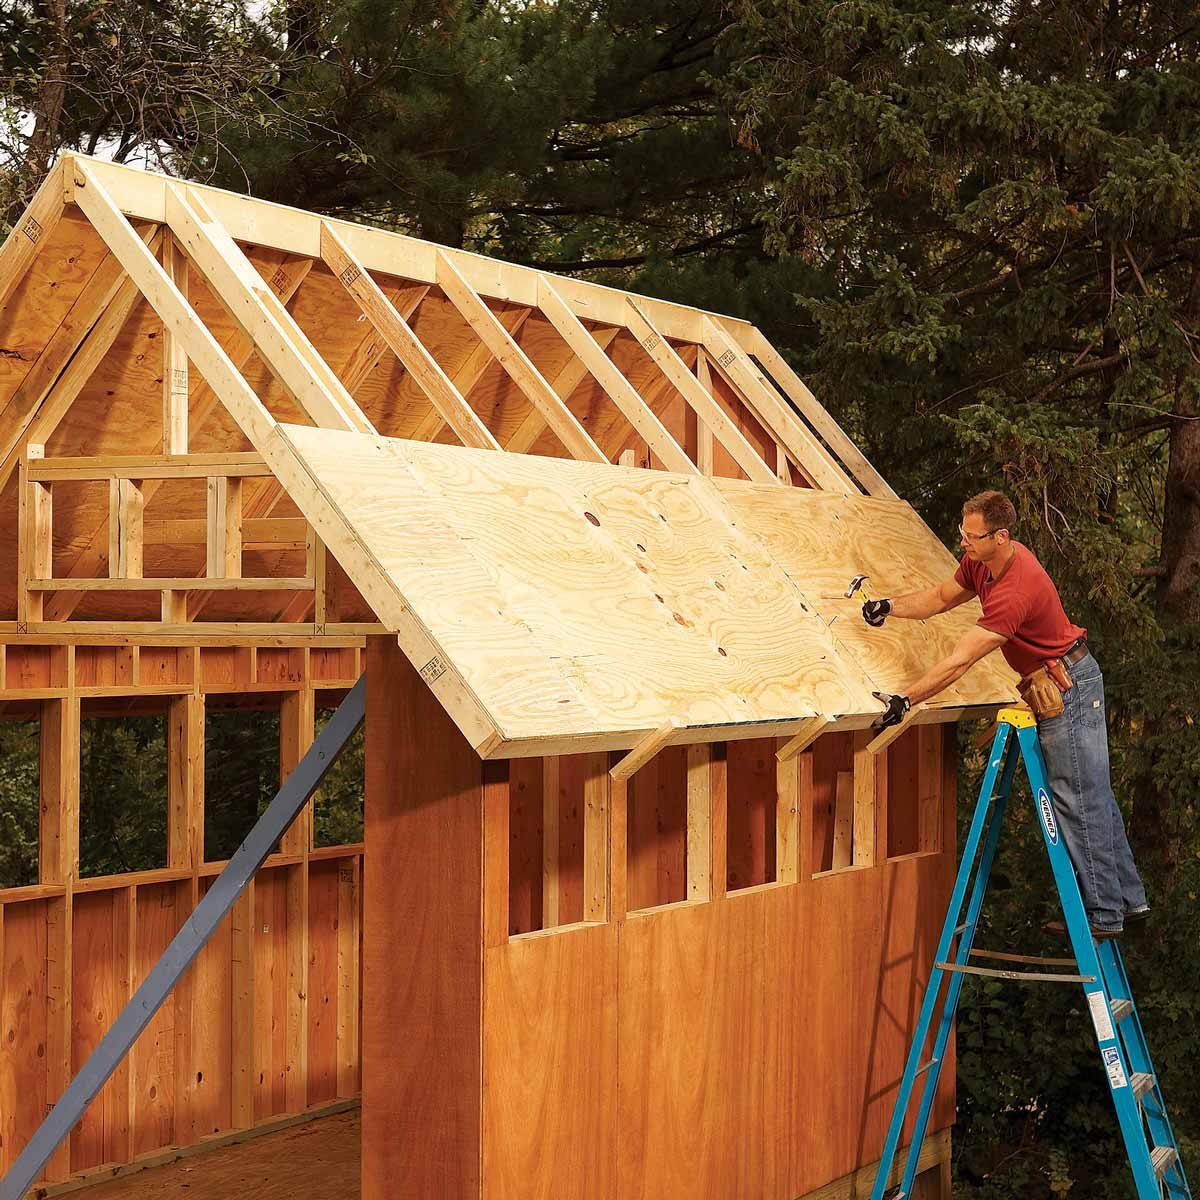
Step 3: Install Replacement Shingles
Once the underlying issues have been addressed, carefully install replacement shingles in the areas where damage has occurred. Ensure that the new shingles are securely fastened and seamlessly integrated with the existing ones to create a uniform and watertight roof surface.
Read more: How To Roof A Flat Roof Shed
Step 4: Secure Flashing and Sealants
Inspect the flashing around roof penetrations such as vents, chimneys, and skylights. Replace any damaged or deteriorated flashing and secure it in place to prevent water infiltration. Additionally, apply roofing cement or waterproof sealant to any gaps, cracks, or potential leak points to ensure a watertight seal.
Step 5: Conduct a Thorough Inspection
Once the repair work is complete, conduct a comprehensive inspection of the entire roof surface to ensure that all damaged areas have been addressed and properly repaired. Look for any remaining signs of wear, potential leak points, or areas that may require additional attention.
Step 6: Clean Up and Dispose of Debris
After completing the repair process, carefully clean up any debris, discarded materials, and old shingles from the work area. Properly dispose of the removed materials and ensure that the surrounding area is clear of any potential hazards.
By following these step-by-step instructions, you can effectively repair your shed roof and restore its protective function. Taking a meticulous and thorough approach to the repair process will ensure that your shed is equipped to withstand the elements and provide long-term shelter for your belongings.
Sealing and Waterproofing
Once the repair work on your shed roof is complete, it’s essential to focus on sealing and waterproofing the surface to enhance its durability and resilience against the elements. Here’s a detailed guide to sealing and waterproofing your shed roof:
Read more: How To Tie A Shed Roof Into An Existing Roof
Step 1: Apply Waterproof Sealant
Utilize a high-quality waterproof sealant to coat the entire roof surface, paying particular attention to the areas where repairs were conducted. Apply the sealant generously, ensuring that it forms a seamless and protective barrier against moisture and environmental factors. Use a roofing trowel to spread the sealant evenly and reach all the nooks and crannies of the roof surface.
Step 2: Inspect and Reinforce Flashing
Thoroughly inspect the flashing around roof penetrations and ensure that it is securely in place and effectively sealed. Apply additional roofing cement or sealant as needed to reinforce the flashing and prevent any potential water intrusion. Properly sealed flashing is crucial for maintaining the waterproof integrity of the roof.
Step 3: Address Potential Entry Points
Carefully examine the entire roof surface for any potential entry points for water, such as gaps, cracks, or areas of vulnerability. Apply additional sealant or roofing cement to these areas, ensuring that they are effectively sealed and protected against water infiltration. Taking a proactive approach to addressing potential entry points is key to preventing future issues.
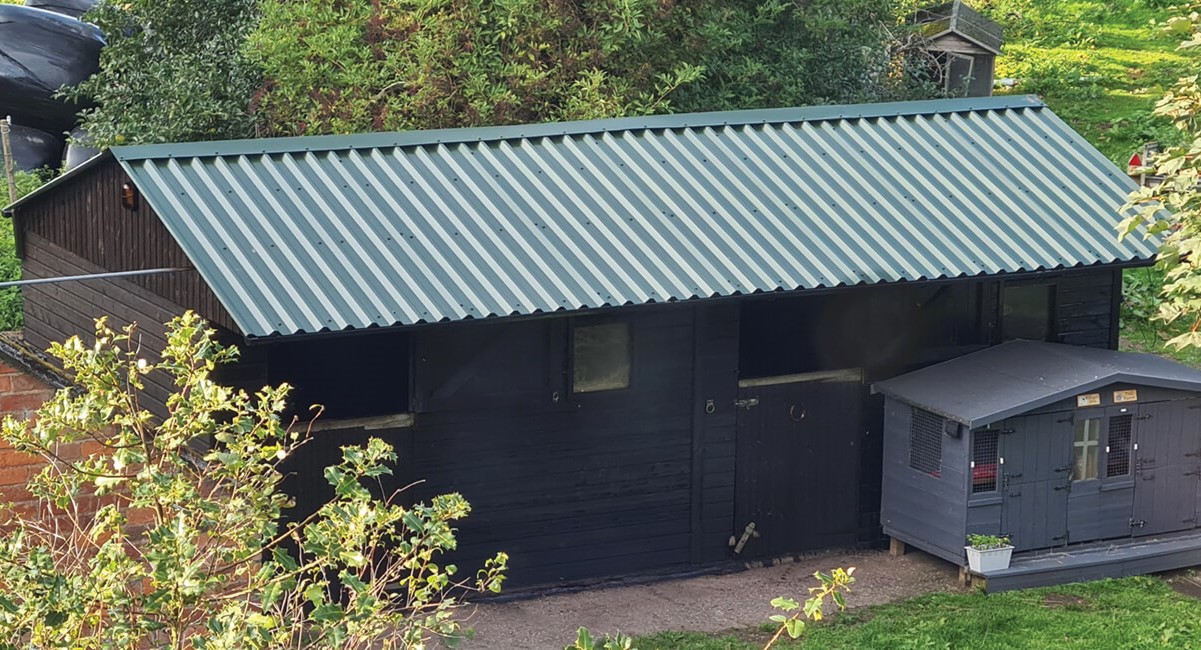
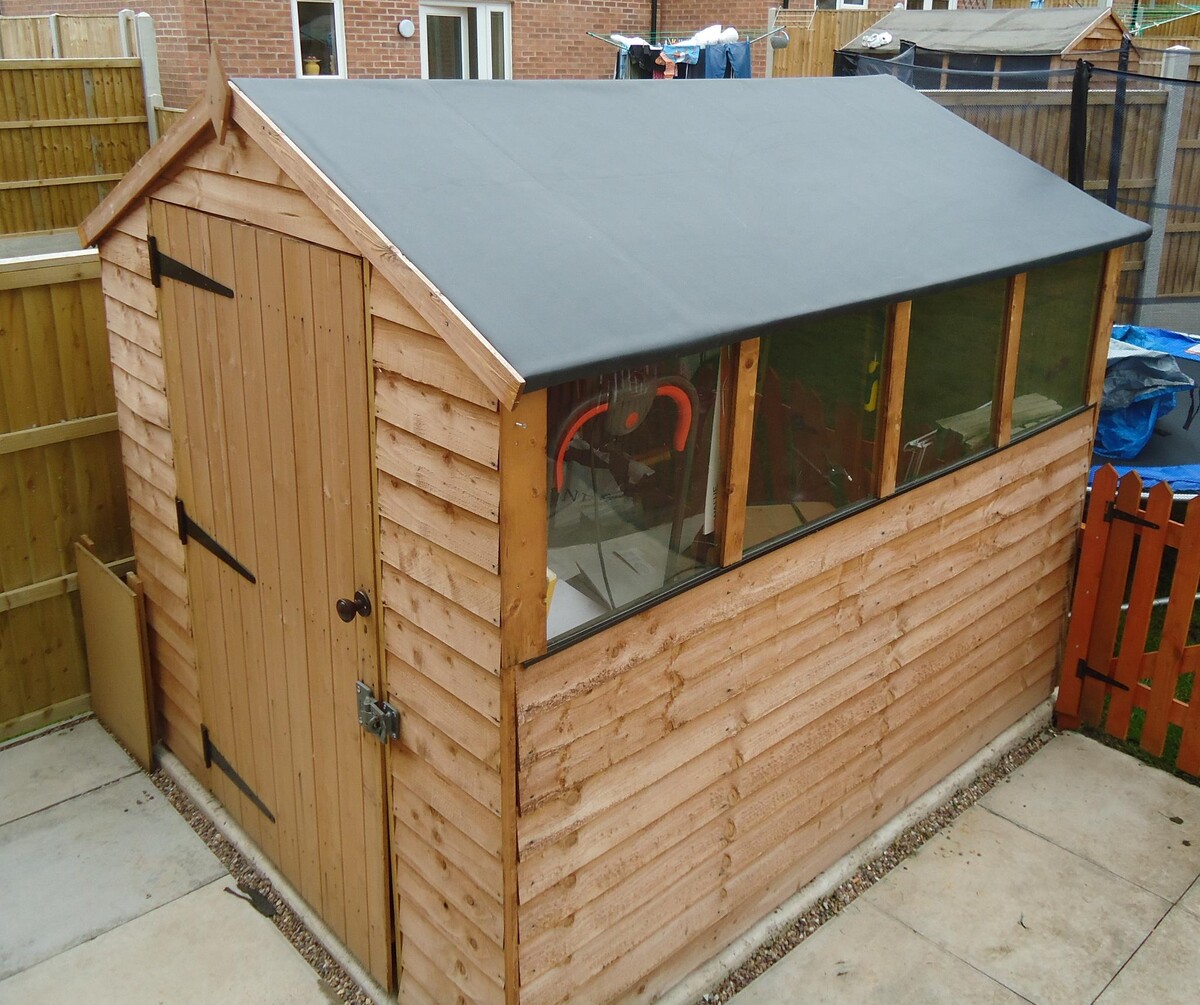
Step 4: Consider Waterproof Coatings
Depending on the material of your shed roof, consider applying a specialized waterproof coating to enhance its protective capabilities. Waterproof coatings are available for various roofing materials, including metal, asphalt, and wood, and can provide an additional layer of defense against moisture and UV exposure.
Read more: How To Attach Shed Roof To Existing Roof
Step 5: Conduct a Final Inspection
After completing the sealing and waterproofing process, conduct a final inspection of the entire roof surface to ensure that all areas have been effectively sealed and protected. Look for any signs of potential vulnerability and address them promptly to fortify the roof’s waterproofing.
Step 6: Maintain Regular Inspections
Establish a routine schedule for inspecting and maintaining your shed roof to proactively identify and address any potential issues. Regular inspections and maintenance will help preserve the waterproofing efforts and extend the lifespan of your shed roof.
By following these steps, you can effectively seal and waterproof your shed roof, ensuring that it remains resilient and impervious to the challenges posed by the elements. A well-sealed and waterproofed roof will provide lasting protection for your shed and its contents, offering peace of mind and security in any weather conditions.
Conclusion
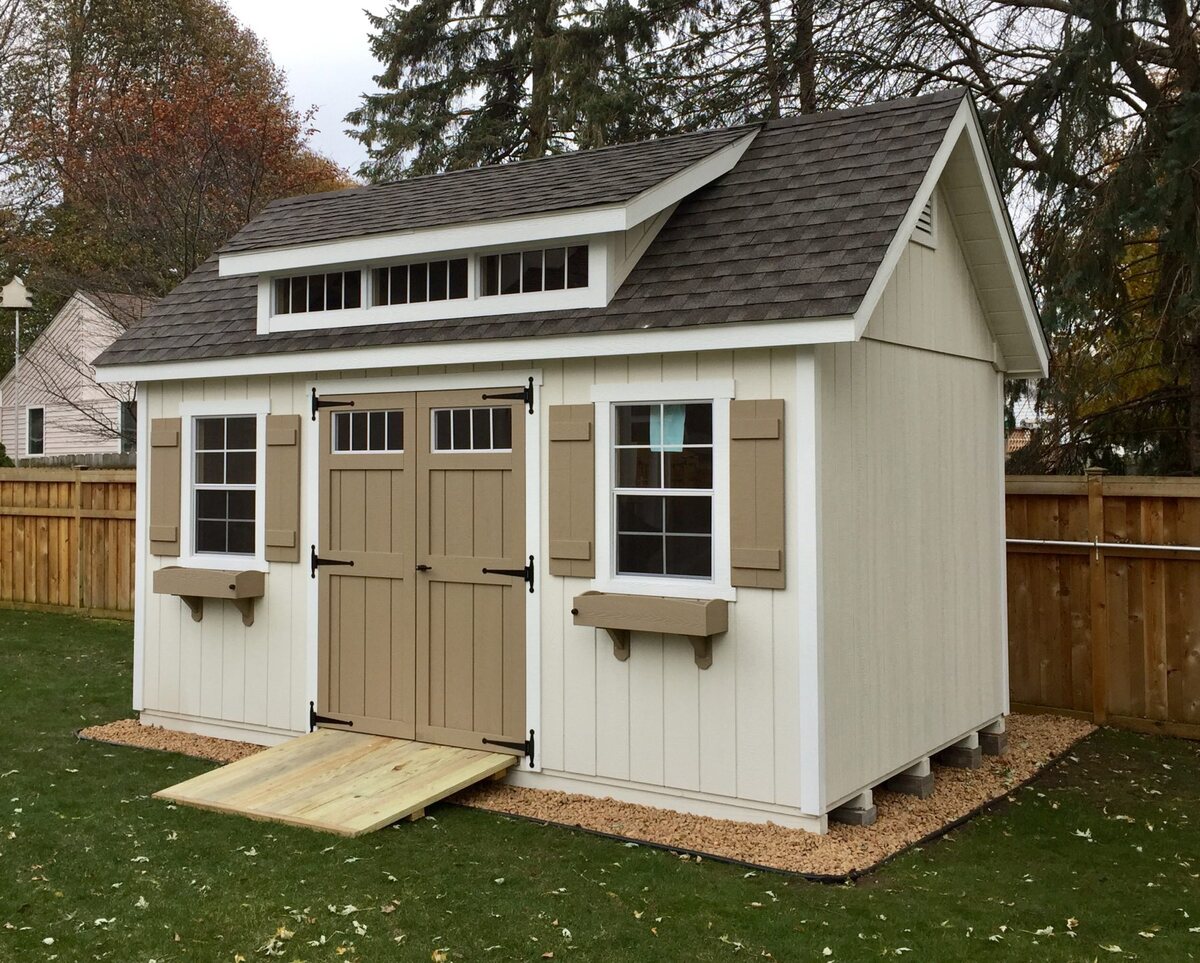
Congratulations on successfully completing the comprehensive repair and waterproofing process for your shed roof! By taking the time to assess the damage, gather the necessary materials and tools, conduct meticulous repairs, and fortify the roof’s waterproofing, you’ve ensured that your shed is well-equipped to withstand the elements and provide reliable protection for your belongings.
It’s important to recognize that maintaining your shed’s roof is an ongoing responsibility. Regular inspections, proactive maintenance, and prompt repairs are essential for preserving the structural integrity and protective function of the roof. By staying vigilant and addressing any signs of wear or damage in a timely manner, you can extend the lifespan of your shed and minimize the risk of costly repairs in the future.
Remember, safety should always be a top priority when working on roof repairs. Use appropriate personal protective equipment, exercise caution when working at elevated heights, and enlist the help of a professional if you encounter complex or challenging repair scenarios.
As you admire your newly restored shed roof, take pride in the knowledge and skills you’ve acquired throughout this process. Whether you’re a seasoned DIY enthusiast or someone who’s just beginning to explore the world of outdoor structure maintenance, this experience has equipped you with valuable insights and capabilities that will serve you well in future projects.
Lastly, don’t hesitate to share your newfound expertise with friends, family, and fellow DIY enthusiasts. Your journey to fix a shed roof may inspire and empower others to take on similar challenges, fostering a community of individuals who are dedicated to maintaining and enhancing their outdoor spaces.
With a sturdy, watertight roof in place, your shed is poised to serve its purpose for years to come, offering a reliable sanctuary for your tools, equipment, and cherished belongings. Embrace the satisfaction of a job well done, and let your revitalized shed stand as a testament to your dedication and craftsmanship.
Thank you for embarking on this journey to learn how to fix a shed roof like a pro. May your newly restored shed bring you joy and utility, sheltering your treasures through the changing seasons and standing as a testament to your resourcefulness and care.
Frequently Asked Questions about How To Fix A Shed Roof
Was this page helpful?
At Storables.com, we guarantee accurate and reliable information. Our content, validated by Expert Board Contributors, is crafted following stringent Editorial Policies. We're committed to providing you with well-researched, expert-backed insights for all your informational needs.


0 thoughts on “How To Fix A Shed Roof”