Articles
How To Stop Squeaky Stairs
Modified: February 23, 2024
Learn how to stop squeaky stairs with these informative articles. Find expert tips and tricks to fix and silence your noisy stairs today.
(Many of the links in this article redirect to a specific reviewed product. Your purchase of these products through affiliate links helps to generate commission for Storables.com, at no extra cost. Learn more)
Introduction
Squeaky stairs can be quite annoying to deal with. The constant creaking and groaning as you ascend or descend can disrupt the peace and tranquility of your home. Not only that, but it can also be a safety hazard if left unaddressed. Imagine tiptoeing down the stairs in the dead of night, only to have your steps betrayed by loud squeaks, potentially waking up the entire household!
The good news is that fixing squeaky stairs is a relatively simple task that can be done by anyone, regardless of their DIY skill level. In this article, we will guide you through the process of identifying the cause of squeaks, preparing the necessary tools and materials, and provide you with a step-by-step guide to fix those squeaks once and for all.
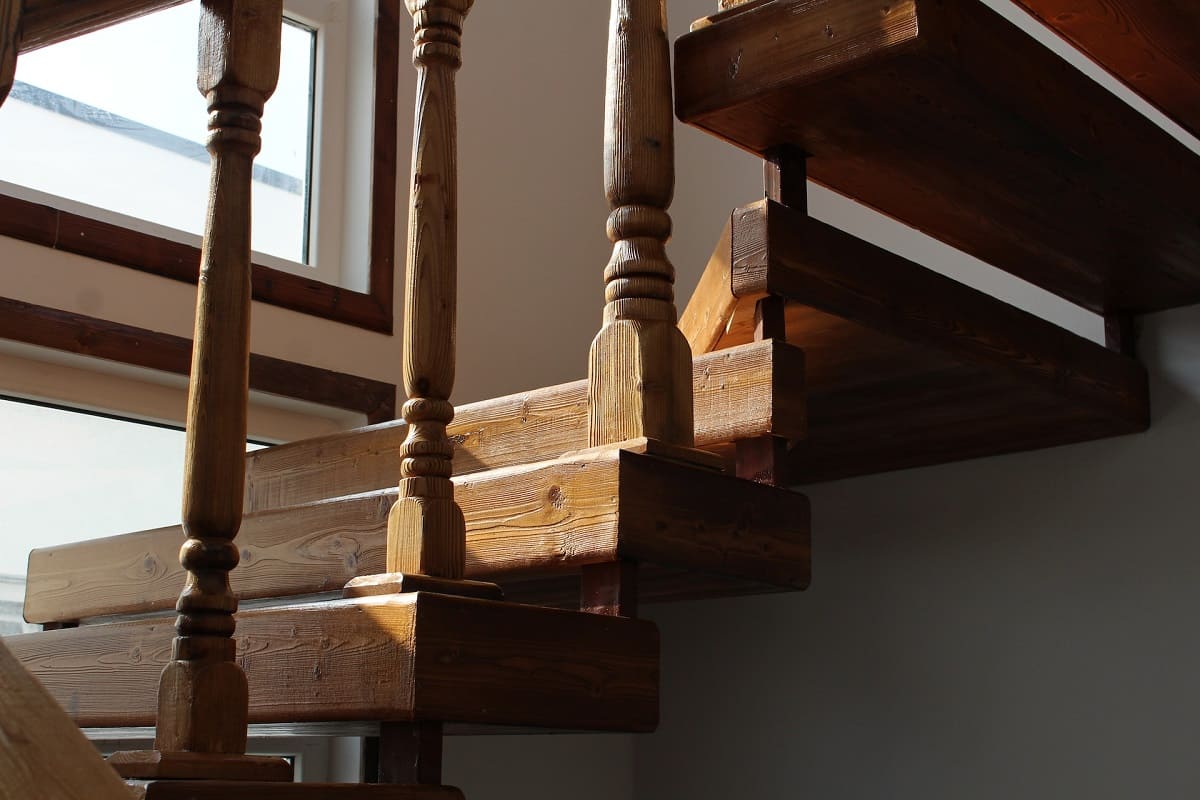
Before we dive into the nitty-gritty details, it’s important to understand the common causes of squeaky stairs. The main culprit is usually the movement and friction between the different components of the staircase, such as the treads, risers, and the support structure. Over time, these parts can loosen or become worn, resulting in the annoying sounds we all dread. By identifying the cause, we can then proceed with the appropriate method for fixing the problem.
So, if you’re ready to silence those squeaky stairs and restore the peace in your home, let’s get started on the journey to quietness and stability!
Key Takeaways:
- Identifying the root cause of squeaky stairs is essential for effective repair. From loose treads to worn-out structures, understanding the source of the issue allows for targeted and long-lasting solutions.
- Prevent future squeaks by maintaining regular inspections, using quality materials, and reinforcing the stairs if necessary. Proactive maintenance and prompt repairs can ensure a quiet and sturdy staircase for years to come.
Read more: How To Stop Squeaky Towel Bar
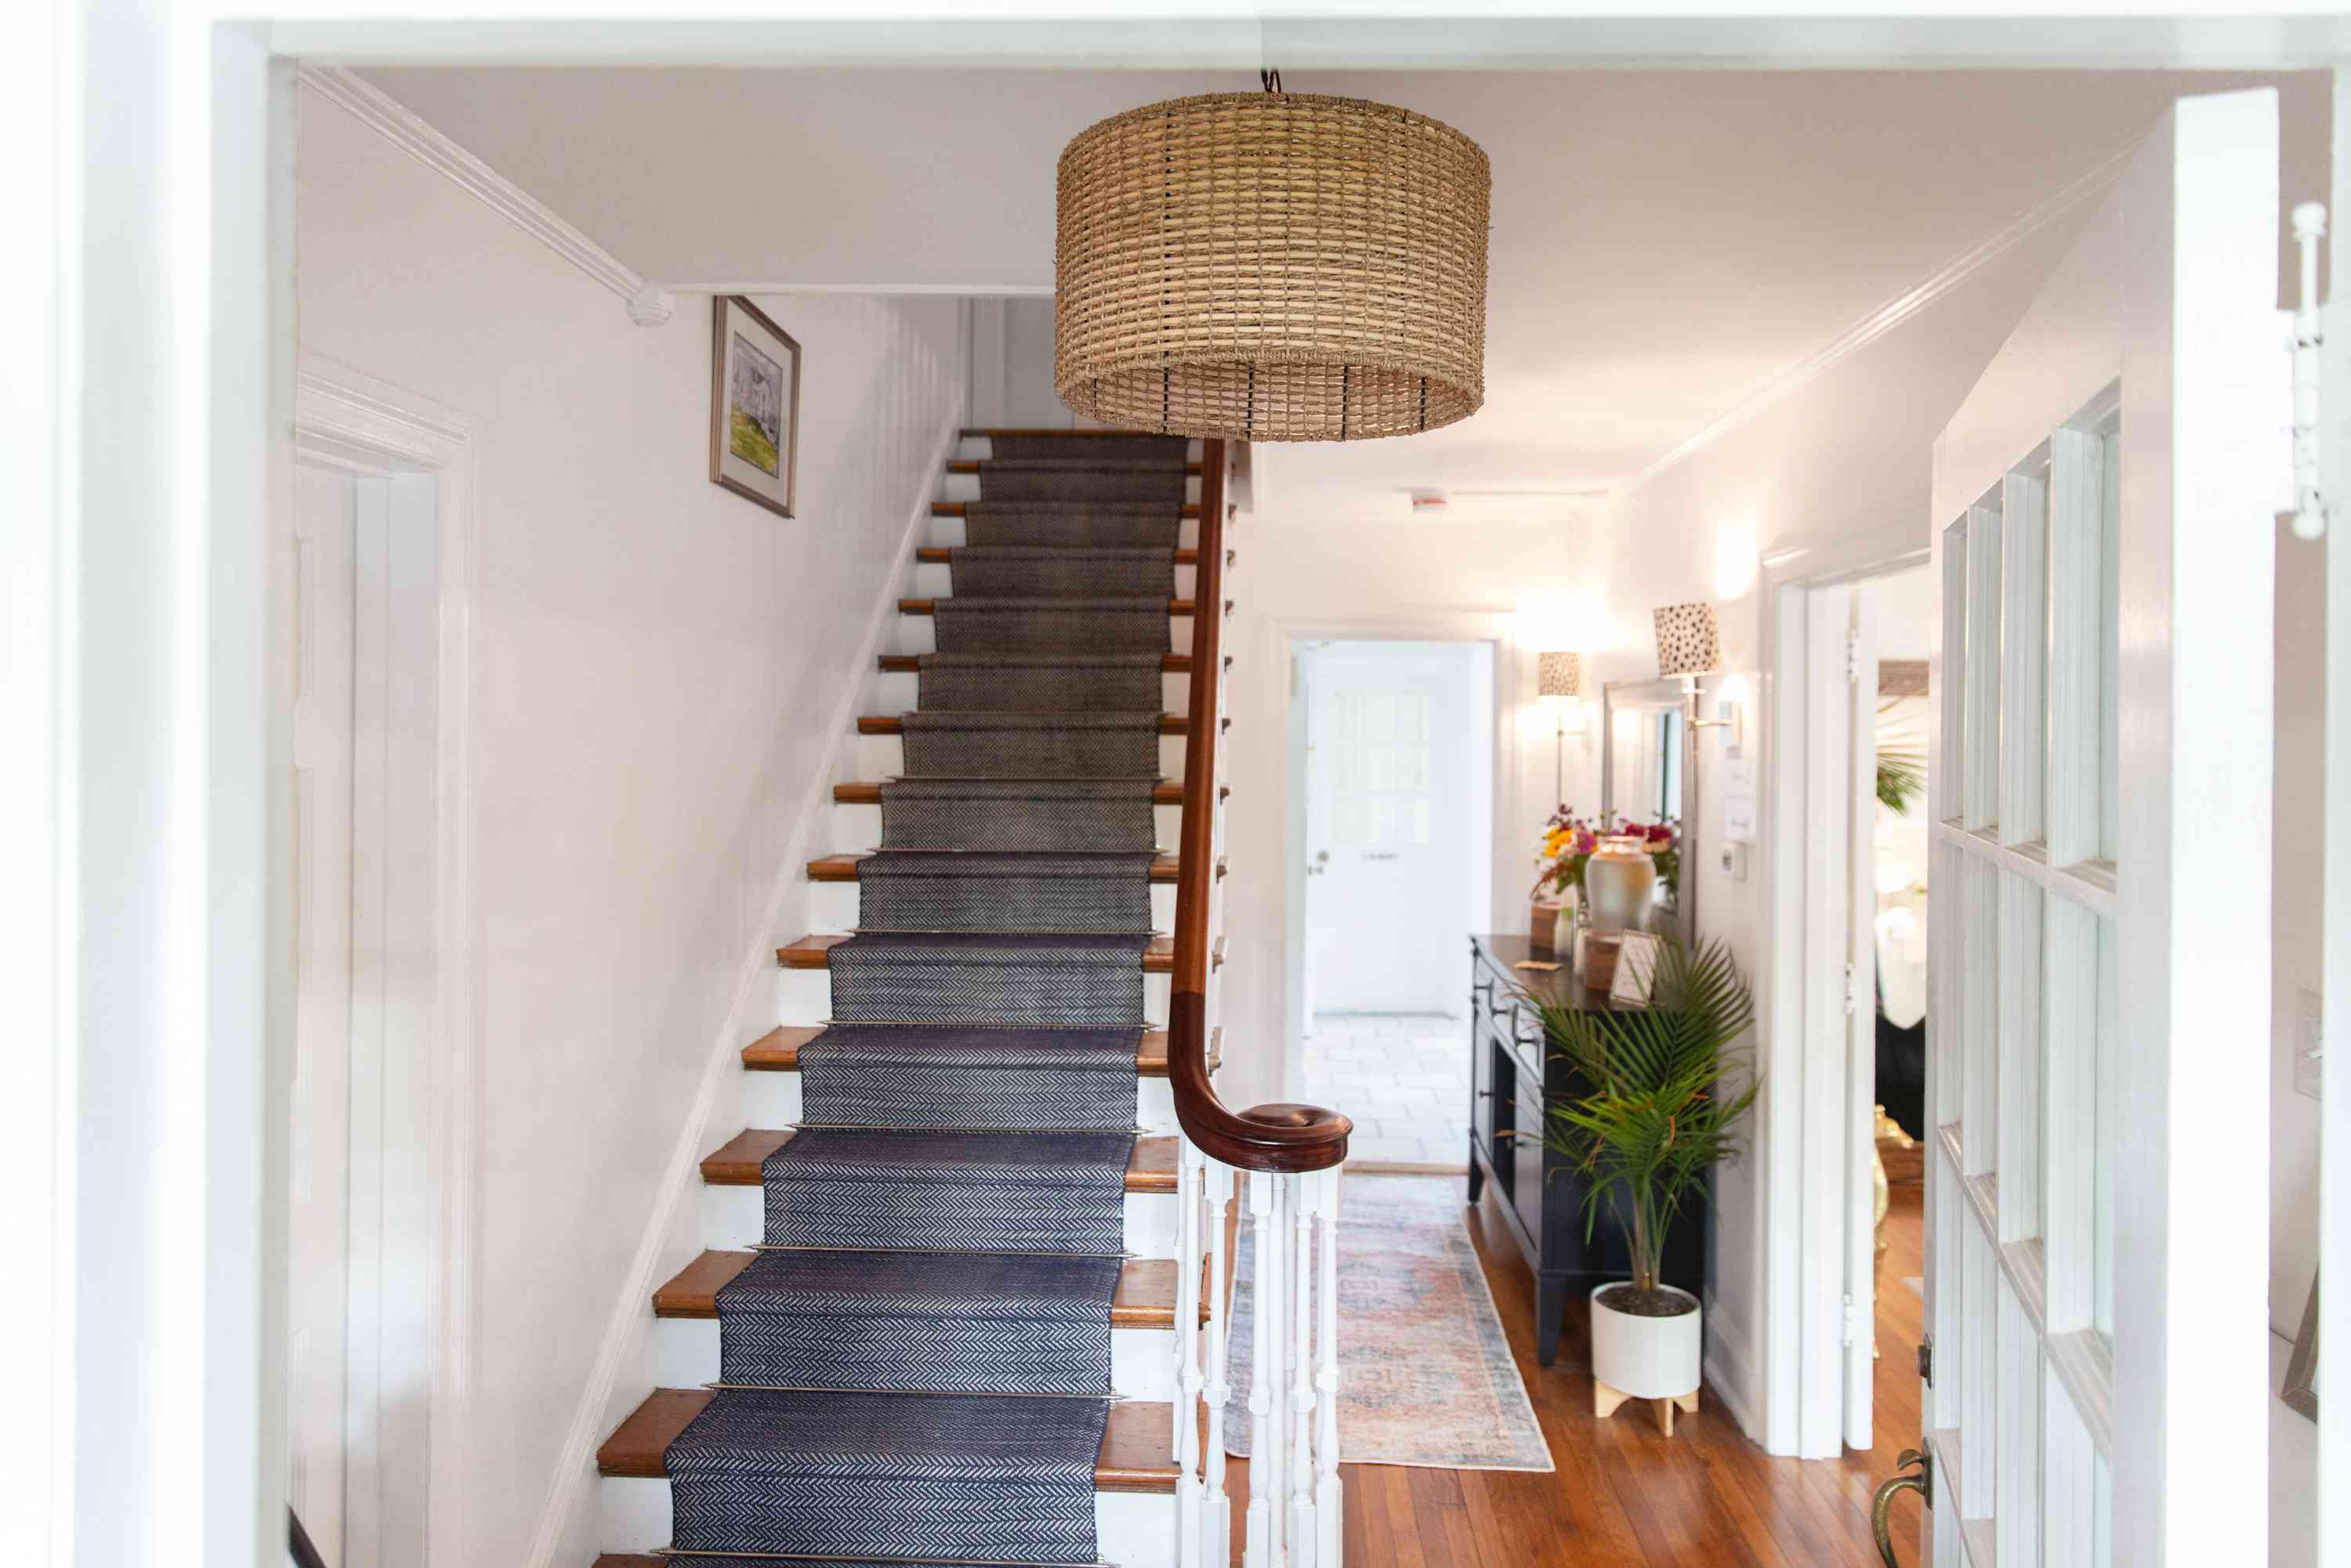
Identifying the cause of squeaky stairs
Before you can effectively fix your squeaky stairs, it’s important to identify the root cause of the problem. By pinpointing the source of the squeaks, you’ll be able to apply the appropriate solution and ensure a long-lasting fix. Here are the main culprits behind those annoying noises:
- Loose treads: One common cause of squeaky stairs is loose treads. Over time, the treads, which are the horizontal boards you step on, can become loose and start to rub against the underlying structure.
- Loose risers: The risers are the vertical boards that sit between the treads. If they become loose, they can also cause squeaking as they move against the surrounding components.
- Loose nails or screws: Staircases are typically constructed using nails or screws to hold the various components together. Over time, these fasteners can become loose or even pull out partially, resulting in movement and squeaking.
- Worn-out structures: The support structure of the staircase, including the stringers and the balusters, can wear out over time. This wear and tear can result in movement, which in turn leads to squeaks.
To identify the specific cause of your squeaky stairs, you can perform a simple test. Start by slowly and deliberately stepping on each stair while paying close attention to any sounds or movements. By doing this, you can isolate the area or areas that are causing the issue.
Once you’ve identified the source of the squeaks, you’ll be better equipped to address the problem effectively. Don’t worry, we’ll guide you through the process in the following sections, providing step-by-step instructions for various methods of fixing those squeaky stairs.
Preparing the necessary tools and materials
Before you embark on fixing your squeaky stairs, it’s essential to gather the right tools and materials to ensure a smooth and efficient repair process. Here’s a list of the items you’ll need:
- Screwdriver: A screwdriver, preferably one with a comfortable grip and interchangeable bits, will be necessary for loosening and tightening screws.
- Hammer: A hammer will come in handy for driving in nails and tapping loose components back into place.
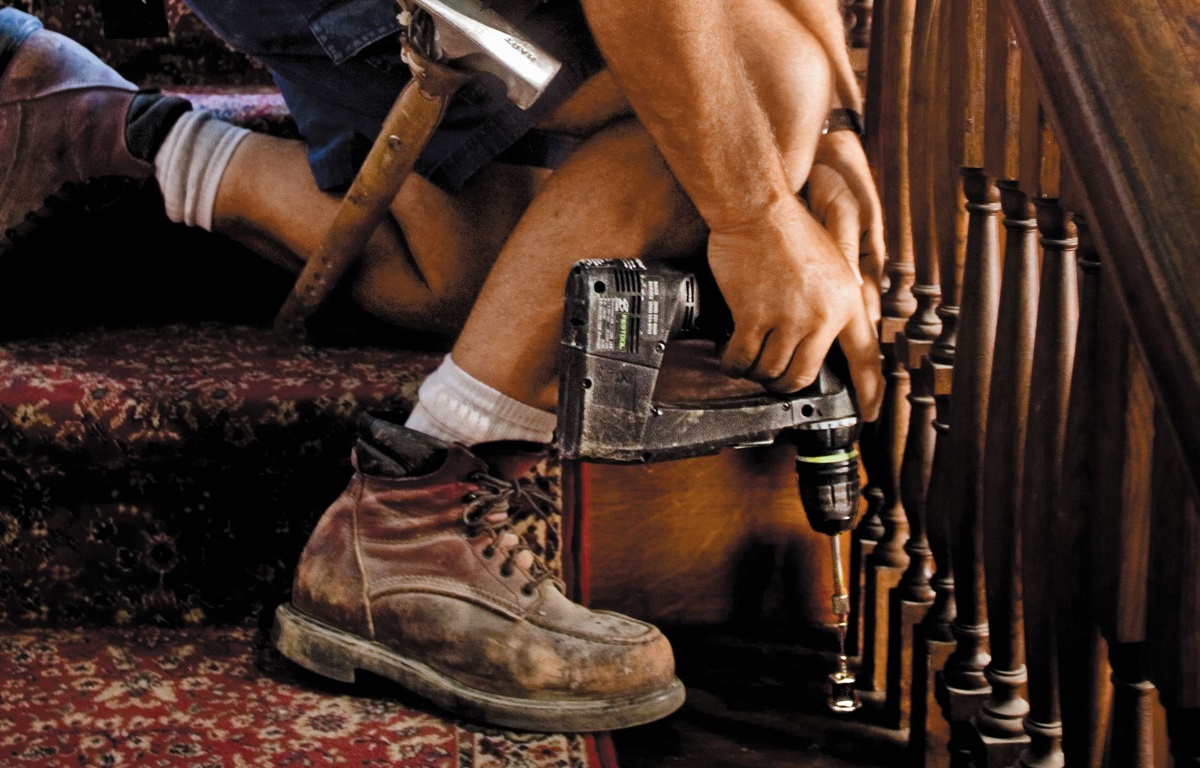
- Drill: If you’re dealing with stubborn screws or need to create new pilot holes, a drill with the appropriate bits will be necessary.
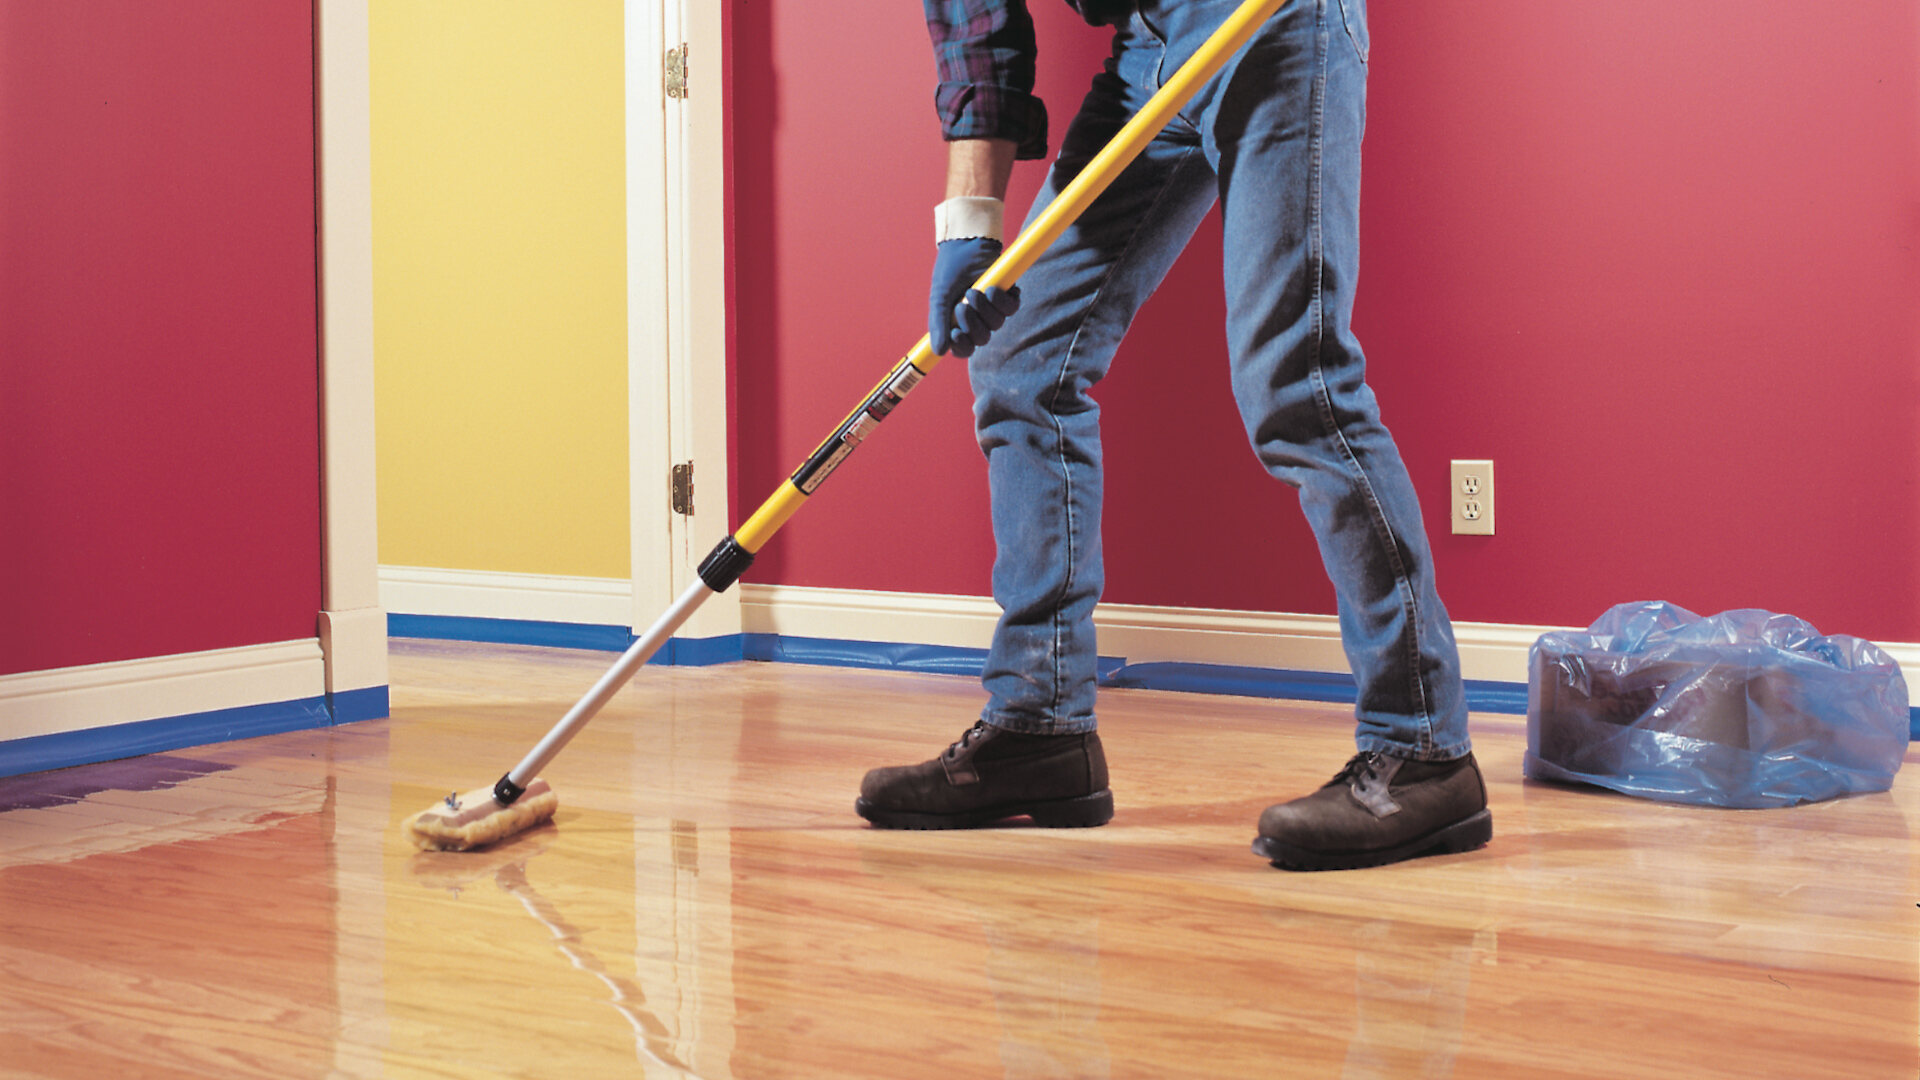
- Lubricant: A lubricant such as WD-40 or powdered graphite can help eliminate friction and reduce squeaks.
- Wood glue: If loose components need to be secured, a high-quality wood glue will be necessary to strengthen the bond.
- Adhesive: For more challenging fixes, such as securing loose treads, an adhesive specifically designed for construction purposes will be required.
- Sanding block: A sanding block will be useful for smoothing out rough edges and uneven surfaces.
- Pencil or marker: Having a pencil or a marker will help you mark areas that need attention and ensure accuracy during the repair process.
- Safety goggles and gloves: Safety should always be a priority. Make sure to wear goggles to protect your eyes and gloves to shield your hands from any potential injuries.
By gathering these tools and materials in advance, you’ll save yourself time and frustration during the repair process. It’s always better to be prepared and have everything you need readily available.
Now that you’re equipped with the necessary tools, it’s time to dive into the step-by-step guide to fix those squeaky stairs. Follow along, and soon you’ll be enjoying quiet and peaceful footsteps throughout your home!
Step-by-step guide to fixing squeaky stairs
Now that you have identified the cause of the squeaks and gathered the necessary tools and materials, let’s dive into the step-by-step process of fixing your squeaky stairs:
- Method 1: Applying lubricant to stop the squeaks:
- Identify the squeaky area by stepping on each stair and listening for the sound.
- Use a screwdriver to remove any screws or nails in the area.
- Apply a lubricant such as WD-40 or powdered graphite into the joints and gaps between the treads and risers.
- Wipe off any excess lubricant and test by stepping on the stair again to see if the squeak has been eliminated.
- Method 2: Tightening loose screws and nails:
- Gently pry up the carpet or tread covering the squeaky area.
- Tighten any loose screws or nails that connect the squeaky tread to the underlying structure.
- If the existing holes are worn, remove the screw or nail and fill the hole with wood glue. Then, insert a new screw or nail into a slightly different location.
- Replace the carpet or tread covering.
- Method 3: Adding support blocks:
- Locate the squeaky area and ensure it is accessible.
- Cut a small block of wood that will fit snugly between the tread and the riser.
- Apply wood glue to the edges of the block and press it firmly into the squeaky area.
- Secure the support block with screws or nails and let the glue dry completely.
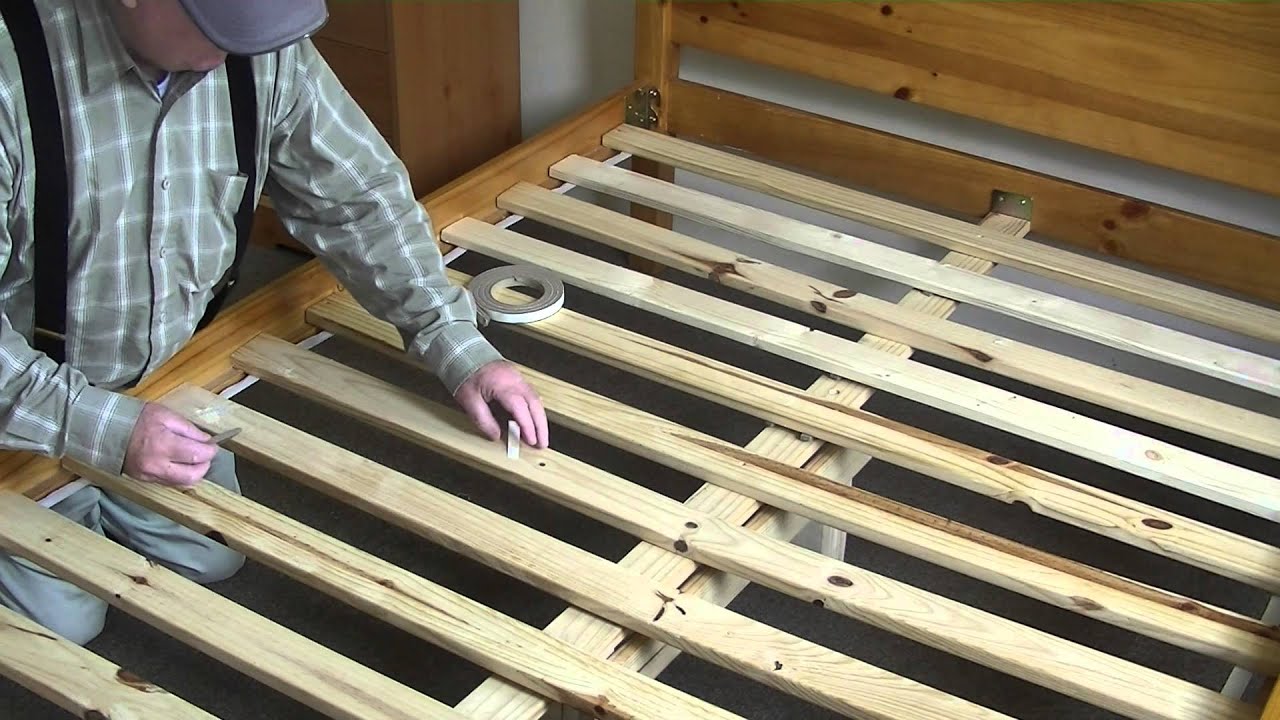
- Method 4: Using adhesive to secure loose treads:
- Identify the loose tread by pressing down on each step until it moves.
- Remove any screws or nails that are holding the loose tread in place.
- Apply construction adhesive to the top of the stringer or support structure.
- Press the loose tread firmly into place and secure it with screws or nails.
- Wipe off any excess adhesive and let it dry according to the manufacturer’s instructions.
- Method 5: Reinforcing the stair structure:
- If you have access to the underside of the stairs, inspect for loose or damaged stringers, balusters, or other structural components.
- Tighten any loose screws or nails in the affected area.
- If necessary, reinforce the structure by adding additional support beams or brackets.
- Ensure everything is securely fastened, and test the stairs to confirm the squeaks have been eliminated.
Remember, following these step-by-step instructions will help you fix those squeaky stairs effectively. Take your time, be thorough, and don’t rush the process. Once you’ve completed the repairs, you can enjoy silent and stable stairs for years to come.
Method 1: Applying lubricant to stop the squeaks
One of the simplest and quickest methods to silence squeaky stairs is by applying a lubricant. Lubricants help reduce friction between the moving parts of the staircase, eliminating the squeaking sounds. Here’s a step-by-step guide on how to apply lubricant to stop the squeaks:
- Identify the squeaky area by stepping on each stair and listening for the sound. Pay attention to the points where the treads and risers meet or where there is any noticeable movement.
- Using a screwdriver, carefully remove any screws or nails in the squeaky area. Keep these screws or nails in a safe place so you can reuse them later.
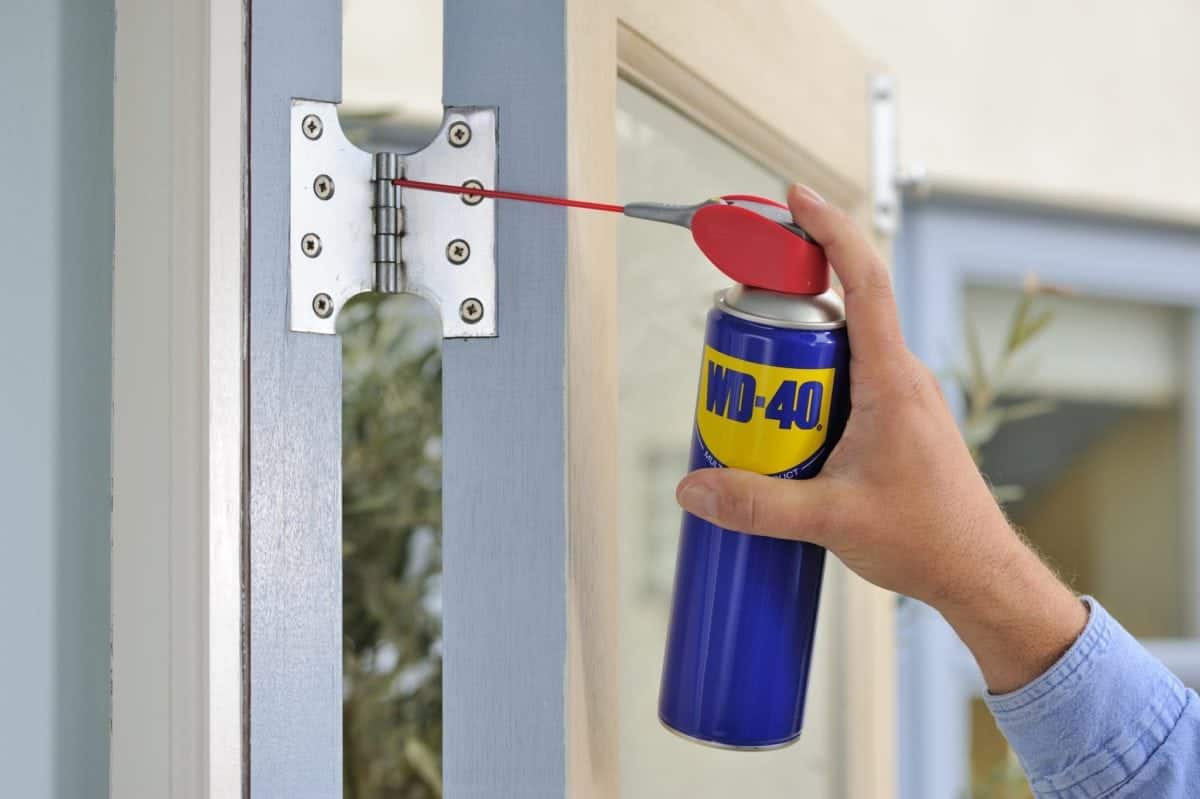
- Select a suitable lubricant for your stairs. Two common options are WD-40 or powdered graphite. WD-40 is a versatile household lubricant, while powdered graphite is specifically designed for reducing friction in mechanical systems.
- Apply the lubricant to the joints and gaps between the treads and risers. For WD-40, you can spray a small amount into the areas of concern. For powdered graphite, use the provided applicator or a small brush to spread a thin, even layer.
- Make sure to work the lubricant into the crevices, ensuring it reaches the points where the squeaking occurs. Use a cloth or sponge to wipe off any excess lubricant to prevent slipping hazards.
- Gently test the repaired step by stepping on it. If the squeak has been eliminated, proceed to the next step. If the noise persists, you may need to reapply the lubricant or consider an alternative method of fixing the issue.
- Once you have successfully silenced the squeak, reattach the screws or nails that you had previously removed. Ensure they are tightened securely to keep the treads and risers in place.
Applying lubricant to your squeaky stairs can provide a quick and temporary fix. However, keep in mind that lubricants might wear off over time, requiring reapplication. If the squeaks persist or return, you may need to explore alternative methods such as tightening loose screws or securing loose components.
It’s important to note that while lubricants can effectively reduce squeaks, they may not address the underlying issue causing the squeak. If you want a more permanent solution, consider following the additional methods outlined in this article. By taking these extra steps, you can ensure a longer-lasting fix for your squeaky stairs.
Read more: How To Stop Squeaky Windows On Car
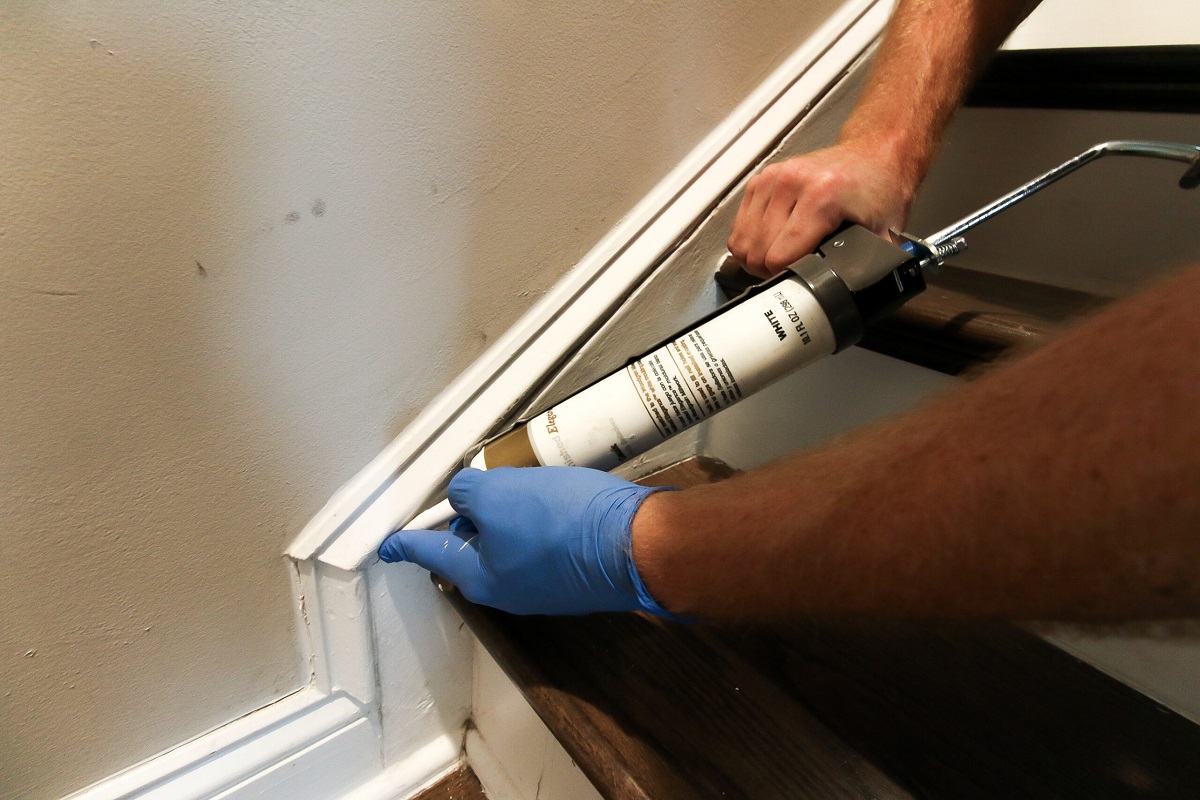
Method 2: Tightening loose screws and nails
One of the common causes of squeaky stairs is loose screws or nails that hold the components together. By tightening these loose fasteners, you can often eliminate the squeaks and restore stability to your stairs. Here’s a step-by-step guide on how to tighten loose screws and nails:
- Gently pry up the carpet or tread covering the squeaky area. Use a pry bar or a putty knife to lift the covering without causing damage.
- Inspect the area and identify any screws or nails that appear loose. Tug on them gently to ensure they are not securely fastened.
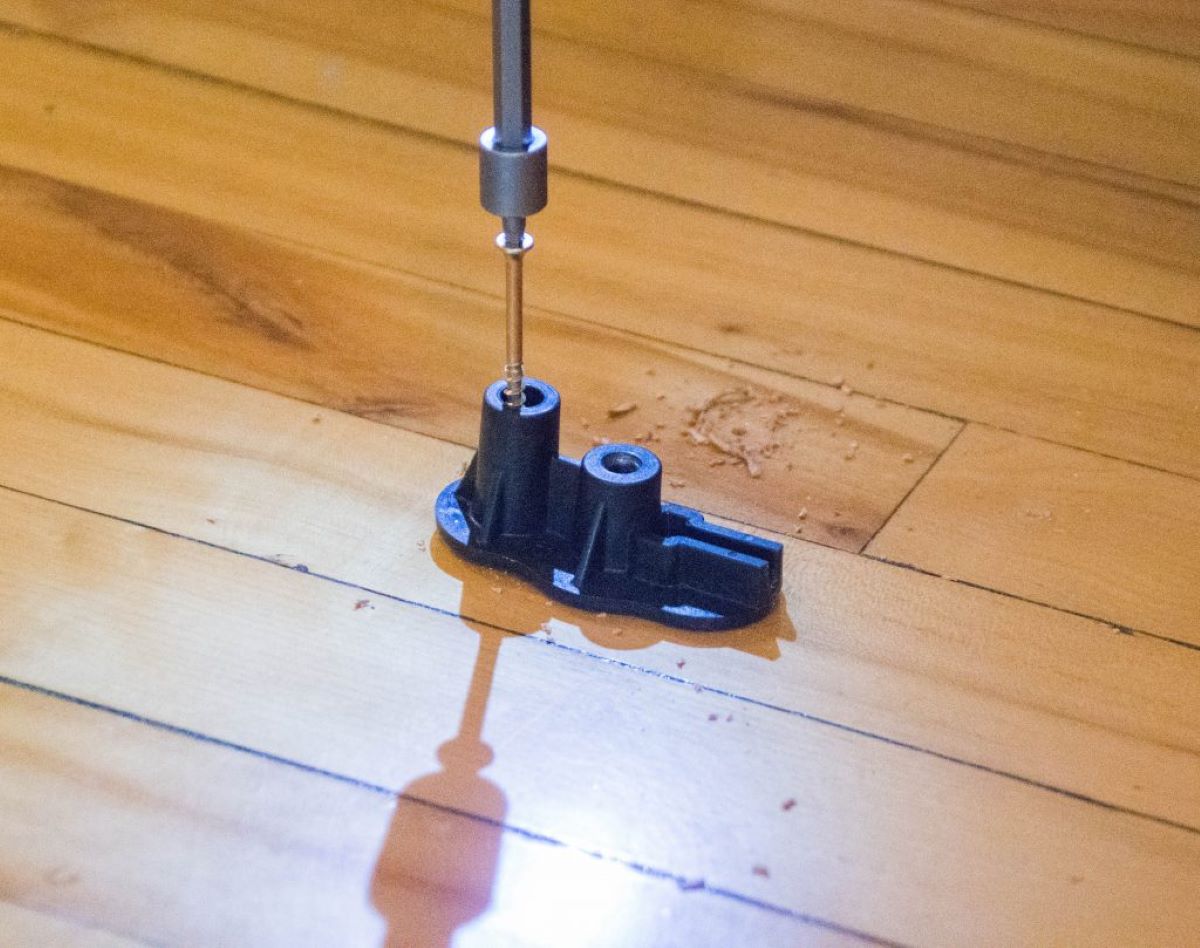
- Using an appropriate screwdriver or a hammer, tighten the loose screws or nails until they are snug. Be careful not to overtighten and damage the wood or strip the screw holes.
- If the existing holes are worn or stripped, remove the loose screws or nails completely.
- Apply a small amount of wood glue or adhesive to the hole, then insert a wooden toothpick or matchstick coated in adhesive into the hole. Break off the excess so that it sits flush with the surface.
- Wait for the glue to dry and harden, creating a firm foundation for the new screws or nails.
- Once the glue is dry, insert new screws or nails into the reinforced holes, ensuring they are tightened securely. Use screws or nails of the appropriate length to avoid damaging the wood.
- Replace the carpet or tread covering, ensuring it is properly aligned and securely in place.
Tightening loose screws and nails is a relatively simple and effective way to eliminate squeaks in your stairs. However, it’s important to note that this method may only be suitable for minor squeaks caused by loose fasteners.
If after tightening the screws or nails your stairs still produce squeaks, it’s possible that the underlying issue is more significant. In such cases, you may need to explore other methods, such as adding support blocks or using adhesive to secure loose treads.
Remember, taking the time to properly tighten loose screws and nails can provide a temporary fix for your squeaky stairs. However, if the problem persists or worsens, it may be necessary to seek professional help or consider more extensive repairs to ensure the long-term stability and silence of your staircase.
Apply a powdered graphite lubricant to the areas where the stairs are squeaking. This will help reduce friction and eliminate the noise.
Method 3: Adding support blocks
If your squeaky stairs persist even after tightening screws and nails, it may be necessary to add support blocks. Support blocks help reinforce the staircase and eliminate any movement that could be causing the squeaks. Here’s a step-by-step guide on how to add support blocks to your squeaky stairs:
- Locate the squeaky area on the staircase where the treads and risers meet or where there is noticeable movement.
- Measure the gap between the tread and the riser in the squeaky area. This measurement will determine the size of the support block you need to create.
- Cut a small block of wood to fit snugly into the measured gap. The thickness of the block should match the gap, while the length and width should be slightly smaller to provide room for adjustment.
- Apply wood glue to the edges of the support block, ensuring even coverage.
- Place the support block into the gap, pressing it firmly against both the tread and riser. Make sure it is centered and aligns with the surrounding stairs.
- Secure the support block by using screws or nails. Drive the fasteners through the tread and into the block, as well as through the riser and into the block.
- Wipe off any excess glue that may have squeezed out during the application.
- Allow the glue to dry completely, following the recommended drying time specified by the manufacturer.
Adding support blocks can effectively stabilize your squeaky stairs by eliminating any movement or gaps that may be causing the squeaks. These blocks provide additional support and help distribute the weight evenly across the staircase.
It’s important to ensure that the support blocks are securely fastened using screws or nails to prevent any potential accidents or future squeaks. Additionally, it’s recommended to use high-quality wood glue that will create a strong bond and withstand the stress of everyday use.
By following these steps and adding support blocks to your squeaky stairs, you can enjoy a quieter and more stable staircase in your home. However, if the squeaks persist, especially in other areas, you may need to explore other methods, such as using adhesive to secure loose treads or reinforcing the stair structure.
Method 4: Using adhesive to secure loose treads
If your squeaky stairs are caused by loose treads, using adhesive can be an effective method to secure them in place and eliminate the source of the noise. Here’s a step-by-step guide on how to use adhesive to secure loose treads:
- Identify the loose tread by pressing down on each step until you feel movement or observe any visible gaps.
- Using a screwdriver or a pry bar, carefully remove any screws or nails that are holding the loose tread in place.
- Select a high-quality construction adhesive that is suitable for wood-to-wood bonding. Make sure to read the manufacturer’s instructions and follow them carefully.
- Apply the adhesive to the top of the stringer or the support structure where the loose tread will be placed. Ensure that the adhesive is evenly distributed and covers the entire area where the tread will make contact.
- Press the loose tread firmly into place, ensuring that it aligns properly with the surrounding stairs and is level with the adjacent treads.
- Secure the loose tread with screws or nails. Drive them through the tread and into the stringer or support structure beneath. Make sure to countersink the screws or nails so that they are flush with the surface of the tread.
- Wipe off any excess adhesive that may have squeezed out during the application. A damp cloth or sponge can be used to clean up the adhesive before it dries.
- Allow the adhesive to dry and cure fully, following the instructions provided by the manufacturer. This may take several hours or even overnight, so be patient.
By using adhesive to secure loose treads, you can effectively eliminate the squeaks and provide long-term stability to your stairs. The adhesive forms a strong bond between the tread and the underlying structure, ensuring that there is no movement or play that could cause squeaking.
It’s important to use a high-quality construction adhesive that is specifically designed for wood-to-wood bonding. This will ensure a durable and reliable bond that withstands the weight and pressure of daily use.
Once the adhesive has fully cured, test the repaired step by stepping on it. If the squeak has been eliminated and the tread feels secure, you have successfully fixed your squeaky stairs. However, if the noise persists or new squeaks develop, you may need to explore additional methods or consult with a professional for further assistance.
Method 5: Reinforcing the stair structure
If your squeaky stairs persist even after trying other methods, it may be necessary to reinforce the overall stair structure. This method addresses any underlying issues with the staircase’s support system and can provide a long-lasting solution. Here’s a step-by-step guide on how to reinforce the stair structure:
- If possible, access the underside of the stairs to examine the support structure. This may require removing a panel or crawling into a crawl space beneath the staircase.
- Inspect the stringers, balusters, and other structural components for signs of damage or looseness.
- Tighten any loose screws or nails that connect these components to the stairs. Use a screwdriver or hammer to ensure they are securely fastened.
- If necessary, reinforce the structure by adding additional support beams or brackets. This can involve attaching new support beams parallel to the existing stringers or using metal brackets to provide extra stability.
- Ensure that all added support beams or brackets are securely fastened to both the stairs and the surrounding structure. Use appropriate screws or nails and follow any manufacturer instructions provided.
- Test the stairs for squeaks by walking up and down them. Apply pressure on each step and listen for any sounds of movement or noise.
- If additional squeaks are still present, identify the specific areas and apply the appropriate method from the previous sections to address them.
Reinforcing the stair structure can be a more involved process compared to the previous methods, but it can significantly improve the stability and silence of your staircase. By addressing any structural issues, you eliminate the potential for movement and friction that leads to squeaks.
It’s important to have the proper tools and materials on hand when reinforcing the stair structure, including screws, nails, additional support beams, and metal brackets. Take your time during the process and ensure that all connections are tight and secure.
By following these steps and reinforcing the stair structure, you can enjoy a squeak-free and sturdy staircase for years to come. However, if the squeaks persist or new ones develop, it may be necessary to consult with a professional to assess the situation and determine the best course of action.
Read more: How To Stop A Squeaky Office Chair
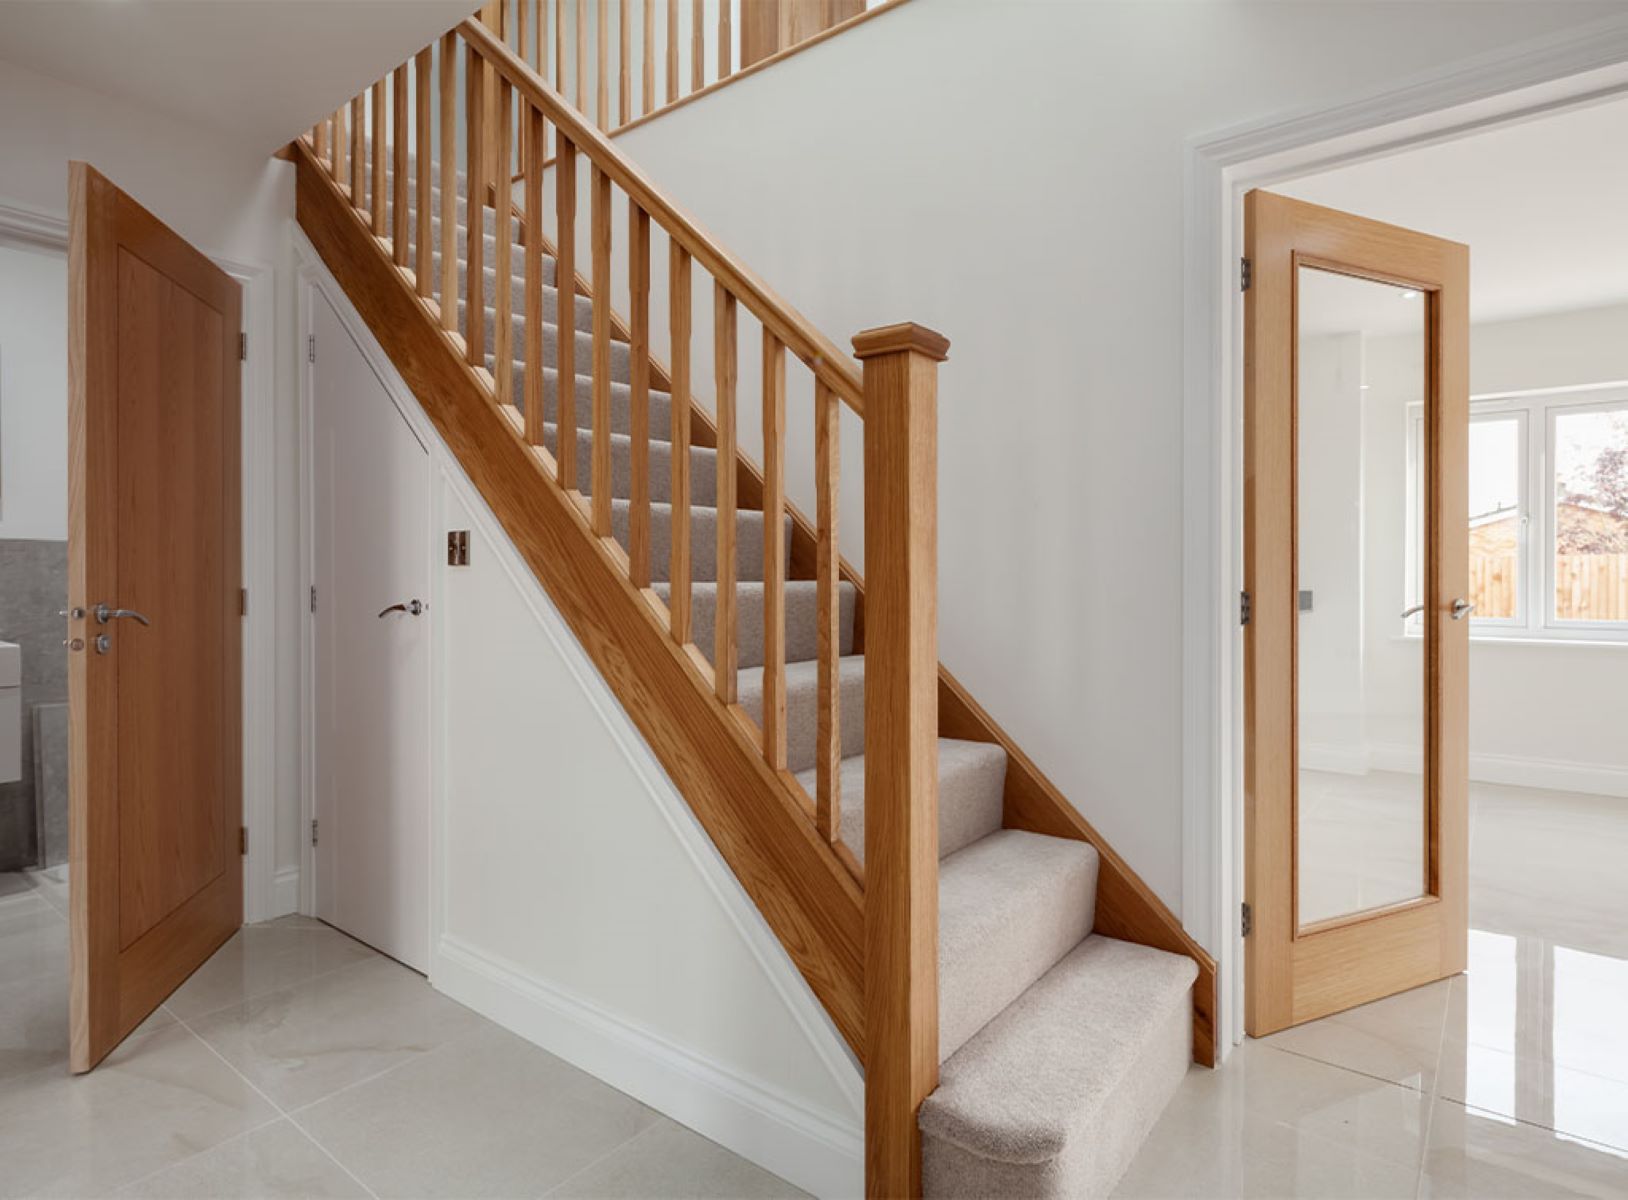
Preventing Future Squeaks
After successfully fixing your squeaky stairs, it’s important to take preventive measures to avoid future occurrences. By implementing a few simple steps, you can minimize the likelihood of squeaks and enjoy a quiet and stable staircase. Here are some tips for preventing future squeaks:
- Maintain regular inspections: Make it a habit to regularly inspect your stairs for any signs of wear or loosening components. Catching and addressing issues early can prevent them from turning into squeaks later on.
- Keep the stairs clean and dry: Moisture and debris buildup can contribute to the deterioration of the staircase and cause squeaks. Regularly sweep or vacuum the stairs and clean up any spills promptly.
- Address issues immediately: If you notice any loose screws, nails, or components, tighten them as soon as possible. Proactive maintenance can prevent squeaks from developing or getting worse.
- Consider using quality materials: When building or renovating your staircase, opt for high-quality materials that can withstand regular use and movement. Investing in durable components can reduce the chances of squeaks in the future.
- Properly install and secure treads and risers: Ensure that treads and risers are securely attached to the stairs during installation. Double-check that screws or nails are properly driven into the wood, and use construction adhesive for added stability.
- Reinforce the stairs if necessary: If you have experienced frequent squeaks or ongoing issues, consult with a professional to reinforce the stair structure or make any necessary repairs. Adding extra support can prevent future squeaky stairs.
- Minimize excessive weight and impact: Excessive weight or force on the stairs can strain the structural integrity and contribute to squeaks. Avoid dragging heavy objects up or down the stairs and encourage household members to use caution when using the stairs.
By following these preventive measures, you can maintain a quiet and sturdy staircase for years to come. Regular inspections, prompt repairs, and a proactive approach to maintenance will help you detect and address any potential issues before they escalate into squeaky stairs.
Remember, preventive measures can significantly reduce the chances of future squeaks, but it’s still important to perform periodic checks and address any emerging problems promptly. By staying proactive, you can enjoy a peaceful and reliable staircase in your home.
Conclusion
Squeaky stairs can be a nuisance, affecting both the tranquility of your home and potentially posing a safety hazard. However, with the right knowledge and a little bit of effort, you can successfully fix those squeaks and enjoy a quiet and stable staircase once again.
In this comprehensive guide, we have explored various methods to address squeaky stairs and provided step-by-step instructions for each approach. From applying lubricant to tightening loose screws, securing loose treads, and reinforcing the stair structure, we have covered a range of solutions to suit different situations.
Identifying the cause of the squeaks is crucial to choosing the most appropriate method of repair. Whether it’s a loose tread, a worn-out structure, or simply a lack of lubrication, understanding the root cause allows you to implement the best course of action.
By following the instructions and using the necessary tools and materials, you can effectively fix your squeaky stairs and prevent future occurrences. Regular inspections, timely repairs, and proactive maintenance will help ensure the longevity and silence of your staircase.
Remember, safety should always be a priority when performing any repairs. Use caution, wear appropriate protective gear, and consult with professionals if you are unsure or encounter more complex issues.
So, don’t let squeaky stairs disrupt your peace and quiet any longer. Take the knowledge and guidance provided in this article, and embark on a journey to silence those squeaks. Enjoy the comfort and stability of a well-maintained staircase, and create a peaceful atmosphere in your home.
Frequently Asked Questions about How To Stop Squeaky Stairs
Was this page helpful?
At Storables.com, we guarantee accurate and reliable information. Our content, validated by Expert Board Contributors, is crafted following stringent Editorial Policies. We're committed to providing you with well-researched, expert-backed insights for all your informational needs.

0 thoughts on “How To Stop Squeaky Stairs”