Home>Articles>How To Calibrate Whirlpool Refrigerator Water Dispenser
Articles
How To Calibrate Whirlpool Refrigerator Water Dispenser
Modified: January 8, 2024
Learn how to properly calibrate your Whirlpool refrigerator water dispenser with these informative articles. Improve the functionality of your appliance and enjoy clean, refreshing water.
(Many of the links in this article redirect to a specific reviewed product. Your purchase of these products through affiliate links helps to generate commission for Storables.com, at no extra cost. Learn more)
Introduction
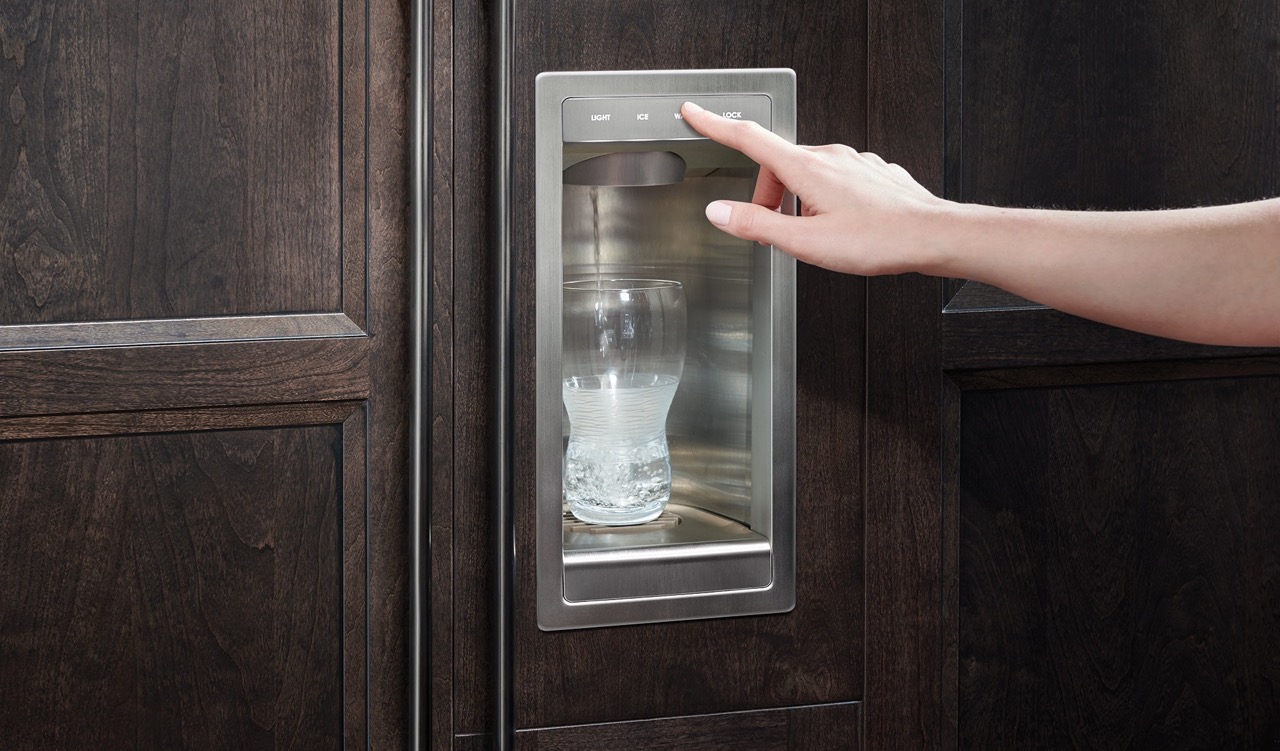
A whirlpool refrigerator with a water dispenser is a convenient feature that allows you to easily access cold water whenever you need it. However, over time, the water dispenser may lose its calibration, leading to issues such as inaccurate temperature settings or inconsistent water flow rate. Fortunately, you can calibrate the whirlpool refrigerator water dispenser to ensure optimal performance. In this article, we will guide you through the step-by-step process of calibrating your whirlpool refrigerator’s water dispenser.
Before we begin, it is important to gather the necessary tools and materials for this task. Having everything prepared will make the calibration process smoother and more efficient. Let’s take a look at what you will need:
Key Takeaways:
- Ensure optimal performance of your Whirlpool refrigerator water dispenser by following a step-by-step calibration process. Enjoy consistent water temperature and flow rate for a hassle-free experience every time.
- Regularly clean and calibrate your water dispenser to maintain its functionality and extend its lifespan. With patience and attention to detail, achieve the desired flow rate and temperature for perfectly dispensed water.
Tools and Materials Needed
- A soft cloth or sponge
- Mild dish soap
- Clean water
- A thermometer
- A measuring cup
- A small adjustable wrench
- A container to collect water
Now that you have all the required tools and materials, let’s move on to the step-by-step process of calibrating your whirlpool refrigerator’s water dispenser.
Key Takeaways:
- Ensure optimal performance of your Whirlpool refrigerator water dispenser by following a step-by-step calibration process. Enjoy consistent water temperature and flow rate for a hassle-free experience every time.
- Regularly clean and calibrate your water dispenser to maintain its functionality and extend its lifespan. With patience and attention to detail, achieve the desired flow rate and temperature for perfectly dispensed water.
Tools and Materials Needed
Before you begin the process of calibrating your whirlpool refrigerator’s water dispenser, it is important to gather all the necessary tools and materials. Having everything prepared ahead of time will make the calibration process smoother and more efficient. Here is a list of tools and materials you will need:
- A Soft Cloth or Sponge: You will need a soft cloth or sponge to clean the water dispenser and remove any dirt or debris that may affect its performance.
- Mild Dish Soap: To effectively clean the water dispenser, you should use a mild dish soap. Avoid using harsh or abrasive cleaners, as they may damage the dispenser.
- Clean Water: You will need clean water to rinse the water dispenser and ensure that there are no soap residues left behind.
- A Thermometer: A thermometer will be necessary to measure and adjust the temperature of the water dispensed. Make sure you have a reliable thermometer that can provide accurate readings.
- A Measuring Cup: It is helpful to have a measuring cup to accurately measure the water flow rate during the calibration process.
- A Small Adjustable Wrench: You may need a small adjustable wrench to adjust the water flow control valve, depending on the specific model of your whirlpool refrigerator.
- A Container to Collect Water: During the calibration process, water may spill or overflow from the dispenser. Having a container nearby to collect any excess water will help keep the area clean and prevent any potential water damage.
Once you have gathered all the necessary tools and materials, you will be ready to proceed with the calibration process. Make sure you have everything easily accessible to avoid any interruptions during the process.
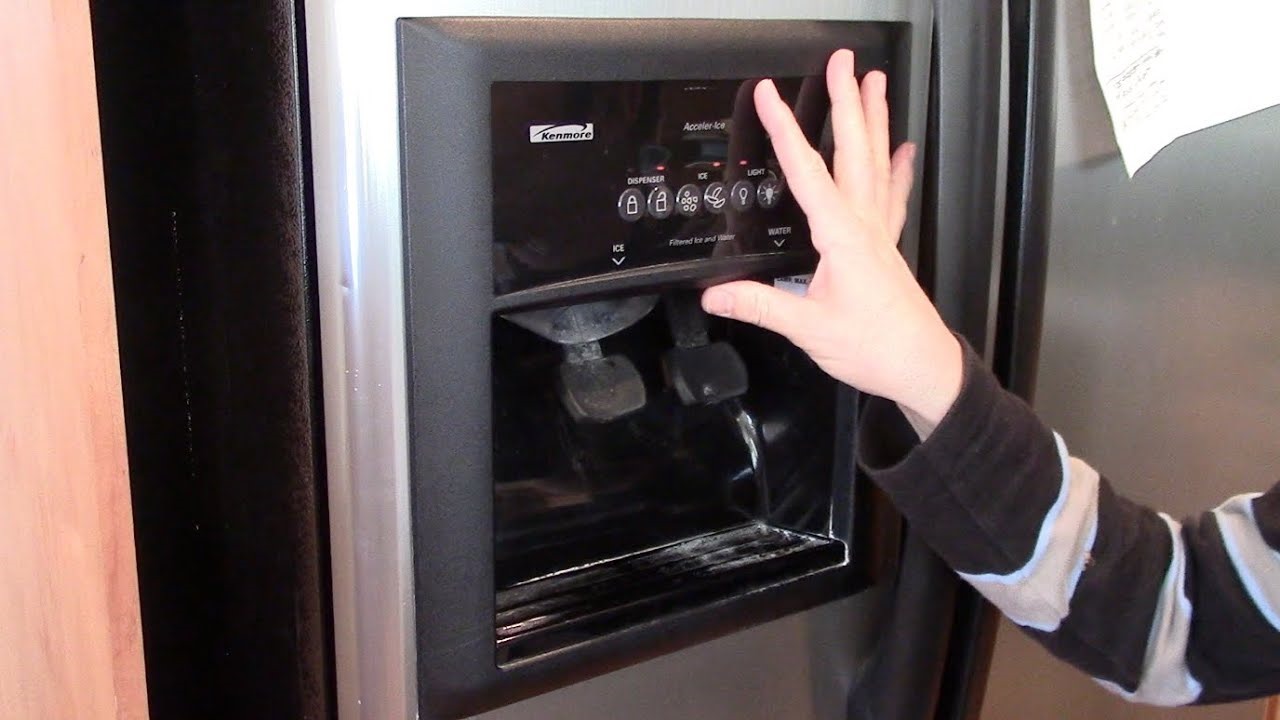
Step 1: Cleaning the Water Dispenser
Before calibrating your whirlpool refrigerator’s water dispenser, it is important to start with a clean dispenser. This will ensure that there are no obstructions or contaminants that may affect its functionality. Follow these steps to clean the water dispenser:
- Unplug the refrigerator: Before you begin, unplug your whirlpool refrigerator to ensure your safety and prevent any electrical mishaps.
- Remove the water dispenser tray: Carefully remove the water dispenser tray from the front of the refrigerator. Be gentle to avoid any damage.
- Soak the tray: Fill your sink or a basin with warm water and add a few drops of mild dish soap. Place the water dispenser tray in the soapy water and let it soak for a few minutes. This will help loosen any dirt or residue.
- Clean the tray: Use a soft cloth or sponge to gently scrub the tray, removing any dirt or debris. Pay attention to the nooks and crannies where dirt can accumulate. Rinse the tray with clean water to remove any soap residue.
- Clean the dispenser housing: Moisten a soft cloth or sponge with clean water and wipe down the dispenser housing. Make sure to clean all surfaces, including the area around the dispensing nozzle.
- Dry the tray and housing: Use a clean, dry cloth to thoroughly dry the water dispenser tray and housing. Ensure that no moisture remains, as it may interfere with the calibration process.
- Reassemble the water dispenser: Once the tray and housing are completely dry, reattach the water dispenser tray to the front of the refrigerator. Ensure that it is securely in place.
By following these steps, you will have a clean water dispenser ready for calibration. Cleaning the dispenser regularly, even when not calibrating, will help maintain its performance and ensure the water you dispense is clean and safe.
Step 2: Adjusting the Temperature
After cleaning the water dispenser, the next step in calibrating your whirlpool refrigerator’s water dispenser is adjusting the temperature. This step will ensure that the water dispensed is at the desired temperature. Follow these steps to adjust the temperature:
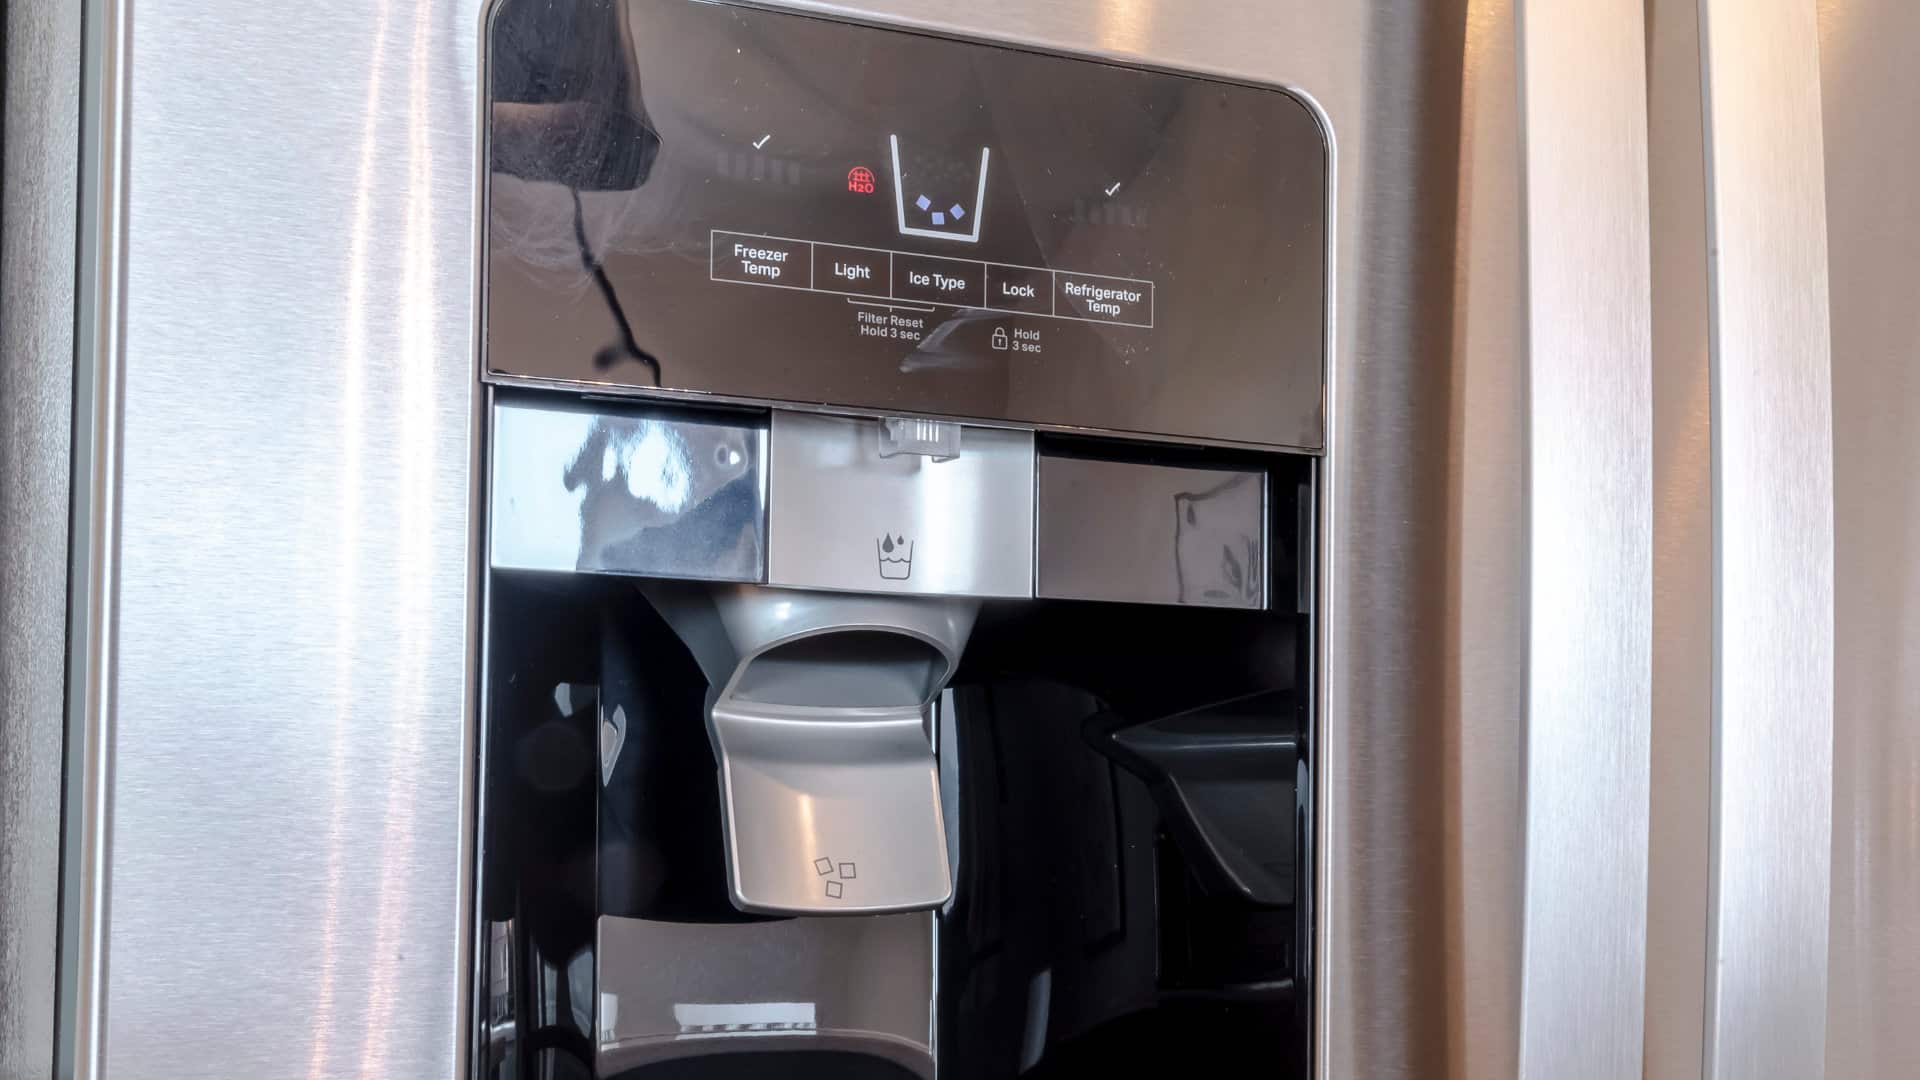
- Find the temperature control: Locate the temperature control knob or settings on your whirlpool refrigerator. The location may vary depending on the model, but it is usually found inside the refrigerator compartment or on the control panel.
- Set the desired temperature: Use the temperature control knob or settings to adjust the temperature to your desired level. Some refrigerators use a number scale, while others may have specific temperature settings such as “cold,” “medium,” and “hot.”
- Wait for the temperature to stabilize: Give your refrigerator some time to stabilize and reach the newly set temperature. This may take a few hours, so be patient.
- Check the temperature: Once the refrigerator has had sufficient time to stabilize, use a thermometer to check the temperature of the water being dispensed. Insert the thermometer into a glass of water from the dispenser and wait for it to stabilize.
- Adjust the temperature if necessary: If the temperature is not within your desired range, repeat the previous steps to adjust the temperature setting accordingly. Gradually make small adjustments until you achieve the desired temperature.
It is important to note that the temperature of the water dispensed may vary slightly depending on factors such as the ambient temperature and the frequency of use. Regularly checking and adjusting the temperature settings will help ensure that the water dispensed is consistently at the desired temperature.
Once you have adjusted the temperature to your satisfaction, you can proceed to the next step of the calibration process.
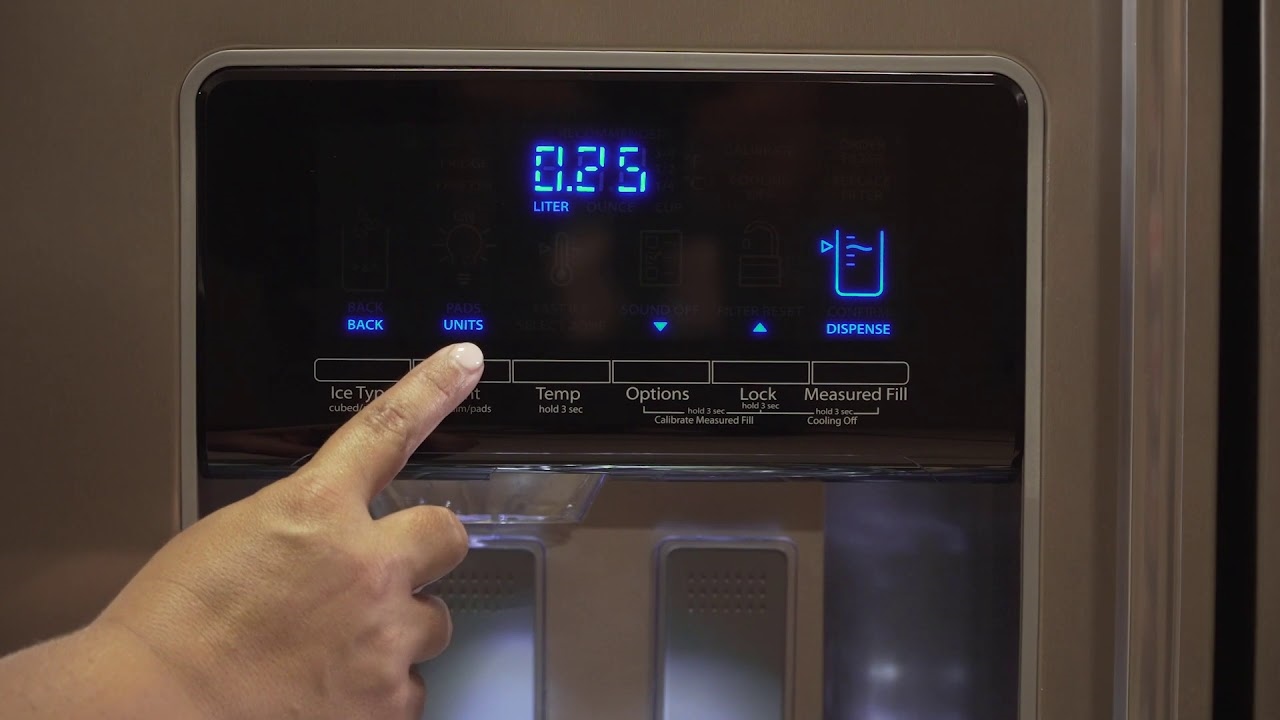
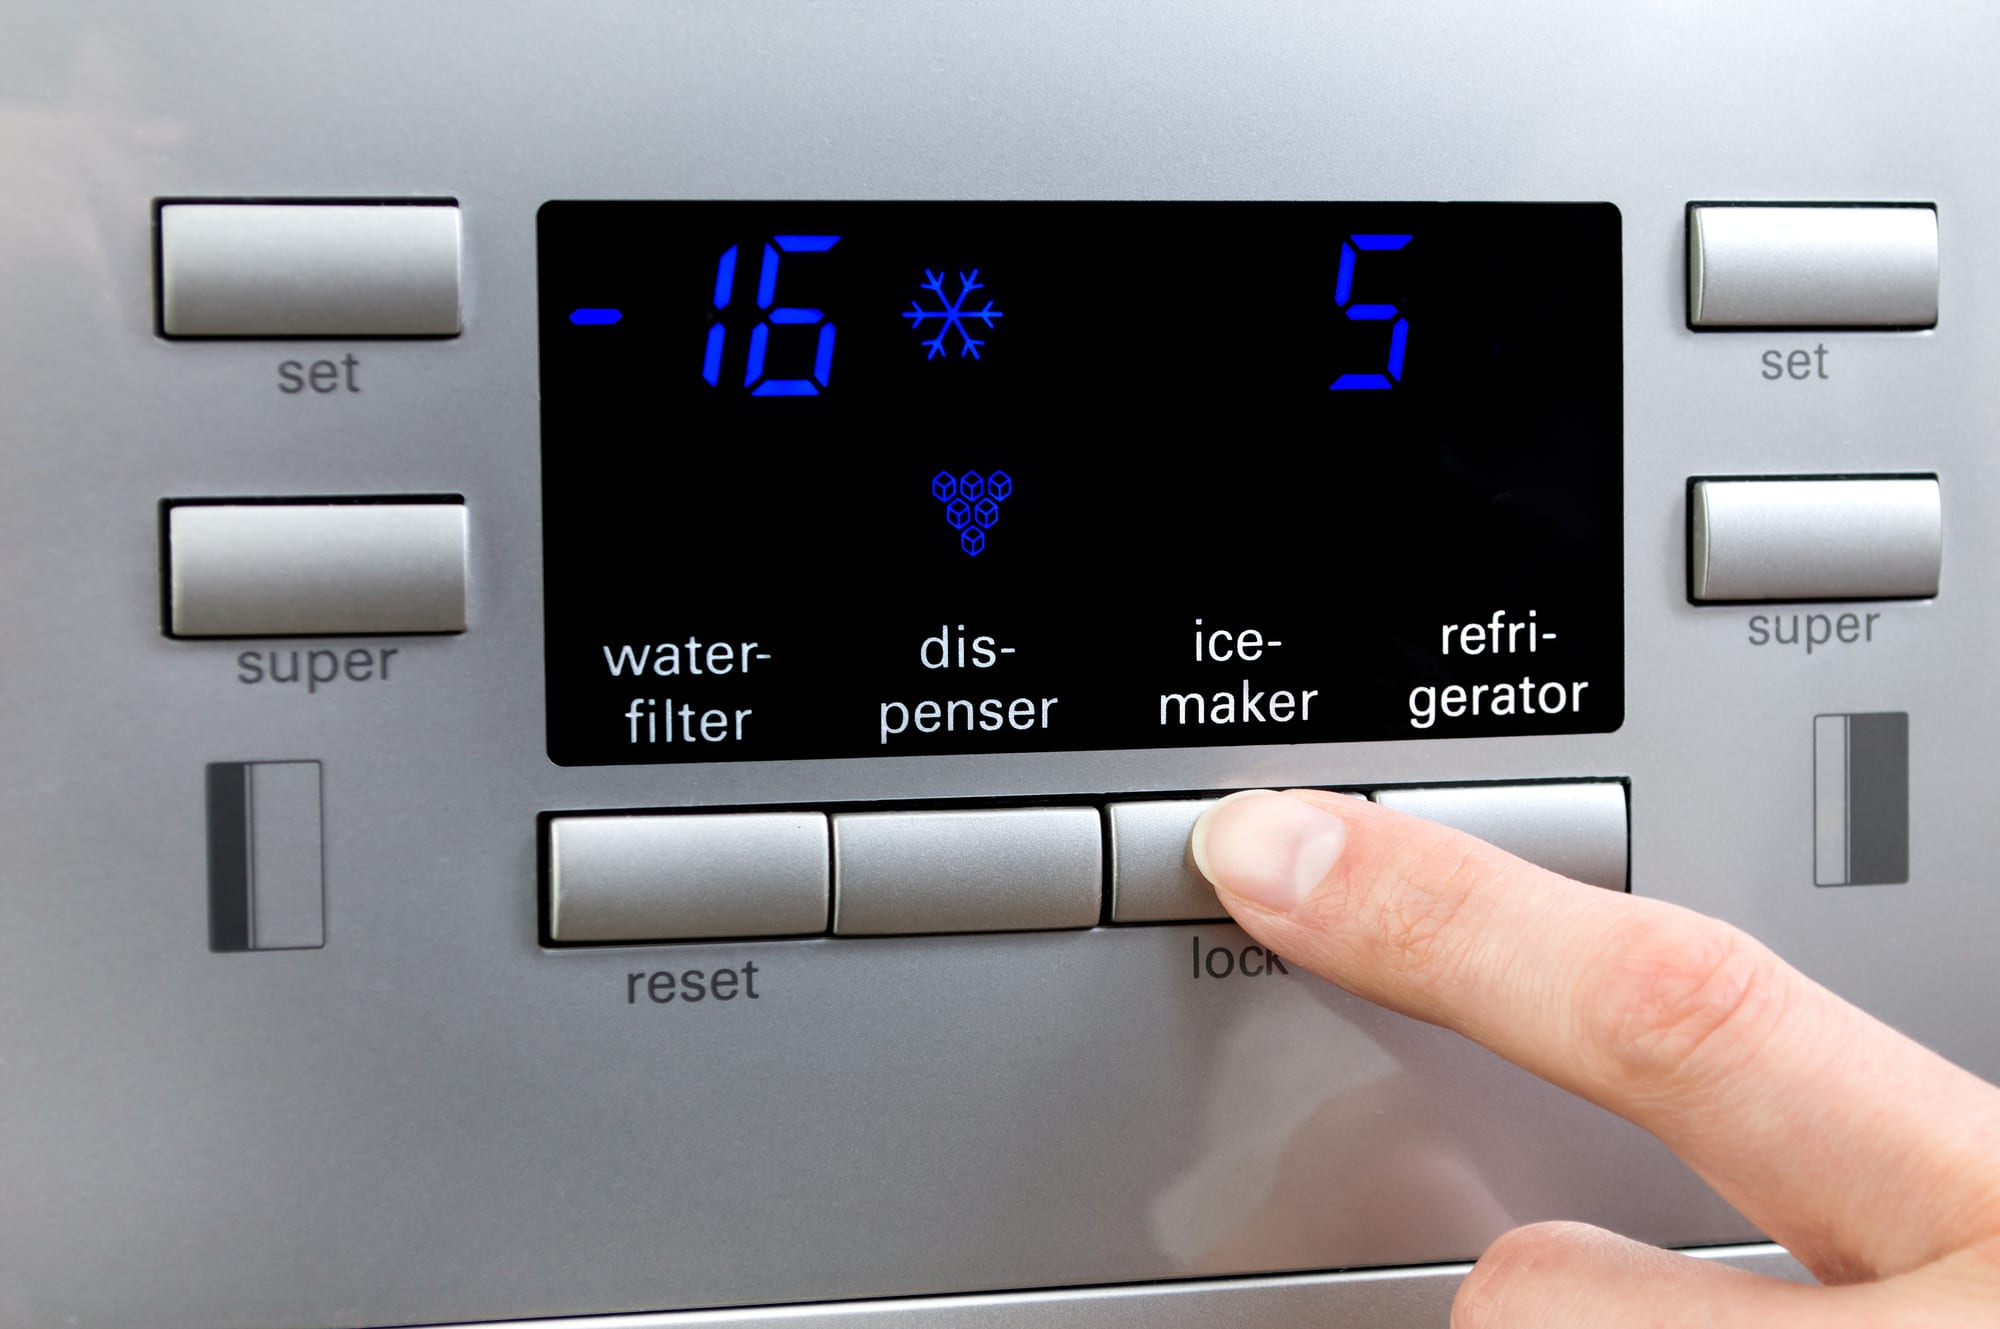
To calibrate a Whirlpool refrigerator water dispenser, locate the calibration button on the control panel and press and hold it for 3 seconds. Follow the specific instructions in the user manual for your model.
Read more: How To Calibrate Whirlpool Washer
Step 3: Checking Water Flow Rate
Once you have adjusted the temperature of your whirlpool refrigerator’s water dispenser, the next step in the calibration process is to check the water flow rate. This step ensures that the dispenser is delivering water at the desired rate. Follow these steps to check the water flow rate:
- Prepare a measuring cup: Get a measuring cup that can hold a sufficient amount of water. Make sure the cup has clear markings to accurately measure the water.
- Place the measuring cup under the dispenser: Position the measuring cup directly under the water dispenser nozzle to collect the water.
- Dispense water: Activate the water dispenser and let the water flow into the measuring cup. Allow the water to flow for about 10 seconds to get an accurate measurement.
- Measure the water: Once the water flow has stopped, carefully remove the measuring cup from under the dispenser and read the indicated water volume. This will give you the flow rate in milliliters or ounces per second.
- Compare the flow rate: Compare the measured flow rate with the desired flow rate. The desired flow rate may vary depending on personal preference. If the measured flow rate is not satisfactory, you may proceed to the next step to calibrate it accordingly.
It is important to note that the flow rate can be affected by various factors such as water pressure and any potential blockages in the dispenser. If the flow rate is significantly different from the desired rate, it may be necessary to clean the dispenser again or check for any obstructions in the water line.
Once you have determined the water flow rate and compared it to your desired rate, you can proceed to the next step of calibrating the water dispenser.
Step 4: Calibrating the Water Dispenser
After checking the water flow rate, the next step in calibrating your whirlpool refrigerator’s water dispenser is to make any necessary adjustments to achieve the desired flow rate. Follow these steps to calibrate the water dispenser:
- Locate the water flow control valve: Depending on the model of your whirlpool refrigerator, the water flow control valve may be located inside the dispenser nozzle or behind the refrigerator. Consult your refrigerator’s manual to find the exact location.
- Adjust the water flow control valve: Using a small adjustable wrench, carefully turn the water flow control valve in small increments. If you need to increase the flow rate, turn the valve counterclockwise. If you need to decrease the flow rate, turn the valve clockwise.
- Test the flow rate: After making adjustments to the water flow control valve, repeat the process of checking the water flow rate as described in Step 3. Collect water in a measuring cup and measure the flow rate to see if it matches your desired rate.
- Continue adjusting if necessary: If the measured flow rate is still not satisfactory, continue making small adjustments to the water flow control valve until you achieve the desired flow rate. Be patient and make incremental changes to avoid overshooting the desired flow rate.
- Repeat the process: After each adjustment to the water flow control valve, test the flow rate and make additional adjustments as needed. Repeat the process until you are satisfied with the flow rate and it matches your desired rate.
Keep in mind that calibrating the water dispenser is a trial-and-error process. It may take some time and patience to achieve the desired flow rate. Ensure that you make small adjustments and test the flow rate after each adjustment to avoid making drastic changes that may result in an undesired flow rate.
Once you have successfully calibrated the water dispenser to achieve the desired flow rate, you can proceed to the final step of testing the dispenser functionality.
Step 5: Testing the Dispenser Functionality
After calibrating the water dispenser of your whirlpool refrigerator, the final step is to test its functionality to ensure that it is working properly. Follow these steps to test the dispenser:
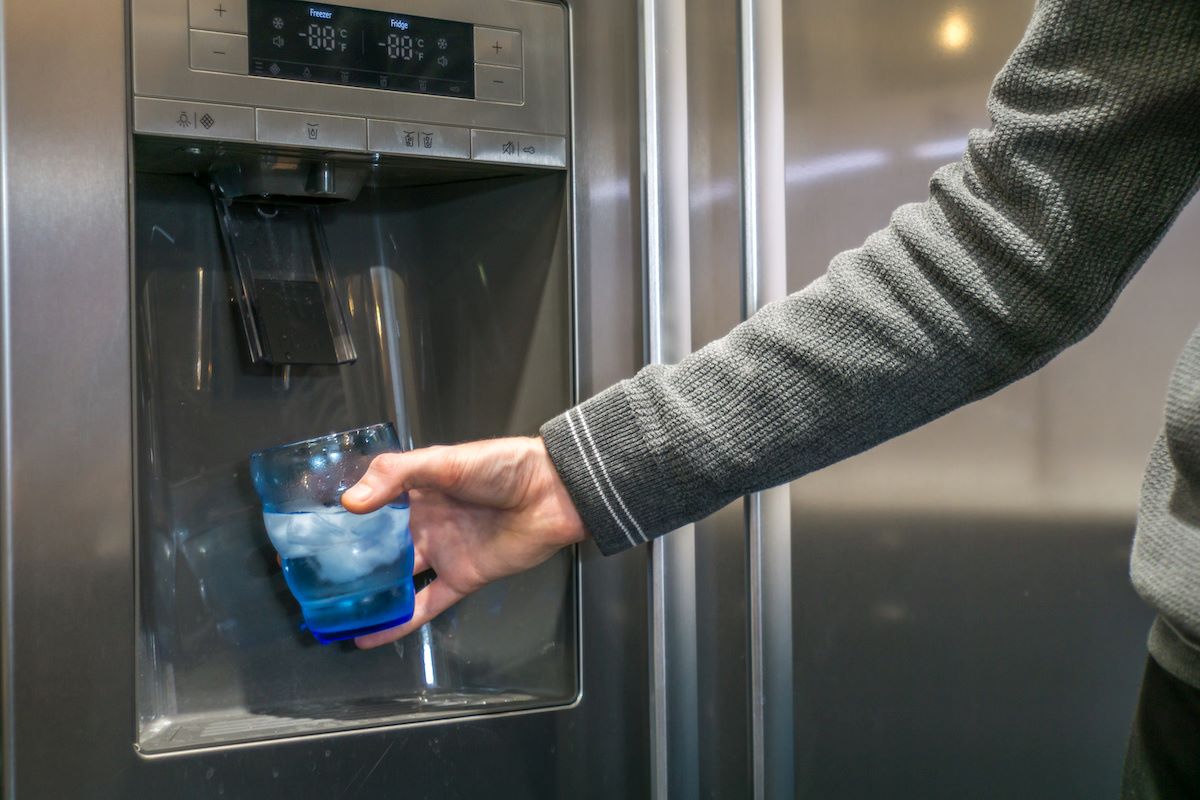
- Prepare a glass or cup: Get a clean glass or cup that you will use to collect the dispensed water.
- Activate the dispenser: Press the dispenser lever or button to activate the water dispenser. Observe the flow of water and ensure that it is smooth and consistent.
- Check for leaks: While the water is being dispensed, inspect the dispenser nozzle and surrounding areas for any signs of leaks. Make sure there are no drips or water pooling around the dispenser.
- Confirm the desired temperature: Place a thermometer in the glass or cup of water as it is being dispensed to confirm that the temperature matches your desired setting. The water should be at the desired temperature range that you calibrated in Step 2.
- Measure the flow rate: Use a measuring cup to collect water from the dispenser for a specific duration, such as 10 seconds. Measure the water volume to check if it aligns with the desired flow rate that you calibrated in Step 4.
- Repeat the testing: Repeat the testing process multiple times to ensure consistent functionality and performance of the water dispenser.
If you encounter any issues during the testing process, such as inconsistent flow rate, leaks, or water not being dispensed at the desired temperature, you may need to retrace the calibration steps and make further adjustments as necessary. It is important to achieve optimal functionality and performance before considering the calibration process complete.
Once you are satisfied with the performance and functionality of the water dispenser, you have successfully completed the calibration process. Enjoy the convenience of a properly calibrated whirlpool refrigerator water dispenser and refreshing, perfectly dispensed water whenever you need it!
Conclusion
Calibrating your whirlpool refrigerator’s water dispenser is a straightforward process that can greatly enhance its performance and functionality. By following the step-by-step guide provided in this article, you can ensure that the dispenser is accurately calibrated, delivering water at the desired temperature and flow rate.
Proper calibration of the water dispenser not only improves the convenience of accessing cold water but also ensures that the water is consistently dispensed at the desired temperature. This is particularly important for those who prefer their water at a specific temperature for drinking, cooking, or other purposes.
Regularly cleaning the water dispenser and checking the flow rate are essential maintenance practices. Obstructions or contaminants in the dispenser can cause improper functioning, affecting both the temperature and flow rate of the dispensed water. By incorporating these steps into your routine maintenance, you can ensure optimal performance and extend the lifespan of your whirlpool refrigerator’s water dispenser.
Remember, the calibration process may require some trial and error to achieve the desired flow rate and temperature. Be patient and make small adjustments as needed, testing the dispenser functionality after each adjustment.
By properly calibrating your whirlpool refrigerator’s water dispenser, you can enjoy the convenience of perfectly dispensed water according to your preferences. Whether you’re using it to hydrate, make a refreshing drink, or prepare meals, a well-calibrated water dispenser ensures a pleasant and hassle-free experience every time.
So take the time to follow the steps in this guide, gather the necessary tools and materials, and give your whirlpool refrigerator’s water dispenser the attention it deserves. With proper calibration, you can enjoy the benefits of a well-functioning water dispenser for years to come.
Frequently Asked Questions about How To Calibrate Whirlpool Refrigerator Water Dispenser
Was this page helpful?
At Storables.com, we guarantee accurate and reliable information. Our content, validated by Expert Board Contributors, is crafted following stringent Editorial Policies. We're committed to providing you with well-researched, expert-backed insights for all your informational needs.

0 thoughts on “How To Calibrate Whirlpool Refrigerator Water Dispenser”