Articles
How To Fix Refrigerator Water Dispenser Leak
Modified: March 1, 2024
Discover effective solutions to fix a refrigerator water dispenser leak with our informative articles. Get expert advice and stop the annoying leak today!
(Many of the links in this article redirect to a specific reviewed product. Your purchase of these products through affiliate links helps to generate commission for Storables.com, at no extra cost. Learn more)
Introduction
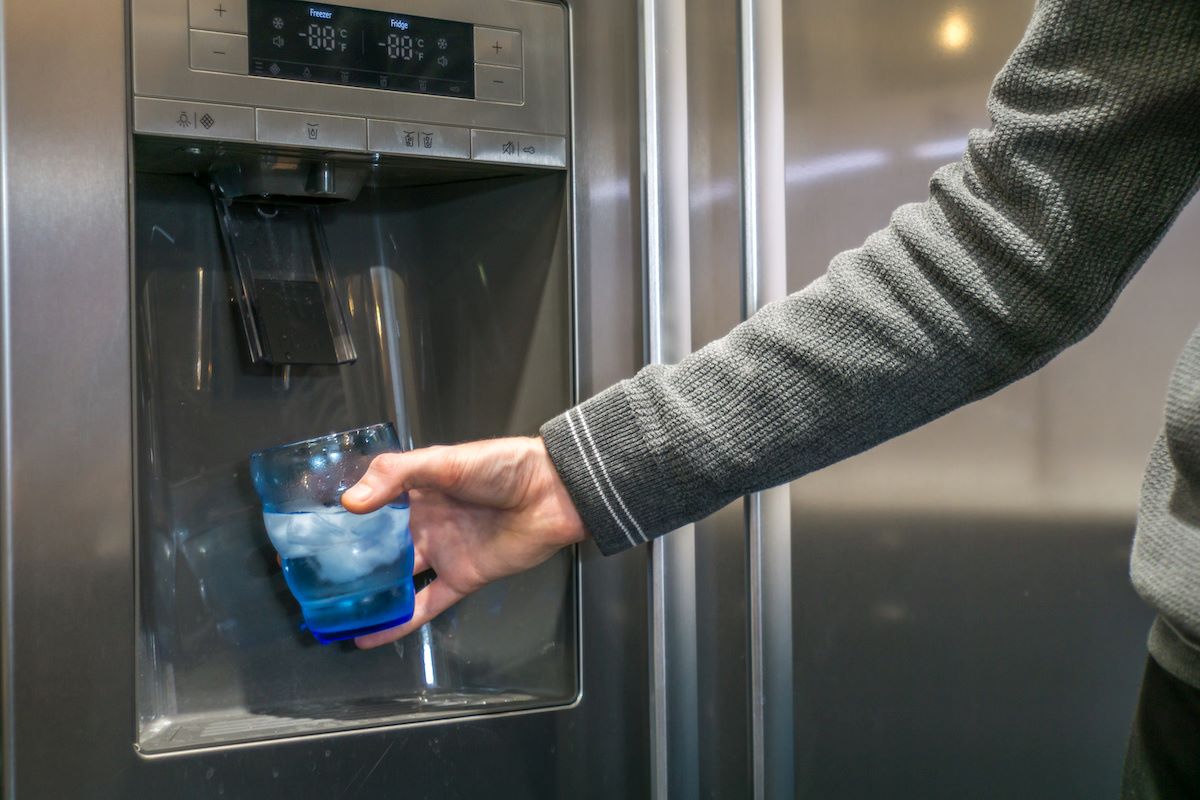
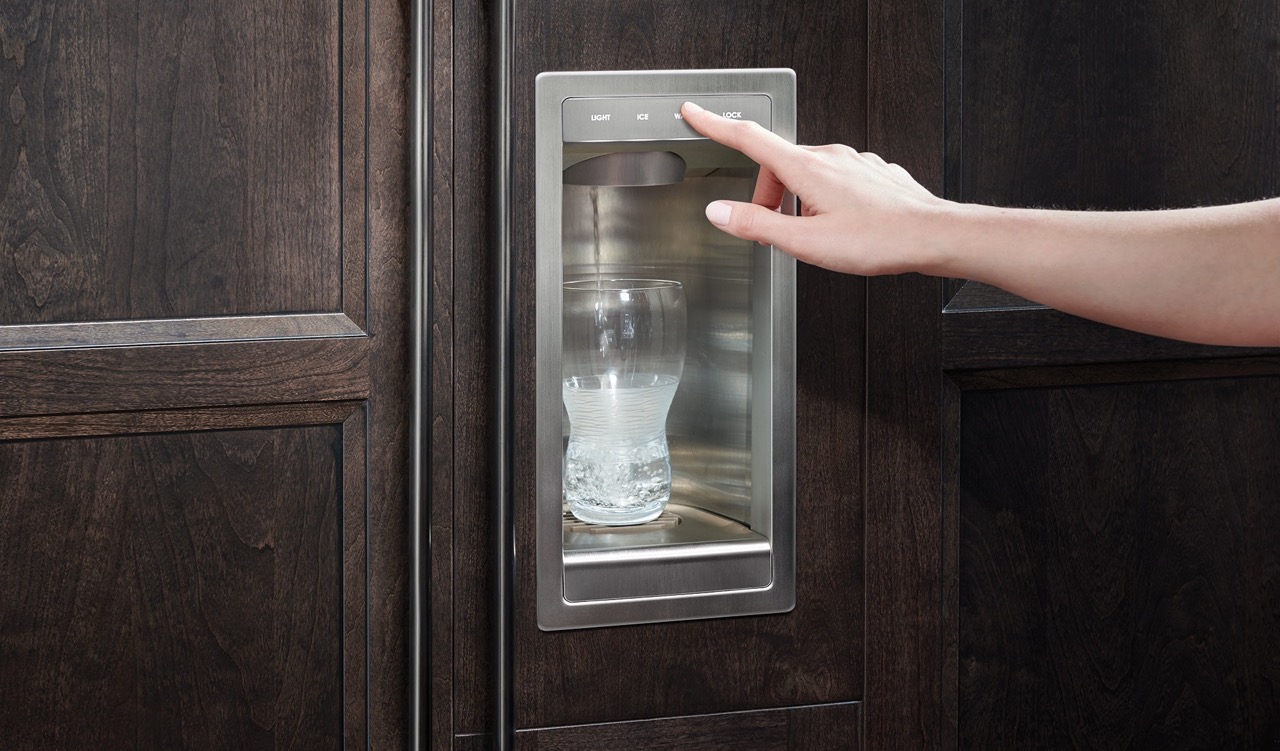
A refrigerator water dispenser is a convenient feature that allows you to dispense chilled, filtered water at your convenience. However, it can be frustrating when you notice a leak coming from the dispenser, causing water to drip onto your kitchen floor or creating a puddle inside your refrigerator. Not only is this inconvenient, but it can also lead to water damage and potential mold growth if left unresolved.
In this article, we will explore the common causes of refrigerator water dispenser leaks and provide you with a comprehensive guide on how to fix them. We will also share some cleaning and maintenance tips to help prevent future leaks from occurring.
So, if you’re tired of dealing with a leaky refrigerator water dispenser, let’s dive in and find out how you can fix the issue and enjoy a hassle-free water dispensing experience.
Key Takeaways:
- Identify and fix common causes of refrigerator water dispenser leaks, such as loose connections, faulty water inlet valves, and damaged water lines, to prevent water damage and enjoy hassle-free water dispensing.
- Regular cleaning, maintenance, and monitoring of the dispenser area, water lines, and water filter can help prevent future leaks and ensure optimal performance of your refrigerator water dispenser.
Common Causes of Refrigerator Water Dispenser Leaks
A refrigerator water dispenser can develop leaks due to various reasons. Identifying the cause of the leak is crucial in order to fix it effectively. Here are some common causes of refrigerator water dispenser leaks:
- Improper Installation: If your refrigerator water dispenser was not installed correctly, it can lead to leaks. The water supply line may not be securely connected, causing water to seep out.
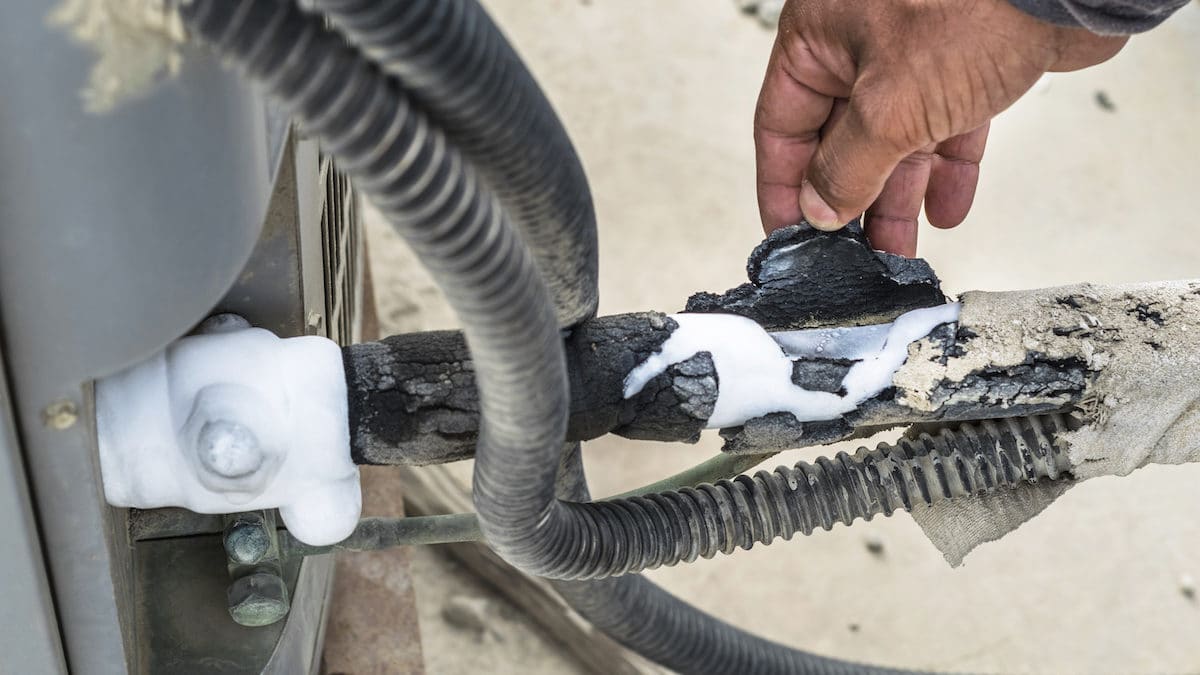
- Loose or Damaged Water Lines: Over time, the water lines that connect to the dispenser can become loose or damaged. This can result in leaks where the water lines connect to the dispenser or the water supply.
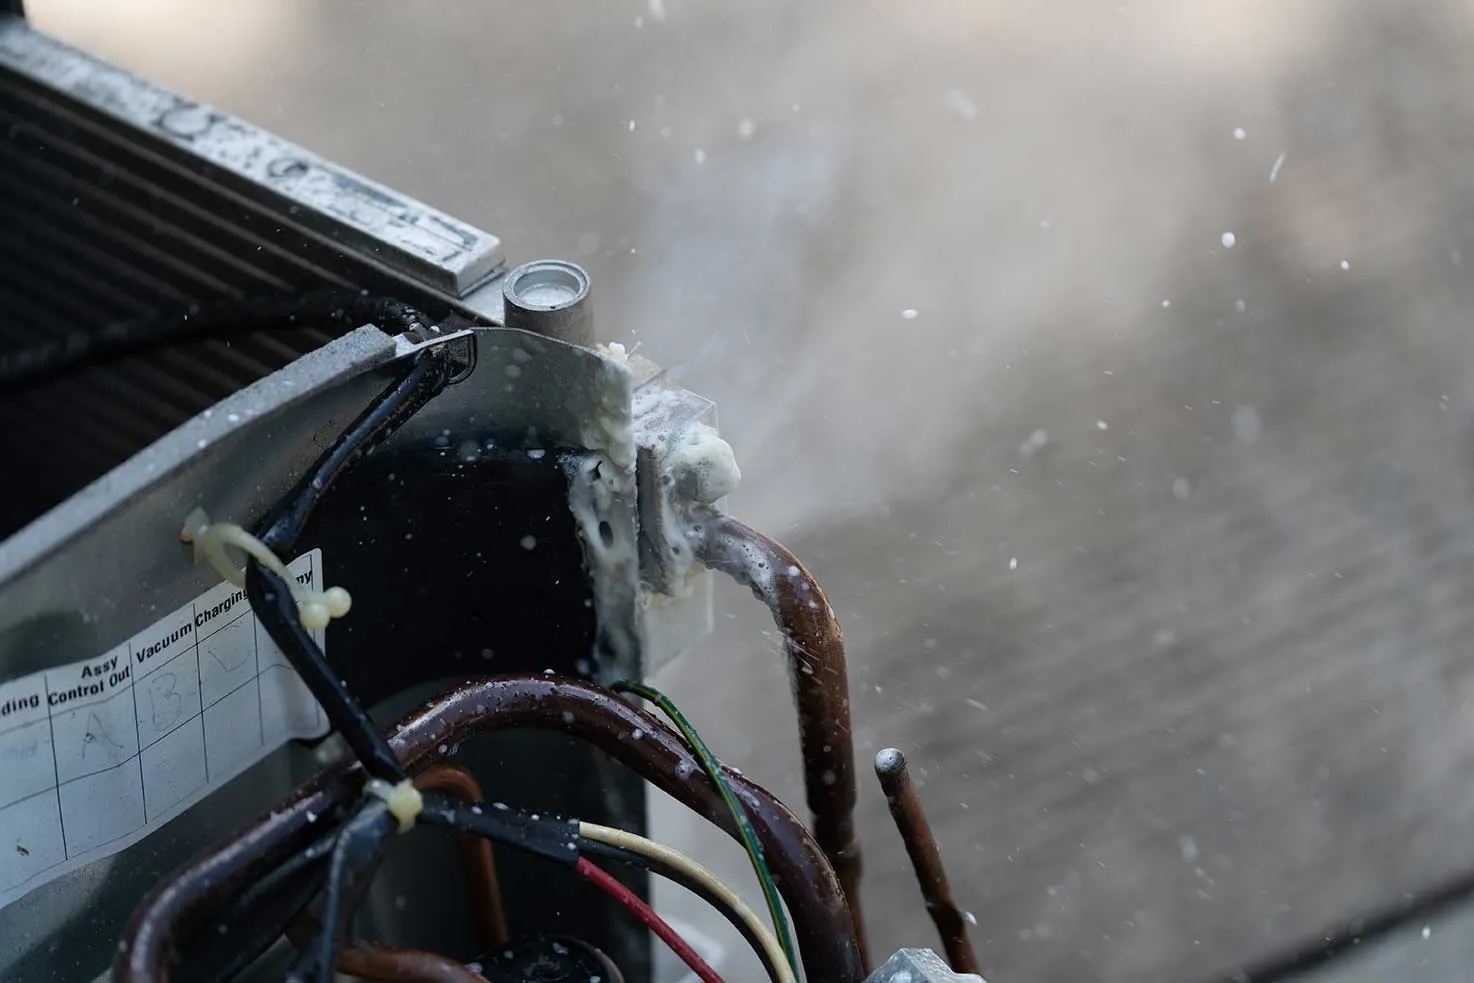
- Worn Out or Defective Water Inlet Valve: The water inlet valve controls the flow of water into the water dispenser. If the valve is worn out or defective, it may not shut off properly, causing water to continually flow and potentially leak.
- Malfunctioning Water Filter: A clogged or malfunctioning water filter can cause water pressure to build up, leading to leaks. It’s important to replace the water filter regularly to prevent this issue.
- Cracked or Damaged Water Reservoir: The water reservoir holds the water that is dispensed from the refrigerator. If it develops cracks or gets damaged, it can result in water leaks.
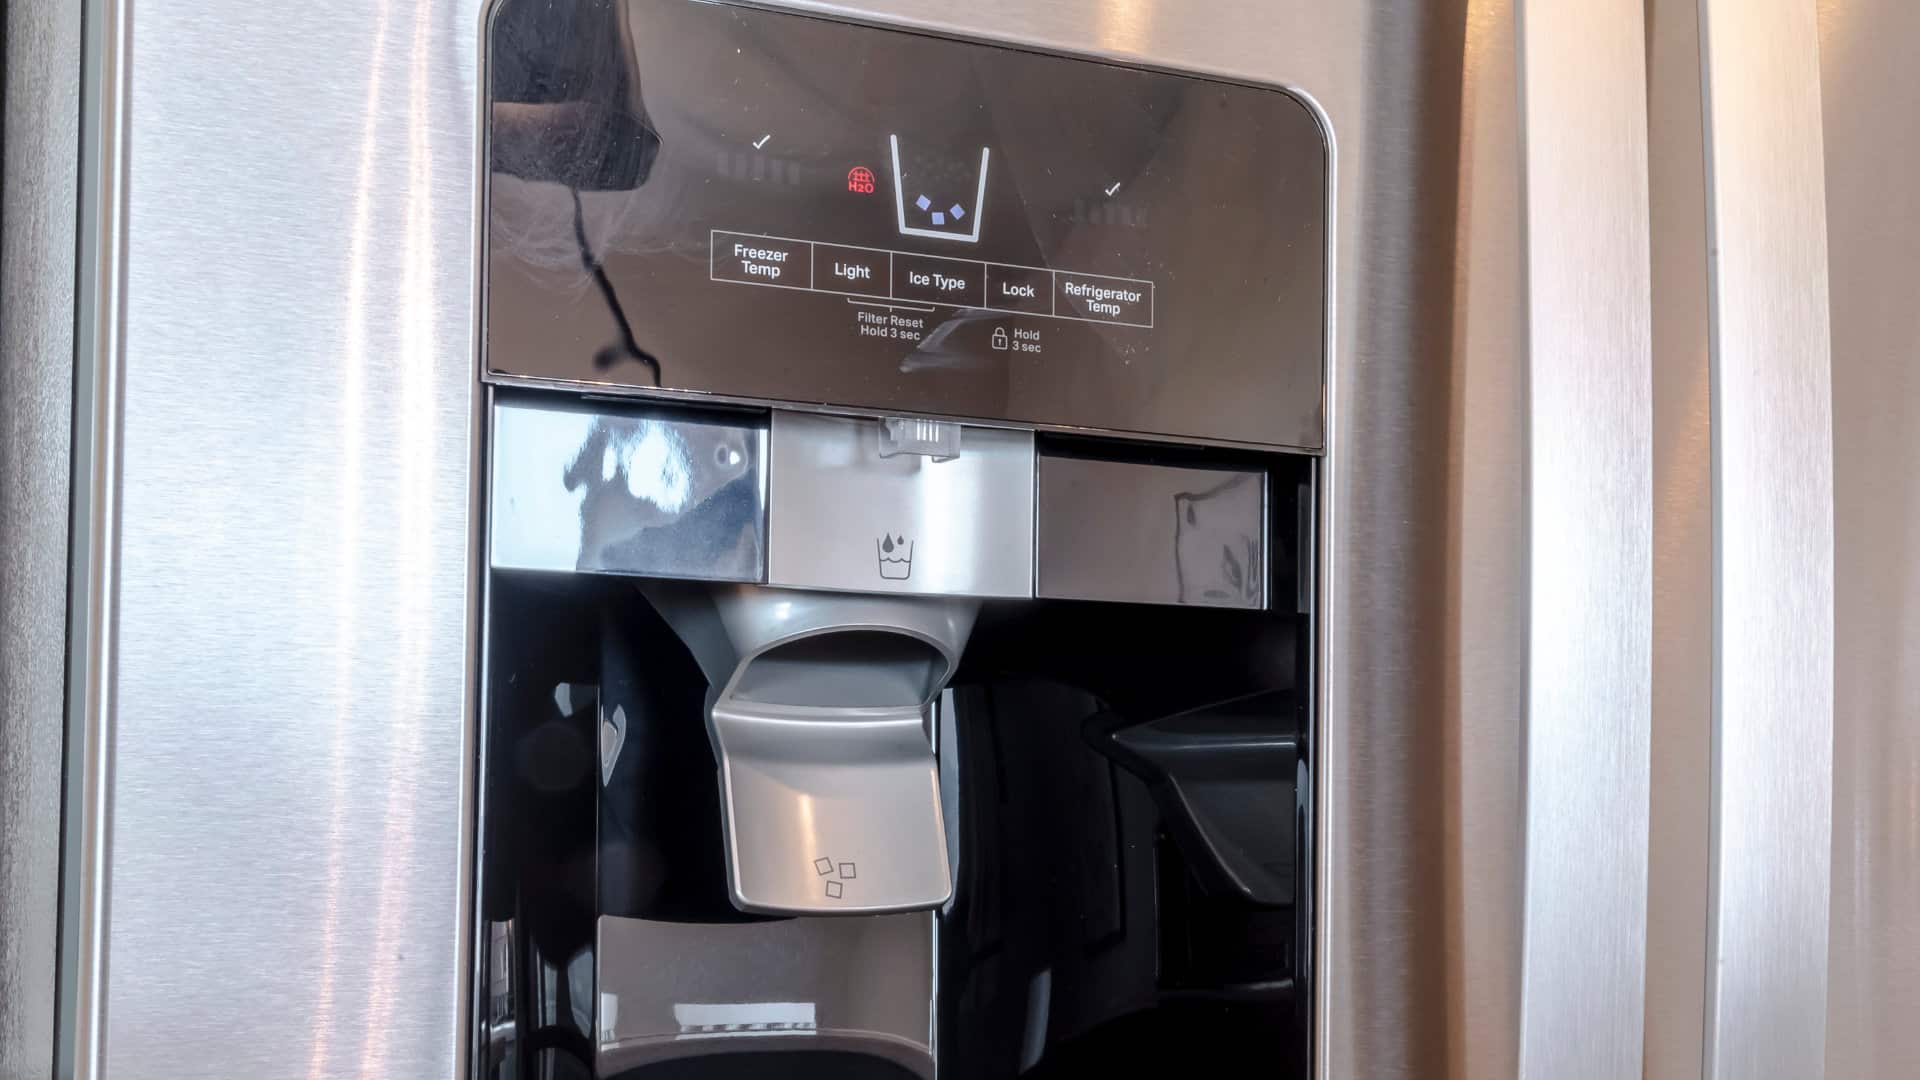
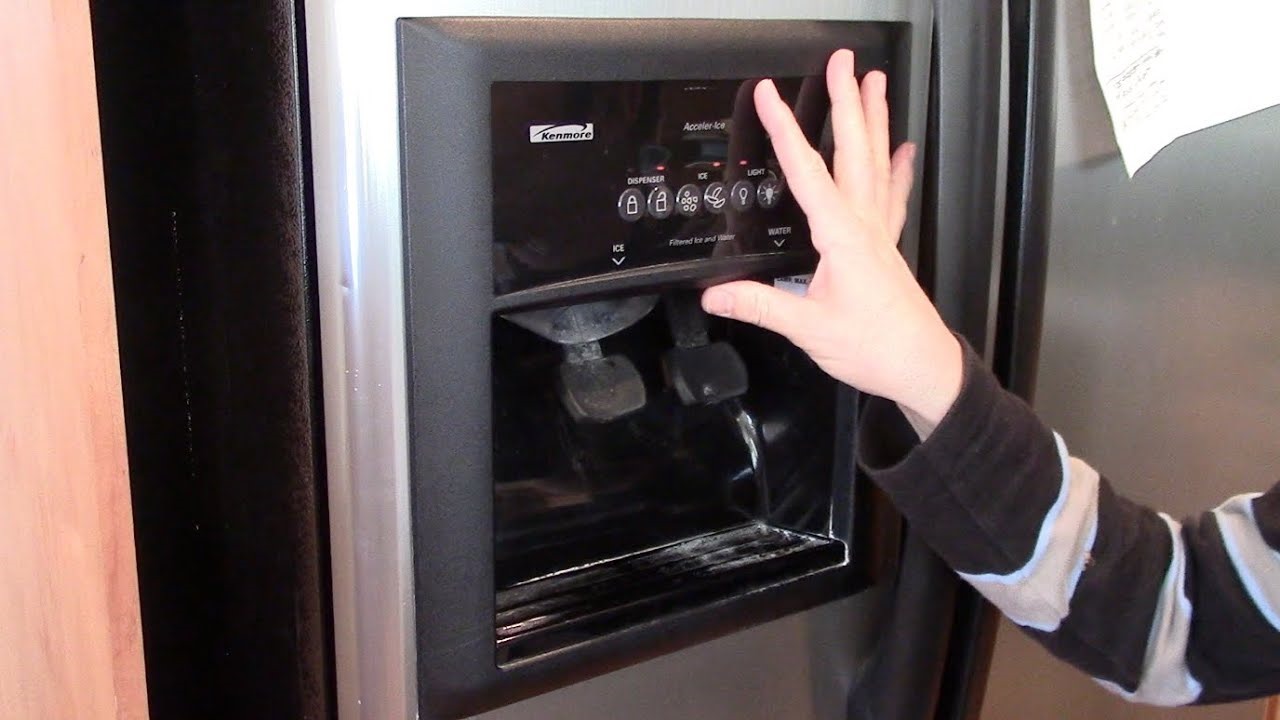
- Faulty Dispenser Flap: The dispenser flap is the part that opens and closes when you press the dispenser lever. If the flap is faulty or does not seal properly, it can cause water to leak out.
These are just a few of the common causes of refrigerator water dispenser leaks. It’s important to diagnose the specific cause of the leak in order to effectively fix the issue.
Tools and Materials Needed
Before you proceed with fixing a refrigerator water dispenser leak, it’s important to gather the necessary tools and materials to ensure a smooth and successful repair. Here’s a list of what you’ll need:
- Adjustable wrench: This tool will be useful for loosening and tightening connections.
- Pliers: Pliers are handy for gripping and tightening small components.
- Screwdriver set: A set of screwdrivers will be needed to remove any screws holding the dispenser unit in place.
- Teflon tape: Teflon tape is used to create a watertight seal on threaded connections.
- Replacement water lines: If the water lines are damaged or worn out, you may need to replace them with new ones.
- Water inlet valve: If the water inlet valve is defective, you’ll need to purchase a replacement valve.
- Water filter: If you suspect that a faulty water filter is causing the leak, it’s a good idea to have a replacement filter on hand.
- Cleaning supplies: You may need a cloth, sponge, or mild cleaning solution to clean the dispenser area.
Having these tools and materials ready before you begin the repair process will help ensure that you have everything you need to fix the refrigerator water dispenser leak.
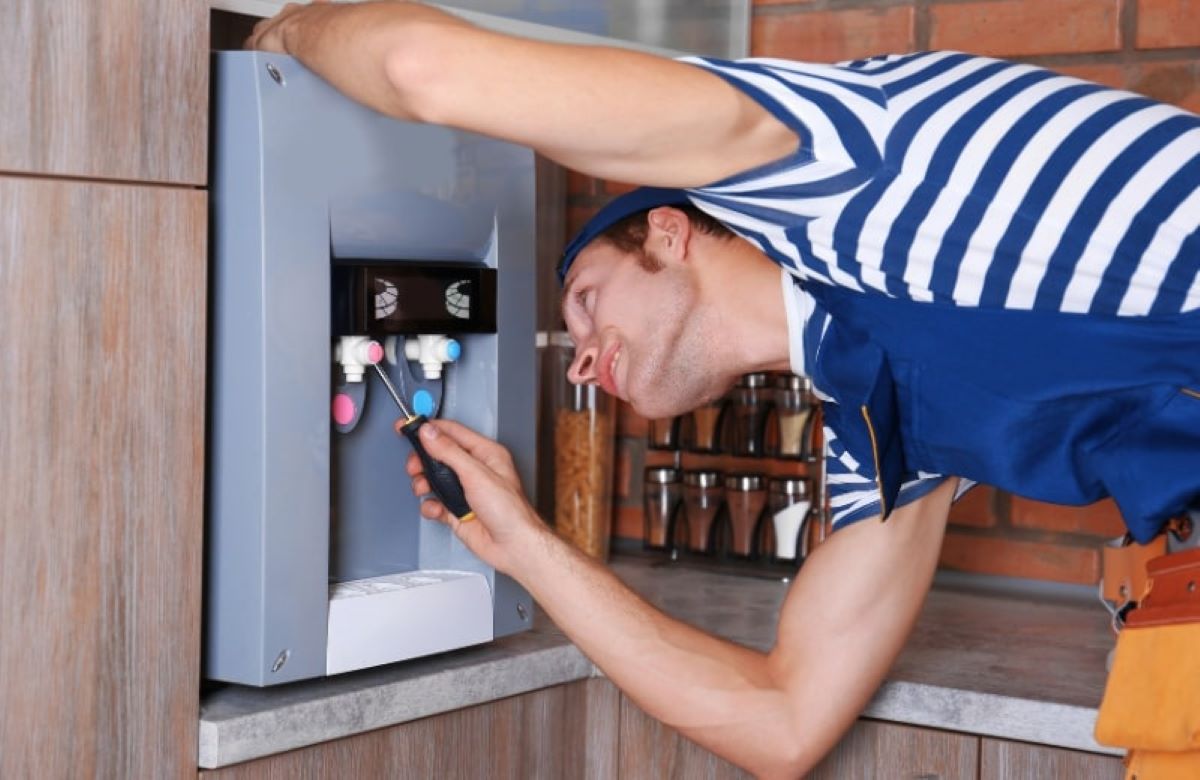
Check the water supply line for any leaks or damage. If there are no visible issues, the problem may be with the water inlet valve or the dispenser system, and it’s best to call a professional for repair.
Step-by-Step Guide to Fixing a Refrigerator Water Dispenser Leak
Now that you have the necessary tools and materials, let’s walk through the step-by-step process of fixing a refrigerator water dispenser leak:
- Turn off the water supply: Before you begin any repairs, locate the shut-off valve for the water supply line to the refrigerator and turn it off. This will prevent any further water flow while you work on the dispenser.
- Unplug the refrigerator: For safety purposes, unplug the refrigerator from the power source before accessing the dispenser area.
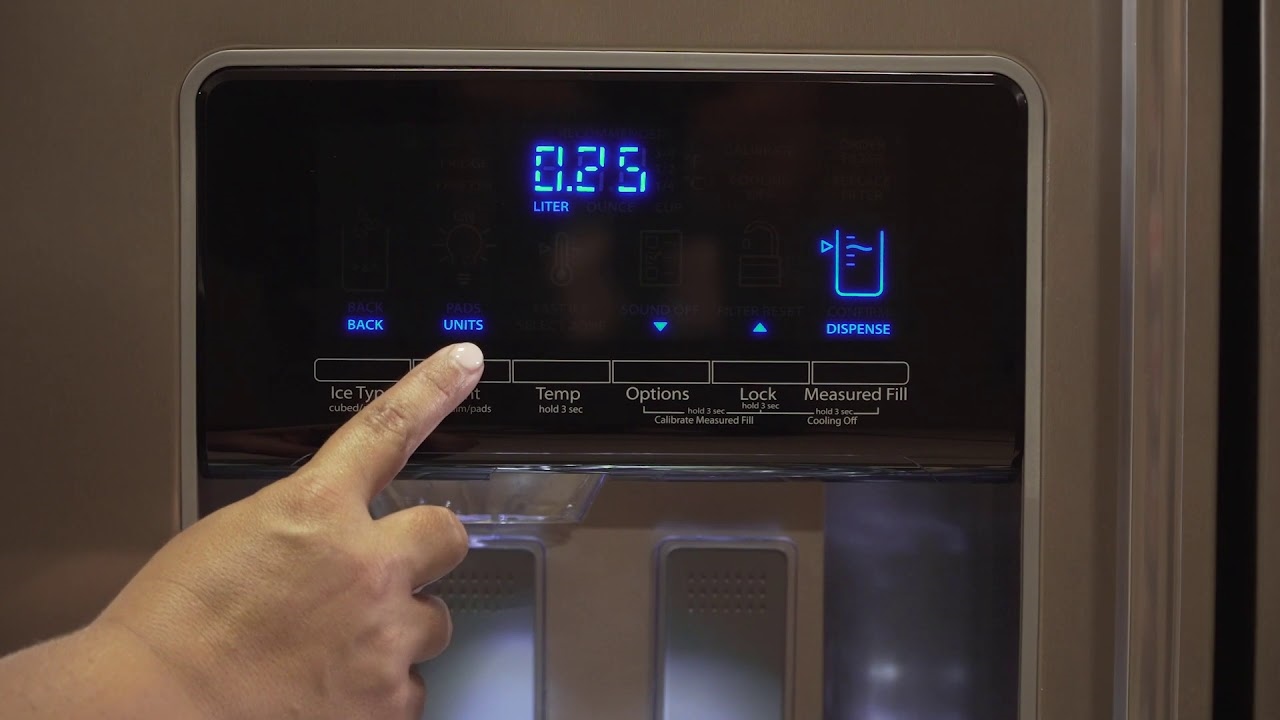
- Locate the dispenser components: Open the refrigerator door and locate the dispenser components. This may involve removing a panel or accessing the dispenser from the front of the refrigerator.
- Inspect for visible leaks: Carefully examine the dispenser area for any visible leaks or damaged components. Look for cracks, loose connections, or signs of water accumulation.
- Tighten loose connections: Using an adjustable wrench or pliers, tighten any loose connections you find. This includes connections at the water inlet valve, water lines, and dispenser unit.
- Replace damaged water lines: If you discover any damaged or worn-out water lines, remove them and replace them with new ones. Be sure to cut the new lines to the appropriate length and securely attach them to the dispenser and water inlet valve.
- Install a new water inlet valve: If the water inlet valve is faulty, carefully remove the old valve and replace it with a new one. Follow the manufacturer’s instructions for installation.
- Replace the water filter: If you suspect that the water filter is causing the leak, replace it with a new one. Be sure to follow the filter replacement instructions specific to your refrigerator model.
- Check the dispenser flap: Inspect the dispenser flap and ensure it opens and closes properly. If it’s damaged or doesn’t seal correctly, consider replacing it to prevent future leaks.
- Turn on the water supply: Once you have completed the necessary repairs, turn on the water supply to the refrigerator and check for any leaks. Monitor the dispenser area for a period of time to ensure that the leak has been resolved.
- Clean the dispenser area: Use a cloth, sponge, or mild cleaning solution to clean the dispenser area and remove any residue or stains caused by the leak.
By following these step-by-step instructions, you should be able to address and fix the leak in your refrigerator water dispenser. Remember to always exercise caution and refer to your refrigerator’s user manual or contact a professional if you encounter any difficulties or if the issue persists.
Cleaning and Maintenance Tips
Prevention is key to avoiding future refrigerator water dispenser leaks. Here are some cleaning and maintenance tips to keep your dispenser in good working condition:
- Regularly clean the dispenser area: Wipe down the dispenser area with a damp cloth or sponge regularly to remove any spills or buildup. This will help prevent clogs and potential leaks.
- Replace the water filter as recommended: Follow the manufacturer’s instructions for replacing the water filter. Typically, filters should be replaced every 6 months to ensure optimal performance and prevent blockages.
- Inspect the water lines: Periodically check the water lines for any signs of wear, kinks, or damage. If you notice any issues, replace the water lines to prevent leaks.
- Monitor water pressure: If you notice a decrease in water pressure or any irregularities, it could be a sign of a clogged or malfunctioning water filter. Replace the filter to restore proper water flow and prevent leaks.
- Keep the dispenser area dry: After dispensing water, make sure to wipe any excess moisture or spills from the dispenser area. This will help prevent water from seeping into the surroundings and causing leaks.
- Check the dispenser flap seal: Inspect the dispenser flap seal regularly to ensure it is intact and seals properly. If it is worn or damaged, consider replacing it to prevent leaks.
- Perform routine maintenance: Refer to your refrigerator’s user manual for any specific maintenance tasks recommended by the manufacturer. This may include cleaning certain components or inspecting internal parts.
- Monitor for leaks: Keep an eye out for any signs of leaks around the dispenser area. If you notice any, address them promptly to prevent further damage.
By implementing these cleaning and maintenance tips, you can prolong the life of your refrigerator water dispenser and minimize the chances of experiencing leaks in the future.
Conclusion
A refrigerator water dispenser leak can be a frustrating issue, but with the right knowledge and guidance, it can be resolved effectively. By understanding the common causes of leaks and following the step-by-step guide provided in this article, you can tackle the problem and enjoy a leak-free water dispensing experience.
Remember to gather the necessary tools and materials before starting the repair process, and always prioritize safety by unplugging the refrigerator and turning off the water supply. Inspect the dispenser area for any visible leaks or damaged components, and address them accordingly by tightening connections, replacing water lines, installing a new water inlet valve, or replacing the water filter if necessary.
Additionally, practicing regular cleaning and maintenance habits can help prevent future leaks. Be sure to clean the dispenser area regularly, replace the water filter as recommended, inspect the water lines periodically, and monitor the dispenser flap seal. By following these cleaning and maintenance tips, you can keep your refrigerator water dispenser in optimal condition.
If you encounter any difficulties or if the leak persists after attempting these troubleshooting steps, it’s always a good idea to seek professional assistance. They can provide expert guidance and ensure that the issue is addressed properly.
Remember, a properly functioning refrigerator water dispenser not only provides convenience but also helps maintain the overall efficiency of your refrigerator. So, take the necessary steps to fix any leaks and keep your dispenser in top shape. Enjoy refreshing, leak-free water whenever you need it!
Frequently Asked Questions about How To Fix Refrigerator Water Dispenser Leak
Was this page helpful?
At Storables.com, we guarantee accurate and reliable information. Our content, validated by Expert Board Contributors, is crafted following stringent Editorial Policies. We're committed to providing you with well-researched, expert-backed insights for all your informational needs.


0 thoughts on “How To Fix Refrigerator Water Dispenser Leak”