Articles
How To Clean Ge Refrigerator Water Dispenser
Modified: August 27, 2024
Learn effective techniques for cleaning the water dispenser of your GE refrigerator with these helpful articles. Keep your dispenser germ-free and functioning optimally.
(Many of the links in this article redirect to a specific reviewed product. Your purchase of these products through affiliate links helps to generate commission for Storables.com, at no extra cost. Learn more)
Introduction
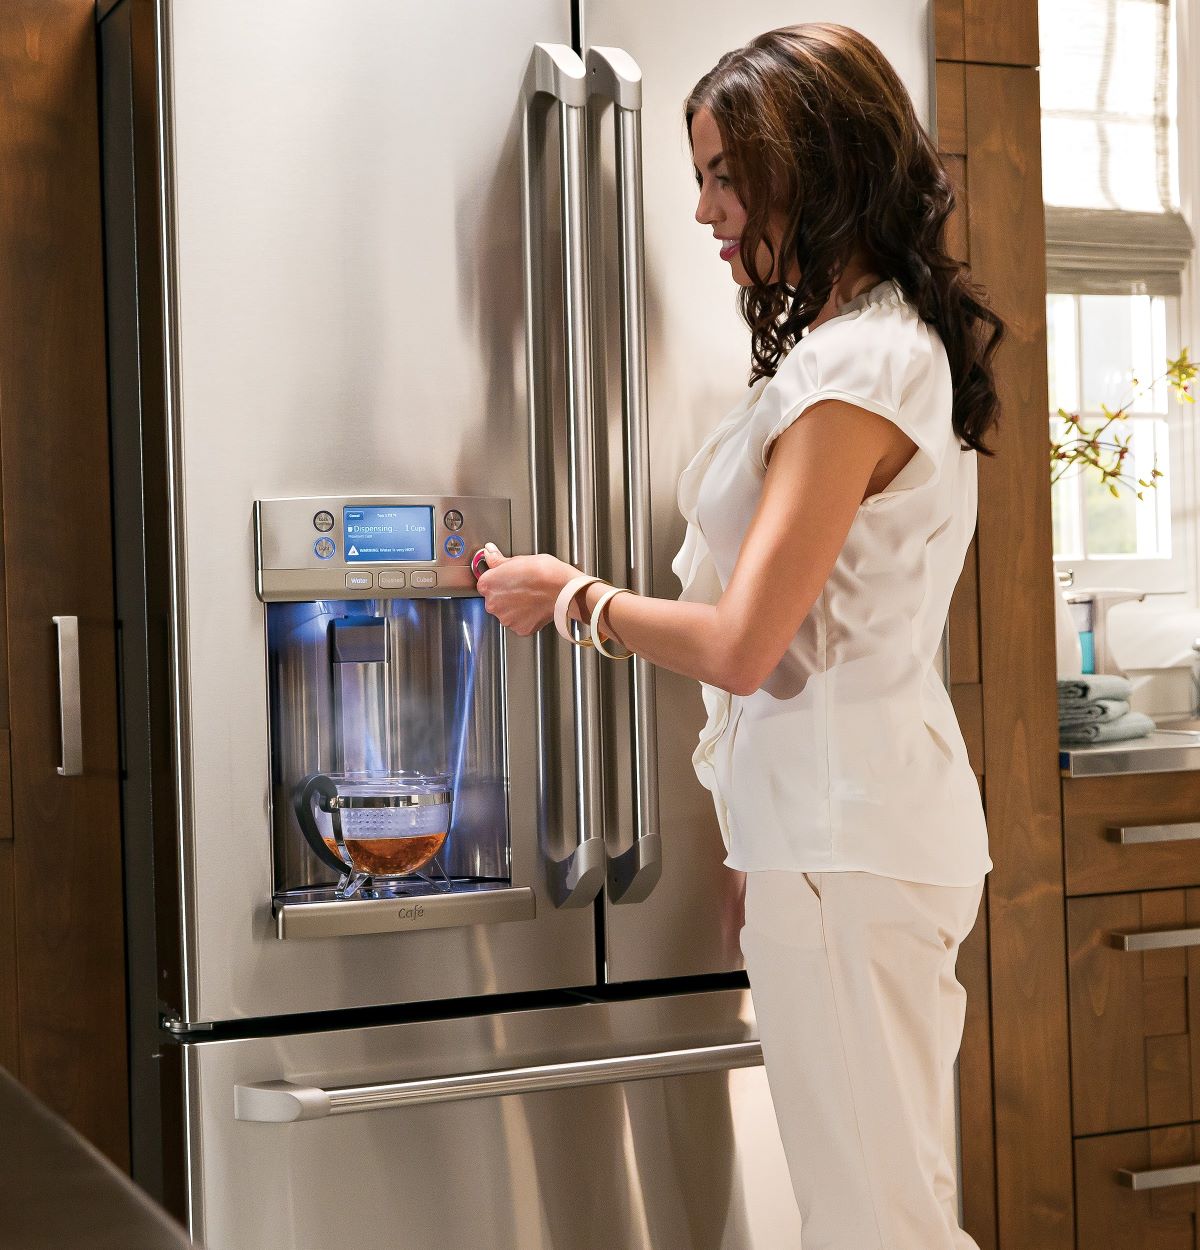
A refrigerator water dispenser is a convenient feature that allows you to access refreshing, filtered water with just a press of a button or a lever. However, over time, mineral deposits, bacteria, and other impurities can build up in the water dispenser, affecting its performance and water quality. Regular cleaning of the water dispenser is essential to ensure clean and safe drinking water.
In this article, we will guide you through the process of cleaning your GE refrigerator water dispenser. By following these simple steps, you can maintain the functionality of your water dispenser and ensure that you and your family always have access to clean and refreshing water.
Key Takeaways:
- Regularly cleaning your GE refrigerator water dispenser with mild dish soap or a specialized cleaner, warm water, and gentle scrubbing tools helps maintain clean and safe drinking water for you and your family.
- Turning off the water supply, removing and cleaning the water dispenser tray, drip tray, water filter, nozzle, and button/lever, and testing the dispenser after cleaning are essential steps to ensure the proper functionality and cleanliness of your GE refrigerator water dispenser.
Supplies Needed
Before you begin cleaning your GE refrigerator water dispenser, gather the following supplies:
- Mild dish soap or water dispenser cleaner
- Warm water
- Clean cloth or sponge
- Soft-bristle brush or toothbrush
- Paper towels or clean, lint-free cloth
- Vinegar (optional)
Having these supplies ready will make the cleaning process more efficient and effective.
Step 1: Prepare the Cleaning Solution
The first step in cleaning your GE refrigerator water dispenser is to prepare a cleaning solution. You have a couple of options for this:
- Mild dish soap: Mix a small amount of mild dish soap with warm water. This solution is gentle yet effective in removing dirt and grime from the dispenser.
- Water dispenser cleaner: If you prefer a specialized cleaner, follow the instructions on the product label to create the appropriate cleaning solution.
Choose whichever option suits your preference and the level of cleanliness needed for your water dispenser. Remember to use only mild cleaning products that are safe for food contact surfaces.
Note: If your water dispenser has a strong odor or is heavily soiled, you can enhance the cleaning solution by adding a small amount of vinegar to help eliminate any unpleasant smells or stubborn stains.
Step 2: Turn Off the Water Supply
Before you begin cleaning the GE refrigerator water dispenser, it is important to turn off the water supply. This ensures that no water will flow while you are working on the dispenser, minimizing the risk of spills or accidents.
Locate the water shut-off valve near the back of your refrigerator. Depending on the model, it may be a switch or a knob. Turn it off clockwise to shut off the water supply to the dispenser.
If you are unsure where the shut-off valve is located, refer to your refrigerator’s user manual for guidance.
Once the water supply is turned off, you can proceed with confidence knowing that no water will be dispensed during the cleaning process.
Step 3: Remove the Water Dispenser Tray and Drip Tray
Next, you will need to remove the water dispenser tray and the drip tray. These parts can accumulate moisture, dirt, and residue over time, so it’s important to clean them thoroughly.
To remove the water dispenser tray, gently lift it up and pull it towards you. It should easily come off the dispenser. Set it aside for cleaning.
The drip tray is located underneath the water dispenser and is designed to catch any drips or spills. Slide the drip tray forward to remove it from its position. Be careful as it may be full of water or other liquids.
Once you’ve removed the water dispenser tray and the drip tray, you can proceed to clean them using the cleaning solution prepared in Step 1.
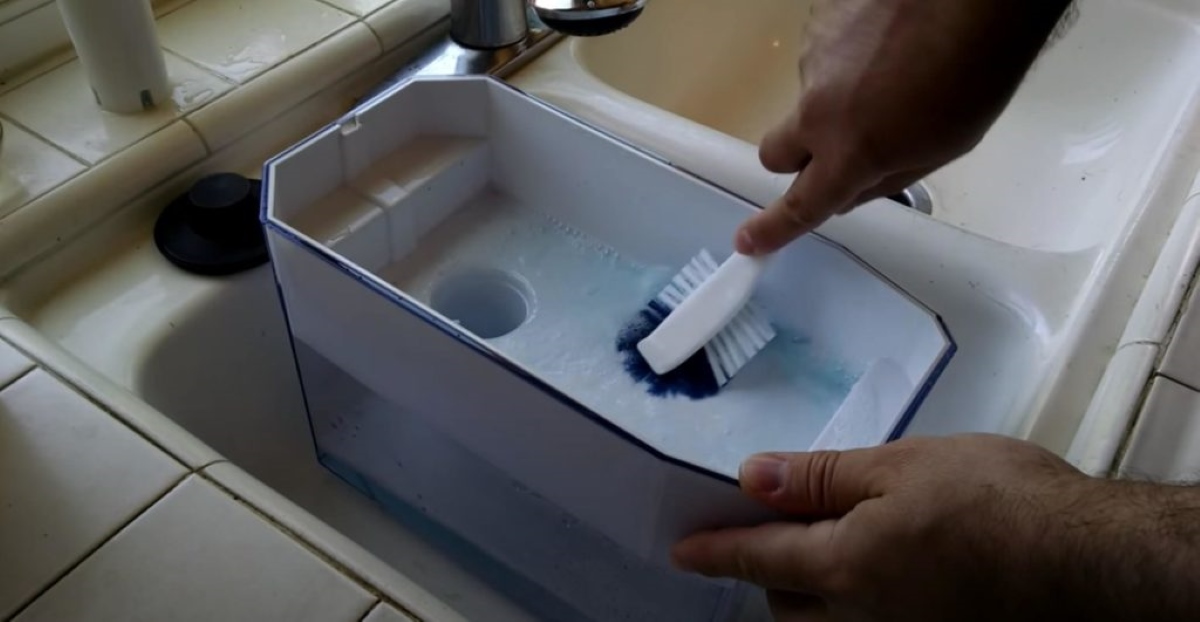
Soak the trays in a sink or basin filled with warm water and the cleaning solution. Let them sit for a few minutes to loosen any built-up dirt or residue. Then, use a cloth or a soft-bristle brush to scrub away the dirt. Pay attention to the corners and crevices where grime tends to accumulate.
Read more: How To Clean A Vitapur Water Dispenser
Step 4: Remove and Clean the Water Filter (If Applicable)
If your GE refrigerator is equipped with a water filter, it is important to regularly clean and maintain it to ensure optimal performance of your water dispenser.
Start by referring to your refrigerator’s user manual to locate the water filter and understand how it can be removed. Different models may have different methods for removing the water filter.
Once you have identified the water filter, carefully remove it according to the manufacturer’s instructions. Some filters may require twisting or gently pulling to detach them from the housing.
After removing the water filter, inspect it for any visible debris or sediment. If you notice any significant buildup, gently rinse the filter under running water to remove the impurities. Be cautious not to use any cleaning agents or harsh scrubbers, as these can damage the filter.
If the water filter has reached its recommended lifespan based on the manufacturer’s guidelines, it may be time to replace it with a new one. Check the instructions or consult your refrigerator’s user manual for guidance on replacing the water filter.
Once the water filter has been cleaned or replaced, you can proceed to the next step to continue cleaning the rest of the water dispenser components.
Step 5: Clean the Water Dispenser Tray and Drip Tray
Now that you have removed the water dispenser tray and drip tray, it’s time to give them a thorough cleaning. These components can accumulate dirt, debris, and bacteria, so regular cleaning is essential for maintaining a hygienic water dispenser.
Using the cleaning solution prepared in Step 1, soak the water dispenser tray and drip tray in a sink or basin filled with warm water. Allow them to sit for a few minutes to loosen any stubborn residue.
After soaking, use a soft cloth or sponge to scrub the trays, paying attention to any grooves or crevices where dirt may be trapped. For more stubborn stains or residue, you can use a soft-bristle brush or a toothbrush to gently scrub the areas.
Rinse the trays thoroughly under running water to remove any remaining residue or cleaning solution. Inspect them to ensure they are clean and free of debris.
Once cleaned, use a clean, lint-free cloth or paper towels to dry the water dispenser tray and drip tray before reassembling them back into the water dispenser.
Cleaning the water dispenser tray and drip tray on a regular basis will help prevent the buildup of mold, mildew, and bacteria, ensuring that the water from your dispenser remains clean and safe to drink.
To clean a GE refrigerator water dispenser, mix equal parts water and vinegar, then use a soft cloth to wipe the dispenser area. Rinse with water and dry thoroughly. Do this regularly to prevent buildup.
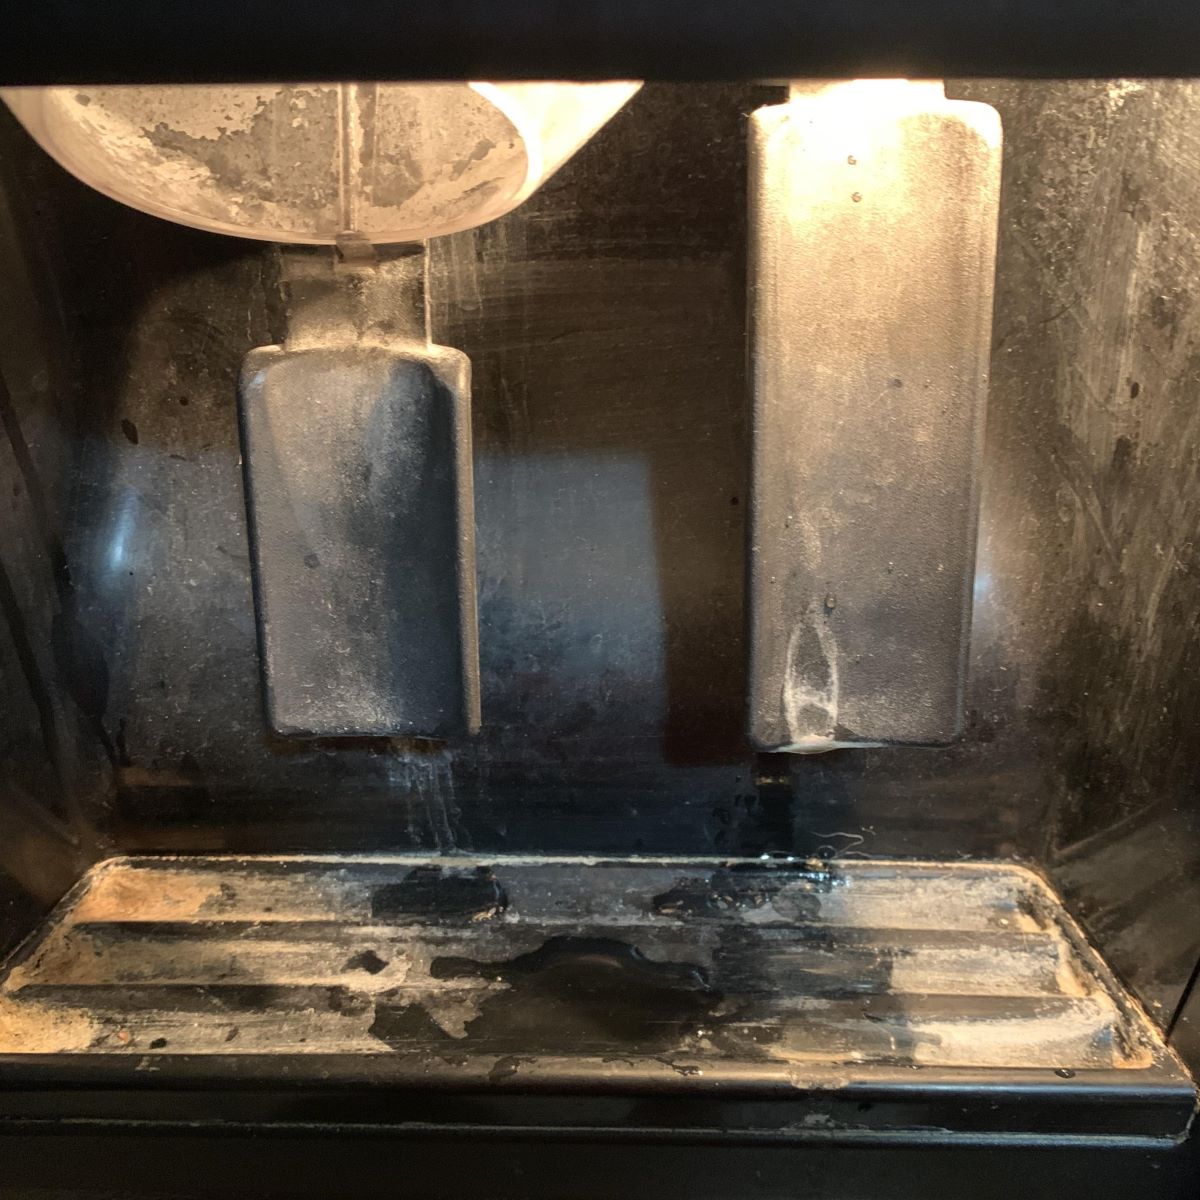
Step 6: Clean the Water Nozzle
The water nozzle is responsible for dispensing water from your GE refrigerator water dispenser. Over time, mineral deposits and debris can accumulate in the nozzle, affecting the flow and quality of the water. Cleaning the water nozzle is an important step in maintaining your water dispenser.
Start by locating the water nozzle, which is typically located underneath the water dispenser where the water is dispensed. It may be a nozzle or a spout-like structure.
Using a clean cloth or sponge soaked in the cleaning solution prepared in Step 1, gently wipe the water nozzle to remove any dirt or mineral deposits. Pay close attention to any small openings or crevices where buildup may occur.
If you notice stubborn mineral deposits that are difficult to remove, you can use a soft-bristle brush or a toothbrush to gently scrub the nozzle. Be careful not to be too rough, as you could damage the nozzle.
Once you have cleaned the water nozzle, rinse it thoroughly with warm water to remove any residue from the cleaning solution or loosened debris.
After rinsing, use a lint-free cloth or paper towels to dry the water nozzle to prevent water spots or streaks from forming.
By regularly cleaning the water nozzle, you can ensure that water flows smoothly and is free from any impurities, providing you with clean and refreshing drinking water from your GE refrigerator water dispenser.
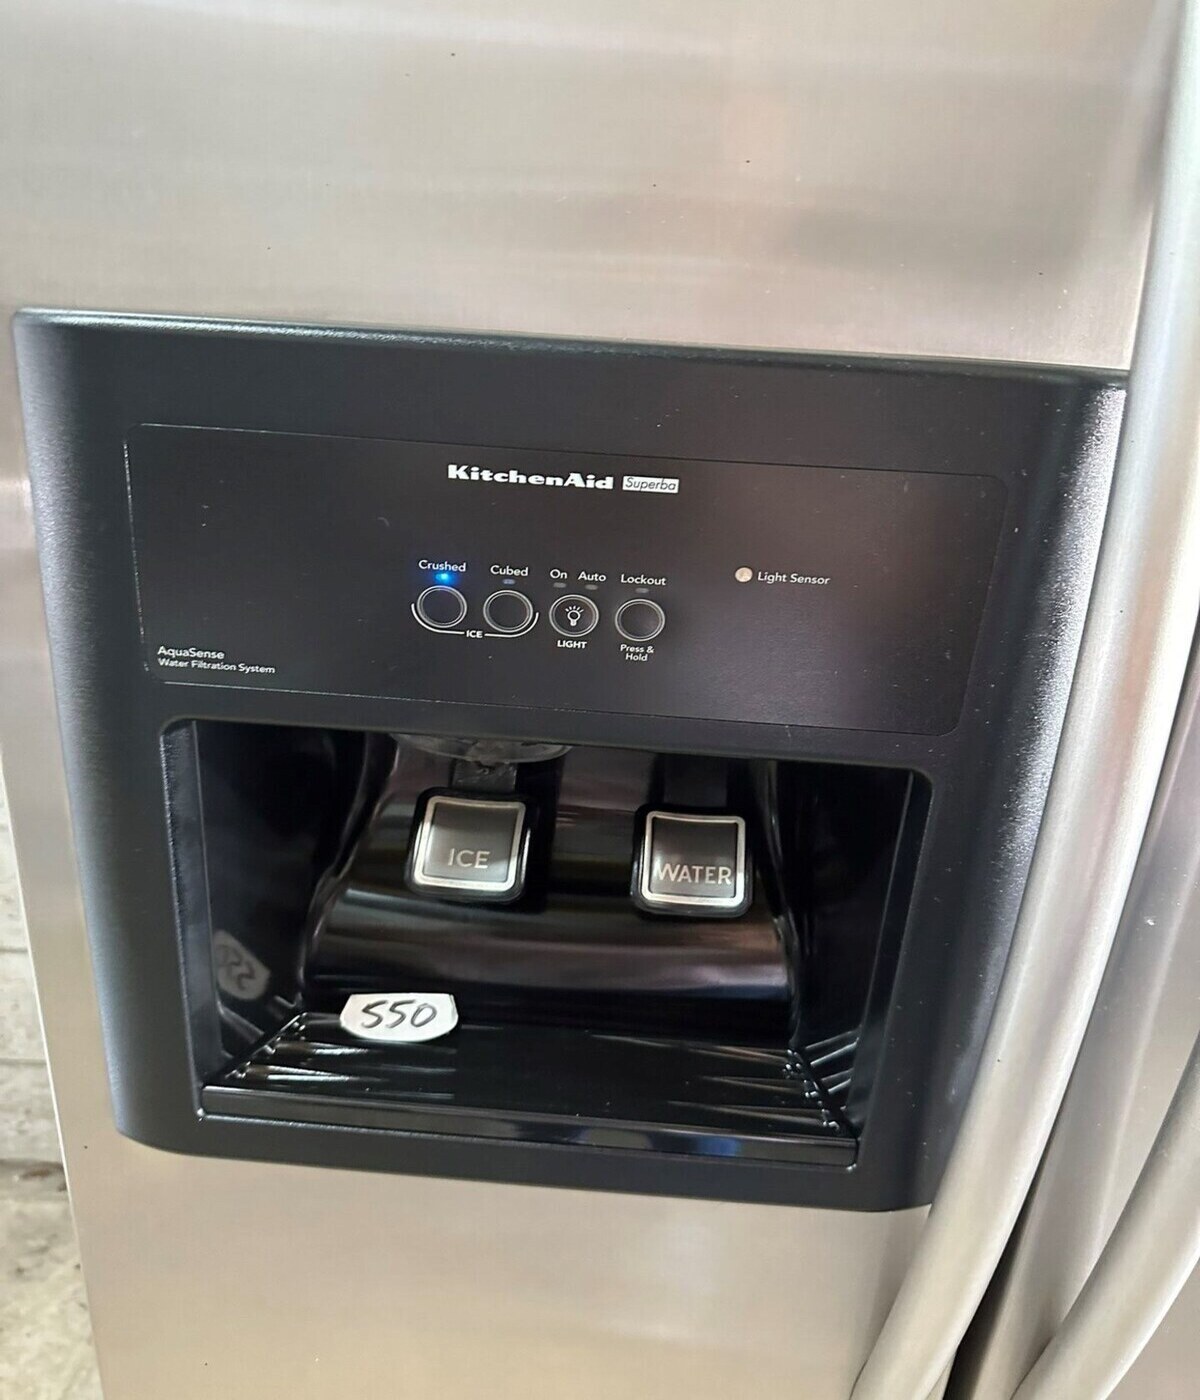
Step 7: Clean the Water Dispenser Button or Lever
The water dispenser button or lever is the interface that allows you to control the flow of water from your GE refrigerator water dispenser. Over time, dirt, grime, and bacteria can accumulate on these surfaces, potentially affecting the hygiene and functionality of your water dispenser.
To clean the water dispenser button or lever, start by dampening a clean cloth or sponge with the cleaning solution prepared in Step 1. Gently wipe the surface of the button or lever, paying close attention to any areas where dirt or residue may be present.
If there are stubborn stains or buildup on the button or lever, you can use a soft-bristle brush or a toothbrush dipped in the cleaning solution to carefully scrub the affected areas. Be mindful not to apply too much pressure, as you don’t want to damage the button or lever.
After thoroughly cleaning the water dispenser button or lever, rinse it with warm water to remove any residue from the cleaning solution or loosened dirt. Make sure to remove all cleaning solution remnants to prevent it from getting into your drinking water.
Once rinsed, use a clean, dry cloth or paper towels to wipe and dry the water dispenser button or lever. This will help prevent water spots or streaks and ensure a clean and functional water dispenser interface.
Regularly cleaning the water dispenser button or lever will not only maintain its appearance but also ensure that it remains clean and easy to use for dispensed water.
Read more: How To Clean Pur Water Dispenser
Step 8: Clean the Exterior of the Water Dispenser
Along with cleaning the internal components of your GE refrigerator water dispenser, it is important to also clean the exterior to maintain its overall cleanliness and appearance.
To clean the exterior of the water dispenser, start by filling a bucket or basin with warm water and a small amount of the cleaning solution prepared in Step 1. Dip a clean cloth or sponge into the solution, wring it out to remove excess liquid, and gently wipe down the exterior surfaces of the water dispenser.
Pay attention to any areas where fingerprints, stains, or dirt may be present. Use a gentle touch and avoid applying excessive pressure to avoid damaging the surface.
If there are any stubborn stains or marks on the exterior surfaces, you can use a soft-bristle brush or a toothbrush dipped in the cleaning solution to gently scrub those areas. Be cautious to use gentle strokes and avoid scratching the surface.
Once you have cleaned the exterior surfaces, rinse the cloth or sponge with clean water and go over the water dispenser again to remove any remaining cleaning solution.
After rinsing, use a clean, dry cloth or paper towels to dry the exterior of the water dispenser. This will help prevent water spots and streaks, leaving a clean and polished appearance.
Cleaning the exterior of the water dispenser regularly can help maintain its cleanliness and enhance its visual appeal. It also provides you with a pleasant user experience while using your GE refrigerator water dispenser.
Step 9: Reassemble the Water Dispenser Components
After cleaning all the individual components of your GE refrigerator water dispenser, it’s time to reassemble them back together.
Start by taking the cleaned water dispenser tray and drip tray and place them back in their respective positions. Make sure they fit securely and are aligned properly with the dispenser.
If you have removed the water filter, refer to the manufacturer’s instructions or your refrigerator’s user manual for guidance on reinserting or replacing the filter. Follow the recommended steps carefully to ensure it is properly installed.
Make sure the water nozzle is clean and free from any residue. If necessary, give it a quick wipe to ensure it is ready for use.
Take a moment to double-check that all the components are securely in place and properly reassembled. This will help prevent any potential leaks or malfunctions.
Once you are confident that everything is properly reassembled, move on to the final step to get your water dispenser up and running again.
Step 10: Turn On the Water Supply and Test the Dispenser
Now that you have cleaned and reassembled all the components of your GE refrigerator water dispenser, it’s time to turn on the water supply and test the dispenser to ensure everything is functioning properly.
Locate the water shut-off valve that you turned off in Step 2. Turn it back on by rotating it counterclockwise. This will restore the water supply to the dispenser.
Once the water supply is turned on, give it a few moments for the water to flow through the system and clear out any air bubbles.
Now, press the water dispenser button or lever to test the flow of water. It should dispense smoothly without any issues. Check for any leaks or unusual noises during the dispensing process.
If the water dispenser functions properly and dispenses clean and clear water, congratulations! You have successfully cleaned and restored your GE refrigerator water dispenser.
If you notice any issues, such as slow flow, unusual taste or odor, or leaks, double-check that all components are properly assembled and that the water supply is fully turned on. If the problem persists, refer to your refrigerator’s user manual or contact the manufacturer for further assistance.
Regularly testing your water dispenser after cleaning ensures that it is in proper working condition and providing you with clean, refreshing water whenever you need it.
Conclusion
Cleaning your GE refrigerator water dispenser is an essential task that helps maintain the performance, functionality, and cleanliness of your water dispenser. By following the steps outlined in this guide, you can ensure that you and your family always have access to clean and safe drinking water.
Remember to gather the necessary supplies, including a mild dish soap or water dispenser cleaner, warm water, a clean cloth or sponge, a soft-bristle brush or toothbrush, and paper towels or a lint-free cloth before starting the cleaning process.
Throughout the cleaning process, be mindful of safety precautions, such as turning off the water supply and using gentle cleaning techniques to avoid damaging any components.
From preparing the cleaning solution to reassembling the water dispenser components, each step plays a crucial role in ensuring a thorough cleaning. By taking the time to clean the water dispenser tray, drip tray, water nozzle, dispenser button or lever, and the exterior surfaces, you can maintain the hygiene and functionality of your water dispenser for years to come.
Remember to regularly clean your water dispenser to prevent the buildup of mineral deposits, dirt, and bacteria. This will help ensure that the dispensed water is of the highest quality and free from any unwanted contaminants.
By following these steps and incorporating regular cleaning into your routine, you can enjoy clean and refreshing water every time you use your GE refrigerator water dispenser. Cheers to a healthier and safer hydration experience!
Now that you've mastered cleaning your GE refrigerator's water dispenser, why not extend that care to other appliances? Keeping your fridge's ice maker in top shape is crucial for hygiene and performance. Learn about effective refrigerator maintenance practices. Also, consider enhancing your home’s water quality with our guide on the best water filtration options for the upcoming year. Regular upkeep is vital for every homeowner. Don't miss out on our comprehensive list of essential home maintenance tasks to keep your living space in prime condition.
Frequently Asked Questions about How To Clean Ge Refrigerator Water Dispenser
Was this page helpful?
At Storables.com, we guarantee accurate and reliable information. Our content, validated by Expert Board Contributors, is crafted following stringent Editorial Policies. We're committed to providing you with well-researched, expert-backed insights for all your informational needs.

0 thoughts on “How To Clean Ge Refrigerator Water Dispenser”