Home>Articles>How To Replace Water Dispenser On Kenmore Refrigerator
Articles
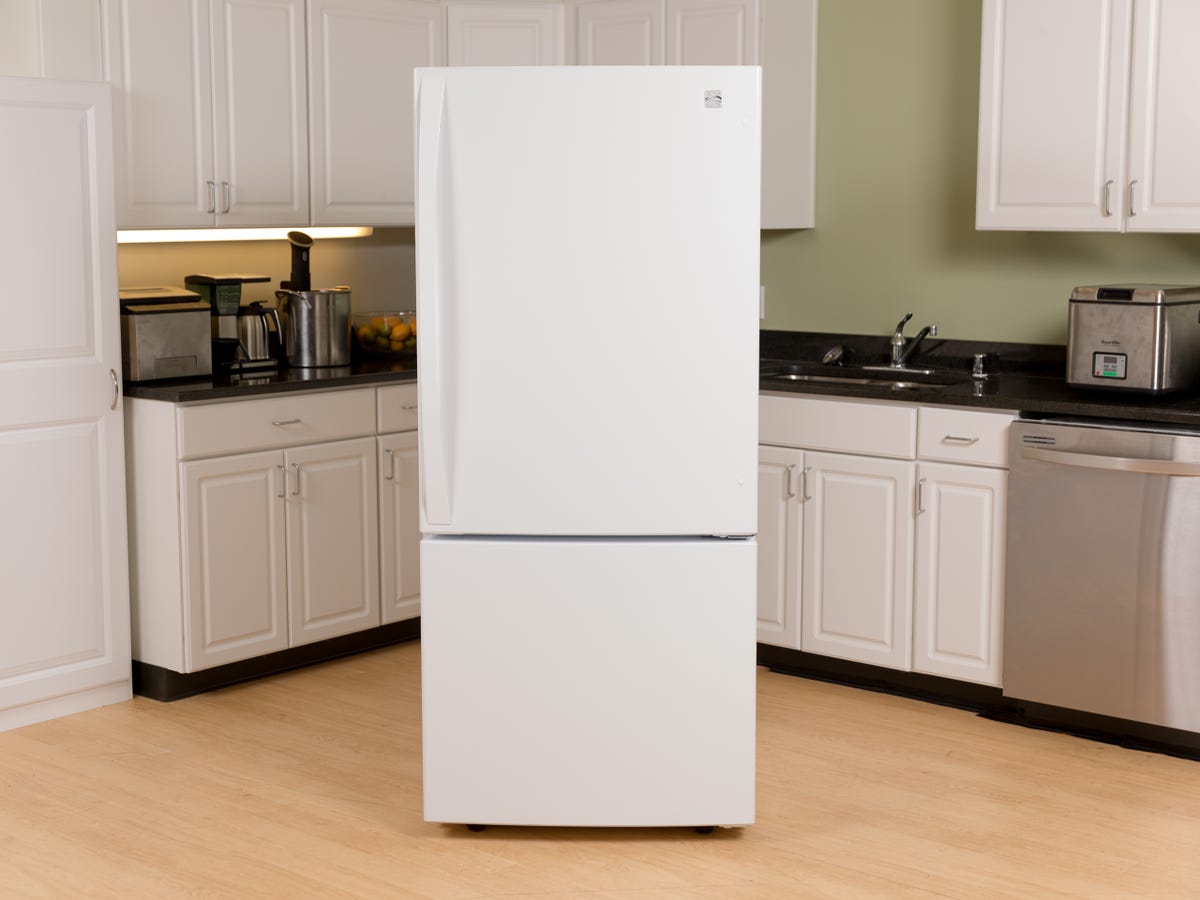
How To Replace Water Dispenser On Kenmore Refrigerator
Modified: May 6, 2024
Learn how to replace the water dispenser on your Kenmore refrigerator with our comprehensive articles. Find step-by-step instructions and troubleshooting tips to ensure a successful installation.
(Many of the links in this article redirect to a specific reviewed product. Your purchase of these products through affiliate links helps to generate commission for Storables.com, at no extra cost. Learn more)
Introduction
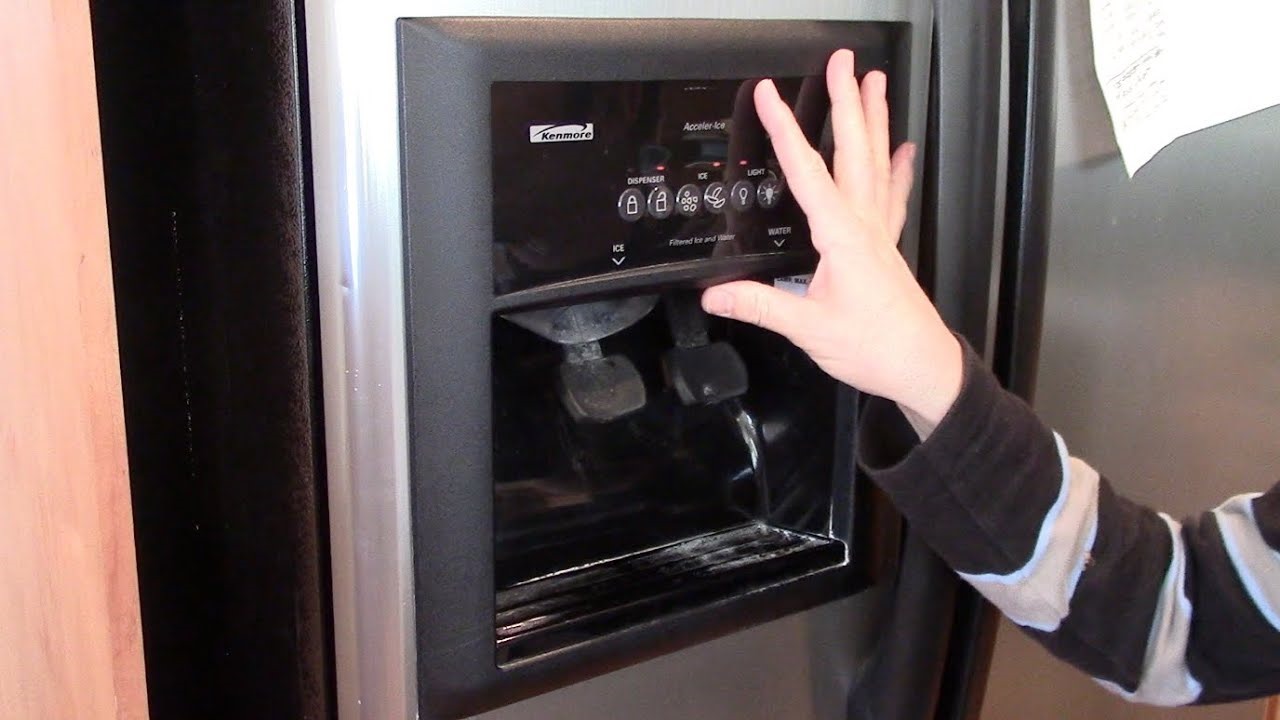
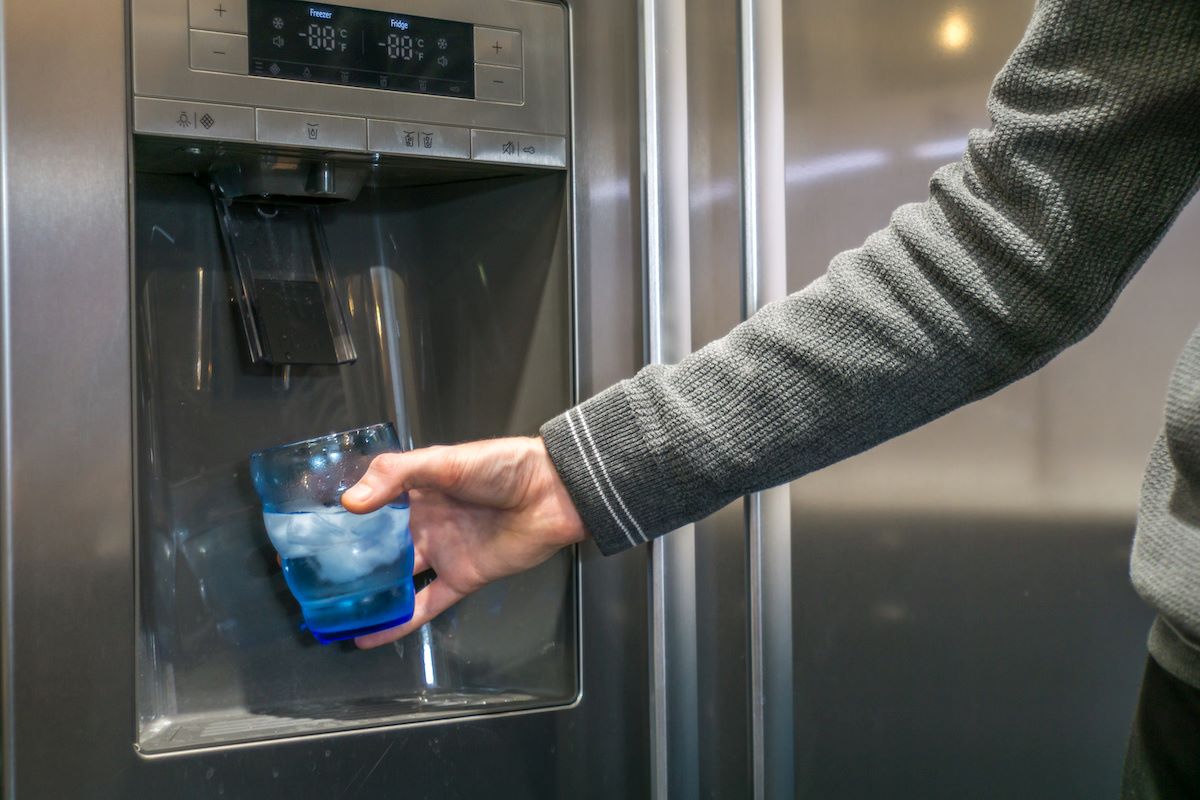
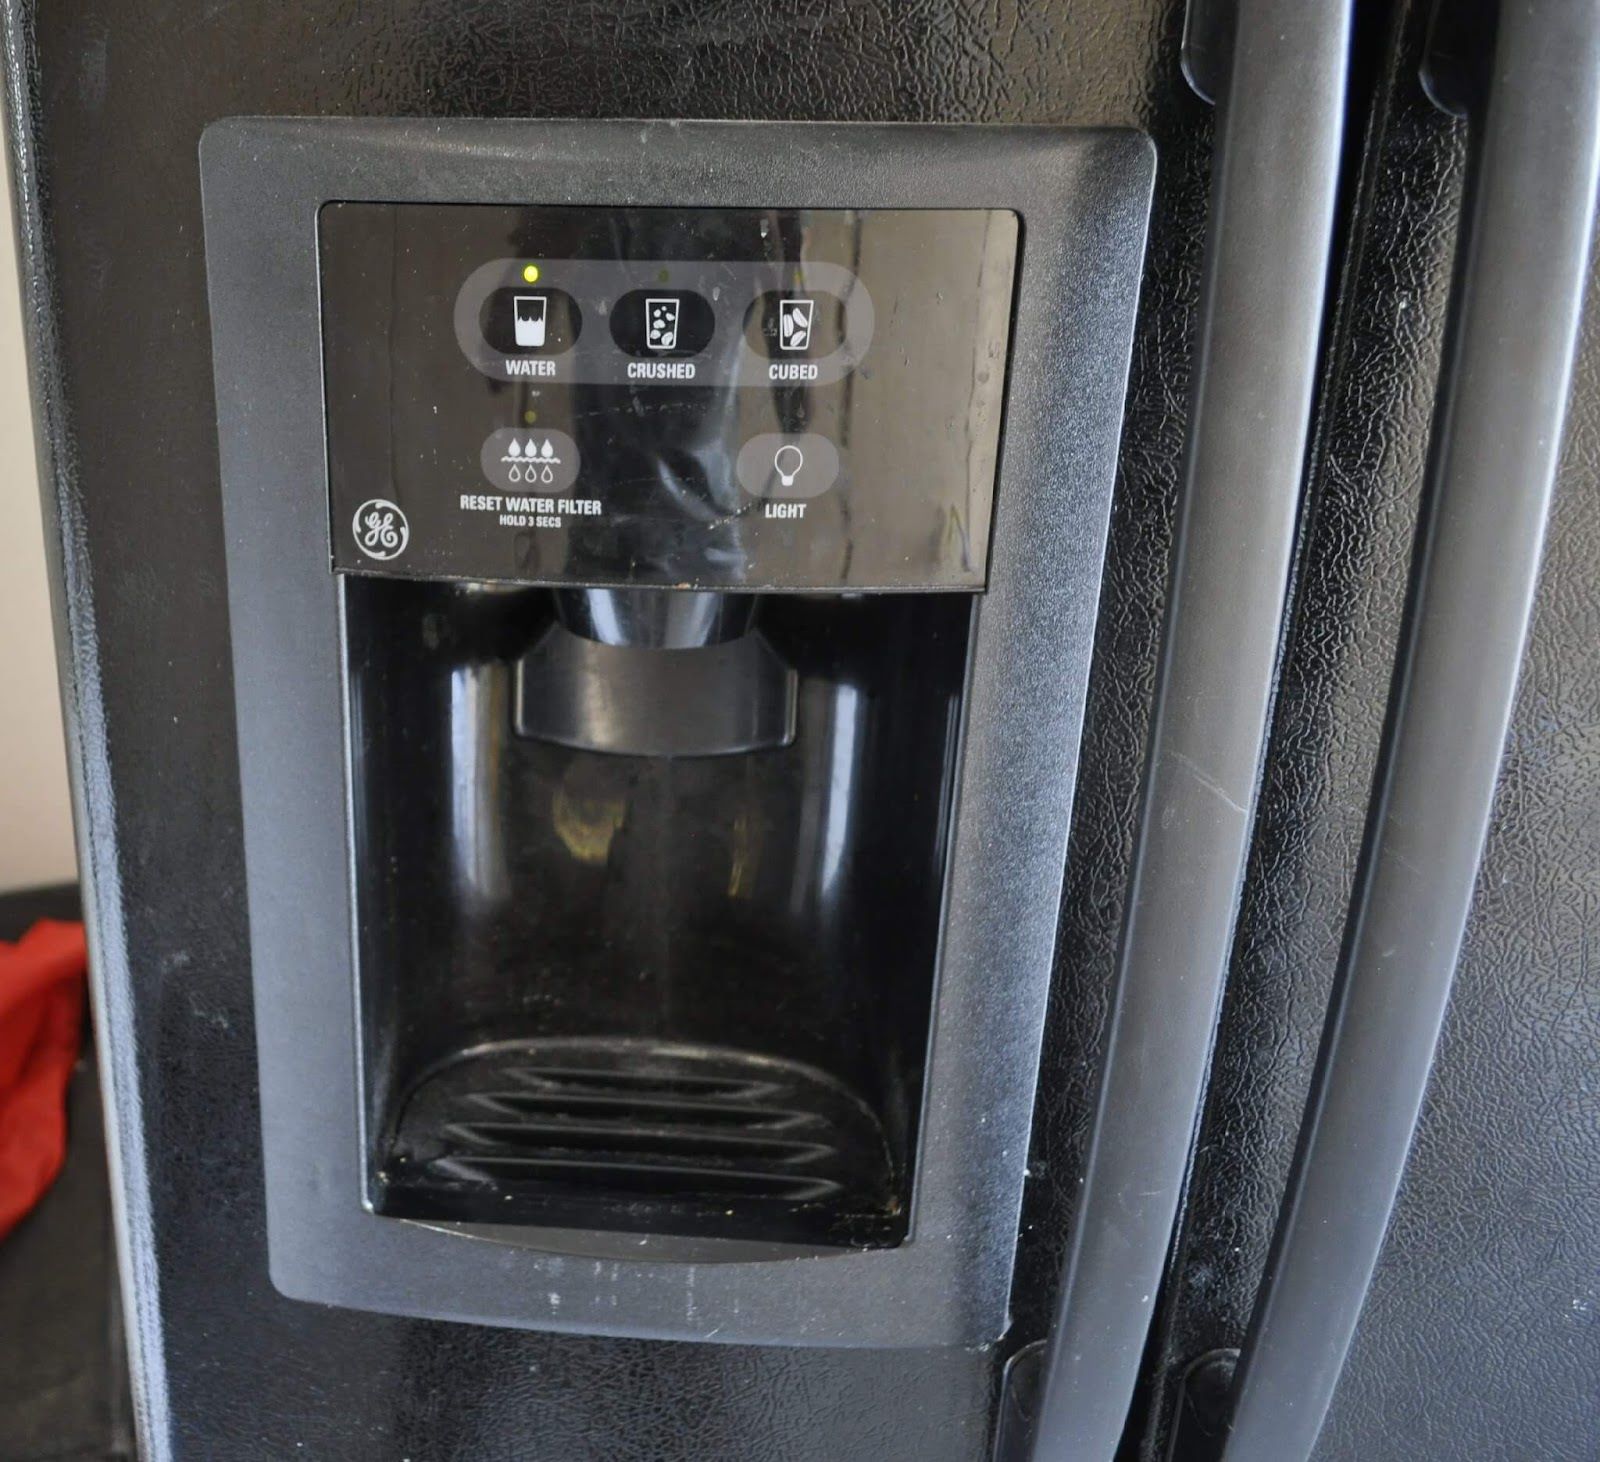
Water dispensers on Kenmore refrigerators are convenient appliances that provide instant access to filtered water. However, over time, these dispensers can wear out or become damaged, requiring replacement. If you’re experiencing issues with your Kenmore refrigerator’s water dispenser, such as leaks or a lack of water flow, replacing the dispenser may be the solution.
In this article, we will guide you through the step-by-step process of replacing the water dispenser on a Kenmore refrigerator. We will outline the tools and materials you’ll need, walk you through the necessary steps to disconnect and install the new dispenser, and explain how to reconnect the water supply and test the dispenser for proper functionality.
Replacing the water dispenser on your Kenmore refrigerator can be a DIY project that saves you time and money, compared to hiring a professional. By following our instructions and paying attention to the details, you’ll be able to successfully replace the water dispenser and restore the convenience of having a fully functional water source on your Kenmore refrigerator.
Before we dive into the steps, let’s go over the tools and materials you’ll need to complete the job.
Key Takeaways:
- Replacing the water dispenser on your Kenmore refrigerator is a manageable DIY project that can save time and money. By following the step-by-step process and exercising caution, you can restore the convenience of having a fully functional water source.
- Prioritize safety by gathering the necessary tools, turning off the water supply, and carefully handling the old and new dispenser. Testing the new dispenser’s functionality ensures a reliable source of clean, filtered water for your convenience.
Read more: How To Replace Faucet Of Water Dispenser
Step 1: Gather the necessary tools and materials
Before you begin the process of replacing the water dispenser on your Kenmore refrigerator, it’s important to gather all the required tools and materials. This will ensure that you have everything you need on hand and avoid any delays or interruptions during the installation.
Here’s a list of the tools and materials you’ll need:
- Replacement water dispenser – Make sure to purchase a water dispenser that is compatible with your specific Kenmore refrigerator model. You can find this information in the refrigerator’s manual or by checking the manufacturer’s website.
- Adjustable wrench – This tool will be necessary for loosening and tightening nuts and bolts during the installation process.
- Phillips screwdriver – You’ll need this tool to remove and reinstall screws that hold the water dispenser in place.
- Bucket or towel – To catch any water that may leak during the installation, have a bucket or towel nearby to prevent any potential mess.
- Safety goggles – It’s always a good idea to protect your eyes while working with tools and performing installations.
- Gloves – Wearing gloves will prevent any injuries or accidents during the installation process.
- Owner’s manual – Keep the owner’s manual of your Kenmore refrigerator handy for reference, as it may contain specific instructions or diagrams that can assist you throughout the process.
By ensuring that you have all the necessary tools and materials beforehand, you’ll be ready to proceed smoothly with the replacement of the water dispenser on your Kenmore refrigerator.
Step 2: Turn off the water supply
Before you begin removing the old water dispenser, it is essential to turn off the water supply to prevent any leaks or accidents. Here’s how you can do it:
- Locate the water supply valve – This valve is typically located at the back of the refrigerator, either near the bottom or on the wall behind it.
- Turn off the water supply – Rotate the water supply valve clockwise until it is completely closed. This will shut off the water supply to the refrigerator and prevent any water flow during the replacement process.
- Check for water flow – To ensure that the water supply is indeed turned off, push the dispenser lever or press the button to attempt to dispense water. If no water comes out, it means the water supply has been successfully shut off.
By turning off the water supply, you minimize the risk of water leakage or accidental water flow during the replacement process. This step ensures a safe and hassle-free installation of the new water dispenser.
Step 3: Remove the old water dispenser
Now that you have turned off the water supply, you can proceed to remove the old water dispenser from your Kenmore refrigerator. Follow these steps:
- Unplug the refrigerator – Before working on any electrical components, unplug the refrigerator from the power source to ensure your safety.
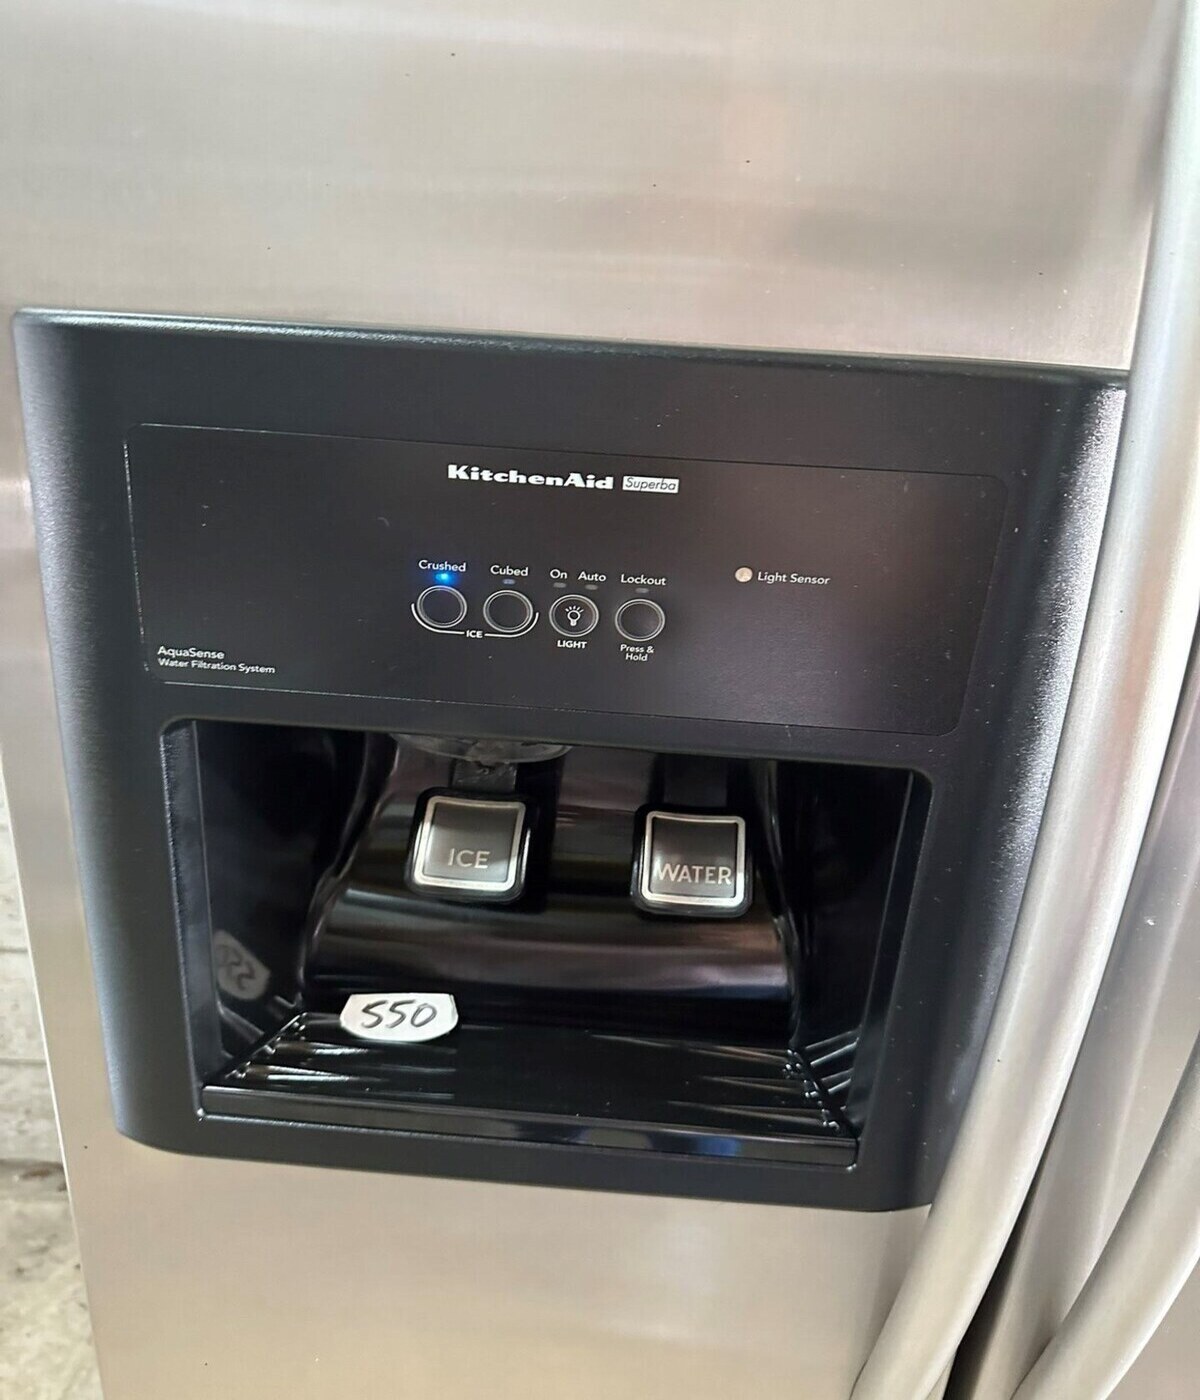
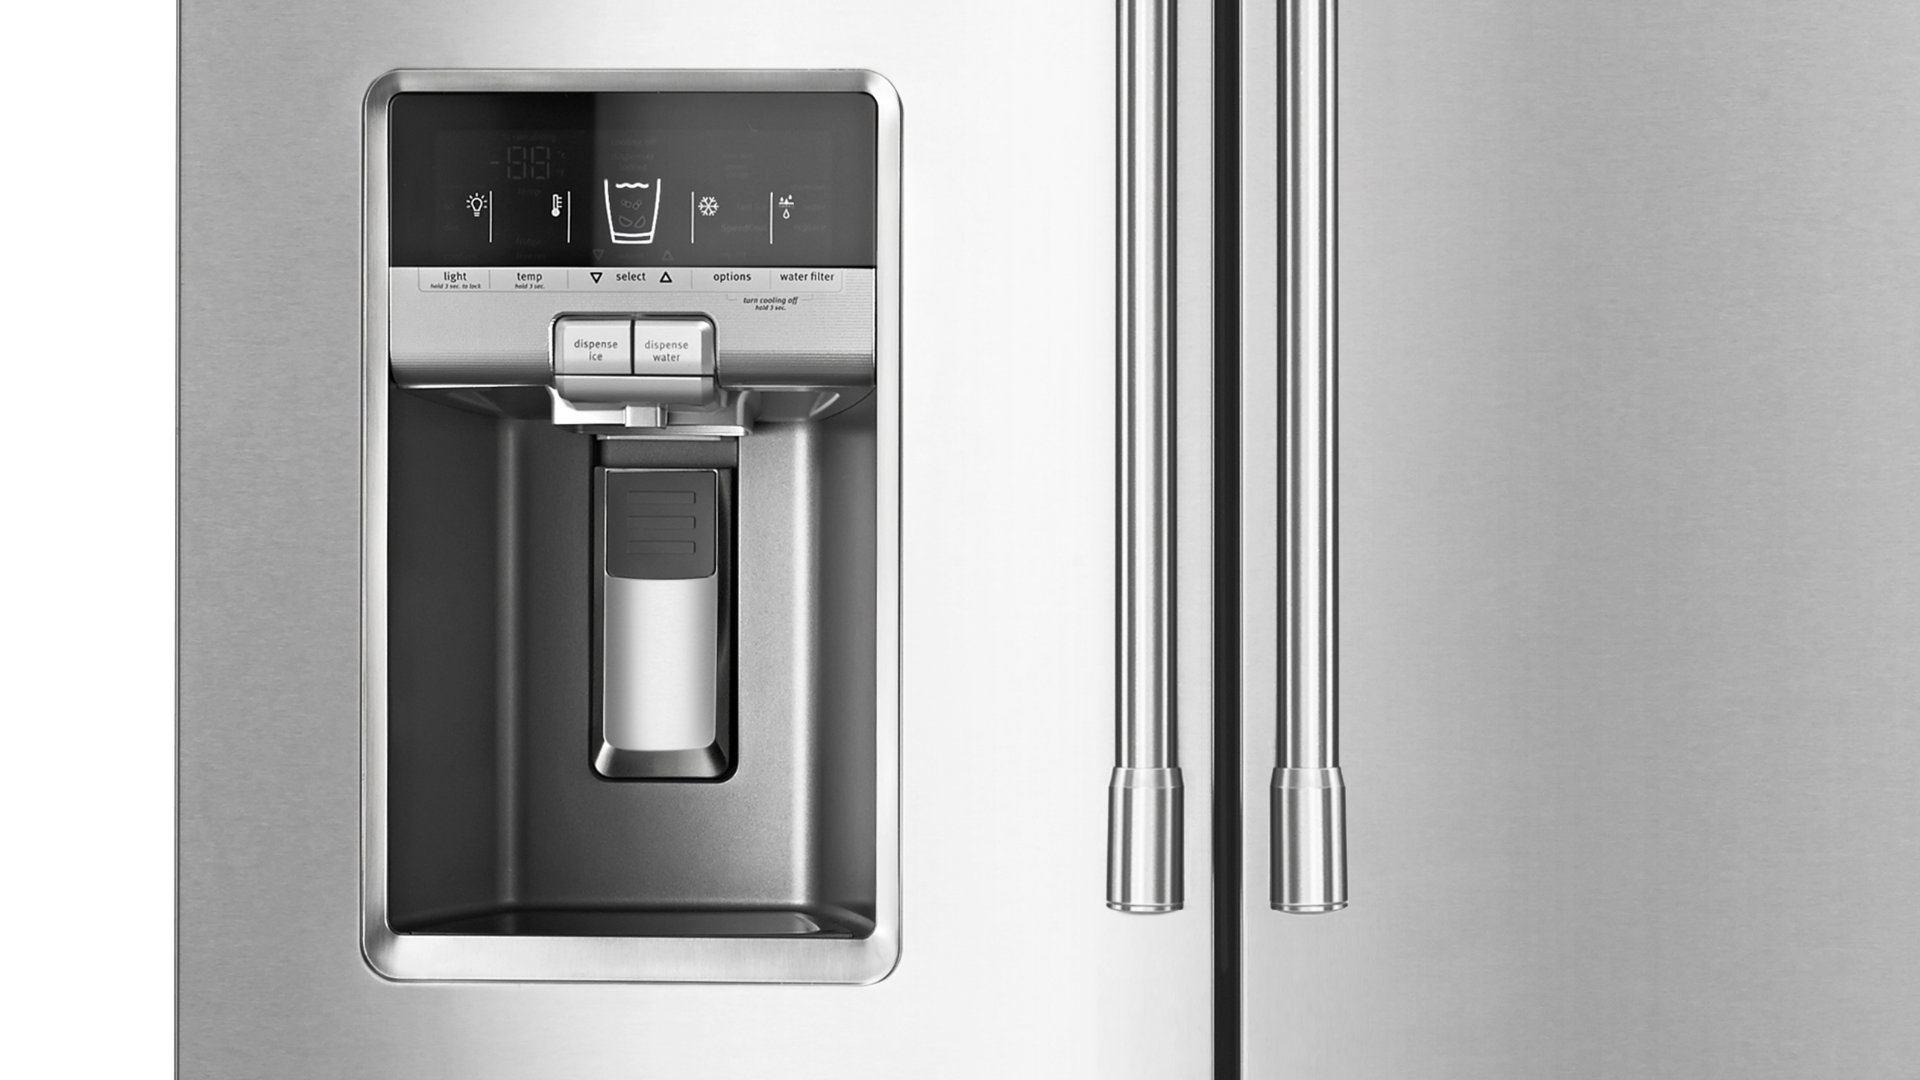
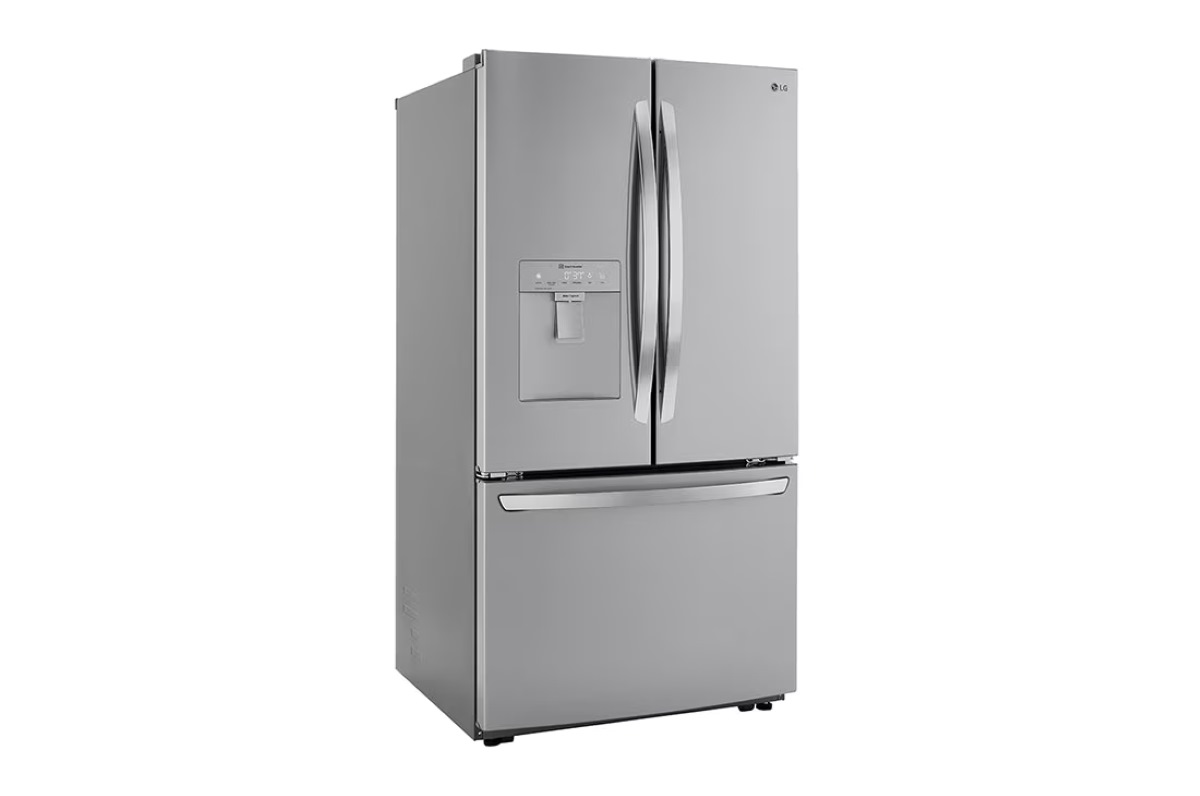
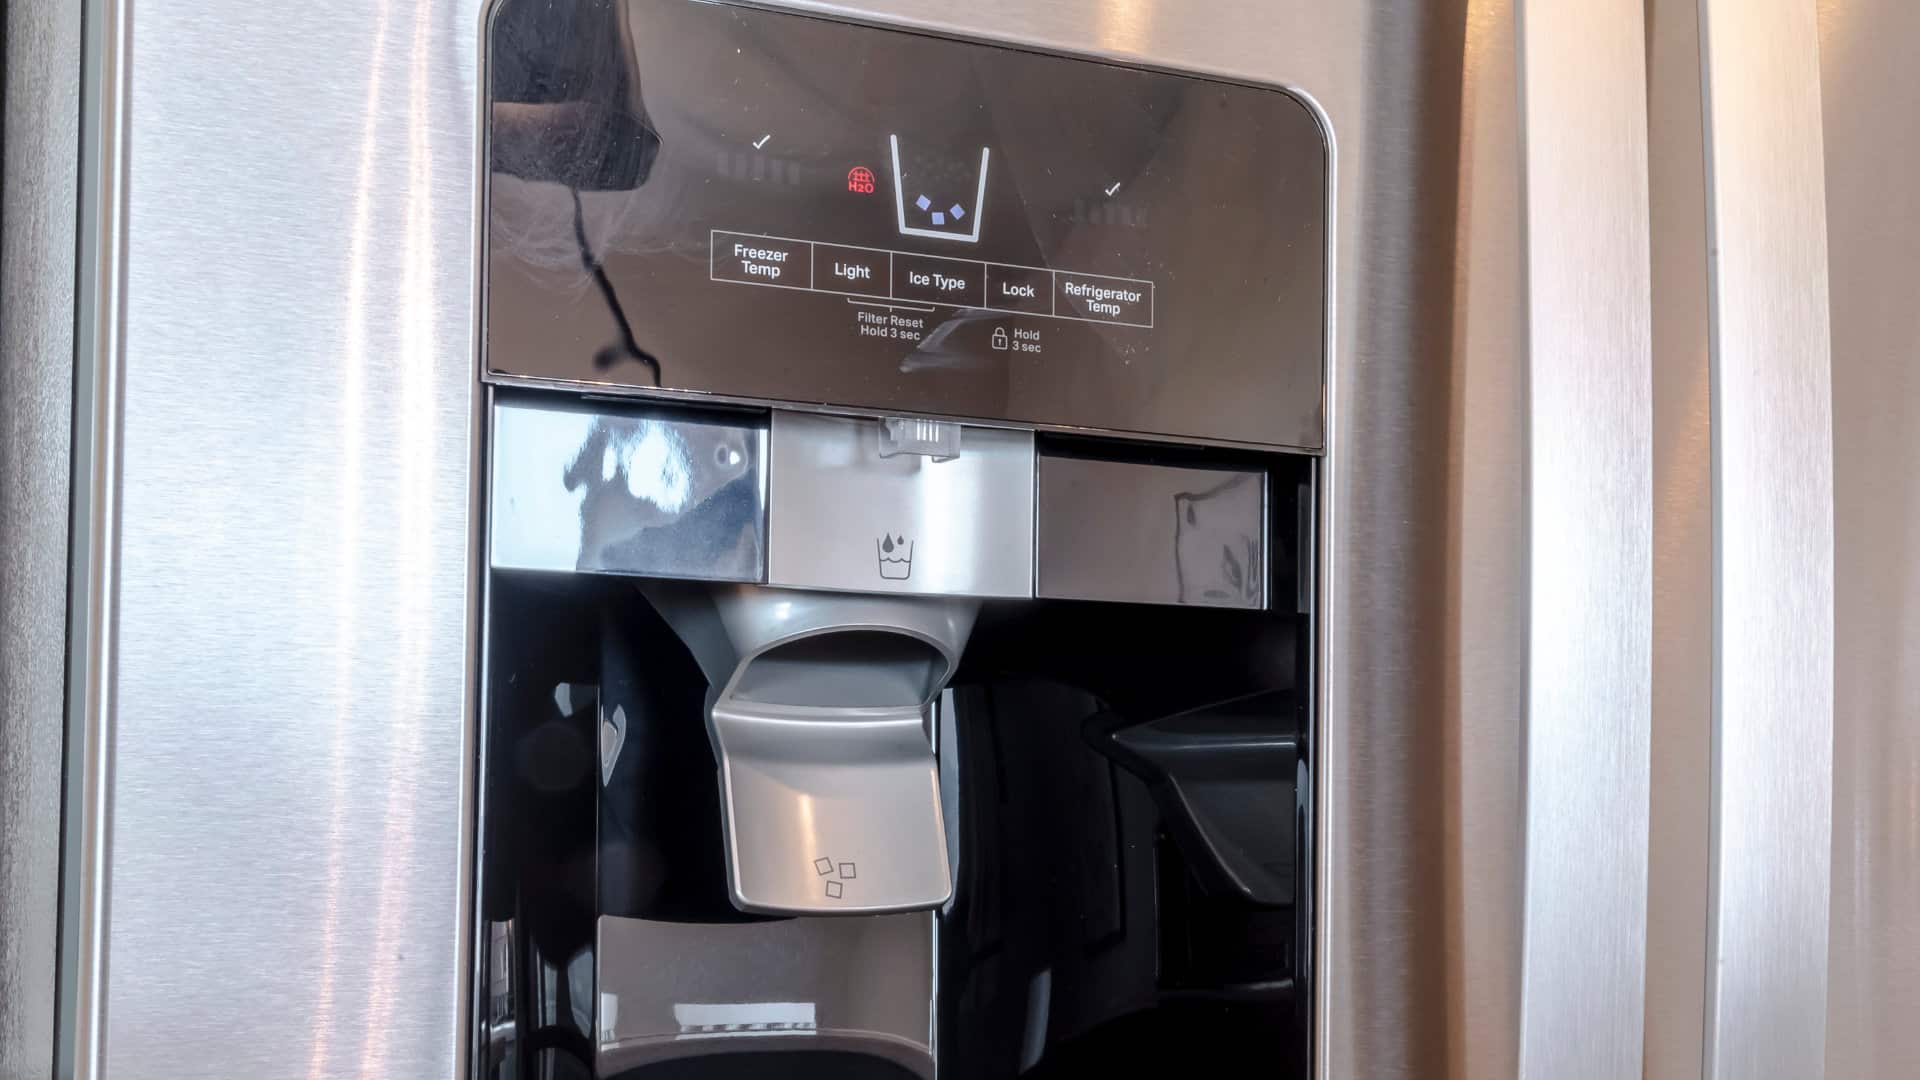
- Locate the dispenser assembly – The water dispenser assembly is usually located on the front of the refrigerator, either on the door or the control panel.
- Remove the drip tray (if applicable) – If your Kenmore refrigerator has a drip tray at the bottom of the dispenser, gently pull it out to detach it from the assembly.
- Remove the screws or clips – Look for screws, clips, or brackets securing the water dispenser assembly. Use a Phillips screwdriver or the appropriate tool to carefully remove them. Keep the screws or clips in a safe place, as you will need them later to install the new water dispenser.
- Disconnect the water lines – Locate the water lines connected to the dispenser assembly. Using an adjustable wrench, carefully loosen the nuts or compression fittings holding the water lines in place. Slowly pull the lines away from the assembly, making sure to catch any dripping water with a towel or bucket.
- Detach the dispenser assembly – With the screws, clips, and water lines disconnected, you can now lift and detach the old water dispenser assembly from the refrigerator door or control panel. Be cautious while handling the assembly as it may be fragile.
By following these steps, you should be able to successfully remove the old water dispenser from your Kenmore refrigerator. Take your time and be gentle to avoid damaging any parts of the refrigerator or the dispenser assembly.
When replacing the water dispenser on a Kenmore refrigerator, always unplug the refrigerator and turn off the water supply before starting. Follow the manufacturer’s instructions carefully to ensure a safe and successful replacement.
Step 4: Install the new water dispenser
Now that you have removed the old water dispenser, it’s time to install the new one. Follow these steps to ensure a proper installation:
- Inspect the new water dispenser – Before installing the new dispenser, carefully inspect it to ensure there are no damages or defects. Check for any missing parts or accessories that may be required for installation.
- Align the new dispenser – Position the new dispenser assembly in the same location where the old one was removed. Make sure it is properly aligned with any screw holes or mounting brackets on the refrigerator door or control panel.
- Secure the dispenser assembly – Using the screws or clips that were removed earlier, securely fasten the new dispenser assembly to the refrigerator. Tighten the screws or clips just enough to hold the assembly in place, but avoid overtightening as it may cause damage.
- Reconnect the water lines – Carefully reconnect the water lines to their respective fittings on the new dispenser assembly. Ensure that the nuts or compression fittings are tightened securely but not excessively, as overtightening can cause leaks.
- Attach the drip tray (if applicable) – If your Kenmore refrigerator has a drip tray, slide it back into place underneath the new dispenser assembly. Ensure that it is properly aligned and securely seated.
- Plug the refrigerator back in – Once the new water dispenser is securely installed, plug the refrigerator back into the power source. This will restore power to the refrigerator and allow the dispenser to function properly.
By following these steps, you should be able to successfully install the new water dispenser on your Kenmore refrigerator. Take your time and double-check all connections to ensure a secure and reliable installation.
Read more: How To Clean Ge Refrigerator Water Dispenser
Step 5: Reconnect the water supply
With the new water dispenser installed, the next step is to reconnect the water supply. Follow these steps to ensure a safe and proper reconnection:
- Locate the water supply valve – Remember the water supply valve that was turned off in Step 2? Locate it again, typically at the back of the refrigerator.
- Turn on the water supply – Rotate the water supply valve counterclockwise to open it and restore the water flow to the refrigerator.
- Check for leaks – After turning on the water supply, inspect all the water connections you made in Step 4. Look for any signs of leaks or drips. If you notice any leaks, quickly tighten the connections or replace any faulty fittings.
- Run water through the dispenser – To purge any air or debris from the water lines, activate the dispenser and let water flow through it for a few minutes. This will ensure that only clean and fresh water passes through the dispenser.
It’s important to carefully monitor the water connections and observe for any leaks. If you notice any leaks that persist even after tightening the connections, it may be necessary to replace the fittings or seek professional assistance to ensure a proper seal.
Once you have confirmed that there are no leaks and the water is flowing smoothly, you can proceed to the final step.
Step 6: Test the new water dispenser
The final step in replacing the water dispenser on your Kenmore refrigerator is to test its functionality. Follow these steps to ensure that the new dispenser is working properly:
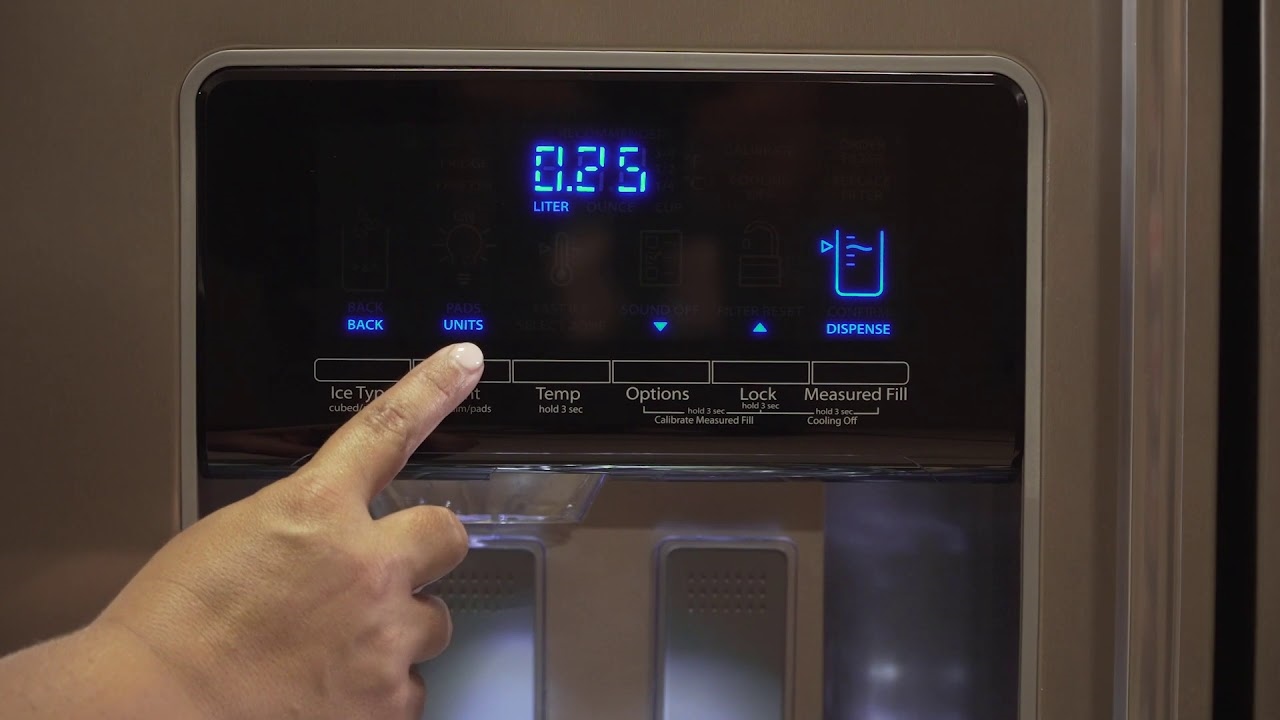
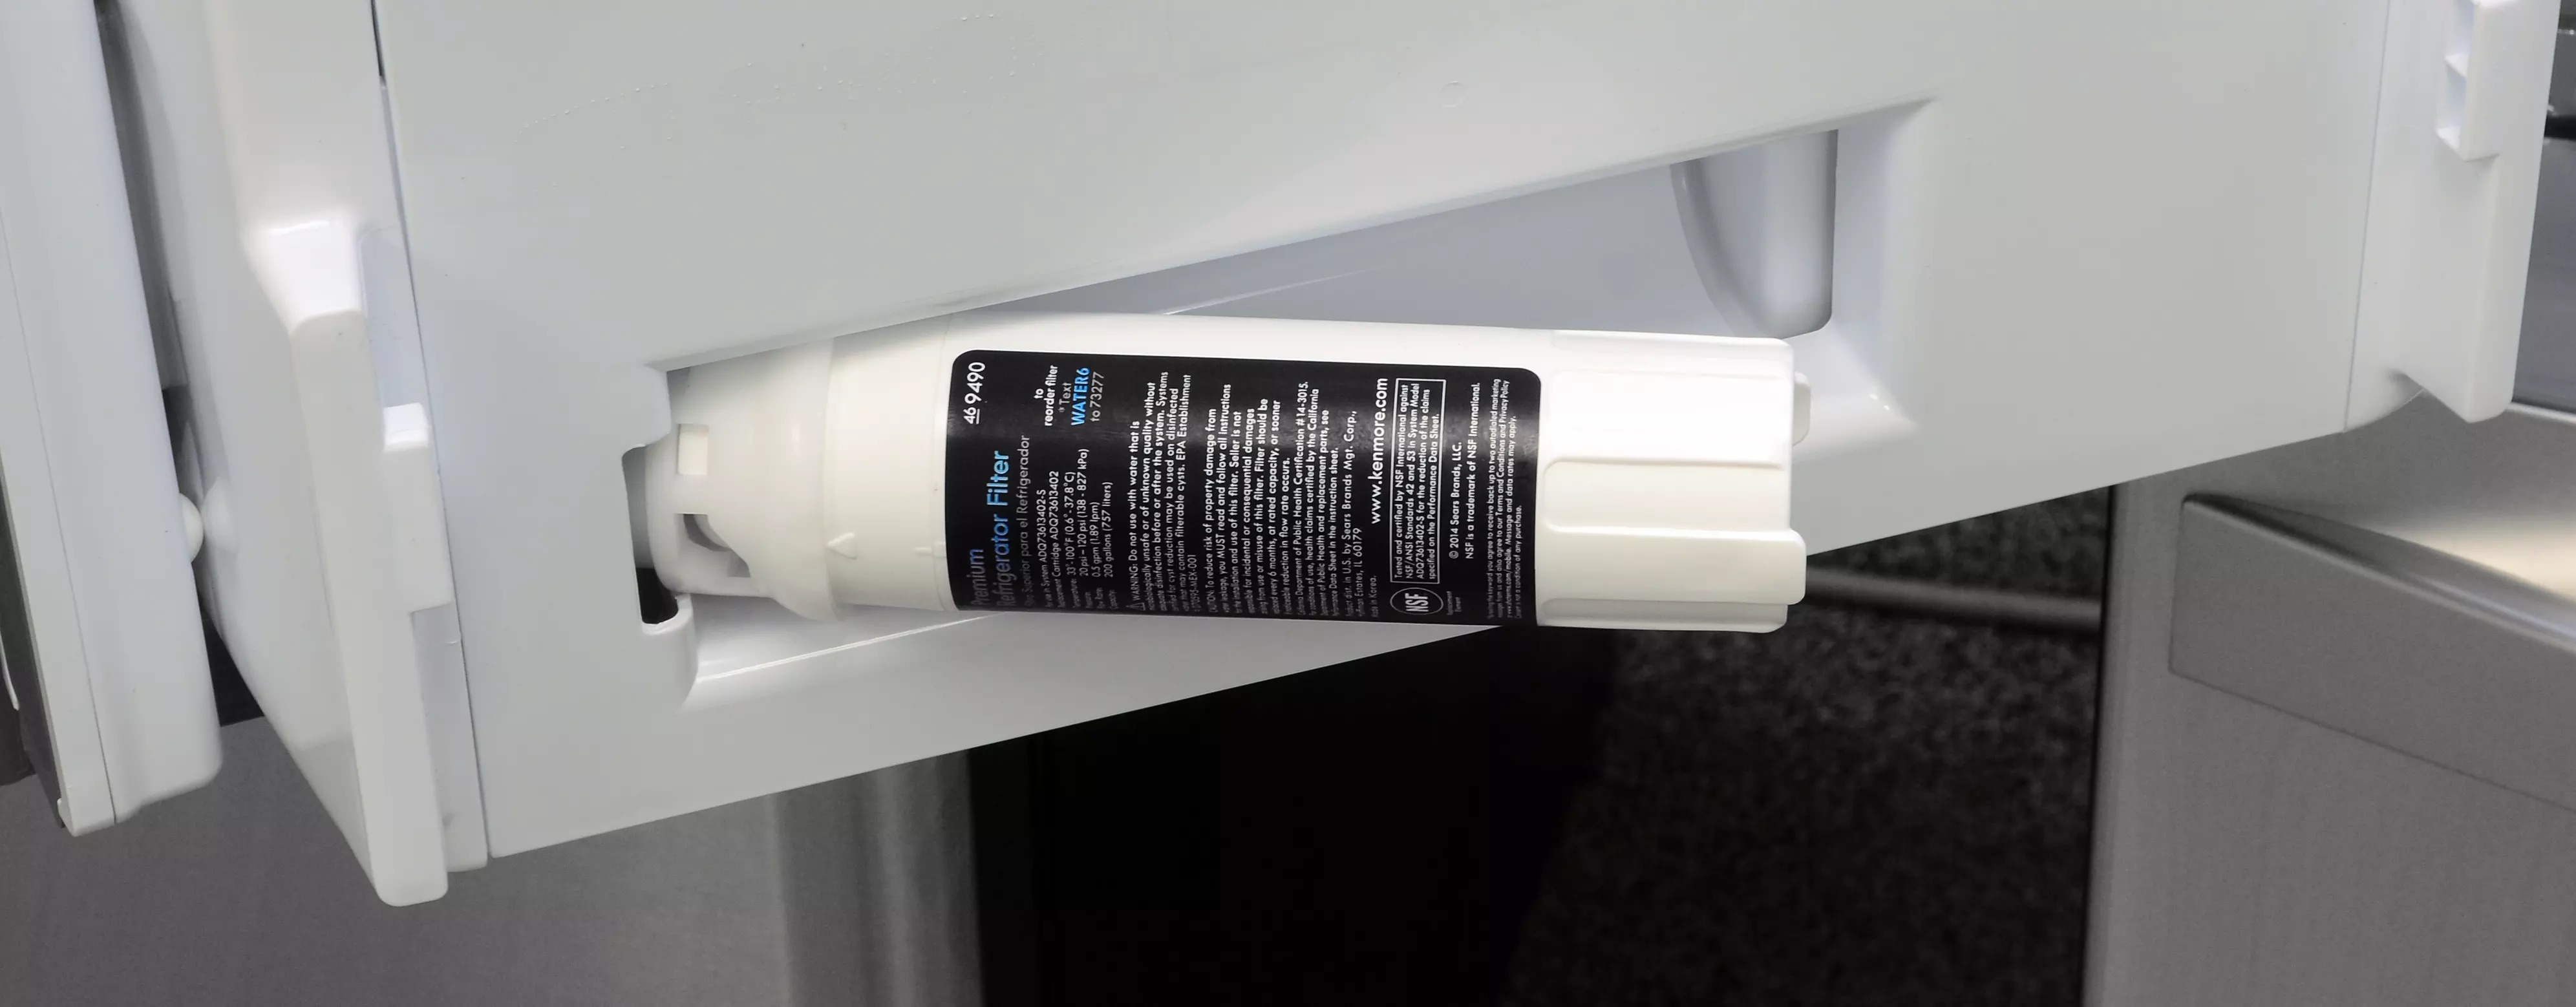
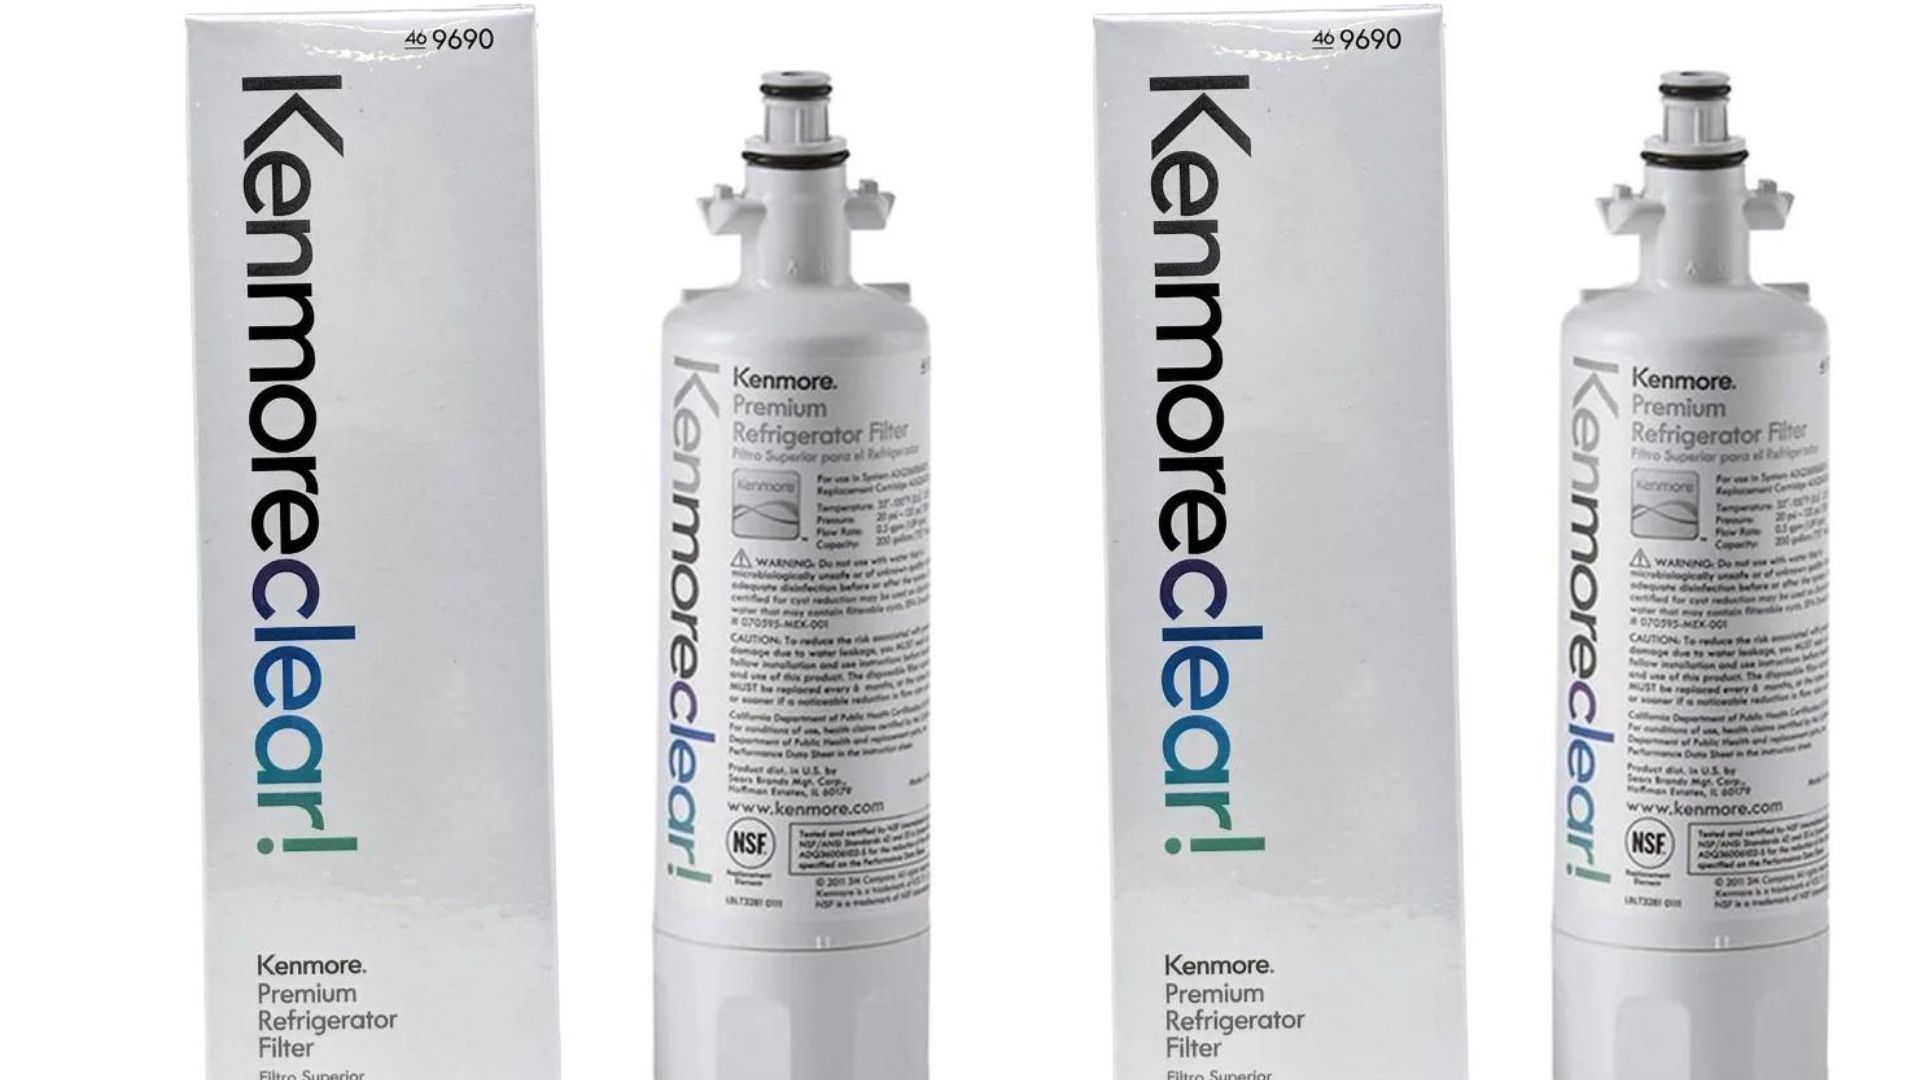
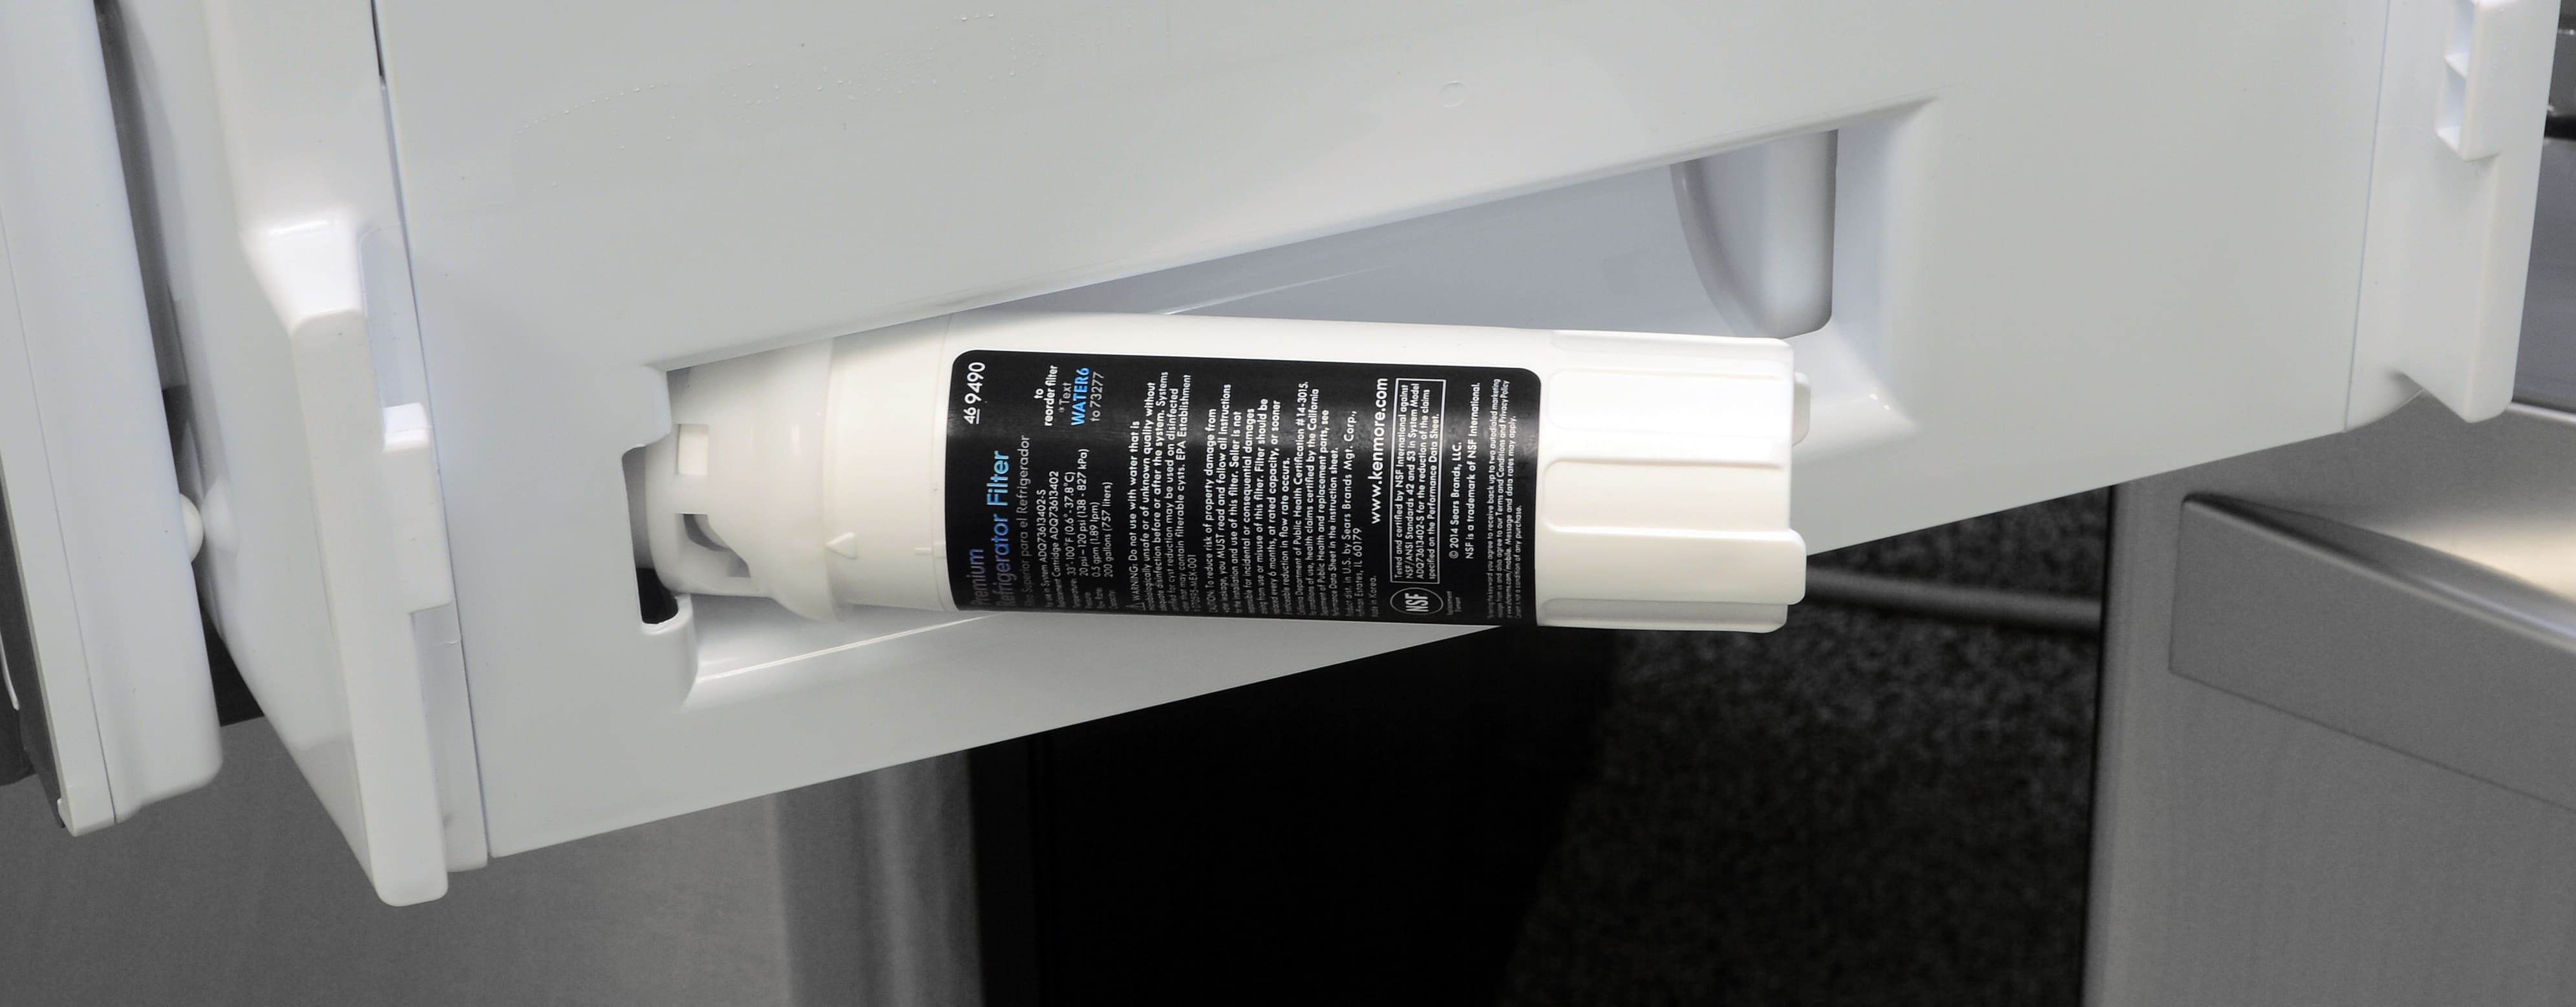
- Reset and prime the water filter (if applicable) – If your Kenmore refrigerator uses a water filter, reset and prime it according to the manufacturer’s instructions. This will help ensure optimal water flow through the dispenser.
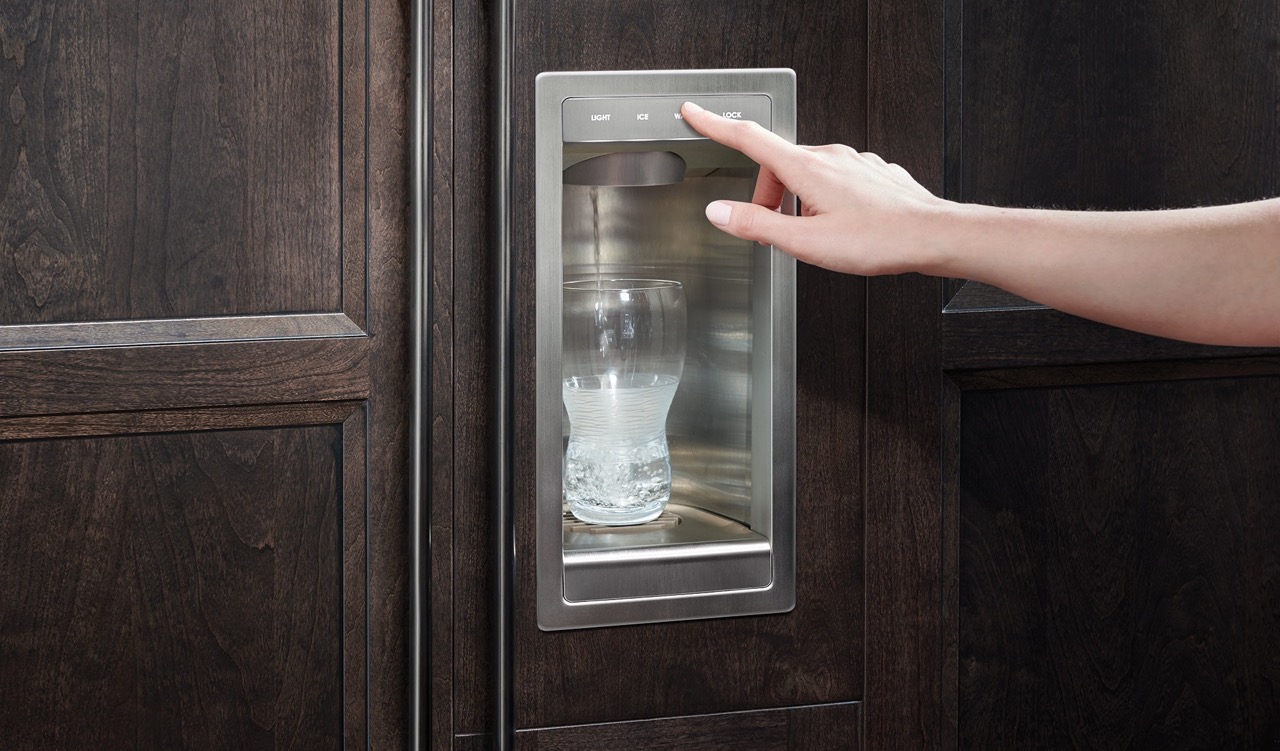
- Activate the dispenser – Press the dispenser lever or button to activate the water dispenser. Allow the water to flow for a few minutes, checking for proper flow and dispensing without any leaks.
- Check water temperature and taste – Fill a glass with water from the dispenser and check if the water is at the desired temperature. Additionally, taste the water to ensure there are no unusual flavors or odors that could be indicative of a problem.
- Test additional features (optional) – If your Kenmore refrigerator has additional features, such as an ice maker or a water purifier, test these features to ensure they are functioning properly.
- Monitor for any issues – After testing the dispenser and its additional features, keep an eye out for any abnormalities over the next few days. Check for leaks, reduced water flow, or any other issues that may indicate a problem with the new dispenser.
If you encounter any issues or notice any abnormalities during the testing process, consult the owner’s manual or contact the Kenmore customer service for further guidance.
By following these steps, you should have successfully replaced and tested the new water dispenser on your Kenmore refrigerator. Enjoy the convenience of having a fully functional water source at your fingertips.
Conclusion
Replacing the water dispenser on your Kenmore refrigerator is a straightforward process that can be done by following a few simple steps. By gathering the necessary tools and materials, turning off the water supply, removing the old water dispenser, installing the new dispenser, reconnecting the water supply, and testing the new dispenser’s functionality, you can restore the convenience of having a reliable source of filtered water.
Throughout the process, it’s important to exercise caution, pay attention to details, and take the necessary safety precautions. Always refer to the owner’s manual for specific instructions or diagrams that may be relevant to your particular Kenmore refrigerator model.
Remember to gather the required tools and materials before starting and to turn off the water supply to prevent any accidents or leaks. Carefully remove the old water dispenser and install the new one, ensuring secure connections. Reconnect the water supply and test the dispenser’s functionality, checking for proper water flow, temperature, and taste.
If you encounter any issues during the replacement process or notice any abnormalities after the installation, it is advisable to consult the owner’s manual or contact Kenmore customer service for assistance and guidance.
By following the steps outlined in this article, you can successfully replace the water dispenser on your Kenmore refrigerator and enjoy the convenience of having clean and accessible water at your fingertips.
Now that you've mastered replacing your Kenmore refrigerator's water dispenser, why not tackle another common fridge maintenance task? Keeping your ice maker pristine not only ensures it runs efficiently but also keeps your ice fresh and clean. Our detailed guide on refrigerator maintenance will walk you through the easy steps to clean your refrigerator's ice maker, keeping everything in top shape and prolonging the life of one of your home's essential appliances.
Frequently Asked Questions about How To Replace Water Dispenser On Kenmore Refrigerator
Was this page helpful?
At Storables.com, we guarantee accurate and reliable information. Our content, validated by Expert Board Contributors, is crafted following stringent Editorial Policies. We're committed to providing you with well-researched, expert-backed insights for all your informational needs.

0 thoughts on “How To Replace Water Dispenser On Kenmore Refrigerator”