Home>Articles>How To Clean Calcium Build Up On Refrigerator Water Dispenser
Articles
How To Clean Calcium Build Up On Refrigerator Water Dispenser
Modified: August 29, 2024
Learn effective methods to remove calcium buildup on your refrigerator water dispenser with our informative articles. Keep your dispenser clean and functioning optimally!
(Many of the links in this article redirect to a specific reviewed product. Your purchase of these products through affiliate links helps to generate commission for Storables.com, at no extra cost. Learn more)
Introduction
A refrigerator with a built-in water dispenser is a convenient feature that allows you to enjoy a refreshing glass of water without the hassle of filling up a pitcher or water bottles. However, over time, calcium buildup can occur in the water dispenser, affecting the taste and quality of the water. Not only does calcium buildup make the water taste unpleasant, but it can also clog the dispenser, leading to reduced water flow or even complete blockage.
Fortunately, with a few simple steps, you can effectively clean the calcium buildup from your refrigerator water dispenser and ensure a clean and reliable water source for you and your family. In this article, we will guide you through the process of cleaning calcium deposits from your refrigerator water dispenser, providing you with the tools and techniques needed to restore your dispenser to its optimal condition.
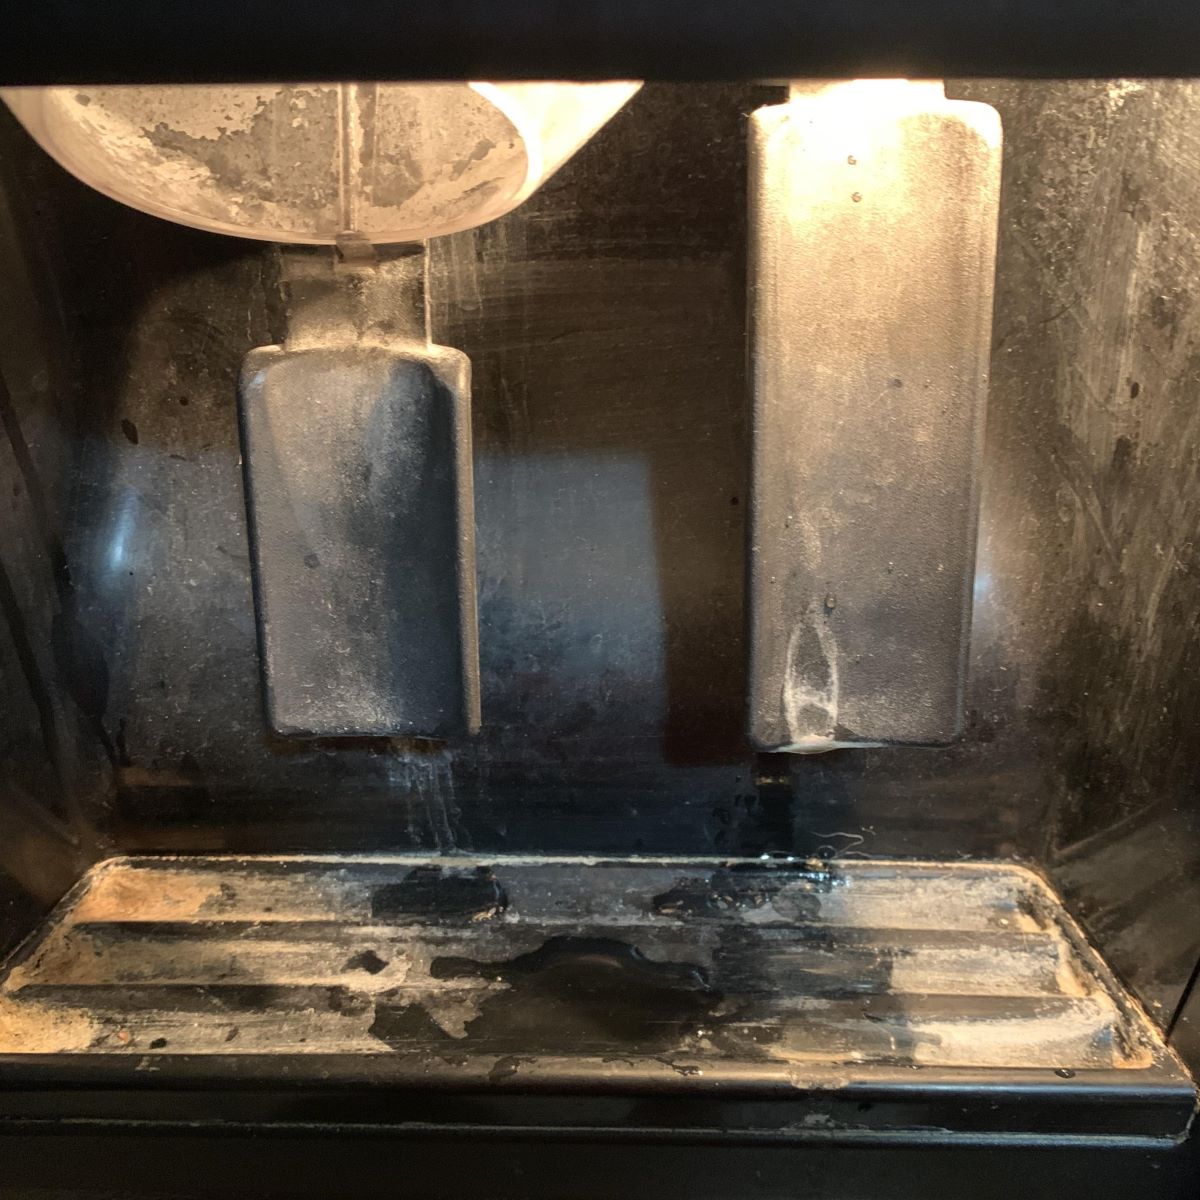
Before we dive into the cleaning process, let’s first understand what calcium buildup is and how it forms. Calcium buildup, also known as limescale or mineral deposits, is caused by the presence of hard water in your home. Hard water contains high levels of minerals such as calcium and magnesium. When hard water evaporates or is left to sit, these minerals can form crusty, white deposits.
These deposits can accumulate over time in various parts of your refrigerator’s water dispenser, including the water tank, tubing, and even the dispenser nozzle. Not only can this affect the taste and quality of the water, but it can also cause blockages and reduce the water flow. Regular cleaning is essential to prevent calcium buildup and maintain the performance of your refrigerator water dispenser.
Key Takeaways:
- Regular cleaning with vinegar solution removes calcium buildup, ensuring clean and refreshing water from your refrigerator dispenser.
- Proper reassembly and water supply reattachment are crucial for optimal functioning of the refrigerator water dispenser after cleaning.
Read more: How To Clean Ge Refrigerator Water Dispenser
Understanding Calcium Buildup
Before we delve into the process of cleaning calcium buildup from your refrigerator water dispenser, it’s important to have a basic understanding of what causes this buildup and why it needs to be addressed.
As mentioned earlier, calcium buildup, also referred to as limescale or mineral deposits, occurs due to the presence of hard water. Hard water contains high levels of dissolved minerals, such as calcium and magnesium. When hard water flows through your refrigerator’s water dispenser, some of these minerals may be left behind as residue.
Over time, this residue can accumulate and form a hard, crusty layer inside the water dispenser components. This buildup not only affects the appearance of the dispenser but also impacts its functionality. It can clog the dispenser nozzle, reducing water flow or causing it to stop altogether. Moreover, the presence of these minerals can alter the taste and quality of the water, making it less enjoyable to drink.
Calcium buildup can also cause other issues within your refrigerator’s water dispenser. It can lead to leaks or drips, as the mineral deposits may interfere with the proper sealing of the dispenser components. Additionally, the presence of limescale can provide a breeding ground for bacteria, compromising the hygiene and safety of your water supply.
By understanding the causes and consequences of calcium buildup, you can see why it’s crucial to regularly clean and maintain your refrigerator water dispenser. Regular cleaning not only ensures a cleaner and more reliable water source but also helps to prolong the lifespan and efficiency of your refrigerator.
In the following sections, we will guide you through the step-by-step process of cleaning calcium buildup from your refrigerator water dispenser. With a few simple tools and materials, you can effectively remove the mineral deposits and restore your dispenser to optimal functioning.
Tools and Materials Needed
Before you begin the process of cleaning calcium buildup from your refrigerator water dispenser, it’s important to gather the necessary tools and materials. Having these items on hand will ensure a smooth and efficient cleaning process. Here’s what you’ll need:
- Vinegar: White vinegar is a versatile and effective cleaning agent that can help dissolve calcium deposits. Make sure to have enough vinegar to soak the dispenser components.
- Water: You’ll need water to dilute the vinegar solution and rinse the dispenser parts.
- Soft Brush or Toothbrush: A soft-bristled brush or toothbrush will be used to scrub away the calcium buildup. Make sure the brush is small enough to reach into the tight corners of the dispenser components.
- Container: You’ll need a container or basin large enough to hold the dispenser parts for soaking. It should be able to comfortably fit the components without overcrowding.
- Towels or Paper Towels: Keep some towels or paper towels handy for wiping away excess water and cleaning solution.
- Screwdriver or Wrench: Depending on your refrigerator model, you may need a screwdriver or wrench to remove any screws or fittings holding the dispenser in place.
It’s important to note that the specific tools and materials needed may vary based on your refrigerator’s make and model. It’s always a good idea to consult your refrigerator’s user manual or contact the manufacturer for any specific instructions or recommendations.
Now that you have gathered all the necessary tools and materials, you’re ready to proceed with the cleaning process. In the following sections, we will guide you through each step, explaining in detail how to effectively clean calcium buildup from your refrigerator water dispenser.
Step 1: Disconnecting the Water Supply
The first step in cleaning calcium buildup from your refrigerator water dispenser is to disconnect the water supply. This is essential to ensure your safety and prevent any accidental water leakage during the cleaning process. Follow these steps to disconnect the water supply:
- Locate the water supply valve: Depending on your refrigerator model, the water supply valve may be located at the back of the refrigerator or under the sink.
- Turn off the water supply: Use a wrench or your hand to turn the water supply valve in a clockwise direction until it’s fully closed. This will shut off the water flow to the refrigerator.
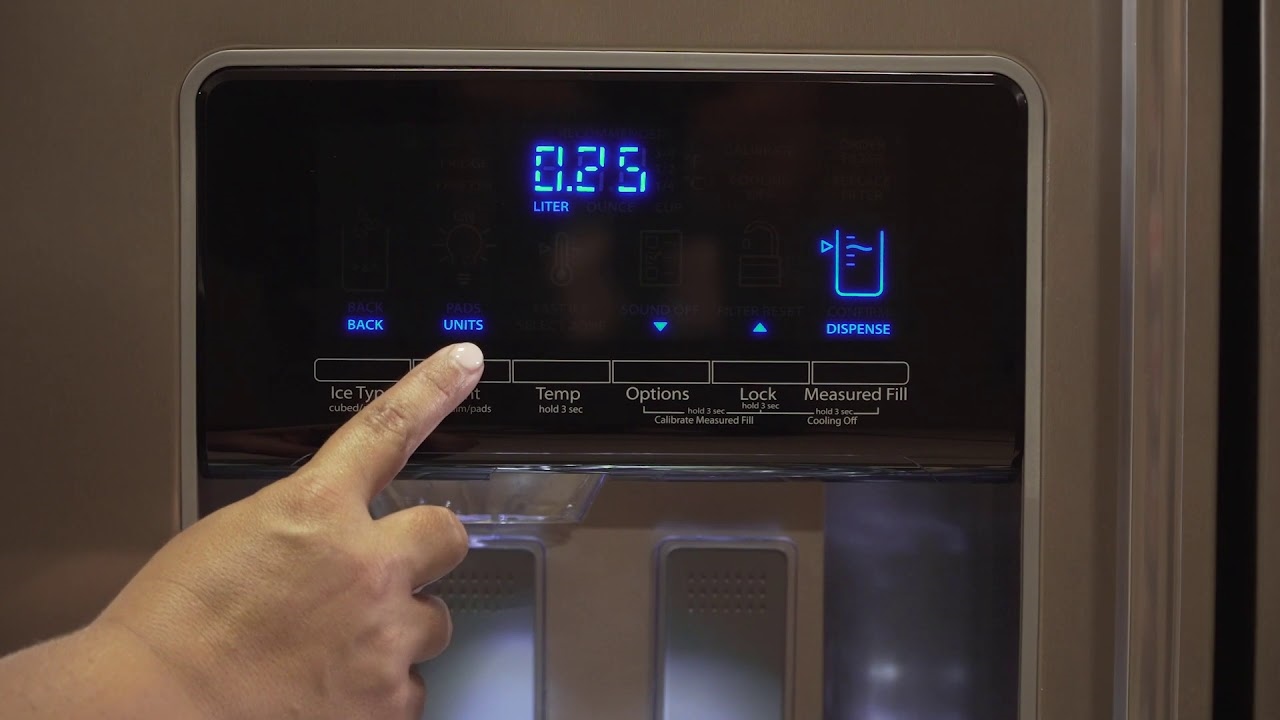
- Double-check the water flow: To ensure that the water supply is indeed disconnected, try dispensing water from the refrigerator. If no water comes out, you have successfully disconnected the water supply.
Once you have disconnected the water supply, you can proceed with the next steps of cleaning the calcium buildup from your refrigerator water dispenser.
It’s important to note that if you’re unsure about disconnecting the water supply or don’t have access to the water supply valve, it’s best to consult your refrigerator’s user manual or contact the manufacturer for specific instructions. Ensuring your safety and following proper procedures is crucial during any maintenance or cleaning tasks.
Step 2: Removing the Water Dispenser Components
Once you have disconnected the water supply, it’s time to remove the water dispenser components for cleaning. This will allow you to access the areas where calcium buildup occurs and effectively remove the deposits. Follow these steps to remove the water dispenser components:
- Refer to your refrigerator’s user manual: Different refrigerator models have varying designs for their water dispensers. Consult your refrigerator’s user manual to understand the specific steps for removing the dispenser components.
- Unplug the refrigerator: For safety purposes, it’s recommended to unplug the refrigerator from the power source before proceeding with the removal of any components.
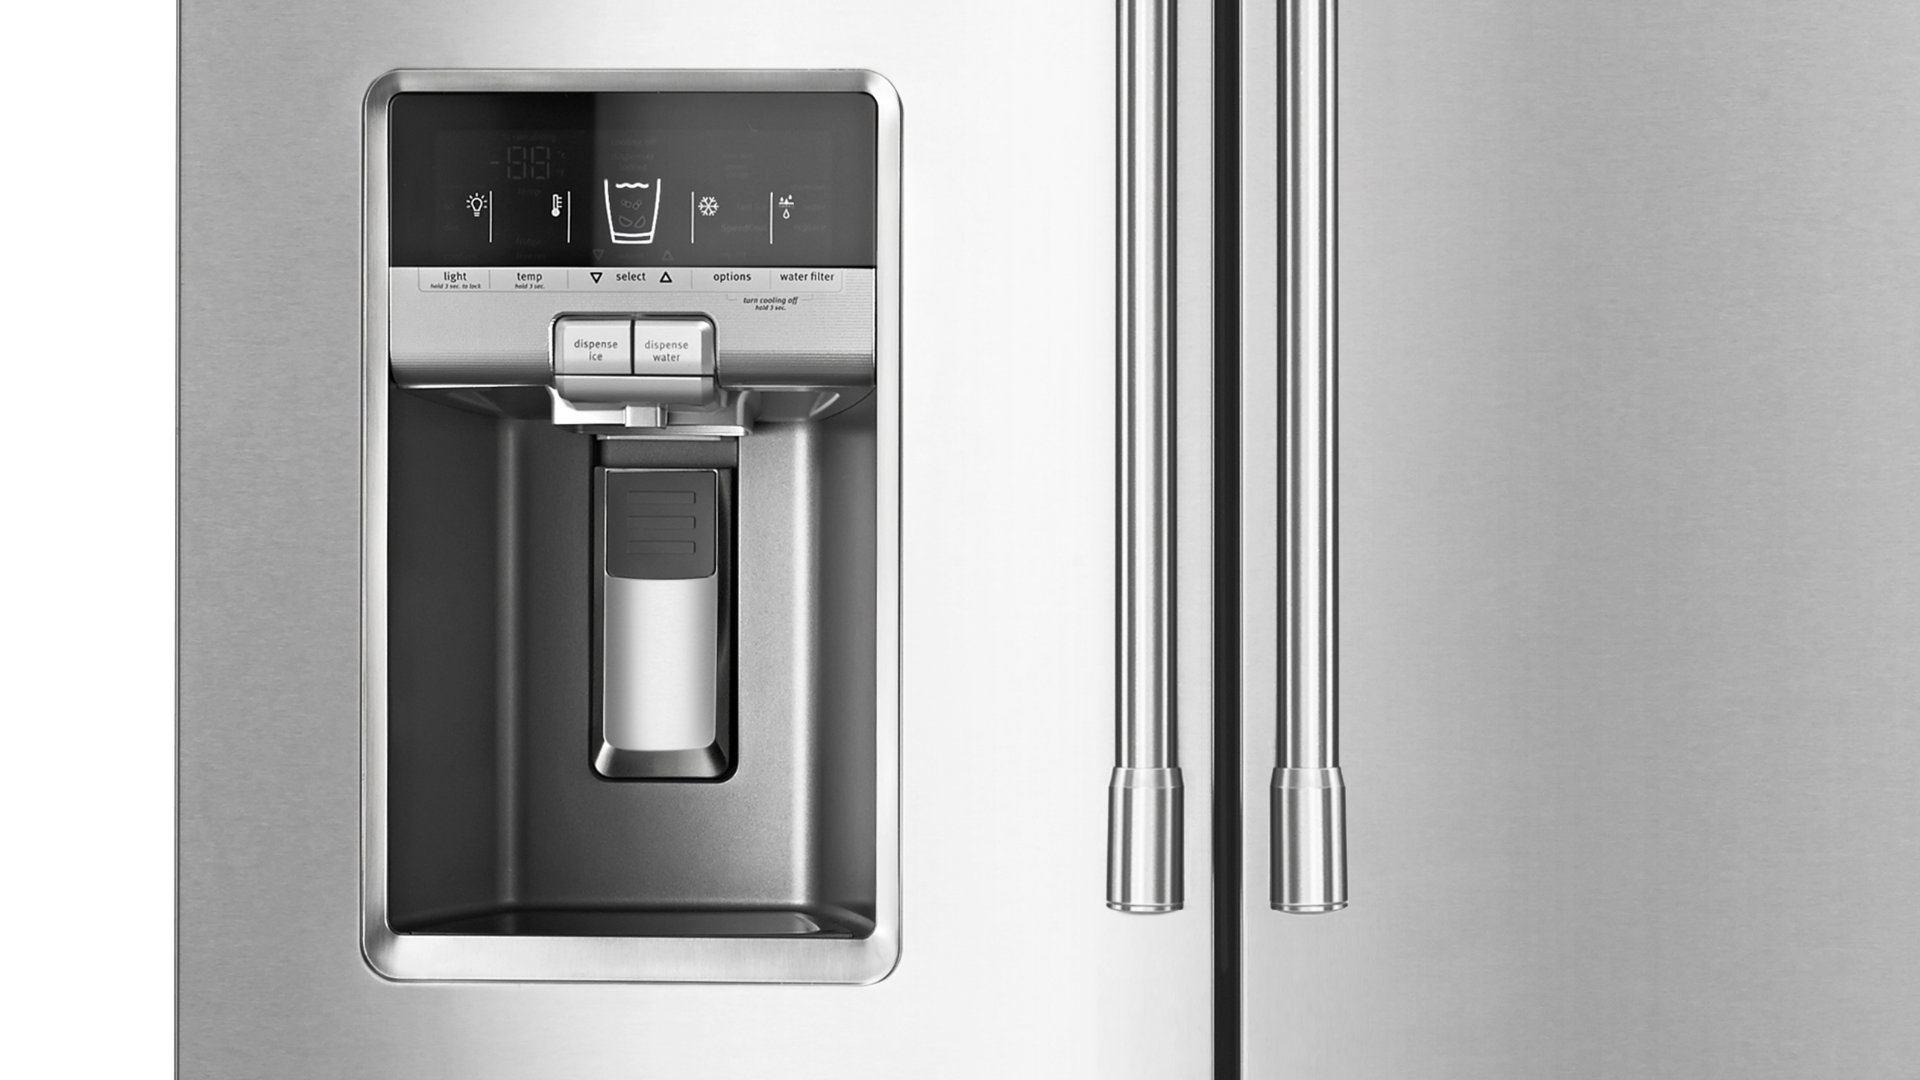
- Locate the dispenser parts: Depending on your refrigerator model, the water dispenser components may be located on the front of the refrigerator’s door or inside the freezer compartment. Identify and locate the parts that need to be removed for cleaning.
- Remove any screws or fittings: Some dispenser components may be secured with screws or fittings. Use a screwdriver or wrench, if necessary, to remove these fasteners and detach the components.
- Take note of the component arrangement: As you remove each component, take note of their arrangement and orientation. This will make it easier to reassemble them later.
- Carefully detach the dispenser parts: Gently pull or slide the dispenser components away from the refrigerator. Be mindful of any wires or hoses connected to the components and detach them carefully.
Once you have successfully removed the water dispenser components, you can proceed to the next step of soaking them in a vinegar solution to dissolve the calcium buildup.
It’s important to handle the dispenser components with care to avoid any damage. If you’re unsure about the removal process or need additional guidance, consult your refrigerator’s user manual or contact the manufacturer for assistance.
Use a mixture of equal parts water and white vinegar to clean the calcium buildup on your refrigerator water dispenser. Soak a cloth in the solution and place it on the affected area for 10-15 minutes, then scrub gently to remove the buildup.
Step 3: Soaking in Vinegar Solution
After removing the water dispenser components, it’s time to soak them in a vinegar solution. Vinegar is a natural cleaning agent that can effectively dissolve calcium deposits and break down limescale buildup. Follow these steps to soak the dispenser components in a vinegar solution:
- Prepare the vinegar solution: In a container or basin, mix equal parts of white vinegar and water. The amount of solution needed depends on the size of your dispenser components. Ensure that the solution is enough to fully submerge the parts.
- Place the components in the vinegar solution: Submerge the removed dispenser components into the vinegar solution. Make sure they are fully immersed and allow them to soak for at least 1-2 hours. This will give the vinegar enough time to dissolve the calcium deposits.
- Rotate or agitate the components: Occasionally, stir or rotate the dispenser parts within the vinegar solution to ensure that all areas are evenly exposed to the cleaning solution. This will help facilitate the removal of calcium buildup.
- Leave the components to soak overnight (optional): For stubborn calcium deposits, you may choose to leave the components in the vinegar solution overnight. This extended soaking time can enhance the effectiveness of the vinegar in breaking down the deposits.
- Safety precaution: While vinegar is generally safe to use, it produces a strong odor. Make sure to perform this step in a well-ventilated area or open a window to minimize the smell.
Soaking the dispenser components in a vinegar solution will help dissolve and loosen the calcium deposits, making it easier to remove them in the following steps. After the desired soaking time, proceed to the next step of scrubbing away the remaining calcium deposits.
Remember to always follow safety precautions when handling cleaning solutions and chemicals. If you have any skin sensitivities or allergies, consider wearing gloves while working with the vinegar solution.
Step 4: Scrubbing Away Calcium Deposits
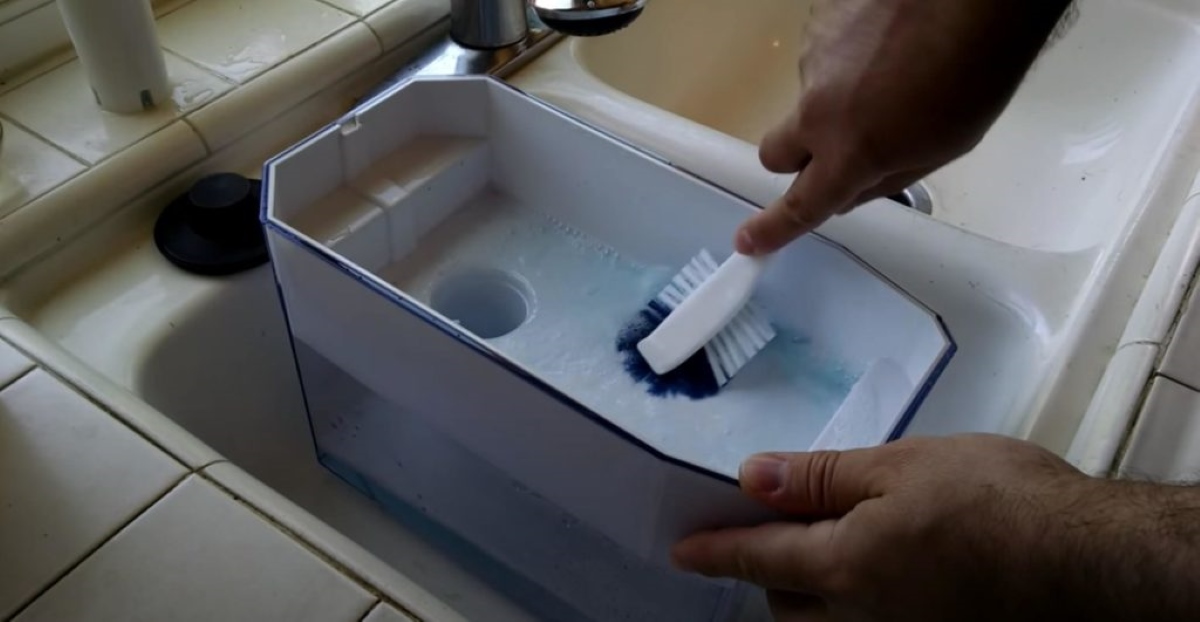
After soaking the water dispenser components in the vinegar solution, it’s time to scrub away the loosened calcium deposits. This step involves using a soft brush or toothbrush to gently scrub the parts and remove any remaining buildup. Follow these steps to effectively scrub away the calcium deposits:
- Take one of the soaked dispenser components out of the vinegar solution and place it on a clean surface.
- Using a soft brush or toothbrush, start scrubbing the surface of the component. Focus on areas where calcium deposits are visible or felt.
- Gently scrub in a circular motion, applying moderate pressure. Be careful not to use excessive force that could damage the surface of the component.
- If needed, dip the brush into the vinegar solution to increase the effectiveness of the cleaning process. Alternatively, you can also make a paste by mixing baking soda with vinegar and use it as a scrubbing agent.
- Continue scrubbing until all visible calcium deposits are removed. Pay attention to intricate areas and hard-to-reach corners.
- Rinse the component with clean water to remove any vinegar solution or residue.
- Inspect the component to ensure that all calcium deposits have been removed. If necessary, repeat the scrubbing process or move on to the next component.
- Once all the dispenser components have been scrubbed and cleaned, set them aside and allow them to air dry completely.
It’s important to be patient and thorough while scrubbing away the calcium deposits. Take your time to ensure that each component is cleaned properly. Remember, gentle scrubbing is key to avoid damaging the surfaces of the parts.
If you encounter stubborn calcium deposits that are difficult to remove, you can try using a plastic scraper or a blunt object wrapped in a soft cloth to carefully scrape away the buildup. However, exercise caution to avoid scratching or damaging the components.
Once you have finished scrubbing away the calcium deposits, proceed to the next step to rinse and reassemble the dispenser parts.
Step 5: Rinsing and Reassembling the Dispenser Parts
After scrubbing away the calcium deposits, it’s important to thoroughly rinse the dispenser parts to remove any lingering vinegar solution or residue. Follow these steps to rinse and reassemble the dispenser parts:
- Take each cleaned dispenser component and rinse it under running water. Make sure to rinse off any vinegar solution and residue, ensuring that the parts are thoroughly cleaned.
- Inspect each component to ensure that no traces of calcium deposits remain. If any deposits are still present, repeat the rinsing and scrubbing process until the parts are completely clean.
- Gently dry each component using a clean towel or paper towels. Ensure that they are completely dry before proceeding to the reassembly step.
- Refer to your refrigerator’s user manual for proper guidance on how to reassemble the dispenser parts. Follow the instructions provided to ensure correct installation and alignment of the components.
- If any screws or fittings were removed during the dismantling process, use the screwdriver or wrench to securely fasten them back into place.
- Double-check all connections and make sure that the dispenser parts are properly fitted and aligned. Any loose connections can lead to leaks or malfunctioning of the water dispenser.
Once you have reassembled all the dispenser parts, your refrigerator’s water dispenser should be ready to use. Take a moment to test the water flow and ensure that it’s functioning properly. If you notice any issues, such as reduced water flow or leaks, double-check the assembly and connections to make sure everything is properly secured.
Congratulations! You have successfully cleaned and reassembled the calcium buildup on your refrigerator’s water dispenser. By regularly performing this cleaning process, you can maintain the performance and reliability of your water dispenser for years to come.
Now that your refrigerator water dispenser is clean, you can reconnect the water supply and enjoy refreshing and clean water at your convenience.
Step 6: Reattaching the Water Supply
Once you have completed the cleaning and reassembly process of your refrigerator water dispenser, it’s time to reattach the water supply. Follow these steps to ensure a secure and proper reattachment:
- Locate the water supply valve that you disconnected earlier. It is typically located at the back of the refrigerator or under the sink.
- Using a wrench or your hand, turn the water supply valve in a counterclockwise direction to open it. This will restore the water flow to the refrigerator.
- Take a moment to check for any leaks around the water supply connection. If you notice any, tighten the fittings or connections to ensure a secure seal.
- Once you have confirmed that there are no leaks, proceed to test the water dispenser. Press the dispenser lever or button to dispense water and ensure that it flows smoothly and without any issues.
- If you notice any irregularities, such as reduced water flow or unusual noises, double-check the reattachment of the water supply. Ensure that all connections are securely tightened.
- Once you are satisfied with the functionality of the water dispenser, plug your refrigerator back into the power source if you had unplugged it earlier.
Congratulations! You have successfully reattached the water supply to your refrigerator’s water dispenser. You can now enjoy clean and refreshing water without any calcium buildup or taste issues.
It’s important to note that regular maintenance and cleaning of your refrigerator water dispenser will help prevent calcium buildup in the future. Consider incorporating this cleaning process into your routine maintenance schedule to ensure optimal performance and long-lasting functionality of your dispenser.
With proper care and maintenance, your refrigerator’s water dispenser can continue to provide you with convenient access to clean and refreshing water for years to come.
Read more: How To Set Up Brio Water Dispenser
Conclusion
Cleaning calcium buildup from your refrigerator water dispenser is an essential maintenance task to ensure clean and refreshing water for you and your family. Calcium deposits can not only affect the taste and quality of the water but also lead to clogs and reduced water flow. By following the step-by-step process outlined in this article, you can effectively clean the calcium deposits and restore your water dispenser to optimal functioning.
It is crucial to understand the causes and consequences of calcium buildup in order to properly address this issue. Hard water, containing high levels of minerals like calcium and magnesium, is the primary culprit behind the formation of limescale deposits. These deposits can accumulate in various parts of the water dispenser, impacting its performance and hygiene.
The cleaning process begins with disconnecting the water supply and removing the dispenser components. Soaking the components in a vinegar solution helps dissolve the calcium deposits, making them easier to remove. Scrubbing away the deposits with a soft brush or toothbrush ensures a thorough cleaning. After rinsing and drying the components, reassembly is done following the manufacturer’s instructions.
Finally, reattaching the water supply is the last step, ensuring that the dispenser is ready to deliver clean and refreshing water once again. It is important to check for any leaks and test the water flow to ensure everything is in proper working order.
Regular maintenance and cleaning of your refrigerator water dispenser will go a long way in preventing calcium buildup and prolonging the lifespan of the appliance. By incorporating this cleaning process into your routine maintenance schedule, you can enjoy clean and refreshing water at all times.
Remember, safety is paramount when performing any maintenance or cleaning tasks. Always refer to your refrigerator’s user manual for specific instructions and recommendations. If you have any concerns or doubts, it’s best to consult the manufacturer or seek professional assistance.
With just a little effort and the right tools, you can keep your refrigerator water dispenser free from calcium buildup and enjoy clean, fresh-tasting water whenever you need it.
Frequently Asked Questions about How To Clean Calcium Build Up On Refrigerator Water Dispenser
Was this page helpful?
At Storables.com, we guarantee accurate and reliable information. Our content, validated by Expert Board Contributors, is crafted following stringent Editorial Policies. We're committed to providing you with well-researched, expert-backed insights for all your informational needs.


0 thoughts on “How To Clean Calcium Build Up On Refrigerator Water Dispenser”