Articles
How To Clean Whirlpool Fridge Water Dispenser
Modified: August 23, 2024
Learn the best techniques and products to effectively clean your Whirlpool fridge water dispenser. Find helpful articles and tips for maintaining a sparkling clean dispenser.
(Many of the links in this article redirect to a specific reviewed product. Your purchase of these products through affiliate links helps to generate commission for Storables.com, at no extra cost. Learn more)
Introduction
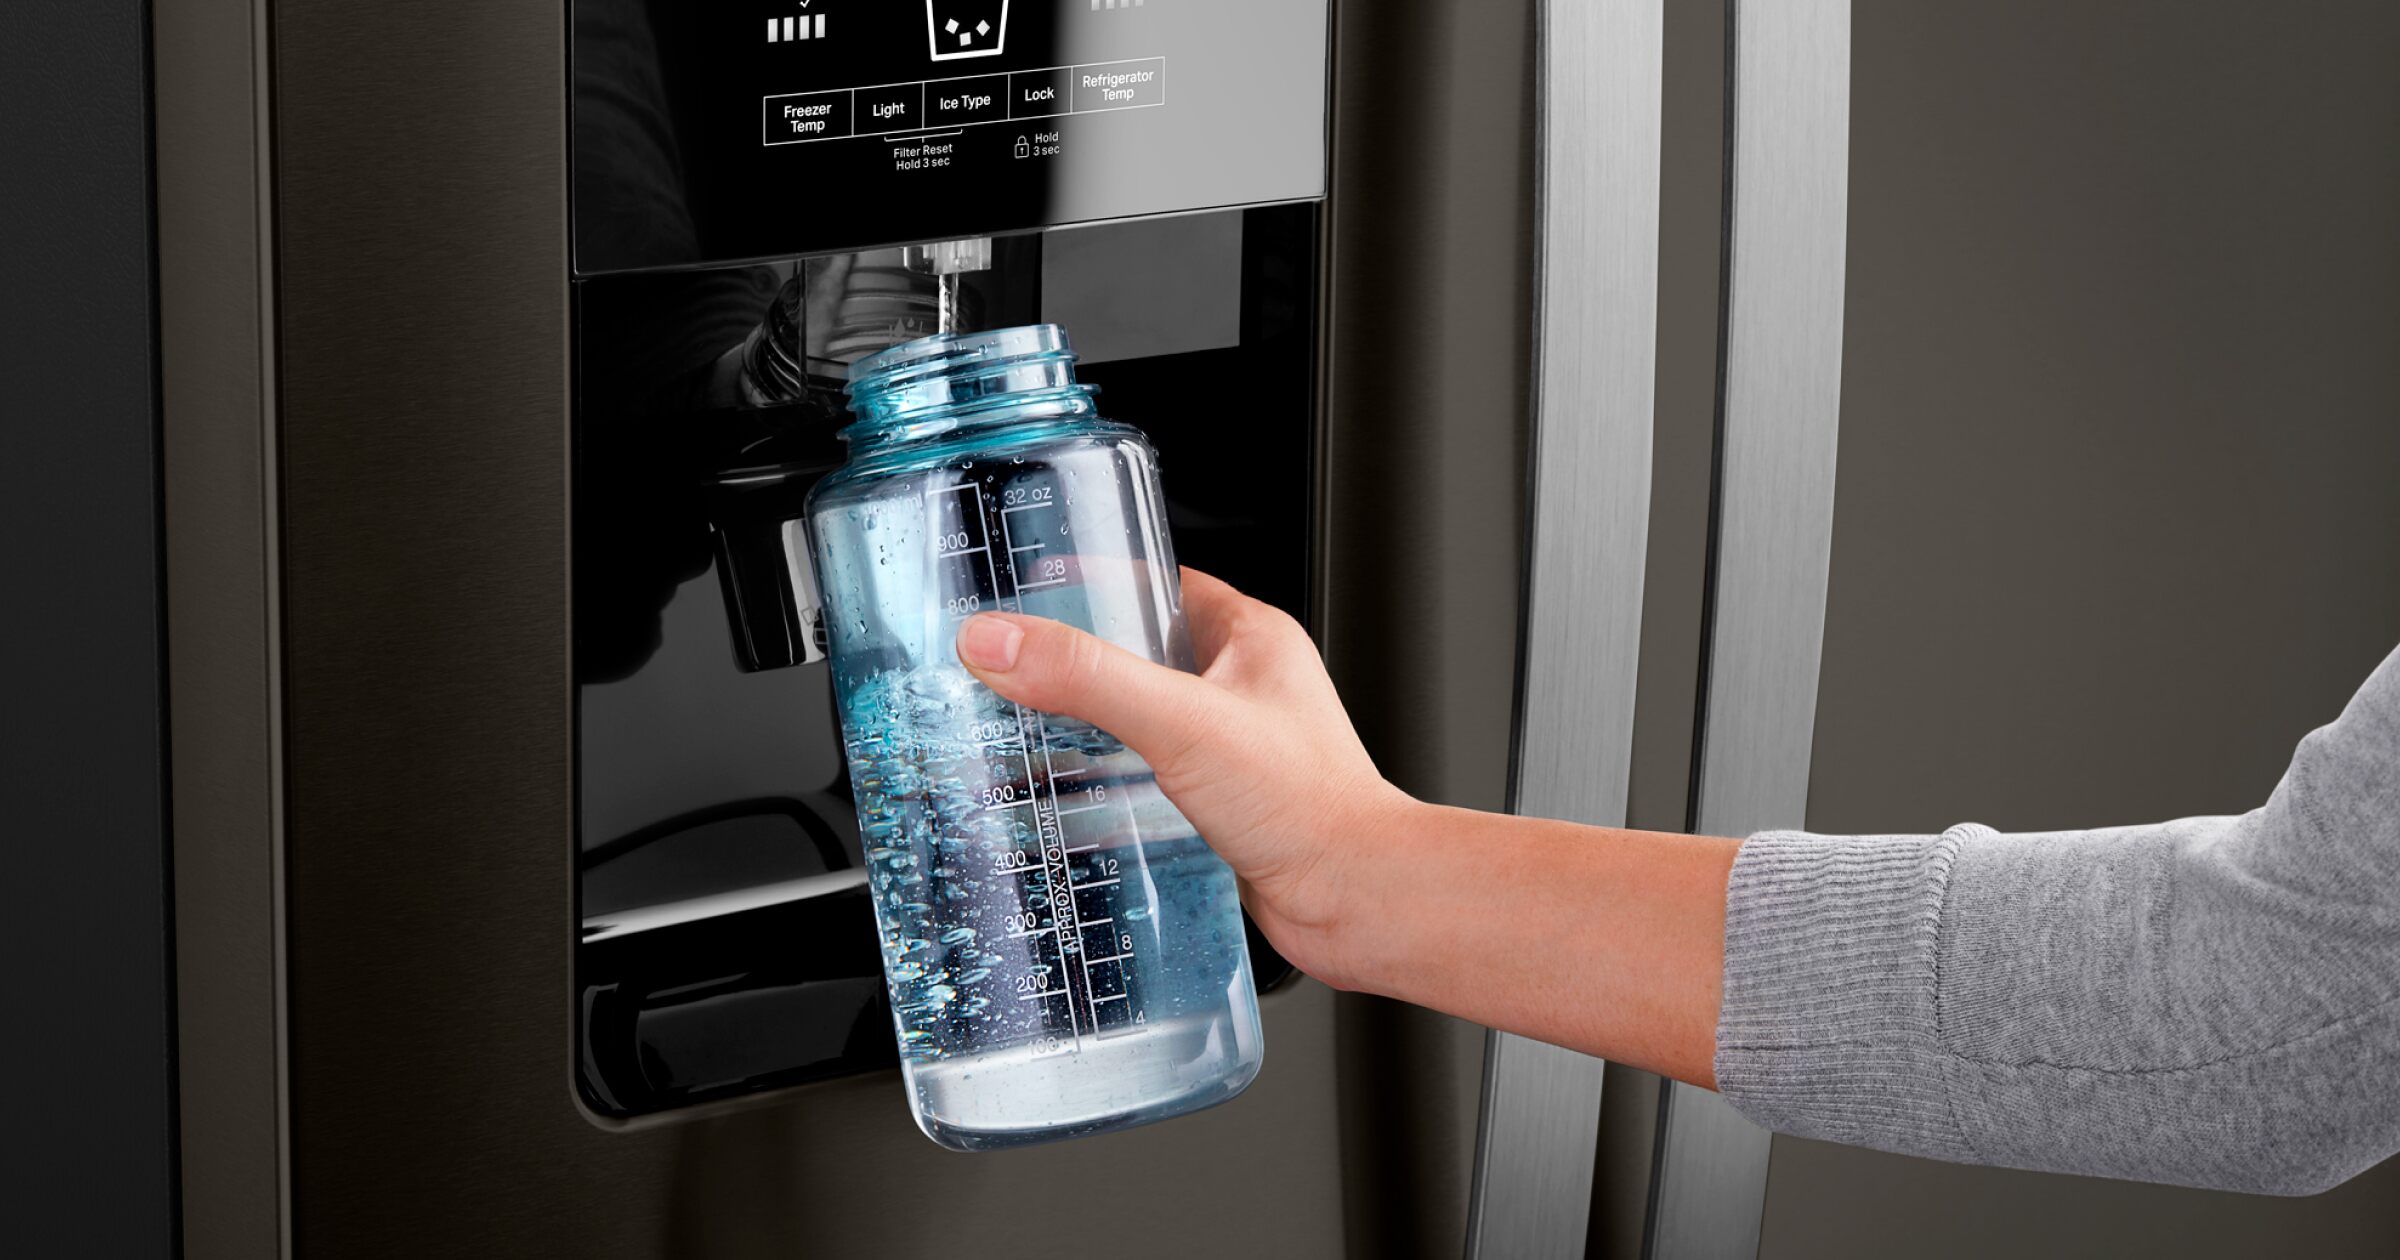
Welcome to this comprehensive guide on how to clean your Whirlpool fridge water dispenser. Over time, the water dispenser on your refrigerator can accumulate dirt, germs, and mineral deposits, affecting the taste and quality of your drinking water. Regular maintenance and cleaning of your water dispenser are essential to ensure clean and refreshing water for you and your family.
In this article, we will walk you through the step-by-step process of cleaning your Whirlpool fridge water dispenser. We will provide you with a list of necessary supplies and guide you on how to properly clean each component of the dispenser. By following these instructions, you’ll be able to maintain a hygienic and functioning water dispenser.
Before we dive into the cleaning process, it is important to note that you should consult your Whirlpool refrigerator’s user manual for specific instructions related to your model. Different models may have slight variations in the cleaning process, so it’s always a good idea to double-check the manufacturer’s guidelines.
Now, let’s gather the supplies you’ll need to clean your Whirlpool fridge water dispenser.
Key Takeaways:
- Regularly cleaning your Whirlpool fridge water dispenser with warm soapy water and mild dish soap helps remove dirt, germs, and mineral deposits, ensuring clean and refreshing water for you and your family.
- Unplugging the fridge, removing and cleaning the water dispenser tray and drip tray, and thoroughly drying all components are essential steps to maintain a hygienic and functioning water dispenser. Remember to consult your Whirlpool refrigerator’s user manual for specific instructions.
Supplies Needed
Before you begin cleaning your Whirlpool fridge water dispenser, make sure you have the following supplies handy:
- Gloves
- A small brush or toothbrush
- Mild dish soap
- Warm water
- Soft cloth or sponge
- Vinegar (optional)
These supplies will help you effectively remove dirt, grime, and mineral deposits from the various components of your water dispenser. Now that you have all the necessary supplies, let’s move on to the step-by-step cleaning process.
Step 1: Unplug the Fridge
The first step in cleaning your Whirlpool fridge water dispenser is to unplug the refrigerator from the power source. This is an important safety precaution that will prevent any accidents from occurring while you are cleaning the dispenser.
Locate the power cord at the back of the refrigerator and gently unplug it from the electrical outlet. Make sure to handle the cord and plug with dry hands to avoid any electrical shocks. Once the fridge is unplugged, you can proceed to the next step.
By unplugging the fridge, you ensure that there is no power running to the water dispenser. This will allow you to clean the dispenser without any potential electrical hazards. Safety should always be a priority when performing any maintenance tasks on appliances.
Now that you have unplugged the fridge, let’s move on to the next step: removing the water dispenser tray.
Step 2: Remove the Water Dispenser Tray
Once the fridge is unplugged, it’s time to remove the water dispenser tray. The tray is located at the bottom of the water dispenser, and it catches any excess water that drips from the dispenser.
To remove the water dispenser tray, gently pull it forward. In some models, you may need to lift it slightly before pulling it out. Be careful not to spill any water that may be in the tray during the removal process.
Once the tray is removed, you can set it aside for cleaning. Empty out any water that may be present in the tray. Now, let’s move on to the next step: removing the drip tray.
Note: If your Whirlpool fridge does not have a removable water dispenser tray, you can skip this step and proceed to Step 3.
Step 3: Remove the Drip Tray
After removing the water dispenser tray, it’s time to remove the drip tray. The drip tray is located underneath the water dispenser, and it collects any excess water that drips from the dispenser or the ice maker.
To remove the drip tray, carefully pull it forward. In some models, the drip tray may be attached with clips or screws. If that’s the case, use a screwdriver or a suitable tool to remove any fasteners and then slide the drip tray out.
Once you have removed the drip tray, empty out any accumulated water and set it aside for cleaning. It’s important to regularly clean the drip tray, as it can become a breeding ground for bacteria or develop unpleasant odors if left unattended.
If your Whirlpool fridge does not have a removable drip tray, you can move on to the next step: cleaning the trays and dispenser nozzle. Let’s proceed to Step 4.
Read more: Why Is Water Dispenser On Fridge Not Working
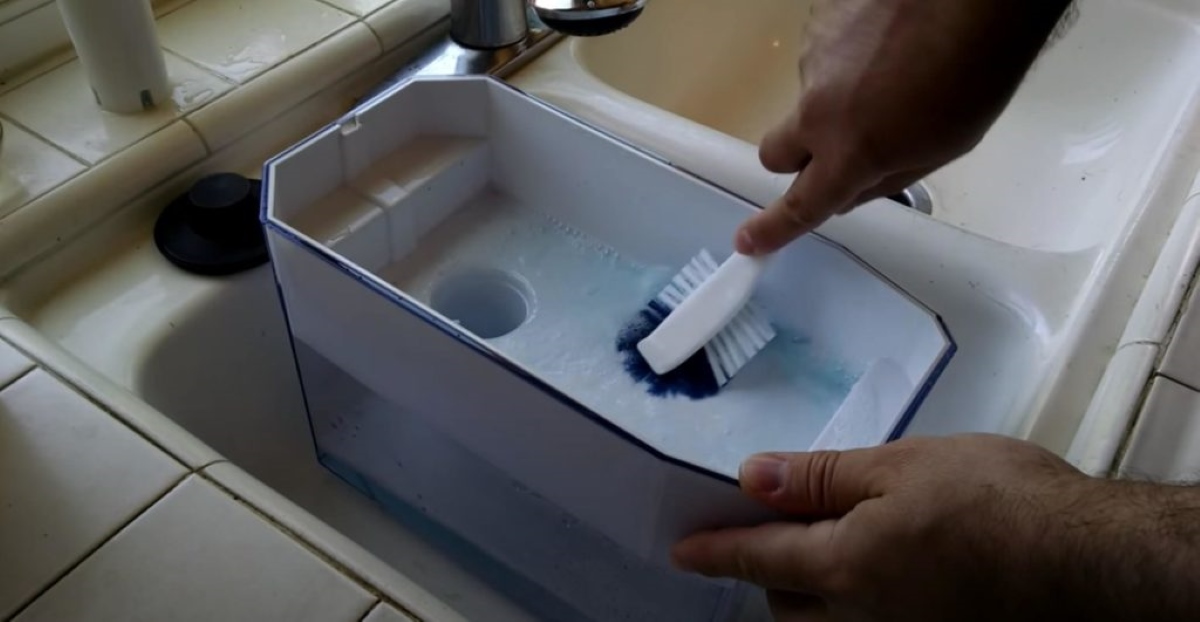
Step 4: Use Warm Soapy Water to Clean the Trays
Now that you have removed the water dispenser tray and drip tray, it’s time to clean them using warm soapy water. This will help remove any dirt, bacteria, or mineral deposits that may have accumulated over time.
Fill a sink or a basin with warm water and add a few drops of mild dish soap. Swirl the water gently to create a soapy solution.
Take the water dispenser tray and the drip tray and place them into the soapy water. Let them soak for a few minutes to loosen any stubborn stains or residue.
After soaking, use a soft cloth or sponge to scrub the trays gently. Pay attention to all the nooks and crannies of the trays, ensuring thorough cleaning. If there are any tough stains, you can use a small brush or a toothbrush to scrub them away.
Make sure to clean both the inside and outside surfaces of the trays. Rinse them thoroughly under running water to remove any soap residue.
Once the trays are clean, set them aside on a clean towel or drying rack to air dry. This will help prevent any possible bacterial growth.
Now that the trays are clean, let’s move on to Step 5: cleaning the water dispenser nozzle.
Use a mixture of warm water and mild dish soap to clean the water dispenser. Remove the drip tray and clean it separately. Use a small brush to clean the nozzle and a clean cloth to wipe down the entire area.
Step 5: Clean the Water Dispenser Nozzle
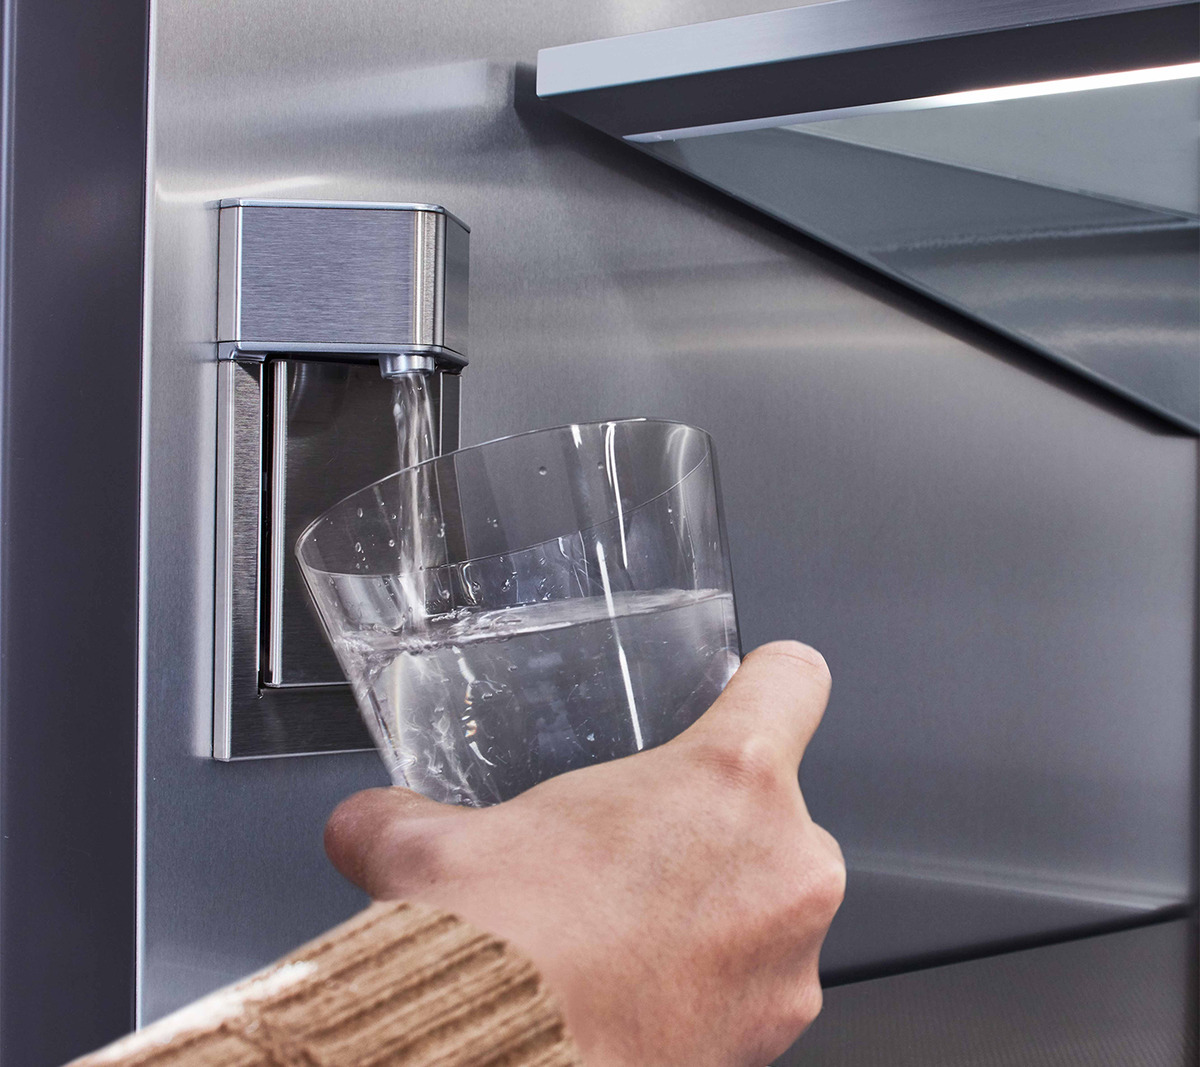
Now that the water dispenser trays are clean, it’s time to focus on cleaning the water dispenser nozzle. The nozzle is the part of the water dispenser where the water actually comes out.
To clean the water dispenser nozzle, dampen a soft cloth or sponge with warm soapy water. Gently wipe the nozzle, removing any dirt or residue that may have accumulated.
If the nozzle has any stubborn stains or mineral deposits, you can use a small brush or a toothbrush to scrub them away. Be careful not to use harsh or abrasive cleaners, as they can damage the nozzle.
If you notice that the water dispenser nozzle is clogged, you can use a small pin or needle to unclog it. Insert the pin into the nozzle and carefully wiggle it to remove any blockage.
After cleaning and unclogging the nozzle, rinse it thoroughly with warm water to remove any soap or debris. Make sure there is no residue left behind that could affect the quality of your water.
Once the water dispenser nozzle is clean, set it aside to air dry or use a soft cloth to dry it completely.
Now that the trays and the nozzle are clean, let’s proceed to Step 6: rinsing and drying the trays and nozzle.
Step 6: Rinse and Dry the Trays and Nozzle
After cleaning the water dispenser trays and nozzle, it’s important to thoroughly rinse them to remove any remaining soap or cleaning solution.
Begin by rinsing the trays under warm running water. Make sure to rinse both the inside and outside surfaces of the trays, ensuring that all the soap residue is washed away.
For the water dispenser nozzle, hold it under running water, allowing the water to flow through it. This will ensure that any remaining soap or debris is flushed out completely.
After rinsing, shake off any excess water from the trays and nozzle. Then, use a soft cloth or towel to gently pat them dry. Make sure they are completely dry before reassembling the water dispenser.
It’s important to ensure that all the components of the water dispenser are completely dry to prevent the growth of mold or bacteria. Moisture can provide a breeding ground for microorganisms, so take your time to thoroughly dry each piece.
Once the trays and nozzle are dry, you can move on to the next step: reassembling the water dispenser.
Step 7: Reassemble the Water Dispenser
Now that you have cleaned and dried the water dispenser trays and nozzle, it’s time to reassemble the water dispenser.
Start by placing the drip tray back into its original position underneath the water dispenser. Make sure it is aligned properly and securely fits into place.
Next, slide the water dispenser tray back into position above the drip tray. Make sure it is seated correctly and fully inserted.
If your Whirlpool fridge has any additional components, such as a water filter or ice maker, make sure to reassemble them according to the manufacturer’s instructions.
Double-check that all the parts are properly aligned and securely in place. This will ensure the proper functioning of the water dispenser and prevent any leaks or malfunctions.
Now that the water dispenser is reassembled, let’s move on to Step 8: plugging the fridge back in and completing the cleaning process.
Step 8: Plug the Fridge Back In
After successfully reassembling the water dispenser, it’s time to plug the fridge back in and complete the cleaning process.
Carefully locate the power cord at the back of the refrigerator and plug it back into the electrical outlet. Ensure that the plug is securely inserted, and there are no loose connections.
Once the fridge is plugged in, wait a few moments for it to power up. This will allow the water dispenser to function properly and ensure that all components are working correctly.
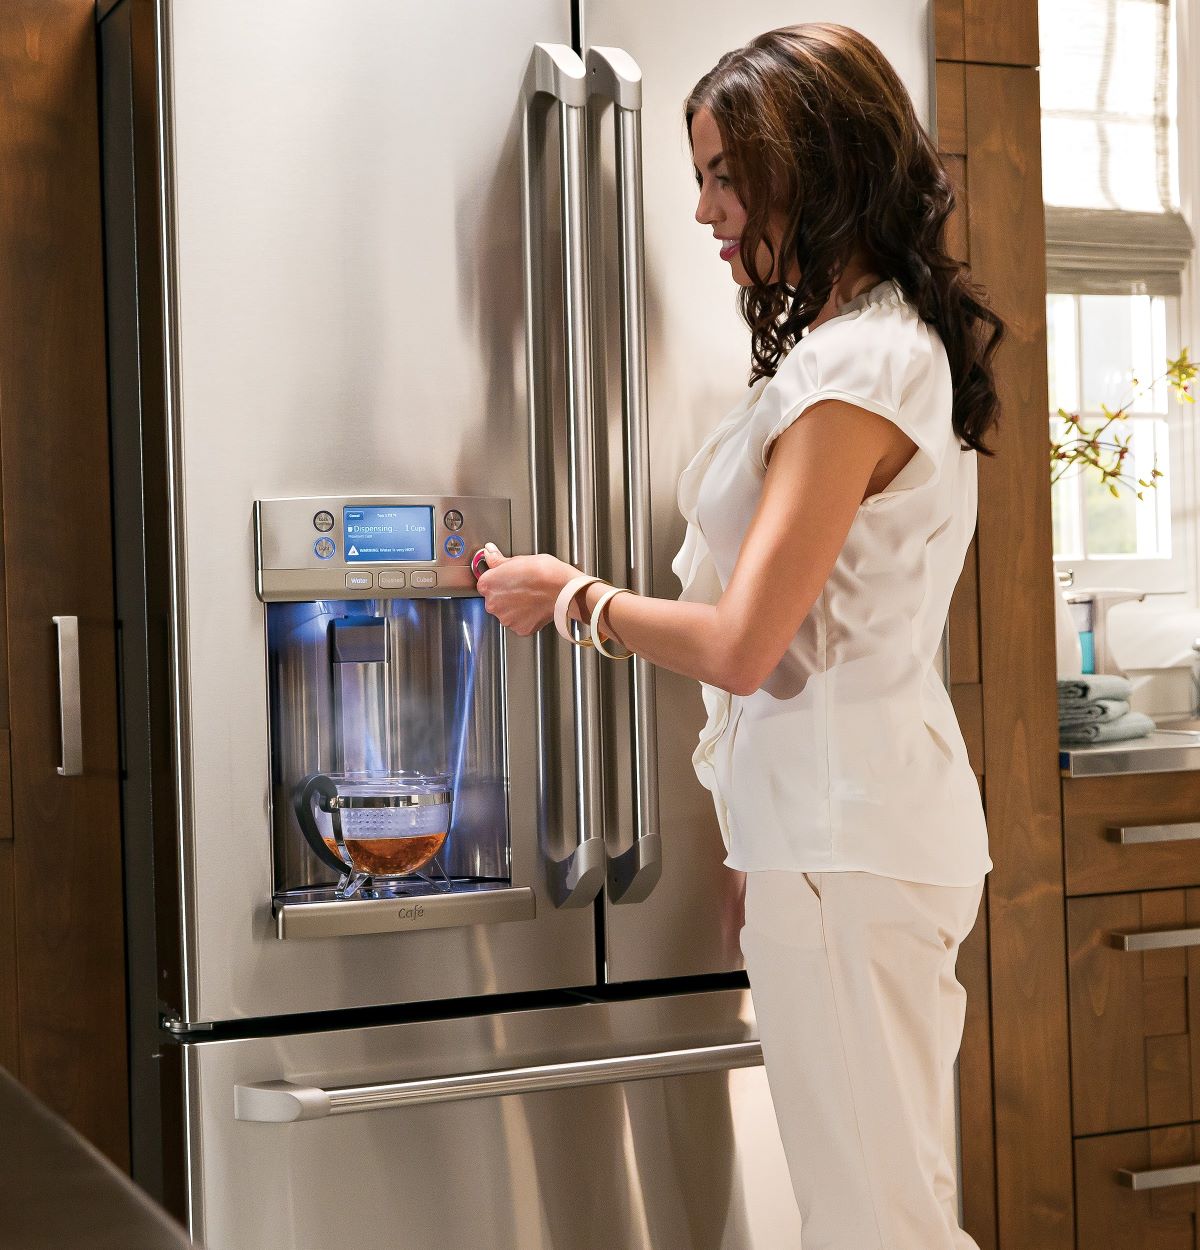
Now that the fridge is back in operation, it’s a good idea to run a few cups of water through the dispenser to flush out any residual cleaning solution or debris.
Hold a cup or container under the water dispenser and press the dispenser lever or button to release water. Discard the first few cups to ensure that the water is clear and clean.
After running a few cups of water through the dispenser, taste the water to ensure that it is fresh and free of any strange flavors. If you notice any unusual taste or odor, repeat the flushing process until the water tastes clean.
Congratulations! You have successfully cleaned your Whirlpool fridge water dispenser. By performing regular cleaning and maintenance, you can enjoy clean and refreshing water from your fridge.
Remember to consult your Whirlpool refrigerator’s user manual for specific instructions related to your model and recommended cleaning schedules.
Thank you for following this step-by-step guide. We hope you found it helpful and that your water dispenser will continue to provide you with fresh, clean water for years to come.
Stay hydrated and enjoy your refreshed water!
Conclusion
Cleaning your Whirlpool fridge water dispenser is a simple and necessary task to ensure the quality of your drinking water. By following the step-by-step guide outlined in this article, you can effectively remove dirt, germs, and mineral deposits from the various components of the dispenser.
We started by unplugging the fridge to prioritize safety during the cleaning process. Then, we removed the water dispenser tray and drip tray, cleaning them with warm soapy water. Next, we focused on cleaning the water dispenser nozzle, ensuring it was free from any clogs or residue.
After cleaning the trays and nozzle, we emphasized the importance of rinsing and thoroughly drying them to prevent mold or bacterial growth. Finally, we reassembled the water dispenser and plugged the fridge back in, completing the cleaning process.
Regularly cleaning your Whirlpool fridge water dispenser will not only maintain the cleanliness and taste of your water but also prolong the lifespan of the appliance. It is recommended to clean the dispenser at least once every three months, or more frequently if you notice any issues or concerns.
Remember, always consult your Whirlpool refrigerator’s user manual for specific cleaning instructions and guidelines tailored to your model. These instructions will ensure you are following the manufacturer’s recommendations and best practices.
By dedicating a little time and effort to clean your water dispenser, you can enjoy fresh, clean, and great-tasting water from your fridge. So, take the steps outlined in this guide, and elevate the quality of your drinking water today!
Keeping your Whirlpool fridge's water dispenser clean ensures fresh, safe drinking water, but don't forget about your ice maker! Regular cleaning and maintenance of the ice maker are just as crucial for optimal performance and hygiene. If you're unsure where to start, our guide on maintaining refrigerators will walk you through the process with simple, easy-to-follow steps. Keep all your kitchen appliances in top shape, ensuring they serve you well for years to come. Interested in learning more about taking care of your refrigerator's ice-making components? Check out our detailed guide.
Frequently Asked Questions about How To Clean Whirlpool Fridge Water Dispenser
Was this page helpful?
At Storables.com, we guarantee accurate and reliable information. Our content, validated by Expert Board Contributors, is crafted following stringent Editorial Policies. We're committed to providing you with well-researched, expert-backed insights for all your informational needs.


0 thoughts on “How To Clean Whirlpool Fridge Water Dispenser”