Home>Articles>How To Get Ring Doorbell To Work With Existing Chime

Articles
How To Get Ring Doorbell To Work With Existing Chime
Modified: October 18, 2024
Learn how to set up your Ring Doorbell to work with your existing chime in this informative article. Discover step-by-step instructions and troubleshooting tips.
(Many of the links in this article redirect to a specific reviewed product. Your purchase of these products through affiliate links helps to generate commission for Storables.com, at no extra cost. Learn more)
Introduction
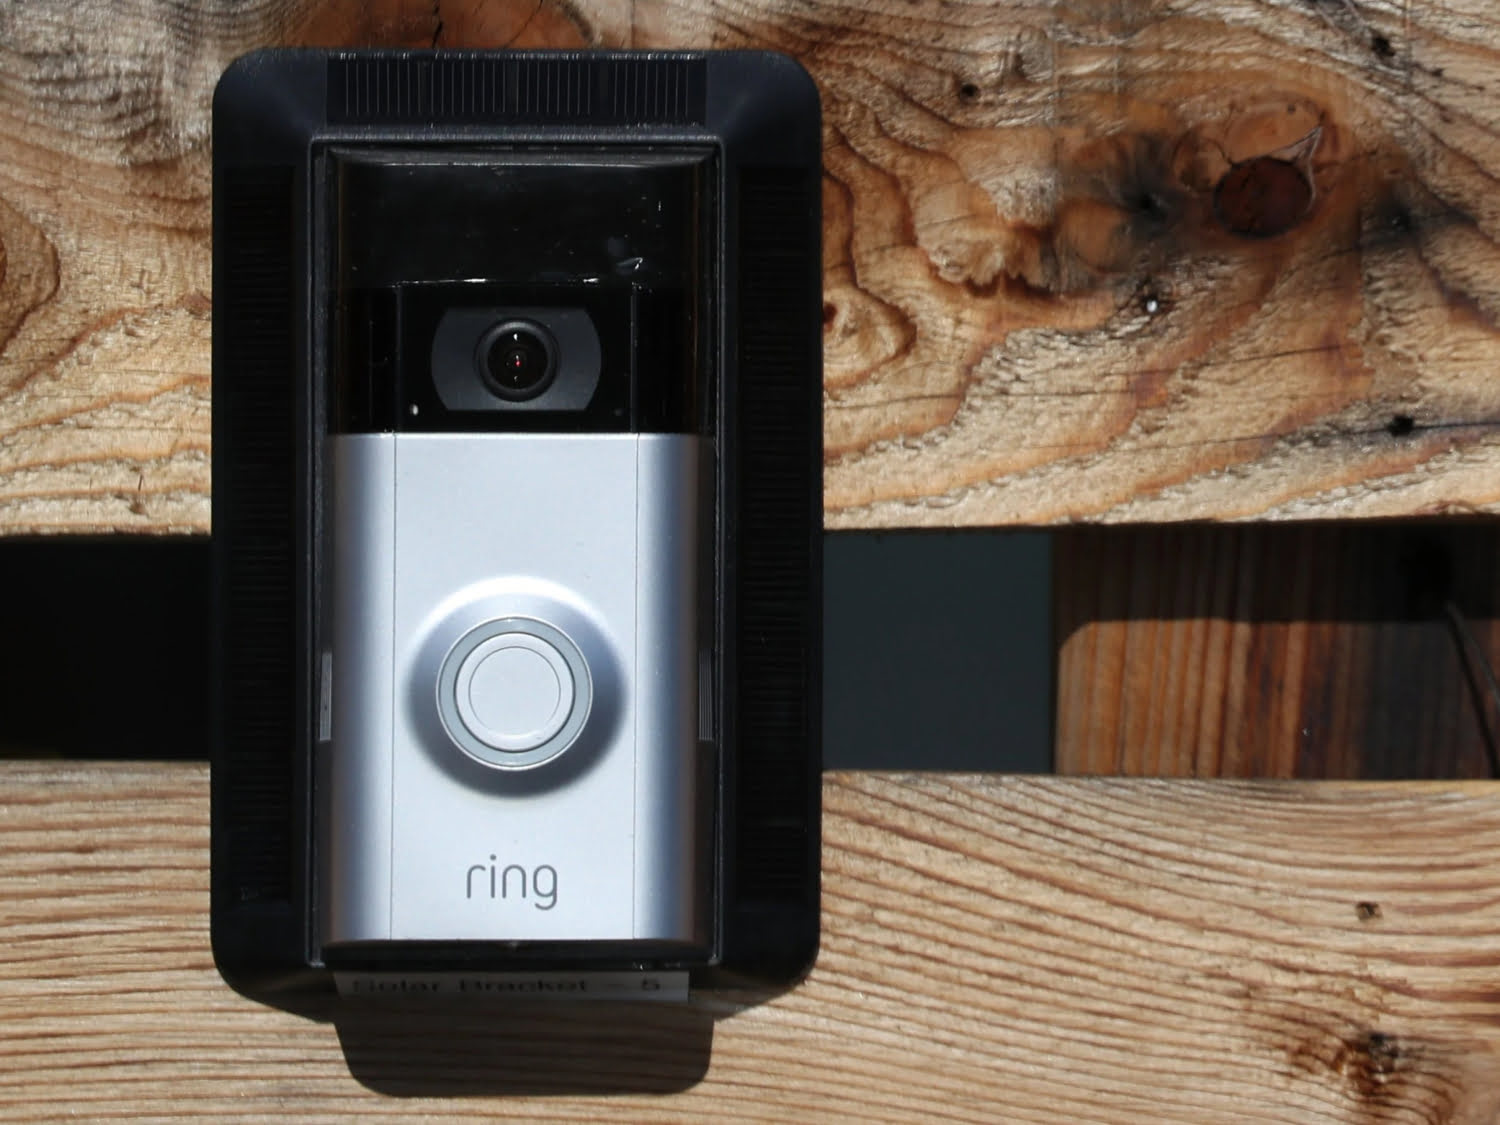
Ring Doorbell is a popular smart doorbell that allows you to see, hear, and speak to anyone at your door from your smartphone or computer. With its advanced features and ease of use, it has quickly become a must-have device for home security. But what if you already have an existing chime installed in your home? Can the Ring Doorbell be integrated with it?
The good news is that Ring Doorbell is compatible with many existing doorbell chimes, allowing you to enjoy the convenience of a video doorbell without having to replace your current setup. In this article, we will guide you through the process of getting your Ring Doorbell to work seamlessly with your existing chime.
Before we dive into the steps, it’s important to note that not all existing chimes will be compatible with the Ring Doorbell. Some older or incompatible models may require additional wiring or even the replacement of the chime. However, for most modern chimes, the integration process is relatively straightforward.
Key Takeaways:
- Ensure your existing chime is compatible with Ring Doorbell by checking voltage, transformer, wiring, and model. Seek professional help if uncertain.
- Prepare and connect wiring carefully, test chime functionality, troubleshoot issues, and seek support if needed for a seamless integration.
Read more: How To Connect To An Existing Ring Doorbell
Checking Compatibility
Before you start the installation process, it’s essential to determine if your existing chime is compatible with the Ring Doorbell. Here are the steps to check compatibility:
- Check the voltage: The Ring Doorbell requires a voltage of 8-24 volts AC. You can find the voltage information on your existing chime or consult the manufacturer’s documentation. If the voltage is within this range, your chime should be compatible.
- Look for a transformer: Locate the transformer that powers your existing chime. This transformer is typically installed near your electrical panel or inside the chime housing. Ensure that the transformer is delivering the required voltage to the chime. If the voltage is correct, you’re on the right track.
- Inspect the wiring: Examine the wiring connecting your existing chime to the transformer. Make sure the wires are in good condition without any signs of damage. If the wiring is faulty, it may affect the compatibility and functionality of the Ring Doorbell.
- Check for a digital chime: If your existing chime is a digital or electronic model, it might not be compatible with the Ring Doorbell. Digital chimes often require a bypass or resistor to work effectively. Consult the Ring Doorbell’s compatibility documentation or contact their support team to determine if a workaround is available.
- Research your specific chime model: If you’re still unsure about compatibility, take note of the make and model of your existing chime and search for information online. Check the manufacturer’s website or user manual to see if they mention compatibility with smart doorbells like the Ring Doorbell.
Following these steps will give you a good idea of whether your existing chime is compatible with the Ring Doorbell. If you have any doubts or concerns, it’s best to reach out to the Ring support team for further assistance. Once you determine compatibility, you can proceed with the installation process.
Wiring Preparation
Before you can connect the Ring Doorbell to your existing chime, it’s essential to ensure that the wiring is properly prepared. Follow these steps to prepare the wiring for a seamless installation:
- Power off the circuit: Start by turning off the power to your existing doorbell circuit. Locate the circuit breaker or fuse that controls the doorbell and switch it off to prevent any electrical accidents during the installation process.
- Remove the old doorbell: Unscrew and remove the cover of your existing doorbell to access the wiring. Note the location of the wires and take a picture for reference before disconnecting anything.
- Check the condition of the wiring: Examine the existing wiring for any signs of damage, such as fraying or exposed wires. If you notice any issues, it’s best to replace the wiring to ensure a secure connection between the Ring Doorbell and your existing chime.
- Clean the wiring area: Clear any dust, debris, or old adhesive from the wiring area. This will ensure a clean and stable connection between the Ring Doorbell and the existing chime.
- Prepare the Ring Doorbell wiring: If your existing wiring is intact and compatible, you can use the wiring provided with the Ring Doorbell. Strip the ends of the wires to expose the copper part, which will be used for the connection.
- Label the wires: It’s crucial to label the wires to avoid confusion during the installation process. Use masking tape or labels to mark each wire with its corresponding terminal, such as “Front,” “Transformer,” or “Chime.”
- Secure the wires: Use a wire clamp or staple to secure the wiring along the door frame or any suitable surface. This will prevent any accidental tugging or damage to the wires once the installation is complete.
- Ensure proper insulation: Double-check that the exposed copper wires are properly insulated and protected. Cover any exposed areas with electrical tape to prevent any potential electrical hazards.
By following these steps, you will ensure that the wiring is in the best possible condition for connecting the Ring Doorbell to your existing chime. Once the wiring is prepared, you’re ready to proceed with the connection process.
Make sure your Ring Doorbell is properly installed and connected to your Wi-Fi network. Then, in the Ring app, go to Device Settings > General Settings > Doorbell Chime Type and select the type of chime you have. This should make your existing chime work with your Ring Doorbell.
Connecting Ring Doorbell to Existing Chime
Now that you have determined the compatibility and prepared the wiring, it’s time to connect the Ring Doorbell to your existing chime. Follow these step-by-step instructions to ensure a successful installation:
- Locate the transformer: Identify the transformer that powers your existing chime. It is typically located near your electrical panel or inside the chime housing.
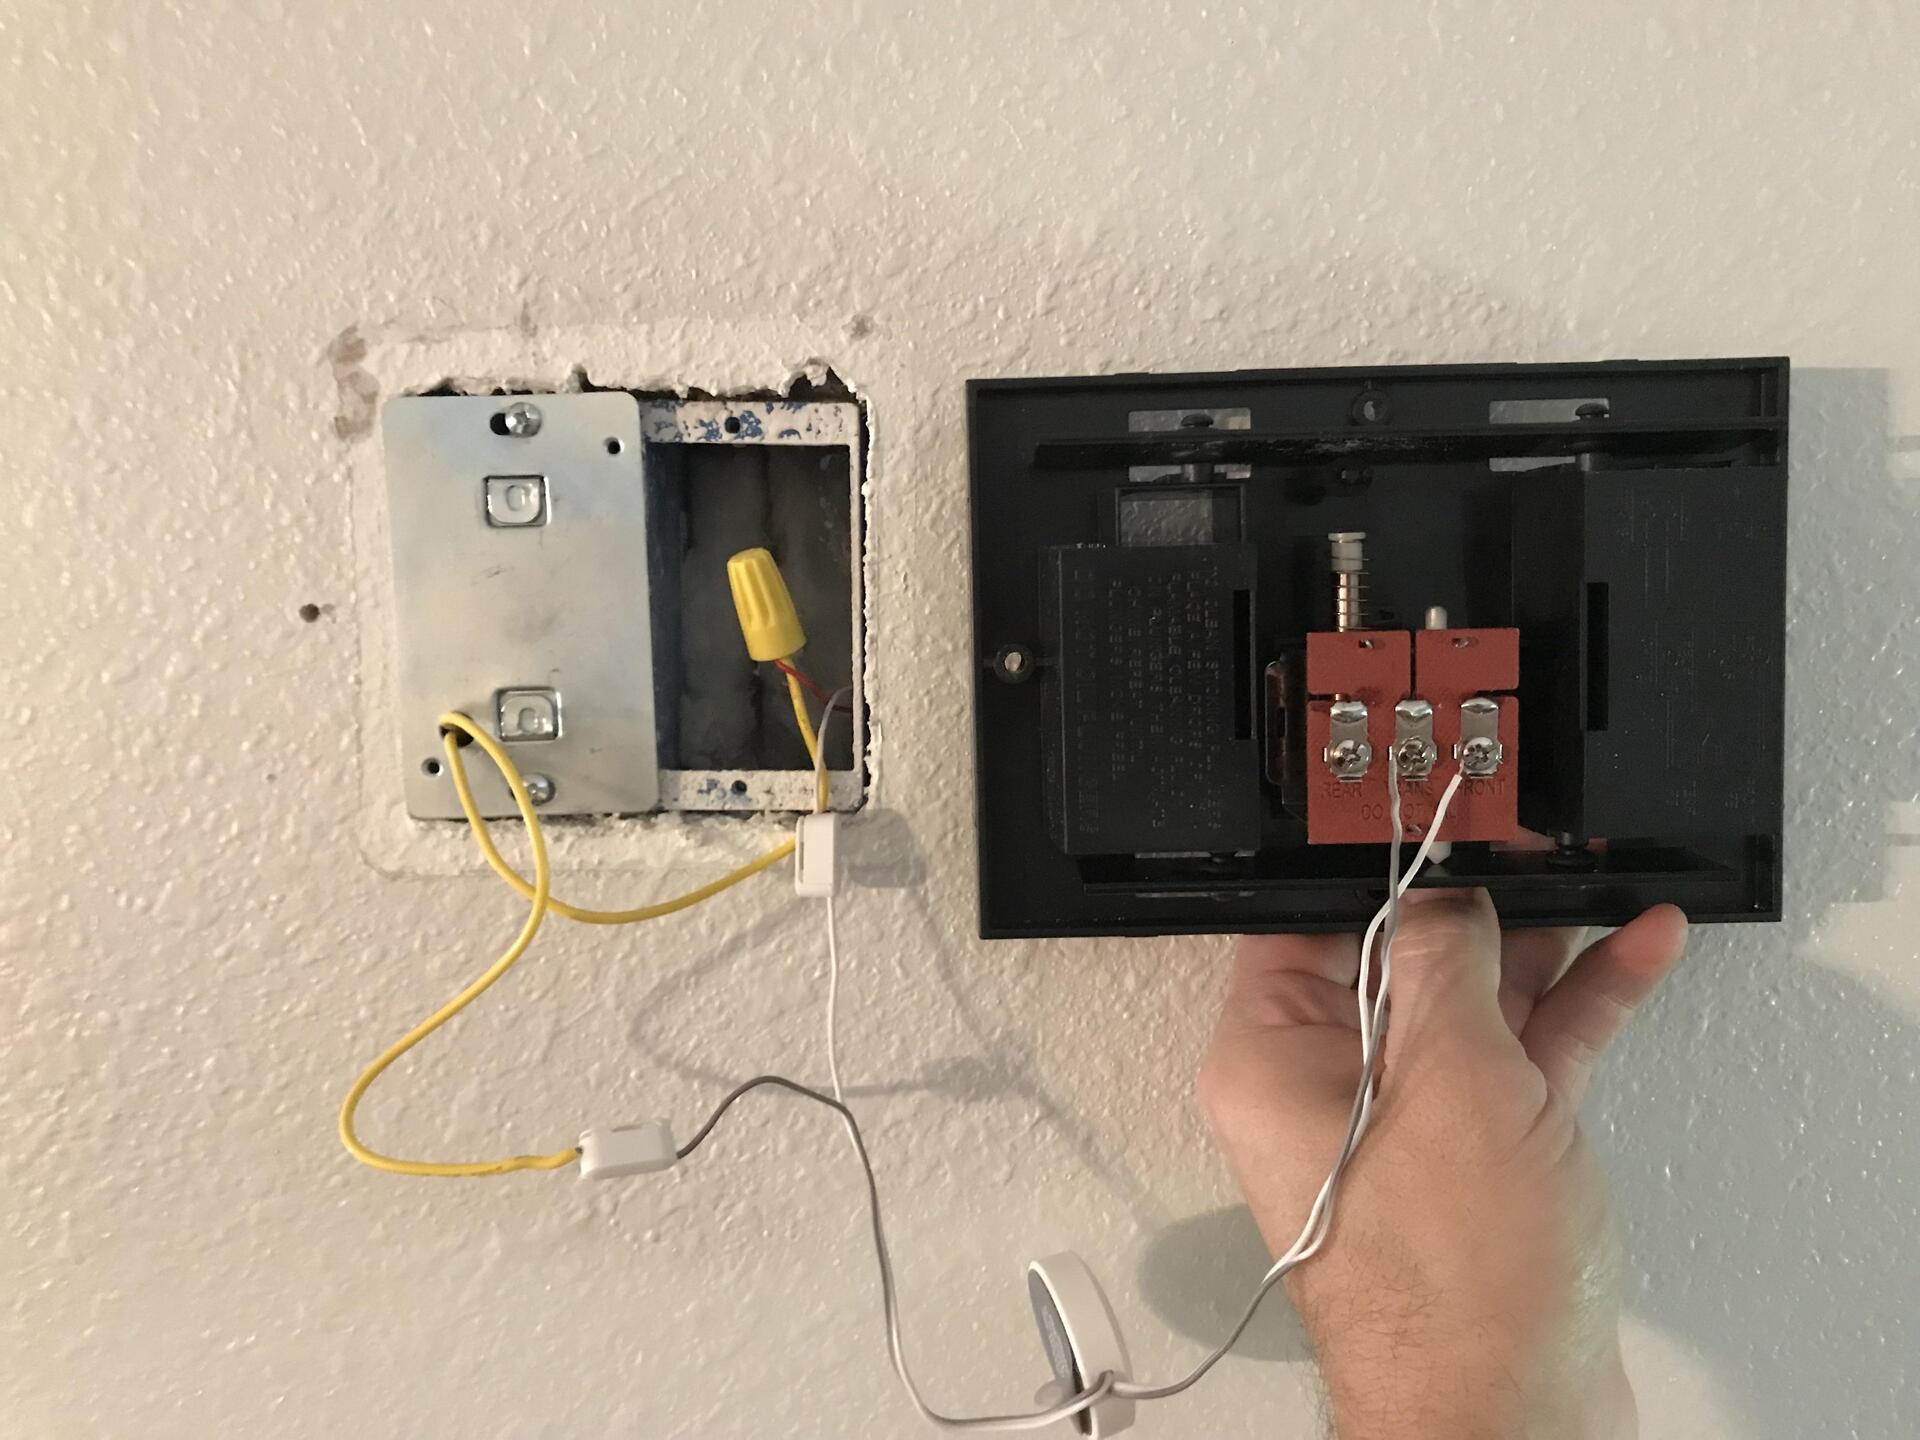
- Disconnect the wires: Carefully disconnect the wires from the old doorbell chime. Take note of how the wires were connected, as you will need to repeat the same connections with the Ring Doorbell.
- Connect the wires to the Ring Doorbell: Take the labeled wires from the old chime and connect them to the corresponding terminals on the Ring Doorbell. The terminals are usually labeled on the back of the device as “Front,” “Transformer,” and “Chime.”
- Secure the connection: Once the wires are connected, ensure that the connections are secure and tight. This will prevent any accidental disconnections that may disrupt the functioning of the Ring Doorbell and your existing chime.
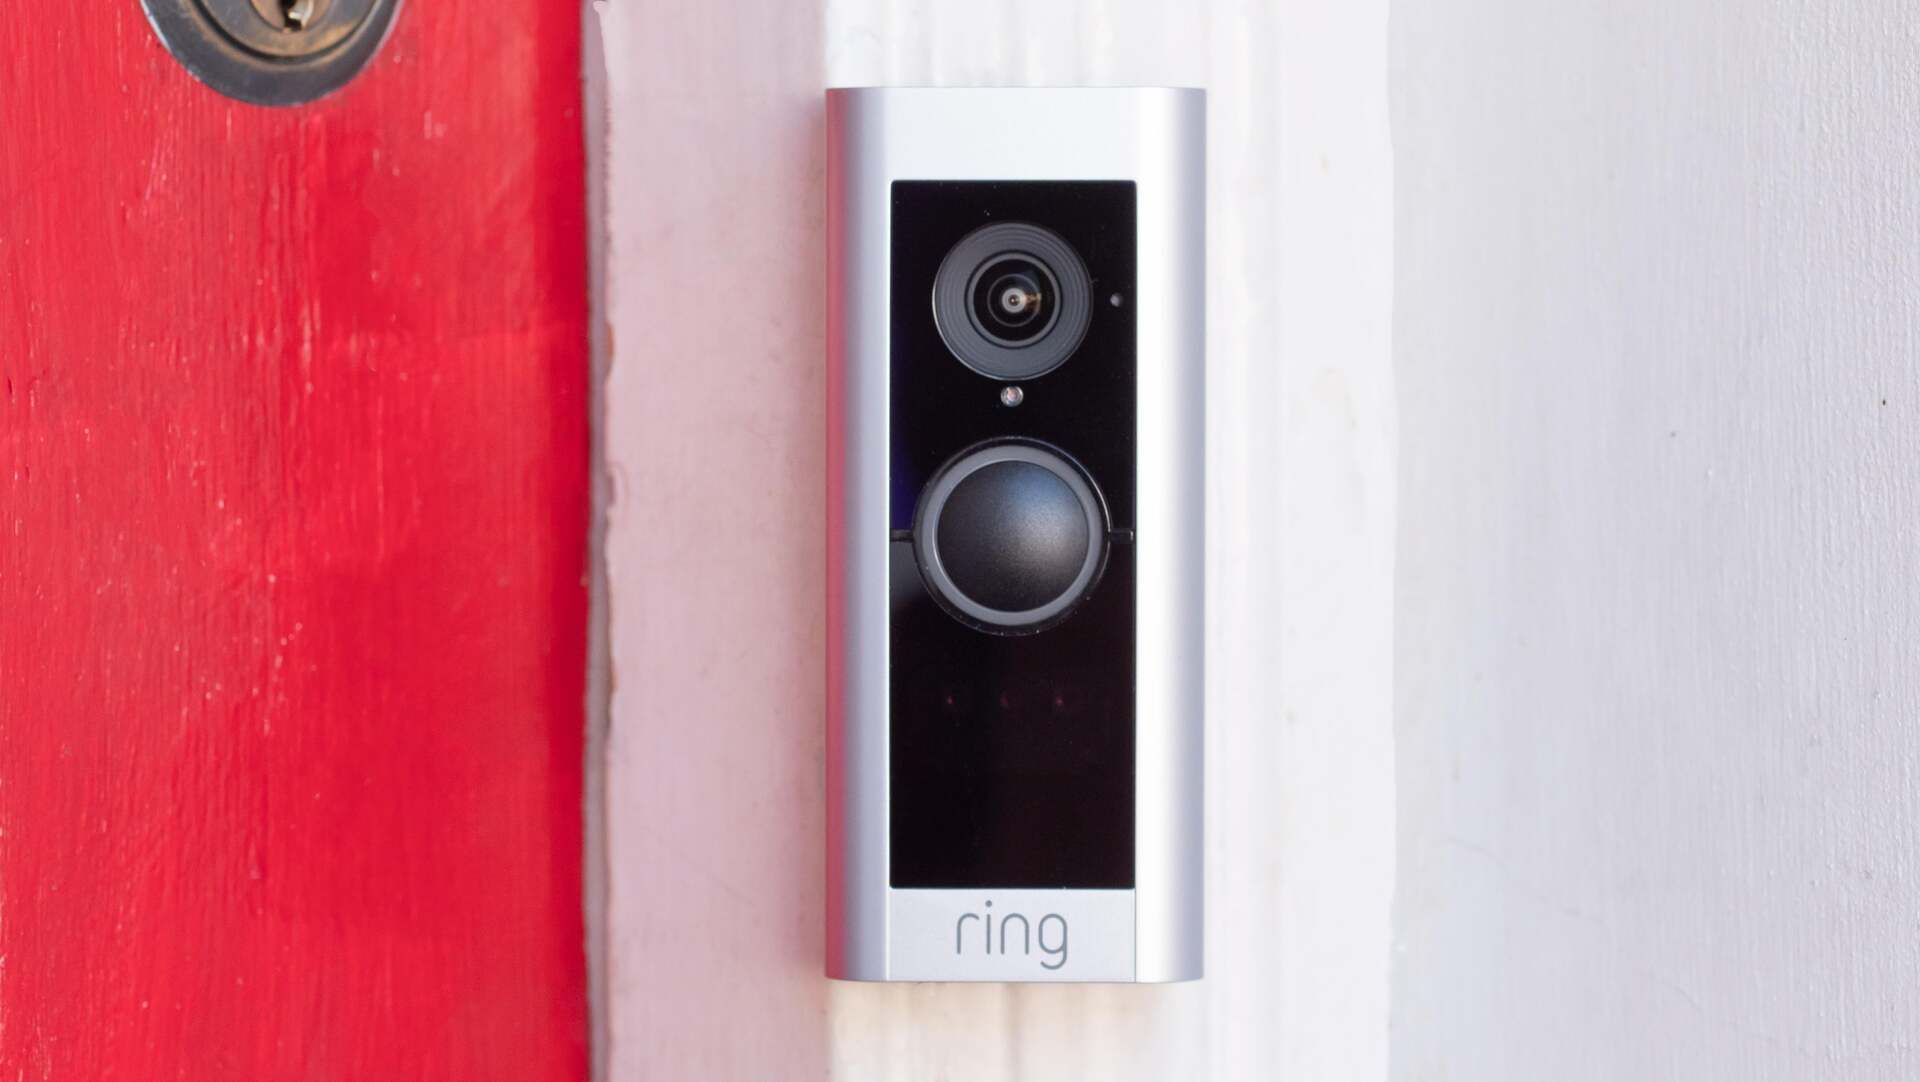
- Install the Ring Doorbell: Follow the manufacturer’s instructions to install the Ring Doorbell securely in the desired location. Ensure that the doorbell is level and positioned correctly for optimal performance.
- Switch on the circuit: After installing the Ring Doorbell, switch on the power to the doorbell circuit by turning on the circuit breaker or restoring power to the fuse.
- Test the connection: Test the connection by pressing the doorbell button or using the Ring app to see if the chime is triggered and you receive the notification on your smartphone or computer.
- Tweak the settings: If needed, you can adjust the volume of the chime or customize other settings through the Ring app to suit your preferences.
Following these step-by-step instructions will help you successfully connect the Ring Doorbell to your existing chime. In case you encounter any issues during the installation process, consult the Ring Doorbell’s user manual or reach out to their support team for further assistance.
Testing and Troubleshooting
Once you have connected the Ring Doorbell to your existing chime, it’s important to test the connection and troubleshoot any potential issues. Here are some tips to help you with testing and troubleshooting:
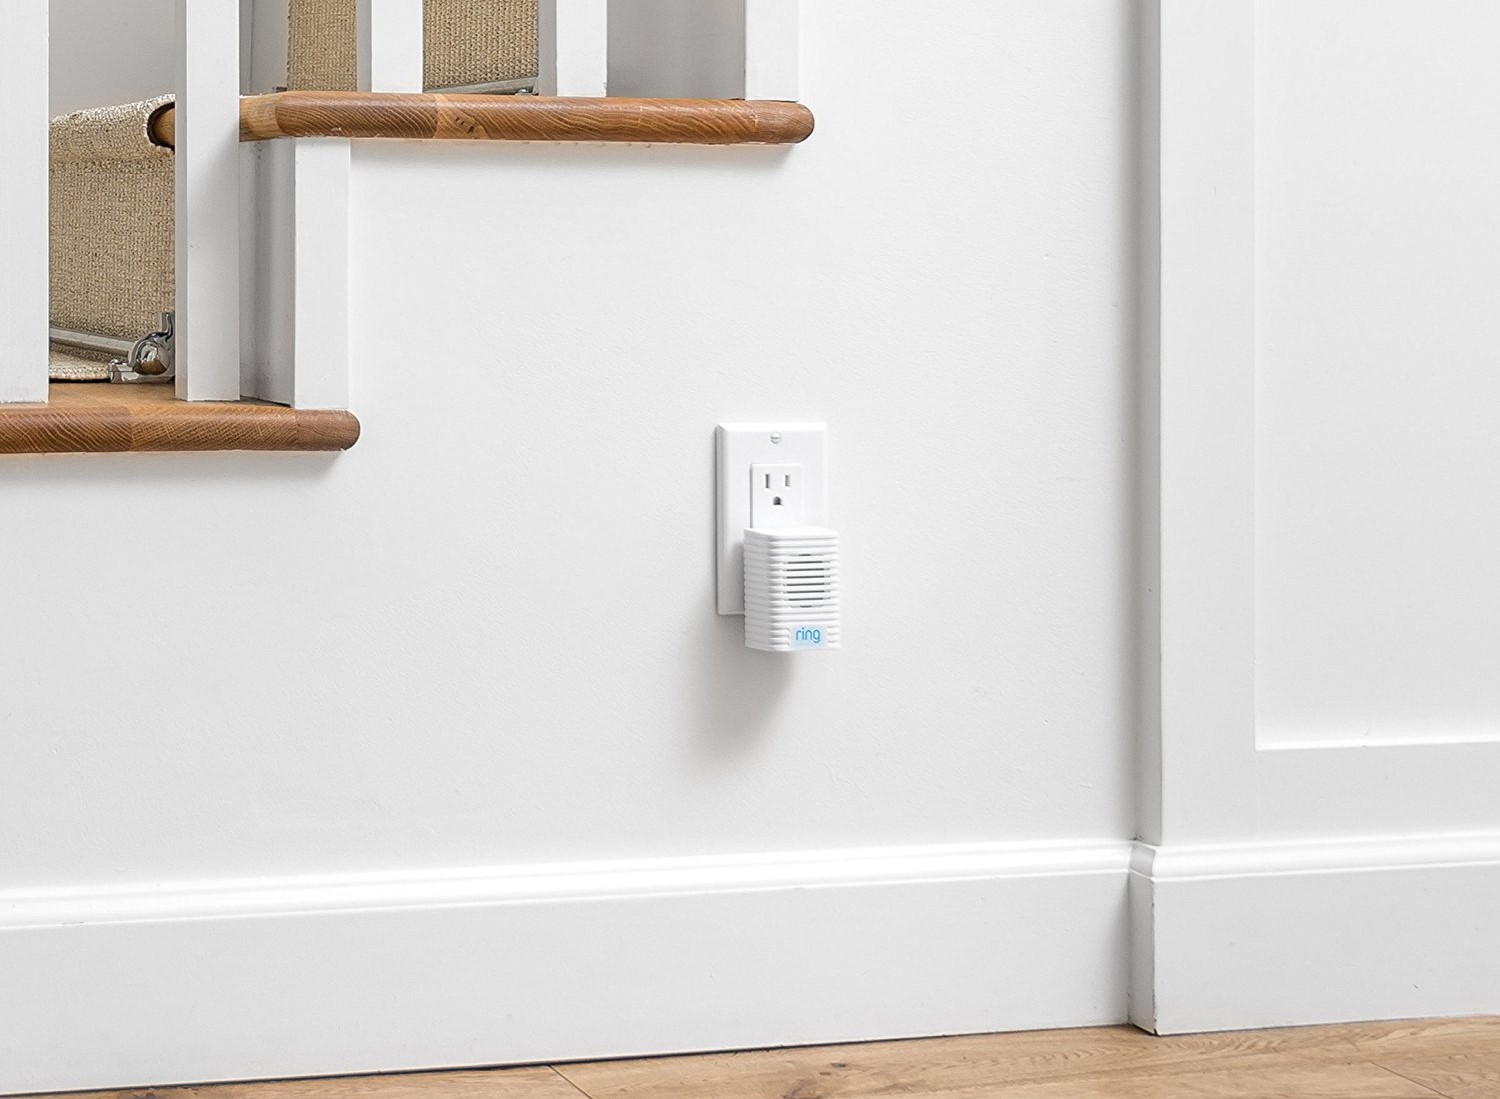
- Test the chime functionality: Press the doorbell button or use the Ring app to check if the chime is properly triggered. If the chime doesn’t ring, ensure that the wiring connections are secure and that the power to the circuit is switched on.
- Check the WiFi signal strength: Make sure that your Ring Doorbell is connected to a stable WiFi network. Weak WiFi signal can cause connection issues. If you notice any connectivity problems, try moving the WiFi router closer to the doorbell or consider using a WiFi extender for better signal coverage.
- Adjust volume settings: If the chime volume is too low or too loud, you can adjust it through the Ring app. Navigate to the device settings and look for the volume controls. Experiment with different volume levels until you find the desired setting.
- Ensure compatibility with digital chimes: If you have a digital or electronic chime, it may require additional steps for compatibility. Consult the Ring Doorbell’s documentation or contact their support team for guidance on how to integrate digital chimes successfully.
- Double-check wiring connections: If the chime is not working or you’re experiencing other issues, verify that the wiring connections are correct and secure. Loose or faulty connections can disrupt the functionality of the Ring Doorbell and existing chime.
- Update the Ring Doorbell firmware: Check for any available firmware updates for your Ring Doorbell. Keeping the device up to date ensures that you have the latest features and bug fixes, which can help resolve any potential connectivity or performance issues.
- Reset the Ring Doorbell: If you are still facing issues, you can try resetting the Ring Doorbell to its factory settings. This will erase any customized settings but can often solve persistent problems. Refer to the Ring Doorbell’s user manual or contact their support team for instructions on how to reset the device.
- Reach out to support: If all else fails, don’t hesitate to seek assistance from the Ring support team. They have a dedicated support channel to help you troubleshoot and resolve any remaining issues you may be experiencing.
By following these tips and performing the necessary tests and troubleshooting steps, you can ensure that your Ring Doorbell and existing chime are working seamlessly together. Remember to refer to the Ring Doorbell’s documentation and consult their support team for specific troubleshooting guidance related to your device.
Read more: How To Connect Chime To Ring Doorbell
Conclusion
Integrating your Ring Doorbell with your existing chime is a straightforward process, as long as you follow the necessary steps. Let’s recap the key points:
- Check compatibility: Ensure that your existing chime is compatible with the Ring Doorbell by verifying the voltage, checking for a transformer, inspecting the wiring, and researching your specific chime model.
- Prepare the wiring: Power off the circuit, remove the old doorbell, check the condition of the wiring, clean the wiring area, and strip the ends of the Ring Doorbell wiring.
- Connect the Ring Doorbell: Locate the transformer, disconnect the wires from the old chime, connect the wires to the Ring Doorbell’s corresponding terminals, and secure the connections.
- Test and troubleshoot: Test the chime functionality, check WiFi signal strength, adjust volume settings, ensure compatibility with digital chimes, double-check wiring connections, update firmware, reset the Ring Doorbell if needed, and seek support if issues persist.
By following these steps, you can successfully connect your Ring Doorbell to your existing chime, enabling you to enjoy the convenience and security it offers. Remember to take precautions, such as turning off the power before starting any work and seeking professional assistance if needed.
If you encounter any difficulties or uncertainties during the installation process, it’s always advisable to refer to the Ring Doorbell’s documentation or reach out to their support team for accurate and personalized guidance. They are equipped to help you overcome any challenges you may face and ensure a smooth and seamless integration.
Now that you have successfully connected your Ring Doorbell to your existing chime, you can fully enjoy the benefits of enhanced home security and convenience. Say goodbye to the limitations of traditional doorbells and embrace the modern advancements that the Ring Doorbell brings to your doorstep.
Now that you've mastered integrating your Ring Doorbell with an existing chime, why stop there? Elevate your entire home's functionality with our next read, which dives into the latest and greatest in home automation. From smart thermostats to advanced security systems, our upcoming article has everything you need to make your living space smarter and more intuitive than ever before. Don't miss out on transforming your home into a haven of technology and comfort!
Frequently Asked Questions about How To Get Ring Doorbell To Work With Existing Chime
Was this page helpful?
At Storables.com, we guarantee accurate and reliable information. Our content, validated by Expert Board Contributors, is crafted following stringent Editorial Policies. We're committed to providing you with well-researched, expert-backed insights for all your informational needs.


0 thoughts on “How To Get Ring Doorbell To Work With Existing Chime”