Articles
How To Remove Doorbell
Modified: November 1, 2024
Looking for articles on how to remove a doorbell? Find step-by-step guides and helpful tips on removing doorbells in our informative articles.
(Many of the links in this article redirect to a specific reviewed product. Your purchase of these products through affiliate links helps to generate commission for Storables.com, at no extra cost. Learn more)
Introduction
Welcome to our guide on how to remove a doorbell! Whether you’re upgrading your existing doorbell system, replacing a malfunctioning unit, or simply renovating your home, knowing how to safely remove a doorbell is an important skill to have. In this article, we will take you through the step-by-step process of removing a doorbell, ensuring that you can complete the task safely and efficiently.
Before we begin, it’s important to note that working with electrical systems can be dangerous if proper precautions are not taken. It is always recommended to turn off the power supply to the doorbell and follow safety guidelines to avoid any potential hazards. Additionally, if you’re not confident in your abilities to perform this task, it’s highly advised to consult a professional electrician.
To successfully remove a doorbell, you will need a few essential tools and materials. These include:
- Flathead screwdriver
- Phillips screwdriver
- Wire cutters/strippers
- Electrical tape
Now that we have the necessary tools ready, let’s move on to the step-by-step process of removing a doorbell.
Key Takeaways:
- Prioritize safety by turning off the power supply, wearing protective gear, and using insulated tools when removing a doorbell to ensure a safe working environment and minimize the risk of accidents.
- Gather the necessary tools and materials, such as screwdrivers, wire cutters, and electrical tape, before starting the removal process to ensure a smooth and efficient doorbell removal experience.
Read more: How To Remove Arlo Doorbell
Safety Precautions
Before starting any electrical work, it’s crucial to prioritize safety. Taking the necessary precautions will help prevent accidents and ensure a smooth and secure removal process. Here are some safety guidelines to follow:
- Turn off the power supply: Locate the circuit breaker or fuse box and switch off the power to the doorbell system. This will minimize the risk of electrical shock while working with the wires.
- Wear protective gear: Always wear safety goggles and gloves to protect your eyes and hands from any potential hazards.
- Avoid wet conditions: Perform the removal process in dry conditions to prevent electrical shorts or accidents.
- Work in a well-lit area: Adequate lighting will help you see clearly, reducing the chances of making mistakes or causing damage.
- Use insulated tools: Insulated screwdrivers and wire cutters minimize the risk of electrical shock.
- Double-check the power supply: Use a non-contact voltage tester to ensure that the power to the doorbell is off before proceeding with any work.
- Label the wires: Before disconnecting any wires, label them with tape or markers to avoid confusion when reinstalling the new doorbell.
- Avoid tugging on wires: Handle the wires with care and avoid pulling on them forcefully to prevent damage.
- Dispose of old materials properly: Once the doorbell is removed, dispose of the old unit and any other materials safely and responsibly.
- When in doubt, consult a professional: If you’re unsure about any aspect of the removal process, it’s best to seek the assistance of a qualified electrician.
By following these safety precautions, you can minimize the risks associated with removing a doorbell and ensure a safe working environment. With safety as a priority, we can now proceed with the step-by-step process of removing the doorbell.
Tools and Materials Needed
Before you begin removing a doorbell, gather the necessary tools and materials to ensure a smooth and efficient process. Here’s a list of what you’ll need:
- Flathead screwdriver: This tool will come in handy for removing screws and prying off the cover of the doorbell.
- Phillips screwdriver: You’ll need this screwdriver for removing any screws that are secured with Phillips-head screws.
- Wire cutters/strippers: These tools are essential for properly disconnecting the wires from the doorbell.
- Electrical tape: Use electrical tape to secure the wires and prevent any accidental contact during the removal process.
By having these tools ready, you’ll be well-prepared to remove your doorbell safely and efficiently.
In addition to the tools, you may also need the following materials:
- New doorbell: If you’re replacing your existing doorbell, make sure you have a new unit ready for installation.
- Patch and paint materials (optional): If you plan to patch and paint the wall where the doorbell was mounted, gather the necessary materials such as spackle, sandpaper, primer, and paint.
Having these materials on hand will allow you to complete the removal process smoothly and prepare for any additional steps, such as installing a new doorbell or repairing the wall.
Now that you have the tools and materials ready, let’s move on to the step-by-step process of removing a doorbell.
Step 1: Turn Off Power to Doorbell
Before beginning the process of removing a doorbell, it is crucial to turn off the power supply to ensure your safety. Follow these steps to turn off the power:
- Locate the circuit breaker or fuse box in your home. It is typically found in the basement, garage, or utility room.
- Identify the circuit breaker that controls the power supply to the doorbell. If you are unsure, you can refer to the circuit breaker label or consult the electrical panel diagram.
- Flip the switch corresponding to the doorbell circuit to the “off” position. This will cut off power to the doorbell and ensure no electricity flows through the system.
It is crucial to double-check that the power is indeed off before proceeding with any further steps. You can do this by attempting to ring the doorbell or using a non-contact voltage tester.
A non-contact voltage tester is a device that detects the presence of voltage without direct contact. Hold the tester near the wires or doorbell unit to ensure there is no electrical current before proceeding with the removal process.
Once you have confirmed that the power is off, you can proceed to the next step of removing the doorbell cover.
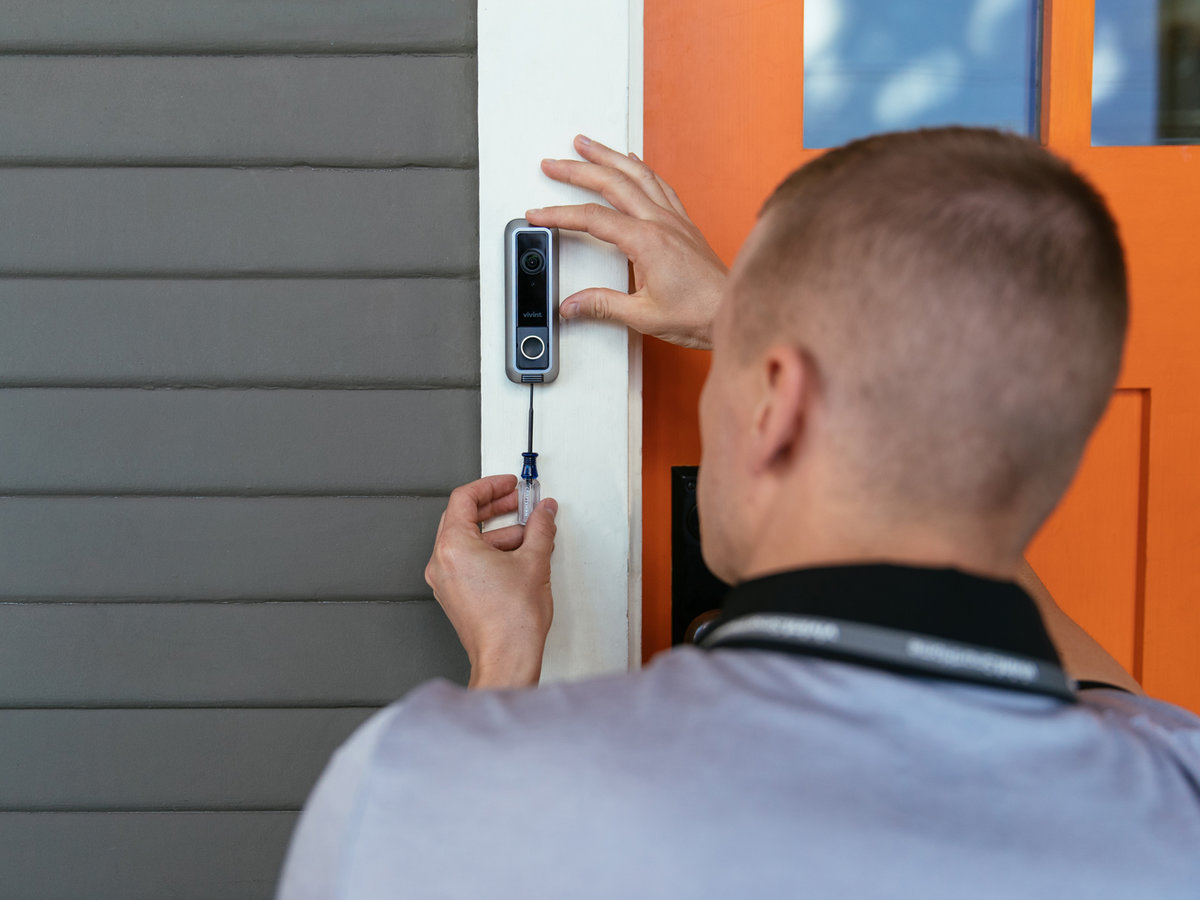
Step 2: Remove Doorbell Cover
With the power to the doorbell turned off, it’s now time to remove the doorbell cover. Follow these steps to safely remove the cover:
- Inspect the doorbell cover to identify any screws holding it in place. These screws are typically located on the sides or bottom of the cover.
- Using a suitable screwdriver (either flathead or Phillips, depending on the type of screws), carefully unscrew the screws and set them aside in a safe place.
- Gently pry the doorbell cover away from the wall or mounting bracket. Some covers may be held in place with clips or adhesive, so exercise caution while removing it. If needed, use a flathead screwdriver to carefully pry the cover away from the wall.
- Once the cover is loose, remove it completely and set it aside.
During this step, it’s important to be gentle and careful to avoid damaging the cover or the wall. If the cover feels stuck or resistant, double-check for any hidden screws or other fasteners that may be securing it in place.
With the doorbell cover successfully removed, you can now move on to the next step, which involves disconnecting the wires from the doorbell.
Read more: How To Remove Wyze Doorbell
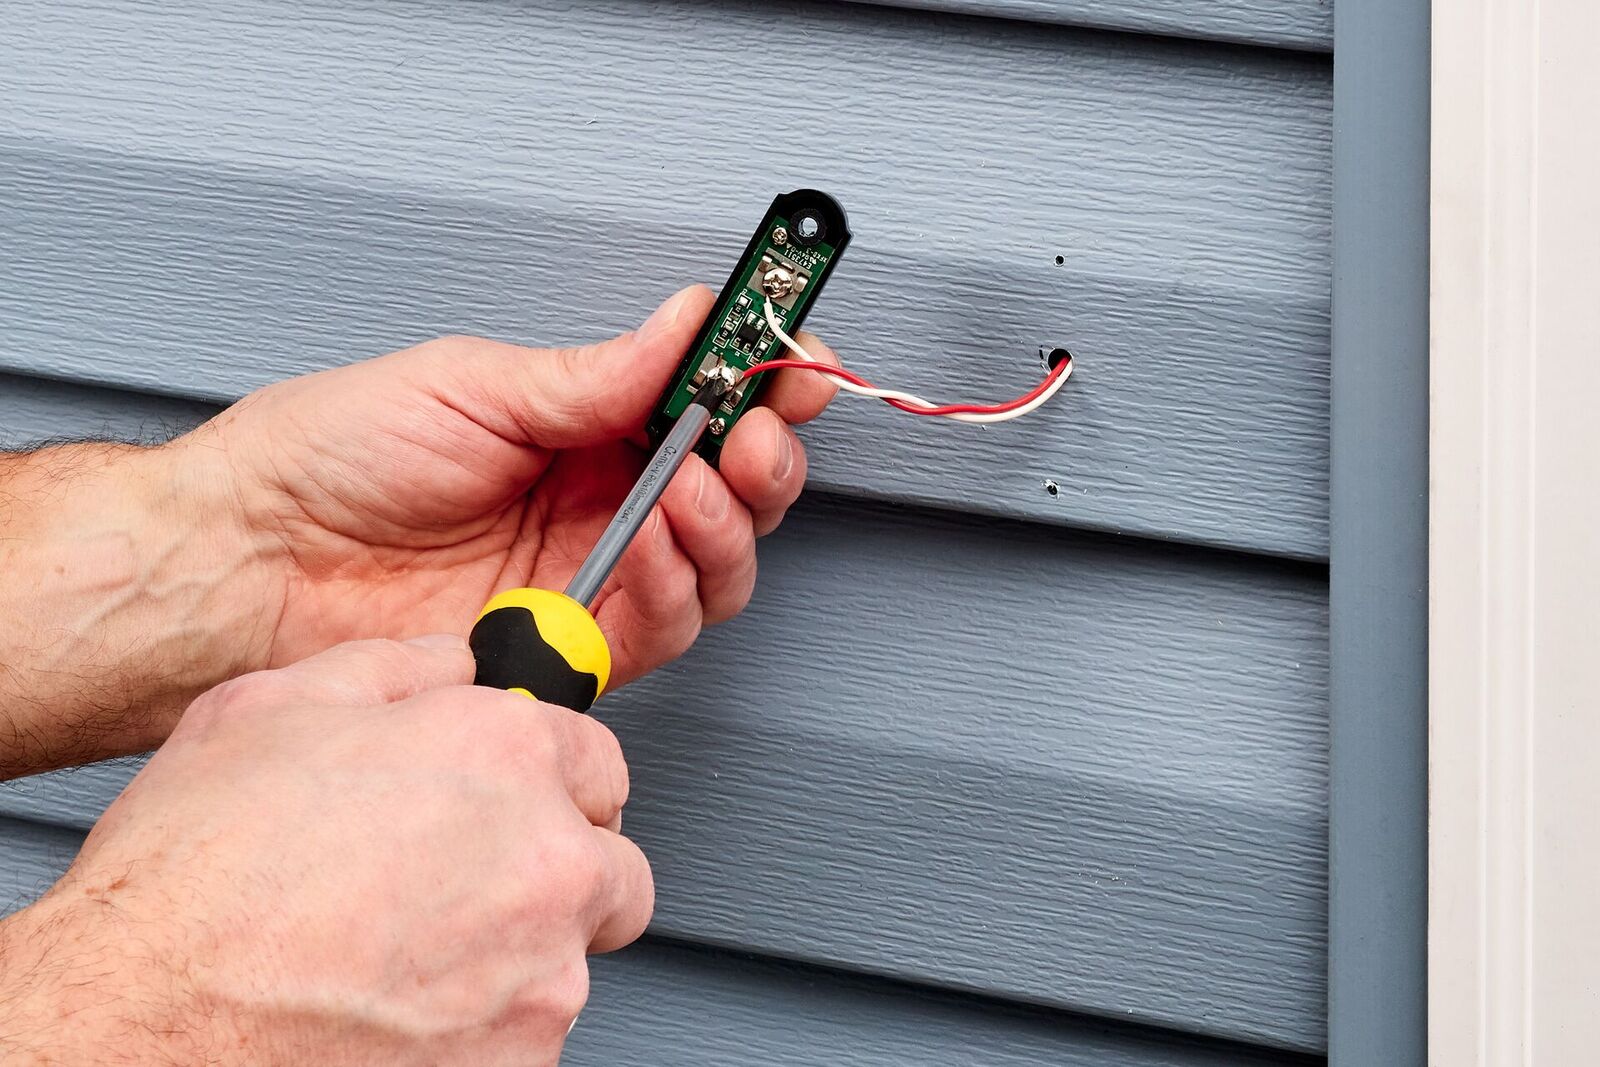
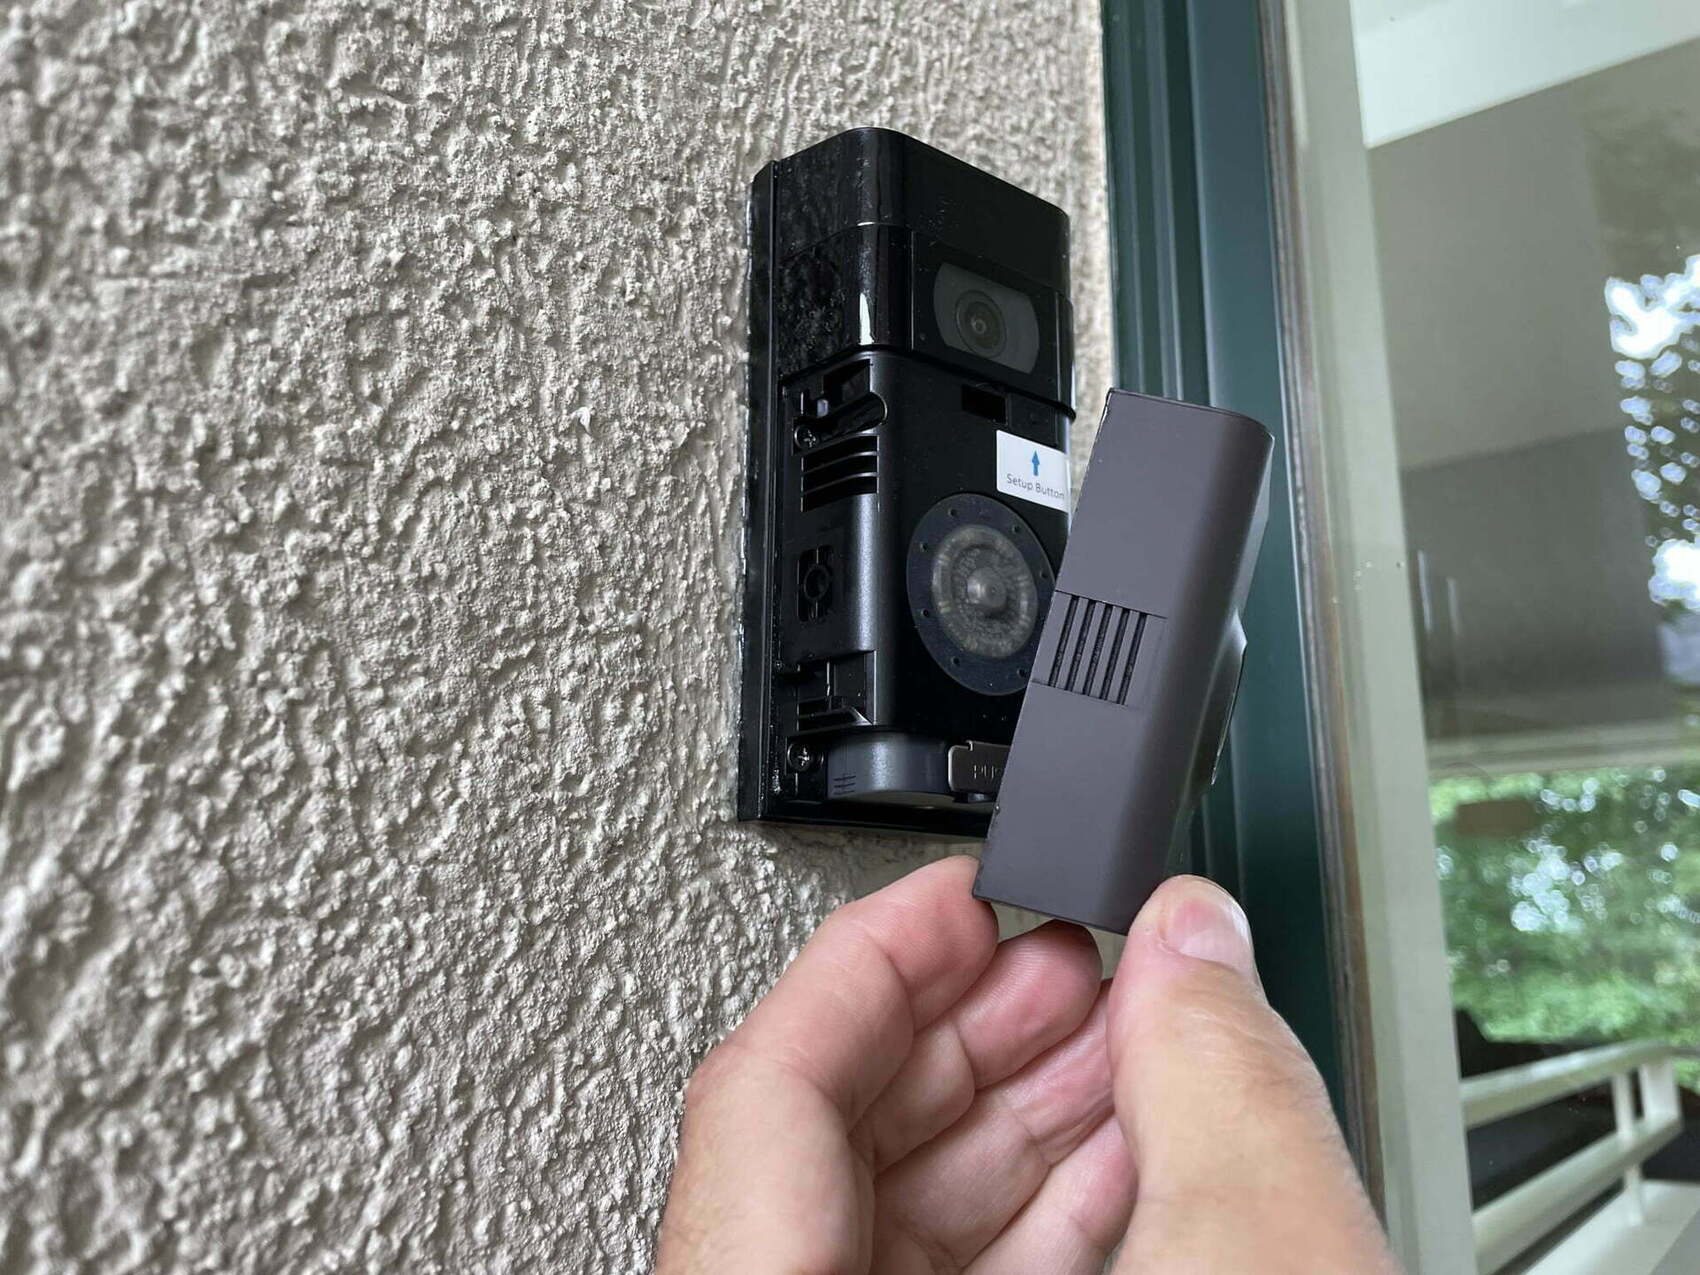
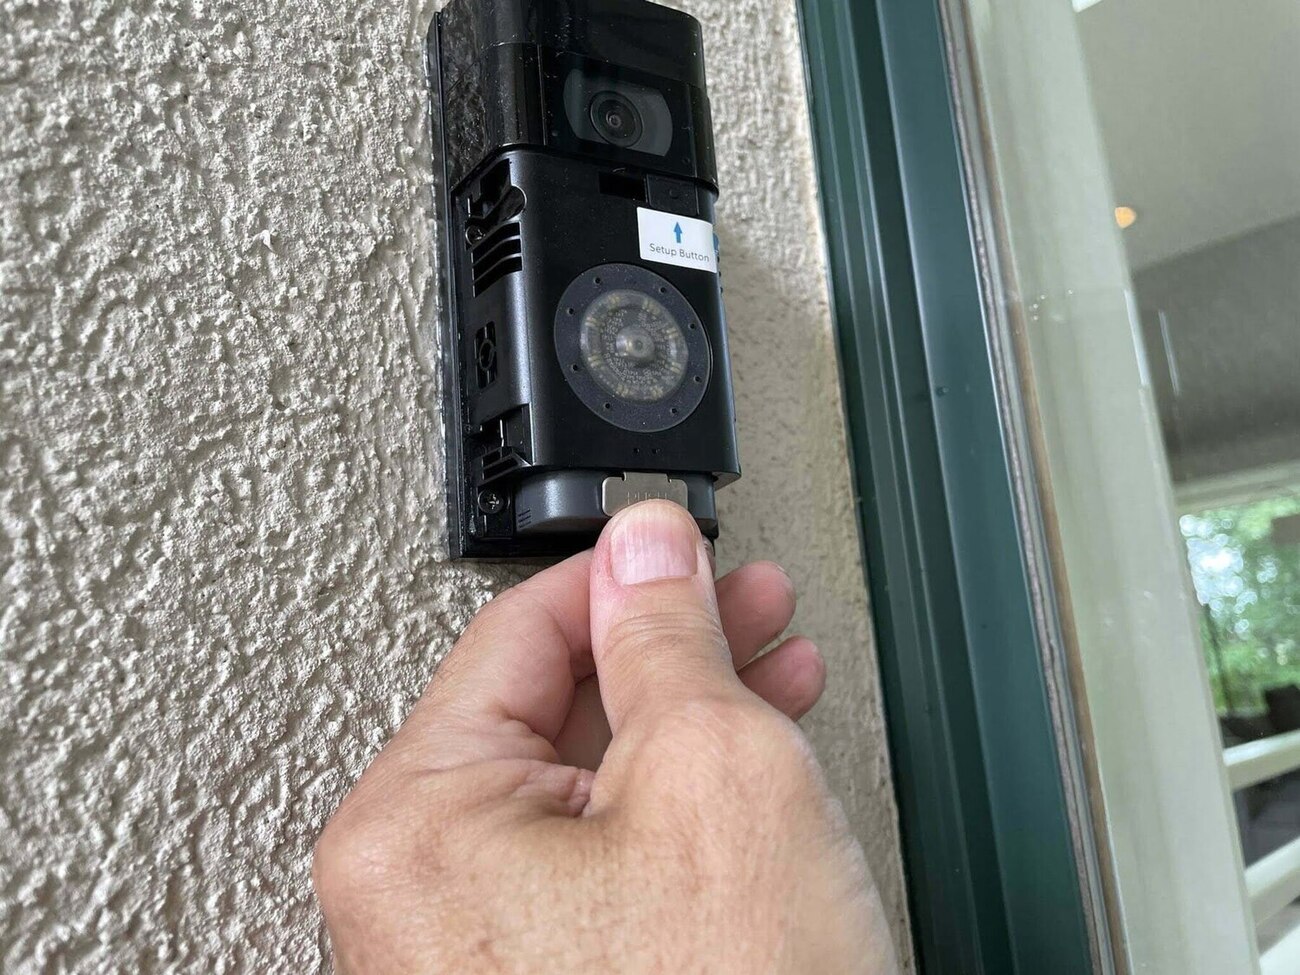
Step 3: Disconnect Wires from Doorbell
Now that the doorbell cover is removed, it’s time to disconnect the wires from the doorbell. Follow these steps to safely disconnect the wires:
- Take a close look at the wiring connections on the back of the doorbell. You will typically find two wires, one labeled “trans” and the other labeled “front” or “bell.”
- Using the wire cutters, carefully cut the electrical tape securing the wires to the doorbell. This will give you better access to the wire connections.
- Once the wires are exposed, use your fingers or a pair of needle-nose pliers to loosen the wire terminals. If the wires are wrapped around small screws, loosen the screws to release the wires.
- After loosening the terminals, gently pull the wires away from the doorbell, ensuring not to tug too hard to prevent damaging the wires.
It’s essential to label the wires before disconnecting them if they are not already labeled. This step will help you identify the correct connections when installing a new doorbell or reconnecting the wires later.
Remember, different doorbell models may have variations in wiring configurations. Make sure to refer to the specific instructions provided by the manufacturer for your particular doorbell model.
With the wires now disconnected, you can proceed to the next step, which involves unscrewing the doorbell from its mounting bracket.
Before removing a doorbell, always turn off the power to the circuit to avoid any electrical hazards. Use a voltage tester to ensure the power is off before starting the removal process.
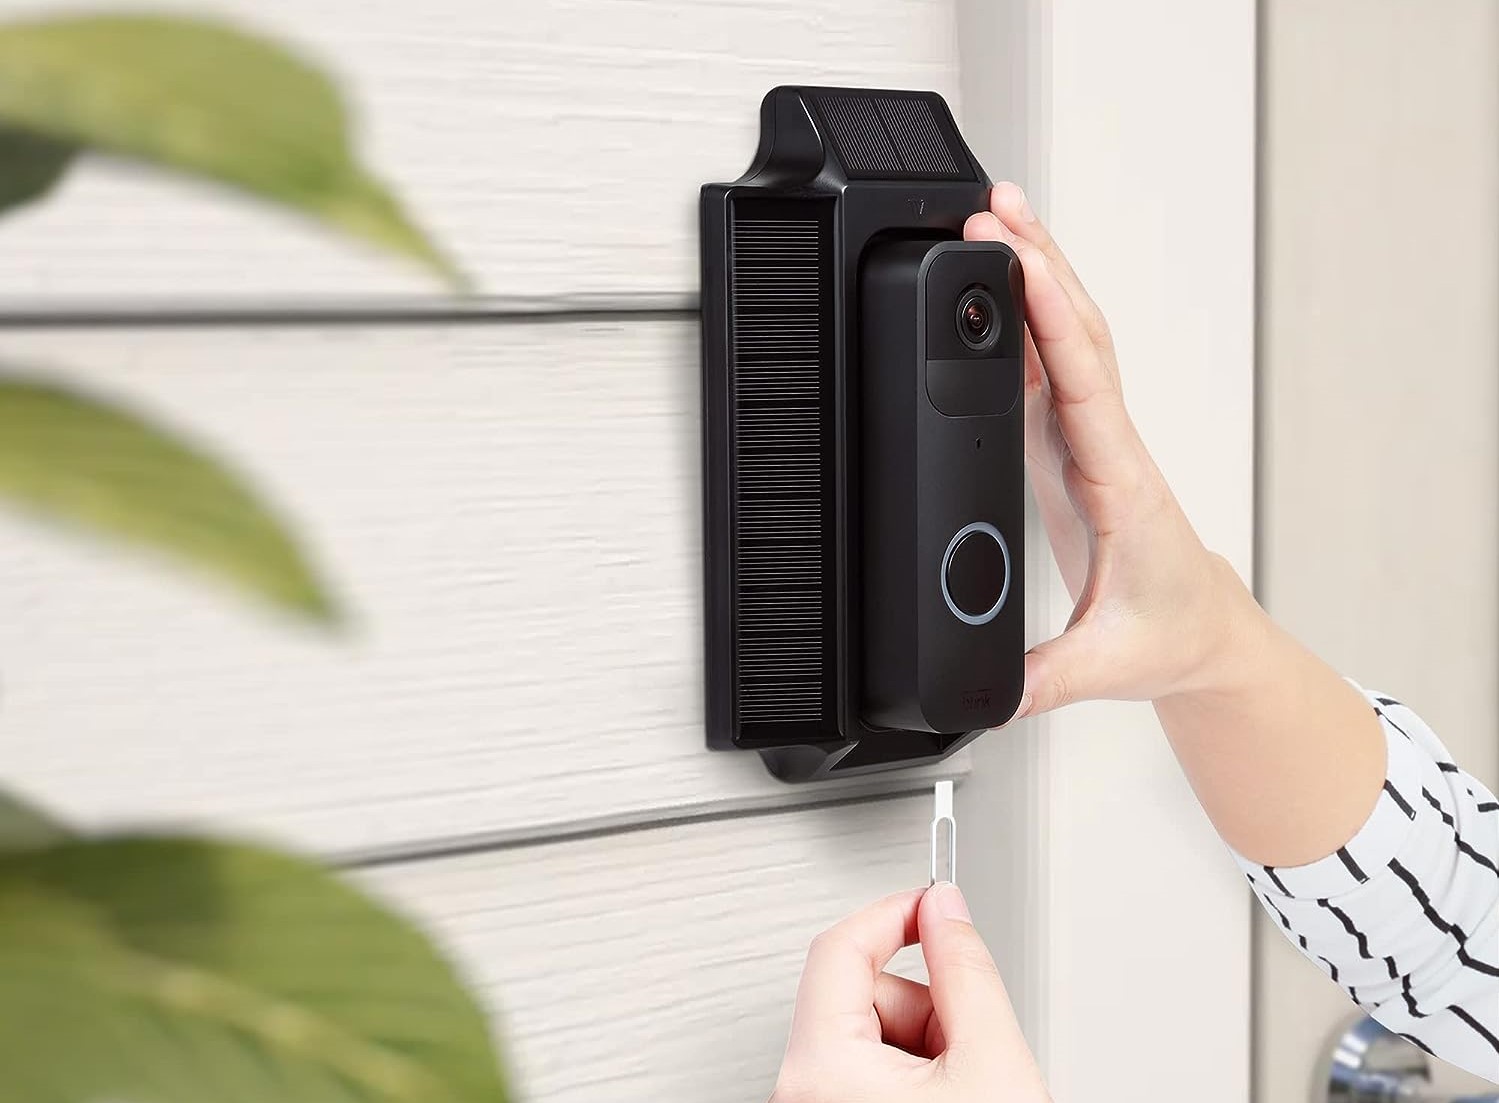
Step 4: Unscrew Doorbell from Mounting Bracket
Now that the wires are safely disconnected, it’s time to remove the doorbell from its mounting bracket. Follow these steps to unscrew the doorbell:
- Inspect the mounting bracket to identify the screws holding the doorbell in place. These screws are usually located at the top and bottom of the bracket.
- Using a suitable screwdriver, typically a Phillips screwdriver, firmly grip the screws and turn them counterclockwise to loosen and remove them.
- Once the screws are removed, gently slide the doorbell unit out of the mounting bracket.
- Set the doorbell unit aside in a safe location.
The doorbell may be secured tightly to the mounting bracket, so be sure to hold the unit securely while removing the screws to prevent it from falling or getting damaged.
With the doorbell now detached from the mounting bracket, you can proceed to the next step, which involves removing the mounting bracket from the wall.
Keep in mind that some doorbells may have different mounting mechanisms, such as clips or adhesive pads. Refer to the manufacturer’s instructions for the specific removal process for your doorbell model if it differs from the steps outlined above.
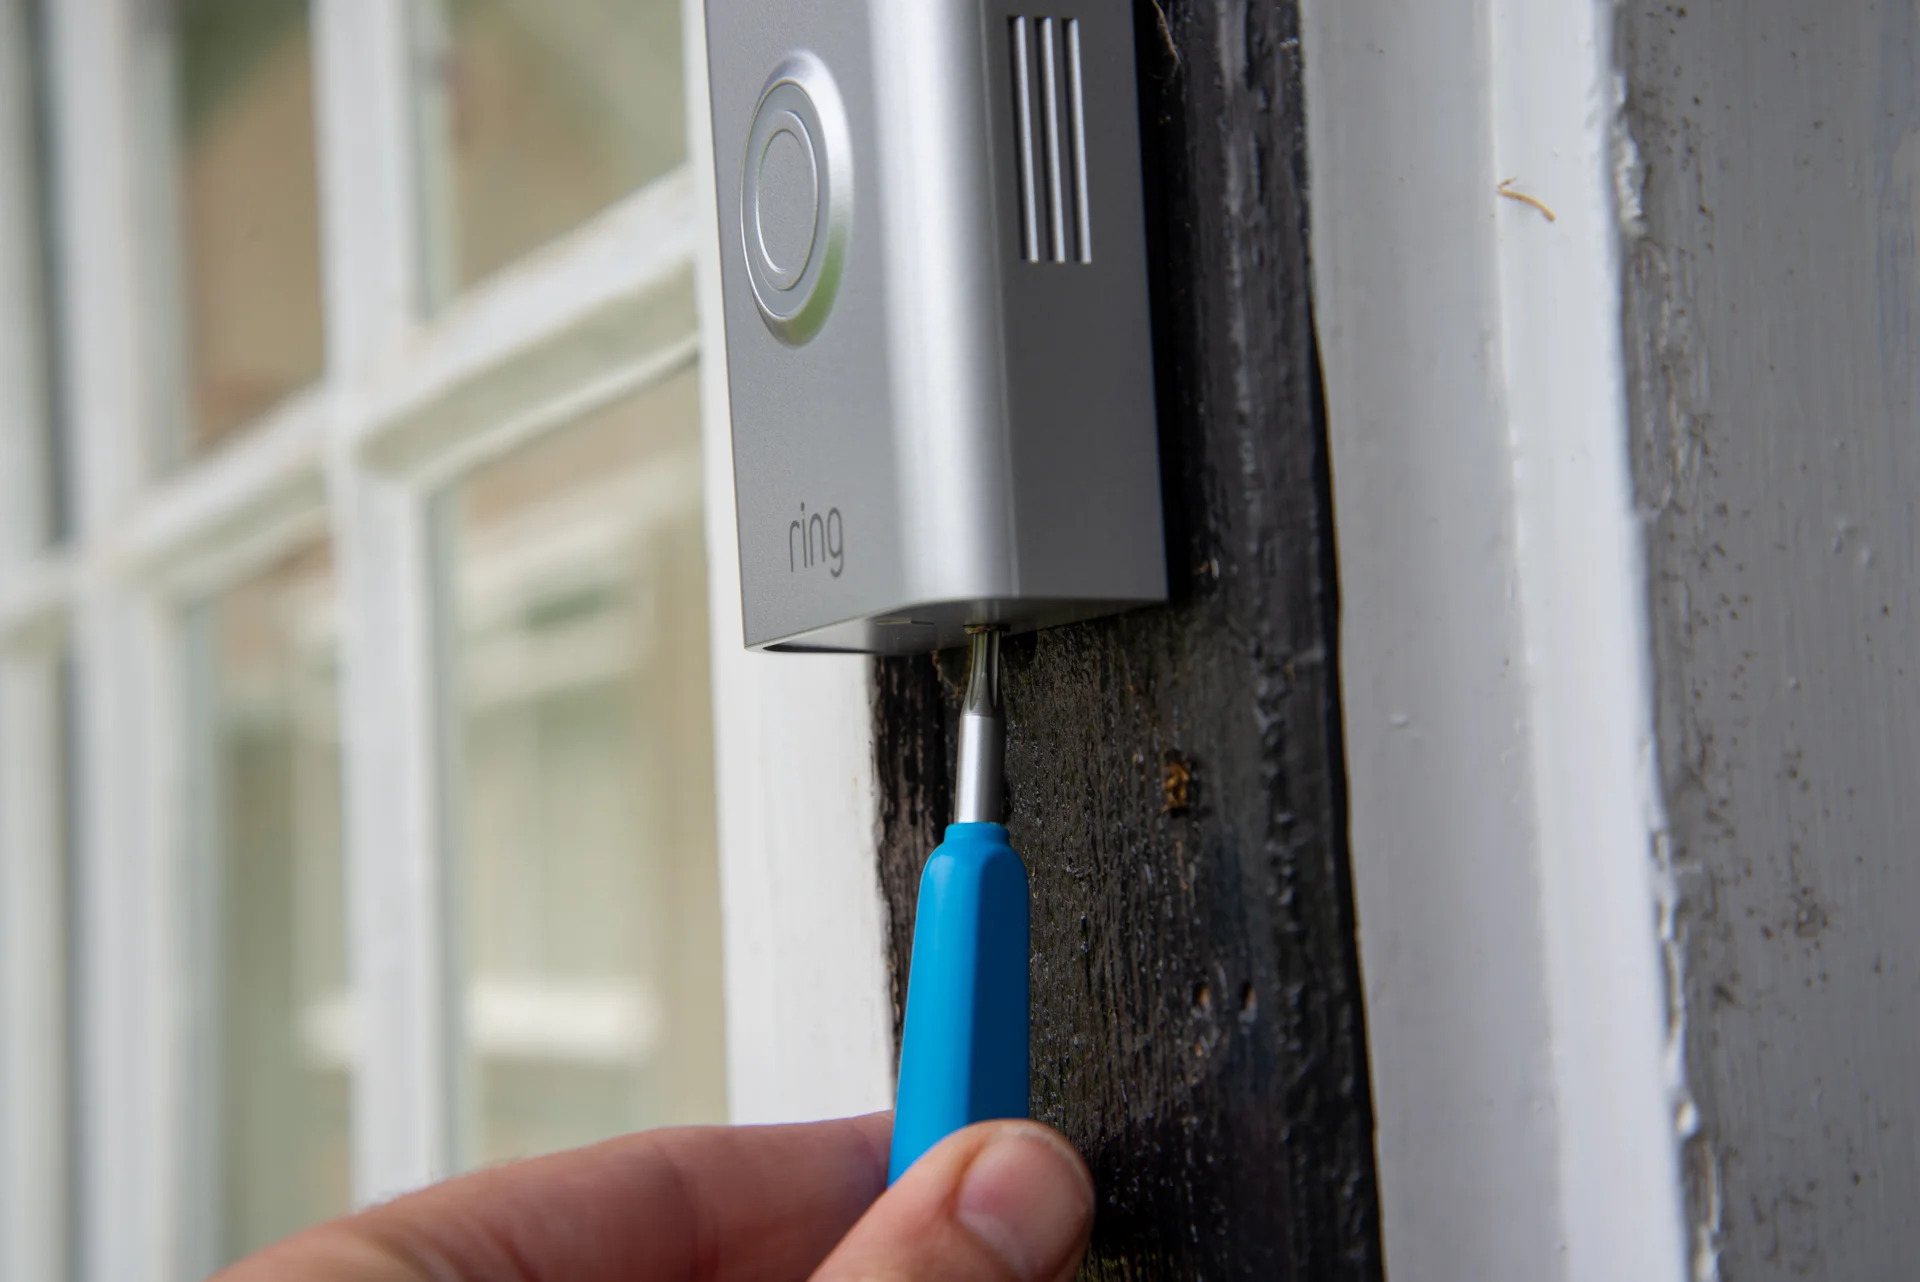
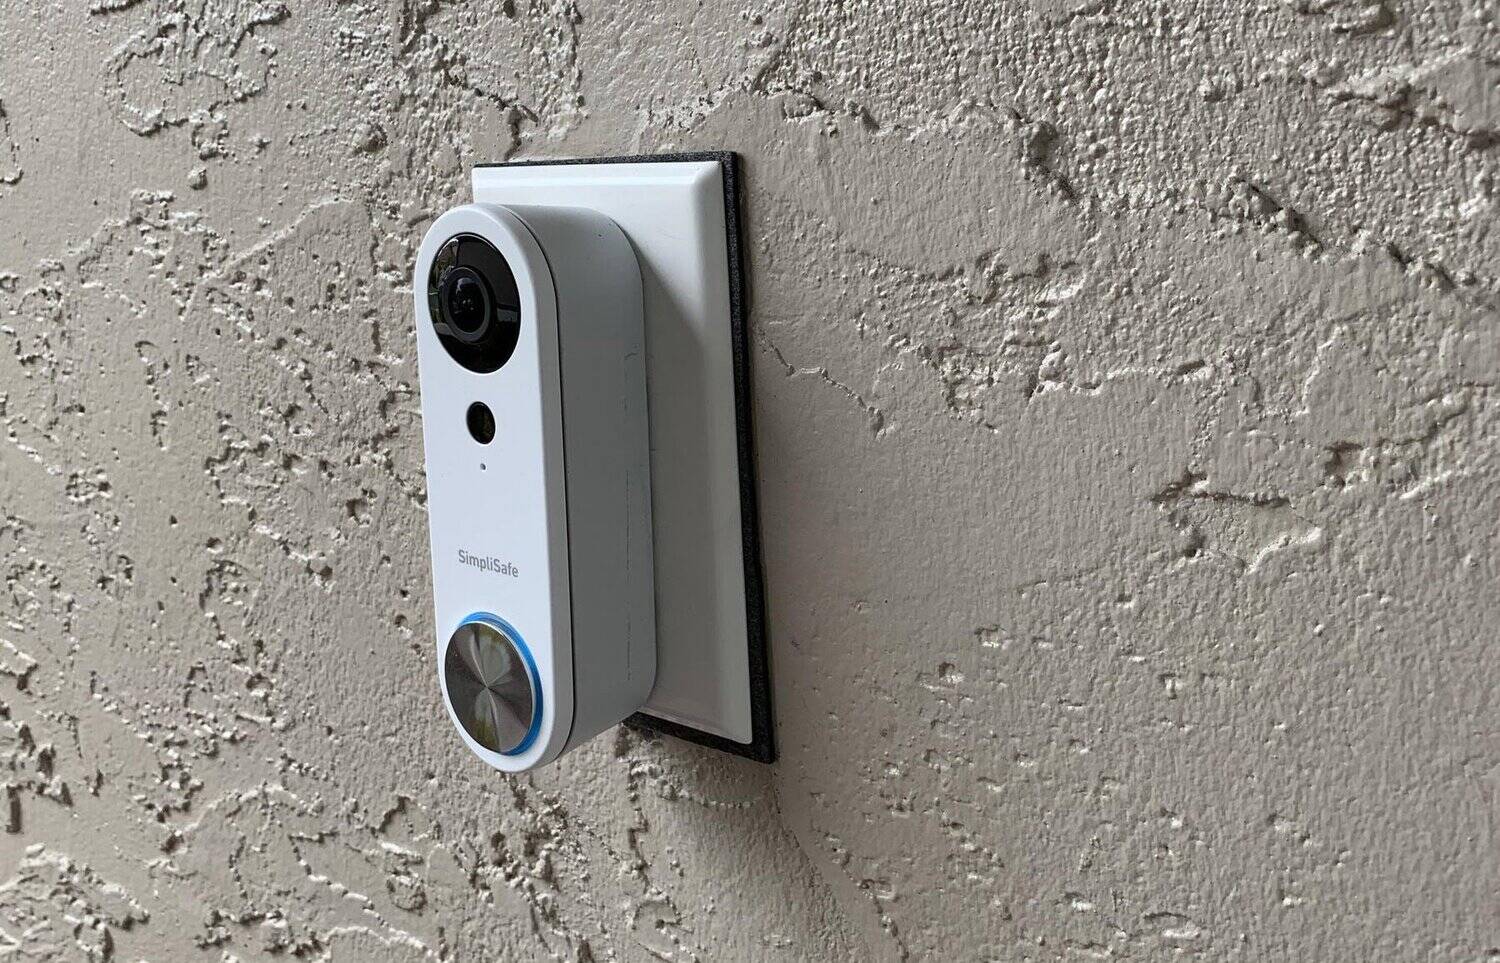
Step 5: Remove Mounting Bracket from Wall
Now that the doorbell unit is removed, the next step is to remove the mounting bracket from the wall. Follow these steps to safely remove the mounting bracket:
- Inspect the mounting bracket to identify any screws or fasteners securing it to the wall. These screws or fasteners are usually located at the top and bottom of the bracket.
- Using a suitable screwdriver, typically a Phillips screwdriver, loosen and remove the screws or fasteners. Place them in a secure location as you will need them later if installing a new doorbell.
- Once the screws or fasteners are removed, gently pull the mounting bracket away from the wall.
- Inspect the area for any remaining debris or adhesive residue and clean it up if necessary.
Be careful while removing the mounting bracket to avoid causing any damage to the wall surface. If the bracket feels stuck or resistant, double-check for any additional screws or fasteners that may be securing it in place.
With the mounting bracket successfully removed, you have completed the process of removing the doorbell and its associated components from the wall.
Depending on your specific needs, you may proceed to the optional steps of patching and painting the wall or installing a new doorbell. If you do not plan on performing either of these steps, you can consider the task of removing the doorbell complete.
Step 6: Patch and Paint Wall (optional)
If you have decided to remove your doorbell and do not plan on installing a new one immediately, you may want to consider patching and painting the wall to create a seamless and aesthetically pleasing finish. Follow these steps to patch and paint the wall:
- Inspect the wall around the area where the mounting bracket was attached. Look for any holes, indentations, or damage that may require patching.
- If there are any small nail or screw holes, you can use a spackling compound to fill them. Apply the spackling compound to the holes using a putty knife, ensuring a smooth and even application.
- For larger holes or dents, you may need to use a drywall repair kit. Follow the instructions provided with the kit to patch the damaged areas properly.
- Once the patching compound is dry, use sandpaper to smooth the patched areas and create a level surface. Wipe away any dust or debris with a clean cloth.
- If necessary, apply a coat of primer to the patched areas. This will help ensure that the paint adheres evenly and provides a consistent finish.
- Once the primer is fully dry, you can proceed to paint the wall. Choose a paint color that matches the rest of the wall or explore different options to create a new look.
- Apply the paint using a paint roller or brush, following proper painting techniques. Allow the paint to dry completely between coats if multiple coats are required.
- Once the paint is dry, inspect the wall to ensure a seamless finish. Touch up any areas if necessary.
Patching and painting the wall will not only cover up the previous mounting bracket but also provide a polished look to your walls. It is an optional step, but highly recommended if you want to achieve a clean and well-finished appearance.
Now that the wall is patched and painted, the final step is to decide if you want to install a new doorbell or leave your doorbell-free.
Read more: How To Remove A Eufy Doorbell
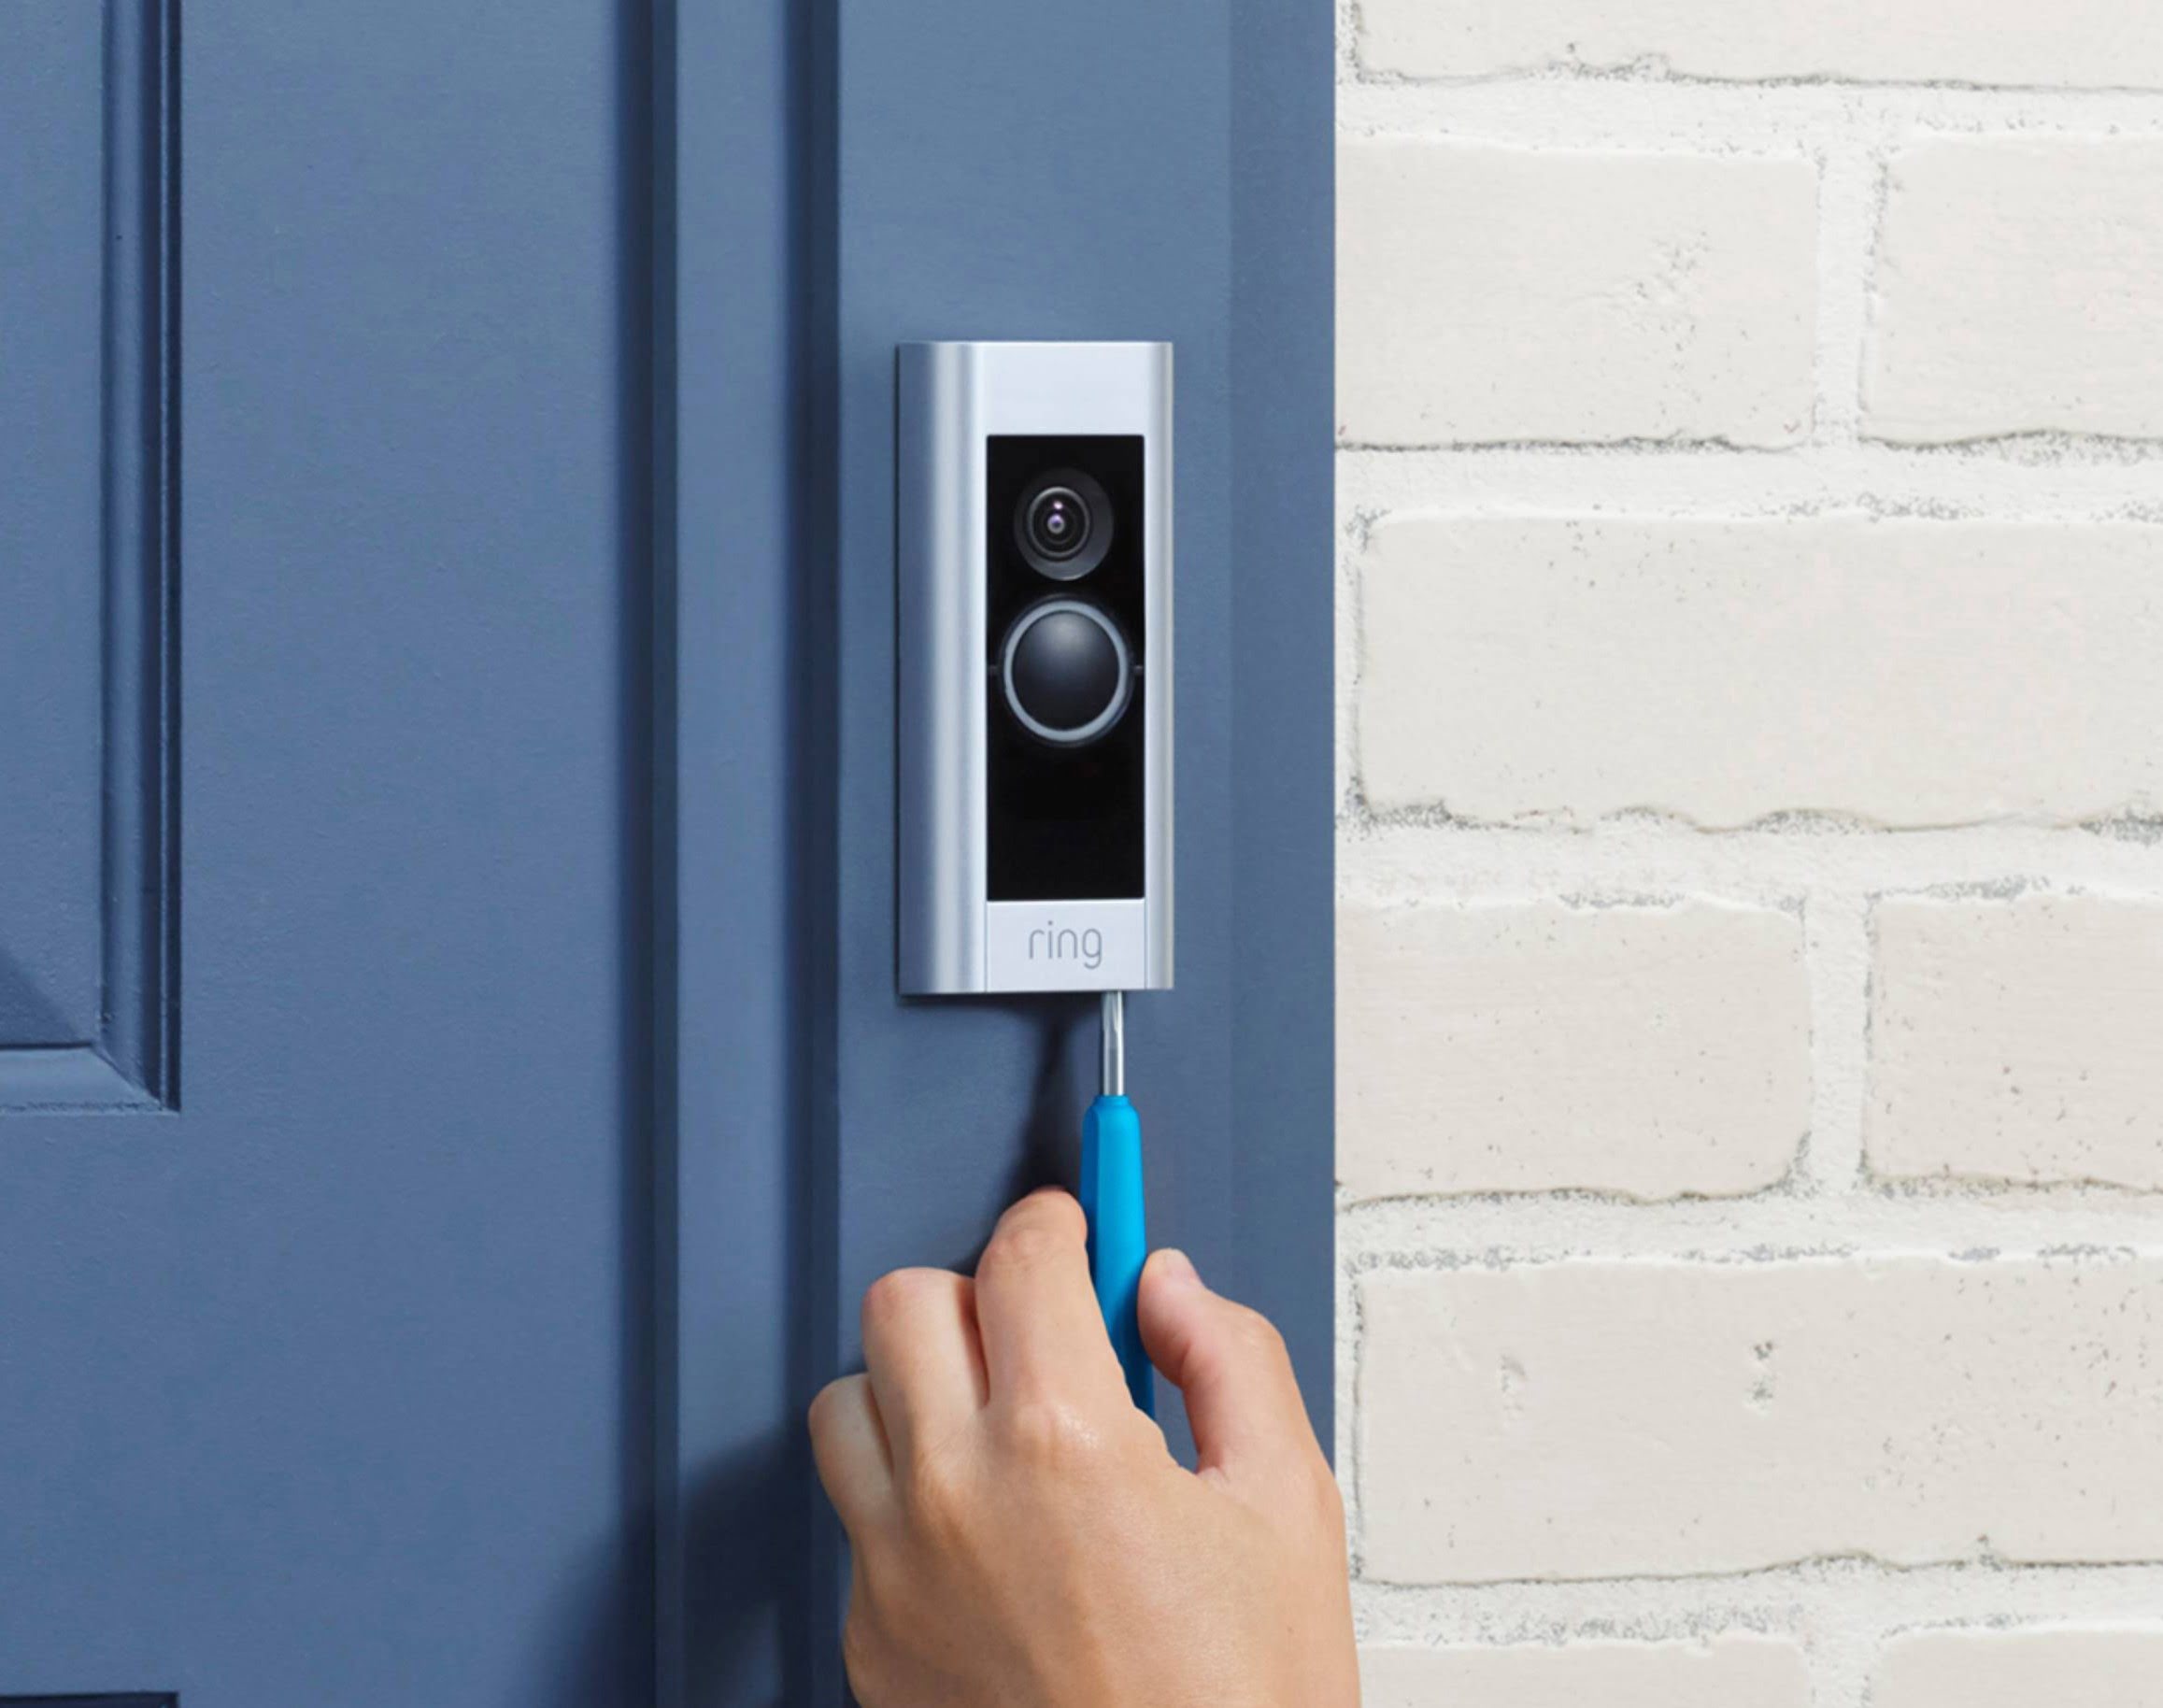
Step 7: Install New Doorbell (optional)
If you have chosen to replace your old doorbell with a new one, follow these steps to install the new doorbell:
- Refer to the manufacturer’s instructions that come with your new doorbell. Familiarize yourself with the specific installation requirements and guidelines.
- Position the new mounting bracket on the wall where you want to install the doorbell. Ensure that it is level and aligned properly.
- Use a pencil to mark the screw hole locations on the wall through the mounting bracket holes.
- Drill pilot holes into the marked locations. The size of the pilot holes will depend on the type of screws or anchors recommended by the manufacturer.
- Align the screw holes on the back of the doorbell unit with the pilot holes and secure it to the mounting bracket using the appropriate screws provided with the doorbell.
- Connect the wires from the doorbell to the corresponding terminals on the back of the unit. Ensure a secure and proper connection.
- Tuck the excess wire inside the wall or use wire clips to secure it neatly.
- Attach the doorbell cover to the doorbell unit, following the manufacturer’s instructions.
- Turn on the power supply to the doorbell circuit by flipping the circuit breaker or fuse switch to the “on” position.
- Test the new doorbell by pressing the button or following the instructions provided by the manufacturer.
It is important to carefully follow the provided instructions and guidelines specific to your new doorbell model. If you are uncertain about any step or encounter difficulties during the installation process, it is recommended to consult a professional electrician for assistance.
Congratulations! With the new doorbell installed, you have successfully completed the optional step of replacing your old doorbell with a new one.
Now that the installation is complete, take a moment to enjoy your new doorbell and the improved functionality it brings to your home!
Conclusion
Removing a doorbell may seem like a daunting task, but with the right tools and knowledge, it can be easily accomplished. Throughout this guide, we have taken you through the step-by-step process of safely removing a doorbell from your home. By following these instructions, you can replace a malfunctioning unit, upgrade to a new doorbell system, or simply remove the doorbell for renovation purposes.
We started by emphasizing the importance of safety precautions when working with electrical systems. Turning off the power supply, wearing protective gear, and working in a well-lit area are crucial steps to ensuring a safe working environment.
Next, we discussed the tools and materials needed for the removal process. Having the right tools, such as screwdrivers, wire cutters, and electrical tape, will make the task more efficient and prevent any damage to the components.
We then went through each step, from turning off the power supply, removing the doorbell cover, disconnecting the wires, unscrewing the unit from the mounting bracket, and removing the bracket from the wall. Each step was explained in detail to guide you through the process smoothly and effectively.
Lastly, we provided optional steps for patching and painting the wall if you choose not to install a new doorbell immediately. We also outlined the steps for installing a new doorbell, should you decide to replace the old one.
Throughout the entire process, it is important to prioritize safety and consult professional assistance if needed. Remember to always double-check the power supply and handle electrical components with caution.
By following this guide, you can successfully remove and replace a doorbell, creating a safe, functional, and aesthetically pleasing environment in your home. Whether you’re upgrading your doorbell system or simply renovating, this knowledge will empower you to tackle the task with confidence.
Good luck with your doorbell removal project, and enjoy the improved functionality and appearance of your home!
Frequently Asked Questions about How To Remove Doorbell
Was this page helpful?
At Storables.com, we guarantee accurate and reliable information. Our content, validated by Expert Board Contributors, is crafted following stringent Editorial Policies. We're committed to providing you with well-researched, expert-backed insights for all your informational needs.


0 thoughts on “How To Remove Doorbell”