Articles
How To Grease Electric Motor
Modified: February 22, 2024
Looking for articles on how to grease an electric motor? Find valuable tips and step-by-step guides on proper motor lubrication for optimal performance.
(Many of the links in this article redirect to a specific reviewed product. Your purchase of these products through affiliate links helps to generate commission for Storables.com, at no extra cost. Learn more)
Introduction
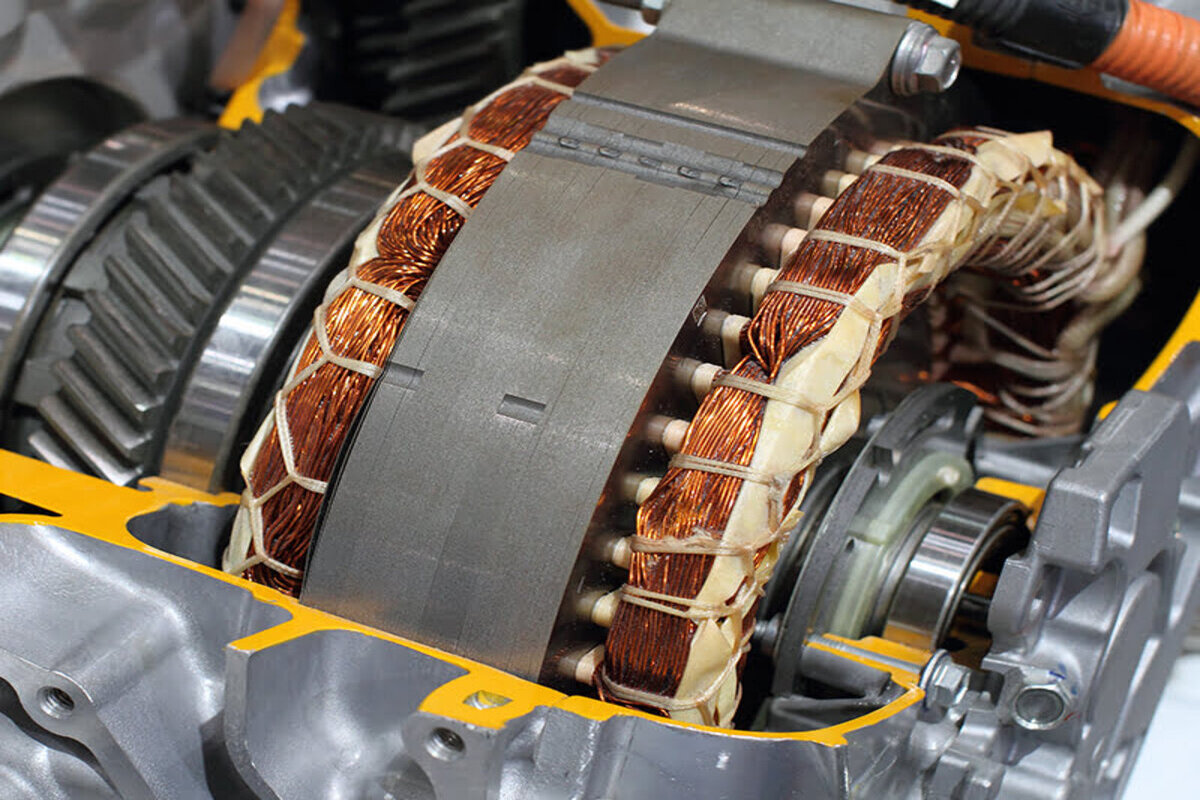
Electric motors are an essential component in various devices and machinery, powering everything from household appliances to industrial equipment. Regular maintenance is crucial to ensure the optimal performance and longevity of electric motors. One important aspect of motor maintenance is greasing. Greasing the motor helps to lubricate its moving parts, reduce friction, and prevent overheating. In this article, we will provide a comprehensive guide on how to grease an electric motor, ensuring it continues to function efficiently.
Before we dive into the steps of greasing an electric motor, it is vital to emphasize the importance of safety precautions. Working with electric motors involves potential hazards, including electrical shocks and injuries from moving parts. Therefore, it is essential to take the necessary safety measures and ensure you have the required tools and materials on hand.
In the following sections, we will walk you through the process of greasing an electric motor, guiding you on each step to ensure a smooth and successful maintenance procedure. So, let’s get started with the first step: disconnecting the power.
Key Takeaways:
- Proper greasing of electric motors is crucial for optimal performance and longevity. Follow safety precautions, clean the grease fitting, and apply fresh grease to ensure smooth and efficient operation.
- Regular maintenance, including greasing, significantly extends the lifespan of electric motors. Prioritize safety, follow manufacturer’s guidelines, and reconnect power carefully for reliable performance and durability.
Read also: 12 Amazing Electric Motor Grease for 2024
Safety Precautions
Before working on an electric motor, it is crucial to prioritize safety to prevent accidents and injuries. Here are some essential safety precautions to follow when greasing an electric motor:
- Turn off the Power: Before starting any maintenance or repair work, ensure that the power supply to the motor is disconnected. This helps to avoid the risk of electric shock or accidental startup.
- Use Personal Protective Equipment (PPE): Wear the appropriate PPE, including safety glasses, gloves, and, if necessary, a face shield. These protective gears provide a barrier against any potential hazards and protect you from debris or harmful substances.
- Inspect the Motor Casing: Before proceeding with greasing, visually inspect the motor casing for any signs of damage, such as cracks or exposed wires. Do not attempt to grease a motor that shows signs of damage; instead, contact a qualified technician for assistance.
- Allow Sufficient Cooling Time: If the motor was recently in use, allow it to cool down completely before beginning any maintenance work. Touching a hot motor can lead to burns or other injuries.
- Ensure a Stable Work Surface: Place the motor on a stable work surface to prevent it from tipping or falling during the greasing process. A sturdy workbench or table is recommended.
- Follow Manufacturer’s Instructions: Consult the owner’s manual or manufacturer’s guidelines for specific instructions on greasing the motor. Different motor models may have unique greasing requirements, so it is essential to follow the manufacturer’s recommendations.
- Avoid Over-greasing: Over-greasing the motor can cause excessive heat buildup and may damage the motor. Ensure that you apply the recommended amount of grease, as specified by the manufacturer.
- Dispose of Grease Properly: Dispose of any used grease and cleaning materials responsibly, following local regulations. Grease and cleaning agents can be harmful to the environment, so it is important to handle them with care.
Always remember that if you are uncertain about any aspect of greasing an electric motor, it is best to seek professional assistance. A qualified technician will have the expertise to handle the job safely and effectively.
Tools and Materials Needed
Before greasing an electric motor, make sure you have the necessary tools and materials on hand. Having these items readily available will help streamline the greasing process and ensure a smooth maintenance procedure. Here is a list of tools and materials you will need:
- Gloves: A pair of protective gloves will help keep your hands clean and protected during the greasing process.
- Safety Glasses: Wear safety glasses to shield your eyes from any grease or debris that may splatter during the greasing procedure.
- Clean Cloth or Rag: Have a clean cloth or rag handy to wipe off any excess grease and to clean the grease fitting before applying fresh grease.
- Grease Gun: A grease gun is a handheld tool used to pump grease into the motor’s grease fitting. Make sure you have a compatible grease gun for your specific motor model.
- Grease: Choose a high-quality grease that is recommended for electric motors. Consult the motor’s specifications or the manufacturer’s guidelines for the appropriate type of grease to use.
- Motor Manual or Manufacturer’s Guidelines: Have the motor’s manual or manufacturer’s guidelines readily available for reference. These documents provide specific instructions on the motor’s maintenance, including greasing requirements.
- Electrical Tape: Electrical tape is useful for securing and insulating wires while working on the motor. It helps prevent accidental contact with live wires.
- Cleaning Solvent: If necessary, have a suitable cleaning solvent available to remove any old grease or debris from the motor’s grease fitting before applying fresh grease.
Having these tools and materials prepared before you start the greasing process will save you time and ensure that you can complete the maintenance procedure without any interruptions.
Step 1: Disconnect the Power
The first and most important step before greasing an electric motor is to ensure that the power supply is disconnected. This step is crucial to prevent any electrical accidents or injuries during the maintenance process. Follow these steps to disconnect the power properly:
- Locate the power source: Identify the power source that supplies electricity to the motor. This could be a circuit breaker, a switch, or a plug.
- Switch off or unplug the power source: Depending on the type of power source, either switch off the circuit breaker or unplug the motor from the outlet.
- Double-check the power supply: Use a voltage tester or a multimeter to ensure that there is no electricity running to the motor. This step is essential for your safety.
- Tag or lock out the power source: To prevent accidental power restoration while you are working on the motor, it is a good practice to tag or lock out the power source. This serves as a visual reminder to yourself and others that the motor is being serviced.
Take extra caution when working with electrical components and always treat them as if they are energized. This initial step of disconnecting the power ensures a safe working environment and prevents any accidental activation of the motor while you are performing the greasing process.
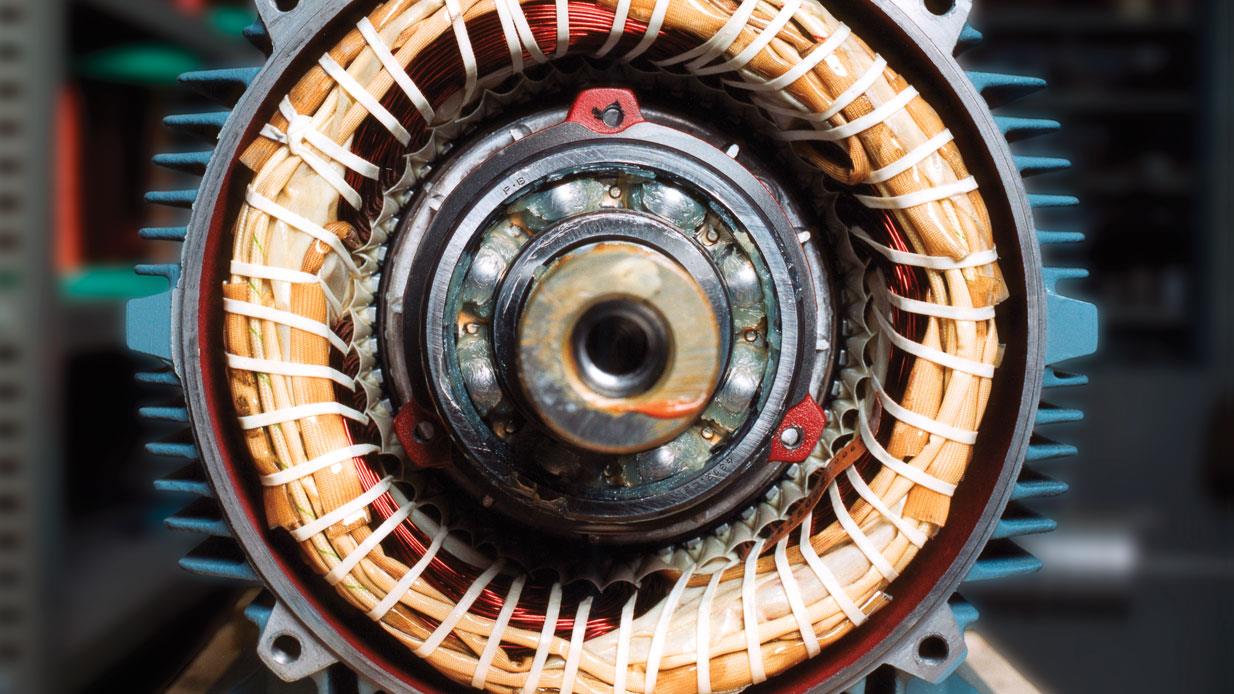
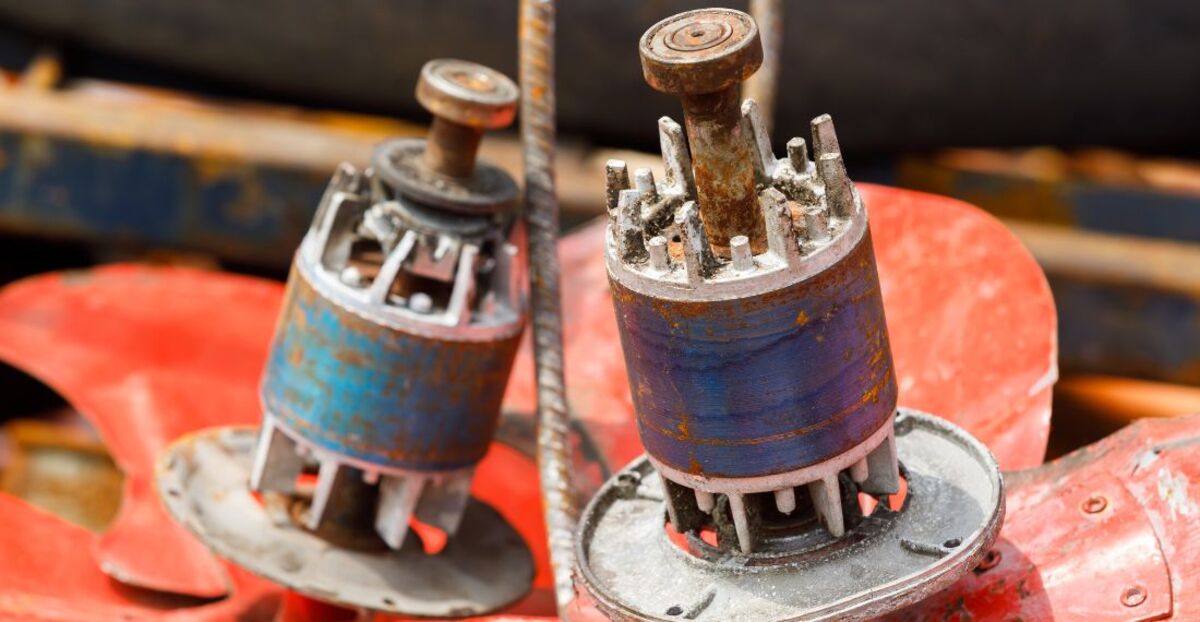
Step 2: Locate Motor Grease Fitting
Once you have disconnected the power, the next step is to locate the motor’s grease fitting. The grease fitting is a small metal nozzle or cap that allows you to inject grease into the motor’s bearings or other moving parts. Follow these steps to locate the grease fitting:
- Refer to the motor manual or manufacturer’s guidelines: Consult the motor’s manual or manufacturer’s guidelines to identify the location of the grease fitting. The manual will typically have detailed diagrams or descriptions to help you locate it accurately.
- Inspect the motor: Visually inspect the motor to look for any external indication of the grease fitting. It is usually located on the motor housing, near the shaft or bearing area.
- Search for a small, protruding metal nozzle or cap: The grease fitting is typically a small metal nozzle or cap that sticks out from the motor housing. It may be threaded or have a small ball valve.
- Feel for the grease fitting: If you cannot visibly locate the grease fitting, use your fingers to feel for it around the motor housing. Run your fingers along the housing near the shaft or bearing area, and you should find a small protrusion.
- Use a flashlight if necessary: In case the grease fitting is not easily visible, use a flashlight to illuminate the motor housing and help you locate it more accurately.
Remember that the precise location of the grease fitting may vary depending on the motor model. If you are having trouble locating it, consult a professional or refer to the manufacturer’s guidelines for further assistance.
Read more: How To Build A Electric Motor
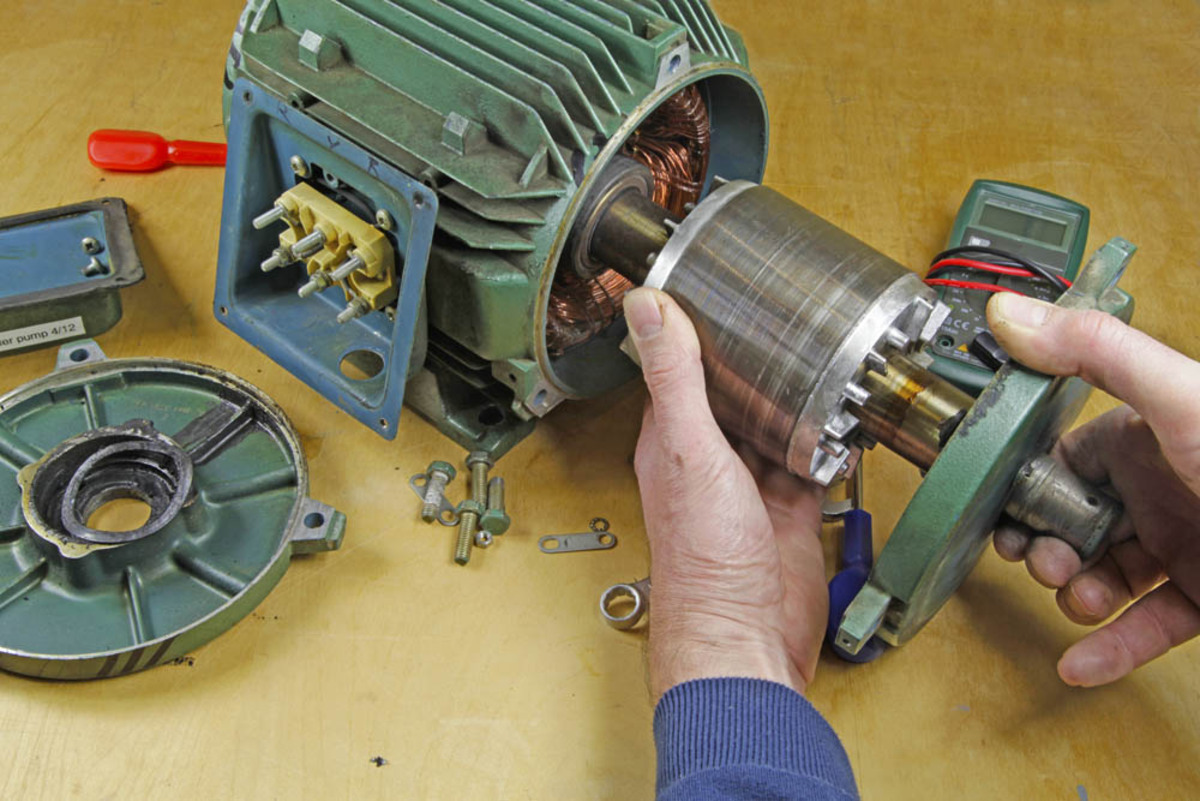
Step 3: Clean the Grease Fitting
Before applying fresh grease to the motor, it is essential to clean the grease fitting to ensure proper lubrication. Over time, dirt, debris, and old grease can accumulate on the fitting, which may hinder the proper flow of fresh grease. Follow these steps to clean the grease fitting effectively:
- Gather cleaning materials: Prepare a clean cloth or rag, as well as a suitable cleaning solvent if necessary. The cleaning solvent helps to remove any stubborn dirt or old grease from the fitting.
- Wipe the grease fitting: Begin by using a clean cloth or rag to wipe off any loose dirt or debris from the grease fitting. Gently scrub the fitting to remove any grime or residue.
- Apply cleaning solvent (if needed): If the grease fitting is particularly dirty or clogged, apply a small amount of cleaning solvent to the cloth or rag. Use the solvent to gently clean the fitting, ensuring that you remove any stubborn dirt or old grease.
- Inspect the grease fitting: After cleaning, inspect the grease fitting to ensure it is free from any debris or obstructions. Check for any signs of damage, such as clogs or deterioration, which may require further attention or replacement.
By cleaning the grease fitting before applying fresh grease, you ensure that the new lubricant can flow smoothly and effectively to the motor’s moving parts. This step promotes optimal performance and prolongs the motor’s lifespan.
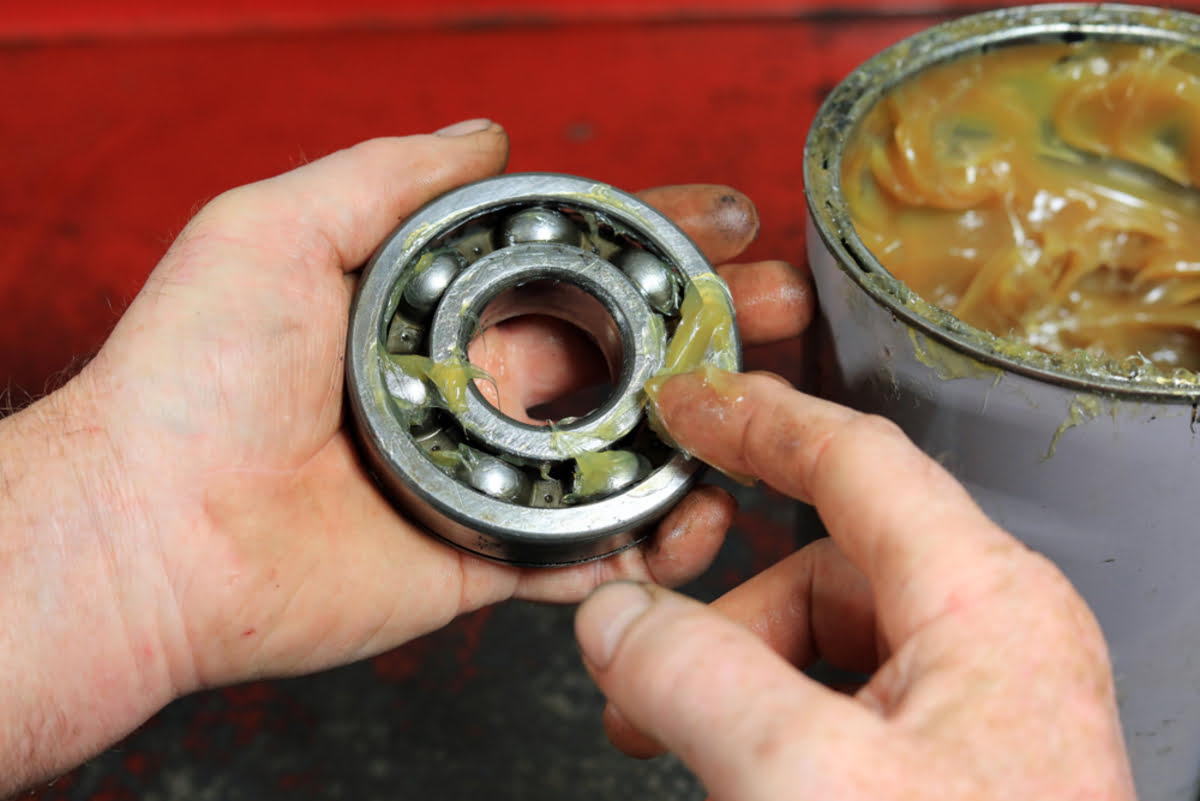
When greasing an electric motor, use a high-quality lithium-based grease and apply it sparingly to the bearings using a grease gun. Be sure to follow the manufacturer’s recommendations for the specific motor model.
Step 4: Apply Grease to the Fitting
After cleaning the grease fitting, it’s time to apply fresh grease to ensure proper lubrication of the motor. Greasing the motor helps to reduce friction, prevent wear and tear, and extend its lifespan. Follow these steps to apply grease to the fitting effectively:
- Select the appropriate grease: Refer to the motor’s manual or manufacturer’s guidelines to determine the recommended type of grease for your specific motor. Different motors may require different types of grease to operate optimally.
- Prepare the grease gun: Load the grease gun with the appropriate grease. Follow the manufacturer’s instructions to fill the grease gun properly.
- Attach the grease gun to the fitting: Align the nozzle of the grease gun with the grease fitting. Push the nozzle firmly onto the fitting until it locks into place.
- Pump the grease into the fitting: Slowly and steadily squeeze the handle or trigger of the grease gun to pump grease into the fitting. Apply enough pressure to ensure the grease flows smoothly into the motor.
- Monitor the motor for signs of grease overflow: As you pump the grease, keep an eye on the motor for any signs of grease overflow. If excess grease starts to seep out from any openings or vents, reduce the pressure on the grease gun to prevent over-lubrication.
- Continue greasing until fresh grease appears: Keep pumping the grease gun until you see fresh grease squeezing out of the motor’s bearing or other designated areas. This ensures that the old grease is displaced, and the fresh grease is properly distributed.
Take care not to over-grease the motor, as excessive grease can lead to overheating and cause damage. Refer to the motor’s manual or manufacturer’s guidelines for the recommended amount of grease to apply. Over-greasing the motor may require additional steps, such as cleaning out the excess grease or seeking professional assistance.
Step 5: Rotate the Motor
After applying fresh grease to the motor, the next step is to rotate the motor manually. Rotating the motor helps distribute the grease evenly to all moving parts, ensuring optimal lubrication. Follow these steps to rotate the motor properly:
- Ensure the motor is powered off: Double-check that the power supply to the motor is still disconnected to prevent any accidental startup while rotating the motor.
- Identify the motor’s rotating direction: Determine the direction in which the motor rotates. This information can usually be found in the motor’s manual or manufacturer’s guidelines. It is essential to rotate the motor in the correct direction to prevent any damage.
- Manually rotate the motor shaft or blades: Using the appropriate tools or by hand (if possible), gently rotate the motor’s shaft or blades in the direction of its normal rotation. This will help distribute the grease evenly and allow it to reach all the necessary areas.
- Rotate in both clockwise and counterclockwise directions: To ensure complete coverage, rotate the motor in both clockwise and counterclockwise directions for several rotations. This helps to spread the grease thoroughly throughout the motor’s bearings and other components.
- Listen and feel for any abnormal sounds or resistance: While rotating the motor, pay attention to any unusual sounds or resistance. If you notice anything out of the ordinary, such as grinding or scraping noises, stop rotating immediately and consult a professional for further investigation.
Rotating the motor aids in the even distribution of the freshly applied grease, allowing it to coat all the necessary components for optimal lubrication. This step helps extend the motor’s lifespan and ensures smooth and efficient operation.
Step 6: Replace the Motor Cover
After completing the greasing process and ensuring the optimal distribution of grease, it is time to replace the motor cover. The motor cover plays an important role in protecting the motor from dust, debris, and moisture, so it is essential to properly secure it. Follow these steps to replace the motor cover:
- Clean the motor cover: Take a moment to clean the motor cover using a clean cloth or rag. Remove any dust, dirt, or grease residue from the cover surface.
- Align the motor cover: Position the motor cover correctly, ensuring that it aligns properly with the motor housing. Align any screw holes or latches to ensure a secure fit.
- Secure the motor cover: Depending on the design of the motor cover, use the appropriate screws, latches, or fasteners to secure it in place. Make sure the cover is tightly secured to prevent any movement or vibrations during motor operation.
- Check for any loose parts: Once the motor cover is in place, inspect the surrounding area for any loose parts, tools, or debris that may have been left behind during the greasing process. Remove anything that could potentially interfere with the motor’s operation.
- Inspect the motor and cover assembly: Take a final look at the motor and cover assembly to ensure everything is properly secured and aligned. Double-check all fasteners and connections to verify they are tight and secure.
Replacing the motor cover provides protection against external elements and helps maintain the integrity of the greasing process. A well-fitted motor cover ensures the longevity and efficient performance of the electric motor.
Read more: How To Cool An Electric Motor
Step 7: Reconnect the Power
The final step in greasing an electric motor is to reconnect the power supply. After completing all the necessary maintenance steps, it is crucial to restore the power to the motor properly. Follow these steps to reconnect the power:
- Ensure all tools and materials are clear of the motor: Before reconnecting the power, make sure that all tools, materials, and equipment are clear of the motor and its surrounding area. This will prevent any accidental damage or interference with the motor’s operation.
- Double-check the motor cover and fittings: Give the motor cover and fittings one final inspection to ensure they are securely fastened and in the proper position. Confirm that there are no loose screws or latches that could pose a risk during operation.
- Locate the power source: Identify the power source that supplies electricity to the motor, such as a circuit breaker or electrical outlet.
- Switch on or plug in the power source: Depending on the type of power source, either switch on the circuit breaker or plug the motor back into the outlet.
- Verify the power supply: Using a voltage tester or multimeter, confirm that the motor is receiving the appropriate power supply. Ensure that there are no electrical issues or malfunctions that could affect the motor’s performance.
- Test the motor: With the power restored, test the motor to ensure it is operating smoothly. Observe the motor’s movement and listen for any unusual sounds or vibrations. If you notice any issues, disconnect the power again and seek professional assistance.
- Monitor the motor’s performance: After reconnecting the power, monitor the motor’s performance over the next few hours or days. Keep an eye out for any signs of overheating, excessive noise, or other irregularities that may indicate a problem.
By following these steps to reconnect the power, you ensure that the motor is ready to resume its normal operation with the optimal lubrication provided by the freshly applied grease.
Conclusion
Maintaining and greasing an electric motor is essential for its optimal performance and longevity. By following the steps outlined in this guide, you can ensure that your electric motor remains properly lubricated and operates smoothly. Remember to prioritize safety by disconnecting the power and using the appropriate personal protective equipment (PPE) during the greasing process.
Cleaning the grease fitting, applying fresh grease, and rotating the motor help distribute the lubricant evenly and reduce friction, preventing premature wear and tear. Additionally, replacing the motor cover protects the motor from dust and moisture, preserving its functionality.
It is crucial to follow the manufacturer’s guidelines and recommendations regarding the type of grease to use and the greasing intervals specific to your motor. Regular maintenance, including greasing, can significantly extend the motor’s lifespan and ensure its efficient operation.
If you are uncertain about any aspect of greasing an electric motor or encounter any difficulties during the process, it is always recommended to seek the assistance of a qualified professional. They have the expertise and knowledge to perform the necessary maintenance and ensure the motor’s optimal performance.
By adhering to proper greasing procedures and practicing regular maintenance, you can keep your electric motor in excellent condition, ensuring reliable performance and contributing to its long-term durability.
Frequently Asked Questions about How To Grease Electric Motor
Was this page helpful?
At Storables.com, we guarantee accurate and reliable information. Our content, validated by Expert Board Contributors, is crafted following stringent Editorial Policies. We're committed to providing you with well-researched, expert-backed insights for all your informational needs.
0 thoughts on “How To Grease Electric Motor”