Home>Articles>How Easy Is It To Remove A Towel Bar From Tile
Articles
How Easy Is It To Remove A Towel Bar From Tile
Modified: March 2, 2024
Learn how to easily remove a towel bar from tile in this informative article. Find step-by-step instructions and expert tips to make the process quick and hassle-free.
(Many of the links in this article redirect to a specific reviewed product. Your purchase of these products through affiliate links helps to generate commission for Storables.com, at no extra cost. Learn more)
Introduction
Removing a towel bar from tile may seem like a daunting task, but with the right tools and techniques, it can be a relatively straightforward process. Whether you want to replace your old towel bar with a new one or simply want to change the layout of your bathroom, removing a towel bar from tile can be done with a little patience and care.
In this article, we will guide you through the step-by-step process of removing a towel bar from tile, ensuring that you can complete the task with ease and without causing any damage to your bathroom tiles. So, let’s gather our supplies and get started!
Key Takeaways:
- Easily remove a towel bar from tile using basic tools and careful techniques, without causing damage to the bathroom tiles. Follow step-by-step instructions for a smooth and efficient removal process.
- Gather the necessary supplies and follow the detailed steps to safely remove a towel bar from tile, including locating mounting brackets, gently pulling off the bar, and addressing any resulting damage.
Read more: How Remove Towel Bar
Supplies Needed
Before you begin removing a towel bar from tile, it’s important to make sure you have all the necessary supplies. Here is a list of the items you’ll need:
- Phillips head screwdriver or Allen wrench (depending on the type of mounting screws)
- Utility knife or putty knife
- Adhesive remover
- Plastic scraper
- Microfiber cloth or sponge
- Tile repair kit (if needed)
Having these supplies ready will ensure that you can complete the towel bar removal process smoothly and efficiently. Now that you have everything you need, let’s move on to the step-by-step instructions.
Step 1: Gather your tools
The first step in removing a towel bar from tile is to gather all the necessary tools. Make sure you have your Phillips head screwdriver or Allen wrench, a utility knife or putty knife, adhesive remover, a plastic scraper, a microfiber cloth or sponge, and a tile repair kit (if needed).
Having these tools on hand will make the removal process much easier and more efficient. The screwdriver or Allen wrench will be used to loosen and remove any screws or mounting brackets that hold the towel bar in place. The utility knife or putty knife will come in handy for removing any adhesive or caulk. The adhesive remover will help dissolve any stubborn adhesive residue, while the plastic scraper will be used to gently scrape away the adhesive.
The microfiber cloth or sponge will be used to wipe away any excess adhesive remover and to clean the tile surface. Lastly, if you notice any damage to the tile during the removal process, a tile repair kit can be used to patch or repair any chips or cracks.
Once you have gathered your tools, you are ready to move on to the next step: locating the mounting brackets.
Step 2: Locate the mounting brackets
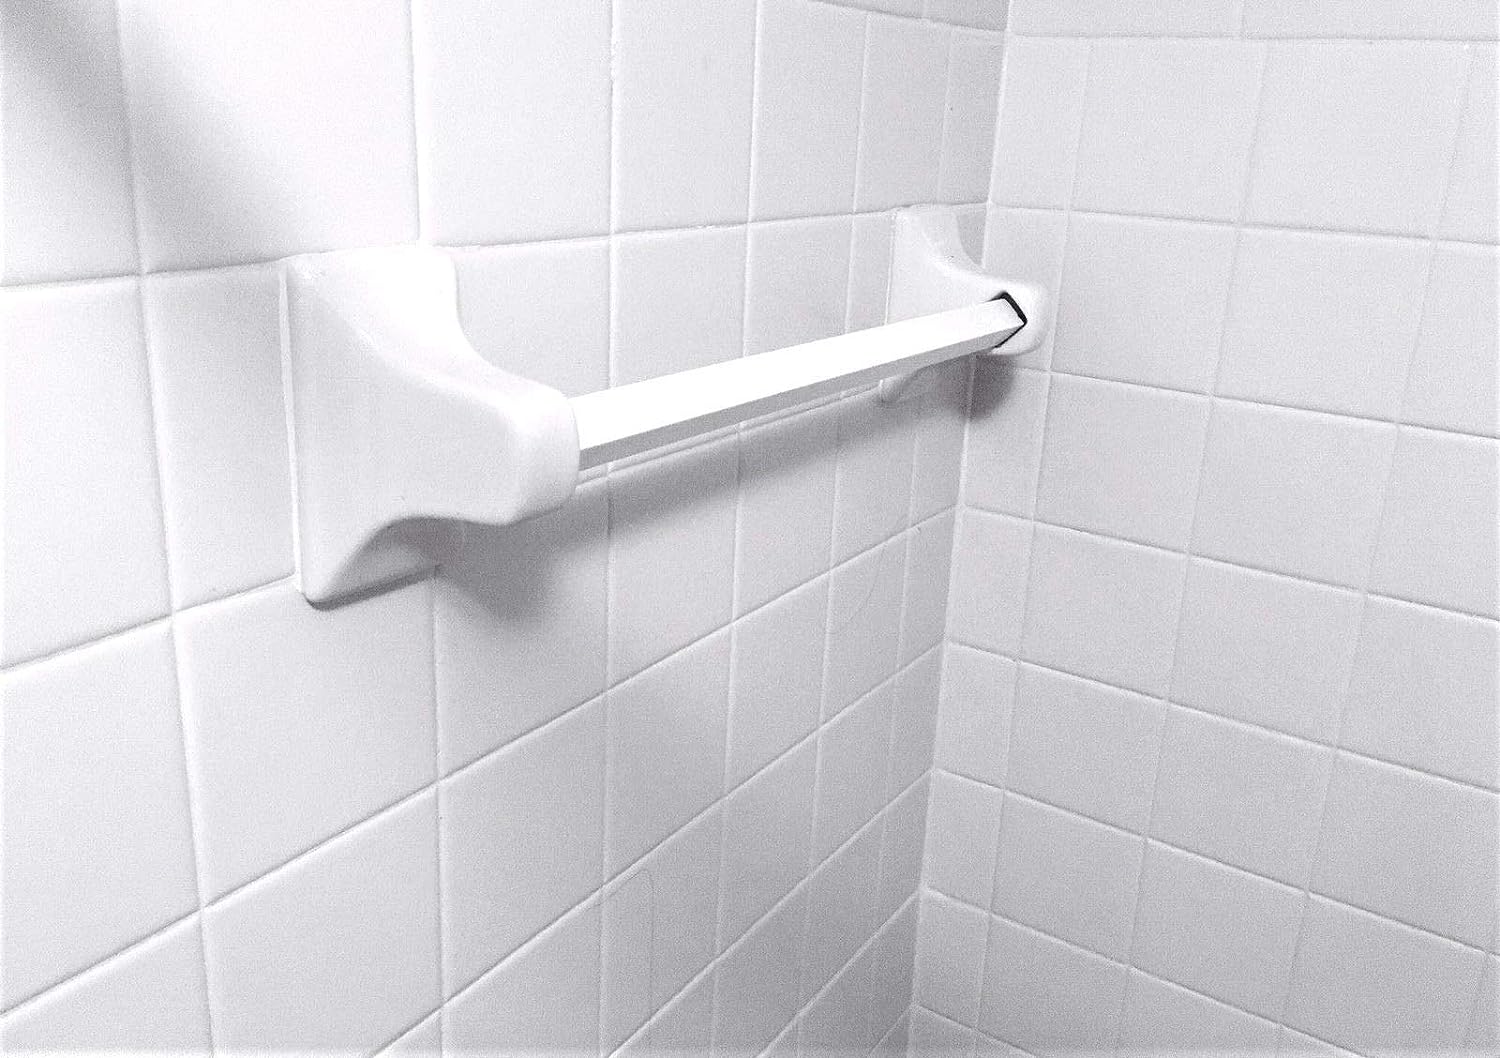
Now that you have gathered your tools, it’s time to locate the mounting brackets of the towel bar. Take a close look at the ends of the towel bar where it attaches to the wall. You will either see set screws or visible mounting brackets.
If you see set screws, they will typically be located on the bottom side of the towel bar. Use your Phillips head screwdriver or Allen wrench (depending on the type of screws) to loosen and remove the set screws. It’s important to make sure you turn the screw counterclockwise to loosen it.
If you don’t see any set screws, you may have visible mounting brackets. These brackets are usually located on each end of the towel bar and are attached to the wall. In this case, you will need to look for screws that secure the brackets to the wall. Use your screwdriver to loosen and remove these screws.
Once the set screws or mounting brackets are removed, you can now proceed to the next step: removing the towel bar from the wall.
Step 3: Remove the set screws or mounting brackets
With the mounting brackets or set screws located, it’s time to remove them and detach the towel bar from the wall. This step requires caution and a steady hand to avoid damaging the tile.
If your towel bar has set screws, use your Phillips head screwdriver or Allen wrench to slowly loosen and remove the screws. Remember to turn them counterclockwise to loosen them. It’s essential to apply gentle pressure and avoid using excessive force to prevent stripping the screws.
If your towel bar has visible mounting brackets, locate the screws that secure the brackets to the wall. Use your screwdriver to carefully loosen and remove these screws one at a time. As you remove the screws, hold onto the towel bar to prevent it from falling off the wall unexpectedly.
Once the set screws or mounting bracket screws are completely removed, set them aside in a safe place for later use or disposal. You may need them if you plan to reinstall a new towel bar or if you need replacements.
Now that the set screws or mounting brackets have been removed, you are ready to proceed to the next step: gently pulling the towel bar off the wall.
Use a screwdriver to remove the screws holding the towel bar in place. If the screws are rusted, apply a penetrating oil and let it sit for a few minutes before attempting to remove them. Be gentle to avoid damaging the tile.
Read more: How To Remove Scuffs From White Towel Bar
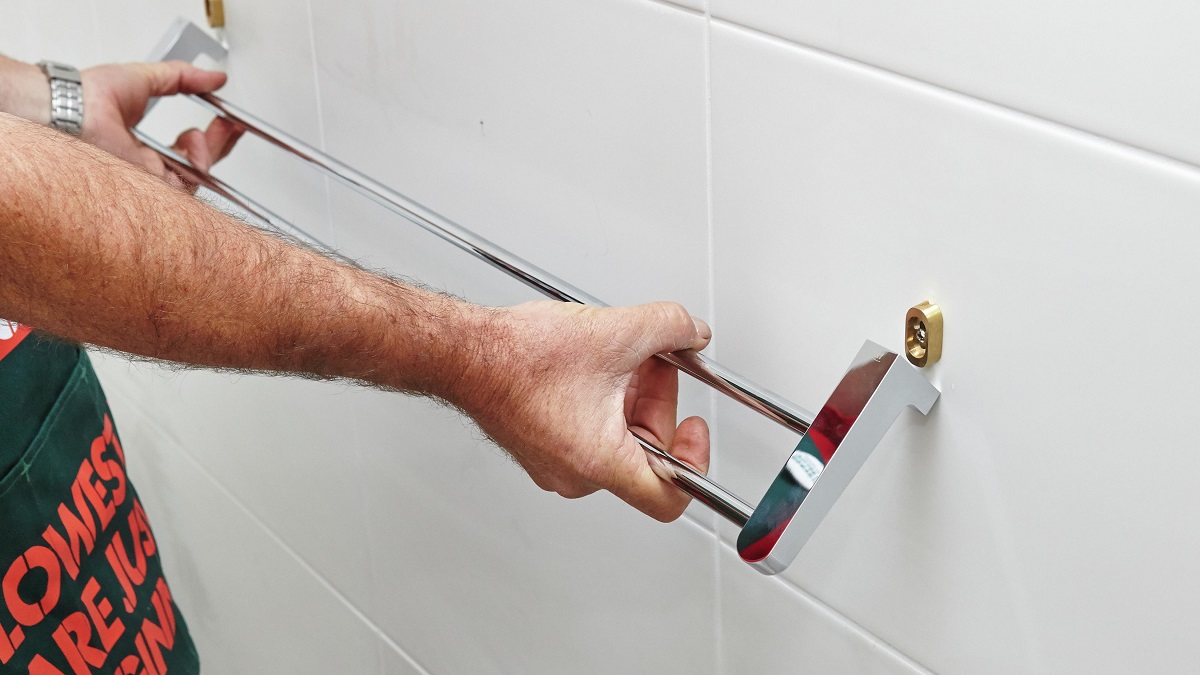
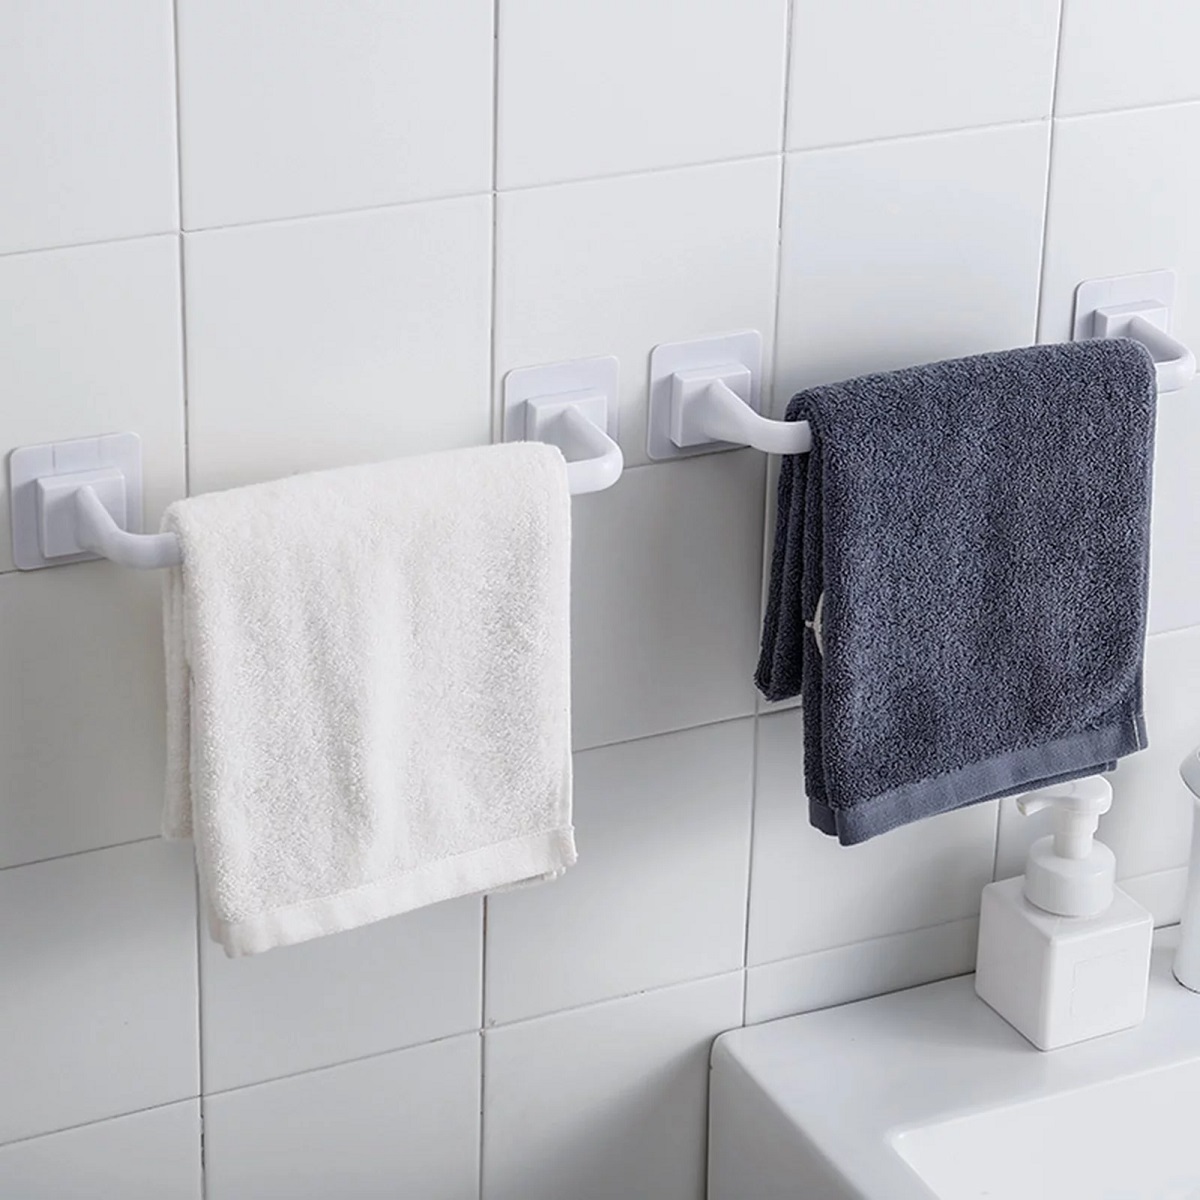
Step 4: Gently pull the towel bar off the wall
Now that the set screws or mounting brackets have been removed, it’s time to gently pull the towel bar off the wall. This step requires careful handling to avoid causing any damage to the tile or the towel bar itself.
Start by firmly gripping the towel bar at each end and gently lift it upwards or outwards, depending on the orientation of the bar. Apply steady and even pressure to avoid snapping or bending the towel bar. If the towel bar feels resistant, double-check that all set screws or mounting bracket screws have been completely removed.
As you pull the towel bar off the wall, be mindful of any caulk or adhesive that may be holding it in place. If you encounter resistance, avoid using excessive force, as this can damage the tile. Instead, gently wiggle the towel bar back and forth to loosen any adhesive or caulk. If necessary, use a utility knife or putty knife to carefully cut through the caulk.
Continue to pull the towel bar away from the wall until it is completely detached. Set the towel bar aside in a safe location where it won’t get damaged or cause any accidents. You have successfully removed the towel bar from the wall!
With the towel bar removed, you can now move on to the next step: removing any remaining adhesive or caulk from the tile.
Step 5: Remove any remaining adhesive or caulk
After removing the towel bar, there may still be residue from adhesive or caulk on the tile surface. It’s important to remove this residue to ensure a clean and smooth finish. Here’s how to do it:
- Start by using a plastic scraper or your fingers to gently scrape away any large chunks of adhesive or caulk. Be careful not to scratch or damage the tile surface.
- Next, apply an adhesive remover or a mild solvent to the remaining residue. Be sure to follow the instructions on the product label and use it sparingly to avoid damaging the tile.
- Allow the adhesive remover or solvent to sit on the residue for a few minutes to soften it. This will make it easier to remove.
- Using a microfiber cloth or sponge, gently scrub the residue in a circular motion. Apply light pressure to avoid scratching the tile.
- Rinse the cloth or sponge frequently and continue scrubbing until all the residue is removed. You may need to repeat this process multiple times depending on the stubbornness of the residue.
- Once all the residue is gone, wipe the tile surface with a clean, damp cloth to remove any leftover adhesive remover or solvent.
By following these steps, you can effectively remove any remaining adhesive or caulk from the tile surface. This will prepare the area for the next step: patching or repairing any damage to the tile caused during the removal process.
Step 6: Patch or repair any damage to the tile
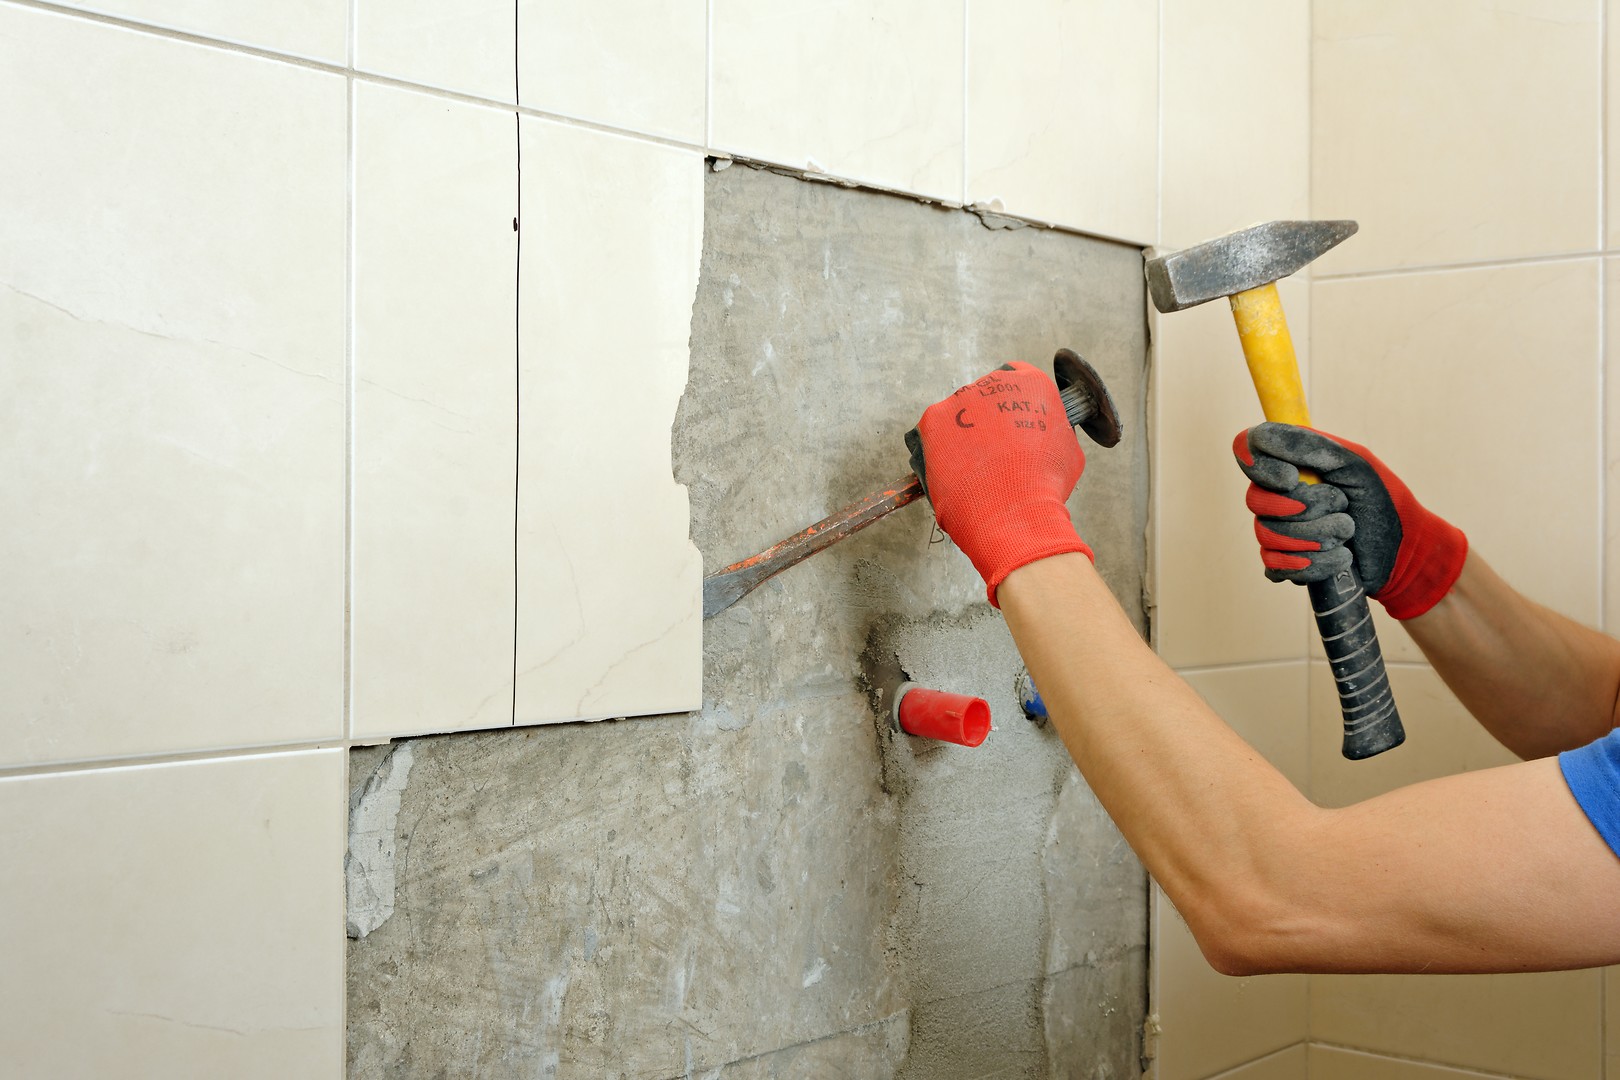
During the process of removing a towel bar from tile, there is a possibility of causing some damage, such as chipped or cracked tiles. It’s important to address these issues to maintain the integrity and aesthetics of your bathroom. Here’s how you can patch or repair any damage to the tile:
- Start by assessing the extent of the damage. Determine if it’s just a small chip or crack that can be easily repaired or if it requires more extensive measures, such as replacing the tile.
- If it’s a minor chip or crack, you can use a tile repair kit to fix the damage. These kits usually contain epoxy or filler that can be applied to the damaged area using a putty knife or a small paintbrush. Follow the instructions provided with the repair kit for the best results.
- Once the epoxy or filler is applied, smooth out the surface with a putty knife and remove any excess material.
- Allow the repaired area to dry and cure according to the instructions provided with the repair kit.
- If the damage is significant or you’re unsure about repairing it yourself, it’s recommended to consult a professional tile installer who can assess the situation and offer the best solution.
By patching or repairing any damage to the tile, you can restore the appearance and functionality of your bathroom. It’s important to address these issues promptly to prevent further damage or potential hazards.
Congratulations! You have successfully removed a towel bar from tile and completed the necessary steps to patch or repair any resulting damage. Your bathroom is now ready for a fresh towel bar or a new layout. Remember to follow the manufacturer’s instructions when installing a new towel bar to ensure a secure and long-lasting attachment to the tile.
If you have any additional questions or concerns, don’t hesitate to consult a professional or seek further guidance. Enjoy your newly revamped bathroom!
Conclusion
Removing a towel bar from tile may seem like a daunting task, but with the right tools, techniques, and a little patience, it can be accomplished without causing any damage to your bathroom tiles. By following the step-by-step instructions outlined in this article, you can easily remove a towel bar and prepare the tile for a new towel bar or a fresh bathroom layout.
Remember to gather all the necessary supplies before starting the removal process. This includes a screwdriver or wrench, utility knife or putty knife, adhesive remover, plastic scraper, microfiber cloth or sponge, and a tile repair kit if needed. Having these tools on hand will ensure a smooth and efficient removal process.
Once the towel bar is removed, it’s important to take extra care in removing any remaining adhesive or caulk from the tile surface. Using a plastic scraper, adhesive remover, and a gentle scrubbing motion with a microfiber cloth or sponge, you can effectively remove all residue and restore the tile’s cleanliness.
If any damage, such as chipped or cracked tiles, occurs during the removal process, you can use a tile repair kit to patch and fix the affected area. However, for more extensive damage or if you’re unsure about repairing it yourself, it’s advisable to seek the assistance of a professional tile installer.
By successfully removing a towel bar from tile and addressing any resulting damage, you can revamp your bathroom’s appearance and create a fresh and updated space. Remember to take safety precautions, follow instructions carefully, and enjoy the satisfaction of completing a DIY project in your home.
Now that you have the knowledge and confidence to remove a towel bar from tile, go ahead and give your bathroom a new look!
Frequently Asked Questions about How Easy Is It To Remove A Towel Bar From Tile
Was this page helpful?
At Storables.com, we guarantee accurate and reliable information. Our content, validated by Expert Board Contributors, is crafted following stringent Editorial Policies. We're committed to providing you with well-researched, expert-backed insights for all your informational needs.


0 thoughts on “How Easy Is It To Remove A Towel Bar From Tile”