Articles
How To Seal Ceramic Tile Floor
Modified: August 28, 2024
Discover the best articles on how to seal your ceramic tile floor and keep it looking pristine. Learn step-by-step techniques for a durable and long-lasting seal.
(Many of the links in this article redirect to a specific reviewed product. Your purchase of these products through affiliate links helps to generate commission for Storables.com, at no extra cost. Learn more)
Introduction
Sealing your ceramic tile floor is an essential step in maintaining its beauty and prolonging its lifespan. Whether you have ceramic tiles in your kitchen, bathroom, or any other area of your home, sealing them can provide numerous benefits. This article will guide you through the process of sealing your ceramic tile floor, from the preparation to the application, ensuring that you achieve optimal results.
A ceramic tile floor is not only an attractive addition to your home but also a durable and practical choice. However, without proper protection, the tiles can become stained, discolored, and prone to damage. Sealing your ceramic tile floor acts as a barrier, preventing liquids, dirt, and grime from penetrating the tiles and causing permanent damage. Additionally, sealing enhances the tile’s resistance to scratches, abrasions, and fading caused by exposure to sunlight.
Furthermore, sealing your ceramic tile floor can transform its appearance, adding a subtle sheen and enhancing the depth and vibrancy of the colors. This added aesthetic appeal can elevate the overall look of the room, creating a more inviting and polished atmosphere.
By investing a little time and effort in sealing your ceramic tile floor, you can enjoy long-lasting beauty and protect your investment. In the following sections, we will discuss the benefits of sealing ceramic tile floors, the necessary preparations, choosing the right sealer, the tools and materials required, a step-by-step guide to the sealing process, useful tips and precautions, and frequently asked questions to assist you in confidently completing the task.
Key Takeaways:
- Sealing your ceramic tile floor not only protects against stains and damage but also enhances the overall appearance, making maintenance easier and extending the lifespan of your tiles.
- Proper preparation, choosing the right sealer, and following the step-by-step guide are crucial for a successful sealing process. By considering tips and precautions, you can achieve a beautifully sealed ceramic tile floor that adds value to your home.
Read more: How To Lay A Ceramic Tile Floor
Benefits of Sealing Ceramic Tile Floors
Sealing your ceramic tile floors offers a wide range of advantages that go beyond just protecting the tiles. Let’s explore some of the main benefits:
- Stain resistance: Sealing creates a barrier that prevents liquids, such as spills and stains, from penetrating the porous surface of ceramic tiles. This makes it easier to clean and maintain the floor, as stains can be wiped away without leaving a lasting mark.
- Increased durability: Ceramic tiles are known for their durability, but sealing them takes it a step further. The sealant provides an additional layer of protection, making the tiles more resistant to scratches, abrasions, and general wear and tear. This helps maintain the pristine appearance of the floor for a longer period.
- Protection against moisture: Ceramic tiles are resistant to moisture, but over time, water can seep into the grout lines and cause damage. Sealing the tiles helps prevent moisture absorption, reducing the risk of mold, mildew, and structural damage to the subfloor beneath.
- Prolonged lifespan: By sealing your ceramic tile floor, you can significantly extend its lifespan. The sealant acts as a protective barrier, preventing the tiles from deteriorating due to exposure to environmental factors and daily use. This ensures that your floor remains beautiful and intact for years to come.
- Enhanced appearance: Sealing can enhance the natural beauty of your ceramic tiles by adding a subtle sheen and intensifying the colors. This not only makes the floor visually appealing but also creates a more polished and sophisticated look for the entire room.
- Easy maintenance: A sealed ceramic tile floor is much easier to clean and maintain. The sealed surface repels dirt, dust, and grime, making it easier to wipe away spills or sweep away loose debris. Regular maintenance becomes a breeze, saving you time and effort in the long run.
When considering the benefits mentioned above, it’s clear that sealing your ceramic tile floors is a worthwhile investment. Not only does it protect the tiles from damage, but it also enhances their overall appearance and increases their lifespan. The next section will guide you through the necessary steps to prepare your tile surface for sealing.
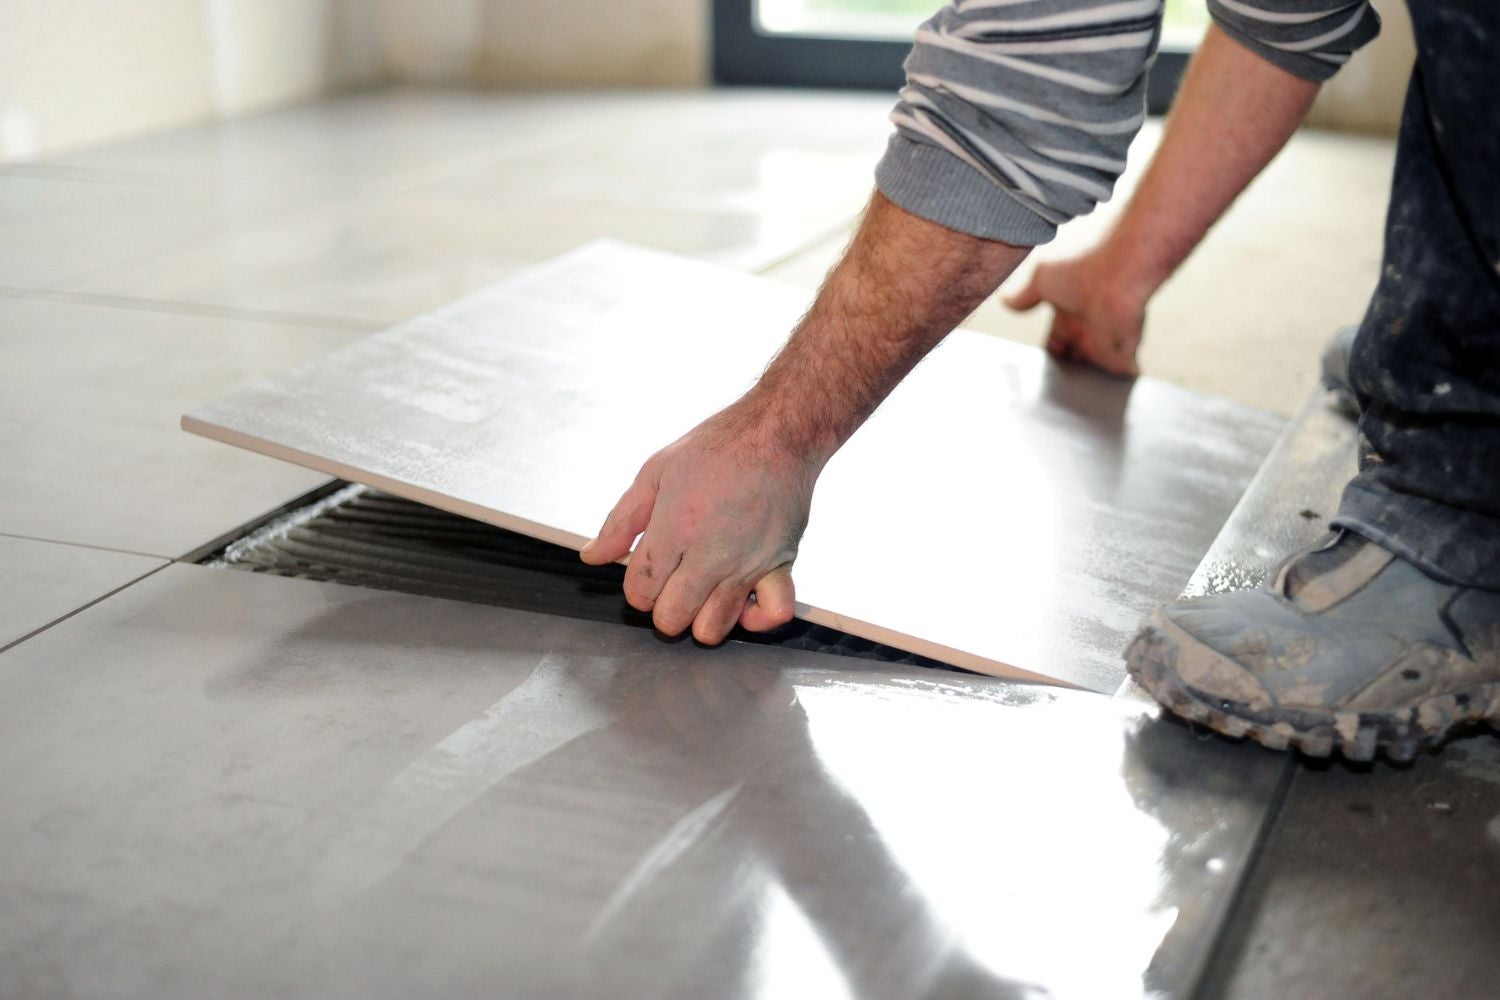
Preparing the Tile Surface for Sealing
Before you begin the process of sealing your ceramic tile floor, it is crucial to properly prepare the tile surface to ensure optimal results. Follow these steps to ensure a clean and smooth surface:
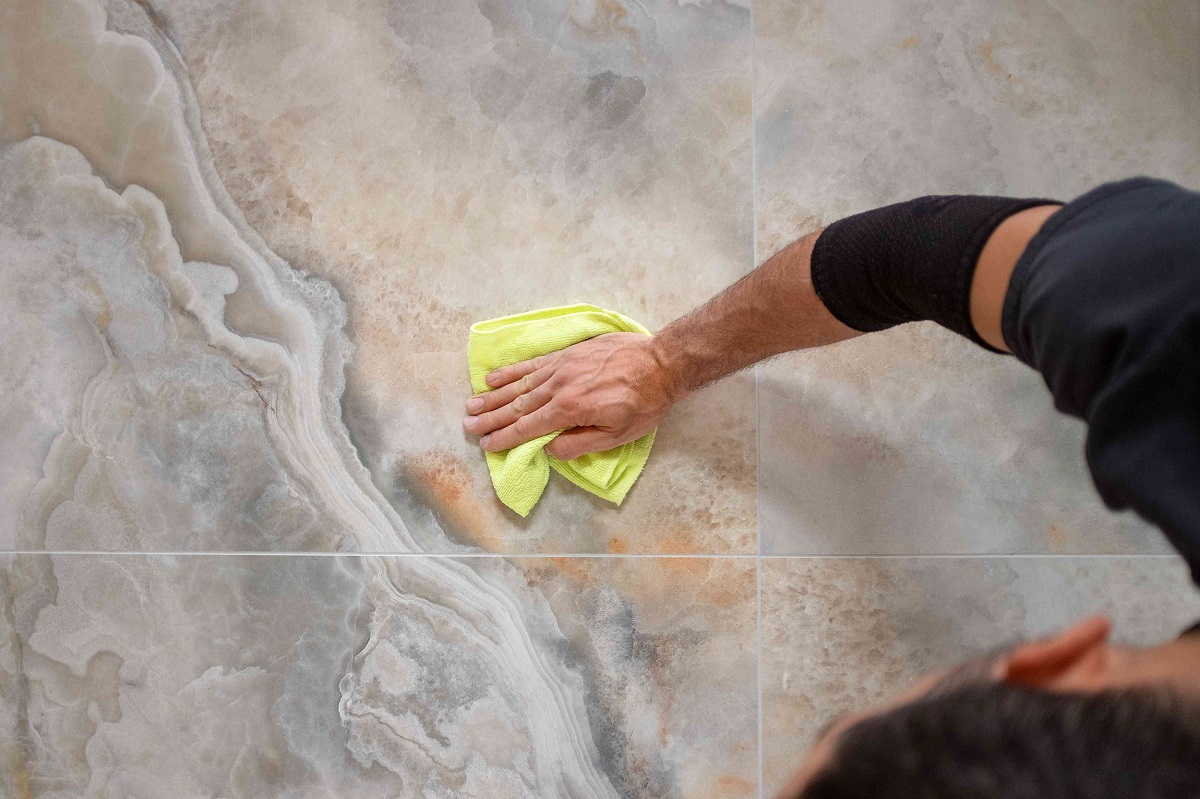
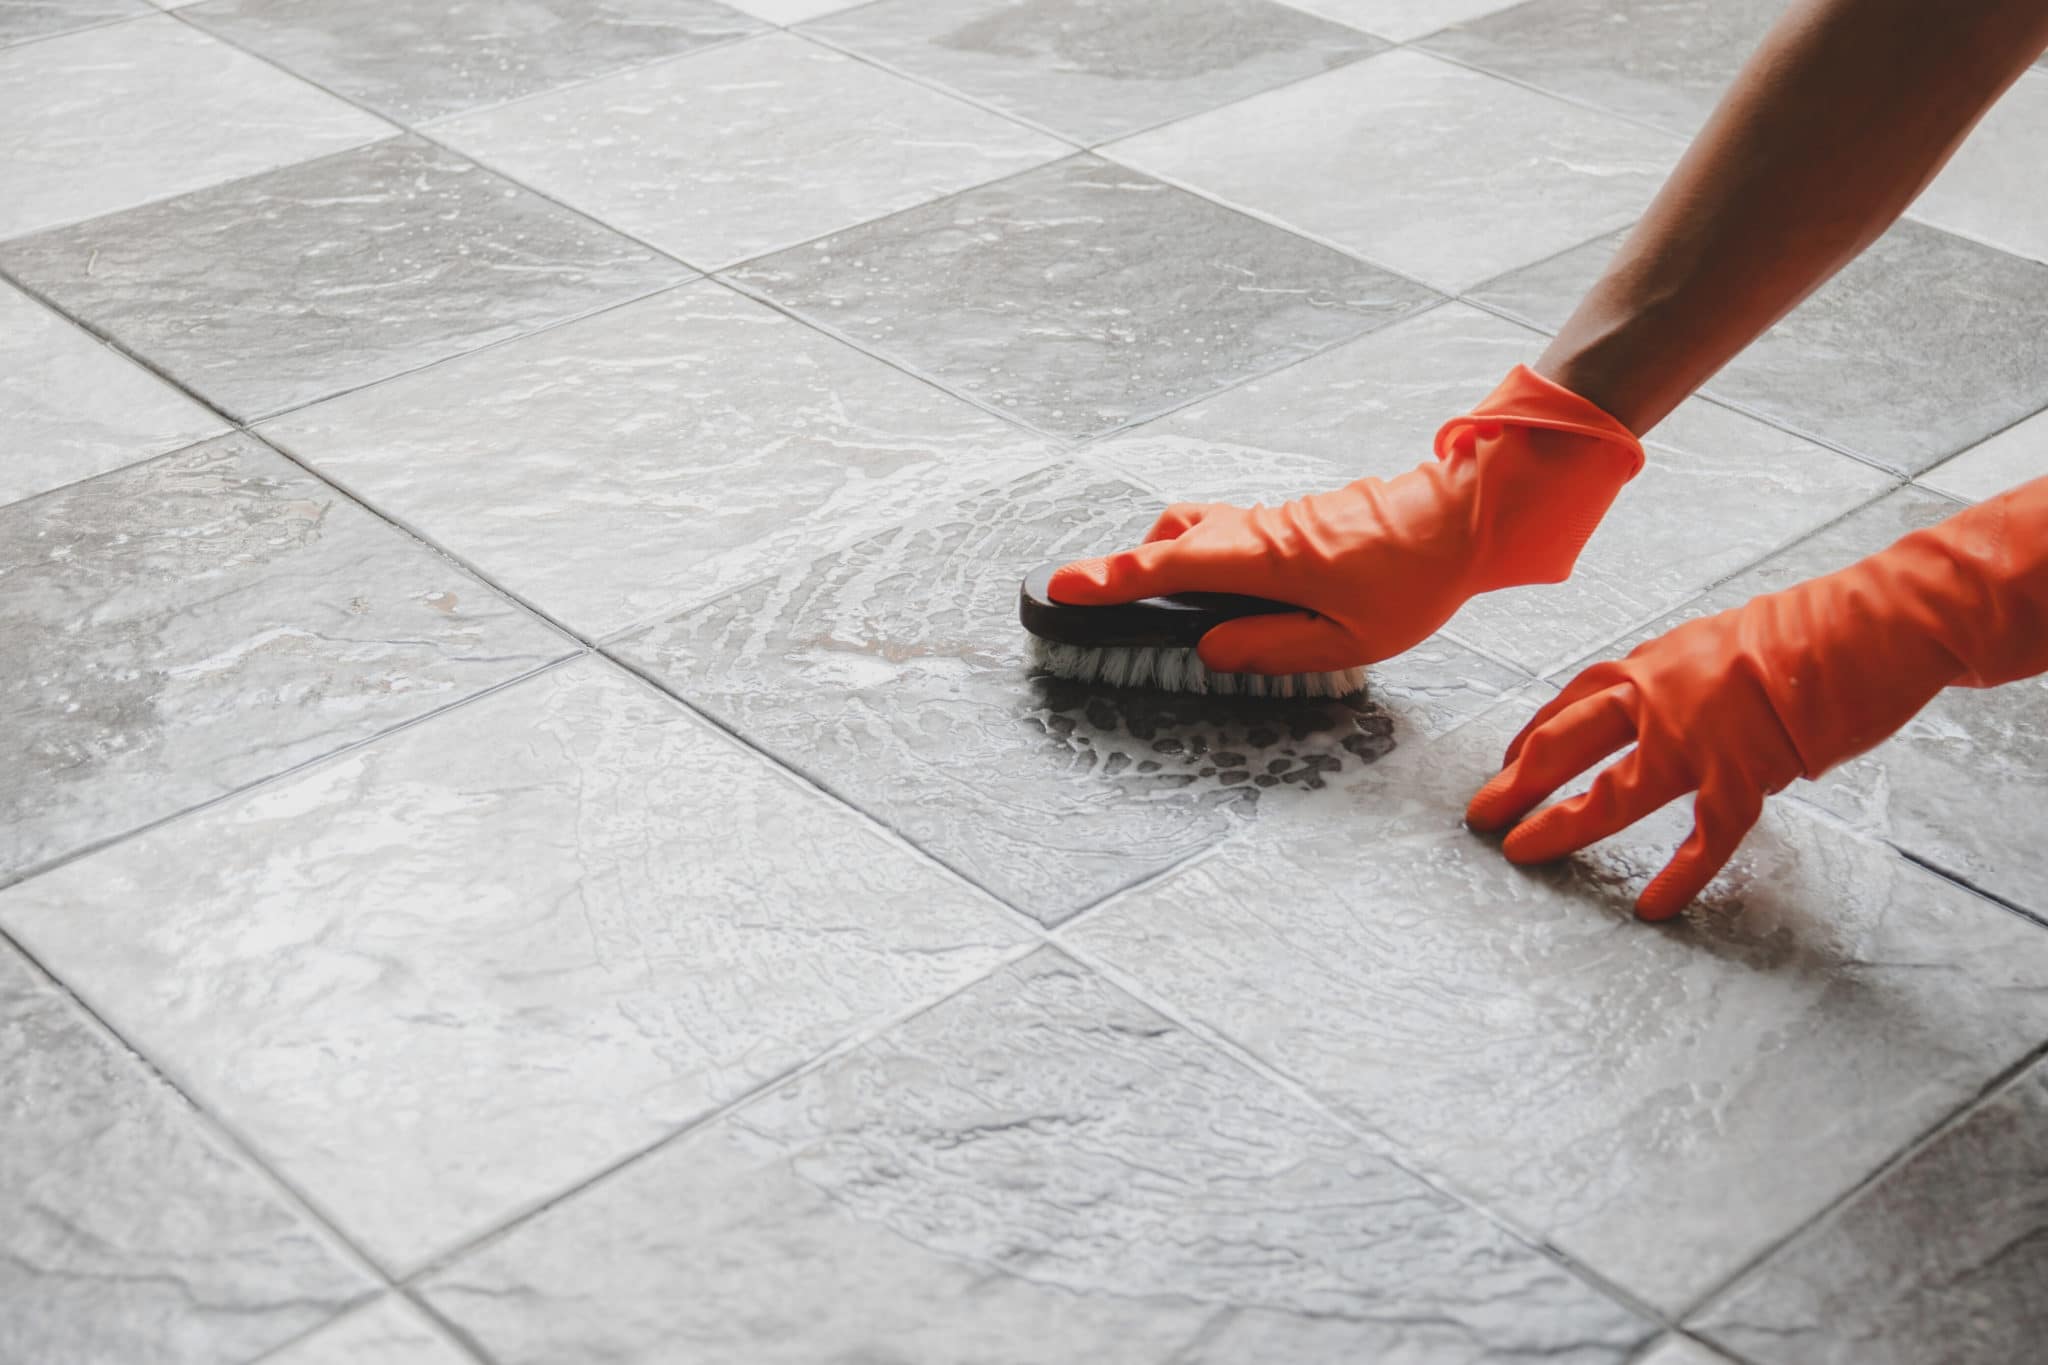
- Clean the tiles: Start by thoroughly cleaning the ceramic tiles. Remove any dirt, dust, or debris using a broom or vacuum cleaner. Pay attention to the grout lines as well, as they can accumulate dirt and stains. Use a mild detergent or a specialized tile cleaner to remove any stubborn stains or grime. Rinse the tiles well with clean water and allow them to dry completely.
- Inspect for damage: Carefully inspect the tiles for any cracks, chips, or loose pieces. Replace any damaged tiles and repair any cracks or gaps in the grout. It is essential to have a smooth and intact surface before proceeding with the sealing process.
- Remove existing sealant: If your ceramic tiles have been previously sealed, you will need to remove the old sealant before applying a new one. There are specific sealant removers available in the market that can effectively dissolve and remove the existing sealant. Follow the manufacturer’s instructions for the best results.
- Allow time for drying: After cleaning and removing any existing sealant, allow sufficient time for the tiles to dry completely. Moisture can interfere with the proper adherence of the new sealant, so ensure that the surface is completely dry before proceeding.
- Protect surrounding areas: Depending on the type of sealant you will be using, it is essential to protect the surrounding areas from any potential spills or drips. Use masking tape and plastic sheets to cover adjacent surfaces, such as baseboards or walls, to prevent any accidental damage.
By following these steps, you will create an ideal surface for applying the sealant. Proper preparation ensures that the sealant adheres effectively to the ceramic tiles, maximizing its protective and aesthetic benefits. The next section will guide you in selecting the right sealer for your ceramic tile floor.
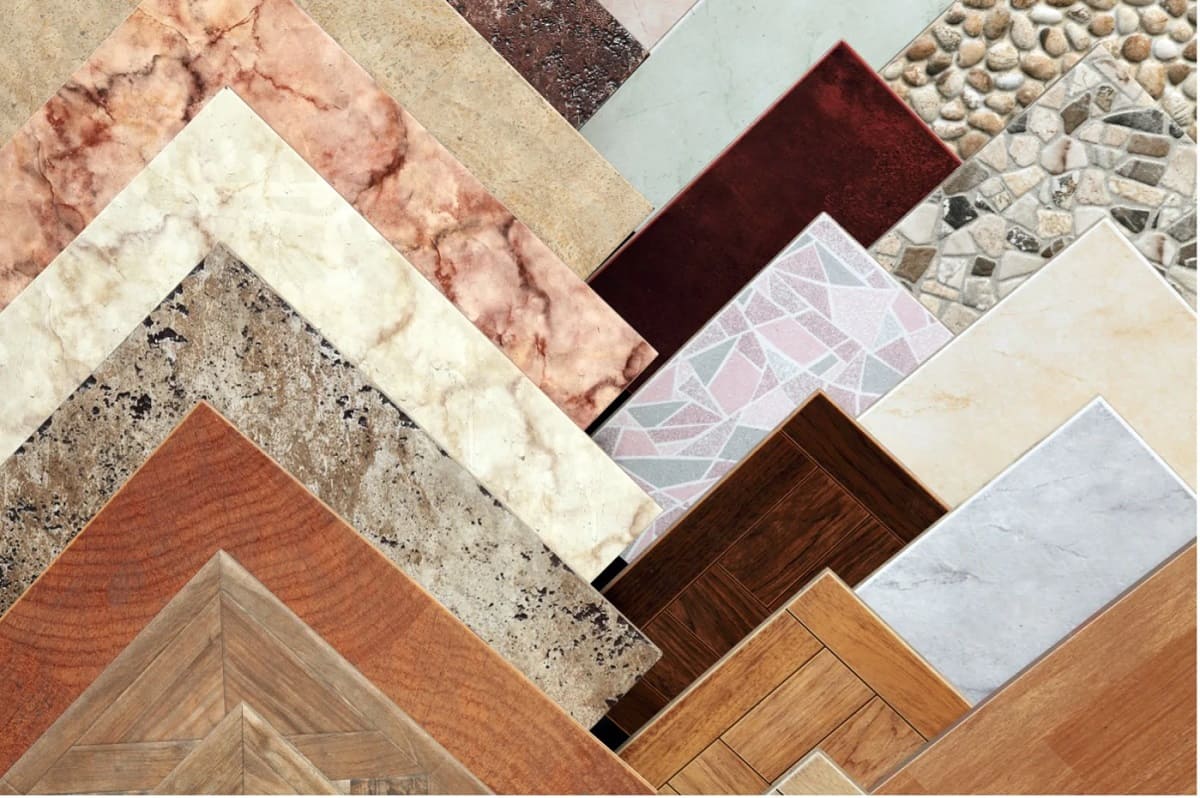
Choosing the Right Sealer for Ceramic Tile
Choosing the right sealer is crucial for achieving the desired results when sealing your ceramic tile floor. Consider the following factors to select the appropriate sealer:
- Type of sealer: There are various types of sealers available, including penetrating sealers, topical sealers, and enhancer sealers. Penetrating sealers are absorbed into the porous surface of the tile, providing long-lasting protection. Topical sealers create a protective layer on top of the tiles, offering enhanced resistance against stains and scratches. Enhancer sealers deepen the color and enhance the natural beauty of the tiles. Consider your specific needs and preferences to choose the right type of sealer.
- Water-based or solvent-based: Sealers are available in both water-based and solvent-based formulas. Water-based sealers are eco-friendly, low in odor, and easy to apply. They are suitable for interior use and provide good protection against stains. Solvent-based sealers, on the other hand, offer a higher level of durability and are more resistant to chemicals and abrasions. They are generally recommended for exterior use or high-traffic areas.
- Gloss level: Sealers come in different finishes, such as matte, semi-gloss, and high gloss. Consider the level of shine or sheen you desire for your ceramic tile floor. Matte finishes provide a natural and subtle look, while high gloss finishes offer a vibrant and reflective appearance.
- Brand and quality: Choose a reputable brand known for manufacturing high-quality sealers. Reading online reviews and seeking recommendations from professionals or experienced DIYers can help you make an informed decision.
- Application method: Consider the ease of application when selecting a sealer. Some sealers can be applied with a brush or roller, while others may require specialized tools or professional assistance. Choose a sealer that aligns with your skill level and available resources.
Keep in mind that every ceramic tile floor is unique, so it’s essential to understand the specific requirements of your tiles and choose a sealer that addresses those needs. If you’re uncertain, consult with a professional or seek guidance from the manufacturer of your tiles. Once you have selected the appropriate sealer, gather the necessary tools and materials for the sealing process, which we will discuss in the next section.
Tools and Materials Required
Before you start sealing your ceramic tile floor, gather the following tools and materials to ensure a smooth and successful process:
- Sealer: Choose the appropriate sealer based on the type of ceramic tile and your desired finish. Make sure to purchase enough sealer to cover the entire area.
- Applicator: Depending on the sealer type and brand, you may need a specific applicator. This can include a brush, roller, sprayer, or sponge. Ensure that the applicator is suitable for the sealer and will allow for even application.
- Cleaner: Have a mild detergent or specialized tile cleaner on hand to clean the tiles before applying the sealer. This will ensure that the surface is free from any dirt or residue that could affect the sealing process.
- Protective gear: Sealing a floor can involve working with chemicals, so it’s important to protect yourself. Wear gloves, safety goggles, and a mask to prevent any contact with the sealer or inhalation of fumes.
- Drop cloths or plastic sheets: Protect any adjacent surfaces, such as baseboards or walls, with drop cloths or plastic sheets. These will shield them from any potential drips or spills during the sealing process.
- Painter’s tape: Use painter’s tape to secure the drop cloths or plastic sheets in place and create clean edges along the perimeter of the floor. This will help to maintain a neat and professional-looking finish.
- Clean towels or rags: Keep clean towels or rags handy to wipe away excess sealer and clean up any spills or drips.
- Bucket and water: Have a bucket of clean water available for rinsing any tools or applicators used during the sealing process.
By gathering these tools and materials before you begin, you will have everything you need to carry out the sealing process smoothly. Ensure that you are working in a well-ventilated area and follow the manufacturer’s instructions on product usage and safety precautions.
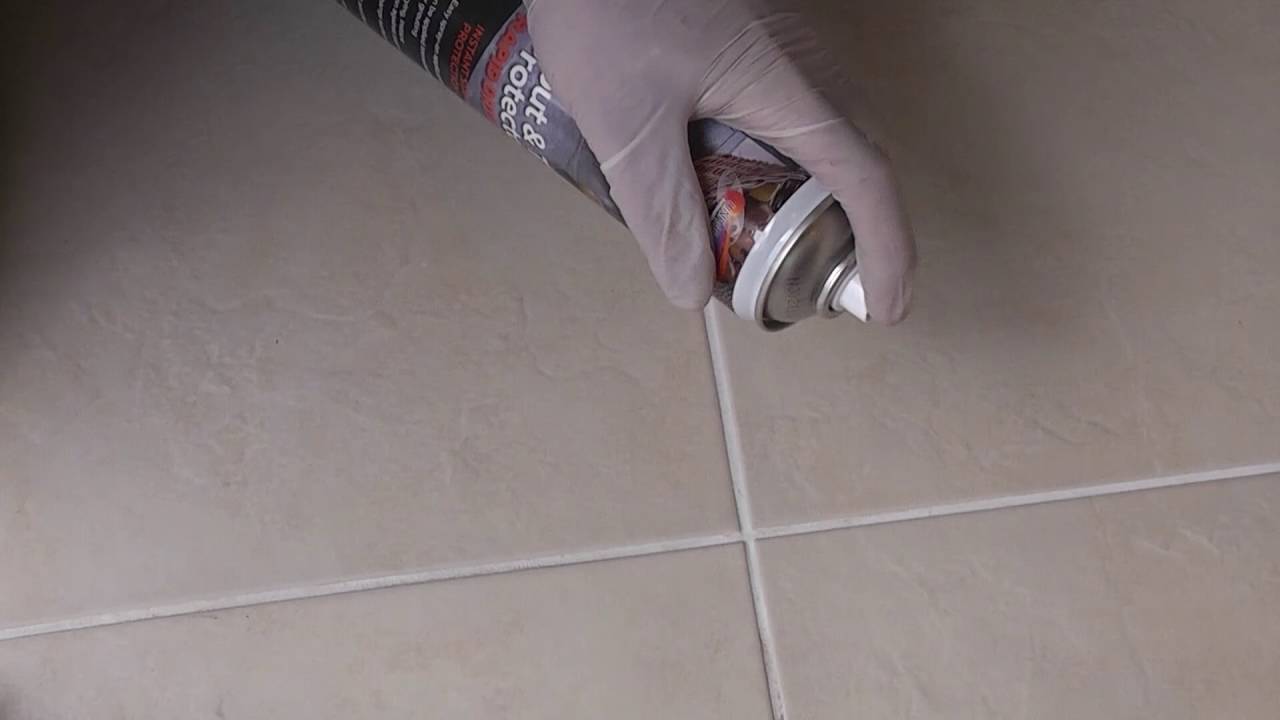
Use a penetrating sealer to seal ceramic tile floors. Apply the sealer with a clean cloth or sponge, working it into the grout lines and tile surface. Wipe off any excess sealer and allow it to dry completely before walking on the floor.
Read more: How To Clean Ceramic Floor Tile
Step-by-Step Guide to Sealing Ceramic Tile Floors
Now that you have prepared the tile surface and gathered the necessary tools and materials, it’s time to start sealing your ceramic tile floor. Follow these step-by-step instructions for a successful sealing process:
- Read the instructions: Before you begin, carefully read the instructions provided by the manufacturer of the sealer. Familiarize yourself with the specific guidelines and recommendations for the product.
- Test the sealer: It’s always a good idea to test the sealer on a small, inconspicuous area of your tiles or spare tiles, if available. This will allow you to assess the compatibility of the sealer with your ceramic tiles and verify if the desired results are achieved.
- Apply a thin, even coat: Using the appropriate applicator, apply a thin, even coat of sealer to the ceramic tile floor. Work in manageable sections to ensure that the entire surface is covered uniformly.
- Work with the grain: If your ceramic tiles have a distinct grain or pattern, apply the sealer in the same direction as the grain for a more seamless and blended finish.
- Allow drying time: Follow the manufacturer’s instructions regarding the drying time. Typically, the first coat of sealer will need to dry for a specified period before applying additional coats or beginning foot traffic.
- Apply multiple coats if necessary: Depending on the sealer you are using, you may need to apply multiple coats for optimal protection and finish. Follow the recommended number of coats and allow sufficient drying time between each coat.
- Wipe away excess sealer: After each coat, use clean towels or rags to wipe away any excess sealer that has not been absorbed into the tiles. This will prevent a sticky or tacky residue from forming on the surface.
- Clean up: Once you have completed the sealing process and allowed the final coat to dry, clean up any tools or equipment with water and store them properly. Dispose of any used materials according to the manufacturer’s instructions and local regulations.
Following these steps will ensure proper application and allow the sealer to effectively protect your ceramic tile floor. Remember to maintain the prescribed drying time and avoid walking on the sealed surface until it has fully cured. The next section will provide additional tips and precautions to consider for the sealing process.
Tips and Precautions
Sealing your ceramic tile floor requires attention to detail and careful execution. To ensure the best results and avoid any potential issues, consider the following tips and precautions:
- Follow manufacturer’s instructions: Always refer to the manufacturer’s instructions provided with the sealer. These instructions are specific to the product and will guide you through the application process and any safety precautions.
- Work in small sections: To maintain control over the sealing process, work in small sections rather than trying to cover the entire floor in one go. This will help ensure a consistent application and allow you to manage any spills or excess sealer more effectively.
- Avoid over-application: Applying too much sealer can result in a sticky or uneven finish. Follow the recommended coverage rate provided by the manufacturer to avoid over-application and wastage of the sealer.
- Maintain proper ventilation: When working with sealers, make sure the area is well-ventilated. Open windows or use fans to ensure adequate airflow and to minimize exposure to fumes. If working in a confined space, consider wearing a mask for additional protection.
- Prevent foot traffic: Once you have applied the sealer, avoid walking on the floor until it has fully dried and cured according to the manufacturer’s instructions. This will prevent any damage or disruption to the sealing process and ensure a durable finish.
- Regularly clean and maintain: While sealing provides additional protection, it does not make your ceramic tile floor completely maintenance-free. Regularly clean the floor using a mild detergent or specialized tile cleaner to remove dirt and grime. Avoid using harsh chemicals or abrasive cleaners that can damage the sealer.
- Reapply sealer as needed: Over time, the sealer may wear off due to foot traffic and general wear and tear. Monitor the condition of your ceramic tile floor and reapply the sealer as needed to ensure continued protection and a rejuvenated appearance.
By following these tips and taking the necessary precautions, you can achieve a beautifully sealed ceramic tile floor that not only enhances the aesthetic appeal of your space but also provides long-lasting protection against stains and damage.
Frequently Asked Questions (FAQs)
Here are some commonly asked questions about sealing ceramic tile floors:
- 1. How often should I seal my ceramic tile floor?
The frequency of sealing depends on various factors such as the type of sealer used, the level of foot traffic on the floor, and the manufacturer’s recommendations. Typically, it is recommended to seal ceramic tile floors every 1-3 years.
- 2. Can I seal ceramic tiles myself, or do I need professional help?
Sealing ceramic tiles can be a DIY project with the right tools and materials. However, if you are unsure or have a large area to seal, it may be beneficial to hire a professional to ensure the best results.
- 3. Can I seal old ceramic tiles?
Yes, you can seal old ceramic tiles. Before applying the sealer, make sure to thoroughly clean the tiles and remove any existing sealant or residue for optimal adhesion.
- 4. Can sealing prevent all stains on ceramic tile floors?
While sealing provides significant protection against stains, it does not make ceramic tile floors completely stain-proof. Promptly clean up any spills to minimize the risk of staining, even with a sealed floor.
- 5. How do I know if my ceramic tile floor needs to be sealed?
You can perform a simple water test to check if your ceramic tile floor needs to be sealed. Place a few drops of water on the surface, and if it beads up and does not soak into the tile after a few minutes, the floor is properly sealed. If the water absorbs, it may be time to reseal the tiles.
- 6. Can I use the same sealer for ceramic wall tiles?
While the sealing process is similar for both floor and wall tiles, the type of sealer may vary. Make sure to choose a sealer suitable for the specific tile type, whether it is meant for floor or wall application.
If you have any other questions or concerns about sealing your ceramic tile floor, consult with a professional or contact the sealer manufacturer for guidance. Proper knowledge and understanding of the process will help you achieve the best results.
Conclusion
Sealing your ceramic tile floor is a wise investment that offers numerous benefits, including protection against stains, increased durability, and enhanced appearance. By following the step-by-step guide outlined in this article and considering the tips and precautions provided, you can ensure a successful sealing process.
Remember to properly prepare the tile surface, choose the right sealer for your specific needs, and gather the necessary tools and materials. Take your time during the application process, working in small sections and allowing sufficient drying time between coats. Wipe away any excess sealer and maintain the recommended cleaning and maintenance routine to keep your ceramic tile floor in pristine condition.
Sealing your ceramic tile floor not only adds an extra layer of protection but also enhances the overall beauty and prolongs the lifespan of your tiles. The effort you put into sealing your floor will be rewarded with a long-lasting and visually appealing result.
Whether in your kitchen, bathroom, or any other area of your home, a properly sealed ceramic tile floor will continue to impress and maintain its pristine appearance for years to come. So, don’t delay – take the necessary steps to seal your ceramic tile floor and enjoy the benefits it brings to your living space!
Frequently Asked Questions about How To Seal Ceramic Tile Floor
Was this page helpful?
At Storables.com, we guarantee accurate and reliable information. Our content, validated by Expert Board Contributors, is crafted following stringent Editorial Policies. We're committed to providing you with well-researched, expert-backed insights for all your informational needs.


0 thoughts on “How To Seal Ceramic Tile Floor”