Home>Interior Design>How To Install Curtain Rods: Easy Steps For Success

Interior Design
How To Install Curtain Rods: Easy Steps For Success
Modified: October 20, 2024
Learn how to easily install curtain rods in your home with our step-by-step guide for interior design success. Transform your space with stylish and functional curtains.
(Many of the links in this article redirect to a specific reviewed product. Your purchase of these products through affiliate links helps to generate commission for Storables.com, at no extra cost. Learn more)
Introduction
Welcome to our comprehensive guide on how to install curtain rods! Whether you’re sprucing up your home decor or simply looking to replace old rods, installing curtain rods is a relatively simple and rewarding task. With the right tools and a little bit of know-how, you can easily transform your windows and enhance the overall aesthetic of your space.
Curtain rods play an essential role in ensuring that your curtains hang properly and can be opened and closed with ease. They come in various styles, materials, and lengths, allowing you to customize them to match your interior design. Whether you prefer sleek metal rods for a modern look or rustic wooden rods for a more traditional feel, the installation process remains fairly consistent.
In this guide, we will walk you through the step-by-step process of installing curtain rods. We will cover everything from gathering the necessary materials to adjusting and testing the rod for optimal functionality. So, grab your tools and let’s get started!
Key Takeaways:
- Easily transform your windows and enhance your space with the right curtain rod installation. From gathering materials to testing and adjusting, achieve a professional finish and enjoy the beauty and functionality of your curtains.
- With careful measurement and proper installation, hanging curtains becomes a manageable and rewarding task. Embrace your creativity, choose the perfect curtains, and enjoy the beauty they bring to your home.
Step 1: Gather the necessary materials
Before you begin installing your curtain rods, it’s important to gather all the necessary materials. This ensures that you have everything you need on hand, saving you time and frustration during the installation process. Here are the materials you will need:
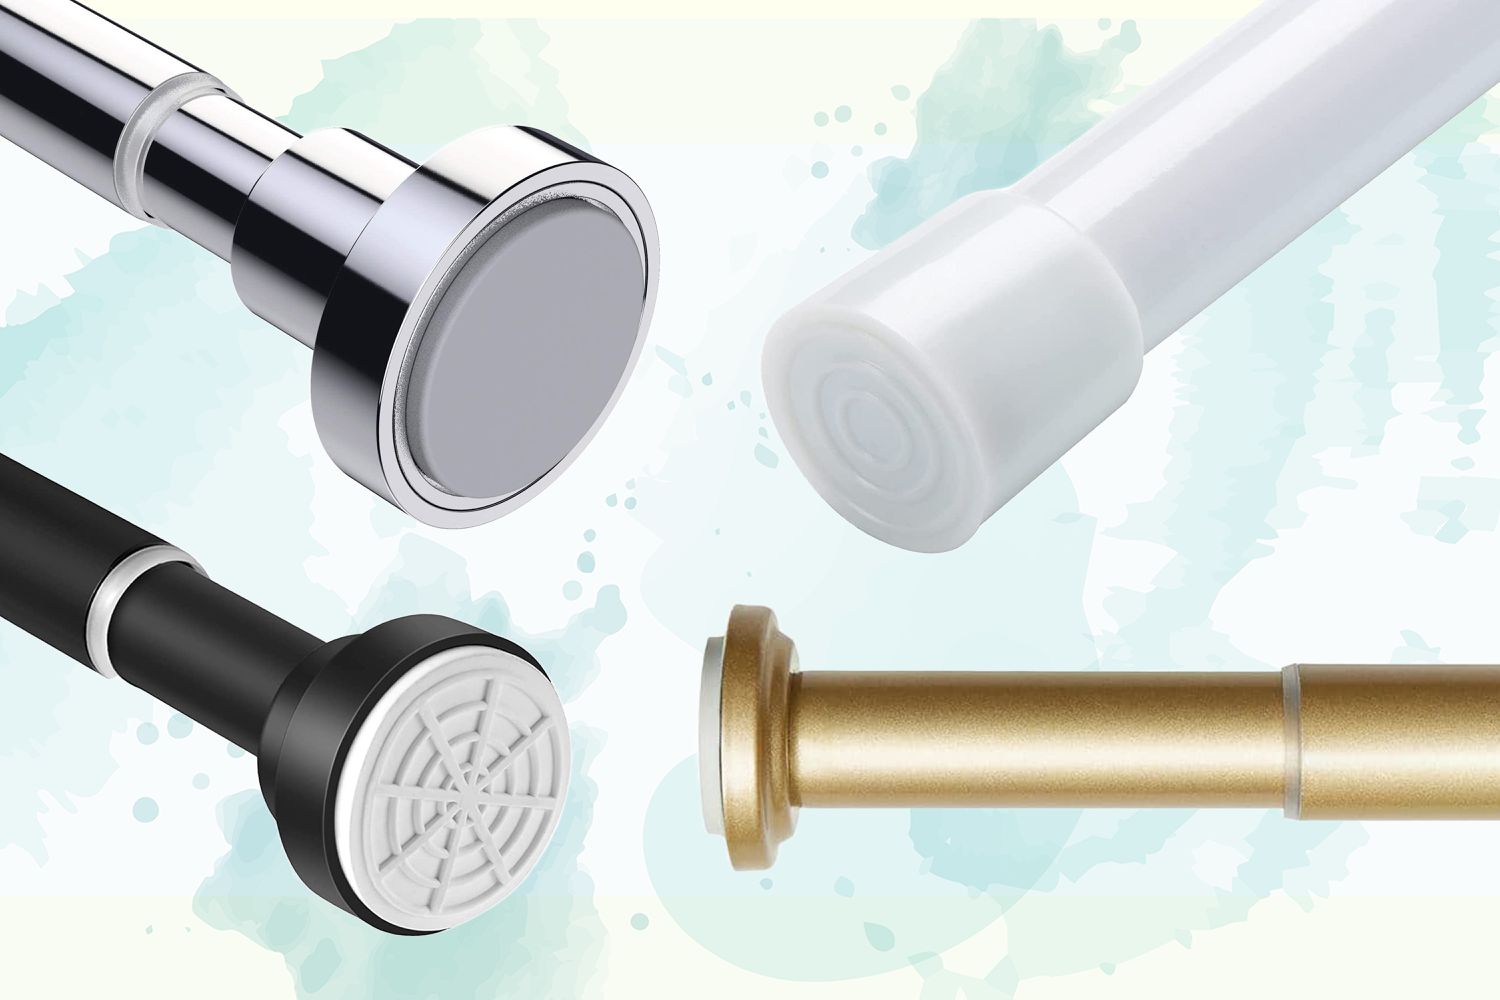
- Curtain rods: Choose the desired length and style of curtain rod that suits your window and decor. Measure the width of your window to ensure you select a rod that will adequately cover the space.
- Mounting brackets: These are the brackets that hold the curtain rod in place. They typically come with the rod or can be purchased separately. Make sure the brackets are compatible with your chosen rod and are appropriate for the weight of your curtains.
- Wall anchors: Depending on the type of wall you have, you may need wall anchors to provide extra support for the brackets. Wall anchors are especially necessary for plaster or drywall that may not be strong enough to support the weight of the rod and curtains.
- Screws and/or nails: These are used to attach the mounting brackets and wall anchors to the wall. Make sure to choose screws or nails that are appropriate for your wall type and strong enough to hold the weight of the curtains.
- Tape measure: Accurate measurements are crucial when installing curtain rods. A tape measure will help you determine the proper placement for the brackets and ensure the curtains will hang evenly.
- Pencil or marker: Use a pencil or marker to mark the locations for the brackets on the wall. This will guide you during the installation process and ensure a level and balanced appearance.
- Level: A level is essential for making sure your curtain rods are installed straight. This will prevent your curtains from looking lopsided or uneven.
- Drill or screwdriver: Depending on the type of wall, you may need a drill or screwdriver to secure the mounting brackets and wall anchors in place. Make sure you have the appropriate tools and any necessary drill bits or screwdriver attachments.
By gathering all of these materials in advance, you’ll be well-prepared and ready to tackle the next steps of installing your curtain rods. So, double-check your supplies and let’s move on to step two!
Step 2: Measure and mark the desired placement
Once you have gathered all the necessary materials, it’s time to measure and mark the desired placement for your curtain rods. This step is crucial in ensuring that your curtains will hang at the right height and width, providing both functionality and visual appeal. Follow these steps to measure and mark the placement:
- Measure the width: Use a tape measure to measure the width of your window. This will determine the length of the curtain rod you need. Add a few extra inches on each side to allow the curtains to cover the window adequately.
- Mark the bracket placement: Once you have determined the width of the curtain rod, use a pencil or marker to mark the placement of the mounting brackets. Start by measuring and marking the desired distance from the floor or ceiling, depending on where you want the curtains to hang. Then, measure and mark the distance from the outer edge of the window frame. Make sure to repeat the process on both sides of the window.
- Check for symmetry: Use a level to ensure that the marks for the bracket placement are level and symmetrical. This step is essential in achieving a balanced and visually pleasing look. Adjust the marks if needed.
It’s worth noting that the height at which you hang the curtains can create the illusion of a higher or wider window. For a more spacious and elegant appearance, consider hanging the curtains a few inches above the window frame. If you have high ceilings, you can opt for floor-to-ceiling curtains for a dramatic effect.
Remember to take into account any obstructions, such as furniture or radiators, that could interfere with the proper placement of the curtain rods. You want to ensure that the curtains can be opened and closed without any hindrance.
By measuring and marking the desired placement for your curtain rods, you will ensure that your curtains hang perfectly and enhance the overall appearance of your windows. Once you are satisfied with the measurements and markings, it’s time to move on to the next step.
Step 3: Prepare the mounting brackets
Now that you have measured and marked the desired placement for your curtain rods, it’s time to prepare the mounting brackets. The mounting brackets serve as the support system for your curtain rods, keeping them securely in place. Follow these steps to prepare the mounting brackets:
- Inspect the brackets: Before attaching the brackets to the wall, inspect them to ensure they are in good condition and free from any defects. Check for any loose parts or damage that could compromise their functionality.
- Position the brackets: Hold one of the brackets against the wall at the marked placement. Align it with the marking and make sure it is level. Use a pencil or marker to mark the screw holes on the wall.
- Repeat for the second bracket: Once the first bracket is positioned and marked, repeat the process for the second bracket on the other side of the window. Take extra care to ensure that both brackets are at the same height and level with each other for a symmetrical look.
- Double-check the measurements: Before proceeding to the next step, double-check the placement and measurements of the brackets. Use a level to ensure that they are straight and aligned correctly.
It’s important to note that some curtain rods may come with adjustable brackets that allow for flexibility in terms of depth and projection. If you have such brackets, adjust them according to your window and curtain requirements before attaching them to the wall.
By preparing the mounting brackets in advance, you will save time and ensure that the installation process goes smoothly. Once you have marked the screw holes and double-checked the measurements, you’re ready to move on to the next step: installing the mounting brackets.
Step 4: Install the mounting brackets
Now that you have prepared the mounting brackets, it’s time to install them onto the wall. The mounting brackets serve as the foundation for your curtain rods, providing the necessary support for them to hold the weight of the curtains. Follow these steps to install the mounting brackets:
- Prepare the wall: Before installing the brackets, make sure the wall surface is clean and free of dust or debris. This will ensure a secure attachment.
- Secure the brackets: Using a drill or screwdriver, attach the brackets to the wall using the marked screw holes as a guide. Make sure to drive the screws firmly into the wall, but be careful not to overtighten them as it may damage the brackets or the wall. If you are installing the brackets onto drywall or plaster, consider using wall anchors for added stability.
- Check for stability: Once the brackets are securely attached, give them a gentle tug to ensure they are stable. If they feel loose or wobbly, you may need to reposition and reattach them using additional wall anchors or longer screws.
- Double-check the alignment: Use a level to ensure that the brackets are aligned correctly and that they are at the same height and level with each other. Adjust them as needed to achieve a balanced and symmetrical look.
It’s important to follow the manufacturer’s instructions when installing the mounting brackets, as the process may vary slightly depending on the specific type and style of brackets you are using.
By installing the mounting brackets securely, you will ensure that your curtain rods have a solid foundation to hold your curtains. Take your time during this step to ensure the brackets are stable and aligned correctly. Once the brackets are installed, you’re ready to move on to the next step: attaching the curtain rod to the brackets.
When installing curtain rods, use a level to ensure they are straight. This will help to create a professional and polished look for your window treatments.
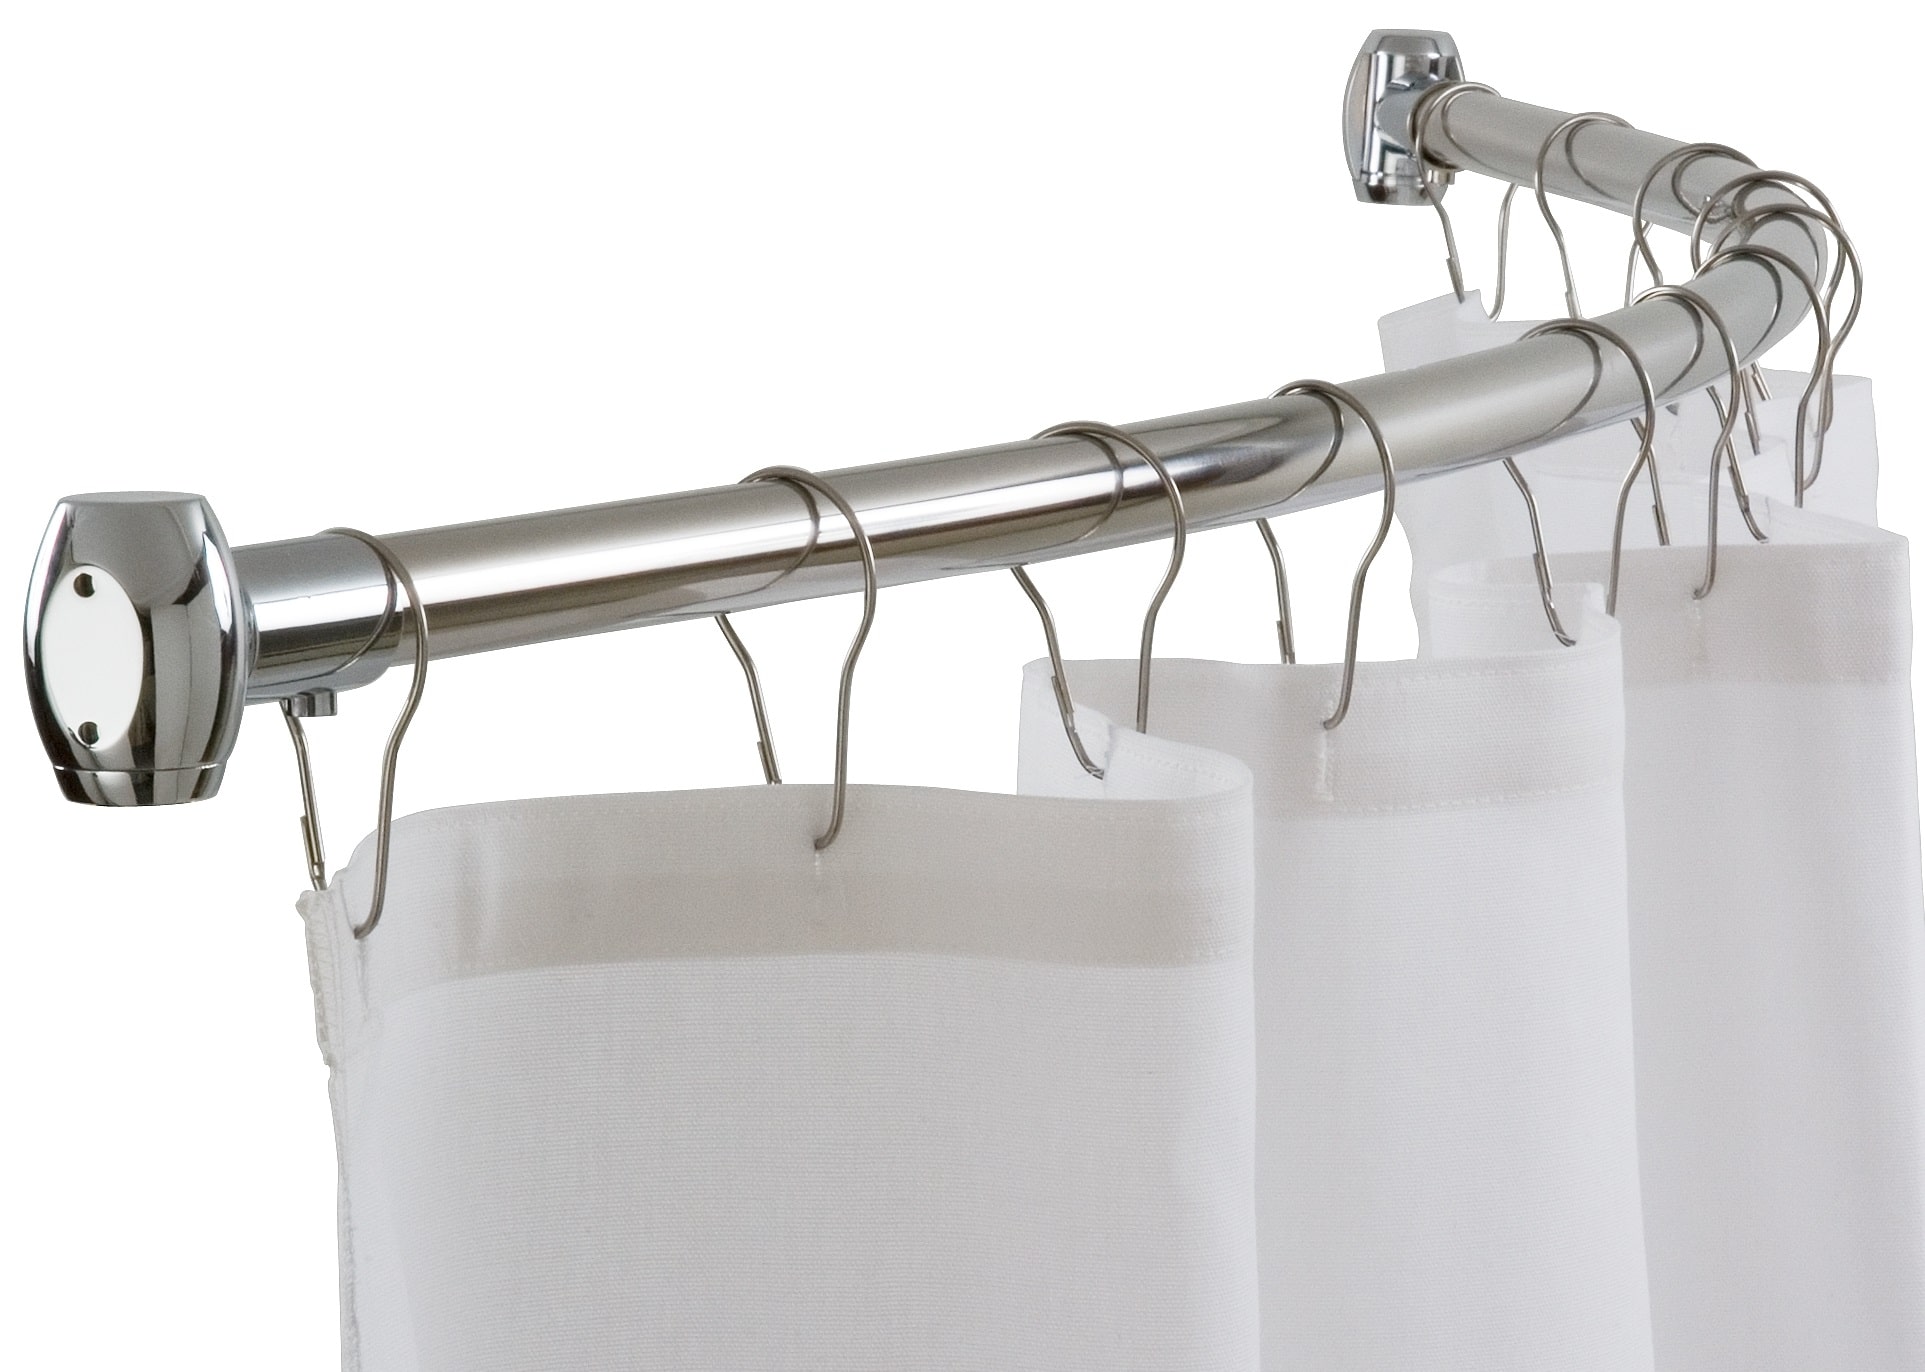
Read more: How To Install A Curved Shower Curtain Rod
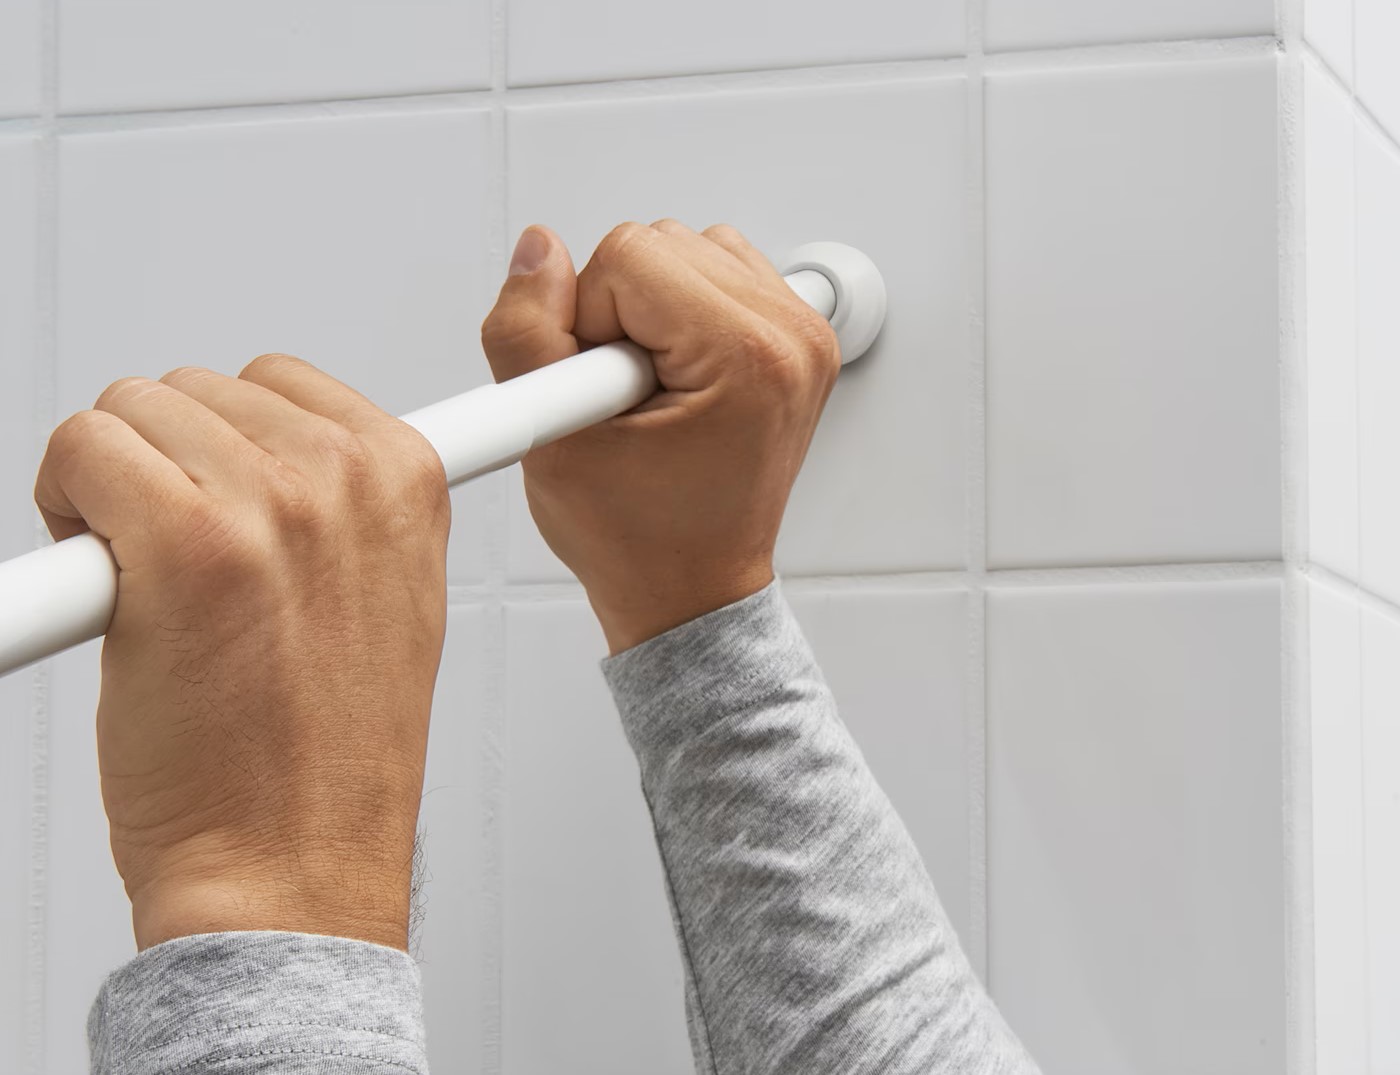
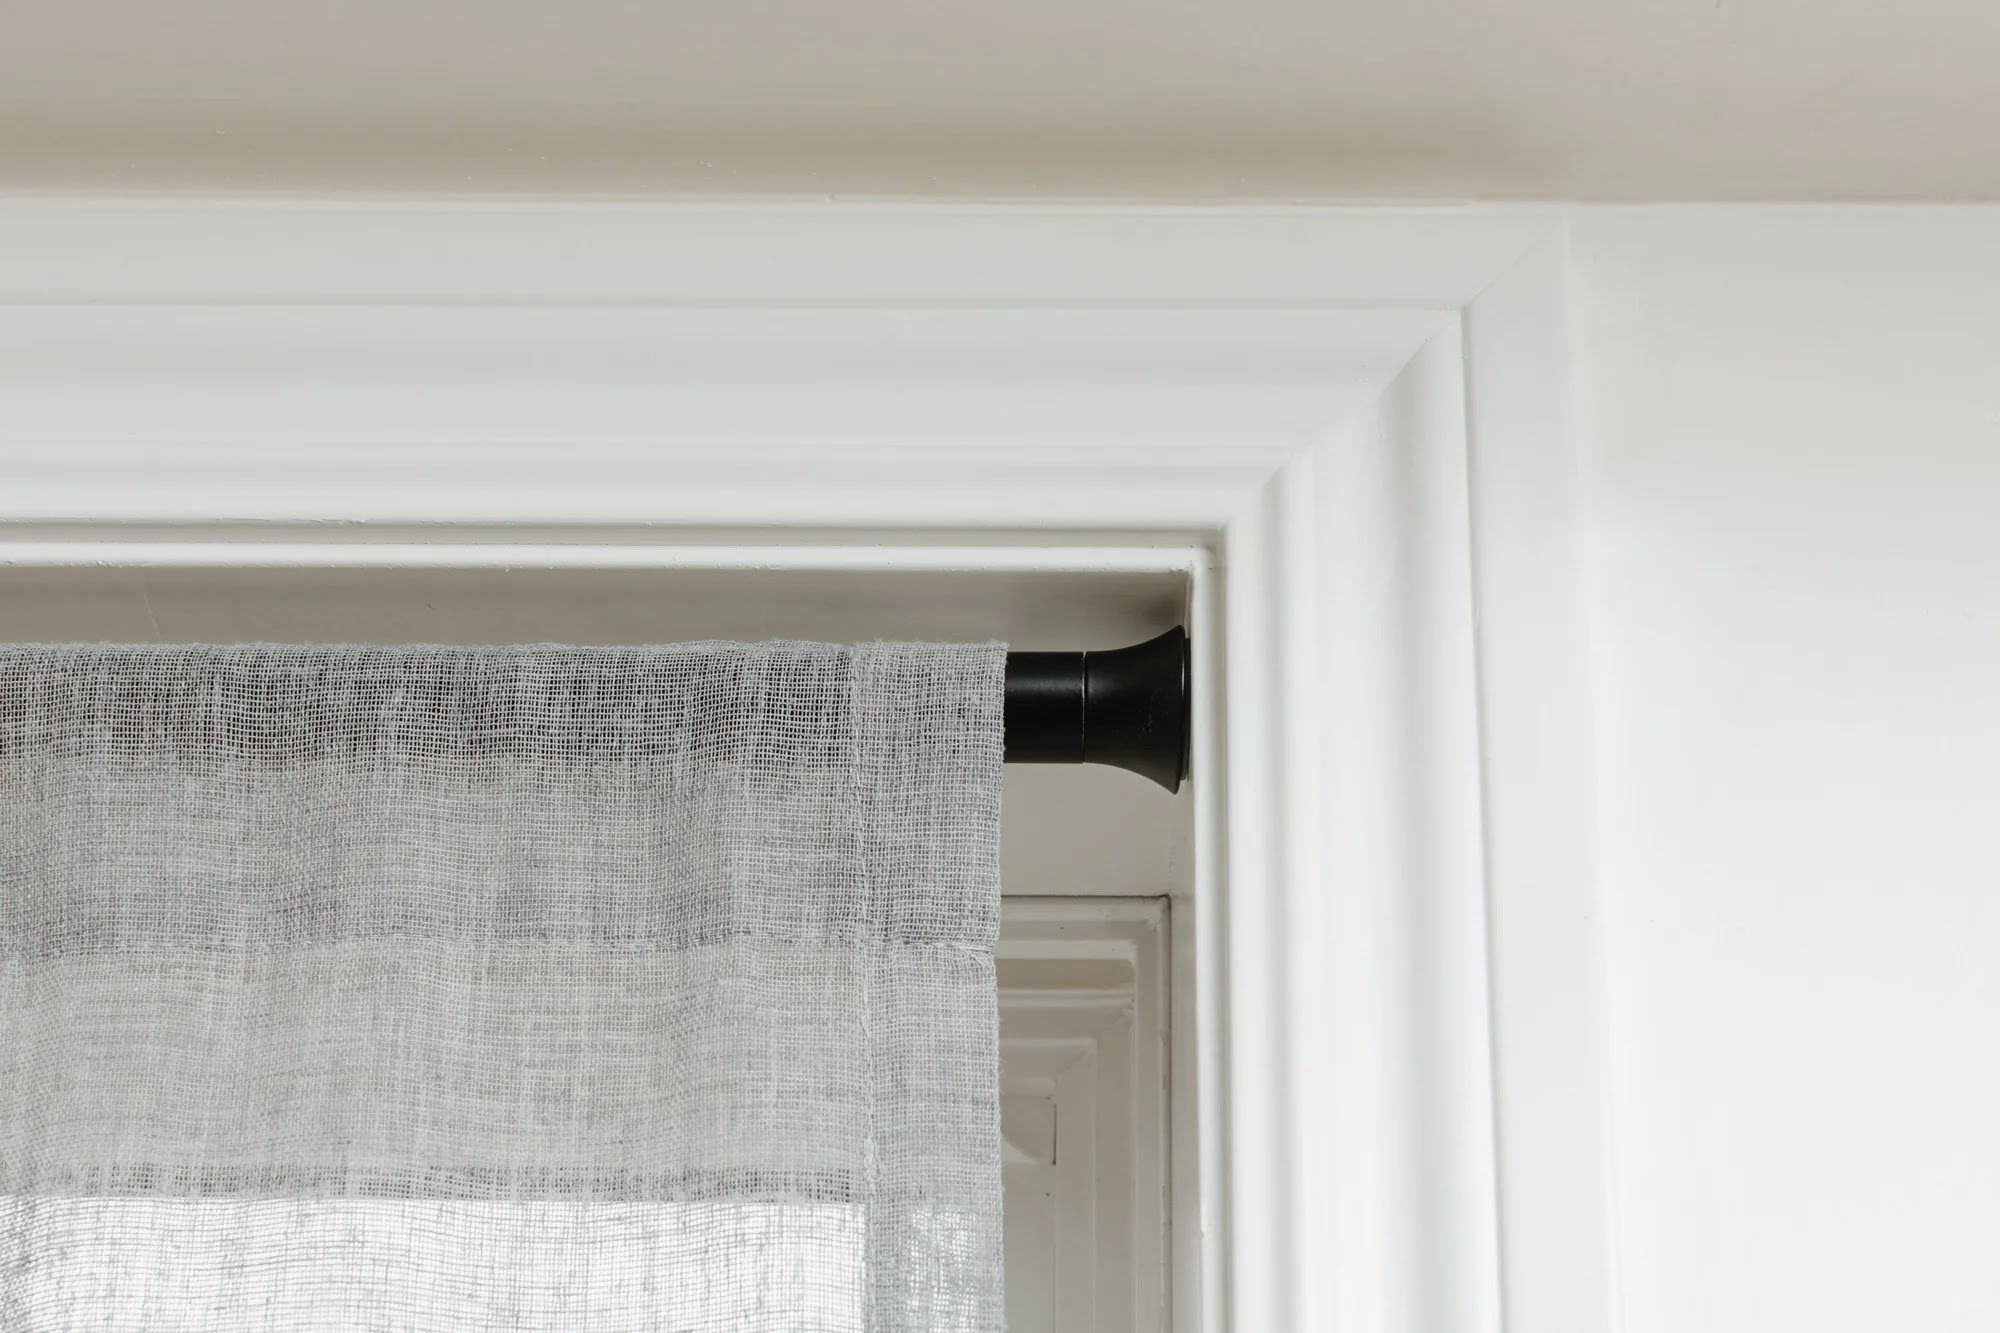
Step 5: Attach the curtain rod to the brackets
Now that the mounting brackets are securely installed, it’s time to attach the curtain rod to the brackets. This step will bring your curtains one step closer to being fully functional and beautifully displayed. Follow these steps to attach the curtain rod to the brackets:
- Prepare the curtain rod: If your curtain rod comes in multiple pieces, you may need to assemble them before attaching them to the brackets. Follow the manufacturer’s instructions to ensure proper assembly.
- Insert the rod into the bracket: Gently slide one end of the curtain rod into the bracket on one side of the window. Then, slide the other end into the bracket on the other side. Make sure the rod is securely seated in the brackets and evenly centered.
- Secure the rod in place: Depending on the type of curtain rod you have, there may be mechanisms or screws that need to be tightened to secure the rod in place. Follow the manufacturer’s instructions to properly secure the rod to the brackets.
- Test the rod: Once the rod is attached to the brackets, give it a gentle tug to ensure it is securely in place. If there is any movement or instability, double-check the installation and adjust as necessary.
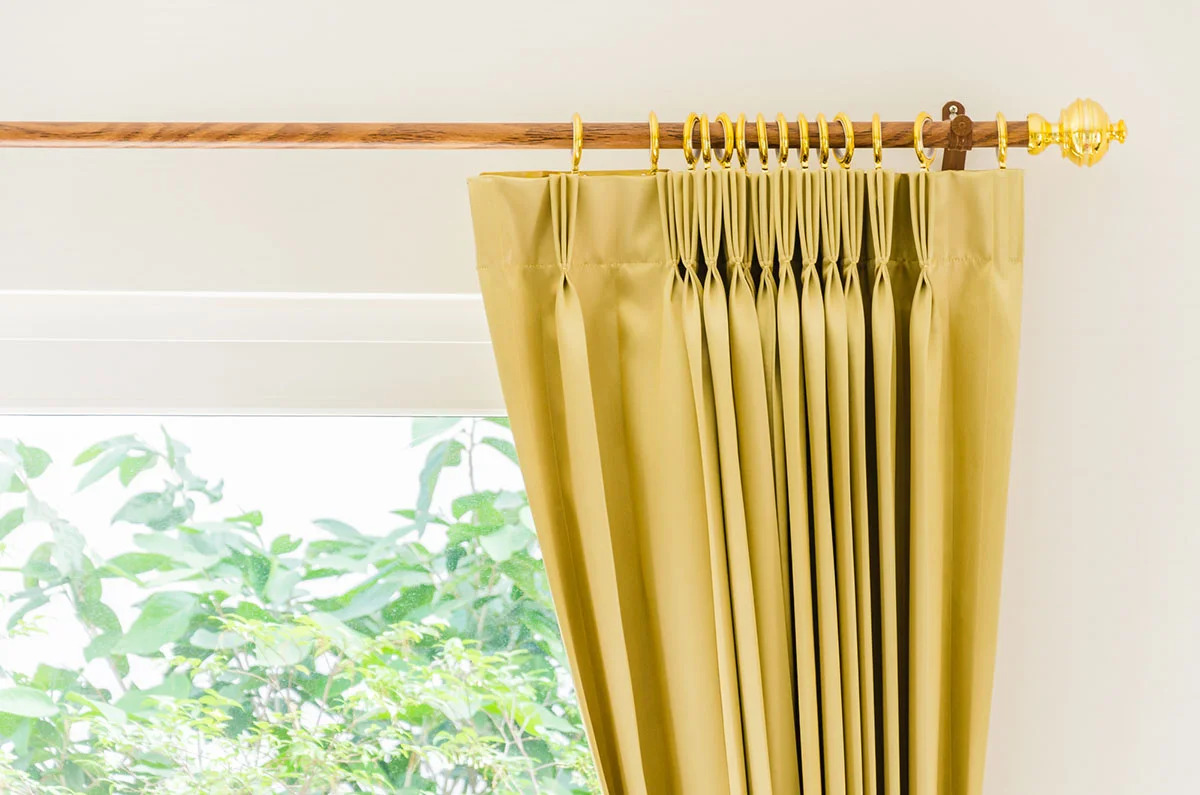
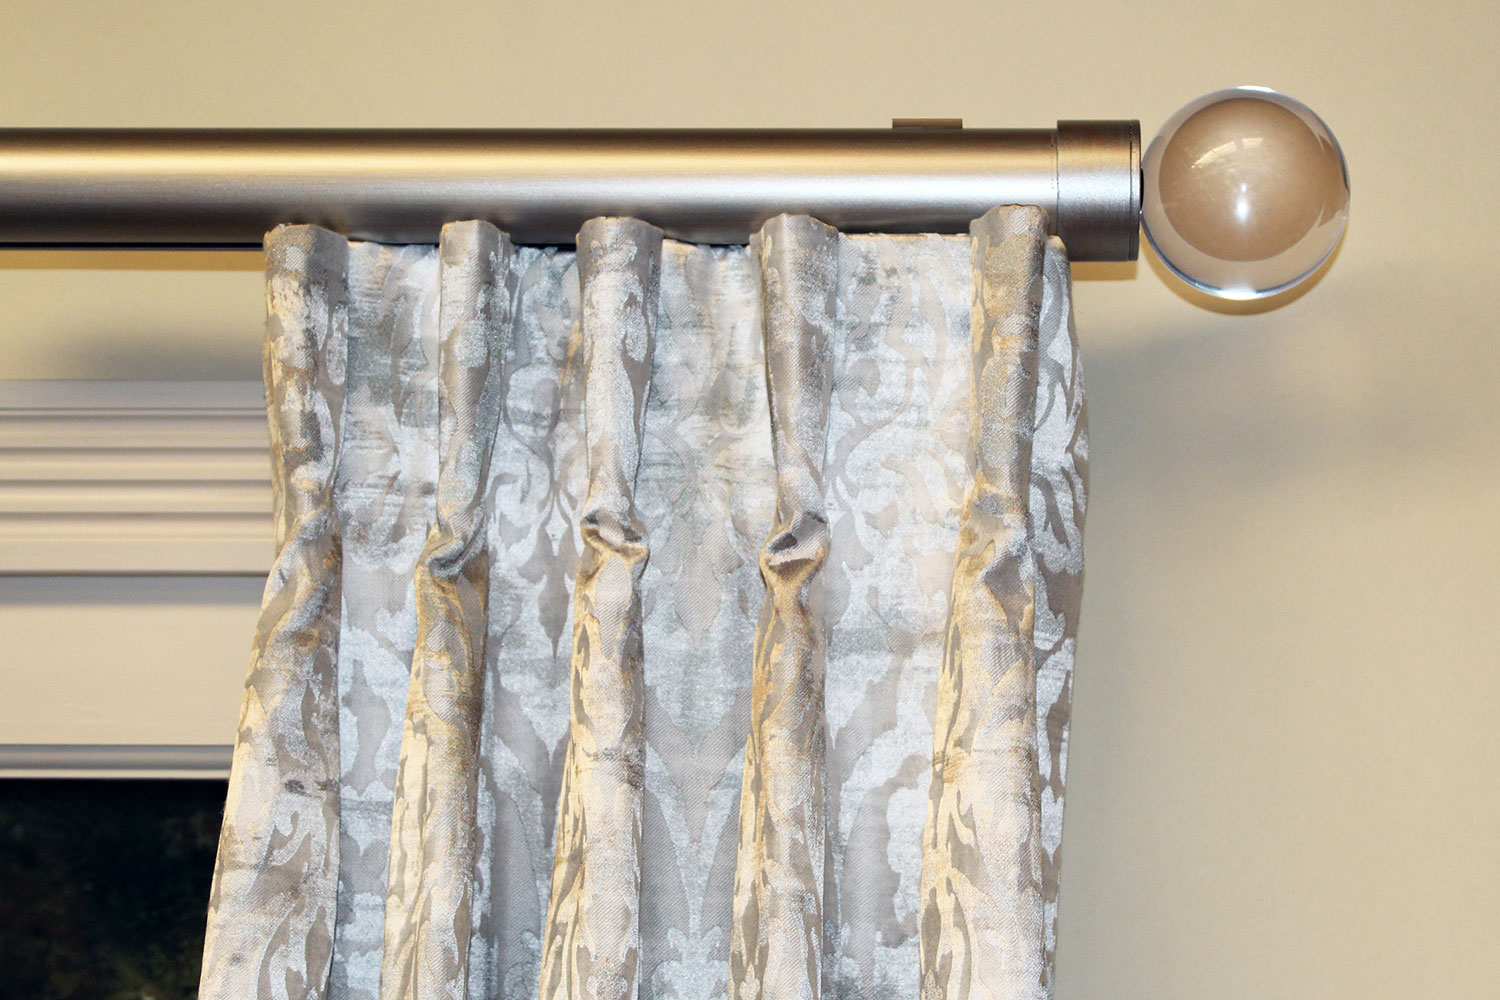
It’s important to note that some curtain rods come with additional features, such as decorative finials or rings. If your curtain rod has these components, make sure to attach them at this stage, following the manufacturer’s instructions.
By properly attaching the curtain rod to the brackets, you will ensure that your curtains hang securely and are ready to be styled and enjoyed. Once the rod is attached, you’re ready to move on to the next step: hanging the curtains.
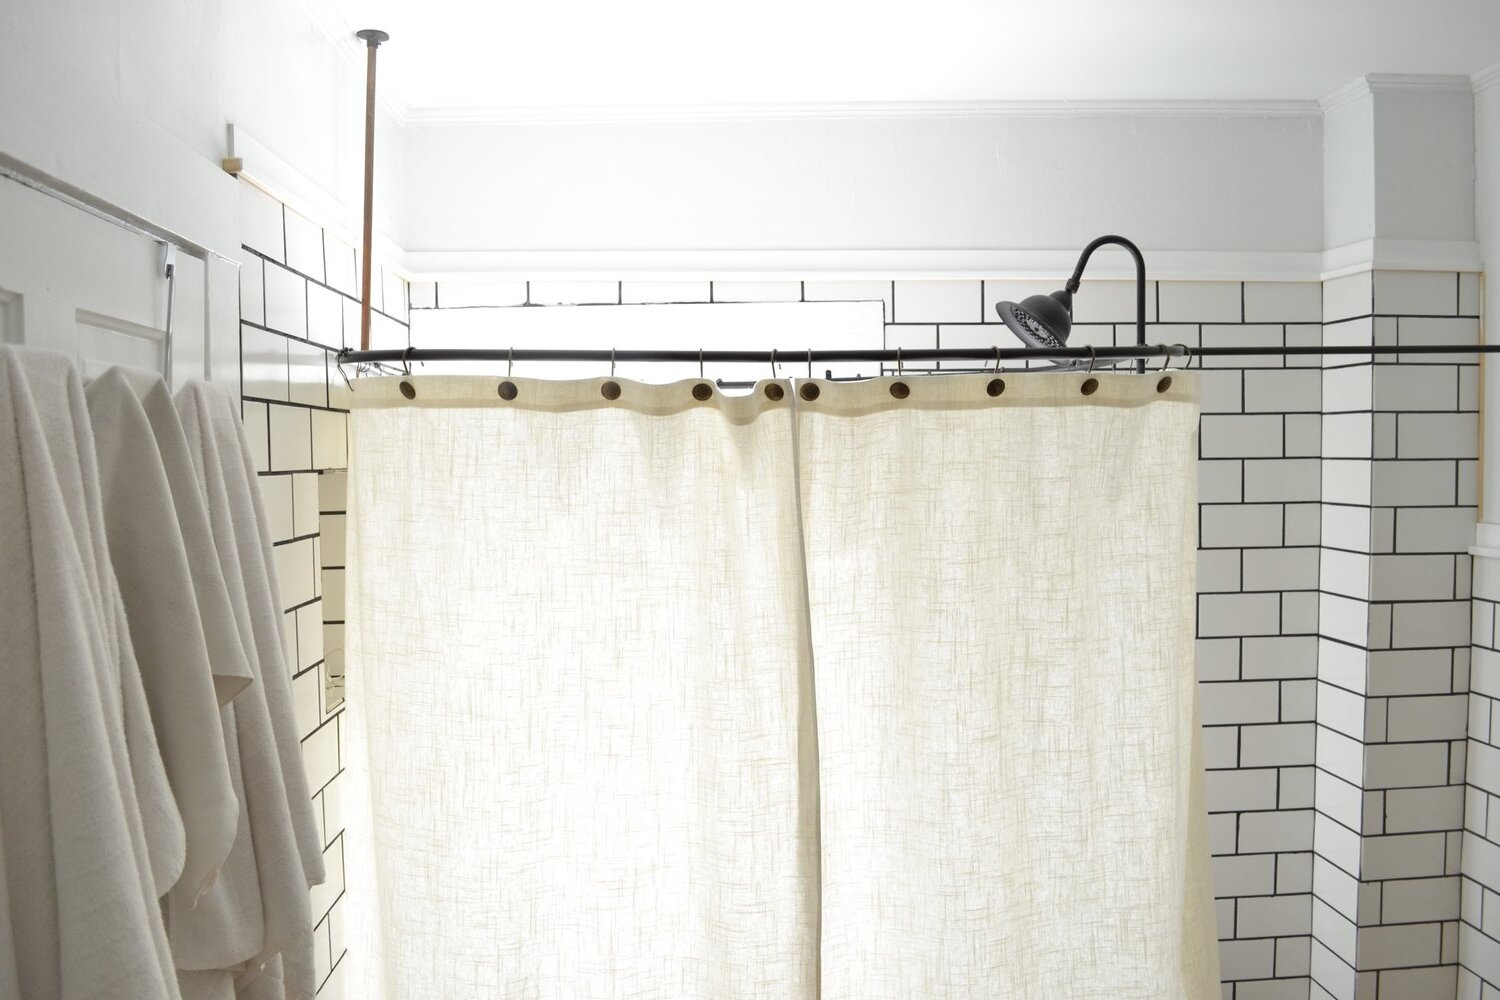
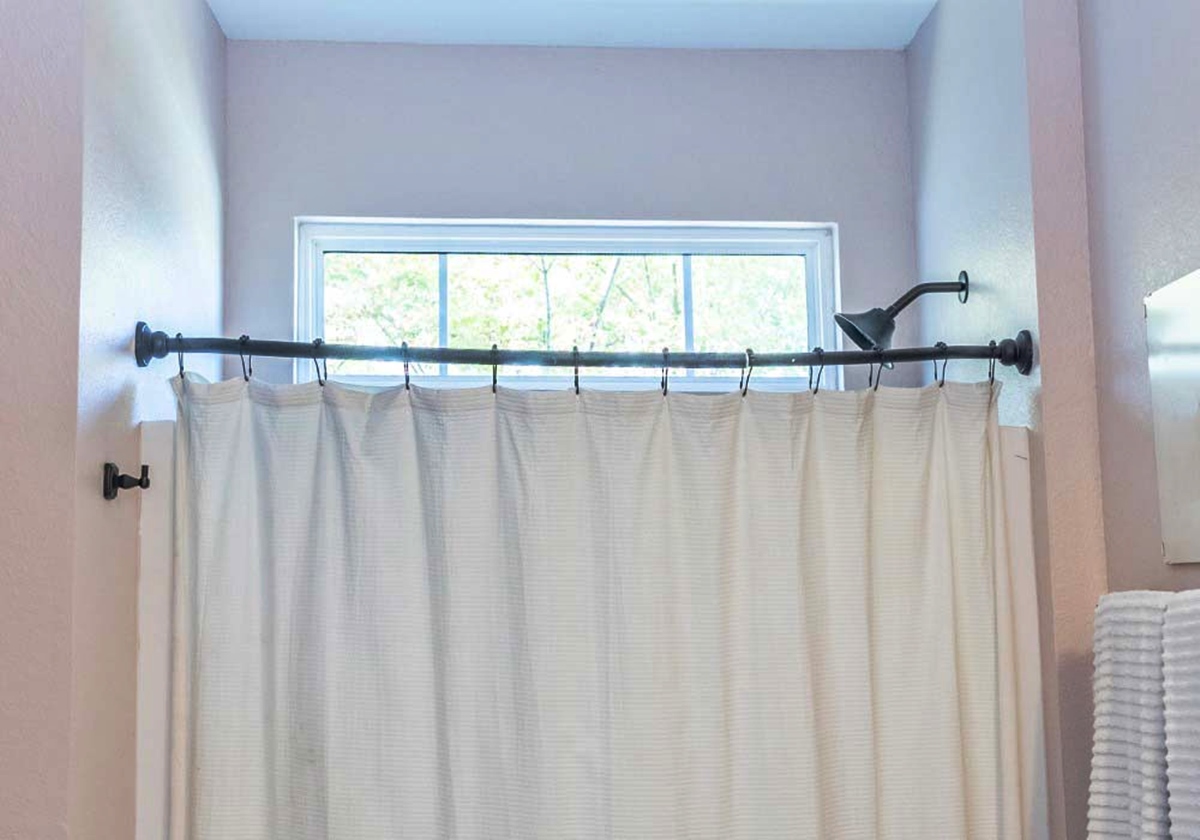
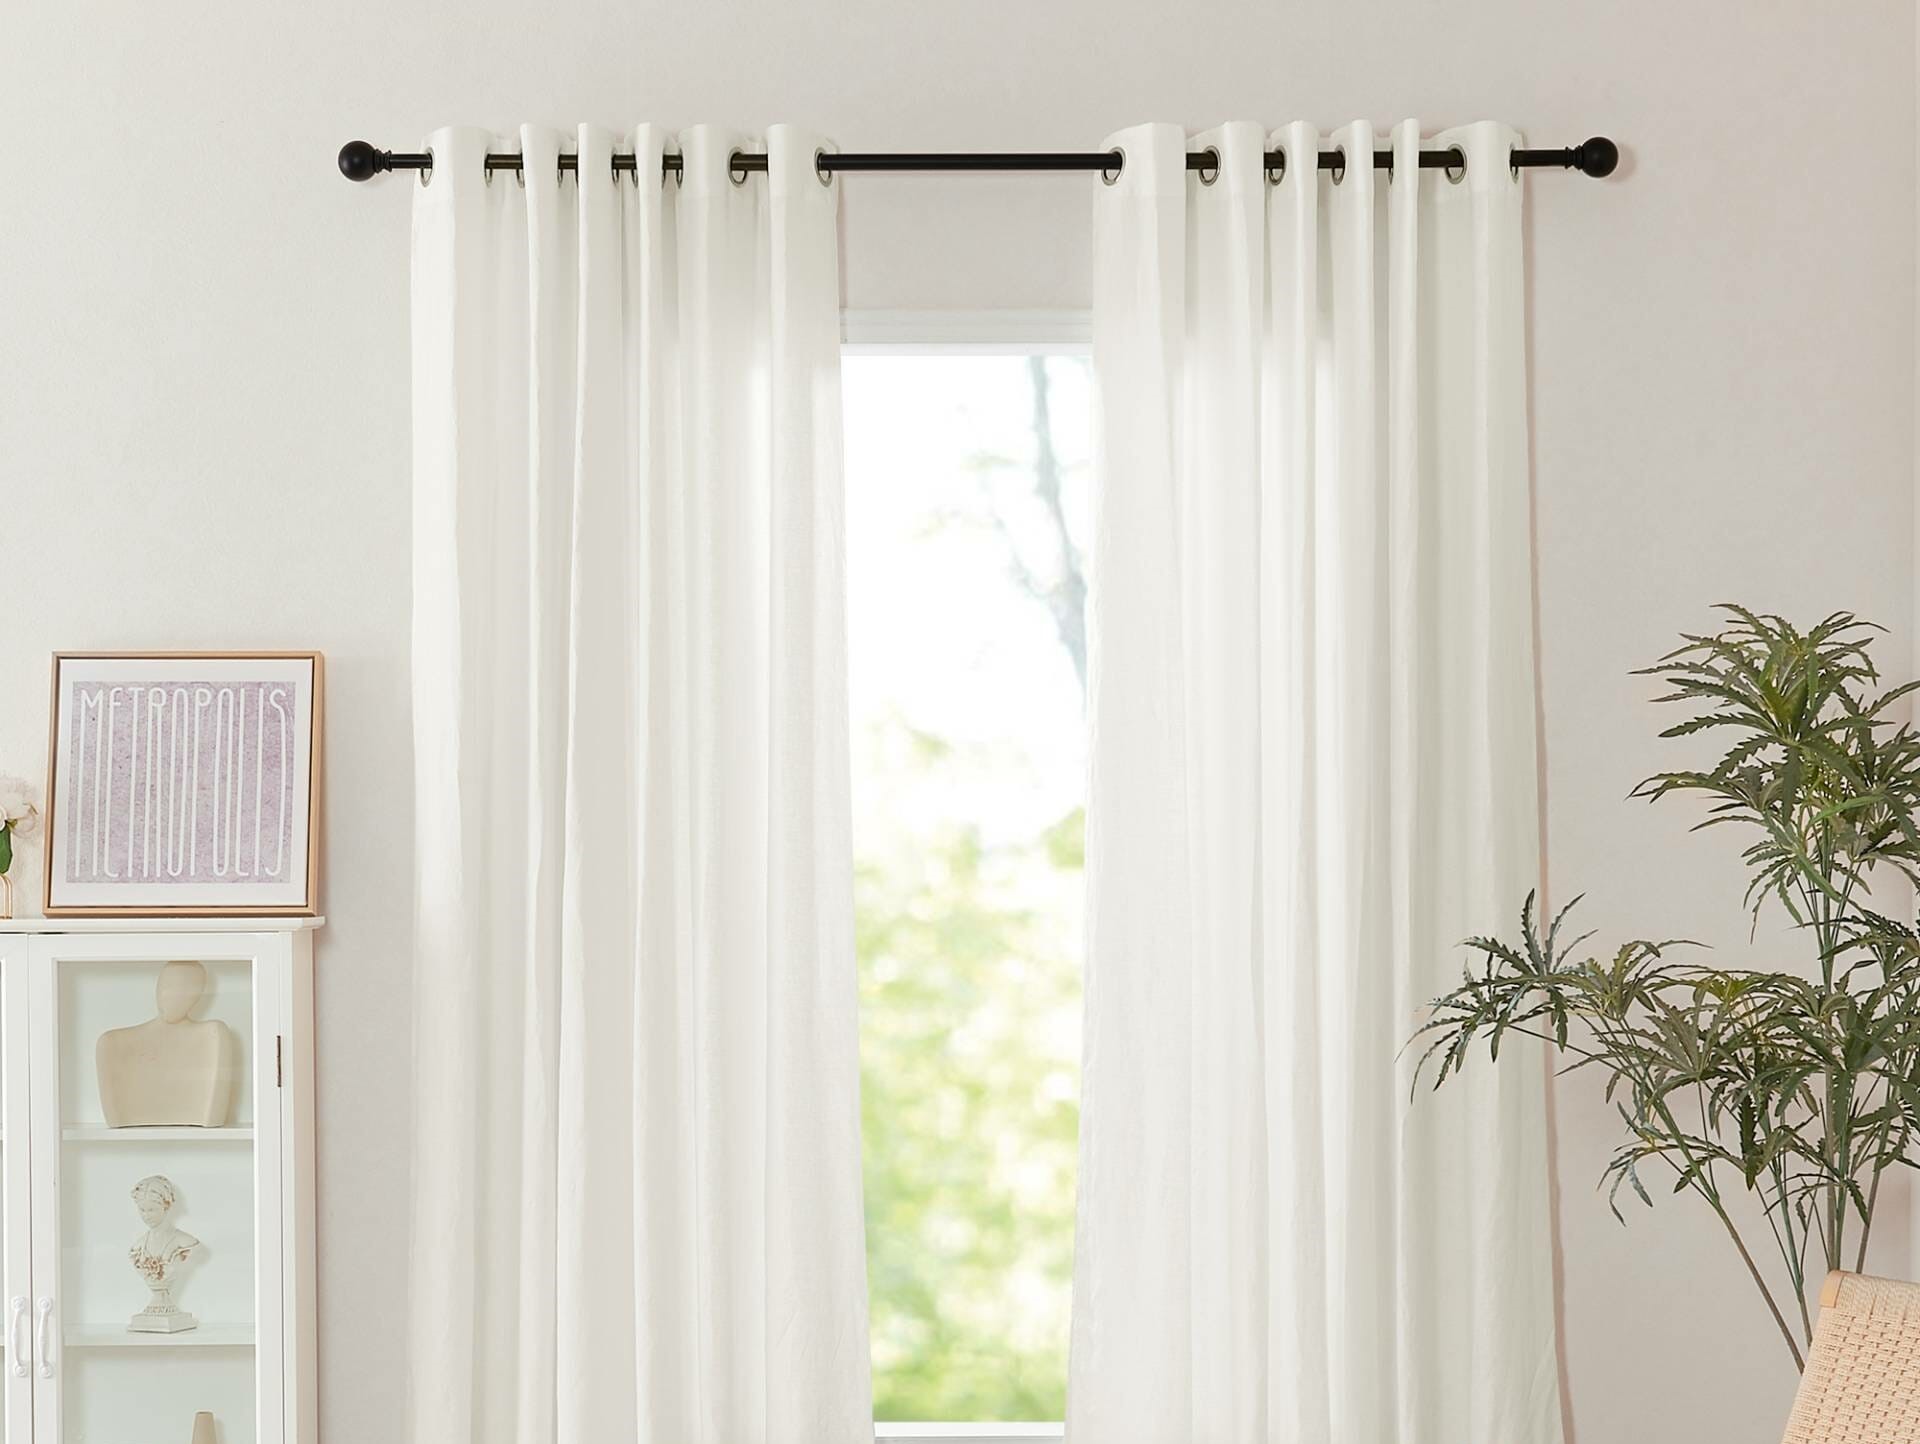
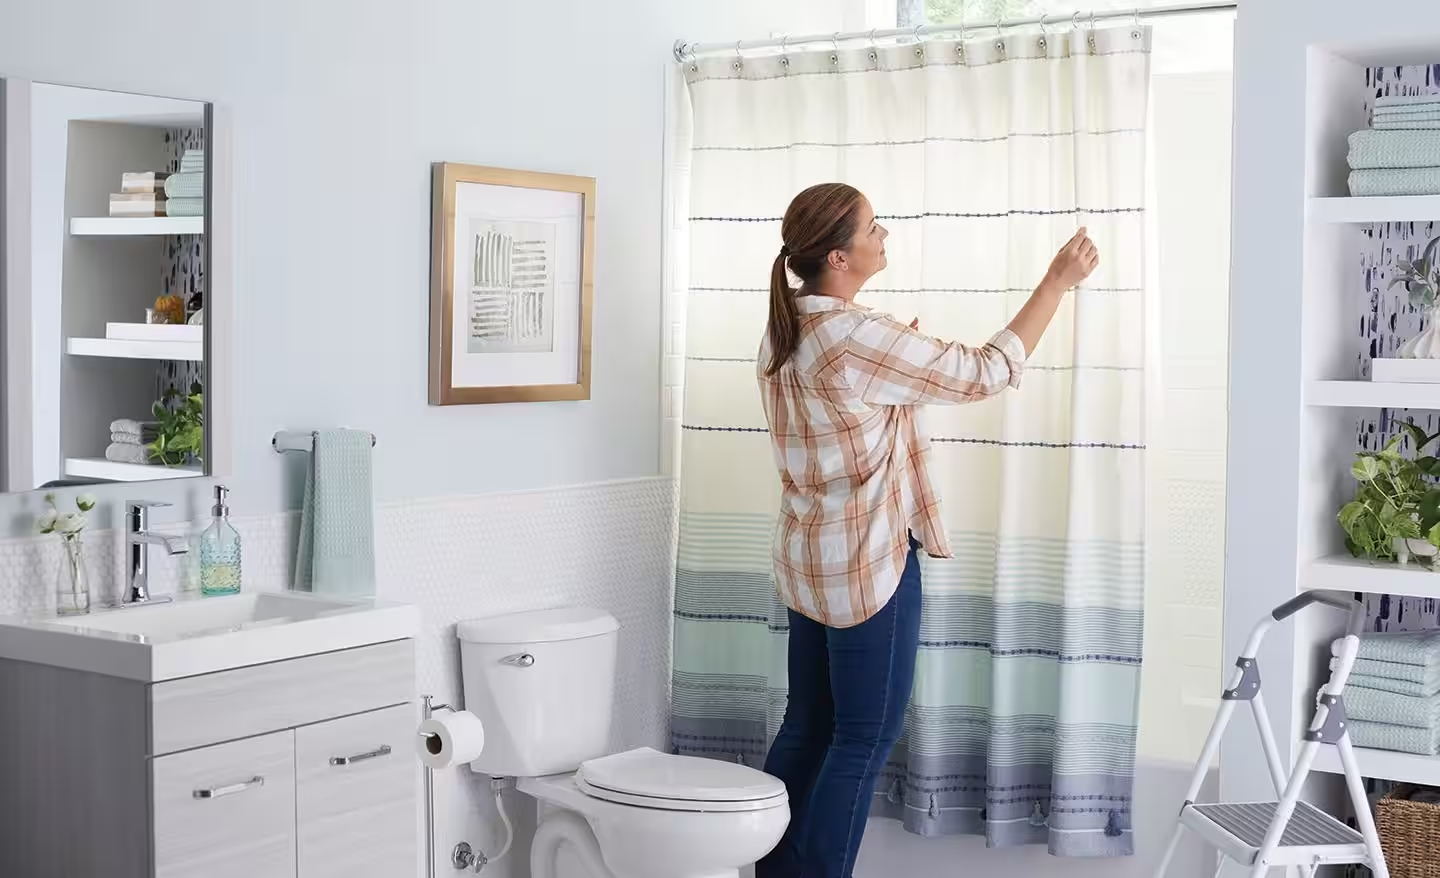
Step 6: Hang the curtains
With the curtain rod securely attached to the brackets, it’s time to hang your curtains and bring your windows to life. Hanging curtains not only completes the look of your window treatment but also adds privacy and light control to your space. Follow these steps to hang your curtains:
- Prepare the curtains: If your curtains are brand new, make sure to give them a good shake to remove any wrinkles or creases. If necessary, iron or steam them to achieve a smooth and polished appearance.
- Determine the placement: Decide where you want the curtains to fall. Some prefer floor-length curtains that just skim the floor, while others prefer curtains that hover slightly above the ground. Place the curtains on the floor and position them as desired to get a visual idea of how they will look.
- Hang the curtains: Start by sliding the curtain rings onto the curtain rod. Space them evenly along the rod, ensuring that there are enough rings to support the weight of the curtains. Then, gently lift the curtains and hang the rings on the rod, one by one, moving across the entire length of the rod.
- Adjust the curtains: Once the curtains are hung, take a step back and check their appearance. Make any necessary adjustments to ensure that they hang evenly and fall in a pleasing manner. Use a level to confirm that the curtains are straight and level.
- Test the curtain movement: Give the curtains a gentle tug to ensure they can open and close smoothly. Make sure there is enough space for the curtains to move without getting caught or tangled.
When hanging curtains, consider using curtain tiebacks or holdbacks to keep the curtains open and let natural light into the room when desired. You can also experiment with different curtain styles, such as tab-top, grommet, or rod pocket, depending on your personal preference and the overall aesthetic of your space.
By following these steps, you will successfully hang your curtains and add the finishing touch to your window treatment. Once the curtains are hung, it’s time to move on to the final step: testing and adjusting the curtain rod.
Step 7: Test and adjust the curtain rod
The final step in the curtain rod installation process is to test and adjust the rod for optimal functionality. This step ensures that your curtains open and close smoothly, allowing for easy access to your windows and providing the desired level of privacy and light control. Follow these steps to test and adjust the curtain rod:
- Open and close the curtains: Test the curtains by gently pulling them apart to open and pushing them together to close. Pay attention to how smoothly and evenly they move along the rod. If there are any areas where the curtains snag or get stuck, you may need to adjust the rod or curtain rings.
- Check the curtain length: Stand back and observe the length of the curtains when open and closed. Make sure they hang at the desired length and do not drag on the floor or bunch up excessively.
- Adjust the rod if needed: If the curtains don’t move smoothly or if the length needs adjusting, you may need to make some changes. It could involve repositioning the curtain rings or adjusting the tension or length of the rod. Refer to the manufacturer’s instructions for the specific type of curtain rod you are using.
- Test the stability: Give the rod and brackets a gentle shake to ensure they are securely in place. If there is any wobbling or movement, double-check the installation and make any necessary adjustments to ensure stability.
- Make final adjustments: Once you’ve tested the curtain movement and stability, make any final adjustments needed. This could involve tightening screws, straightening the rod, or repositioning the brackets.
Remember, the goal is to have smooth and effortless movement when opening and closing your curtains, while ensuring they hang at the desired length for an aesthetically pleasing look.
By testing and adjusting the curtain rod, you will ensure that your curtains function properly and enhance the overall appearance of your windows. Take the time to make any necessary changes for a flawless curtain setup.
Congratulations! You have successfully installed your curtain rods and hung your curtains. Enjoy the beauty, privacy, and functionality they bring to your space.
Conclusion
Installing curtain rods is a manageable and rewarding task that can transform the look and functionality of your windows. With the right materials, careful measurement, and proper installation, you can easily hang curtains that enhance your interior design and provide privacy and light control.
Throughout this comprehensive guide, we have taken you through the step-by-step process of installing curtain rods. From gathering the necessary materials to testing and adjusting the curtain rod, each step plays a crucial role in ensuring a successful installation.
By following these steps, you will be able to confidently install curtain rods and hang curtains that complement your style and elevate your space. Remember to measure carefully, prepare the mounting brackets, secure the brackets to the wall, attach the curtain rod, hang the curtains, and test and adjust for optimal functionality. With a little bit of patience and attention to detail, you can achieve a professional and seamless finish.
Now that you have the knowledge and guidance, it’s time to get started on your curtain rod installation project. Embrace your creativity, choose the perfect curtains, and enjoy the beauty and functionality they bring to your home.
Happy curtain rod installation!
Frequently Asked Questions about How To Install Curtain Rods: Easy Steps For Success
Was this page helpful?
At Storables.com, we guarantee accurate and reliable information. Our content, validated by Expert Board Contributors, is crafted following stringent Editorial Policies. We're committed to providing you with well-researched, expert-backed insights for all your informational needs.

0 thoughts on “How To Install Curtain Rods: Easy Steps For Success”