Articles
How To Hang Curtains In Plaster Walls
Modified: October 27, 2024
Learn the step-by-step process of hanging curtains in plaster walls with our informative articles. Discover expert tips and tricks for a flawless installation.
(Many of the links in this article redirect to a specific reviewed product. Your purchase of these products through affiliate links helps to generate commission for Storables.com, at no extra cost. Learn more)
Introduction
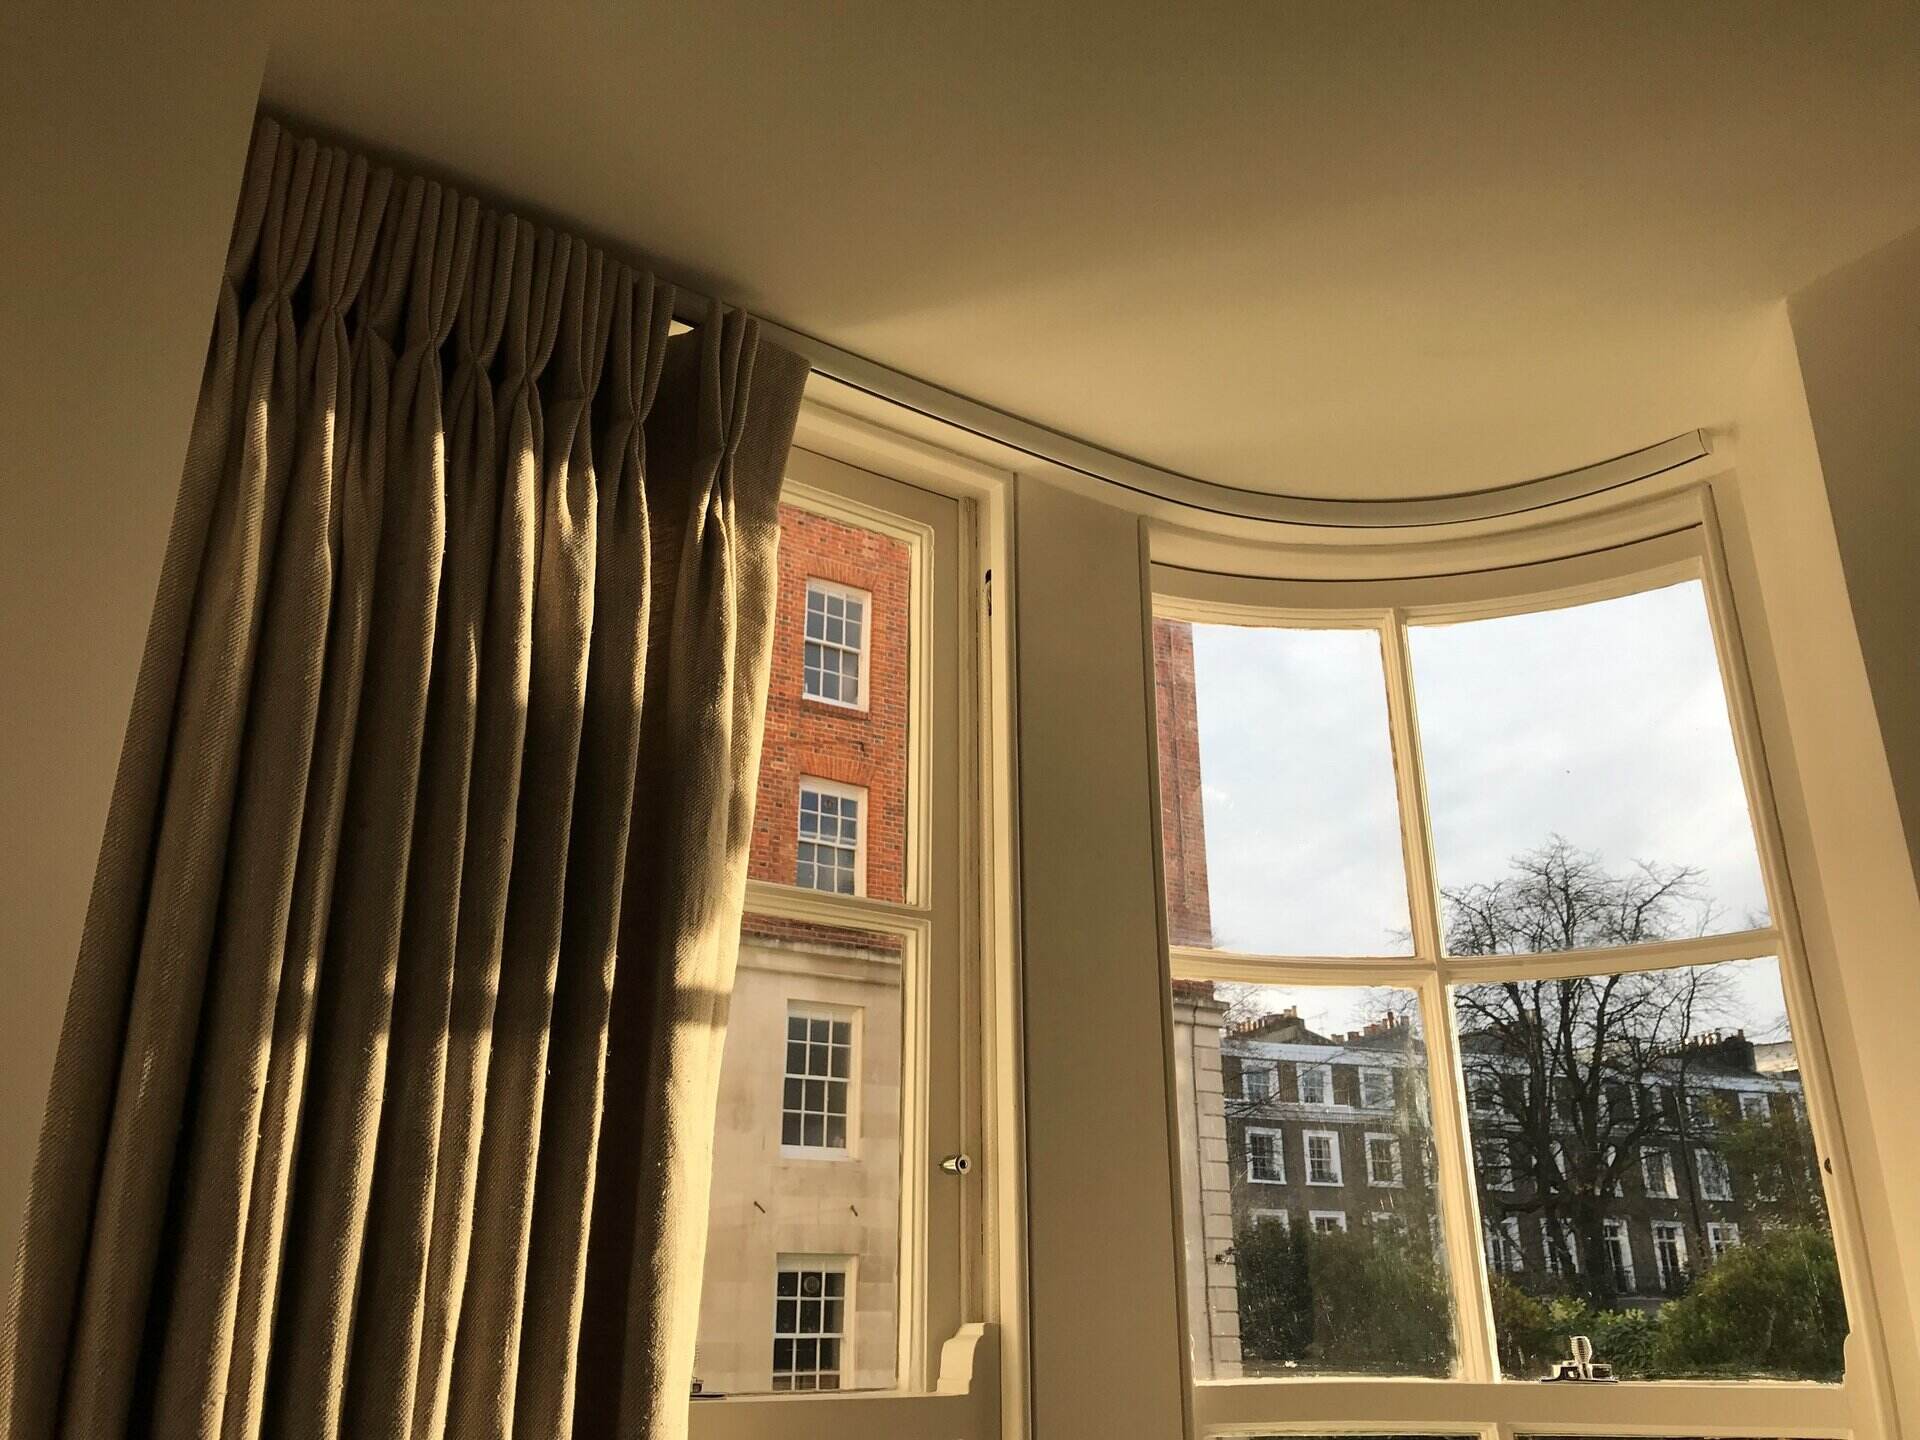
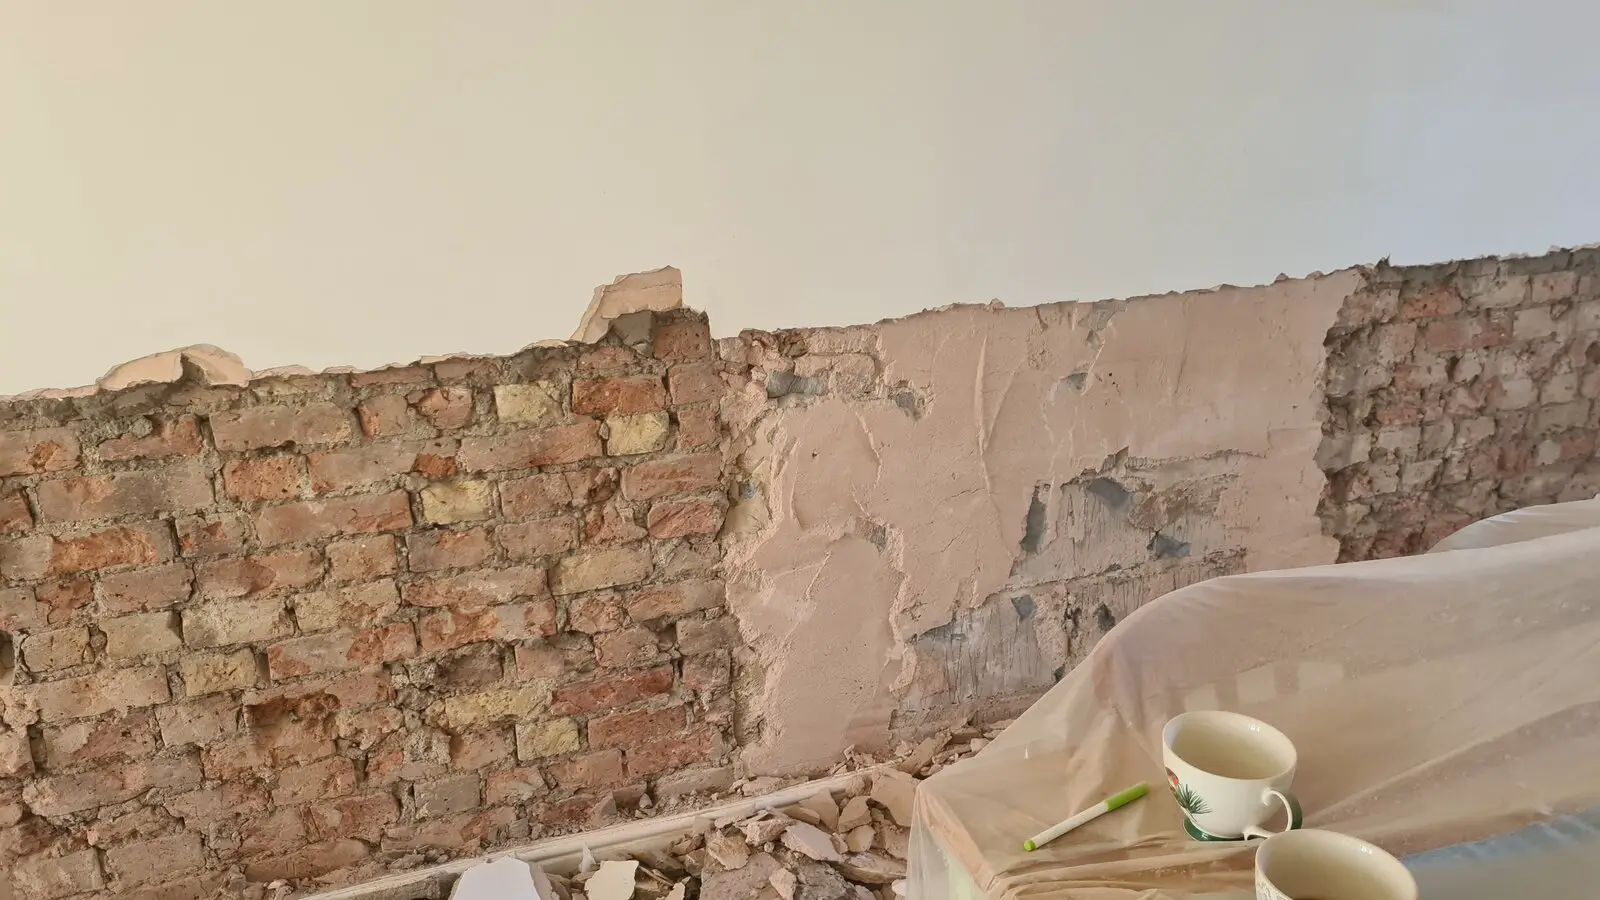
When it comes to decorating your home, curtains are an essential element that can transform the look and feel of any space. However, hanging curtains in plaster walls can present some unique challenges. Unlike drywall, which is relatively easy to work with, plaster walls require careful planning and the right tools to ensure a secure and successful installation. In this article, we will guide you through the steps of hanging curtains in plaster walls, helping you achieve a polished and professional result.
Before we begin, it’s important to note that plaster walls can be quite delicate and prone to cracking if not handled properly. It’s crucial to approach this task with caution and follow the necessary steps to protect both your walls and the integrity of your curtains. By using the right tools and techniques, you can hang curtains securely without causing any damage to your plaster walls.
Now, let’s dive into the step-by-step process, starting with the essential tools and materials you’ll need to gather before getting started.
Key Takeaways:
- Delicately handle plaster walls when hanging curtains to avoid damage. Use stud finders and proper tools for a secure and stylish installation.
- Carefully consider curtain placement and adjust for optimal light control and privacy. Take time to level and adjust curtains for a polished look.
Read more: How To Hang Curtains On Concrete Wall
Tools and Materials Needed
Before you begin hanging curtains in plaster walls, gather the following tools and materials:
- Power drill: A power drill equipped with the appropriate drill bits will make it easier to create holes in the plaster.
- Stud finder: This tool will help you locate the studs within your plaster walls for added support.
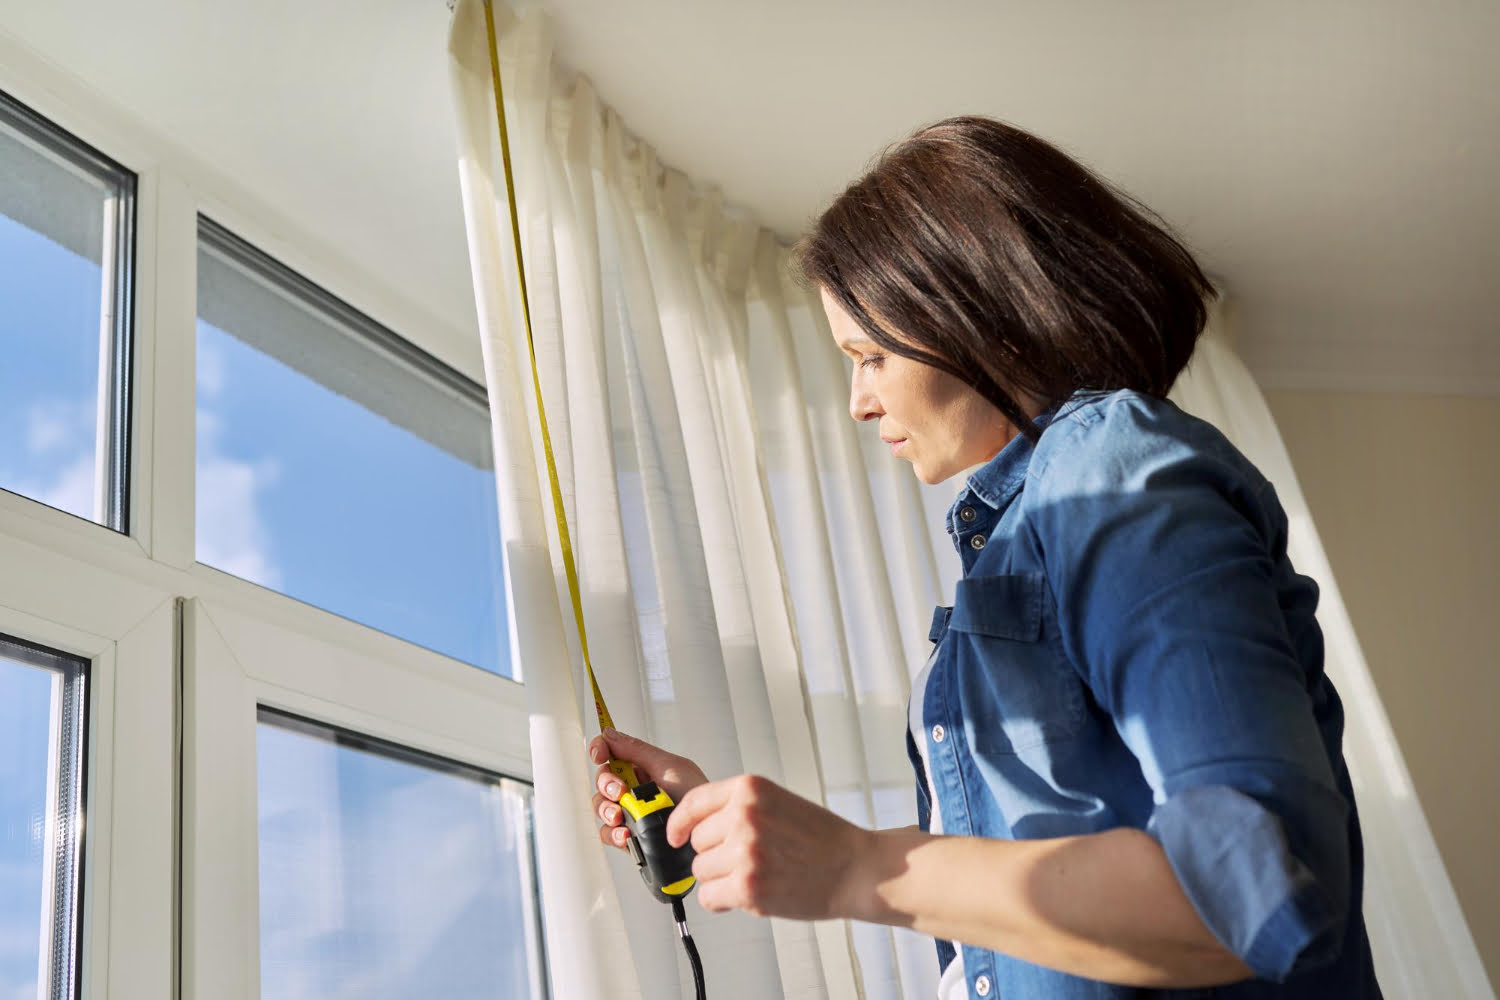
- Tape measure: Precise measurements are essential for ensuring a level and properly aligned curtain installation.
- Pencil or marker: Use a pencil or marker to mark the locations where you’ll be drilling holes.
- Level: A level will help you ensure that your curtains hang straight and evenly.
- Curtain rod: Choose a curtain rod that matches your aesthetic preferences and the weight of your curtains.
- Drill bits: Depending on the type of wall anchors you’ll be using, gather appropriately-sized drill bits.
- Wall anchors (optional): Wall anchors provide extra stability for heavier curtain rods or when studs aren’t available.
- Screwdriver: You may need a screwdriver to secure the curtain rod brackets or wall anchors.
- Curtains: Select curtains that complement your decor and are the appropriate length for your windows.
Having these tools and materials ready before you start will save you time and ensure a smooth and efficient installation process.
Step 1: Prepare the Area
Before you begin hanging curtains in plaster walls, it’s important to prepare the area properly. Here are the essential steps to follow:
- Clear the area: Remove any furniture or obstacles near the windows or walls where you’ll be installing the curtains. This will give you more space to work and prevent accidental damage.
- Clean the walls: Use a damp cloth to gently clean the plaster walls. This will remove any dust or debris that could affect the adhesive properties of wall anchors or interfere with the drilling process.
- Measure and mark: Use a tape measure to determine the height at which you want your curtains to hang. Mark this point lightly with a pencil or marker. Additionally, measure the desired distance from the window edges and mark these points as well. These measurements will guide you in the placement of the curtain rods.
By preparing the area properly, you will create a clean and organized space for installing your curtains. This will ensure that the installation process goes smoothly and that your curtains hang exactly where you want them.
Step 2: Determine the Curtain Placement
Before you start drilling any holes, it’s essential to determine the optimal placement for your curtains. Consider the following factors:
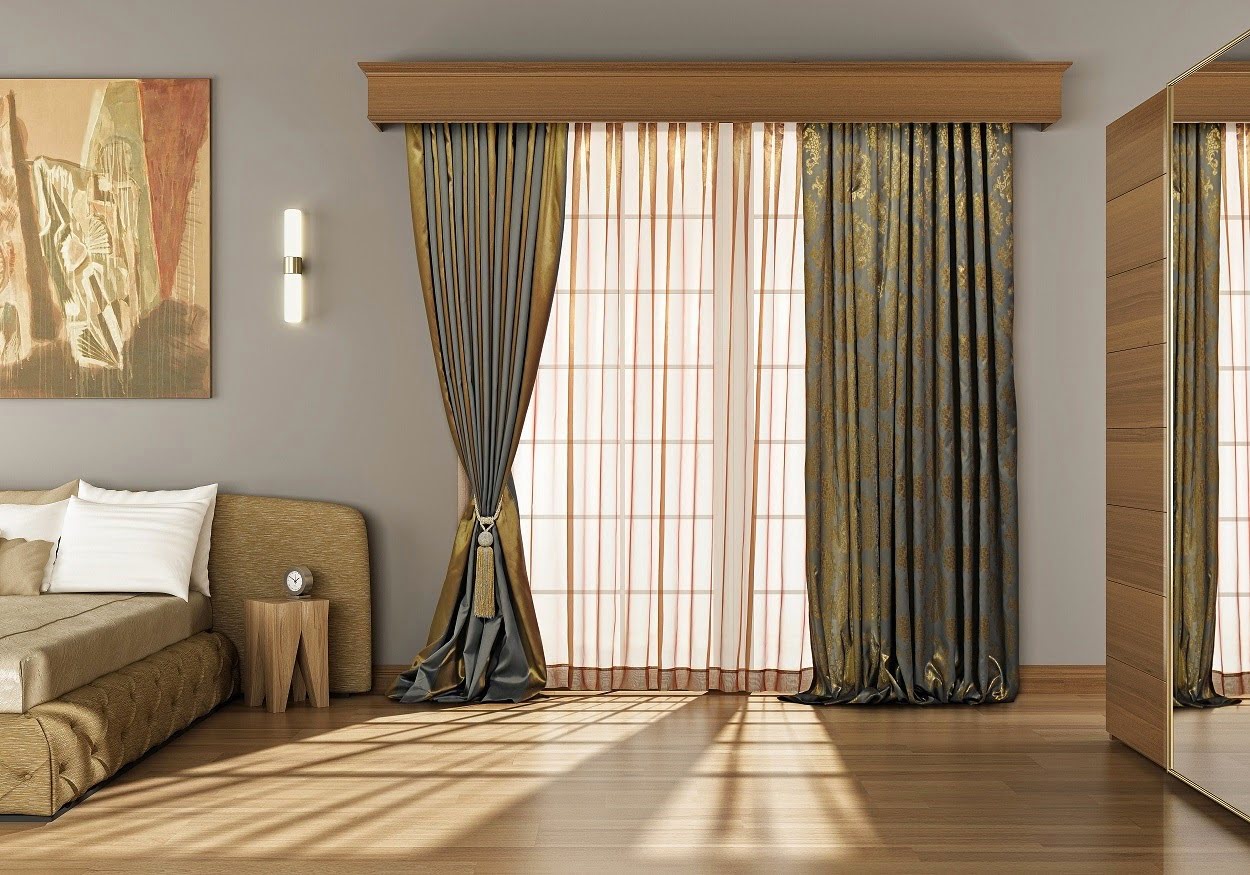
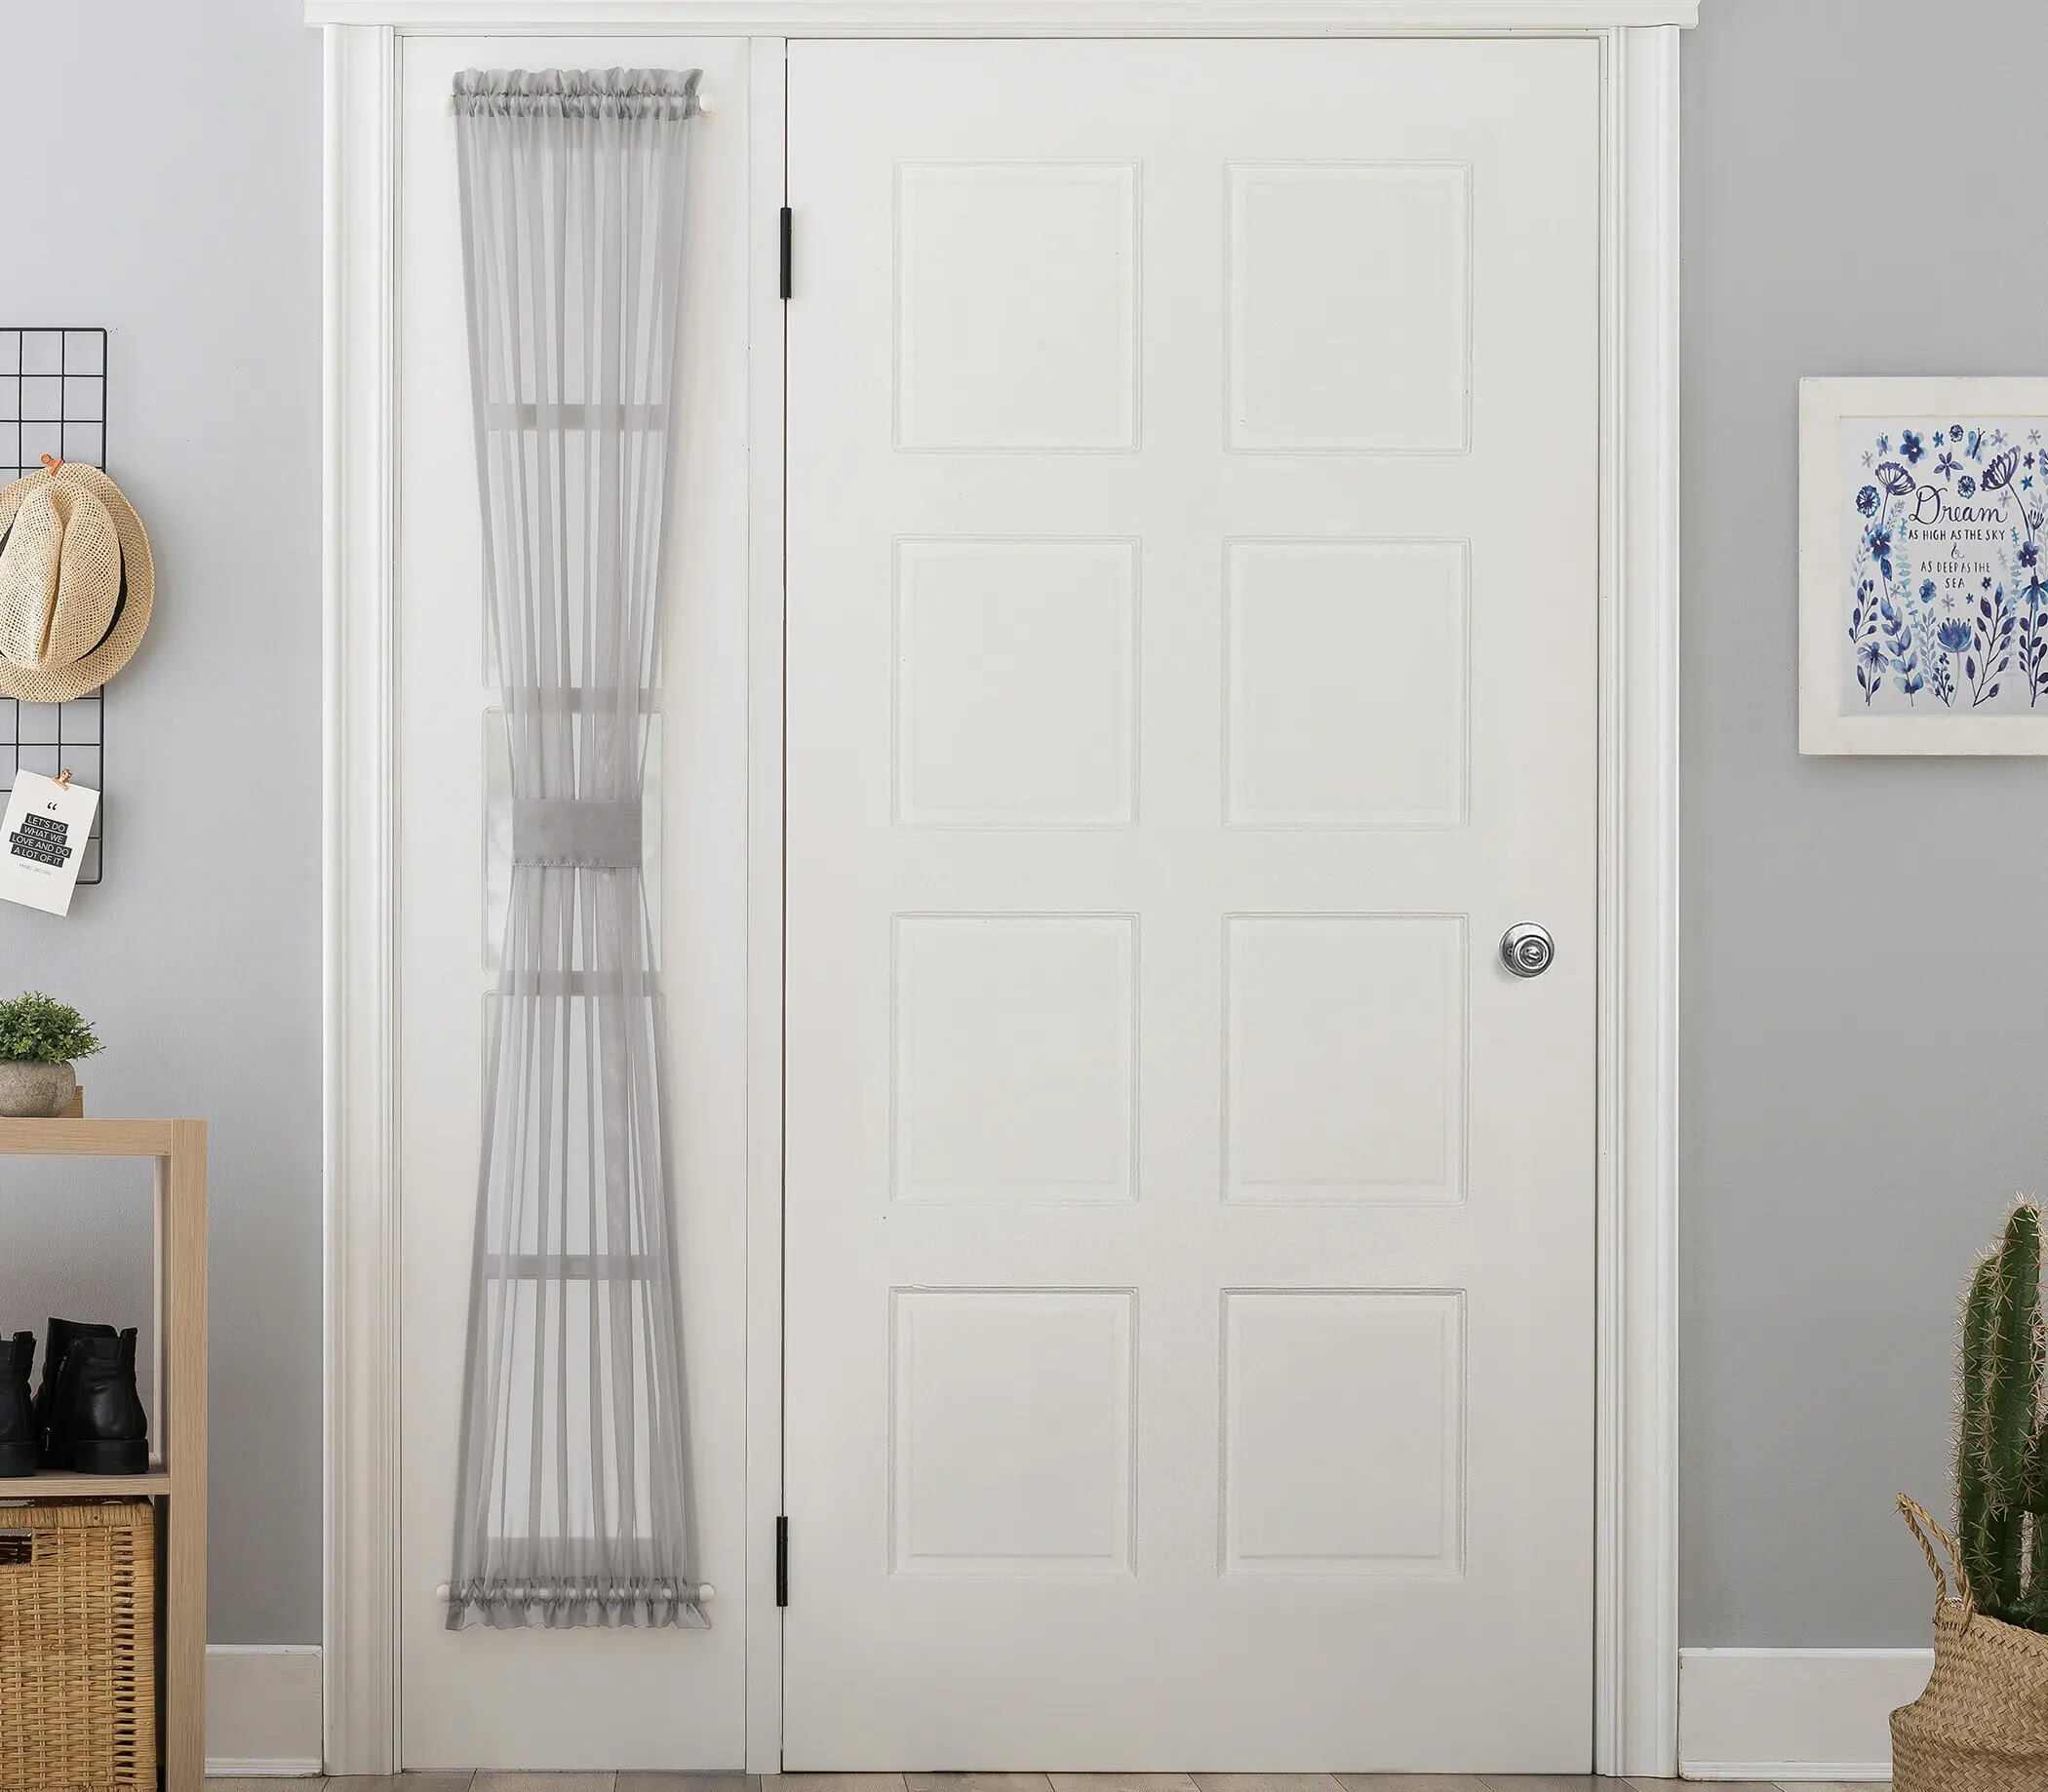
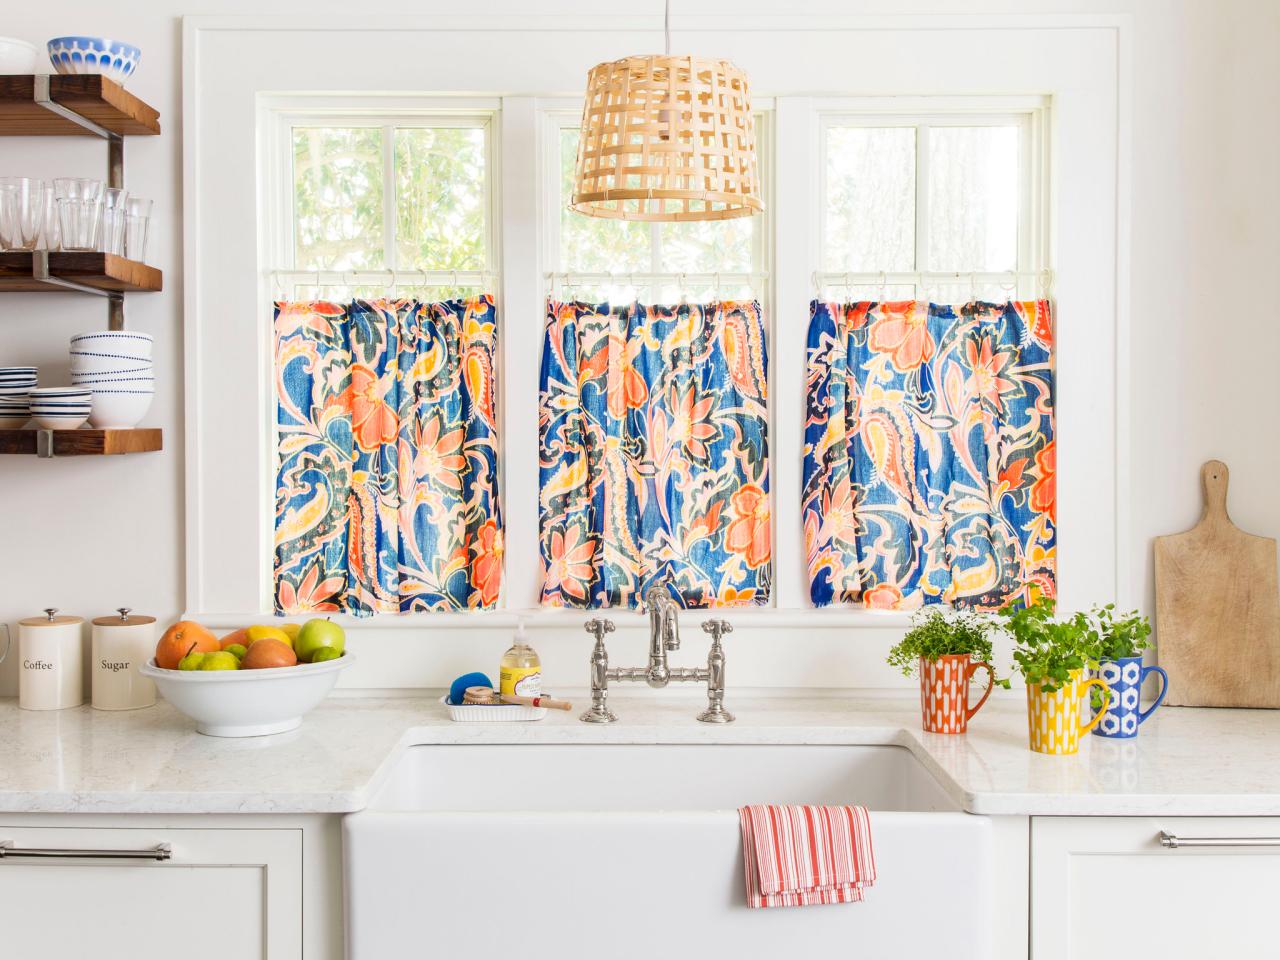
- Window coverage: Assess how much of the window you want your curtains to cover. Determine if you want them to extend past the window frame or if you prefer a more minimal and clean look.
- Aesthetic considerations: Take into account the overall aesthetic of the room and how the curtains will complement it. Consider factors such as color, fabric, and texture.
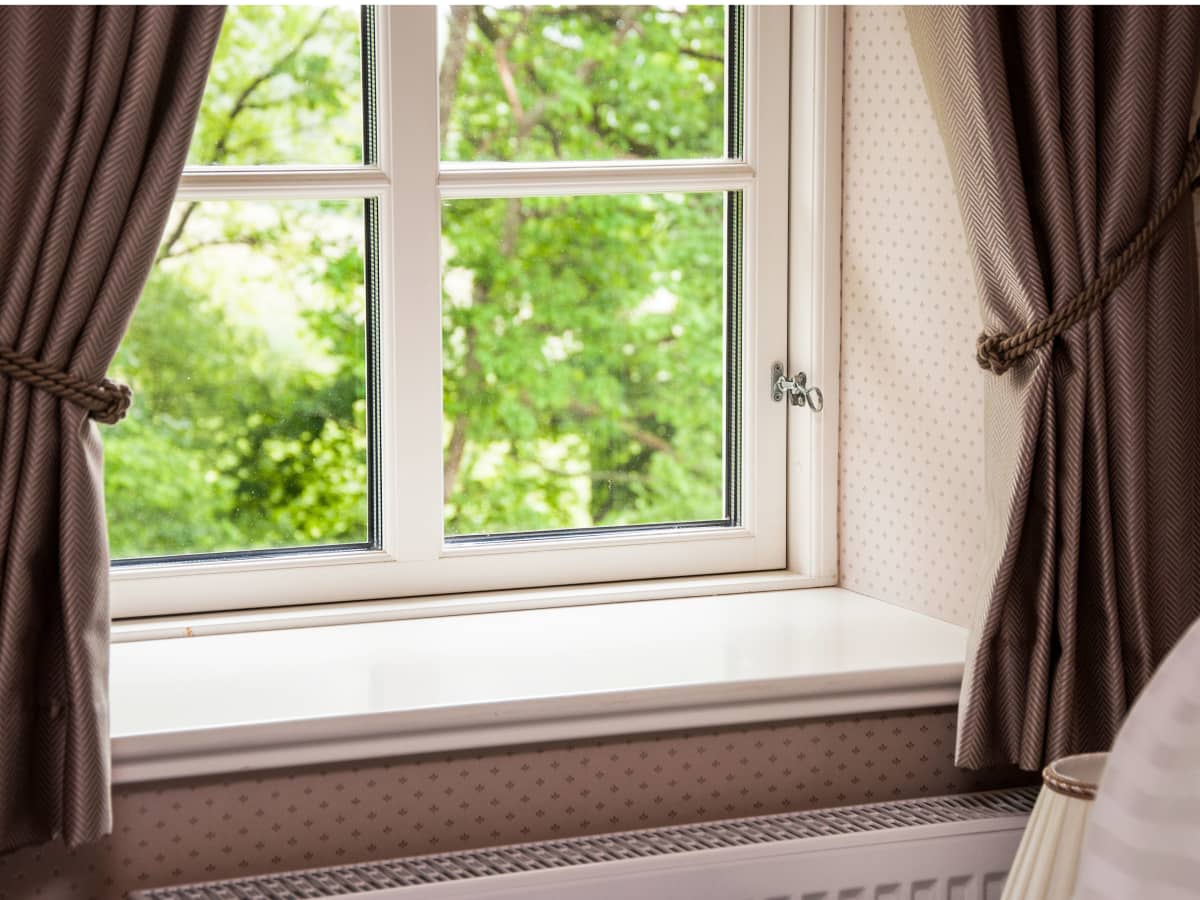
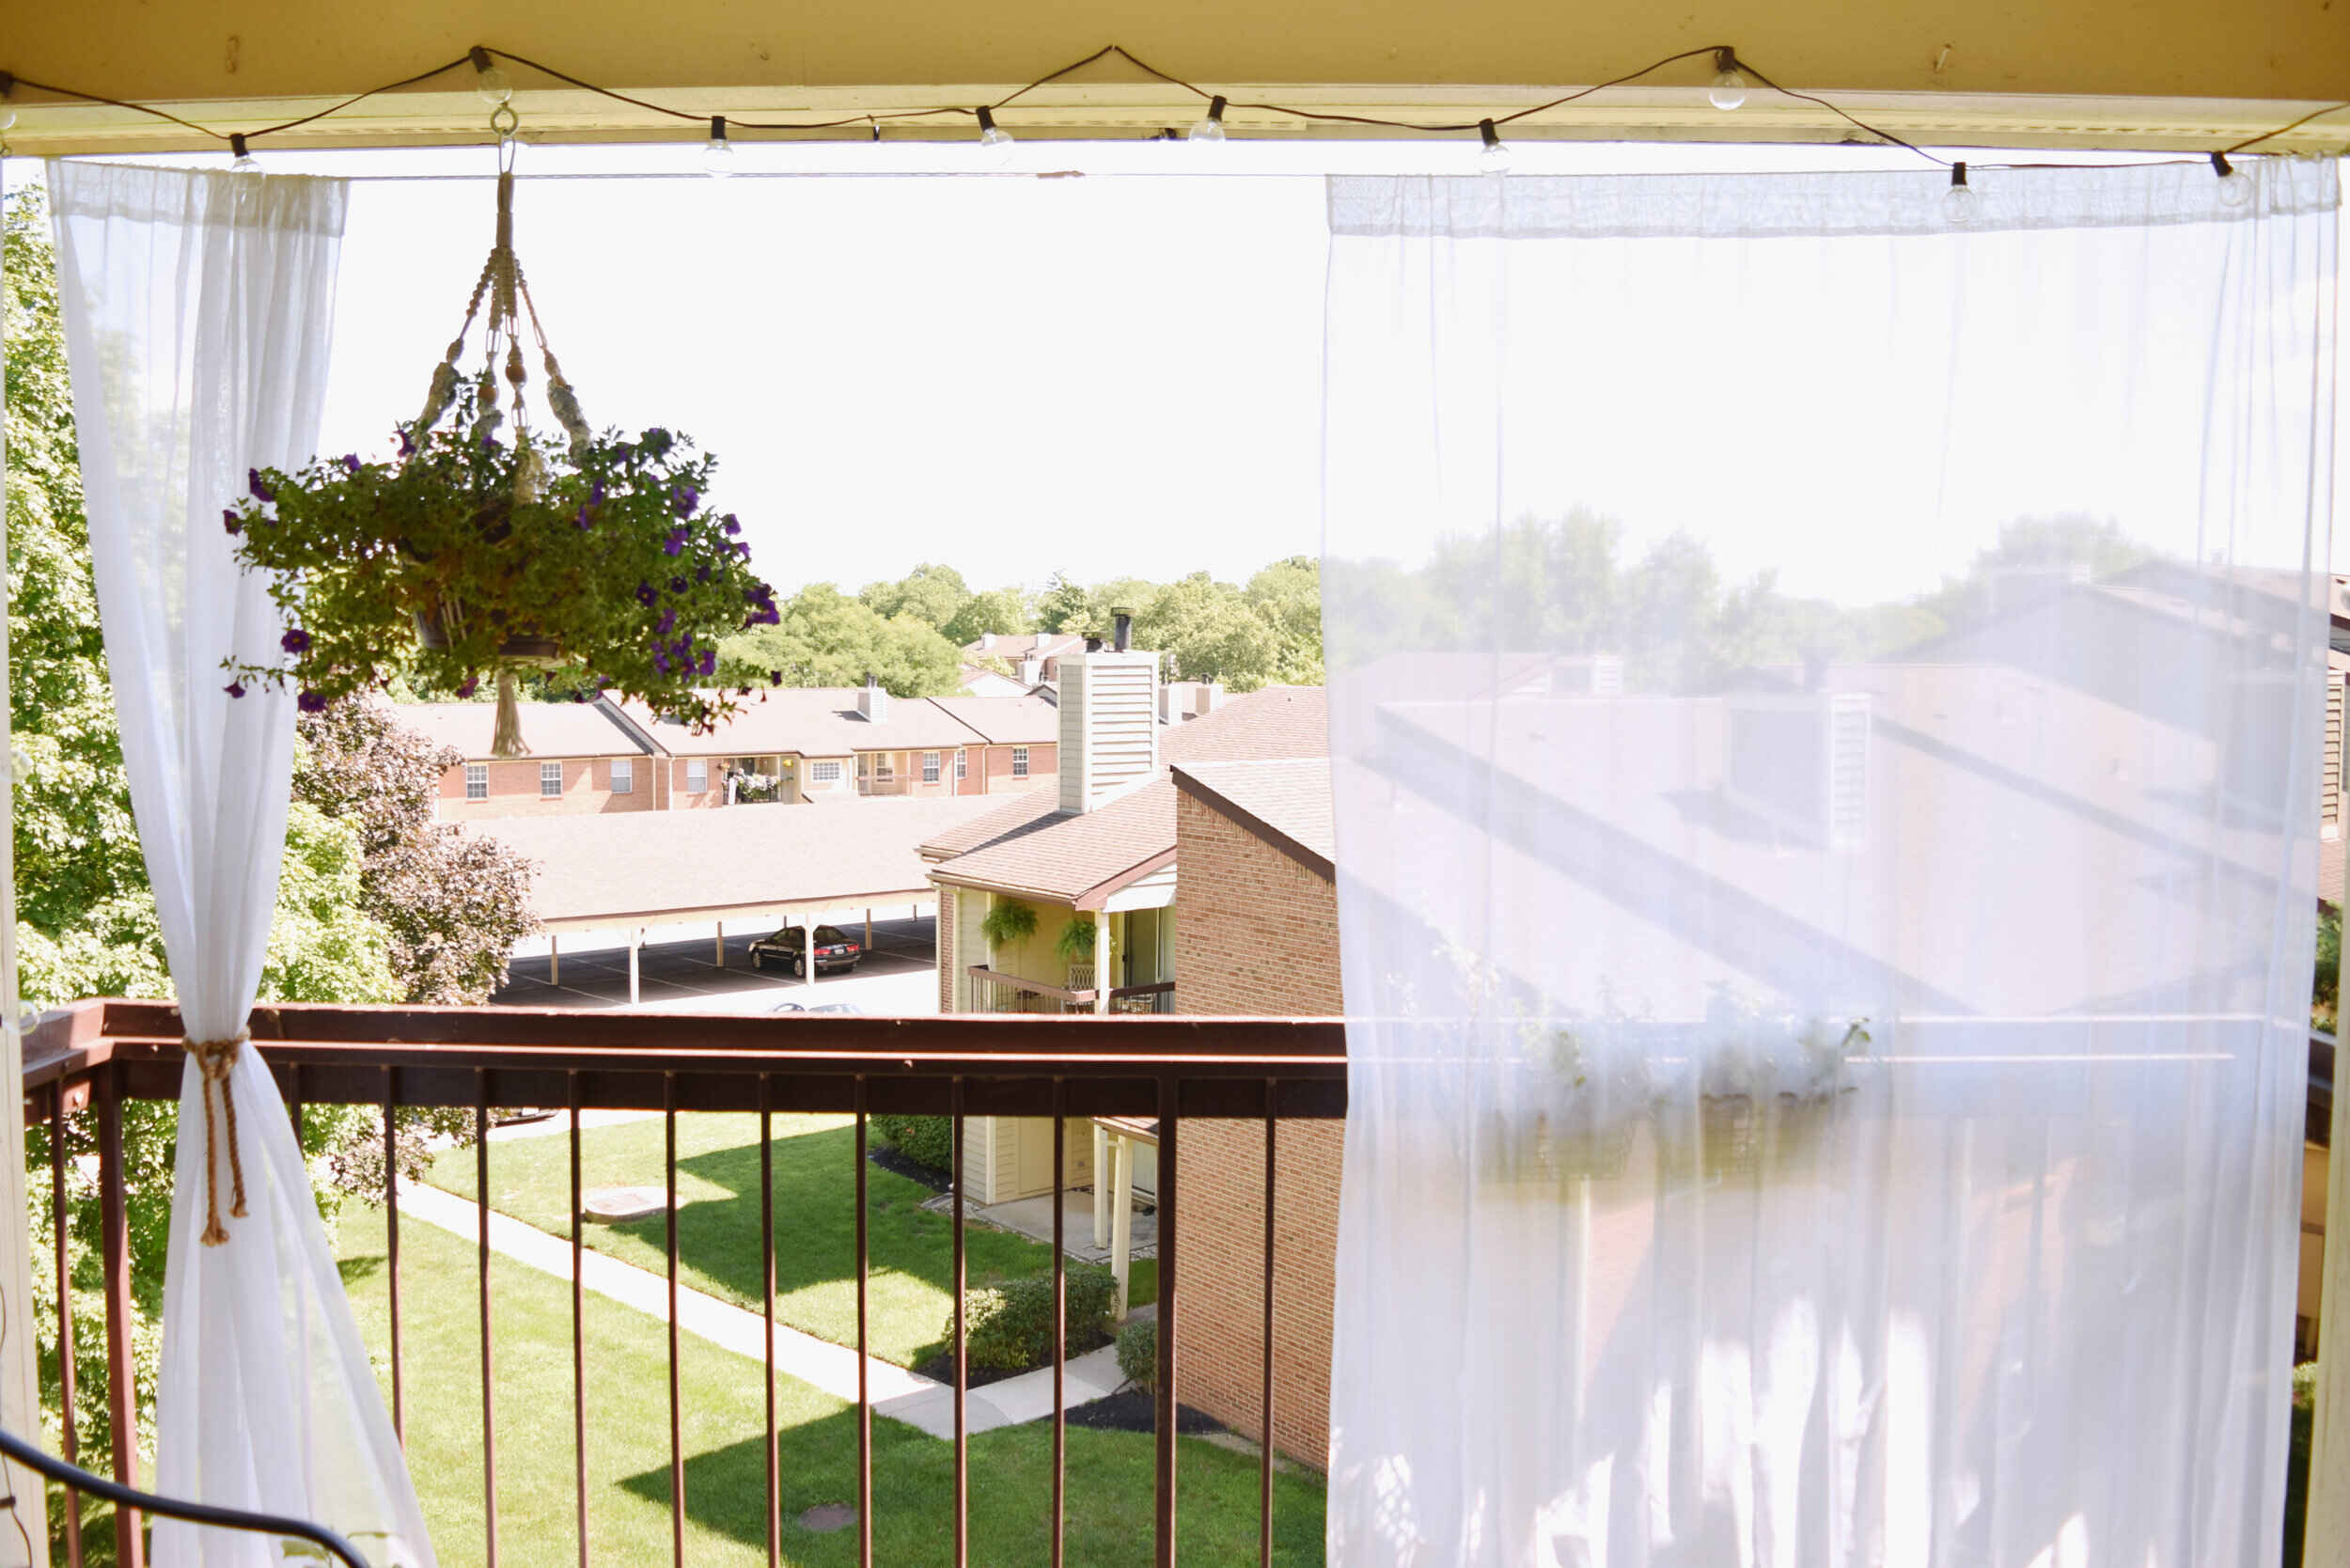
- Light control: Consider whether you want the curtains to provide full light-blocking or partial light-blocking capabilities. This will help you determine if you need to extend the curtain rod beyond the window frame or if the frame itself provides sufficient coverage.
- Privacy: Evaluate how much privacy you require and adjust the curtain placement accordingly. Make sure the curtains can fully cover the window when needed.
By taking these factors into consideration, you can determine the optimal placement for your curtains. This will ensure that they both serve their functional purpose and enhance the overall look of the room.
Step 3: Locate the Studs
Locating the studs in your plaster walls is crucial for ensuring a secure installation. Here’s how to find the studs:
- Use a stud finder: Use a stud finder tool to locate the studs behind the plaster. Follow the instructions on the stud finder and move it along the wall until it indicates the presence of a stud.
- Mark the stud locations: Once you’ve located a stud, mark its edges using a pencil or marker. Repeat this process along the wall where you’ll be installing the curtain rod. These markings will serve as a guide for positioning the curtain rod brackets or wall anchors.
Locating the studs is essential because they provide the necessary support for securely hanging the curtain rod. By ensuring that the brackets or anchors are installed directly into the studs, you’ll be able to hang heavier curtains without worrying about stability.
If you’re unable to find studs in the desired curtain placement area, you’ll need to use alternative methods for installing the curtain rod, such as wall anchors or toggle bolts. Keep in mind that these methods may not offer the same level of stability as attaching directly to the studs. If you’re unsure about the best approach for your specific situation, consult a professional or consider seeking expert advice.
Read more: What Grit Sandpaper For Plaster Walls
Step 4: Mark the Drilling Points
Once you have determined the ideal placement for your curtain rod and located the studs, it’s time to mark the drilling points on the wall. Follow these steps:
- Hold up the curtain rod brackets: Position the curtain rod brackets on the wall at the desired height and distance from the window edges. Ensure that they are aligned and level.
- Mark the drilling points: Use a pencil or marker to mark the locations where you will drill the holes for the screws or wall anchors. Make sure to mark both the top and bottom hole for each bracket.
- Measure the spacing: Measure the distance between the marked drilling points for each bracket to ensure they align properly with the curtain rod.
- Check for symmetry: Step back and assess the symmetry of the marked drilling points. Adjust as necessary to ensure that the rod will hang evenly and parallel to the ground.
By marking the drilling points in advance, you’ll have a clear reference for where to drill the holes. This will help you avoid mistakes and ensure that the curtain rod brackets or wall anchors are installed accurately in the next steps.
Remember to double-check your measurements and markings before proceeding to drilling the holes. Precision is key for a successful curtain installation.
Use a stud finder to locate the wooden studs behind the plaster walls. Install curtain rod brackets directly into the studs for a secure and sturdy hold.
Step 5: Pre-drill the Holes
Pre-drilling the holes is an important step to ensure that you can easily and accurately attach the curtain rod brackets or wall anchors to the plaster walls. Follow these steps:
- Select the appropriate drill bit: Choose a drill bit that matches the size of the screws or wall anchors you’ll be using. It should be slightly smaller in diameter to provide a snug fit for the hardware.
Pre-drilling the holes helps prevent the plaster wall from cracking or crumbling during the installation process. It also makes it easier to insert the screws or wall anchors, ensuring a secure and stable connection.
Remember to clean away any dust or debris that may accumulate during drilling to prevent it from interfering with the installation of the curtain rod brackets or wall anchors.
Step 6: Install Wall Anchors (optional)
If you’re unable to attach the curtain rod brackets directly into the studs or if you want to provide additional support for heavier curtains, you may need to install wall anchors. Here’s how to do it:
- Select the appropriate wall anchors: Choose wall anchors that are suitable for plaster walls and can support the weight of your curtains. Plastic anchors or toggle bolts are commonly used for this purpose.
Wall anchors provide additional support and stability for curtain rod installations in plaster walls. However, it’s important to note that they may not offer the same level of strength as attaching directly to studs. If possible, try to secure the brackets into the studs for the most secure and stable installation.
Always follow the manufacturer’s instructions when installing wall anchors and ensure that they are appropriate for your specific curtain rod and wall type.
Step 7: Attach the Curtain Rod Brackets
Now that you have pre-drilled the holes and installed the wall anchors (if necessary), it’s time to attach the curtain rod brackets to the plaster walls. Follow these steps:
- Position the curtain rod brackets: Hold the brackets up to the pre-drilled holes or wall anchors and align them properly. Ensure that they are level and evenly spaced.
- Insert the screws: Insert the screws provided with the curtain rod brackets into the pre-drilled holes or wall anchors. Use a screwdriver or drill to twist them counterclockwise until they are securely fastened.
- Check for stability: Give the brackets a gentle tug to test their stability. If they feel loose, tighten the screws further. Make sure the brackets are firmly attached to the wall and can support the weight of the curtains.
By attaching the curtain rod brackets securely, you’ll ensure that your curtains hang safely and won’t come crashing down. Take your time during this step to ensure that the brackets are level and properly aligned.
Before proceeding to the next step, double-check that the curtain rod brackets are securely attached and can support the weight of your curtains. This will prevent any mishaps or accidents once you hang the curtains.
Read more: How To Make Plaster Wall Art
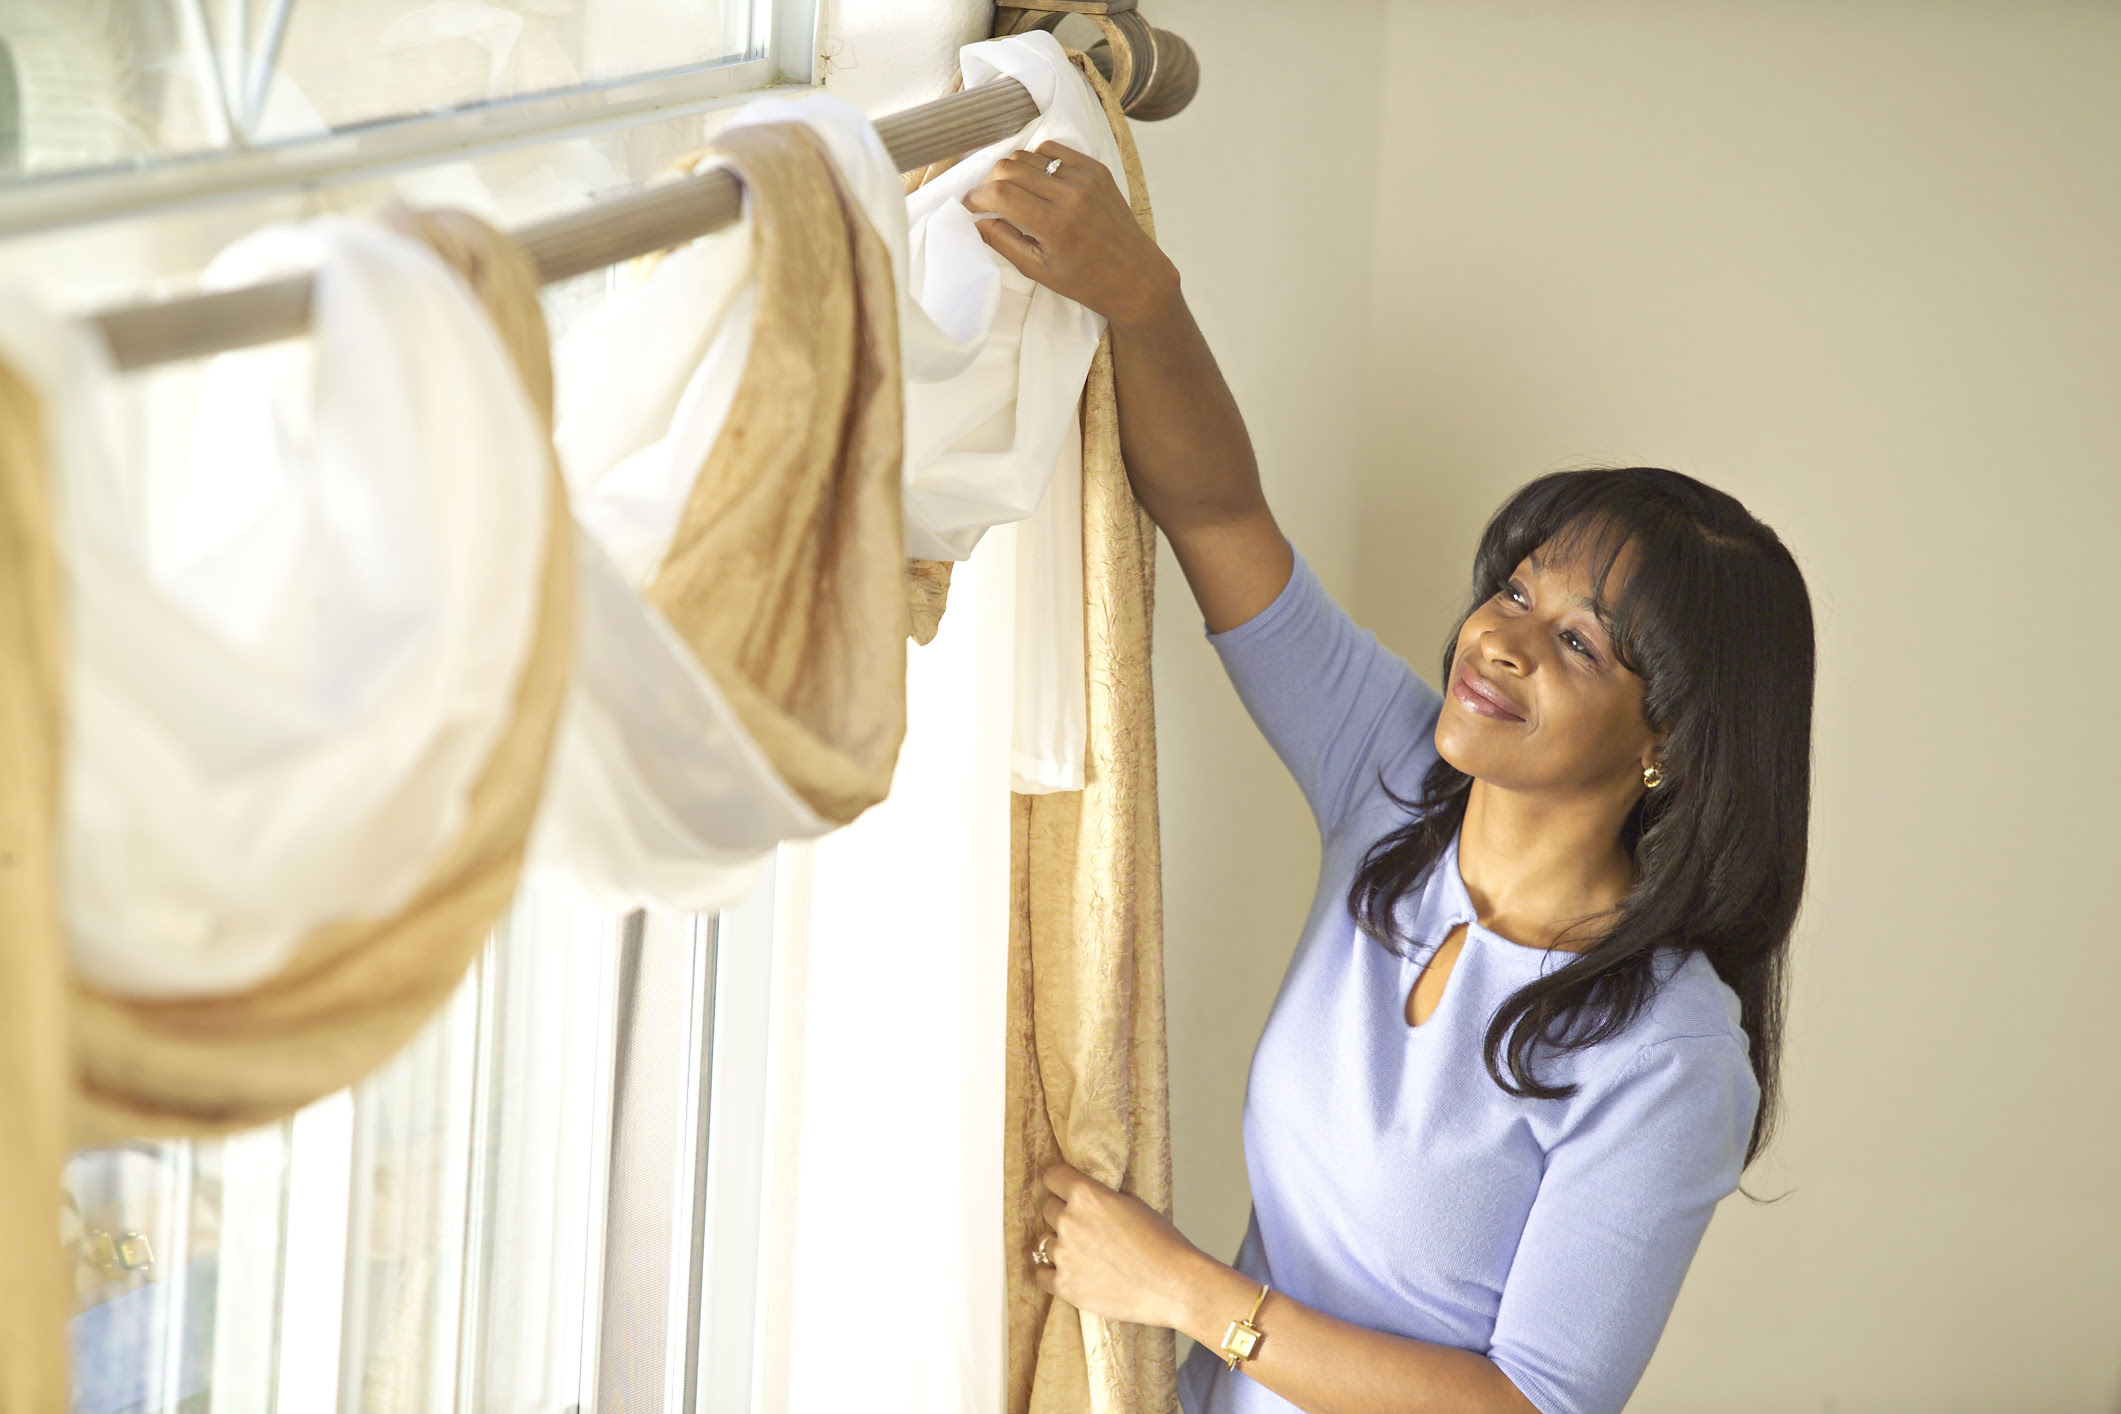
Step 8: Hang the Curtains
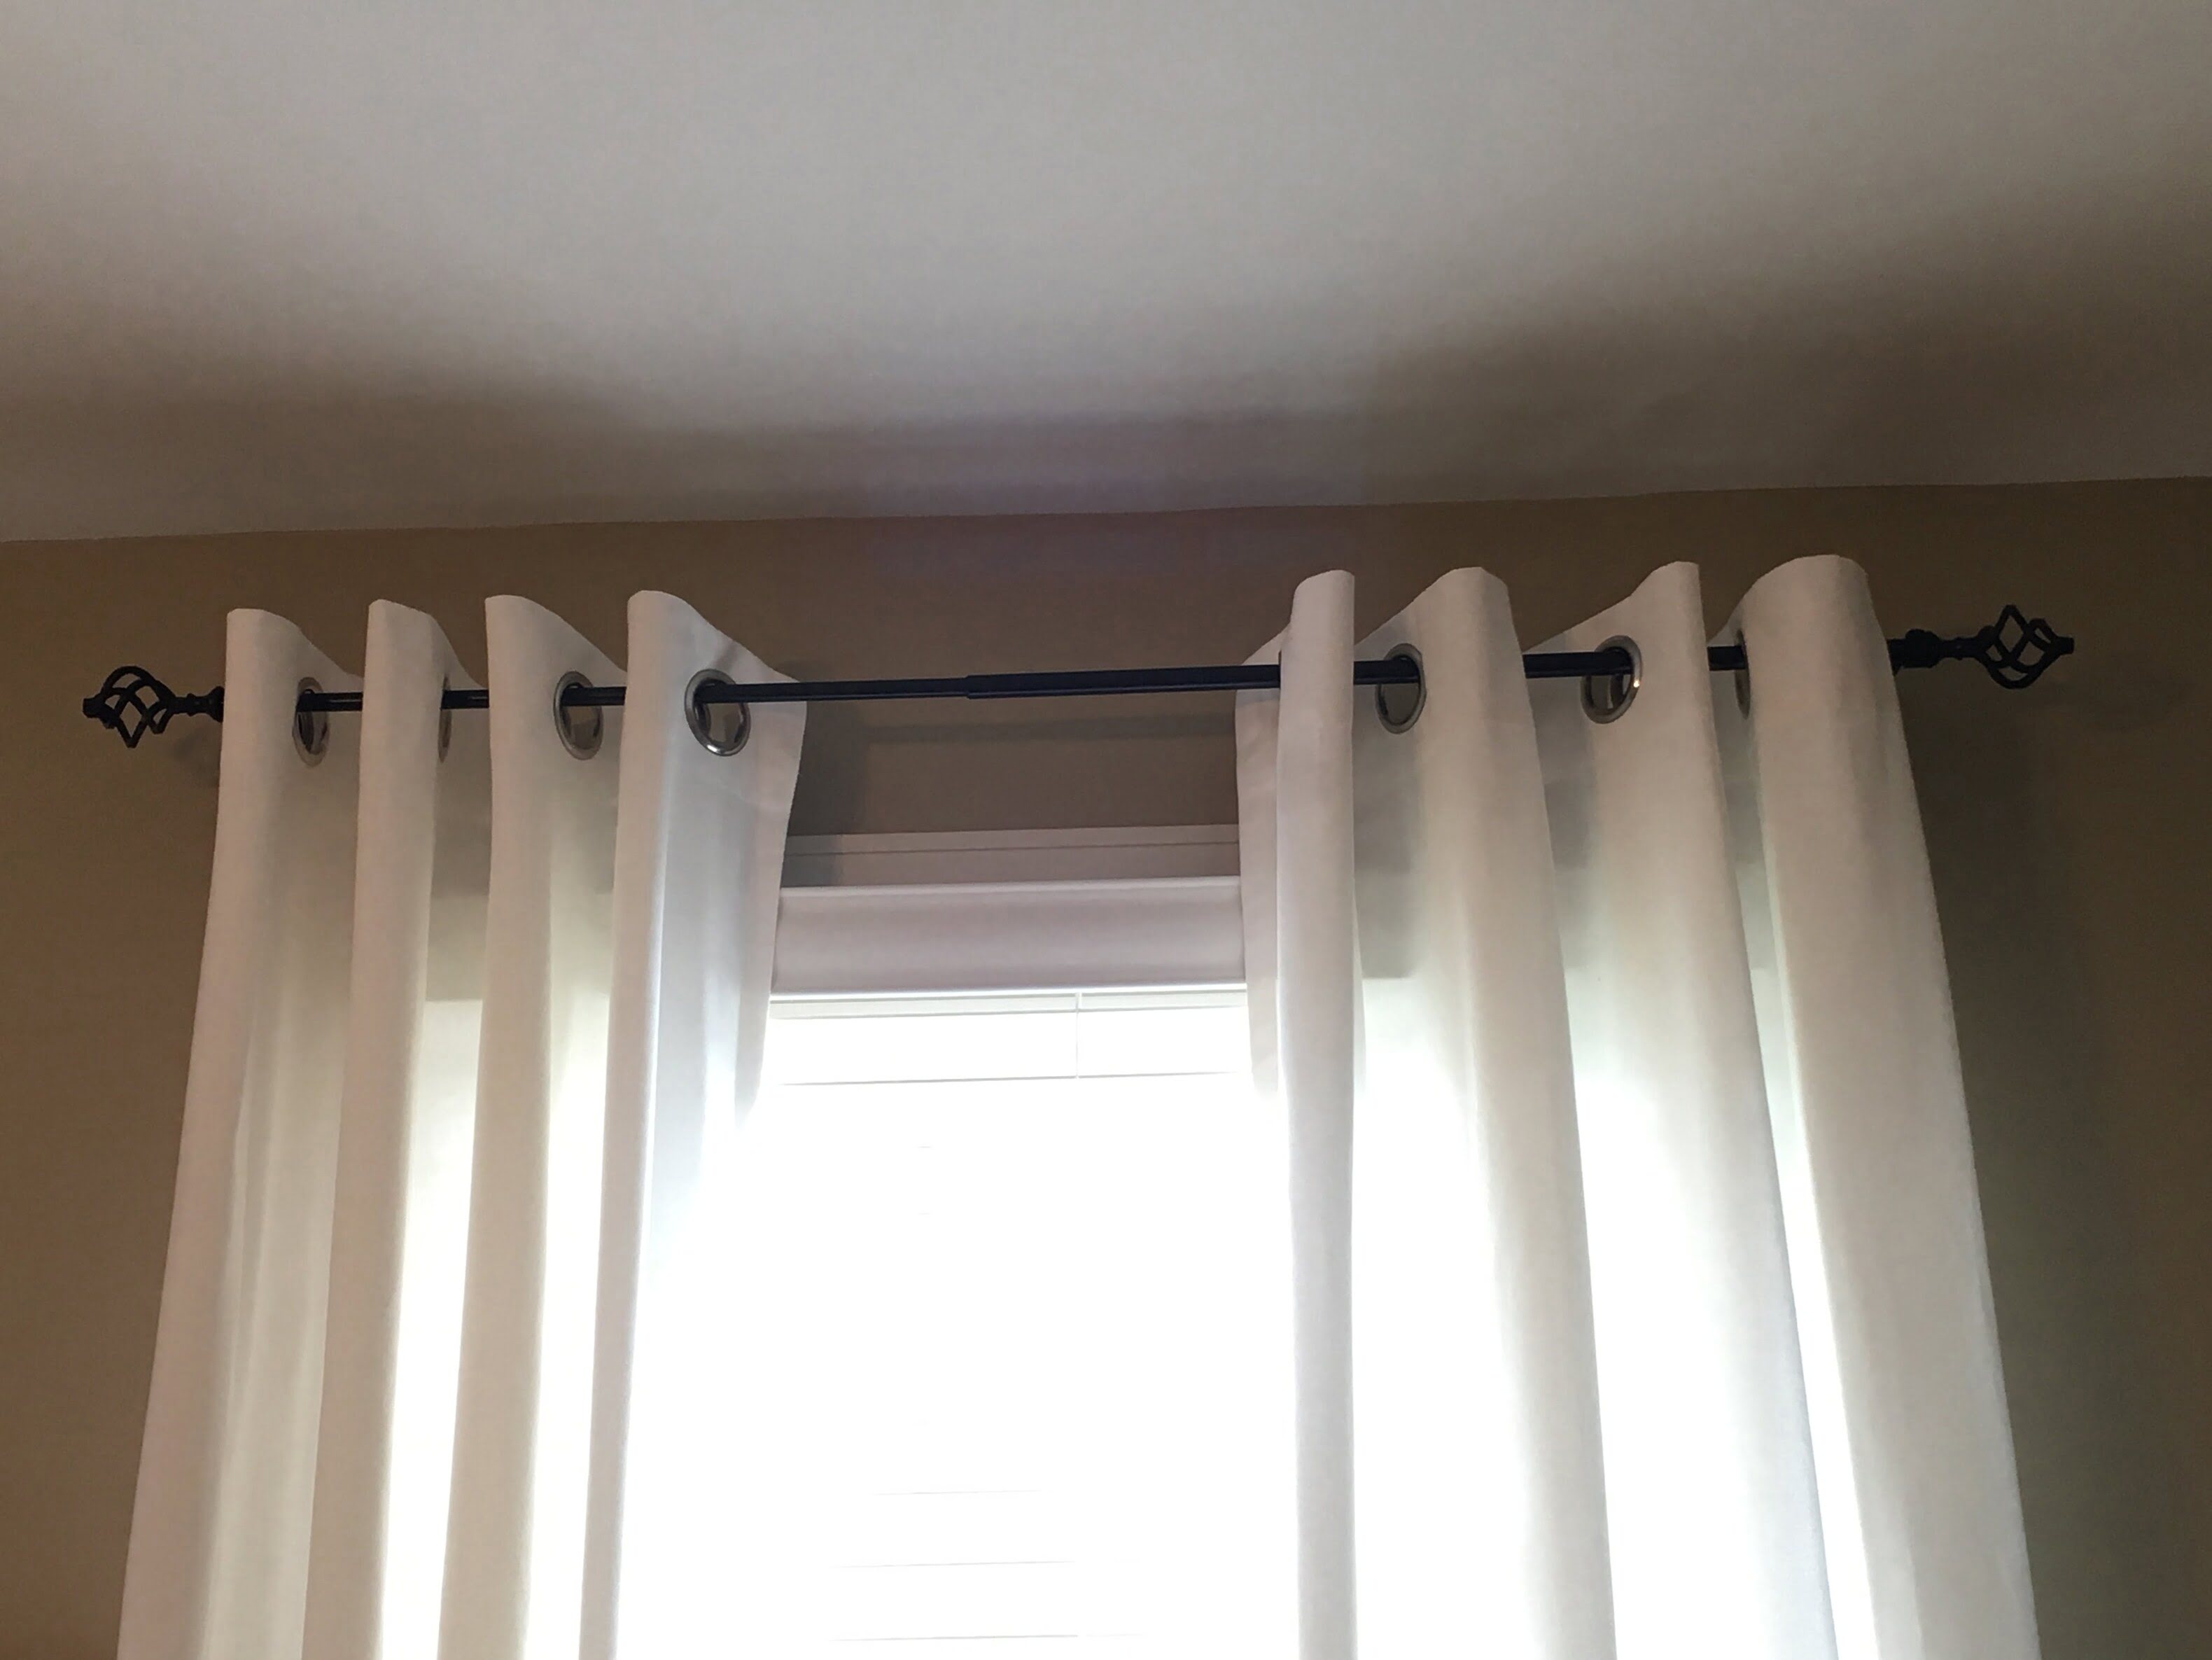
With the curtain rod brackets securely in place, it’s time to hang your curtains. Follow these steps:
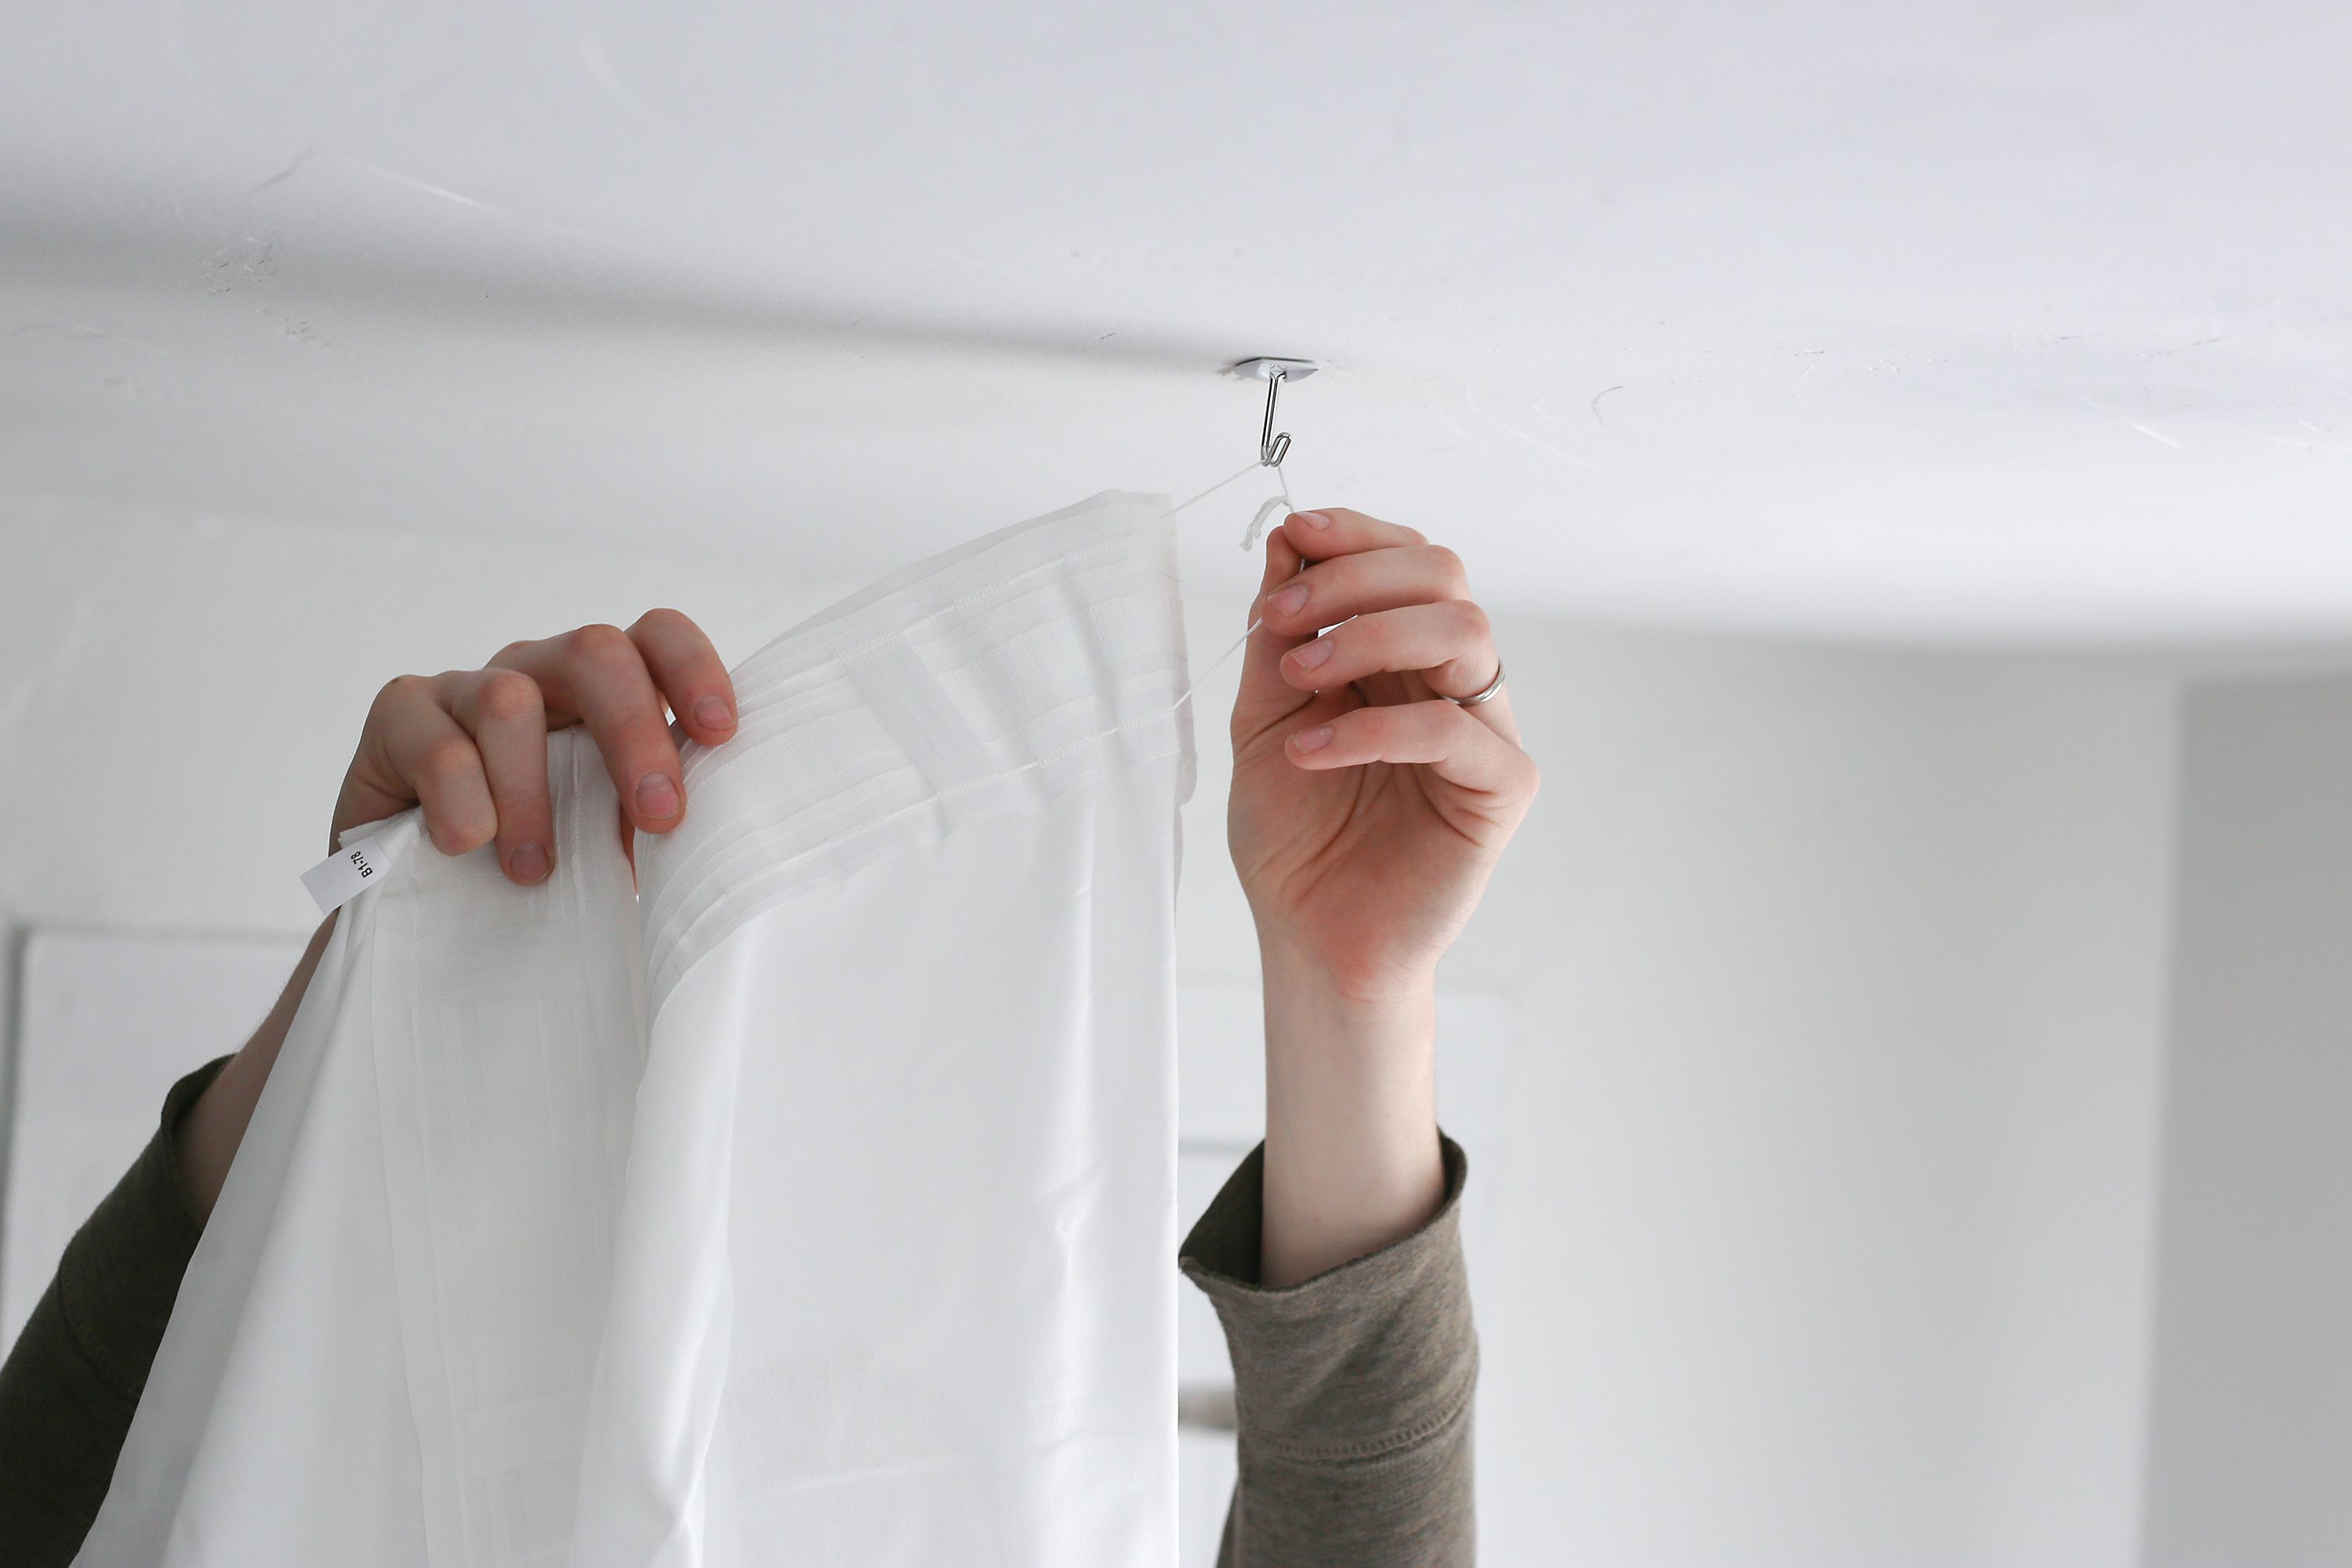
- Prepare the curtains: Ensure that your curtains are clean, ironed, and ready to hang. If necessary, attach curtain rings or hooks to the top edge of the curtains.
- Place the curtains on the curtain rod: Slide the curtain rings or hooks onto the curtain rod, spacing them evenly along the rod. Alternatively, if your curtains have a rod pocket, slide the curtain rod through the pocket.
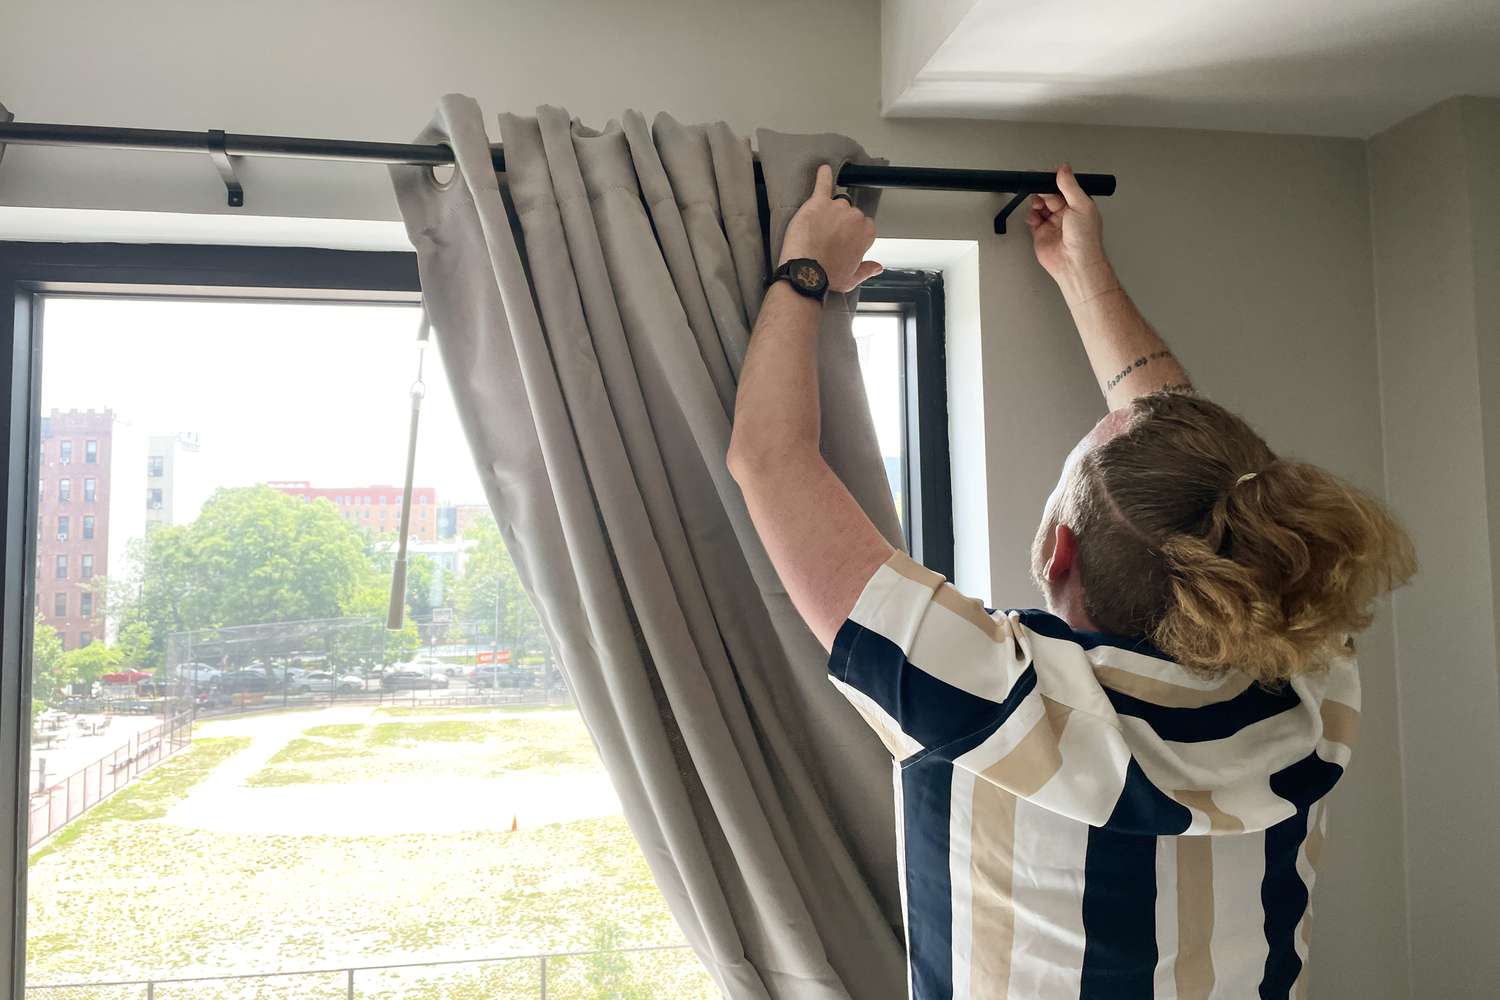
- Position the curtain rod: With the curtains attached, carefully lift the curtain rod and position it onto the curtain rod brackets. Fit the rod securely into the brackets, making sure it is level and evenly positioned.
- Secure the curtain rod: Depending on the type of curtain rod you’re using, there may be screws or other mechanisms to secure it in place. Follow the instructions provided with the curtain rod to ensure it is properly secured.
As you hang the curtains, take your time to ensure they are evenly distributed on the rod and hang straight. Adjust the curtain rings or hooks as needed to achieve your desired curtain arrangement.
Once the curtains are hung, take a step back and assess their appearance. Make any necessary adjustments to ensure they hang evenly and achieve the desired look you want for your space.
Step 9: Adjust and Level the Curtains
After hanging the curtains, it’s important to adjust and level them for a polished and professional look. Follow these steps:
- Check for evenness: Step back and assess the height and alignment of the curtains. Ensure that they are hanging at the desired height and are level across the entire length of the curtain rod.
- Adjust the curtain length: If your curtains are too long, you can use curtain clips or hemming techniques to adjust the length. Conversely, if they are too short, consider adding curtain panels or valances to achieve your desired look.
By adjusting and leveling the curtains, you’ll achieve a neat and balanced appearance in your space. Taking the time to finesse the curtain arrangement will elevate the overall look of the room and create a welcoming atmosphere.
Remember to periodically check and readjust the curtains as needed, especially if they are frequently opened and closed. This will help maintain their appearance and ensure they hang properly over time.
Conclusion
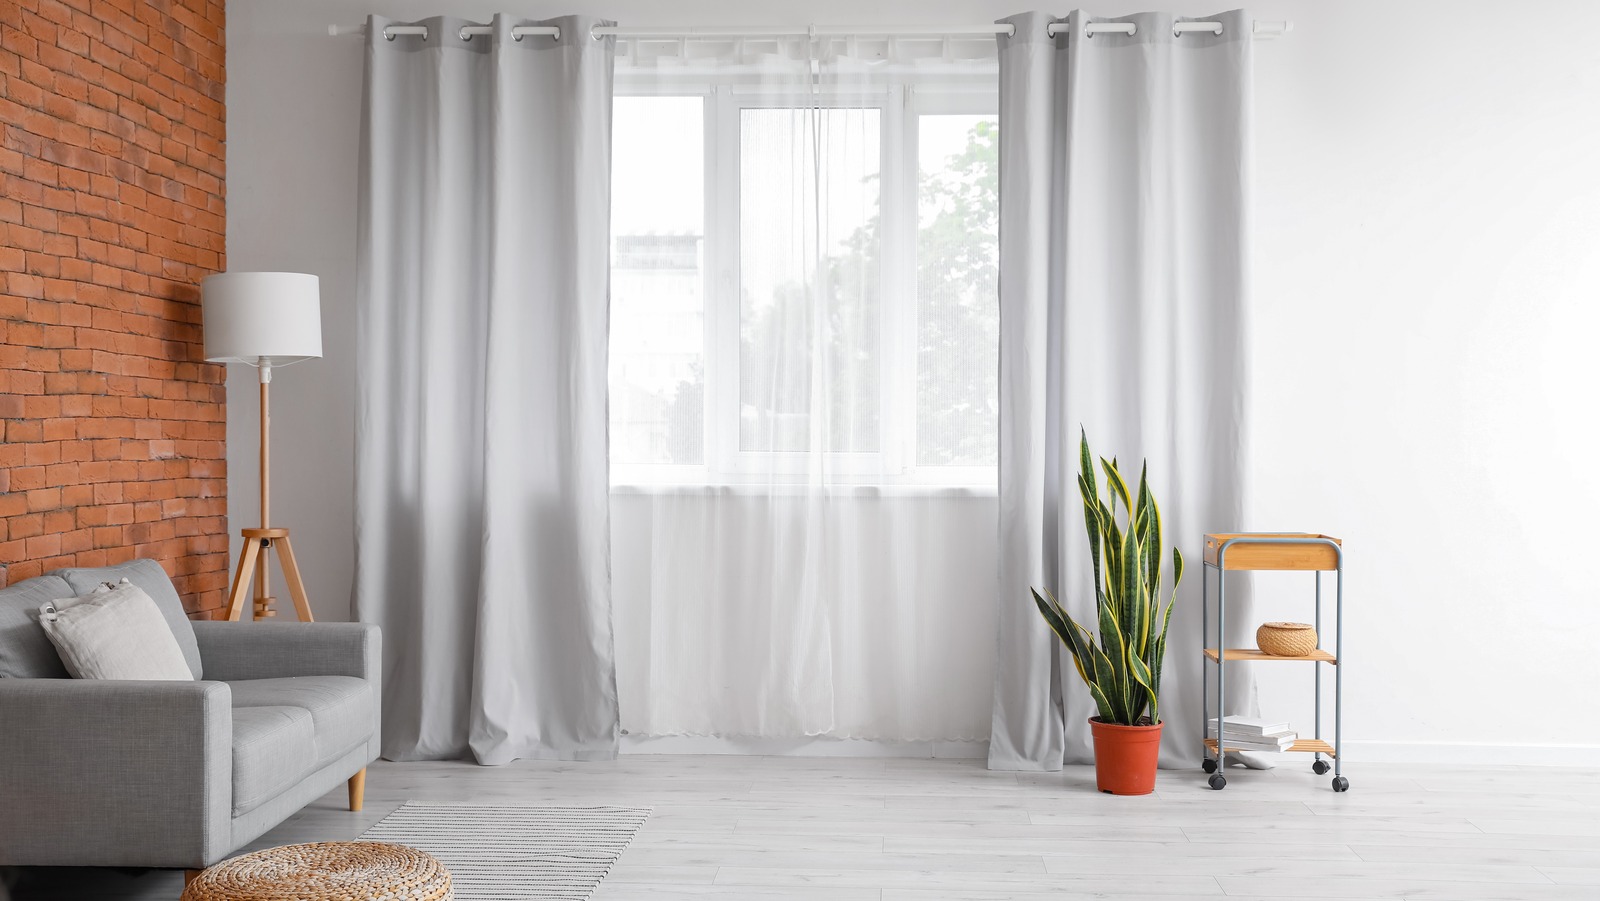
Hanging curtains in plaster walls may require some extra care and attention, but with the right tools and techniques, you can achieve a secure and stylish installation. By following the step-by-step process outlined in this article, you’ll be able to hang your curtains with confidence and enhance the aesthetic appeal of your space.
From preparing the area and determining the curtain placement to locating the studs and pre-drilling the holes, each step is crucial in ensuring a successful installation. Whether you’re attaching curtain rod brackets directly to the studs or using wall anchors for added support, it’s important to take your time and handle the delicate plaster walls with care.
Once the curtain rod brackets are securely attached, you can hang your desired curtains and make any necessary adjustments for a polished look. Whether you’re looking to block out light, enhance privacy, or add a touch of style to your space, curtains can transform the atmosphere of any room.
Remember to periodically check and readjust the curtains as needed to maintain their appearance and functionality. This will ensure that they continue to hang level and properly enhance your space in the long run.
With these steps in mind, you’re ready to confidently hang curtains in your plaster walls. Enjoy the transformation and embrace the added beauty and functionality they bring to your home.
Frequently Asked Questions about How To Hang Curtains In Plaster Walls
Was this page helpful?
At Storables.com, we guarantee accurate and reliable information. Our content, validated by Expert Board Contributors, is crafted following stringent Editorial Policies. We're committed to providing you with well-researched, expert-backed insights for all your informational needs.
0 thoughts on “How To Hang Curtains In Plaster Walls”