
Articles
How To Hang Kitchen Cabinet
Modified: January 19, 2024
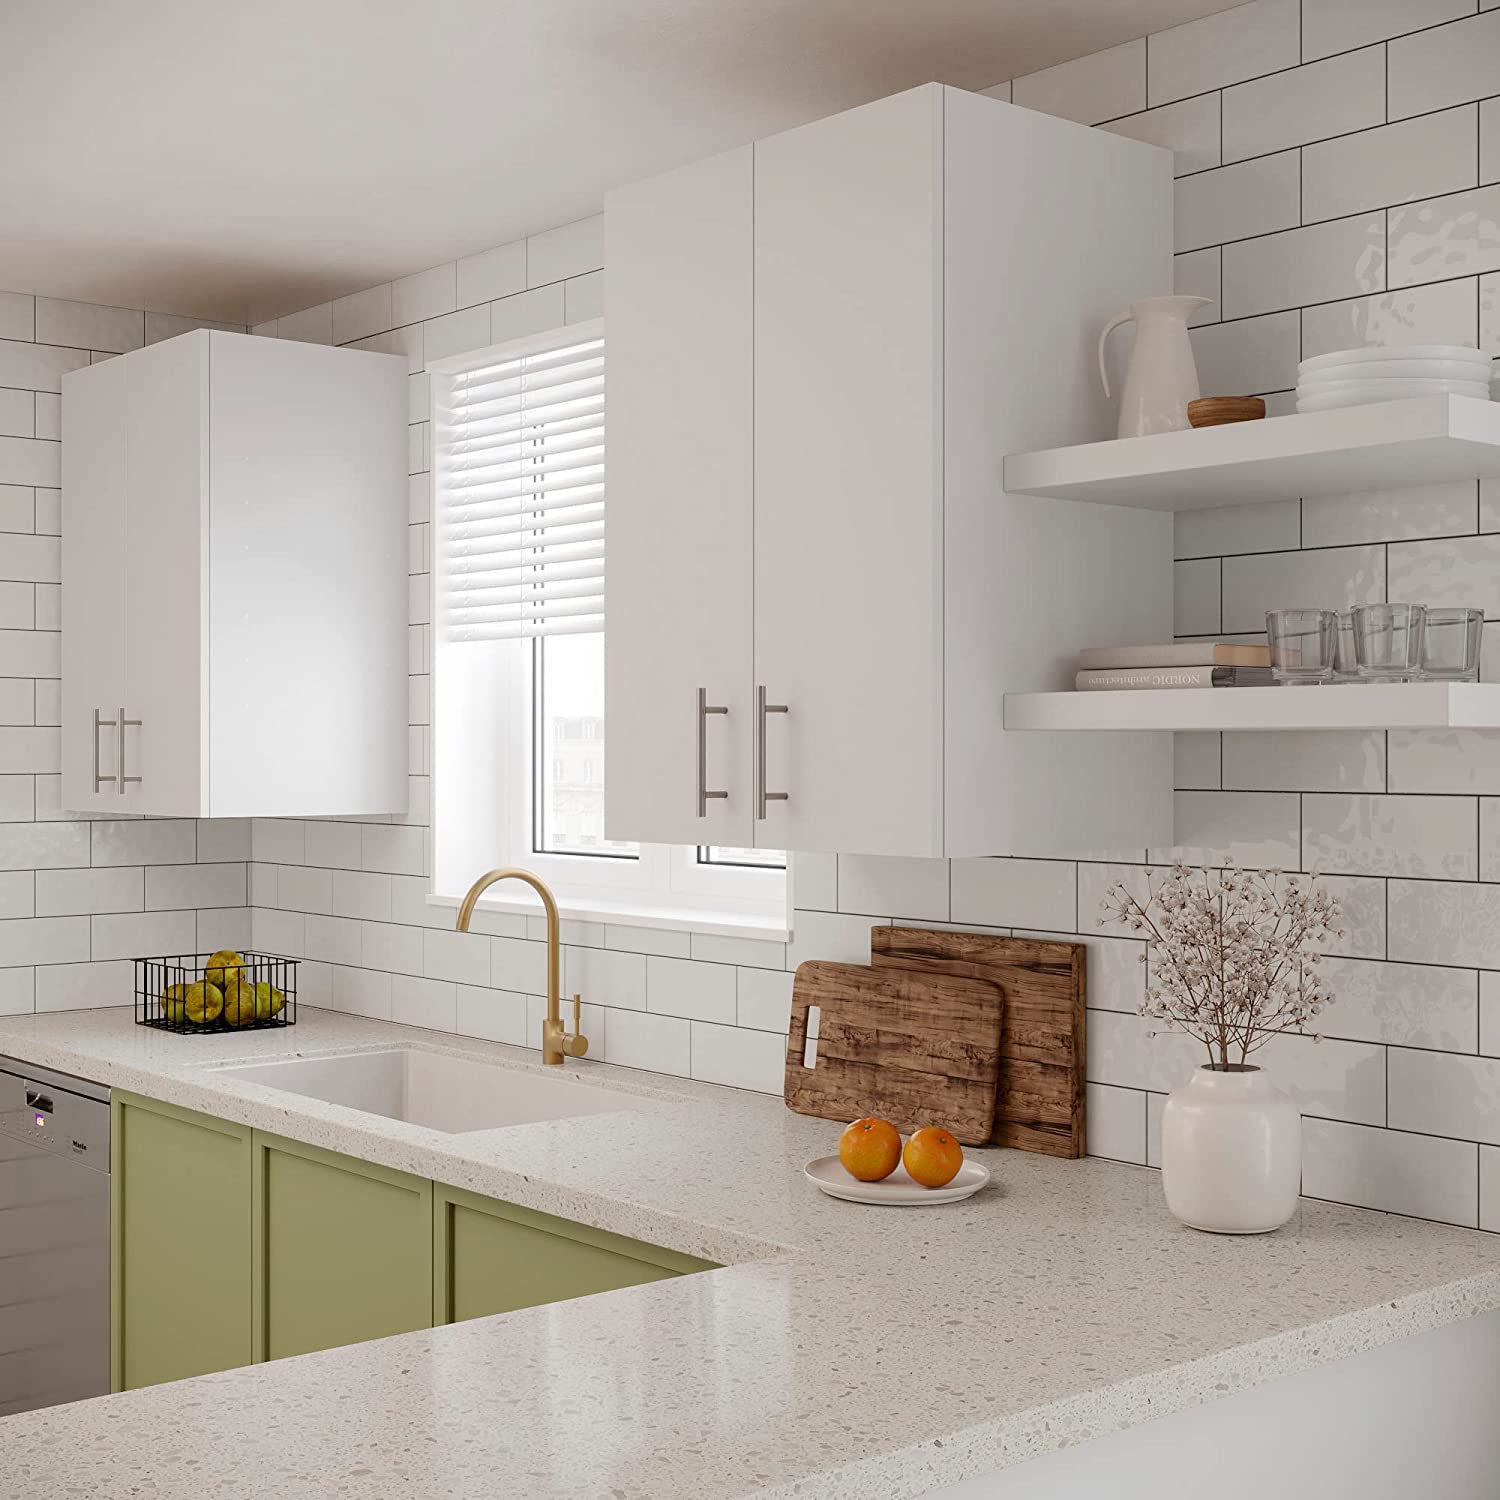
Looking for expert tips on how to hang kitchen cabinets? Discover the best techniques and tools for a successful installation of your kitchen furniture.
(Many of the links in this article redirect to a specific reviewed product. Your purchase of these products through affiliate links helps to generate commission for Storables.com, at no extra cost. Learn more)
Introduction
Welcome to this guide on how to hang kitchen cabinets. Hanging cabinets can be a great way to increase storage space and improve the overall look of your kitchen. Whether you’re upgrading your kitchen or starting from scratch, properly installing cabinets is essential to ensure they are secure and level. In this article, we will walk you through the step-by-step process of hanging kitchen cabinets, from preparing the work area to making adjustments for a perfect fit.
Key Takeaways:
- Ensure safety by wearing protective gear, preparing the work area, and using proper tools. Properly align brackets, secure cabinets, and make necessary adjustments for a professional and secure kitchen cabinet installation.
- Take your time, measure accurately, and double-check alignment for a successful cabinet hanging process. Enjoy the improved storage and organization in your kitchen with your newly installed cabinets!
Read more: How To Hang Microwave Under Cabinet
Safety Precautions
Before you begin the cabinet installation process, it’s important to take some safety precautions to prevent any accidents or injuries. Here are some safety tips to keep in mind:
- Wear safety goggles and gloves to protect your eyes and hands from any potential hazards.
- Ensure that the work area is well-lit and clear of any obstacles that may impede your movement.
- Use appropriate tools and equipment for the job and ensure they are in good working order.
- If you are using power tools, be sure to follow the manufacturer’s instructions and use them safely.
- Keep children and pets away from the work area to prevent accidents.
- If you are unsure about any aspect of the installation, it’s best to consult a professional.
By following these safety guidelines, you can minimize the risk of accidents and ensure a smooth and successful cabinet installation process. Now that we’ve covered the safety precautions, let’s move on to preparing the work area and gathering the necessary tools and materials.
Preparing the Work Area
Before you can begin hanging kitchen cabinets, it’s important to properly prepare the work area. Here are some steps to follow:
- Clear the area: Remove any items or furniture that may be obstructing the work area. This will provide you with more space to work and help prevent any accidental damage to your belongings.
- Protect the floor: Lay down protective covering, such as drop cloths or cardboard, to protect the floor from scratches or potential damage caused by tools or materials.
- Remove existing cabinets: If you’re replacing old cabinets, make sure to remove them carefully to avoid damaging the walls or any electrical or plumbing fixtures.
- Check the walls: Inspect the walls for any damage, such as cracks or holes, and repair them if necessary. It’s important to have a smooth and sturdy surface to ensure the cabinets are properly installed.
- Clean the walls: Thoroughly clean the walls to remove any dirt, grease, or debris. This will help ensure that the cabinets adhere well to the surface and provide a clean and professional finish.
Once you have completed these steps, you will have a clean and prepared work area ready for the installation of your kitchen cabinets. Now, let’s move on to gathering the necessary tools and materials.
Gathering the Necessary Tools and Materials
Before you start hanging kitchen cabinets, it’s important to gather all the necessary tools and materials. Having everything at hand will make the installation process much smoother. Here’s a list of essential tools and materials you’ll need:
- Power drill: This will be used to attach the cabinets to the wall.
- Screwdriver: You may need different sizes and types of screwdrivers depending on the screws used.
- Tape measure: Accurate measurements are crucial for proper cabinet placement.
- Level: Ensure your cabinets are perfectly level with the help of a bubble level.
- Pencil: Use a pencil to mark measurements and layout guidelines on the wall.
- Stud finder: This tool will help you locate the studs in the wall for secure cabinet installation.
- Wall brackets: These will be used to support and secure the cabinets to the wall.
- Screws: Choose screws that are appropriate for the weight and size of your cabinets.
- Cabinet hardware: Don’t forget to gather the necessary knobs, handles, or pulls for your cabinets.
Make sure to have all these tools and materials before you begin. It’s also a good idea to have some additional screws and brackets on hand in case any replacements or extras are needed during the installation process.
Now that you have gathered all the necessary tools and materials, it’s time to move on to the next step: measuring and marking the wall to ensure proper cabinet placement.
Determining the Position of the Cabinets
Before you start hanging your kitchen cabinets, it’s important to determine their position on the wall. Properly positioning the cabinets will ensure that they are in the best possible location for both functionality and aesthetics. Here are some steps to help you determine the position of the cabinets:
- Measure the height: Start by measuring the height at which you want your cabinets to be installed. Standard height for upper kitchen cabinets is usually around 54-60 inches from the floor.
- Locate the studs: Use a stud finder to locate the studs in the wall. These are the strong vertical wooden beams that provide structural support. It’s crucial to secure your cabinets to these studs for stability and to ensure they can hold the weight of the cabinets and their contents.
- Mark the stud locations: Use a pencil to mark the locations of each stud on the wall. This will serve as a guide when attaching the wall brackets.
- Consider the kitchen layout: Take into account the layout of your kitchen and the placement of other elements, such as appliances and sinks. You want to ensure that the cabinets are easily accessible and don’t interfere with other fixtures.
- Account for wall irregularities: Walls are not always perfectly straight, so consider any irregularities or unevenness. Make adjustments in your measurements to ensure the cabinets align properly.
By following these steps, you can determine the best position for your kitchen cabinets. Once you have marked the stud locations and taken other considerations into account, you’re ready to move on to measuring and marking the wall for the installation.
Measuring and Marking the Wall
Now that you have determined the position of the cabinets, it’s time to measure and mark the wall for the installation. Accurate measurements and markings are essential for a successful cabinet hanging process. Follow these steps to ensure precise placement:
- Measure the cabinet dimensions: Measure the width and height of each cabinet. Use these measurements to determine the placement and spacing of the cabinets on the wall.
- Mark the reference points: Use a pencil to mark the top edge of the cabinets on the wall. This will act as a reference point for aligning the cabinets during installation.
- Measure and mark the layout: Measure and mark the desired spacing between cabinets. This ensures they are evenly distributed and aligned properly. Use a level to ensure the lines are straight.
- Double-check the measurements: Take a step back and review your measurements and markings. Confirm that everything looks symmetrical and in line with your kitchen design.
Once you have completed these steps, you can be confident in the accuracy of your measurements and markings. Now, let’s move on to installing the wall brackets to support the cabinets.
Installing Wall Brackets
Wall brackets are crucial for providing support and stability to your kitchen cabinets. Follow these steps to install the brackets:
- Position the brackets: Place the wall brackets on the marked lines, ensuring they are aligned with the stud locations. Use the pencil markings as a guide.
- Secure the brackets: Using a power drill and appropriate screws, attach the brackets to the wall. Make sure to drive the screws into the studs for a secure hold. Follow the manufacturer’s instructions for the specific bracket type you are using.
- Check the alignment: Use a level to ensure that the brackets are perfectly horizontal. Adjust if necessary. Proper alignment will ensure your cabinets hang straight and level.
Installing the wall brackets is a critical step in the cabinet hanging process. Take your time to ensure they are properly positioned and securely attached. Once you have completed this step, you’re ready to move on to the actual process of hanging the cabinets.
Attaching the Brackets to the Wall
Now that you have positioned the wall brackets, it’s time to attach them securely to the wall. Properly securing the brackets will provide a strong and stable foundation for hanging your kitchen cabinets. Follow these steps to attach the brackets to the wall:
- Pre-drill pilot holes: Using the appropriate drill bit, pre-drill pilot holes at the location of each bracket screw hole. This will prevent the wall from splitting when you drive the screws in.
- Align the brackets: Place the bracket over the pre-drilled pilot holes and align it with the markings on the wall. Make sure the bracket is level and flush with the lines you marked earlier.
- Drive the screws: Using a power drill, drive the screws through the bracket holes and into the pre-drilled pilot holes. Drive them firmly, but be careful not to overtighten and strip the holes. Repeat this step for each bracket.
- Check for stability: Give the brackets a gentle tug to ensure they are securely fastened to the wall. If any of the brackets feel loose, remove the screws and try again, making sure to drive them into the studs.
Attaching the brackets to the wall is a crucial step. Double-check that each bracket is securely fastened to ensure the stability and durability of your cabinet installation.
Now that the brackets are securely attached to the wall, it’s time to move on to hanging the cabinets themselves.
When hanging kitchen cabinets, use a stud finder to locate and mark the wall studs before installing the cabinets. This will ensure a secure and stable attachment to the wall.
Ensuring Proper Alignment of the Brackets
Before you begin hanging the cabinets, it’s important to ensure that the brackets are properly aligned. Proper alignment will ensure that your cabinets hang straight and level, providing a professional and seamless look. Follow these steps to ensure the proper alignment of the brackets:
- Use a level: Place a level on top of the brackets and adjust them if needed. The level should indicate that the brackets are perfectly horizontal. This step is crucial to ensure that your cabinets will hang straight and not tilt to one side.
- Check for gaps: Double-check that there are no significant gaps between the brackets and the cabinet. You want the brackets to provide support without any excessive spaces. If there are gaps, adjust the brackets or reposition them as necessary.
- Confirm the vertical alignment: Use a level or a straightedge to make sure that the brackets are vertically aligned. This will ensure that your cabinets hang evenly and don’t appear crooked or slanted on the wall.
Take your time with this step to ensure the utmost precision and accuracy. Proper alignment of the brackets will create a solid foundation for your cabinets and ensure a professionally installed look in your kitchen.
Hanging the Cabinets
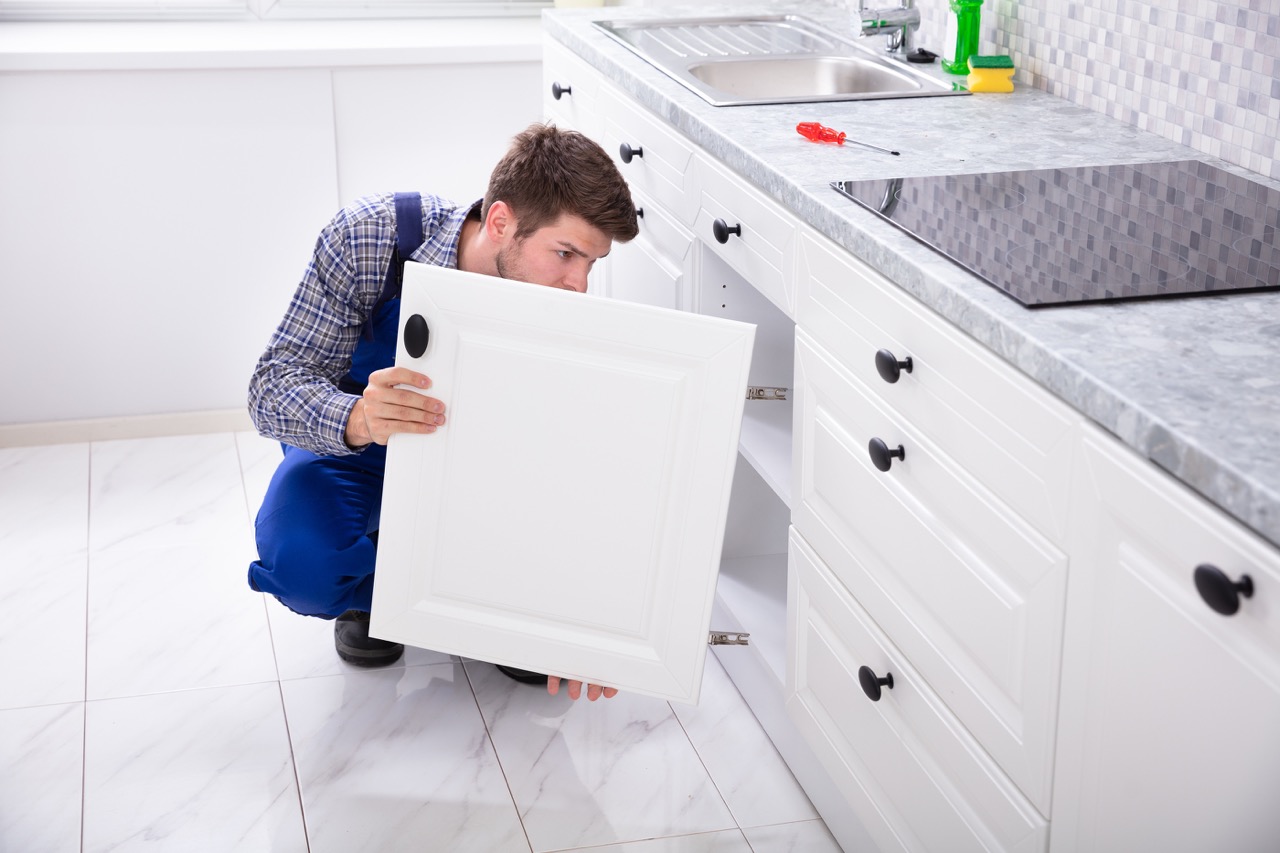
Now that the brackets are properly aligned, it’s time to hang the kitchen cabinets. Follow these steps for a successful cabinet hanging process:
- Start with the first cabinet: Lift the first cabinet and carefully position it onto the brackets. Ensure that the cabinet’s top edge aligns with the reference marks you made on the wall.
- Secure the cabinet: With the help of an assistant or using clamps, hold the cabinet in place. Use a power drill to drive screws through the pre-drilled holes in the back of the cabinet and into the brackets. Make sure to use screws of appropriate length to secure the cabinet firmly.
- Check for level: Use a level to ensure that the cabinet is hanging straight and level. Adjust as necessary by loosening the screws and fine-tuning the placement. Once the cabinet is perfectly level, tighten the screws.
- Continue with additional cabinets: Repeat the same process for the remaining cabinets, one by one. Ensure proper alignment, secure placement, and level them as you go along.
By following these steps, you can successfully hang your kitchen cabinets. Take your time, measure twice, and double-check the alignment to ensure a professional finish.
Placing the First Cabinet
Now that you have properly aligned the brackets and are ready to hang the cabinets, let’s start with placing the first cabinet. The first cabinet sets the foundation for the rest of the installation process, so it’s important to get it right. Follow these steps to place the first cabinet:
- Clear the work area: Ensure that the area in front of the wall where the cabinet will be placed is clear of any obstructions or debris. This will give you enough space to work comfortably.
- Have an assistant ready: As kitchen cabinets can be heavy, it’s helpful to have an assistant to help you lift and hold the cabinet in place during installation. Safety should always be a priority, so make sure both you and your assistant use proper lifting techniques.
- Lift the cabinet: With the help of your assistant, carefully lift the cabinet, making sure to support the bottom and avoid putting excessive pressure on the doors or hinges.
- Align with the brackets: Position the cabinet onto the wall brackets, ensuring that the top edge of the cabinet lines up with the reference marks you made earlier. The brackets should fit snugly into the pre-drilled holes on the back of the cabinet.
- Check for level: Use a level to check that the cabinet is hanging straight and level. Adjust as necessary by lifting or lowering one side of the cabinet until it is perfectly level. This will ensure that the doors and drawers will operate smoothly.
Once you have successfully placed the first cabinet and ensured that it is level, you can proceed to secure it to the brackets. This step ensures stability and prevents the cabinet from shifting or falling. Stay tuned for the next section on securing the cabinet to the wall brackets.
Securing the Cabinet to the Wall Brackets
Now that you have successfully placed the first cabinet onto the wall brackets, it’s time to secure it in place. Securing the cabinet to the wall brackets will ensure stability and prevent any potential movement. Follow these steps to securely fasten the cabinet to the brackets:
- Keep the cabinet in position: While you or your assistant hold the cabinet in place, ensure that it remains aligned with the brackets and level. Proper alignment is key to a professional and secure installation.
- Pre-drill pilot holes: With the cabinet in position, use a power drill to pre-drill pilot holes through the inside back of the cabinet and into the wall brackets. Make sure to use the appropriate drill bit based on the size of the screws you will be using.
- Attach the screws: Insert the screws into the pre-drilled pilot holes and drive them into the wall brackets using the power drill. Make sure to tighten the screws securely, but be careful not to overtighten and strip the holes.
- Check for stability: Give the cabinet a gentle shake to ensure that it is securely fastened to the wall brackets. If there is any noticeable wobbling or movement, double-check the screws and brackets to ensure they are properly secured.
By following these steps, you can safely and securely attach the cabinet to the wall brackets. Repeat these steps for each cabinet, ensuring that each one is aligned, level, and securely fastened. Once all cabinets have been attached, you can move on to hanging additional cabinets if necessary or proceed to make any necessary adjustments and add the finishing touches.
Hanging Additional Cabinets
If you have additional cabinets to hang, you can follow the same steps as placing and securing the first cabinet. Take the necessary measurements, align the brackets, lift the cabinets into place, and secure them to the wall brackets. Make sure to continuously check for level and alignment as you hang each additional cabinet. Repeat the process until all cabinets are securely installed. This will create a cohesive and functional kitchen layout.
Adjustments and Final Touches
Once all the cabinets are in place, it’s time to make any necessary adjustments and add the final touches. Here are some key steps to consider:
- Check for level: Use a level to make sure that all cabinets are level and aligned with each other. If any adjustments are needed, loosen the screws and reposition the cabinets accordingly.
- Tighten screws: Double-check all the screws and tighten them securely. This ensures that the cabinets are firmly attached to the wall and will not shift over time.
- Add finishing touches: Install any hardware, such as knobs, handles, or pulls, to complete the look of your kitchen cabinets. This step adds both functionality and aesthetic appeal to your cabinets.
By making these adjustments and adding the final touches, you can ensure that your kitchen cabinets are not only secure but also visually pleasing. Take the time to step back and admire your handiwork before moving on to the final conclusion.
Conclusion
Congratulations! You have successfully learned how to hang kitchen cabinets. Properly installing cabinets not only adds functionality and storage space to your kitchen but also enhances its overall appearance. By adhering to the safety precautions, preparing the work area, measuring and marking the wall, installing the brackets, and hanging the cabinets, you have achieved a professionally installed kitchen cabinet setup. Remember to take your time, double-check measurements, and make necessary adjustments along the way for the best results.
Now it’s time to enjoy your newly installed kitchen cabinets and make the most of the improved storage and organization in your kitchen. Happy cooking and happy organizing!
Frequently Asked Questions about How To Hang Kitchen Cabinet
Was this page helpful?
At Storables.com, we guarantee accurate and reliable information. Our content, validated by Expert Board Contributors, is crafted following stringent Editorial Policies. We're committed to providing you with well-researched, expert-backed insights for all your informational needs.



0 thoughts on “How To Hang Kitchen Cabinet”