Home>Storage Ideas>Kitchen Storage>How To Replace Kitchen Cabinet Doors For An Easy Update
Kitchen Storage
How To Replace Kitchen Cabinet Doors For An Easy Update
Modified: January 19, 2024
Looking for an easy update for your kitchen? Discover how to replace kitchen cabinet doors and transform your space with our kitchen storage ideas.
(Many of the links in this article redirect to a specific reviewed product. Your purchase of these products through affiliate links helps to generate commission for Storables.com, at no extra cost. Learn more)
Introduction
Welcome to the world of kitchen storage ideas! One area of the kitchen that often gets overlooked when it comes to organization and functionality is the kitchen cabinets. A cluttered and disorganized cabinet can make it difficult to find what you need, and can even lead to wasted space and wasted time. But fear not, because there is a solution – replacing your kitchen cabinet doors.
Replacing your kitchen cabinet doors can give your kitchen an instant makeover. Not only does it improve the overall appearance of your kitchen, but it also provides an opportunity to incorporate new design elements and enhance the functionality of your cabinets. Whether you’re looking to create a sleek and modern look or add a touch of rustic charm, replacing your kitchen cabinet doors can help you achieve your desired aesthetic.
In this article, we will walk you through the step-by-step process of replacing your kitchen cabinet doors. We’ll cover everything from measuring and planning your replacement doors to attaching the new doors and adding hardware. By following this guide, you’ll be able to update your kitchen cabinets with ease and efficiency.
So let’s dive in and explore how to replace kitchen cabinet doors and transform your kitchen storage!
Key Takeaways:
- Transform your kitchen with a simple cabinet door update. From measuring to attaching new doors, follow the step-by-step guide for a seamless and stylish kitchen makeover.
- Choose the right material, style, and hardware for your new cabinet doors to achieve a functional and visually appealing kitchen storage space. Regular maintenance ensures long-lasting beauty and efficiency.
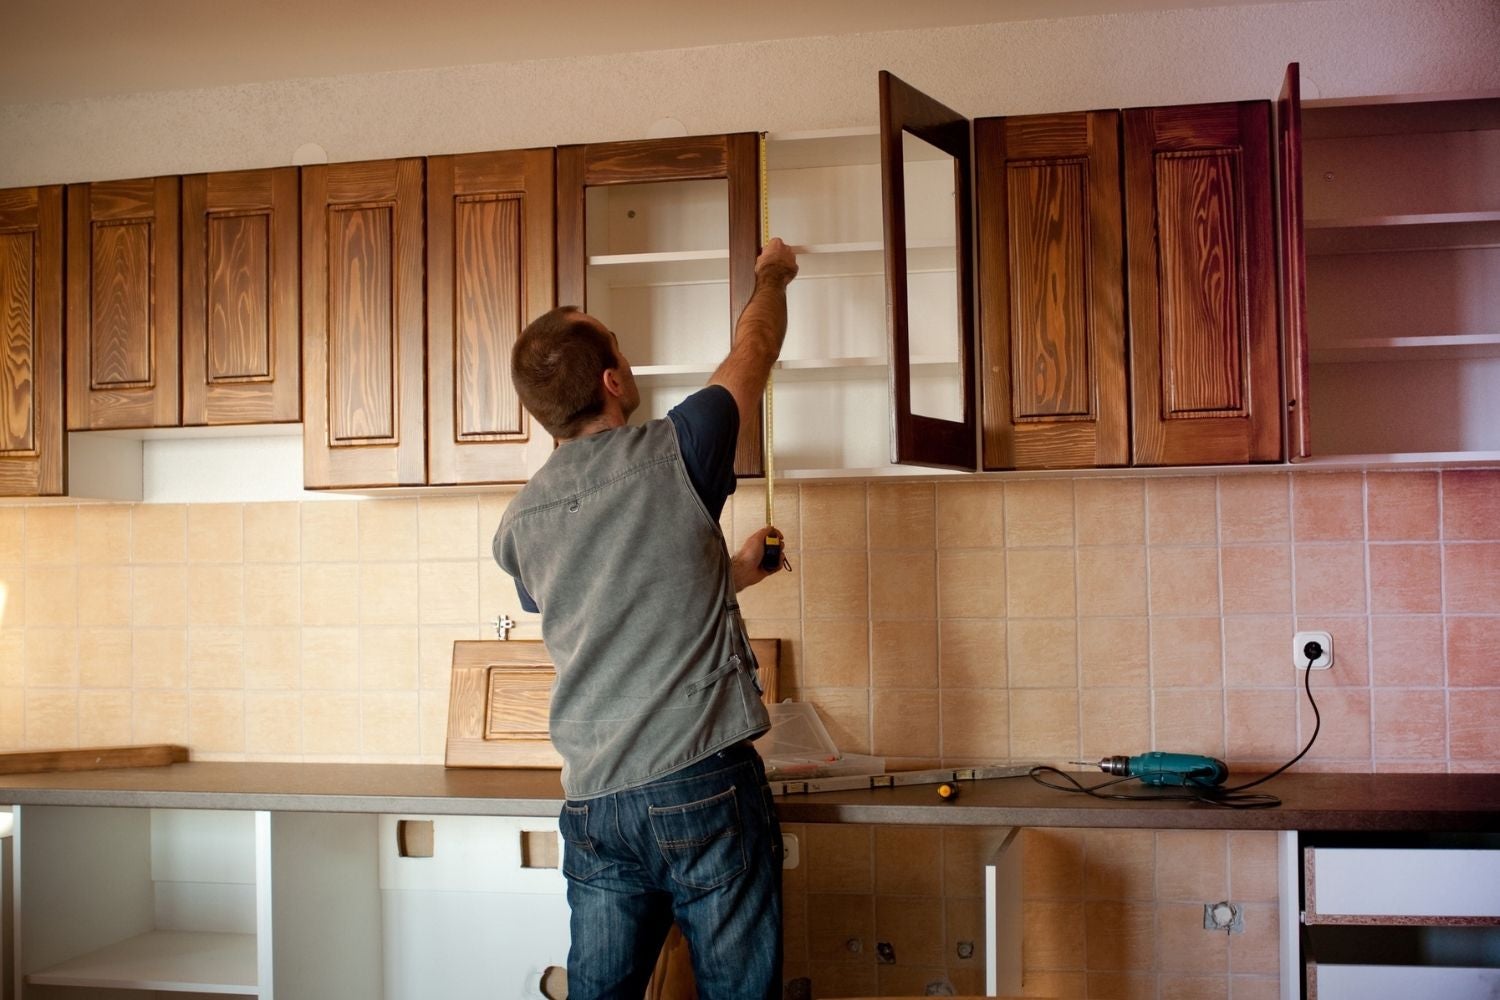
Step 1: Measure and Plan Your Replacement Doors
The first step in replacing your kitchen cabinet doors is to accurately measure and plan for the new doors. This crucial step will ensure that you order the correct size and style of doors for your cabinets.
Start by taking precise measurements of your existing cabinet doors. Measure the width, height, and thickness of each door, as well as the overall dimensions of the cabinet frames. It’s important to be as accurate as possible to avoid any issues during installation.
Next, consider the style and design of the replacement doors. Take note of the material, color, and texture you prefer. This step will help you choose doors that complement your kitchen’s decor and create a cohesive look.
Once you have your measurements and design preferences, it’s time to shop for replacement doors. There are several options available, including pre-made doors, custom-made doors, and even DIY solutions. Pre-made doors are a convenient choice, as they come in standard sizes and styles. Custom-made doors are made to order and offer more flexibility in terms of size and design. If you’re feeling creative and skilled, you can also try making your own doors using materials like wood or laminate.
Consider the cost, quality, and durability of the replacement doors as well. It’s worth investing in high-quality doors that will stand the test of time and withstand daily use in the kitchen. Look for doors that are easy to maintain and clean, as this will contribute to the longevity of your cabinets.
Before finalizing your purchase, double-check your measurements and ensure that the doors you’ve selected will fit properly into your existing cabinet frames. It’s a good idea to consult with a professional or an experienced salesperson to confirm that you’ve made the right choices.
Once you have your replacement doors in hand, you’re ready to move on to the next step of the process – removing the old cabinet doors.
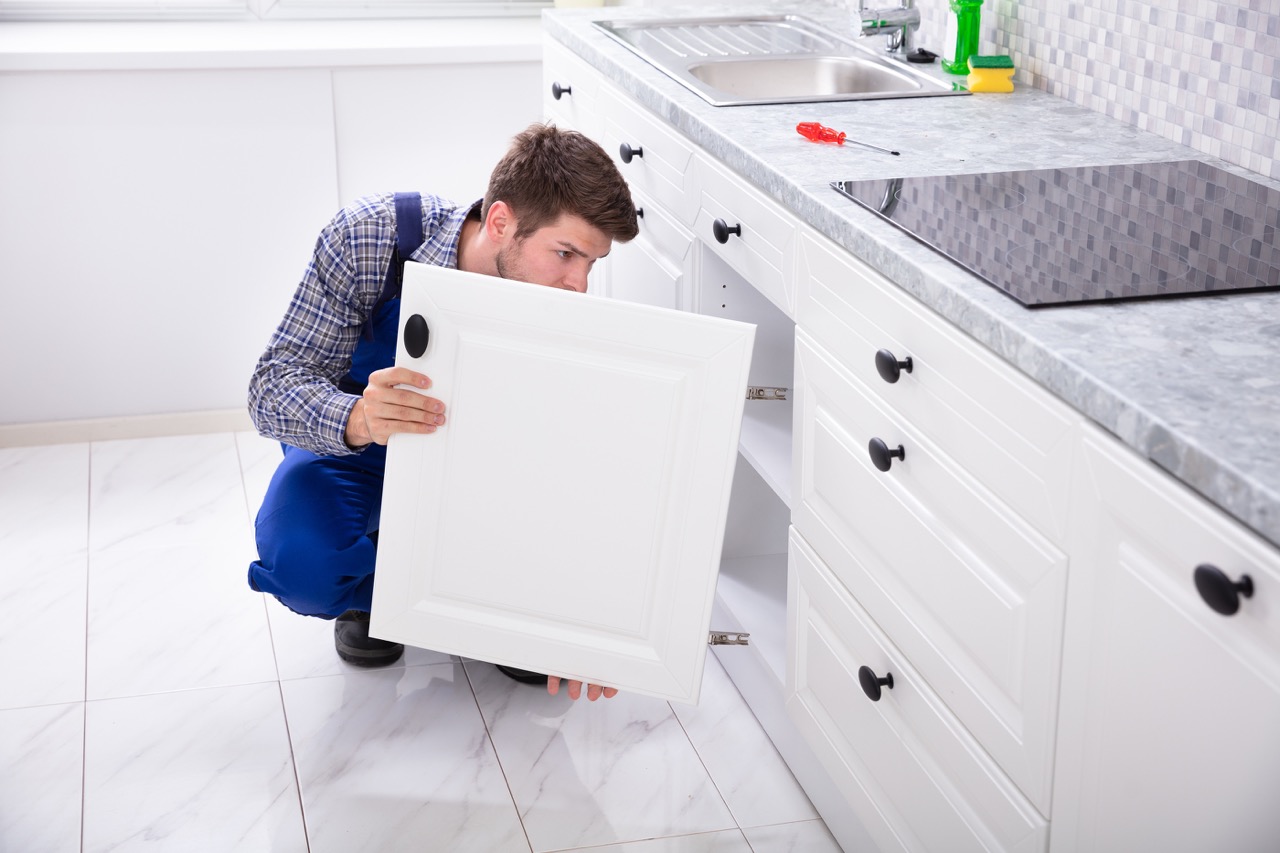
Step 2: Remove the Old Cabinet Doors
With your replacement doors ready, it’s time to remove the old cabinet doors. Removing the old doors will create a blank canvas for installing the new ones, and it’s a relatively simple process.
Start by emptying the contents of your cabinets. Remove all items, including dishes, pots, and pans, to prevent any damage or obstruction during the removal process.
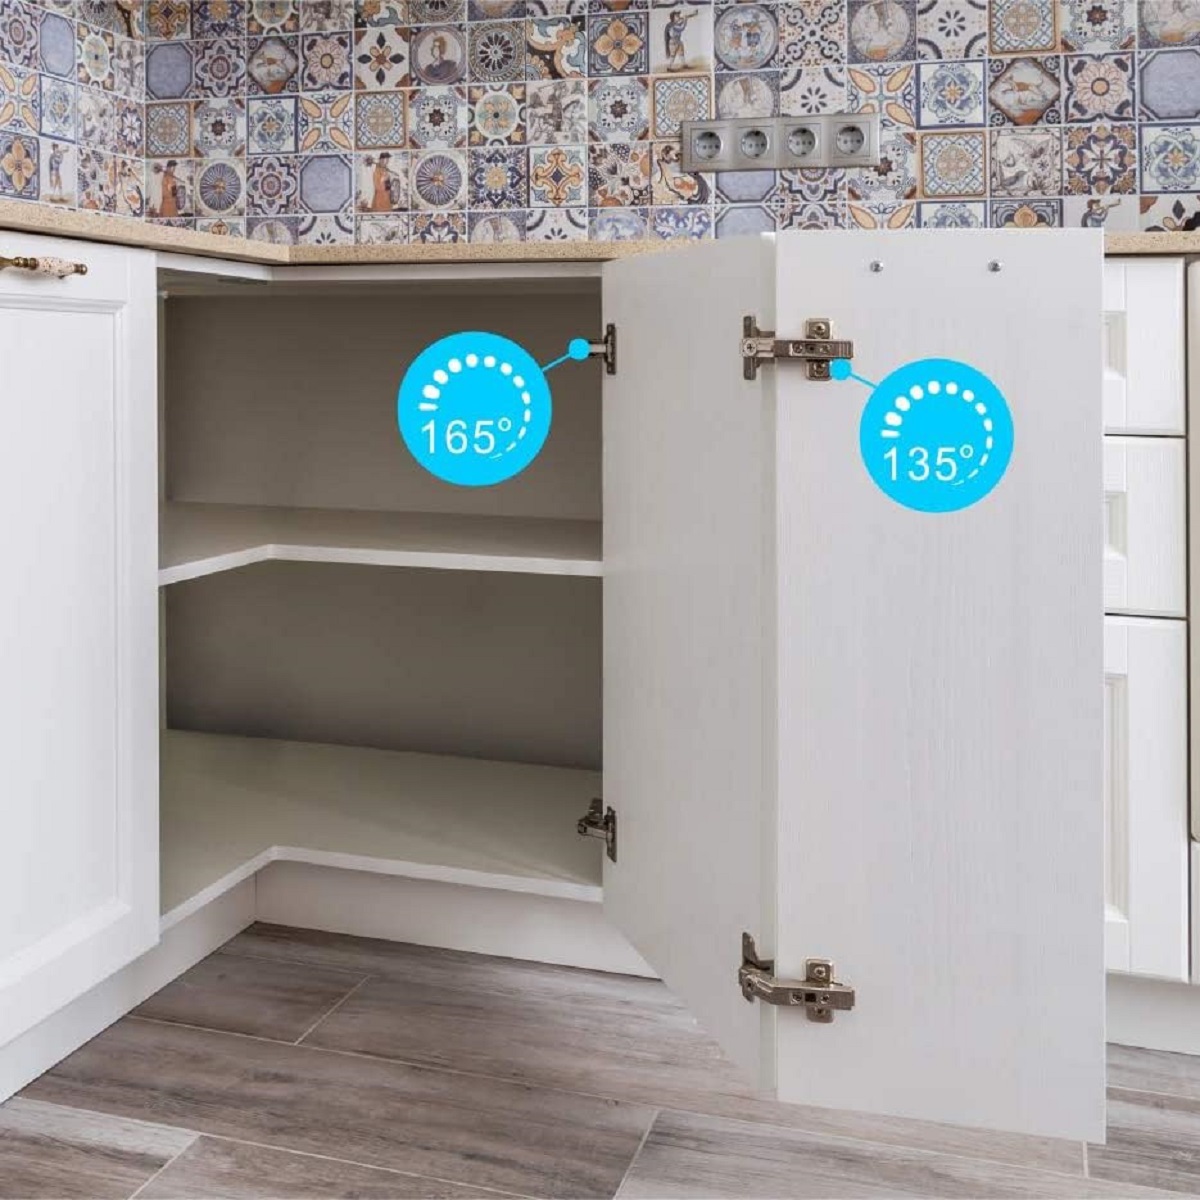
Next, locate the hinges that connect the old doors to the cabinet frames. Depending on the type of hinges used, you may find screws on the inside of the cabinet or on the outside of the door. Use a screwdriver or drill to remove these screws and detach the doors from the frames. Be sure to keep track of the screws, as you will need them later to attach the new doors.
Once the doors are unscrewed and detached, carefully lift them away from the cabinet frames. It’s a good idea to have a helper during this step to ensure that the doors are handled safely and without any damage.
After the doors are removed, take the time to clean and prepare the cabinet frames. Use a mild cleaning solution to wipe down the frames and remove any dirt or grease that may have accumulated over time. Inspect the frames for any damage or wear that may need to be addressed before installing the new doors.
Depending on the condition of the cabinet frames and your desired aesthetic, you may also want to consider painting or refinishing the frames. This step can give your cabinets a fresh look and ensure that they complement the new doors.
With the old cabinet doors removed and the frames prepped, you’re now ready to move on to the exciting part – choosing and installing the new cabinet doors. So let’s continue to Step 3: Choose New Cabinet Doors.
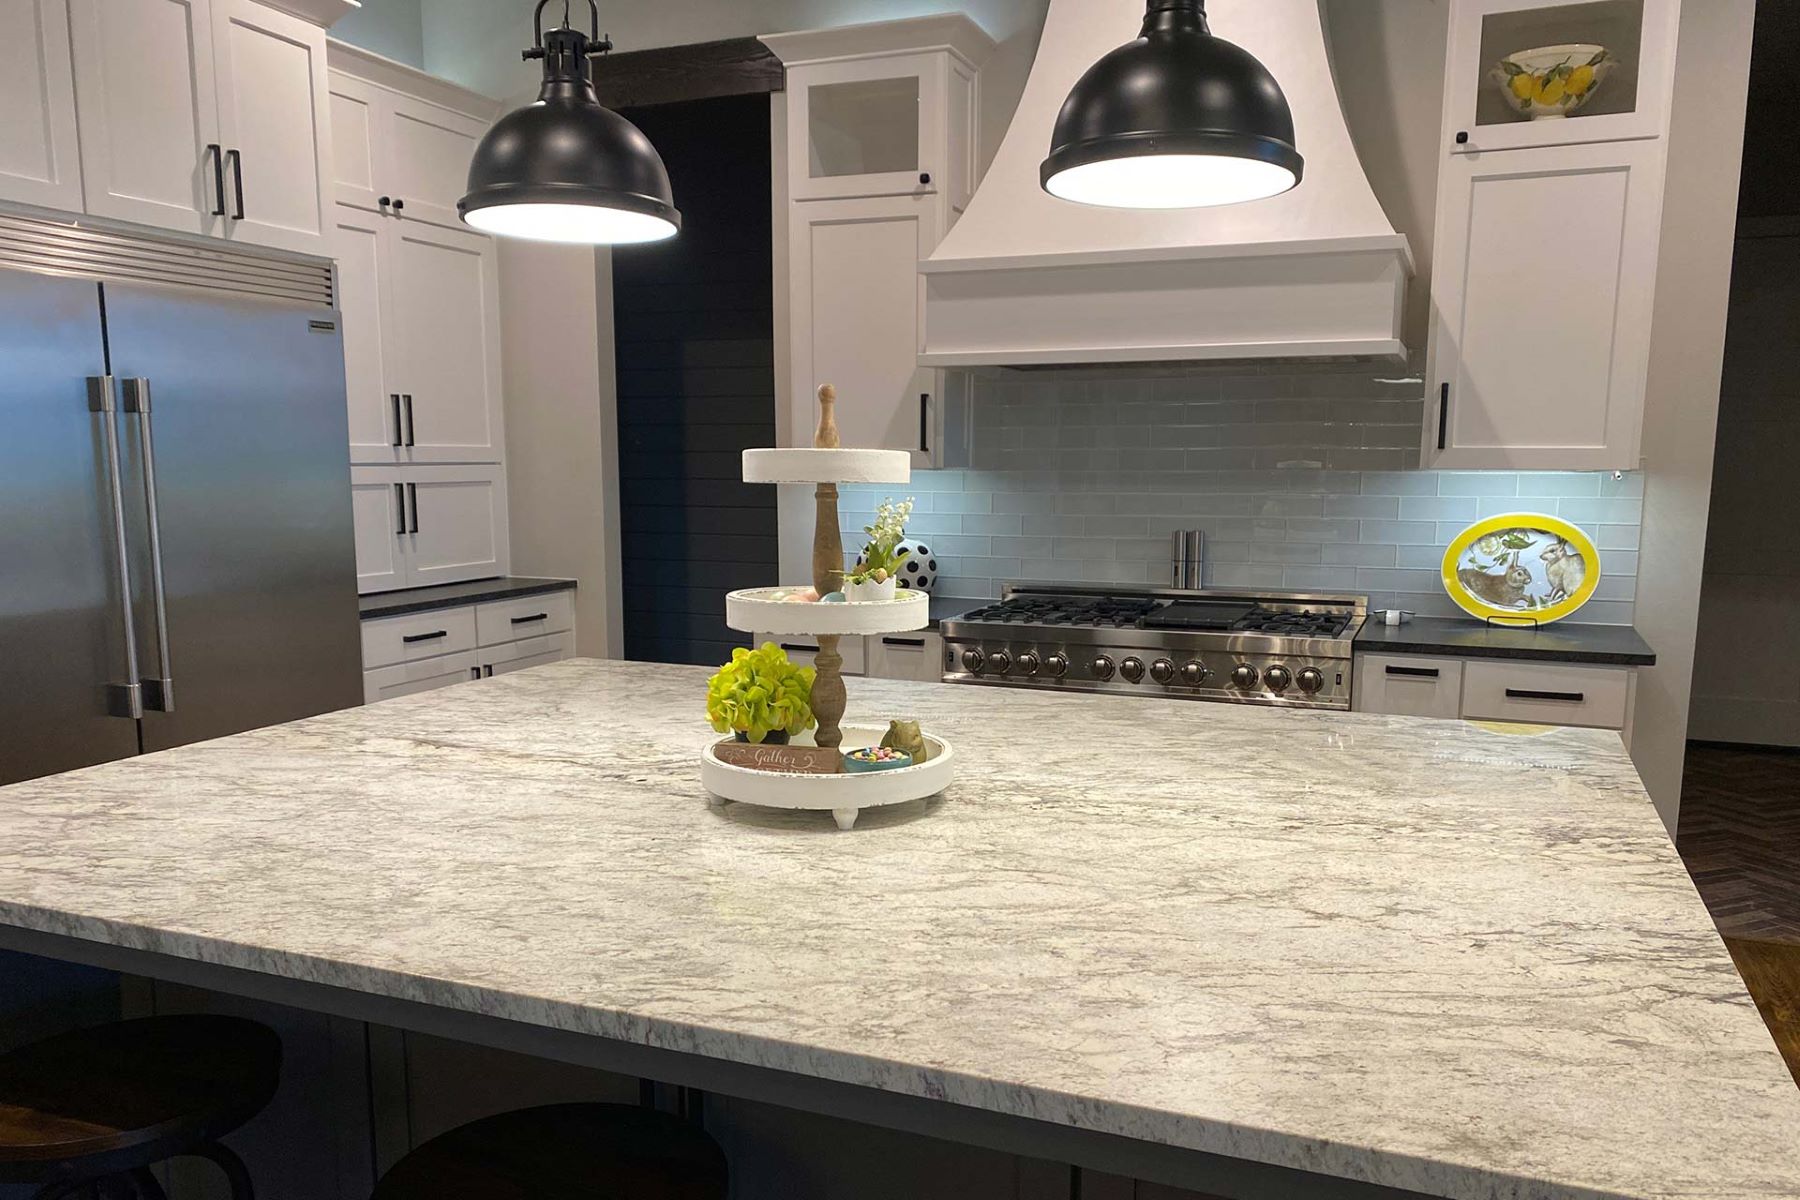
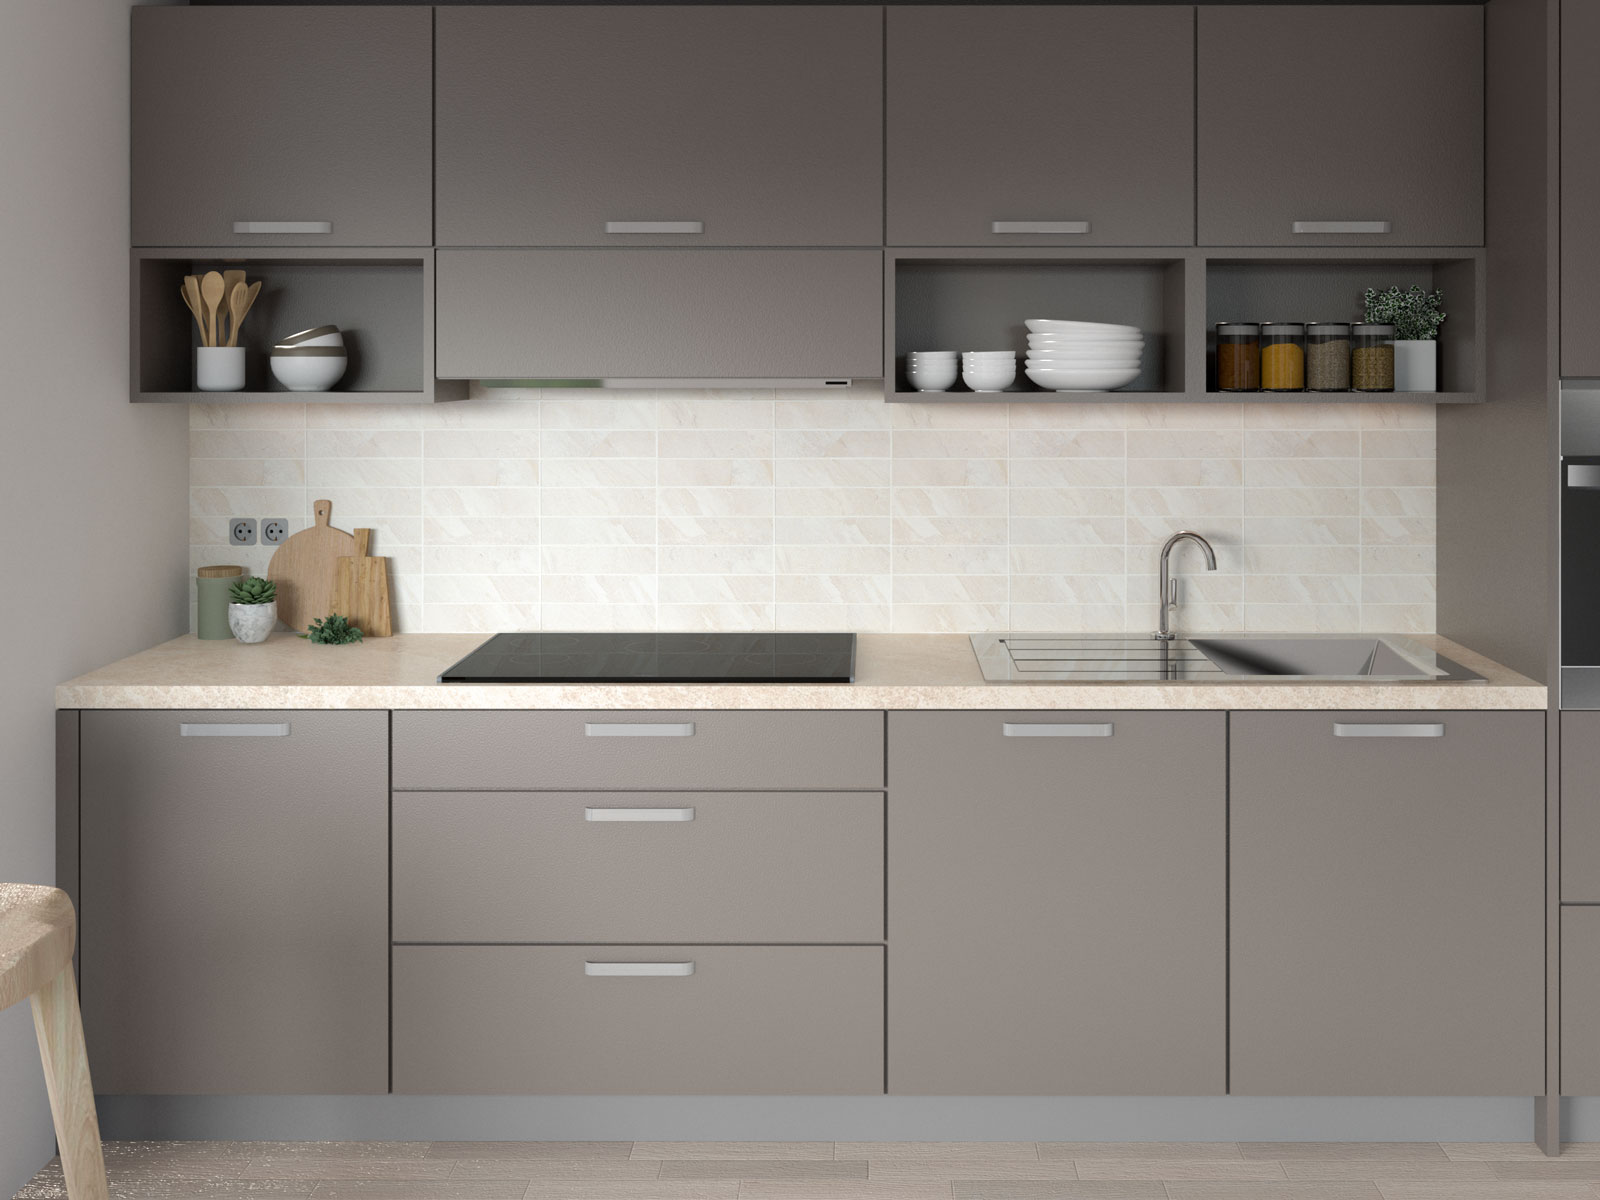
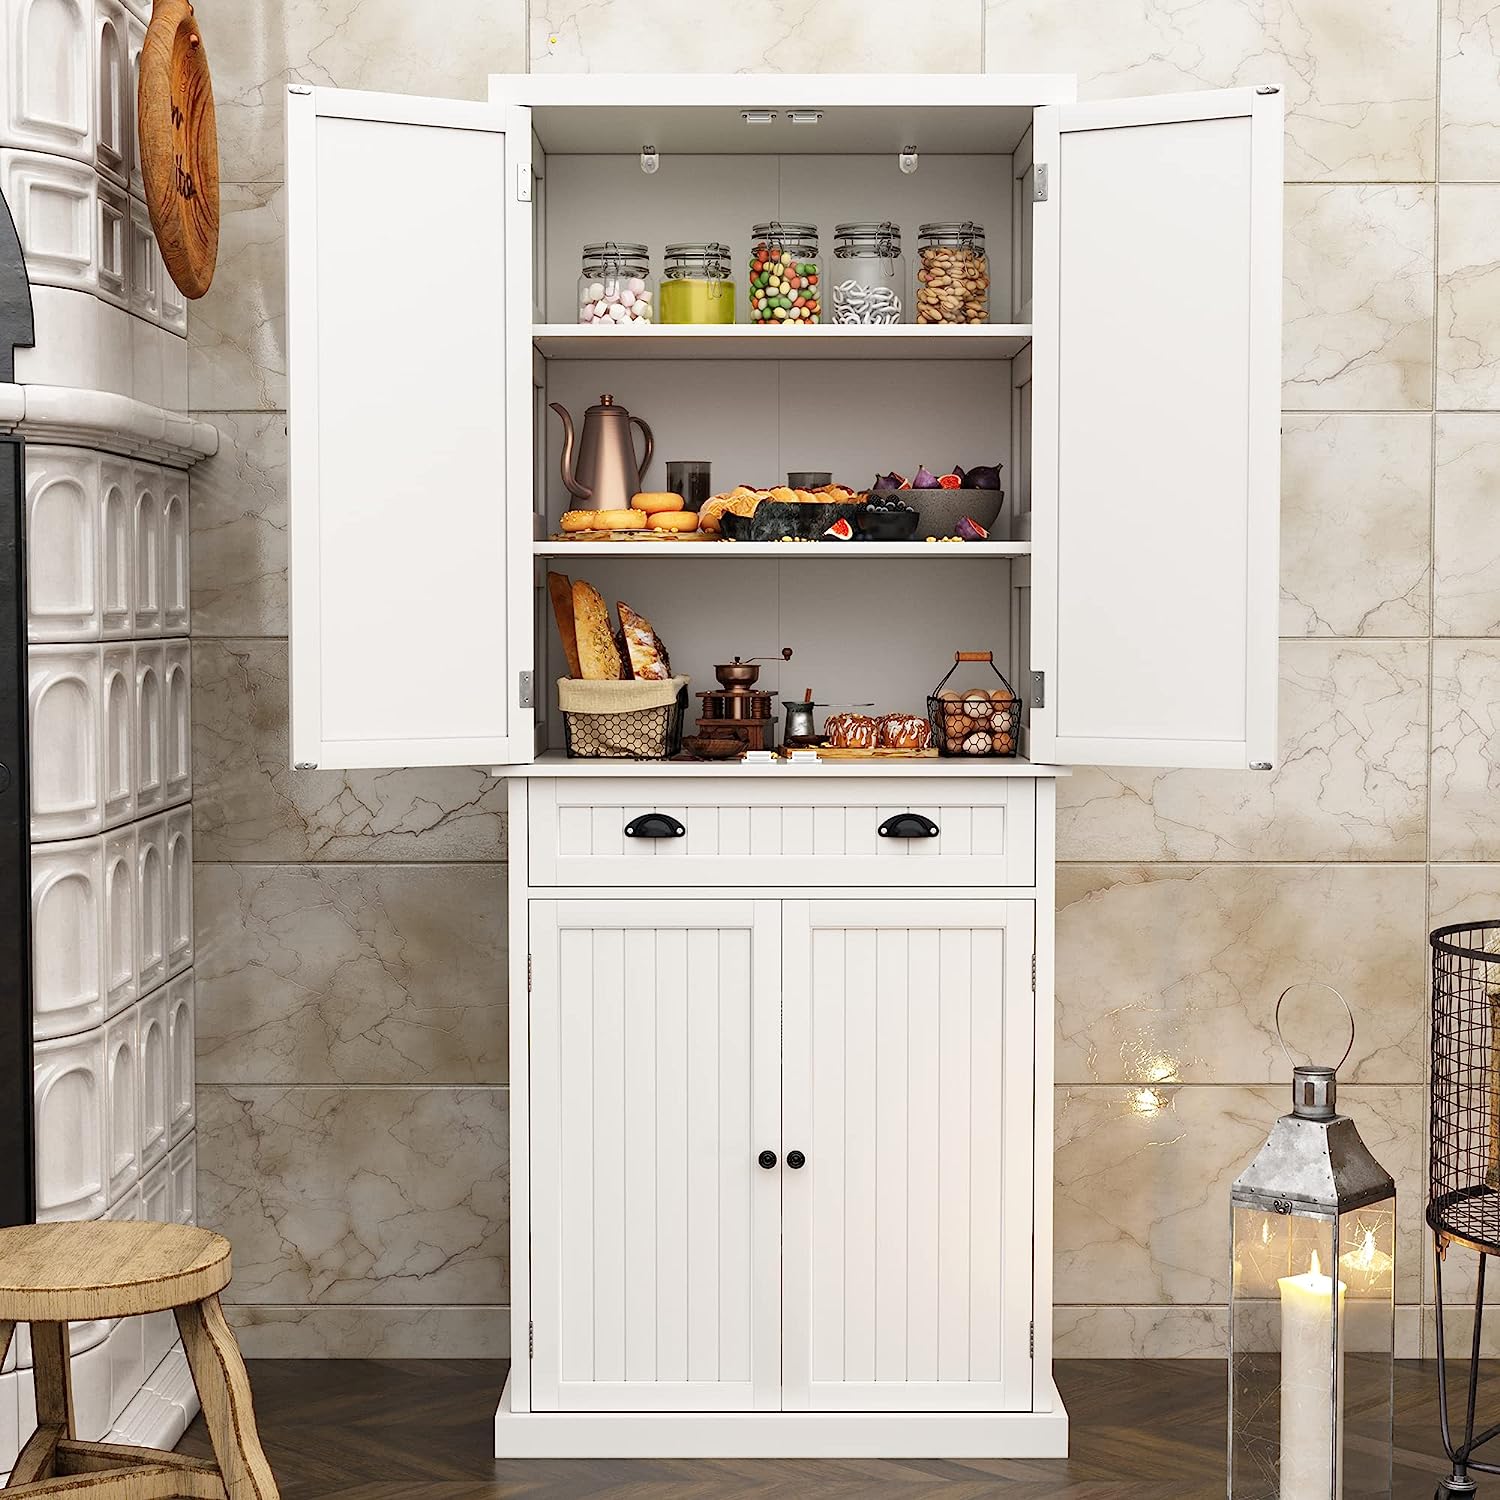
Step 3: Choose New Cabinet Doors
Now that you’ve removed the old cabinet doors, it’s time to choose new ones that will transform the look and feel of your kitchen. When selecting new cabinet doors, consider both style and functionality to ensure that they meet your needs and complement your kitchen’s overall design.
Start by determining the material you want for your new cabinet doors. Common options include solid wood, veneer, laminate, and acrylic. Each material has its own unique characteristics, so consider factors such as durability, maintenance, and cost before making a decision.
Next, think about the style and design of the doors. Do you want a classic and timeless look or something more modern and contemporary? Consider the overall theme of your kitchen and choose doors that will enhance the existing decor. You may also want to take inspiration from kitchen design magazines or online resources to get ideas and see what styles resonate with you.
Another important consideration is the type of door you want. There are various options to choose from, including flat-panel doors, raised-panel doors, glass-panel doors, and even open-shelving doors. Each type offers a different aesthetic and functionality, so think about your storage needs and personal preferences.
Color and finish are also essential when choosing new cabinet doors. You can opt for a natural wood finish to showcase the beauty of the grain, or you can choose a painted finish that matches or contrasts with the color scheme of your kitchen. Keep in mind that lighter colors can make a small kitchen appear larger, while darker colors can add depth and warmth.
Take advantage of online resources and visit local showrooms to explore different options and visualize how the doors will look in your kitchen. It’s important to see and touch the materials in person to make an informed decision about their quality and suitability for your space.
Once you’ve selected your new cabinet doors, ensure that they are the right size and style for your existing cabinet frames. Confirm any customization options or additional accessories you may need, such as hinges or handles, to ensure a seamless installation process.
Now that you have chosen your new cabinet doors, it’s time to move on to the next step – prepping the cabinet frames. But before we do that, take a moment to appreciate the exciting transformation your kitchen is about to undergo!
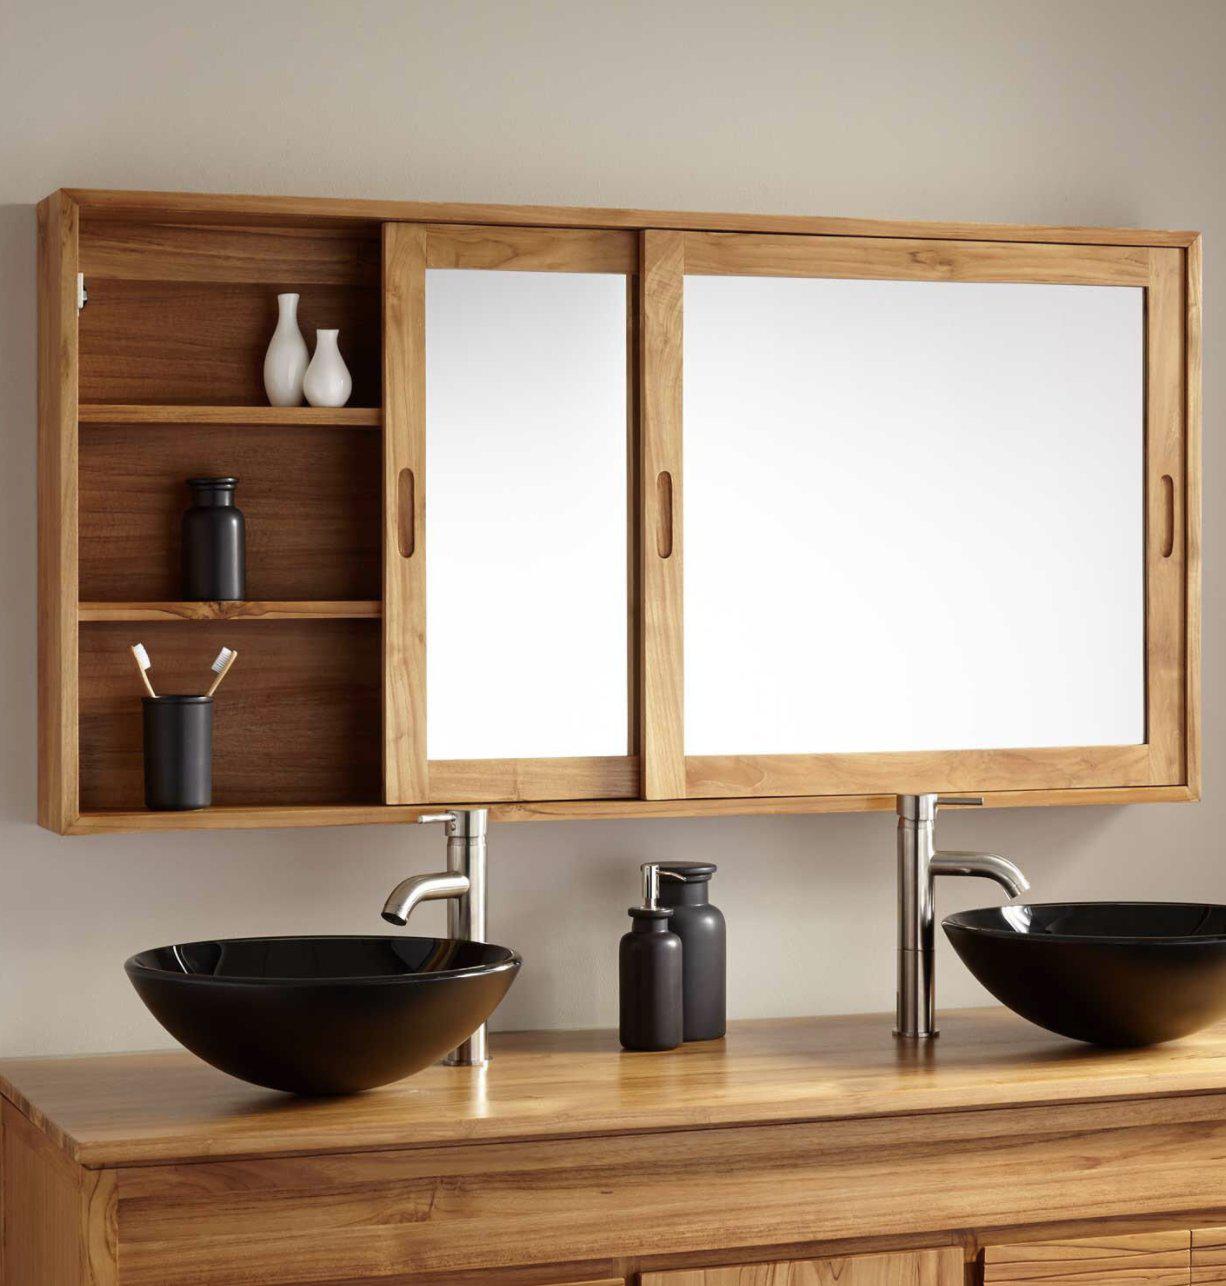
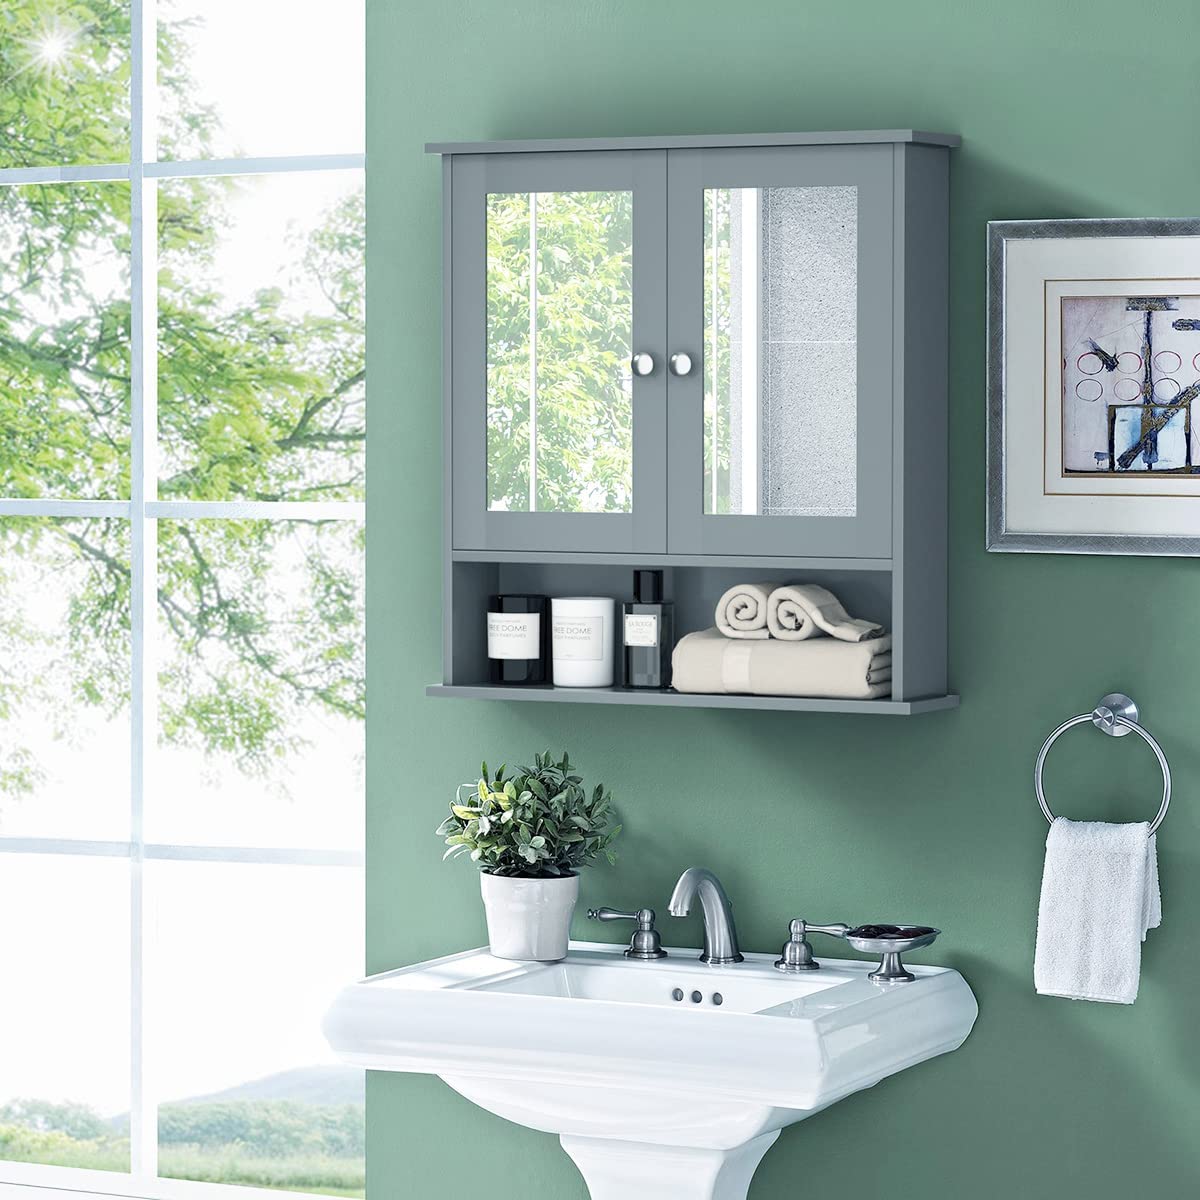
Consider replacing just the doors of your kitchen cabinets for a quick and easy update. This can give your kitchen a fresh look without the cost and hassle of replacing the entire cabinet.
Step 4: Prepping the Cabinet Frames
With your new cabinet doors selected, it’s time to prepare the cabinet frames for their installation. Prepping the cabinet frames is a crucial step that ensures proper alignment and a secure fit for the new doors.
Start by inspecting the cabinet frames for any damage, such as cracks or loose parts. If you notice any issues, take the time to repair or reinforce the frames before proceeding. This will help ensure the stability and longevity of your cabinets.
Next, clean the cabinet frames thoroughly to remove any dirt, grease, or residue. Use a mild cleaning solution and a soft cloth or sponge to wipe down both the interior and exterior of the frames. This step not only improves the appearance of your cabinets but also provides a clean surface for attaching the new doors.
If you’re considering painting or refinishing the cabinet frames, now is the time to do it. Choose a high-quality paint or stain that is suitable for the type of material used in your cabinets. Apply multiple coats, allowing each coat to dry completely before applying the next. Remember to take proper precautions, such as using painter’s tape to protect adjacent surfaces and using proper ventilation.
Before moving on to the next step, take a moment to double-check that the cabinet frames are level and square. Use a level and a tape measure to ensure that the frames are perfectly vertical and horizontal. Making any necessary adjustments at this stage will save you time and effort during the installation of the new doors.
Lastly, remove any hardware or accessories that may obstruct the installation of the new doors. This includes hinges, handles, and drawer pulls. Set them aside for later use or consider upgrading to new hardware for a complete refresh.
By prepping the cabinet frames properly, you ensure that the installation of the new doors will be smooth and effortless. Now that your frames are ready, it’s time to move on to Step 5: Attaching the New Cabinet Doors.
Step 5: Attach the New Cabinet Doors
Now that you have prepped the cabinet frames, it’s time to attach the new cabinet doors and bring your kitchen’s transformation to life. Properly installing the new doors is essential for ensuring that they fit securely and function properly.
Start by gathering all the necessary tools and hardware for the installation. You will likely need screws, hinges, a screwdriver or drill, and a measuring tape. Make sure that you have the right size and type of screws and hinges that are compatible with your specific cabinet door and frame measurements.
Begin by attaching the hinges to the cabinet frames. Mark the locations for the hinges on the frames, ensuring they are evenly spaced and aligned. Use a drill or screwdriver to screw the hinges into place, making sure they are securely fastened.
Next, position the new doors on the cabinet frames, aligning them with the hinges. Have a helper hold the door in place while you mark the locations for the hinge screws on the back of the doors.
Using a drill or screwdriver, attach the hinges to the doors by screwing them in securely. Double-check that the doors are properly aligned and level before tightening the screws fully.
Open and close the doors to test for smooth movement and proper alignment. If necessary, make minor adjustments to the hinge screws to ensure that the doors hang straight and close properly.
Repeat the process for all the cabinet doors, ensuring that each one is securely attached and functions smoothly. Take your time during this step to ensure a precise and accurate installation.
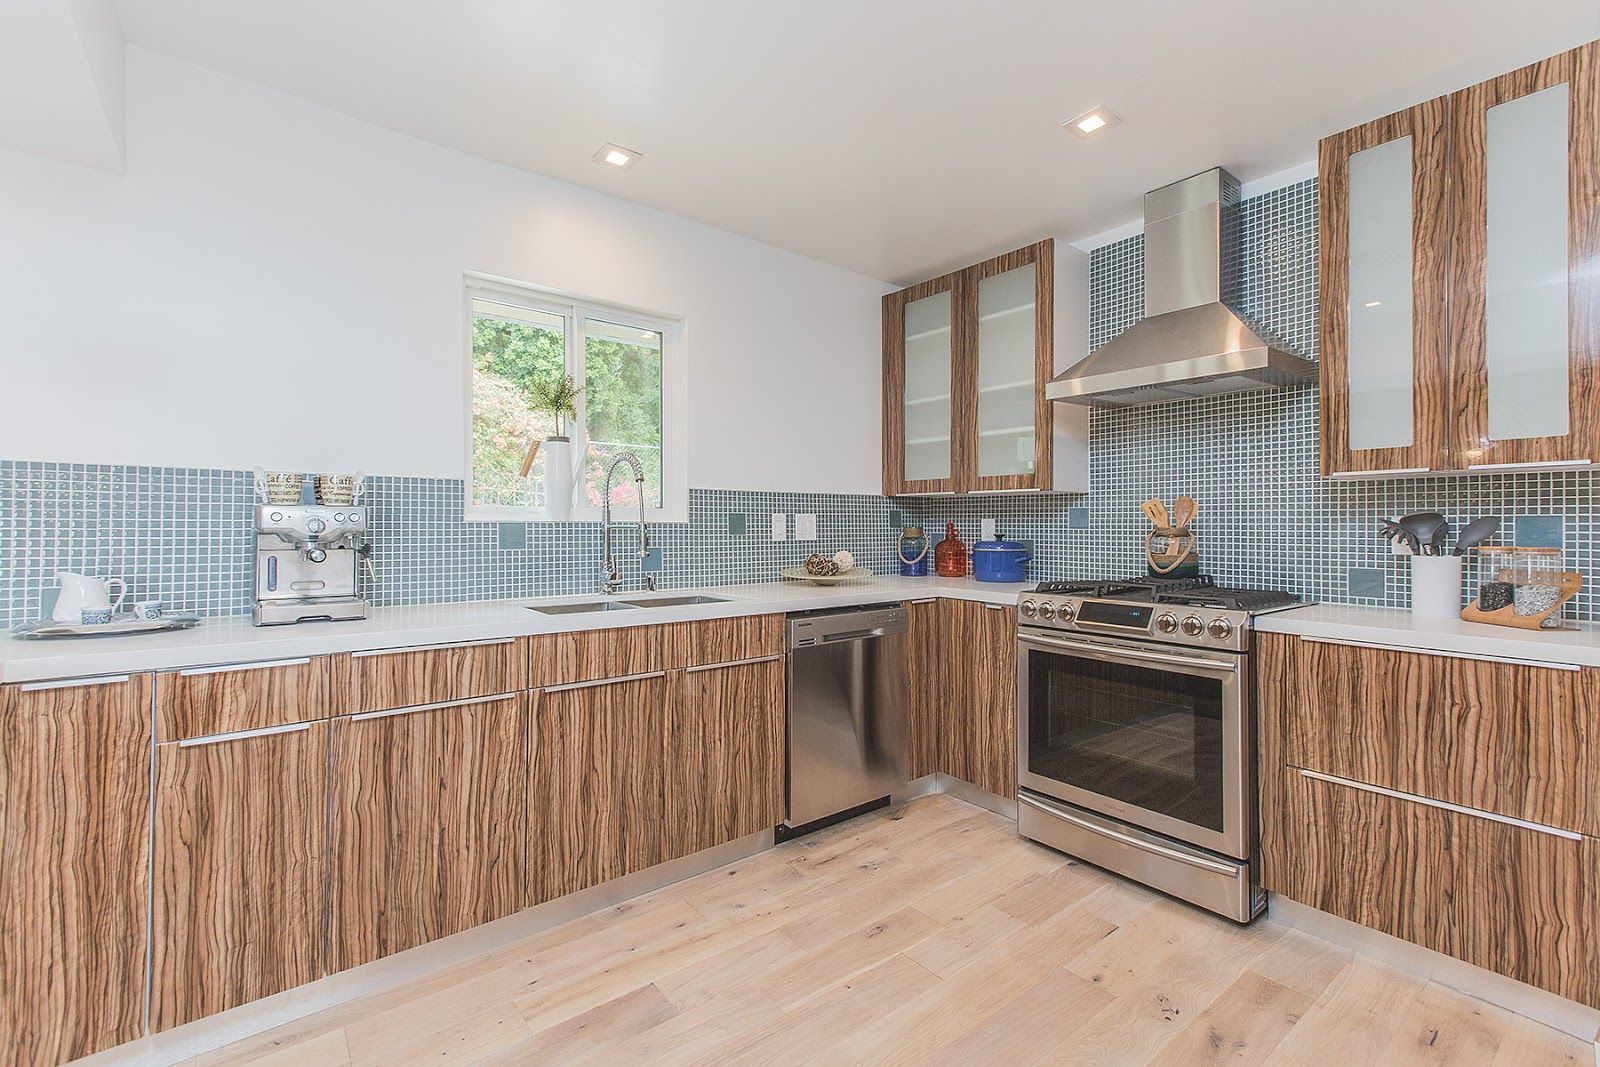
Once all the doors are installed, step back and admire the new look of your kitchen. The cabinet doors have completely transformed the space, giving it a fresh and updated appearance.
Finally, reattach any hardware, such as handles or drawer pulls, that you removed during the prepping process. This final touch adds the finishing details and completes the overall aesthetic of the cabinets.
Congratulations! You have successfully attached the new cabinet doors. The hard work and careful installation have paid off, and you can now enjoy your revamped kitchen storage.
Step 6: Install Hardware and Finishing Touches
Now that you have successfully attached the new cabinet doors, it’s time to add the hardware and finishing touches that will enhance the overall functionality and aesthetics of your kitchen cabinets.
Start by installing any hardware that you want to add, such as handles, drawer pulls, or knobs. Carefully measure and mark the locations where you want to place the hardware, ensuring that they are consistent across all doors.
Using a screwdriver or drill, attach the hardware securely to the cabinet doors. It’s important to tighten the screws properly to ensure that the hardware is secure and won’t become loose over time. Consider using a level or a measuring tape to ensure that the hardware is aligned and straight.
Choosing the right hardware is key to achieving the desired aesthetic and functionality in your kitchen. Consider the style, material, and finish of the hardware to ensure that it complements the overall design and theme of your kitchen.
Once the hardware is installed, take some time to clean and polish the cabinet doors, removing any fingerprints or smudges that may have accumulated during the installation process. Use a mild cleaner and a soft cloth to gently wipe down the doors, being careful not to damage or scratch the surfaces.
Consider adding some personalized touches to your newly transformed cabinets. For example, you could add decorative elements such as trim or molding to give the cabinets a custom look. You could also incorporate lighting fixtures inside the cabinets to showcase your glassware or create a warm ambiance.
Lastly, step back and admire the final result of your kitchen cabinet makeover. Notice how the new doors, hardware, and finishing touches have completely rejuvenated your kitchen storage area. Enjoy the organized and stylish space, knowing that your hard work and attention to detail have paid off.
Remember to properly maintain your newly updated kitchen cabinets to ensure their longevity and continued beauty. Regularly clean the doors and hardware, and address any issues or repairs promptly.
Congratulations on successfully installing new cabinet doors, adding hardware, and putting those all-important finishing touches. Your kitchen storage is now both functional and visually appealing, making meal preparation and cooking a joyous experience!
Conclusion
Transforming your kitchen storage with new cabinet doors is a rewarding and relatively simple project that can completely revitalize the look and functionality of your kitchen. By following the step-by-step guide outlined in this article, you can confidently replace your kitchen cabinet doors and create a space that is both organized and aesthetically pleasing.
From measuring and planning your replacement doors to removing the old ones, choosing new doors, prepping the cabinet frames, attaching the new doors, and adding hardware and finishing touches, each step plays a vital role in achieving a successful outcome.
Remember to take your time during each stage of the process, ensuring accurate measurements, proper alignment, and secure installation. Attention to detail is key to achieving a seamless and professional look.
Choosing the right style, material, and color for your new cabinet doors will enhance the overall design of your kitchen. Additionally, selecting hardware that complements the doors and suits your personal preferences will provide the perfect finishing touch.
By the end of this project, you will have accomplished a beautiful kitchen transformation, with cabinets that not only offer improved functionality but also reflect your unique style and taste. Enjoy the pleasure of a well-organized kitchen, where everything has its place and is easily accessible.
Regular maintenance and upkeep of your newly updated cabinets will ensure that they remain in excellent condition for years to come. Take the time to clean and care for them regularly, addressing any repairs or issues promptly to preserve their beauty and functionality.
Now that you have the knowledge and confidence to replace your kitchen cabinet doors, it’s time to get started and bring your kitchen storage ideas to life. Get ready to enjoy a refreshed and rejuvenated kitchen that will bring joy and efficiency to your cooking and meal preparation.
So go ahead, embark on this exciting journey, and create the kitchen of your dreams!
Frequently Asked Questions about How To Replace Kitchen Cabinet Doors For An Easy Update
Was this page helpful?
At Storables.com, we guarantee accurate and reliable information. Our content, validated by Expert Board Contributors, is crafted following stringent Editorial Policies. We're committed to providing you with well-researched, expert-backed insights for all your informational needs.


0 thoughts on “How To Replace Kitchen Cabinet Doors For An Easy Update”