Articles
How To Paint Vinyl Fence
Modified: October 27, 2024
Discover the step-by-step process of painting a vinyl fence with our informative articles. Transform your outdoor space with this easy DIY project.
(Many of the links in this article redirect to a specific reviewed product. Your purchase of these products through affiliate links helps to generate commission for Storables.com, at no extra cost. Learn more)
Introduction
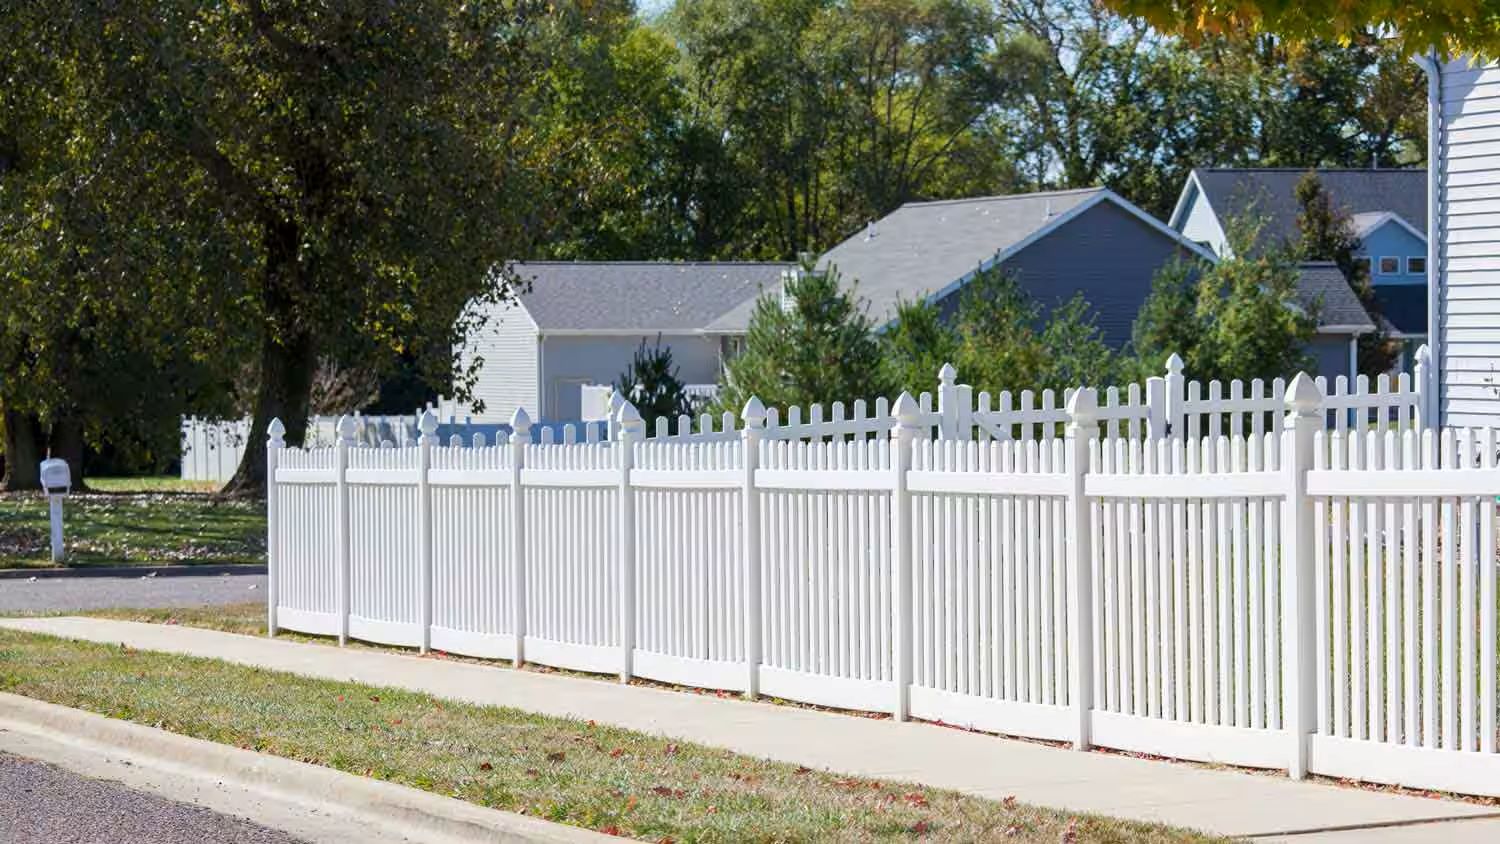
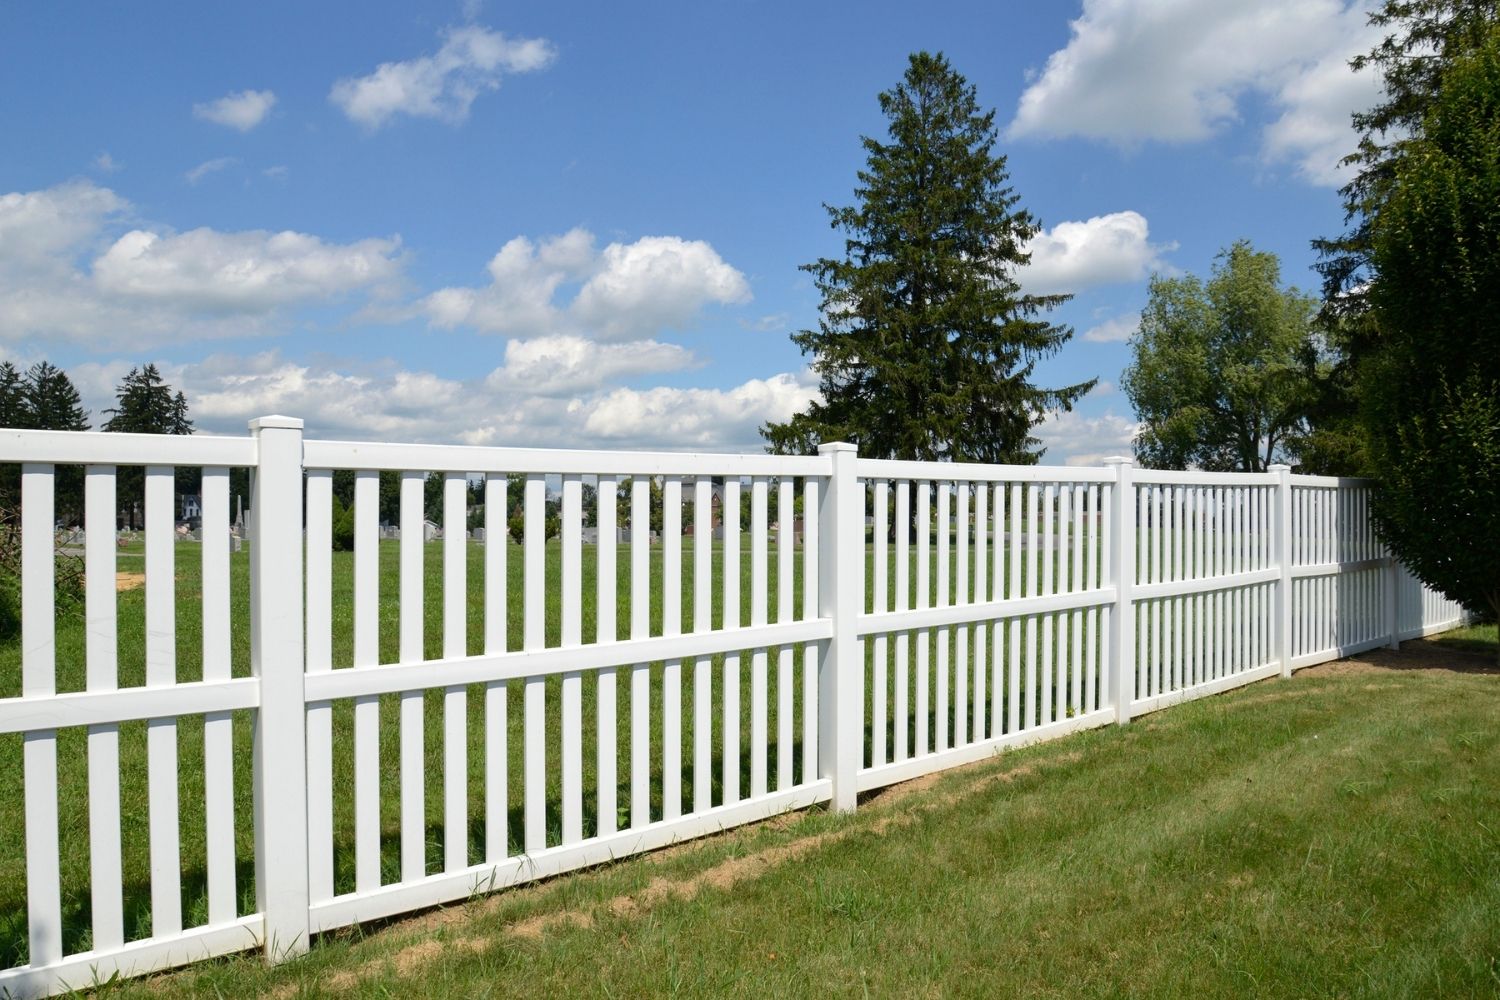
A vinyl fence is an excellent addition to any property, offering durability, low maintenance, and aesthetic appeal. However, over time, the color of your vinyl fence may fade or become outdated. Painting your vinyl fence is a cost-effective way to transform its appearance and give it a fresh new look.
Painting a vinyl fence requires specific techniques and materials to ensure a long-lasting and professional finish. In this article, we will guide you through the process of painting your vinyl fence step by step. From choosing the right paint to proper preparation and application, we will cover everything you need to know to achieve a beautiful and durable finish.
Before you begin, it is important to note that not all vinyl fences are suitable for painting. Some vinyl fences have a glossy finish or are made with a material that cannot be painted. It is crucial to check with the manufacturer or consult a professional to determine if your vinyl fence is paintable. If your fence is indeed suitable for painting, let’s dive into the process!
Key Takeaways:
- Transform your vinyl fence with a fresh coat of paint, choosing high-quality, vinyl-safe paint and following proper preparation and application techniques for a stunning, long-lasting finish.
- Preserve the beauty of your painted vinyl fence with regular maintenance, including gentle cleaning, prompt repairs, and protection from harsh chemicals, sharp objects, and sun exposure.
Read more: What Is A Vinyl Fence
Choosing the Right Paint
When it comes to painting a vinyl fence, selecting the right paint is crucial for achieving a durable and long-lasting finish. Here are a few factors to consider when choosing the paint for your vinyl fence:
- Type of Paint: Opt for a high-quality acrylic latex paint that is specifically formulated for exterior use. This type of paint is designed to withstand the elements and adhere well to vinyl surfaces.
- Color: Choose a color that complements your outdoor space and matches your personal style. Keep in mind that lighter colors tend to reflect heat, which can prevent the fence from warping or expanding in hot weather.
- Finish: Consider the finish of the paint, such as matte, satin, or semi-gloss. A matte finish can provide a more natural appearance, while a semi-gloss finish offers a slightly shiny surface that is easy to clean.
- Durability: Look for a paint that offers excellent adhesion, UV protection, and resistance to fading, cracking, and peeling. These qualities will ensure that your paint job stays vibrant and intact over time.
Additionally, it is important to select a paint that is safe for the environment and does not contain harmful chemicals or volatile organic compounds (VOCs). This will not only protect the environment but also ensure the safety of your household and pets.
Before purchasing the paint, check the label or consult with a paint professional to ensure that it is compatible with vinyl surfaces. Some paints may require a specific primer or adhesion promoter to ensure proper adherence to the vinyl.
By choosing the right paint for your vinyl fence, you can ensure a beautiful and long-lasting finish that enhances the overall appearance of your outdoor space.
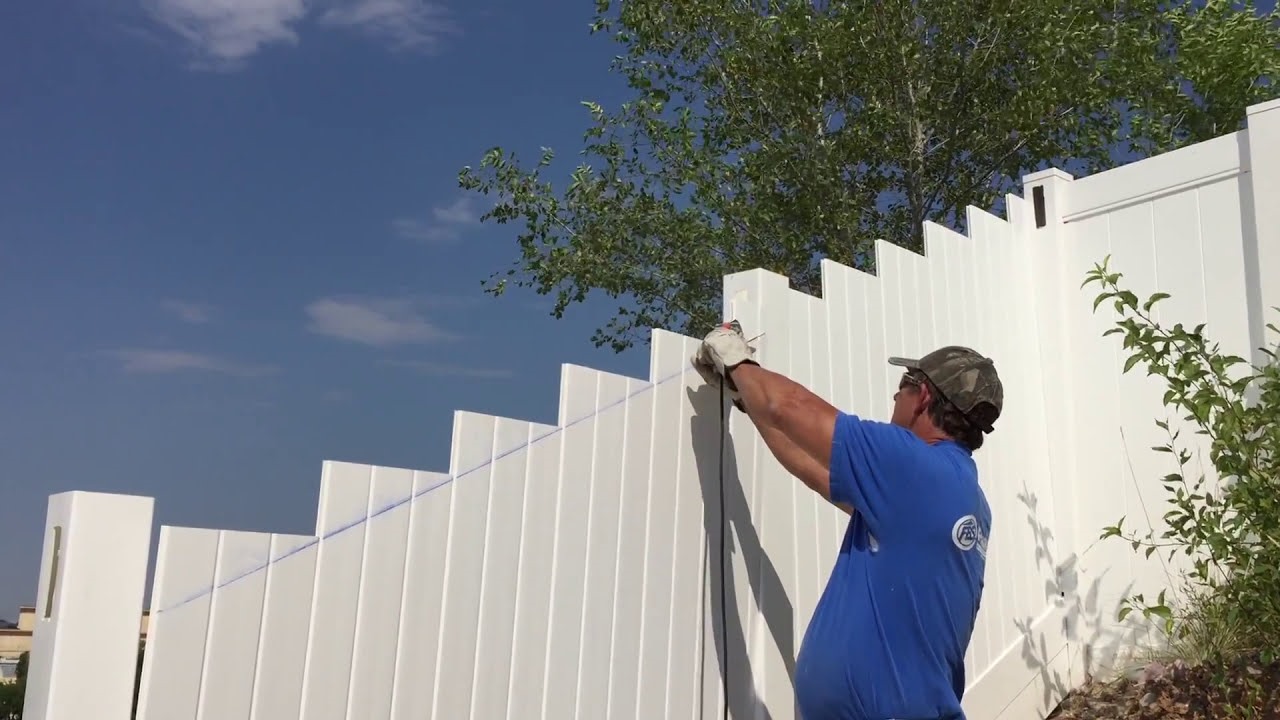
Preparing the Vinyl Fence
Before you begin painting your vinyl fence, proper preparation is essential to ensure a smooth and durable finish. Here are the steps to prepare your vinyl fence for painting:
- Clean the Fence: Start by thoroughly cleaning the surface of the fence. Remove any dirt, grime, or mildew using a mild detergent and water solution. Scrub the fence gently with a soft brush or sponge, paying attention to any areas with stubborn stains. Rinse the fence with clean water and allow it to dry completely.
- Inspect for Damages: Inspect the vinyl fence for any damages, such as cracks, chips, or loose pieces. Repair any damages using a vinyl repair kit or adhesive as recommended by the manufacturer. Ensure that the fence is in good condition before proceeding with the painting process.
- Sand the Surface: Use a fine-grit sandpaper to lightly sand the surface of the fence. This step helps to create a slightly rough texture, allowing the paint to adhere better to the vinyl surface. Be careful not to apply too much pressure to avoid damaging the fence.
- Protect Surrounding Areas: Before you start painting, protect any surrounding areas, such as plants, fixtures, or pavement, with plastic sheets or drop cloths. This will prevent paint splatters or drips from damaging or staining nearby surfaces.
Properly preparing the vinyl fence ensures that the paint adheres well and provides a smooth and even finish. It also helps to prolong the lifespan of your painted fence by preventing underlying issues or damages from affecting the paint job. Take the time to prepare your fence correctly before moving on to the next steps.
Cleaning the Fence Surface
Once you have prepared your vinyl fence, it is essential to thoroughly clean the surface before proceeding with painting. Cleaning the fence removes any remaining dirt, debris, or residue, ensuring optimal paint adhesion and a smooth finish. Follow these steps to clean your vinyl fence:
- Gather Your Supplies: Before you begin cleaning, gather the necessary supplies. This typically includes a bucket, mild detergent or vinyl cleaner, water, a soft-bristle brush or sponge, and a garden hose.
- Create the Cleaning Solution: Fill the bucket with water and add a small amount of mild detergent or vinyl cleaner. Mix the solution until it creates a soapy mixture.
- Dampen the Fence: Use the garden hose to dampen the entire surface of the vinyl fence. This will help loosen any dirt or grime, making it easier to clean.
- Scrub the Surface: Dip the soft-bristle brush or sponge into the cleaning solution and start scrubbing the fence in a circular motion. Pay attention to any areas with stubborn stains or debris, applying a bit more pressure if needed. Be gentle to avoid damaging the fence.
- Rinse Thoroughly: Once you have scrubbed the entire fence, thoroughly rinse the surface with clean water. Use the garden hose to remove any remaining soap or cleaning solution.
- Allow to Dry: After rinsing, allow the vinyl fence to air dry completely before proceeding with the painting process. This ensures that the surface is completely dry and ready for paint application.
Cleaning the fence surface is an important step to remove any contaminants that might hinder paint adhesion or affect the overall finish. By following these steps, you will have a clean and ready surface for the next stage, which is priming the fence.
Priming the Fence
Priming your vinyl fence is a crucial step in the painting process as it helps the paint adhere better to the surface and ensures a more durable and long-lasting finish. Here’s how to properly prime your vinyl fence:
- Select a Vinyl-Safe Primer: Choose a primer that is specifically formulated for use on vinyl surfaces. This ensures that the primer will properly bond with the vinyl and create a solid base for the paint. Check the product label or consult with a paint professional to ensure you select the appropriate primer.
- Gather Your Supplies: Before you begin priming, gather the necessary supplies, which typically include the vinyl-safe primer, a paintbrush or roller, a paint tray, and painter’s tape to protect any areas you don’t want to prime.
- Prepare the Fence: Ensure that the vinyl fence is clean and dry before applying the primer. This will help the primer adhere better to the surface and create a smooth base for the paint.
- Tape Off Areas: Use painter’s tape to protect any areas you do not want to prime, such as hardware, posts, or other adjacent surfaces.
- Apply the Primer: Dip your paintbrush or roller into the primer and apply a thin, even coat to the vinyl fence. Work in small sections, starting from the top and working your way down. Ensure that the primer is spread evenly and covers the entire surface. Allow the first coat to dry completely as recommended by the manufacturer.
- Apply Additional Coats (if necessary): Depending on the manufacturer’s instructions and the condition of your vinyl fence, you may need to apply an additional coat of primer. Follow the same process of applying a thin, even coat, and allow each coat to dry completely before applying the next.
By properly priming your vinyl fence, you create a strong foundation for the paint, ensuring better adhesion and a more professional finish. Take the time to prime your fence thoroughly, as this step significantly contributes to the longevity and durability of your painted vinyl fence.
When painting a vinyl fence, make sure to clean the surface thoroughly with soap and water before applying a high-quality acrylic latex paint specifically designed for vinyl. This will ensure better adhesion and a longer-lasting finish.
Read more: How To Disassemble Vinyl Fence
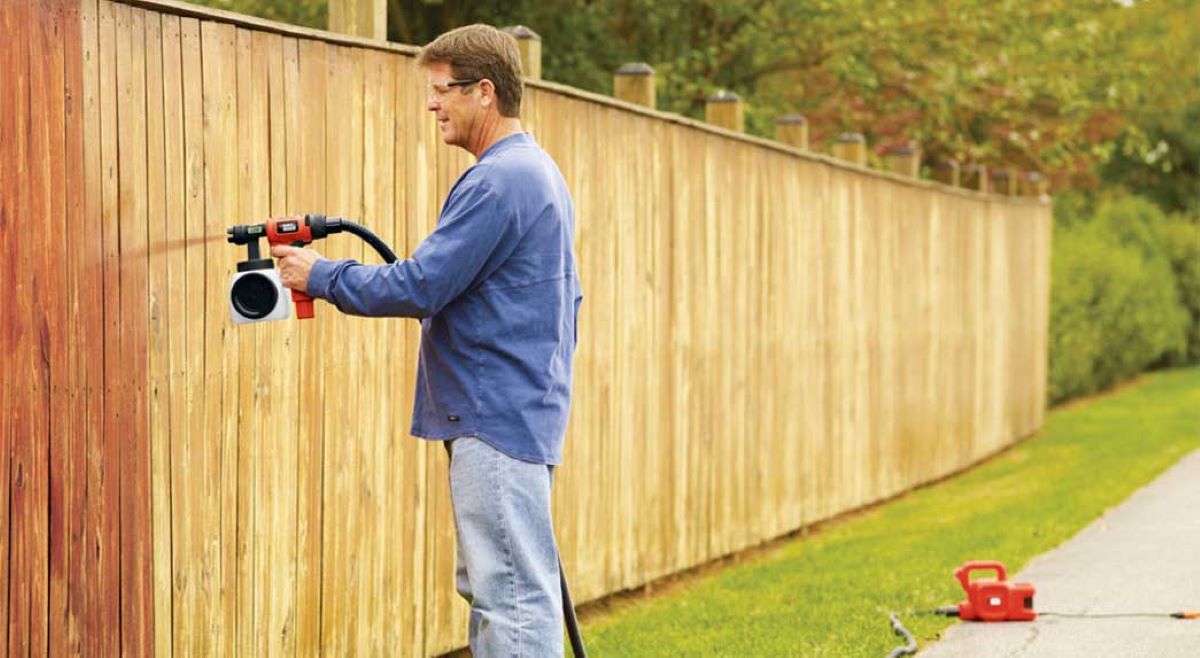
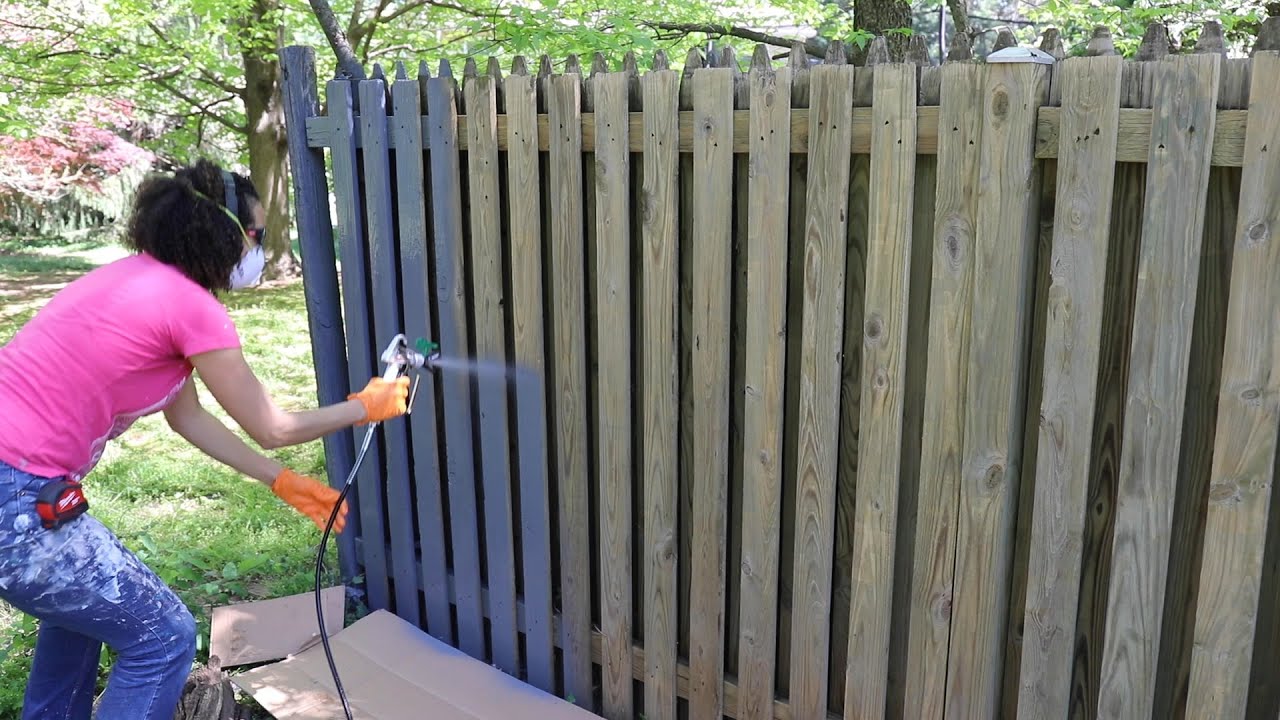
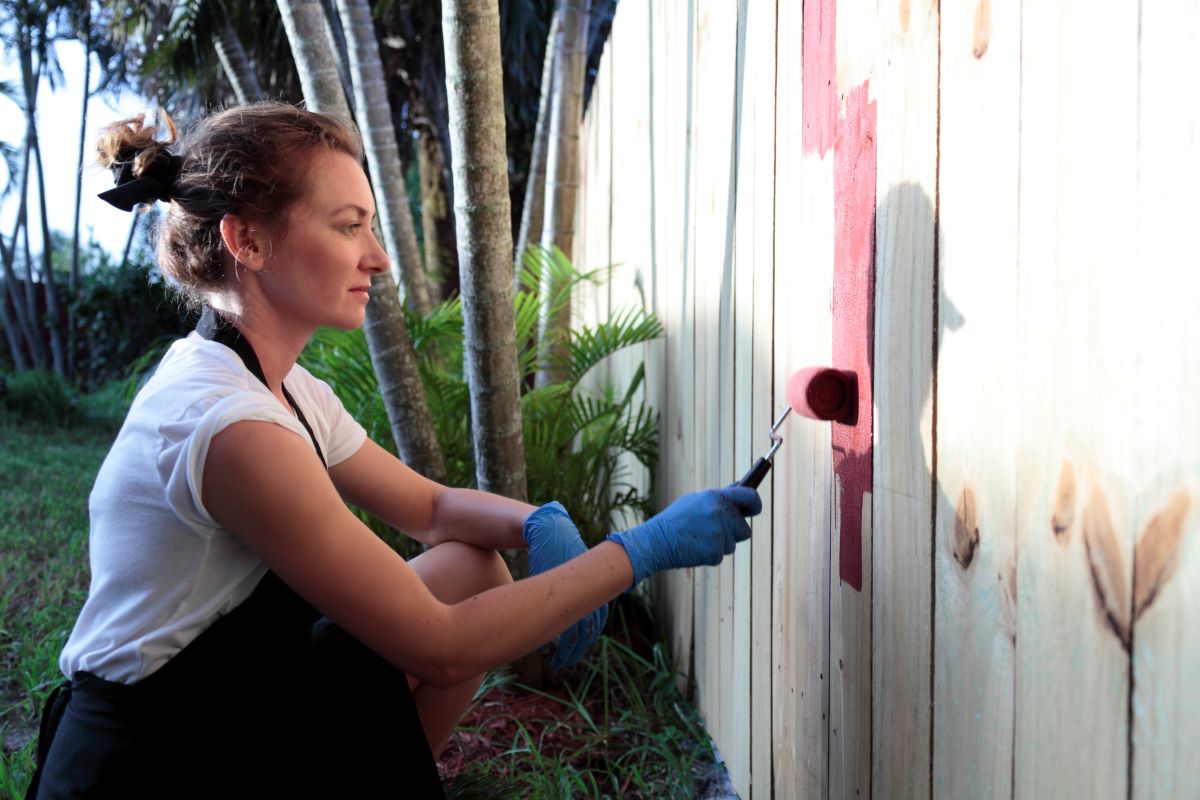
Painting the Vinyl Fence
Now that you have prepared and primed your vinyl fence, it’s time to move on to the exciting part – painting! Follow these steps to achieve a smooth and flawless finish:
- Choose Your Paint: Use a high-quality exterior acrylic latex paint that is specifically formulated for vinyl surfaces. The paint should be in the color of your choice and offer UV protection, weather resistance, and excellent adhesion.
- Gather Your Painting Supplies: Before you begin, gather the necessary painting supplies, such as paintbrushes or rollers, a paint tray, and drop cloths or plastic sheets to protect surrounding areas from accidental paint splatters.
- Start Painting: Dip your paintbrush or roller into the paint and apply a thin, even coat to the vinyl fence. Begin at the top and work your way down, using long, smooth strokes for a seamless application. Take care to cover the entire surface of the fence, paying attention to hard-to-reach areas and corners.
- Allow the First Coat to Dry: Follow the paint manufacturer’s instructions regarding drying time. It is crucial to allow the first coat to dry completely before applying additional coats to prevent smudging or uneven coverage.
- Apply Additional Coats (if necessary): Depending on the desired color intensity and the paint’s opacity, you may need to apply additional coats. Allow each coat to dry completely before applying the next, and ensure that the paint is evenly distributed for a consistent finish.
- Clean Up: Once you have finished painting your vinyl fence, clean your brushes or rollers with soap and water. Properly dispose of any unused paint or empty paint cans according to local regulations.
Take your time while painting to ensure a professional and even finish. Avoid applying too thick of a coat, as it can lead to drips or a tacky surface. Multiple thin coats are preferable to achieve the desired color and durability.
Remember, the quality of your paint job depends on the preparation, application, and drying of the paint. By following these steps and taking proper care during the process, you will achieve a beautifully painted vinyl fence that enhances your outdoor space.
Proper Drying and Curing
After painting your vinyl fence, it is crucial to allow sufficient time for the paint to dry and cure properly. Drying and curing are essential steps in achieving a beautiful, long-lasting finish. Follow these guidelines for proper drying and curing:
- Drying Time: Consult the paint manufacturer’s instructions for the recommended drying time. It is important to allow enough time for each coat of paint to dry completely before applying additional coats or exposing the fence to any moisture or harsh weather conditions. Keep in mind that drying times can vary based on factors such as temperature, humidity, and the type of paint used. Avoid touching the painted surface until it is fully dry to prevent smudging or damaging the finish.
- Curing Time: Curing is the process of the paint fully hardening and reaching its maximum durability. While the paint may feel dry to the touch, it is essential to allow sufficient curing time before subjecting the fence to normal wear and tear. Typically, it takes around two to four weeks for the paint to cure completely, but this can vary depending on the paint used and the environmental conditions. During the curing period, avoid placing any objects against the fence, leaning on it, or applying excessive force that can affect the paint’s adhesion and longevity.
- Protect the Freshly Painted Fence: During the drying and curing process, it is essential to protect the freshly painted fence from any potential damage. Avoid exposing the fence to extreme weather conditions, such as heavy rain, direct sunlight, or freezing temperatures. If possible, provide temporary protection, such as a light tarp or temporary fencing, to shield the fence from the elements until the paint is fully cured.
- Maintain Proper Ventilation: While the paint is drying and curing, ensure that the area has proper ventilation to help facilitate the process. Good airflow helps the solvents evaporate, allowing the paint to dry and cure faster while preventing any trapped moisture or chemicals that can affect the finish.
By allowing the paint to dry and cure properly, you ensure a strong and durable finish that can withstand the test of time and various weather conditions. Patience is key during this stage, so resist the temptation to rush the process and enjoy the long-lasting results of your beautifully painted vinyl fence.
Maintenance Tips
Maintaining your painted vinyl fence is essential to preserve its appearance and durability. With proper care and regular maintenance, you can extend the lifespan of your fence and keep it looking fresh and vibrant. Here are some maintenance tips to follow:
- Clean Regularly: Regularly clean your painted vinyl fence to remove dirt, dust, and other pollutants. Use a mild detergent or vinyl cleaner and a soft-bristle brush or sponge to gently scrub the surface. Rinse thoroughly with clean water to ensure all cleaning residues are removed.
- Avoid Harsh Chemicals: When cleaning your painted fence, avoid using harsh chemicals, abrasive cleaners, or bleach-based products. These can cause damage to the paint and alter the color or finish of your fence.
- Inspect for Damage: Regularly inspect your vinyl fence for any signs of damage, such as cracks, chips, or peeling paint. Repair any damages promptly using a vinyl repair kit or touch-up paint to prevent further deterioration.
- Protect from Sharp Objects: Be mindful of any sharp objects or tools that may come into contact with your painted fence, such as gardening tools or heavy equipment. Avoid leaning ladders or other objects against the fence that can cause scratches or dents.
- Avoid Pressure Washing: While vinyl fences are known for their durability, avoid using high-pressure washers on your painted fence. The forceful water spray can potentially strip the paint or cause water to seep underneath the vinyl panels, leading to damage or discoloration.
- Touch-Up as Needed: Over time, your painted fence may experience normal wear and tear, such as minor scratches or fading. Keep some extra paint on hand for touch-ups, and periodically inspect your fence for any areas that may require touch-up painting.
- Protect from Sun Exposure: Direct and prolonged exposure to sunlight can cause paint to fade or deteriorate over time. Consider using a clear UV-resistant sealant or topcoat to protect your painted fence from UV rays and extend its lifespan.
By following these maintenance tips, you can keep your painted vinyl fence in excellent condition and enjoy its beauty and functionality for years to come.
Conclusion
Painting a vinyl fence is a fantastic way to rejuvenate its appearance, enhance curb appeal, and protect it from the elements. By choosing the right paint, properly preparing the surface, and following the correct painting techniques, you can achieve a stunning and long-lasting finish.
Remember to select a high-quality paint that is specifically formulated for vinyl surfaces and offers durability, UV protection, and weather resistance. Take the time to prepare your fence by cleaning it thoroughly, inspecting for damages, and priming the surface with a vinyl-safe primer. When it comes to painting, apply thin and even coats, allowing each coat to dry before applying additional ones.
Proper drying and curing are crucial to ensure the paint adheres well and reaches its maximum durability. Allow sufficient time for the paint to dry and cure, protect the freshly painted fence from harsh weather conditions, and maintain proper ventilation during the process.
Regular maintenance is key to preserving the beauty and longevity of your painted vinyl fence. Clean it regularly, avoid harsh chemicals, inspect for damages, and perform touch-ups as needed. Protect your fence from sharp objects and sun exposure to prevent damage and fading.
With these tips and proper care, your painted vinyl fence will remain a stunning feature of your outdoor space for years to come. Enjoy the transformation and the refreshed look it brings to your property.
Frequently Asked Questions about How To Paint Vinyl Fence
Was this page helpful?
At Storables.com, we guarantee accurate and reliable information. Our content, validated by Expert Board Contributors, is crafted following stringent Editorial Policies. We're committed to providing you with well-researched, expert-backed insights for all your informational needs.


0 thoughts on “How To Paint Vinyl Fence”