
Articles
How To Install Peel And Stick Tile
Modified: October 20, 2024
Learn how to install peel and stick tile with our detailed articles. Get step-by-step instructions and expert tips to achieve a professional-looking finish.
(Many of the links in this article redirect to a specific reviewed product. Your purchase of these products through affiliate links helps to generate commission for Storables.com, at no extra cost. Learn more)
Introduction
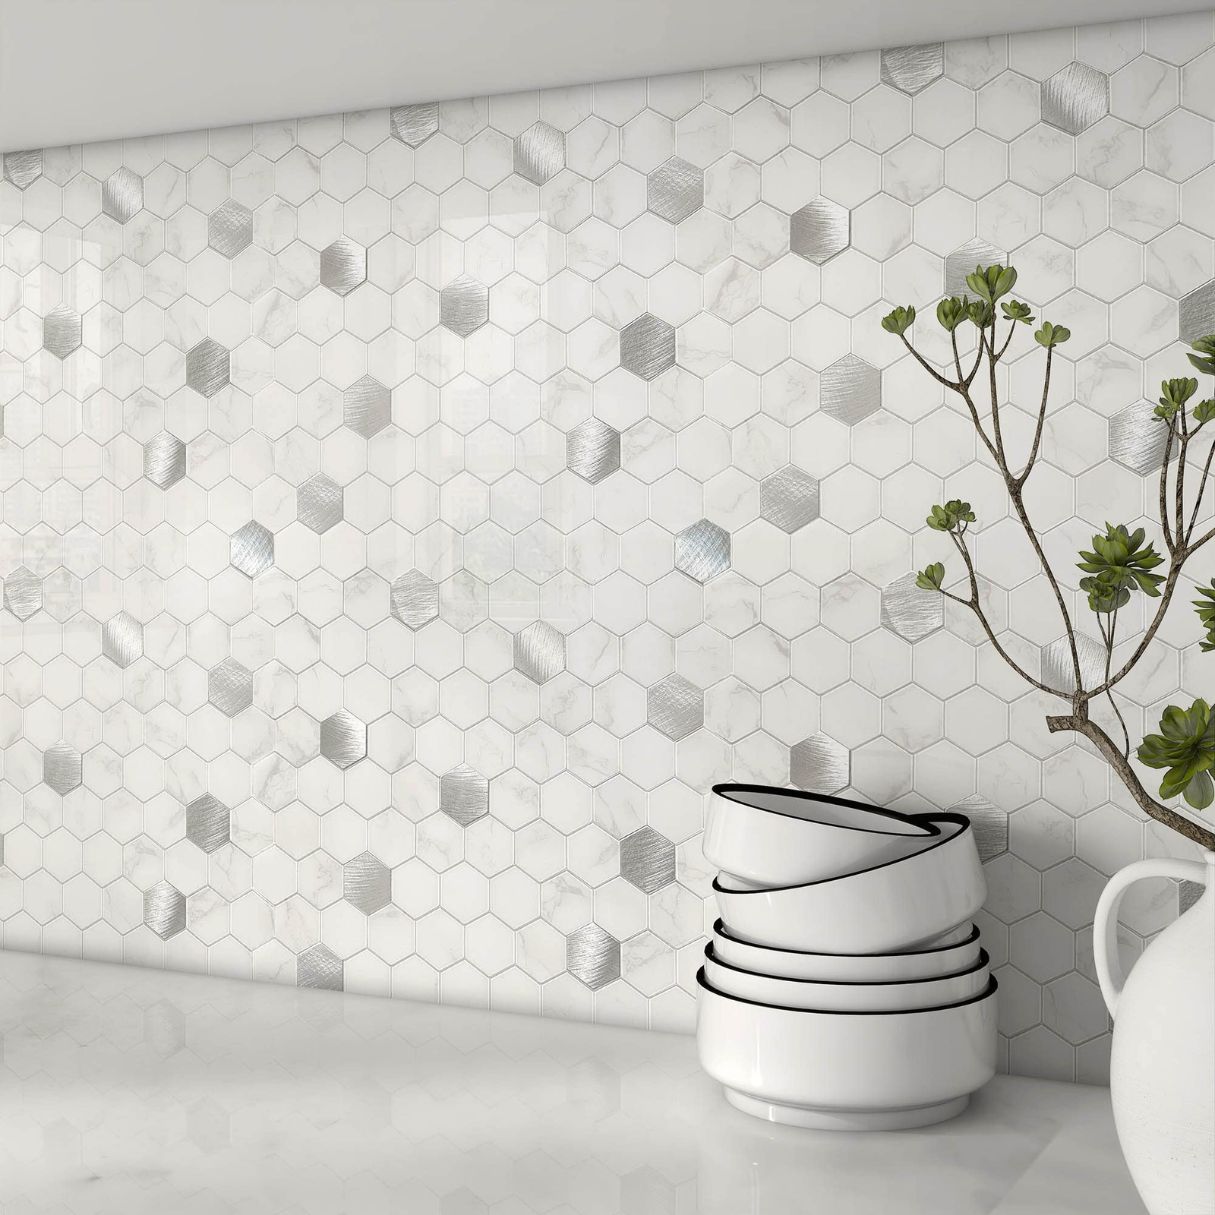
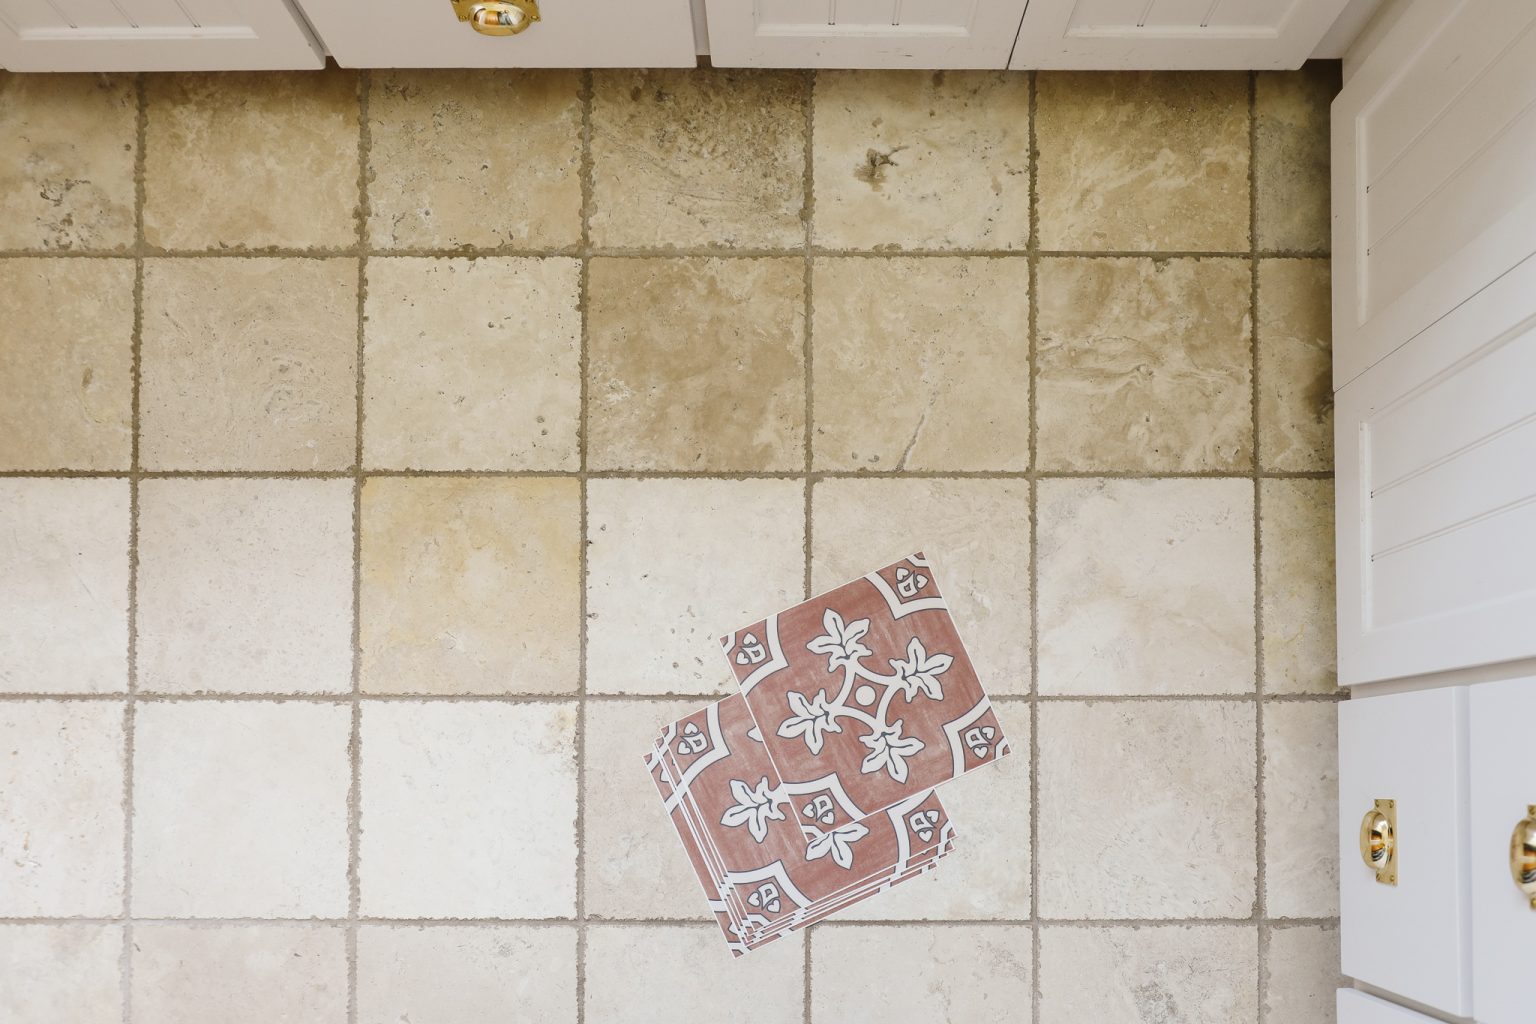
Welcome to our comprehensive guide on how to install peel and stick tiles! Whether you’re looking to update your kitchen backsplash or give your bathroom floor a fresh look, peel and stick tiles are a convenient and cost-effective solution. With their easy installation process, they have quickly gained popularity among homeowners and DIY enthusiasts.
In this article, we will walk you through the step-by-step process of installing peel and stick tiles. From prepping the surface to applying the adhesive and achieving a professional finish, we will cover everything you need to know to successfully complete your project.
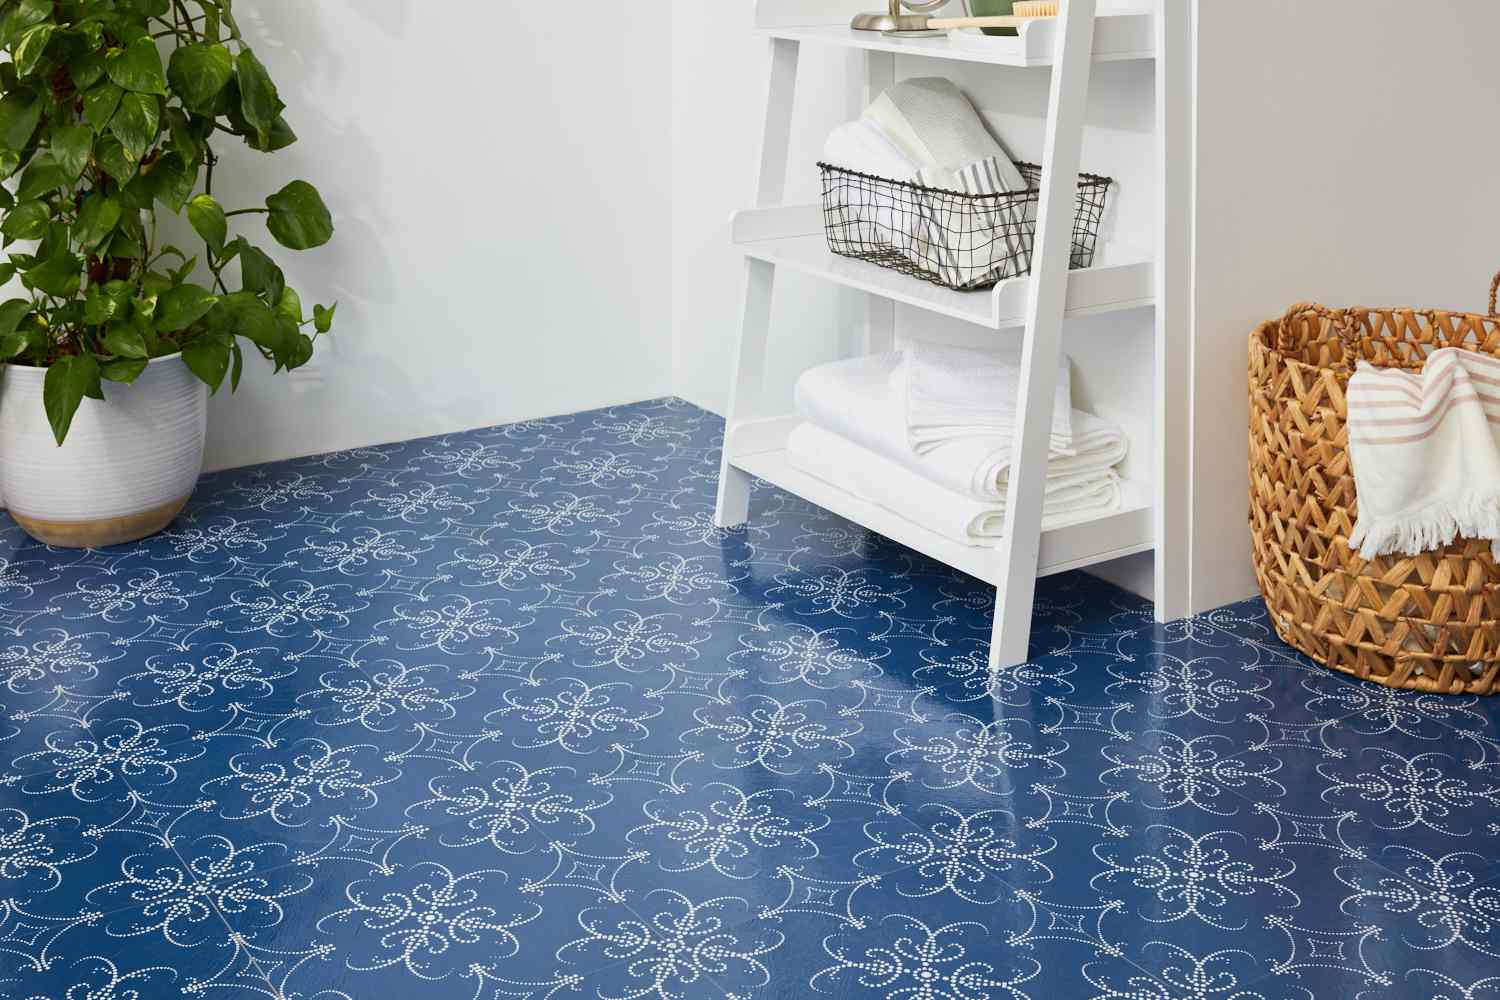
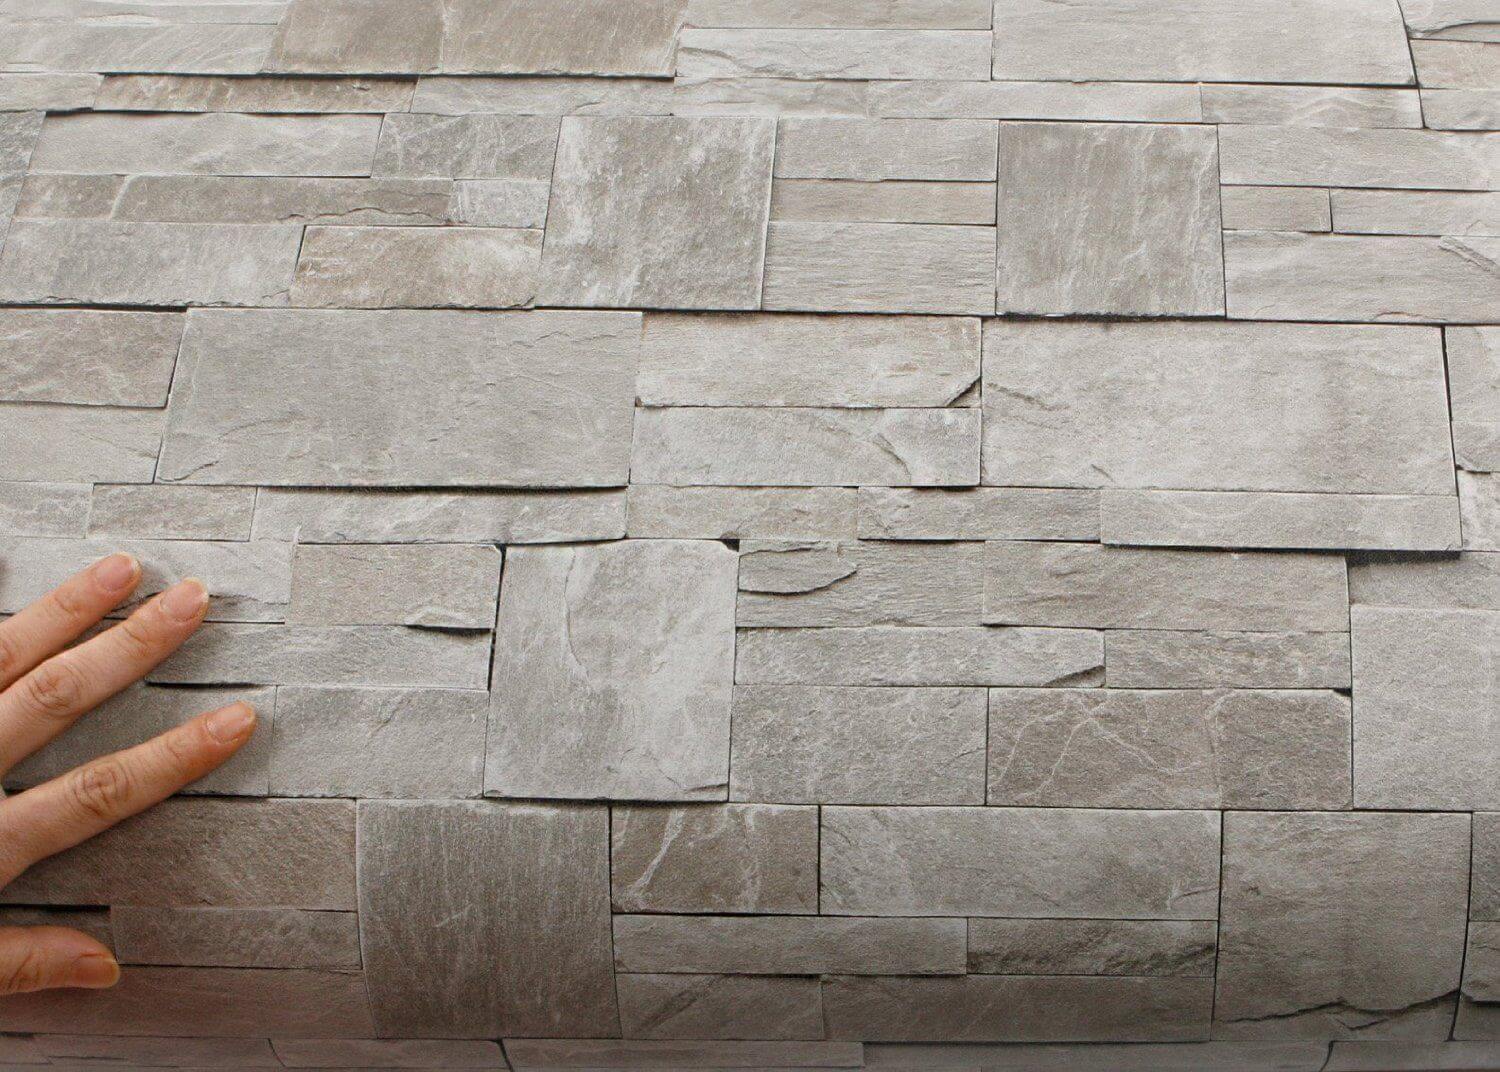
Peel and stick tiles, also known as self-adhesive tiles, are designed with a sticky backing that allows them to adhere to a variety of surfaces such as walls, floors, and even furniture. They come in a wide range of materials, colors, and patterns, giving you the freedom to choose the style that best suits your space. Not only are they versatile in design, but they are also durable and easy to maintain, making them a popular choice for both residential and commercial applications.
Before you start your installation, it’s important to gather all the necessary materials. Let’s take a look at what you’ll need:
Key Takeaways:
- Installing peel and stick tiles is a convenient and cost-effective way to refresh your space. Proper surface preparation, precise measurement, and careful adhesive application are crucial for achieving professional-looking results.
- Maintaining peel and stick tiles is essential for preserving their beauty and longevity. Regular cleaning, prompt repairs, and following manufacturer’s guidelines will ensure your tiles look as good as new for years to come.
Materials Needed
Before you begin your peel and stick tile installation, make sure you have the following materials on hand:
- Peel and stick tiles: Choose the style, color, and material that best suits your project. Measure your space accurately to determine how many tiles you will need.
- Measuring tape: Use a measuring tape to measure the dimensions of your space and determine the layout of the tiles.
- Straight edge or ruler: A straight edge or ruler will help you achieve clean and precise cuts on the tiles.
- Utility knife or scissors: Depending on the material of the tiles, you may need a utility knife or scissors to cut them to size.
- Adhesive primer (optional): If you are installing the tiles on a porous or uneven surface, an adhesive primer can help promote better adhesion.
- Tile spacers (optional): Tile spacers are useful for maintaining consistent spacing between tiles and achieving professional-looking results.
- Rubber mallet or roller: A rubber mallet or roller will help you ensure a strong bond between the tiles and the surface.
- Grout (optional): If you prefer the look of grouted tiles, you will need grout and a grout float to complete the installation process.
- Sponge and bucket: If you decide to use grout, you will need a sponge and a bucket of water for cleaning.
- Level: A level will help you ensure that the tiles are installed straight and level.
- Cleaning supplies: Have cleaning supplies ready to remove any dirt, debris, or old adhesive from the surface before installation.
Having all the necessary materials prepared will ensure a smoother installation process and help you achieve the best results. Once you have gathered everything you need, it’s time to move on to preparing the surface for the peel and stick tiles.
Preparing the Surface
Before you start installing peel and stick tiles, it’s crucial to prepare the surface properly. Follow these steps to ensure a clean and even surface for optimal adhesion:
- Clean the surface: Begin by thoroughly cleaning the surface where you will be installing the tiles. Remove any dirt, dust, grease, or debris using a mild detergent and water. Make sure the surface is completely dry before proceeding.
- Repair any damage: Inspect the surface for any cracks, holes, or uneven areas. Fill in any gaps or repair damaged areas using a appropriate filler or patching compound and sand it down until smooth. Allow the filler to dry and then sand it again if necessary.
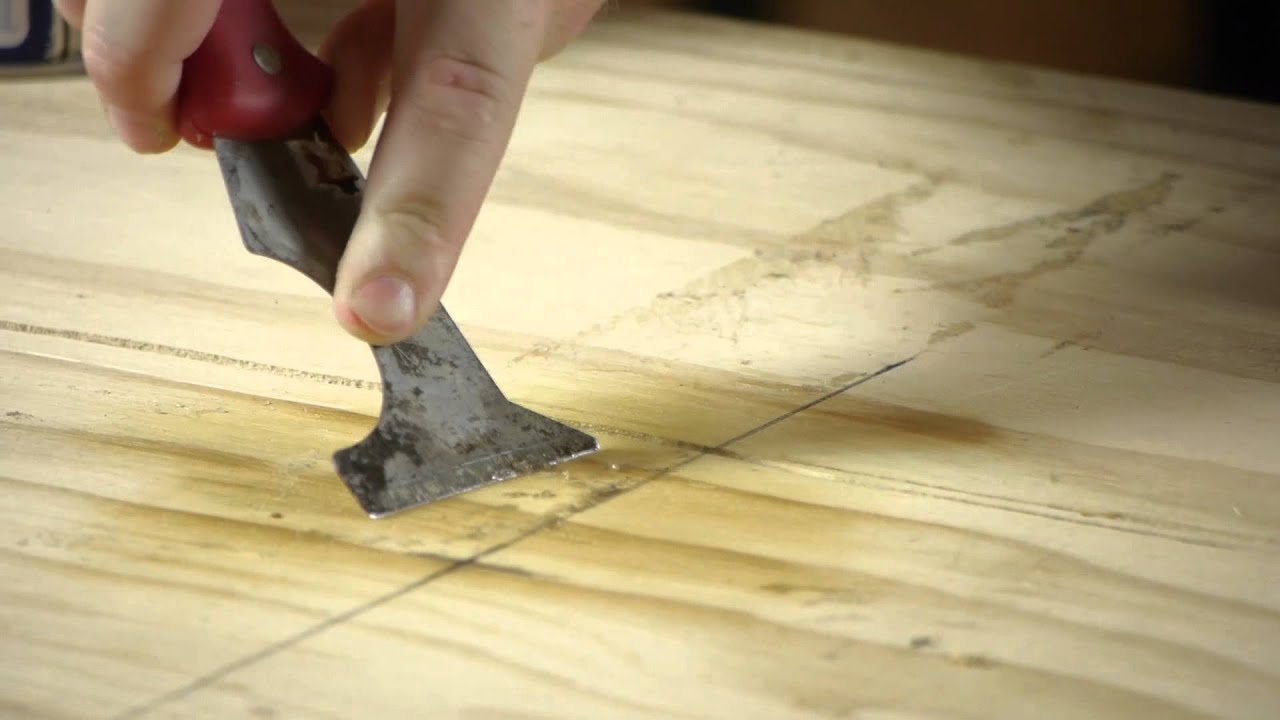
- Remove old adhesive: If you are installing peel and stick tiles over an existing floor or wall covering, it’s important to remove any old adhesive or residue. Use a scraper or putty knife to scrape away the old adhesive, and then clean the surface again to remove any remaining residue.
- Apply adhesive primer (if necessary): If you are installing the tiles on a porous or uneven surface, applying an adhesive primer can help promote better adhesion. Follow the manufacturer’s instructions for applying the primer and allow it to dry completely before moving on to the next step.
- Check for levelness: Use a level to check if the surface is level. If you find any uneven areas, you may need to use a self-leveling compound to create a smooth and even surface. Again, follow the manufacturer’s instructions for applying the self-leveling compound and allow it to dry as recommended.
- Sand the surface (if necessary): If the surface is glossy or has a rough texture, lightly sand it with fine-grit sandpaper to create a better bonding surface for the adhesive.
- Remove baseboards and trim (optional): If you prefer a seamless look, you may choose to remove the baseboards and trim before installing the tiles. This will allow for a clean edge and make the installation process easier. However, if you want to keep the baseboards intact, you can install quarter-round trim after the tiles are in place to cover the gaps.
Properly preparing the surface will ensure that the peel and stick tiles adhere effectively and provide a long-lasting finish. Once the surface is ready, it’s time to measure and cut the tiles.
Measuring and Cutting the Tiles
Accurate measurement and precise cutting are essential for a successful peel and stick tile installation. Follow these steps to ensure a proper fit:
- Measure the area: Use a measuring tape to measure the length and width of the area where you will be installing the tiles. Round up the measurements to the nearest inch or centimeter.
- Add extra tiles: To account for any mistakes or irregularities, it’s recommended to purchase a few extra peel and stick tiles. This will ensure that you have enough tiles to complete the installation without any hiccups.
- Plan the layout: Before cutting any tiles, plan the layout of your installation. Decide on a starting point and determine how the tiles will be placed, taking into consideration any patterns or specific design you want to achieve. Use a pencil to mark the layout on the surface.
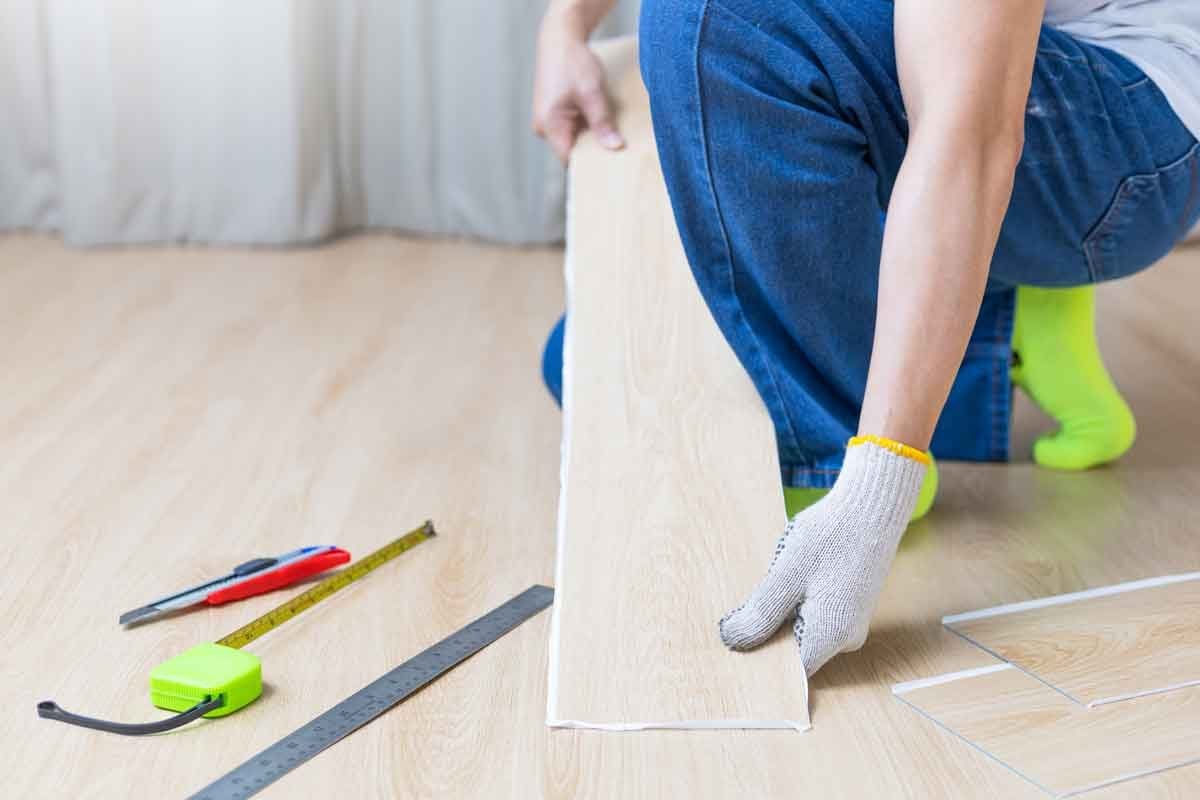
- Measure and mark the tiles: Take your first tile and measure it to fit the designated area. Use a straight edge or ruler to draw a cutting line on the back of the tile. Double-check your measurements and make sure the tile is marked accurately.
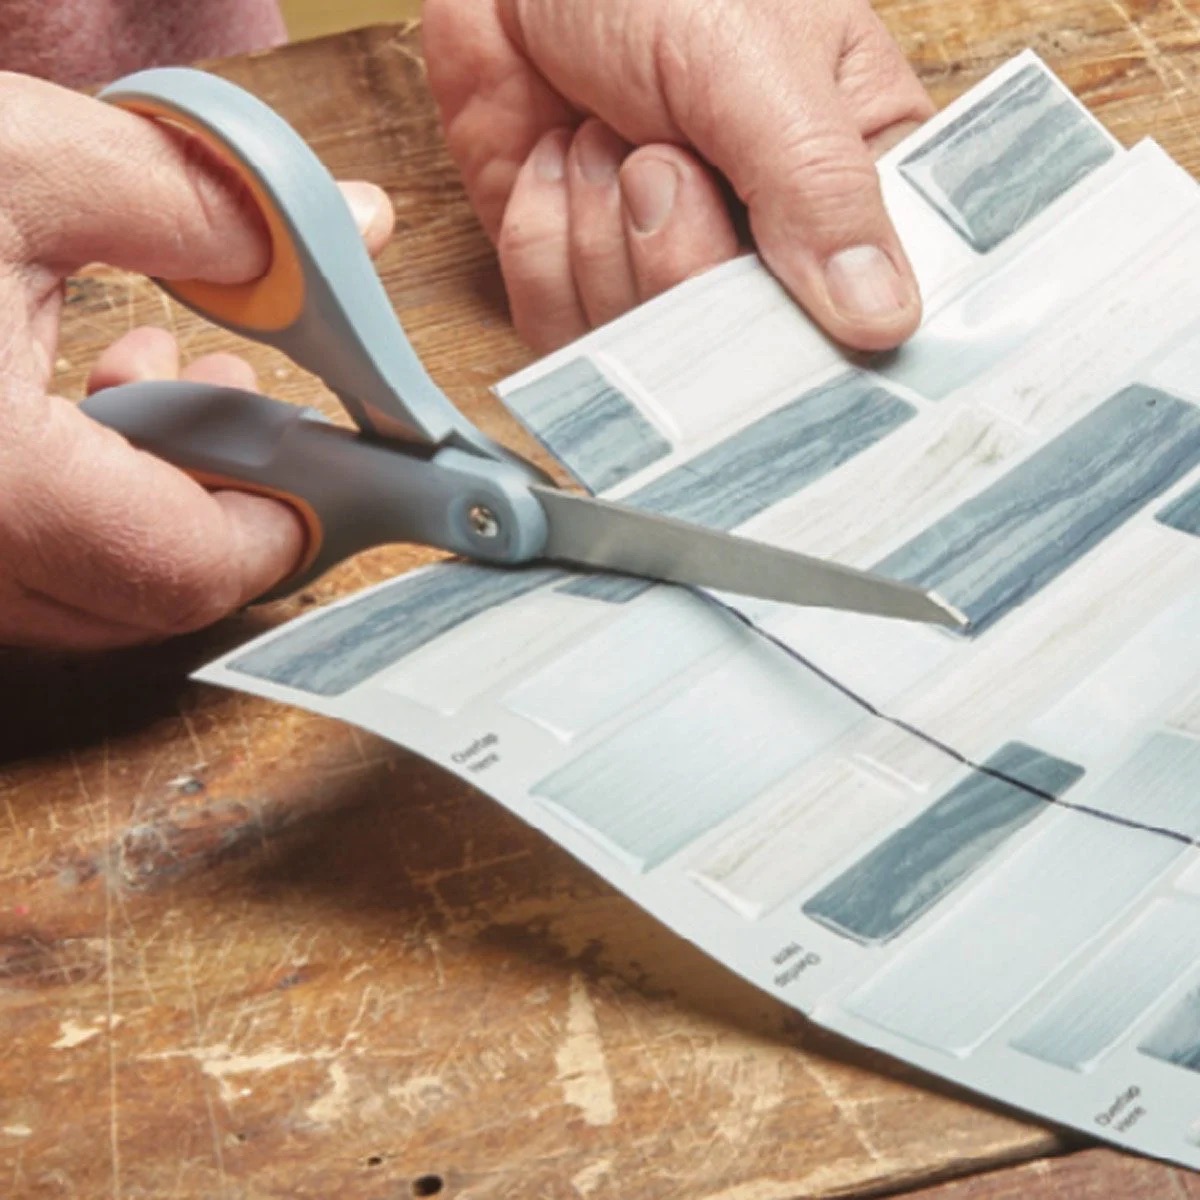
- Cut the tiles: Depending on the material of the tiles, you can use a utility knife or scissors to cut them along the marked line. For better results, score the tile first with the utility knife and then snap it along the scored line. Make sure to apply even pressure to prevent the tile from cracking or breaking.
- Test the fit: Once the tile is cut, place it in its designated spot to check the fit. Ensure that it aligns with the surrounding tiles or edges. If necessary, make any adjustments or recut the tile as needed.
- Continue measuring and cutting: Repeat the above steps for each tile, measuring, marking, and cutting them individually. Take your time to ensure each piece is cut accurately and fits seamlessly in the layout.
Remember, precision is key when measuring and cutting peel and stick tiles. Take your time, double-check your measurements, and make accurate cuts to achieve a professional-looking installation. Once you have all the tiles ready, it’s time to move on to applying the adhesive.
Applying the Adhesive
Now that you have measured and cut your peel and stick tiles, it’s time to prepare the adhesive and apply it to the surface. Follow these steps for a successful adhesive application:
- Read the manufacturer’s instructions: Different peel and stick tiles may require different types of adhesive. Before you begin, carefully read and follow the manufacturer’s instructions to ensure you are using the correct adhesive for your specific tiles.
- Prepare the adhesive: Mix or prepare the adhesive according to the manufacturer’s instructions. Ensure that the adhesive is thoroughly mixed and at the proper consistency.
- Start with a small area: It’s best to work in smaller sections, especially if you are installing a large area. This will allow you to properly manage the adhesive and prevent it from drying out before you have a chance to place the tiles.
- Apply the adhesive: Using a trowel or spreader, apply a thin and even layer of adhesive to the surface. Make sure to follow the directions on the adhesive container regarding the appropriate thickness and coverage. If using peel and stick tiles with pre-applied adhesive, skip this step.
- Spread the adhesive: Use the flat side of the trowel or spreader to spread the adhesive evenly over the designated area. Ensure that the adhesive layer is consistent and covers the entire surface where the tiles will be placed.
- Work in small sections: Place the first tile in the adhesive, starting at a corner or edge of the area. Press it firmly into the adhesive, ensuring that it is properly aligned with the layout you have planned.
- Continue with the remaining tiles: Place the next tile next to the first one, using tile spacers if desired to maintain the proper spacing. Press each tile firmly into the adhesive and adjust them as needed to achieve the desired look.
- Check for levelness and alignment: As you continue placing the tiles, use a level to ensure that they are level and aligned with each other. Make any necessary adjustments before the adhesive dries.
- Trim excess adhesive: If any adhesive seeps up between the tiles, use a damp cloth or sponge to gently wipe it away before it dries. This will help maintain a clean and professional finish.
- Allow the adhesive to dry: Follow the manufacturer’s instructions for the drying time of the adhesive. Avoid walking on or disturbing the tiles until the adhesive is completely dry and set.
By carefully following these steps, you will achieve a strong adhesion between the peel and stick tiles and the surface, ensuring a long-lasting installation. Once the adhesive is dry, you can move on to the exciting part – installing the peel and stick tiles!
Make sure the surface is clean, dry, and smooth before applying the peel and stick tiles to ensure a strong and long-lasting bond. Use a primer if necessary for better adhesion.
Installing the Peel and Stick Tiles
With the surface prepared and the adhesive applied, it’s time to install the peel and stick tiles. Follow these steps to ensure a successful installation:
- Starting point: Begin at the center of the area rather than the edges. This will help create a balanced and symmetrical layout. You can find the center by measuring and marking the midpoint of each wall.
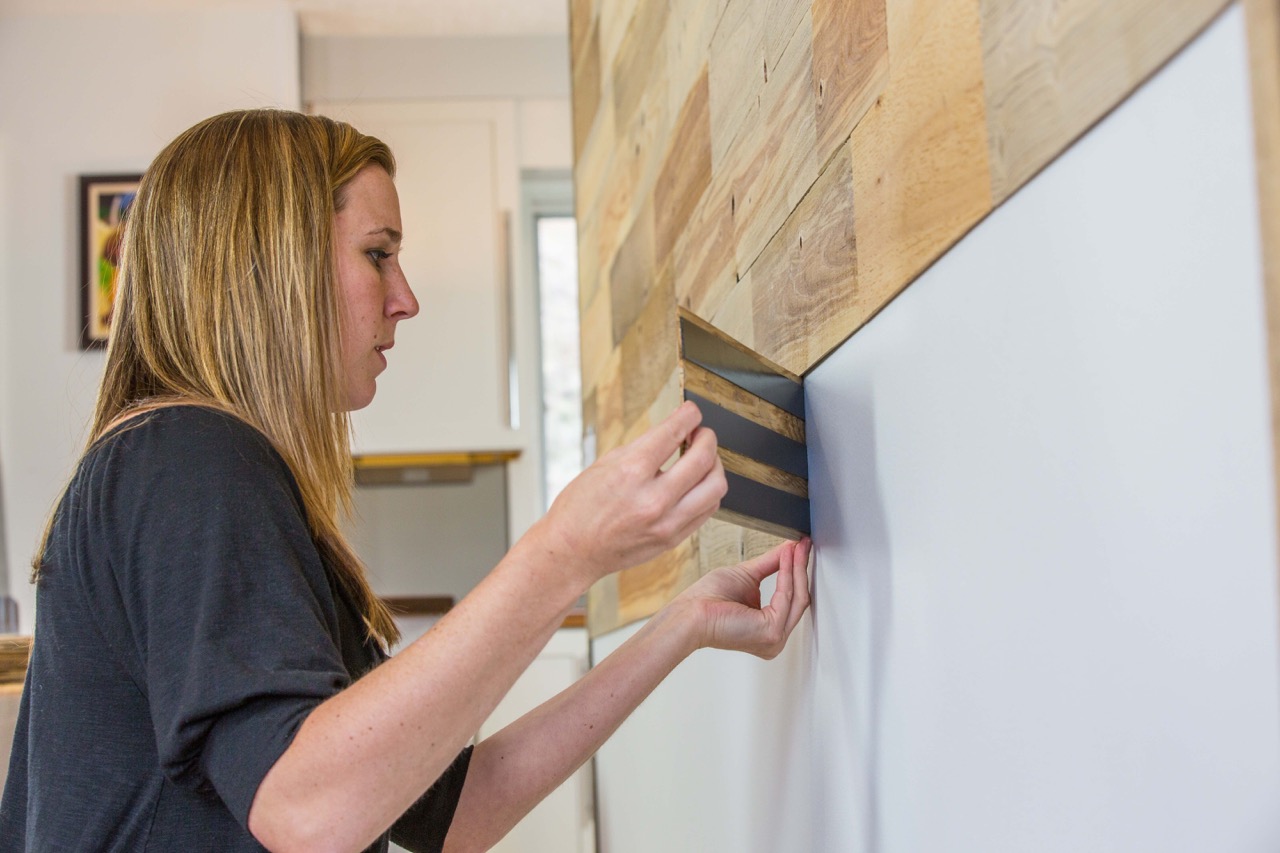
- Peel the backing: Peel off the backing of the first tile, exposing the adhesive side. Be careful not to touch the adhesive as it can reduce the stickiness.
- Align and press: Carefully align the tile with the layout you planned and press it firmly onto the surface. Apply even pressure to ensure proper adhesion.
- Continue with the pattern: Peel off the backing of the next tile, align it with the previously installed tile, and press it into place. Repeat this process, working your way out from the center, until the entire area is covered.
- Tile spacers (optional): If you want consistent spacing between the tiles, you can use tile spacers. Insert the spacers between the tiles to maintain the desired spacing as you work your way across the surface.
- Trimming and cutting: As you reach the edges or other obstacles such as outlets or cabinets, you may need to trim or cut the tiles to fit. Use a straight edge or ruler to guide your cuts and ensure a clean and precise fit.
- Press and smooth the tiles: Once all the tiles are installed, use a rubber mallet or roller to press and smooth the tiles. This will help ensure a strong bond between the tiles and the surface.
- Remove tile spacers (if used): If you used tile spacers, now is the time to remove them. Gently remove the spacers by pulling them out from between the tiles.
- Check for levelness and alignment: Use a level to double-check the levelness and alignment of the installed tiles. Make any necessary adjustments before the adhesive fully sets.
- Allow time to set: It’s important to allow the installed tiles to set and adhere properly. Follow the manufacturer’s instructions for the recommended setting time, typically 24-48 hours, before walking on or disturbing the tiles.
By following these steps, you will achieve a smooth and professional-looking installation of peel and stick tiles. Take your time, ensure proper alignment, and double-check the levelness throughout the process. Now, let’s move on to the final touches – trimming and finishing the edges.
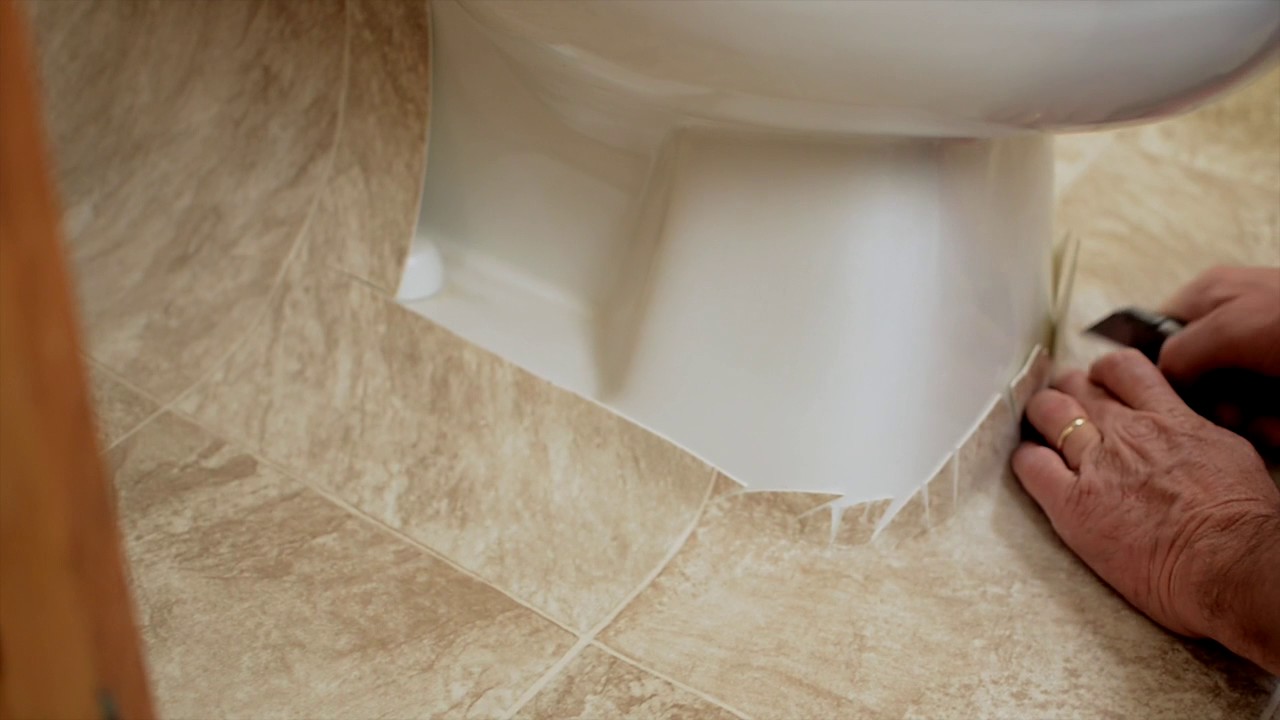
Trim and Finishing Touches
Once the peel and stick tiles are installed, it’s time to add the finishing touches that will enhance the overall appearance of your project. Follow these steps to trim and finish the edges:
- Assess the edges: Take a close look at the edges of the installed tiles. Depending on your layout, there may be areas where the tiles do not fit perfectly against the wall, cabinet, or other obstacles.
- Measure and mark: Use a measuring tape to measure the gaps or areas that require trimming. Mark these measurements on the back of the tiles that need to be trimmed.
- Trim the tiles: Using a utility knife or scissors, carefully trim the marked tiles along the measurement lines. Take your time to ensure accurate cuts and a neat finish.
- Test the fit: Place the trimmed tiles back against the edges and obstacles to test the fit. Be sure they align nicely and create a clean, finished look.
- Install trim pieces: If you removed baseboards or trim before the tile installation, now is the time to reinstall or replace them. Measure and cut the trim pieces to fit the edges and corners, using a miter saw or similar tool for angled cuts.
- Attach the trim: Apply adhesive or a suitable trim adhesive to the back of the trim pieces. Press the trim firmly in place, taking care to ensure it aligns with the edges of the tiles.
- Caulk the edges (optional): If desired, you can use caulk to seal the gaps between the tiles and the trim pieces, creating a seamless transition. Choose a caulk color that matches the tiles for a cohesive look.
- Blend and clean: Once the trim is securely in place, step back and assess the overall appearance. Make any adjustments or touch-ups as needed. Wipe down the tiles and trim with a damp cloth to remove any dust or debris.
With the trim and finishing touches complete, step back and admire your newly installed peel and stick tile project. The edges should now have a clean and polished look, creating a professional finish. Before you wrap up your project, let’s discuss the cleaning and maintenance of peel and stick tiles.
Cleaning and Maintenance
Proper cleaning and maintenance are essential for preserving the beauty and longevity of your peel and stick tiles. Follow these tips to keep your tiles looking their best:
- Sweep or vacuum regularly: Remove loose dirt, dust, and debris from the tiles on a regular basis. Use a soft broom or vacuum with a brush attachment to prevent scratching the surface.
- Mop with mild detergent: For deeper cleaning, damp mop the tiles using a mild detergent mixed with warm water. Avoid using abrasive cleaners, bleach, or harsh chemicals, as they can damage the tiles.
- Wipe up spills immediately: Accidental spills should be cleaned up promptly to prevent staining or damage to the tiles. Use a soft cloth or sponge to blot up the spill and avoid rubbing it into the tiles.
- Avoid excessive moisture: Excessive moisture can seep into the seams and compromise the adhesive of the peel and stick tiles. Keep the area dry and avoid using excessive water during cleaning.
- Protect the tiles: Use felt pads or coasters under heavy furniture to prevent scratching or indents on the tiles. Place doormats or rugs in high-traffic areas to reduce wear and tear.
- Inspect for damage: Regularly inspect the tiles for any signs of damage, such as lifting edges or cracks. If you notice any issues, promptly address them to prevent further damage or tripping hazards.
- Avoid sharp objects: Be cautious when using sharp objects near the peel and stick tiles, as they can scratch or damage the surface. Use cutting boards or protective mats in areas where you are likely to use knives or other sharp tools.
- Follow manufacturer’s instructions: Always refer to the manufacturer’s instructions for specific cleaning and maintenance guidelines. Different types of peel and stick tiles may have specific recommendations to maintain their appearance and durability.
By following these cleaning and maintenance tips, you can keep your peel and stick tiles looking beautiful and ensure their long-lasting performance. Remember, regular care and attention will help extend the life of your tiles and keep them looking as good as new for years to come.
Now that you have learned how to install, trim, and maintain peel and stick tiles, you have the knowledge and confidence to tackle your own tile projects. Enjoy the transformation and the convenience of your newly installed peel and stick tiles!
Conclusion
Congratulations! You have successfully completed our comprehensive guide on how to install peel and stick tiles. By following the step-by-step instructions, you have transformed your space with a cost-effective and convenient solution that offers both style and durability.
Throughout this guide, we covered the necessary materials, preparing the surface, measuring and cutting the tiles, applying the adhesive, installing the tiles, trimming and finishing the edges, as well as cleaning and maintaining your new peel and stick tiles. By paying attention to each step and taking your time, you have achieved professional-looking results.
Peel and stick tiles have revolutionized the way homeowners approach DIY projects. With their easy installation process and wide range of designs, they provide a practical and stylish option for refreshing your home. Whether you’re updating your kitchen backsplash, renovating your bathroom floor, or reviving any other space, peel and stick tiles offer versatility and affordability.
Remember to always follow the manufacturer’s instructions and guidelines specific to your chosen peel and stick tiles. Adhere to proper cleaning techniques and maintenance to ensure their longevity and aesthetic appeal. Regular care and prompt attention to repairs or damage will keep your tiles looking beautiful for years to come.
We hope that this guide has provided valuable insights and guidance for your peel and stick tile installation. Enjoy your transformed space and take pride in your DIY accomplishment. Don’t be afraid to explore different patterns, colors, and layouts to truly personalize your project.
Thank you for choosing to join us on this journey of DIY home improvement. We wish you all the best in your future peel and stick tile projects, and may your home be filled with beauty and creativity!
Frequently Asked Questions about How To Install Peel And Stick Tile
Was this page helpful?
At Storables.com, we guarantee accurate and reliable information. Our content, validated by Expert Board Contributors, is crafted following stringent Editorial Policies. We're committed to providing you with well-researched, expert-backed insights for all your informational needs.


0 thoughts on “How To Install Peel And Stick Tile”