Articles
How To Waterproof Peel And Stick Tiles
Modified: October 18, 2024
Learn how to waterproof peel and stick tiles with our informative articles. Get useful tips and tricks to ensure a long-lasting and durable installation.
(Many of the links in this article redirect to a specific reviewed product. Your purchase of these products through affiliate links helps to generate commission for Storables.com, at no extra cost. Learn more)
Introduction: Definition and Importance of Waterproofing Peel and Stick Tiles
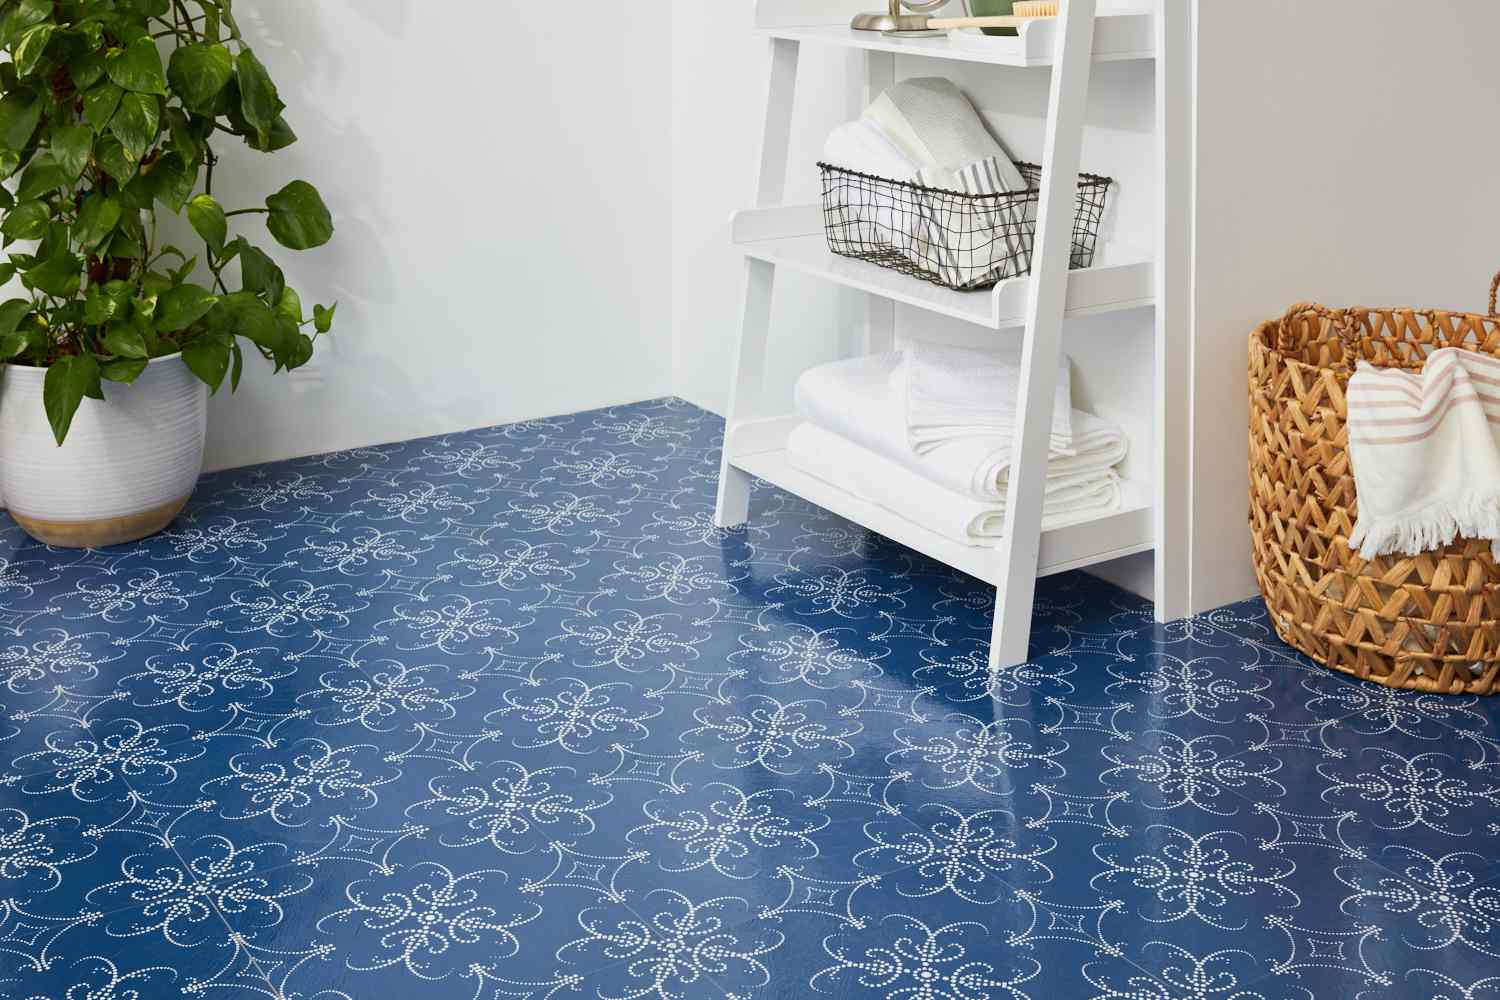
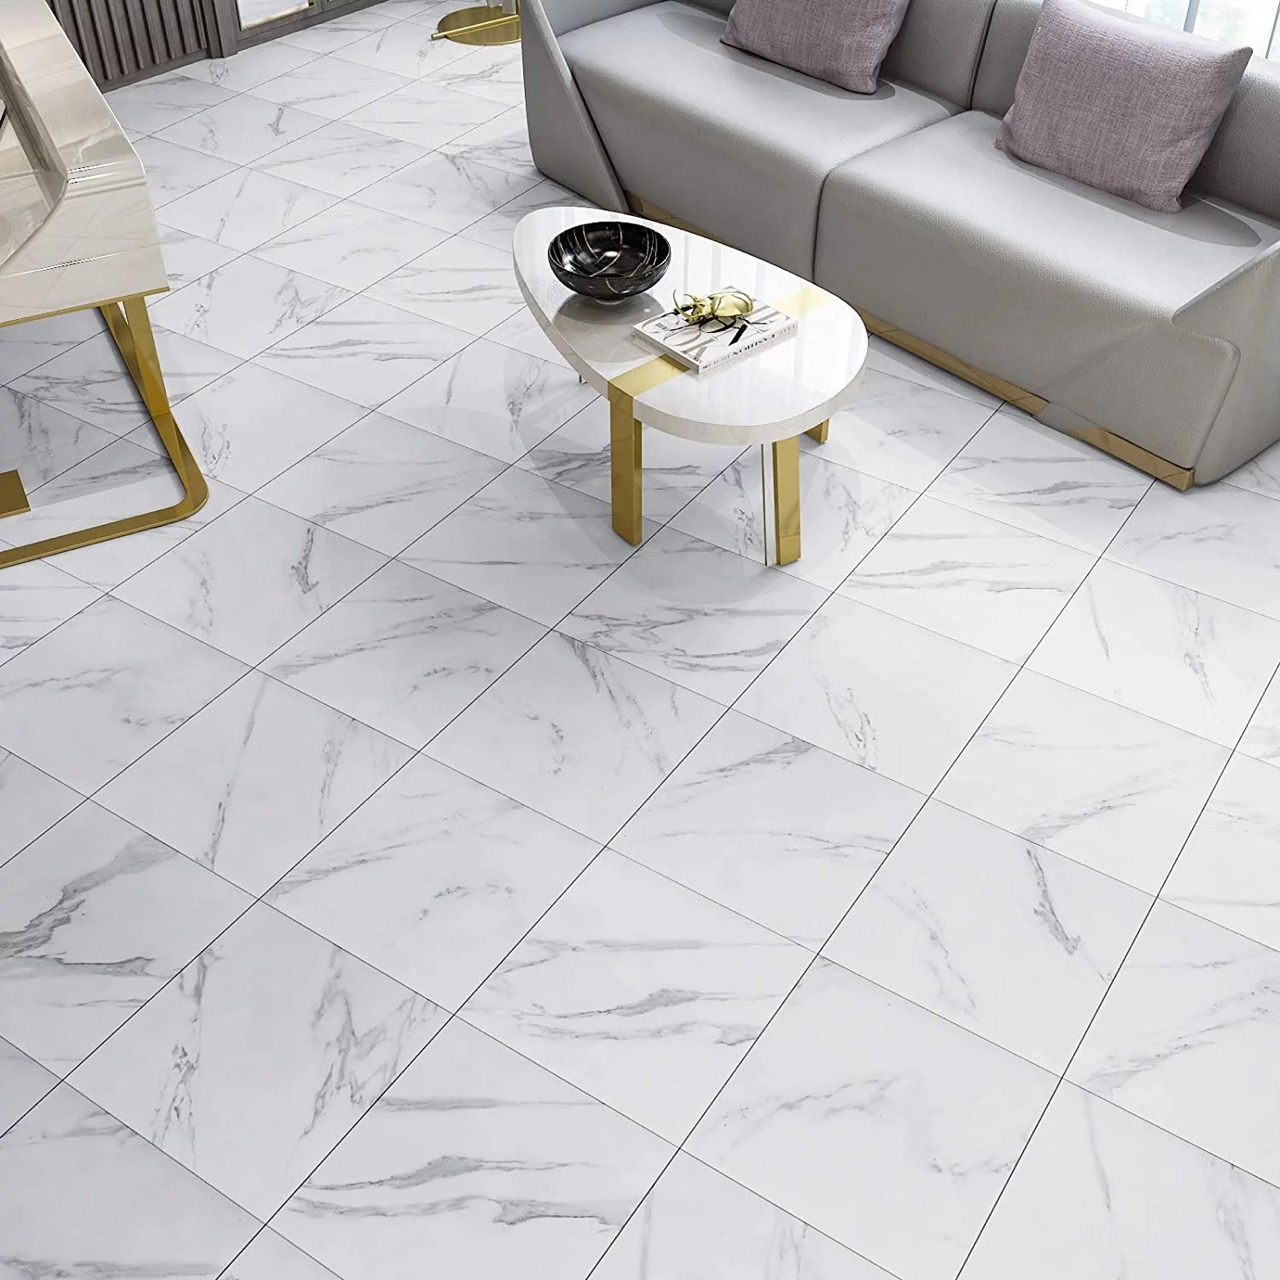
Peel and stick tiles have become a popular flooring option in recent years. They are easy to install, affordable, and offer a wide range of design options. However, one important aspect that should not be overlooked when installing peel and stick tiles is waterproofing. Waterproofing is crucial for ensuring the longevity and durability of these tiles, especially in areas prone to moisture and water exposure.
Waterproofing peel and stick tiles involves creating a barrier that prevents water from seeping through the tiles and reaching the subfloor. This is particularly important in areas such as bathrooms, kitchens, laundry rooms, and basements, where water spills, humidity, and moisture are common.
When peel and stick tiles are not properly waterproofed, water can seep into the adhesive or the seams between the tiles, causing them to lift or warp. This can lead to costly repairs and replacements. Additionally, moisture can seep into the subfloor, causing mold and mildew growth, which can be detrimental to both the tiles and the overall indoor air quality.
Properly waterproofing peel and stick tiles ensures their longevity, protects the subfloor, and maintains the appearance of your flooring. It creates a waterproof barrier that prevents water from penetrating the tiles, making them resistant to moisture, spills, and humidity.
Moreover, waterproofing can also enhance the overall aesthetic of the floor. It creates a smoother surface, making the tiles easier to install and align. It also provides an additional layer of protection against stains and increases the durability of the tiles, preventing them from fading or discoloring over time.
So, how do you go about waterproofing peel and stick tiles? The process involves preparing the surface, choosing the right waterproofing method, applying a waterproofing membrane, installing the tiles, and sealing and finishing the waterproofed surface. Each step is crucial in ensuring a seamless and long-lasting waterproofing solution for your peel and stick tiles.
In the following sections, we will delve into each step in detail, providing helpful tips and guidelines to ensure a successful waterproofing process. By following these steps, you can enjoy the beauty and functionality of your peel and stick tiles for years to come.
Key Takeaways:
- Properly waterproofing peel and stick tiles is crucial for protecting against water damage, ensuring longevity, and maintaining the aesthetic appeal of your flooring. It enhances durability and safeguards the subfloor from moisture-related issues.
- From surface preparation to sealant application, each step in waterproofing and installing peel and stick tiles is essential for achieving a seamless, long-lasting finish. Attention to detail and proper care are key to maximizing the lifespan of your flooring.
Read more: What Is Peel And Stick Tile
Preparing the Surface: Cleaning the Existing Floor, Removing Any Old Adhesive, Smoothing Out Uneven Areas
Before starting the waterproofing process for your peel and stick tiles, it is essential to properly prepare the surface. Taking the time to clean the existing floor, remove any old adhesive, and smooth out uneven areas will ensure a clean and even base for your waterproofing and tile installation.
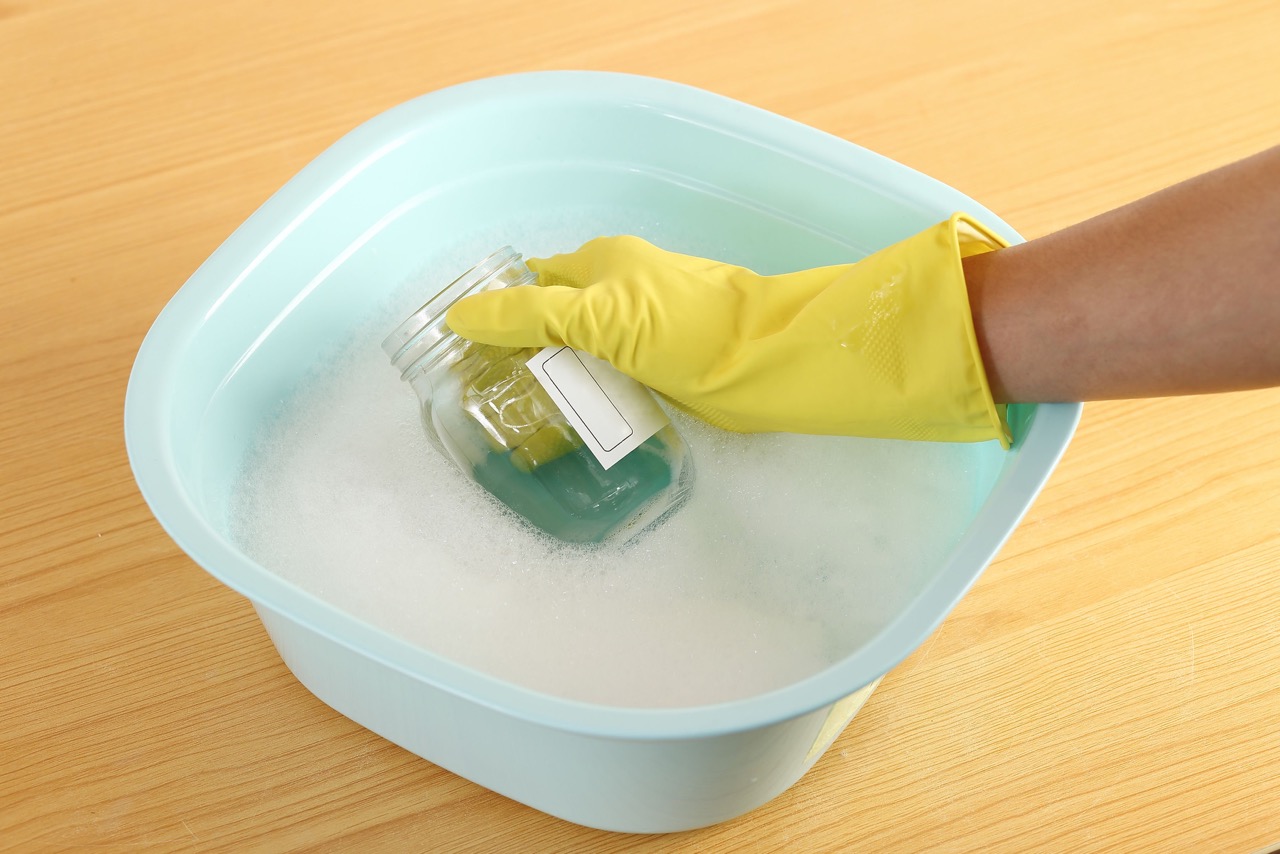
The first step in preparing the surface is to thoroughly clean the existing floor. Remove any dust, dirt, or debris that may be present. Sweep or vacuum the floor to eliminate loose particles. Next, use a mop or cloth soaked in a mild cleaning solution to clean the surface. Ensure all stains, spills, and greasy residues are removed. Allow the floor to dry completely before proceeding to the next step.
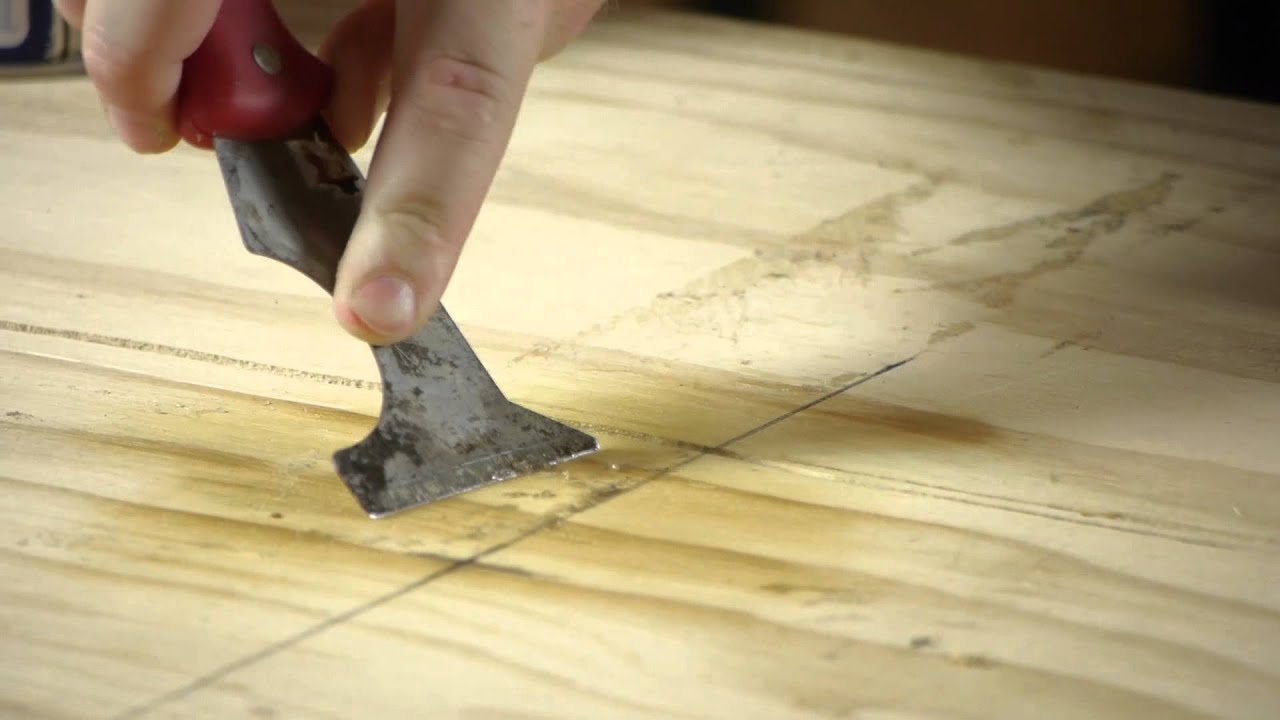
If there is any old adhesive residue on the floor, it is important to remove it before applying the waterproofing materials. Use a scraper or adhesive remover to scrape away the old adhesive. Make sure to follow the manufacturer’s instructions for the adhesive remover and use it in a well-ventilated area. Once the old adhesive is removed, clean the area again to ensure it is free from any adhesive remnants.
Once the surface is clean and free from any old adhesive, inspect the floor for any uneven areas. Uneven surfaces can affect the adhesion and installation of the peel and stick tiles. Use a leveling compound or self-leveling underlayment to smooth out any irregularities. Follow the manufacturer’s instructions for mixing and applying the leveling compound, ensuring it is spread evenly across the floor. Allow the compound to dry and cure completely according to the recommended timeframe.
Smoothing out uneven areas and creating a level surface is crucial for not only the proper installation of the tiles but also for the effectiveness of the waterproofing. It ensures that the tiles adhere properly and minimizes the risk of water seepage through gaps or irregularities in the subsurface.
By dedicating time to prepare the surface by cleaning, removing old adhesive, and smoothing out any uneven areas, you create an optimal base for applying the waterproofing materials and installing your peel and stick tiles. Taking these precautionary steps will help ensure a smooth and successful waterproofing process, ultimately prolonging the lifespan of your peel and stick flooring and providing a beautiful and durable finish.
Choosing the Right Waterproofing Method: Overview of Different Waterproofing Methods, Evaluating Suitability for Peel and Stick Tiles
When it comes to waterproofing peel and stick tiles, there are various methods available to create a moisture barrier and protect the underlying floor. It’s important to choose the right waterproofing method based on the specific needs of your project, the condition of the existing floor, and the compatibility with peel and stick tiles.
Here is an overview of some common waterproofing methods:
- Waterproofing Membrane: A waterproofing membrane is a thin layer applied directly to the subfloor. It acts as a barrier, preventing moisture from seeping through to the peel and stick tiles. This method is highly effective and suitable for peel and stick tiles, as it provides a seamless and uniform surface. It is advisable to choose a waterproofing membrane that is compatible with peel and stick adhesives to ensure proper adhesion and longevity of the tiles.
- Epoxy Coating: Epoxy coatings are commonly used for waterproofing concrete floors. They create a durable and waterproof surface, making them suitable for areas at risk of water exposure. While epoxy coatings can be applied to the subfloor before installing peel and stick tiles, it’s important to note that some peel and stick adhesives may not adhere well to epoxy surfaces. Therefore, it is crucial to choose a peel and stick adhesive that is compatible with epoxy coatings.
- Waterproofing Paint: Waterproofing paints are designed to create a moisture-resistant barrier on the floor surface. While they can provide some level of protection against moisture, they may not be as effective as other waterproofing methods, especially in areas with high humidity or significant water exposure. Waterproofing paints are generally not recommended as the sole waterproofing method for peel and stick tiles, but can be used as an additional protective layer after applying a waterproofing membrane.
- Silicone Sealant: Silicone sealants are often used to seal gaps and joints in wet areas, such as around sinks, showers, and bathtubs. While silicone sealants do provide some level of waterproofing, they are not typically used as the primary waterproofing method for peel and stick tiles. Instead, they can be used in combination with other waterproofing methods to ensure a watertight seal at corners, edges, and other vulnerable areas.
When choosing the right waterproofing method for peel and stick tiles, consider factors such as the level of moisture exposure in the room, the condition of the subfloor, and the compatibility with peel and stick adhesives. It’s also recommended to consult with professionals or refer to manufacturer guidelines for specific product recommendations and installation instructions.
By selecting the appropriate waterproofing method, you can safeguard your peel and stick tiles from water damage, prolong their lifespan, and ensure a beautiful and durable flooring surface in areas prone to moisture and water exposure.
Applying Waterproofing Membrane: Step-by-Step Guide, Tips for Achieving a Smooth and Uniform Surface
Applying a waterproofing membrane is a crucial step in ensuring the longevity and durability of peel and stick tiles. The waterproofing membrane acts as a barrier, preventing moisture from seeping through and causing damage to both the tiles and the underlying floor. Here is a step-by-step guide on how to apply a waterproofing membrane for peel and stick tiles:
- Prepare the surface: Ensure the existing floor is clean, free from debris, and dry. Smooth out any uneven areas and repair any cracks or damage before applying the waterproofing membrane.
- Choose the right membrane: Select a waterproofing membrane that is suitable for your specific needs and compatible with peel and stick adhesives. Consult with professionals or refer to manufacturer guidelines for product recommendations.
- Mix the membrane: Follow the manufacturer’s instructions to mix the waterproofing membrane. Use a drill with a mixing attachment or a paddle to achieve a smooth and consistent mixture. Avoid overmixing, as this can introduce air bubbles into the membrane.
- Apply the first coat: Using a brush or roller, apply the first coat of the waterproofing membrane evenly across the surface. Work in manageable sections, starting from one corner and working your way towards the exit. Ensure that the entire area is covered with a consistent thickness of the membrane.
- Embed the membrane: While the first coat of the membrane is still wet, embed a waterproofing fabric or membrane reinforcement into the surface. This reinforcement helps enhance the strength and integrity of the waterproofing system. Follow the manufacturer’s guidelines for applying and embedding the reinforcement material.
- Apply the second coat: Once the reinforcement material is embedded, apply a second coat of the waterproofing membrane. This coat helps seal and reinforce the waterproofing system. Apply the second coat in the same manner as the first, ensuring even coverage and a uniform thickness.
- Smooth and level the surface: After applying the second coat, use a flat trowel or a squeegee to level and smooth the surface of the membrane. This step helps achieve a seamless and uniform surface, minimizing the risk of water seepage and providing a smooth base for the peel and stick tiles.
- Allow the membrane to dry and cure: Follow the manufacturer’s recommendations for the drying and curing time of the waterproofing membrane. It is important to allow sufficient time for the membrane to fully dry and cure before proceeding with tile installation.
Here are some tips to keep in mind while applying a waterproofing membrane:
- Ensure proper ventilation in the area during the application and drying process to aid in the curing of the membrane.
- Use proper personal protective equipment, such as gloves and goggles, when working with the waterproofing membrane.
- Apply the membrane during optimal weather conditions, avoiding extreme temperatures and humidity which can affect the drying and curing process.
- Ensure that the thickness of the membrane is consistent throughout the entire surface to provide a uniform level of waterproofing.
- Follow the manufacturer’s guidelines for proper cleaning and disposal of tools and materials used in the application process.
By following these steps and incorporating these tips, you can achieve a proper and effective waterproofing membrane for your peel and stick tiles. This will provide a strong and durable barrier against moisture and ensure the longevity of your flooring. With a smooth and uniform surface, you are ready to proceed with the installation of your peel and stick tiles.
When waterproofing peel and stick tiles, make sure to thoroughly clean and dry the surface before applying the tiles. Use a waterproofing primer or sealant to ensure a tight seal and prevent water damage.
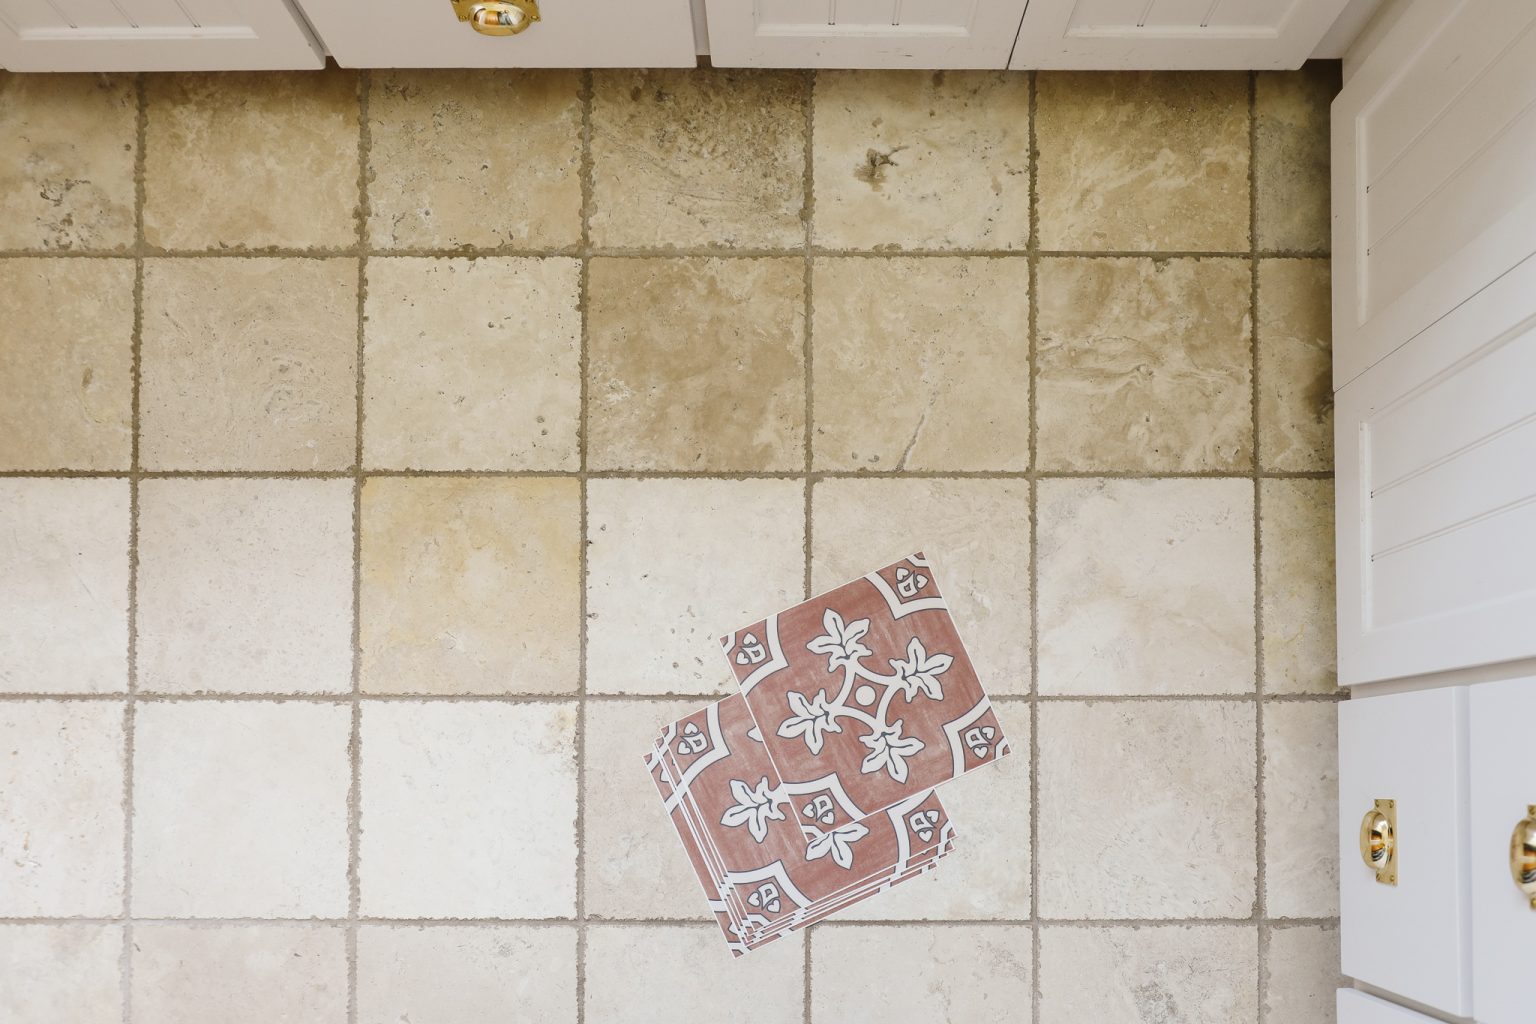
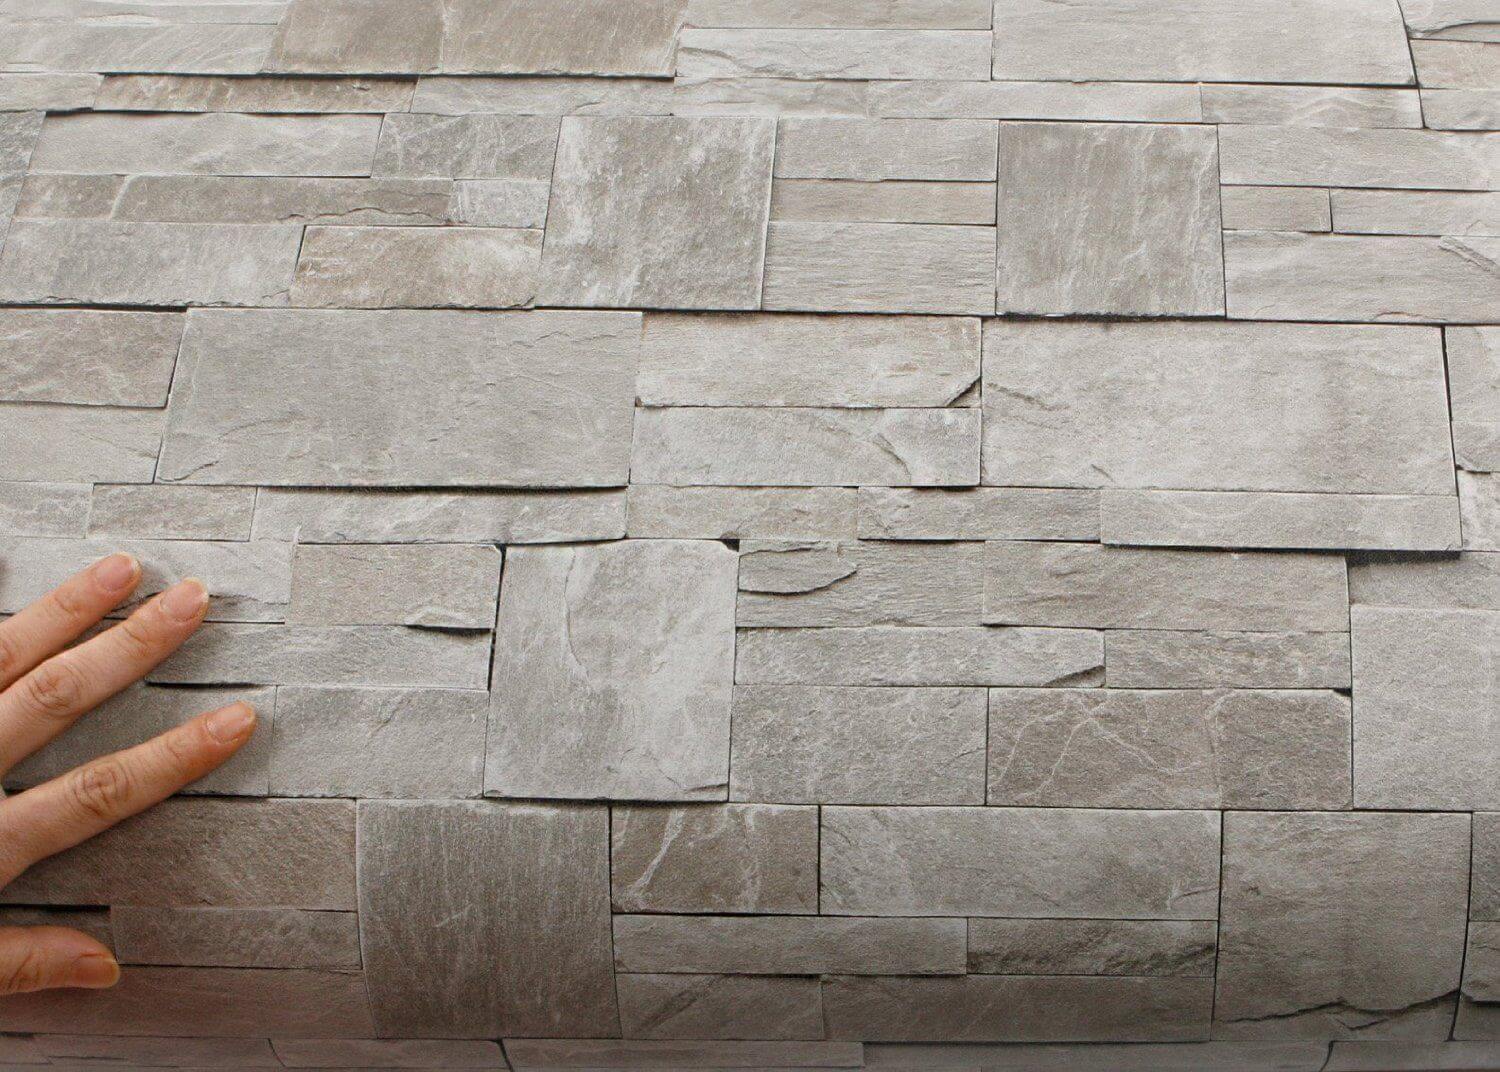
Installing Peel and Stick Tiles: Proper Technique for Aligning and Sticking Tiles, Handling Corners, Edges, and Obstacles
Now that you have prepared the surface and applied the waterproofing membrane, it’s time to install your peel and stick tiles. Proper installation is crucial to ensure a seamless and professional-looking finish. Here are some guidelines for installing peel and stick tiles:
- Plan the layout: Before you start, plan the layout of your tiles. Take into consideration the size and shape of the room and any obstacles such as cabinets or fixtures. This will help you determine the best starting point and how the tiles will fit within the space.
- Align the first tile: Starting from a corner or the center of the room (depending on your layout plan), peel the backing off the first tile and carefully place it in position. Ideally, the edges of the tile should be aligned with the edges of the room or a reference line. Press the tile firmly onto the floor, ensuring it is securely adhered.
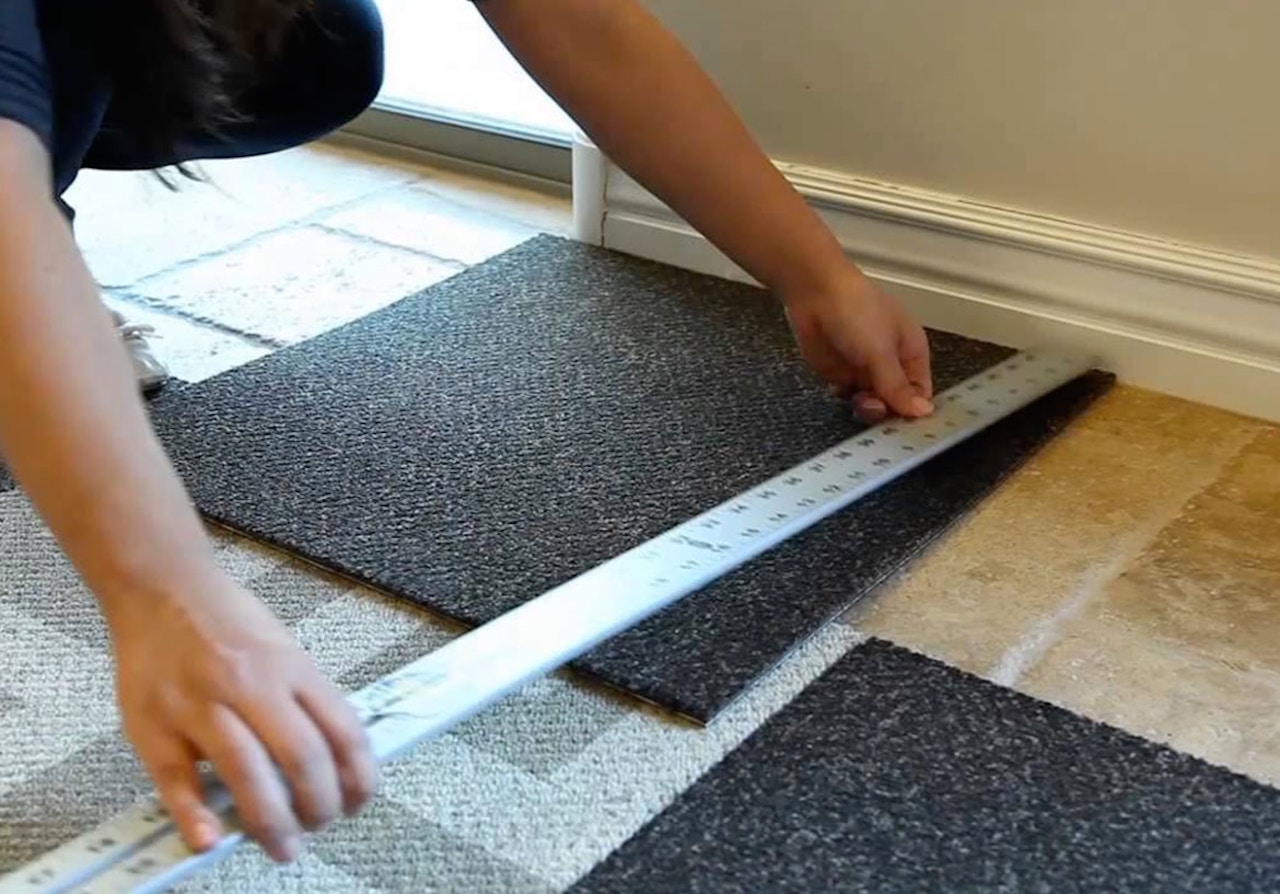
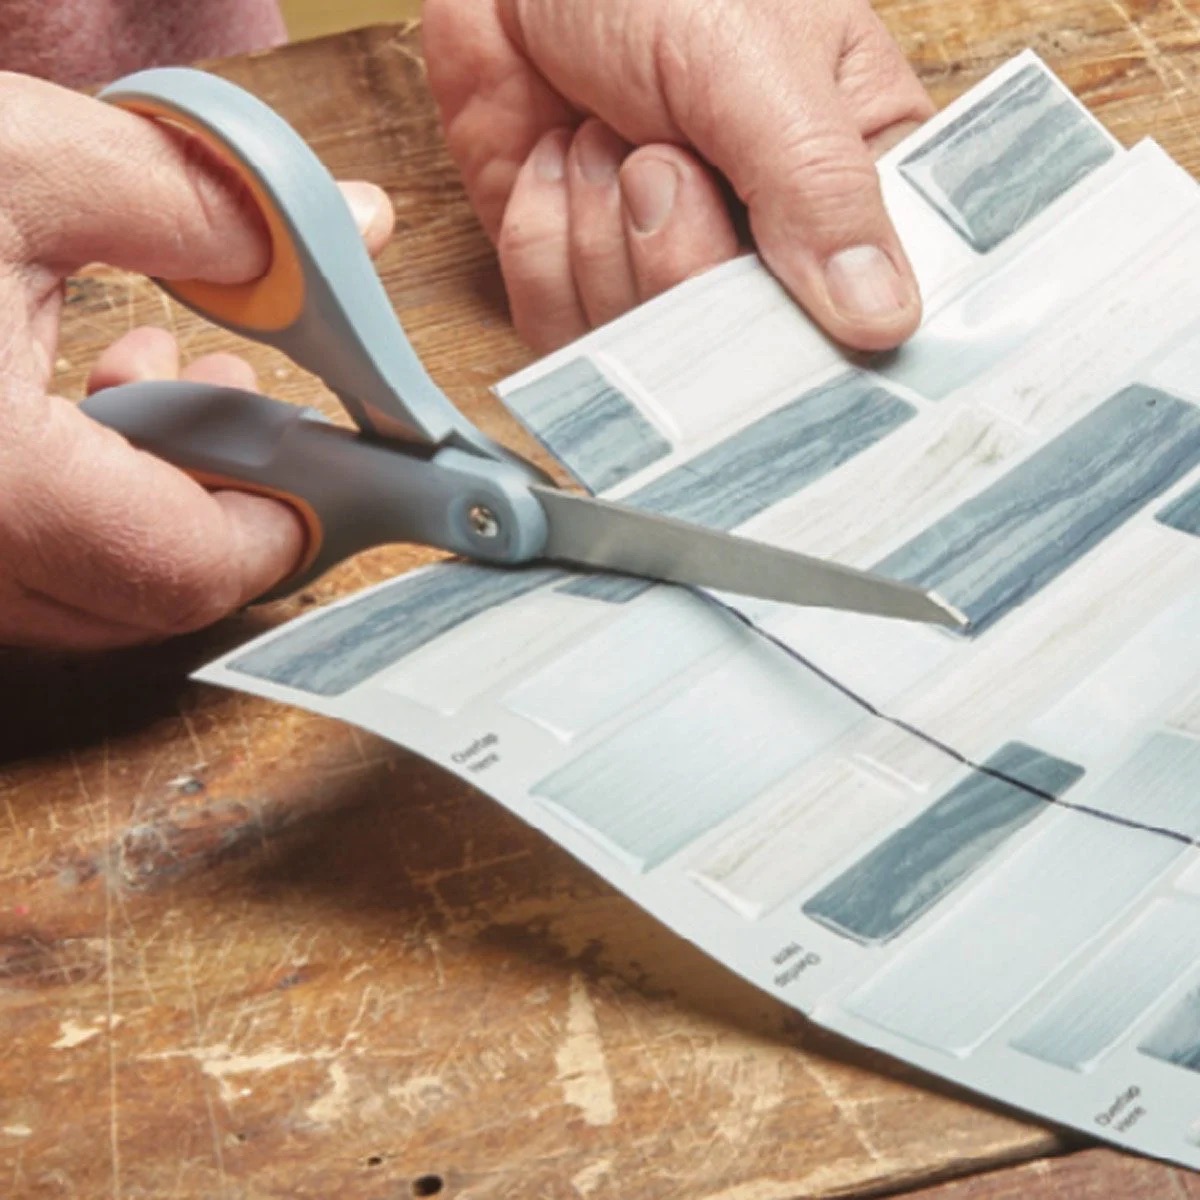
- Continue in rows: Peel the backing off the next tile and align it with the first tile, using the built-in grout lines or spacers to maintain even spacing between tiles. Press firmly to stick the tile to the floor. Continue this process, working in rows, until you have covered the entire floor space. Use a utility knife to cut tiles as needed to fit around corners or obstacles.
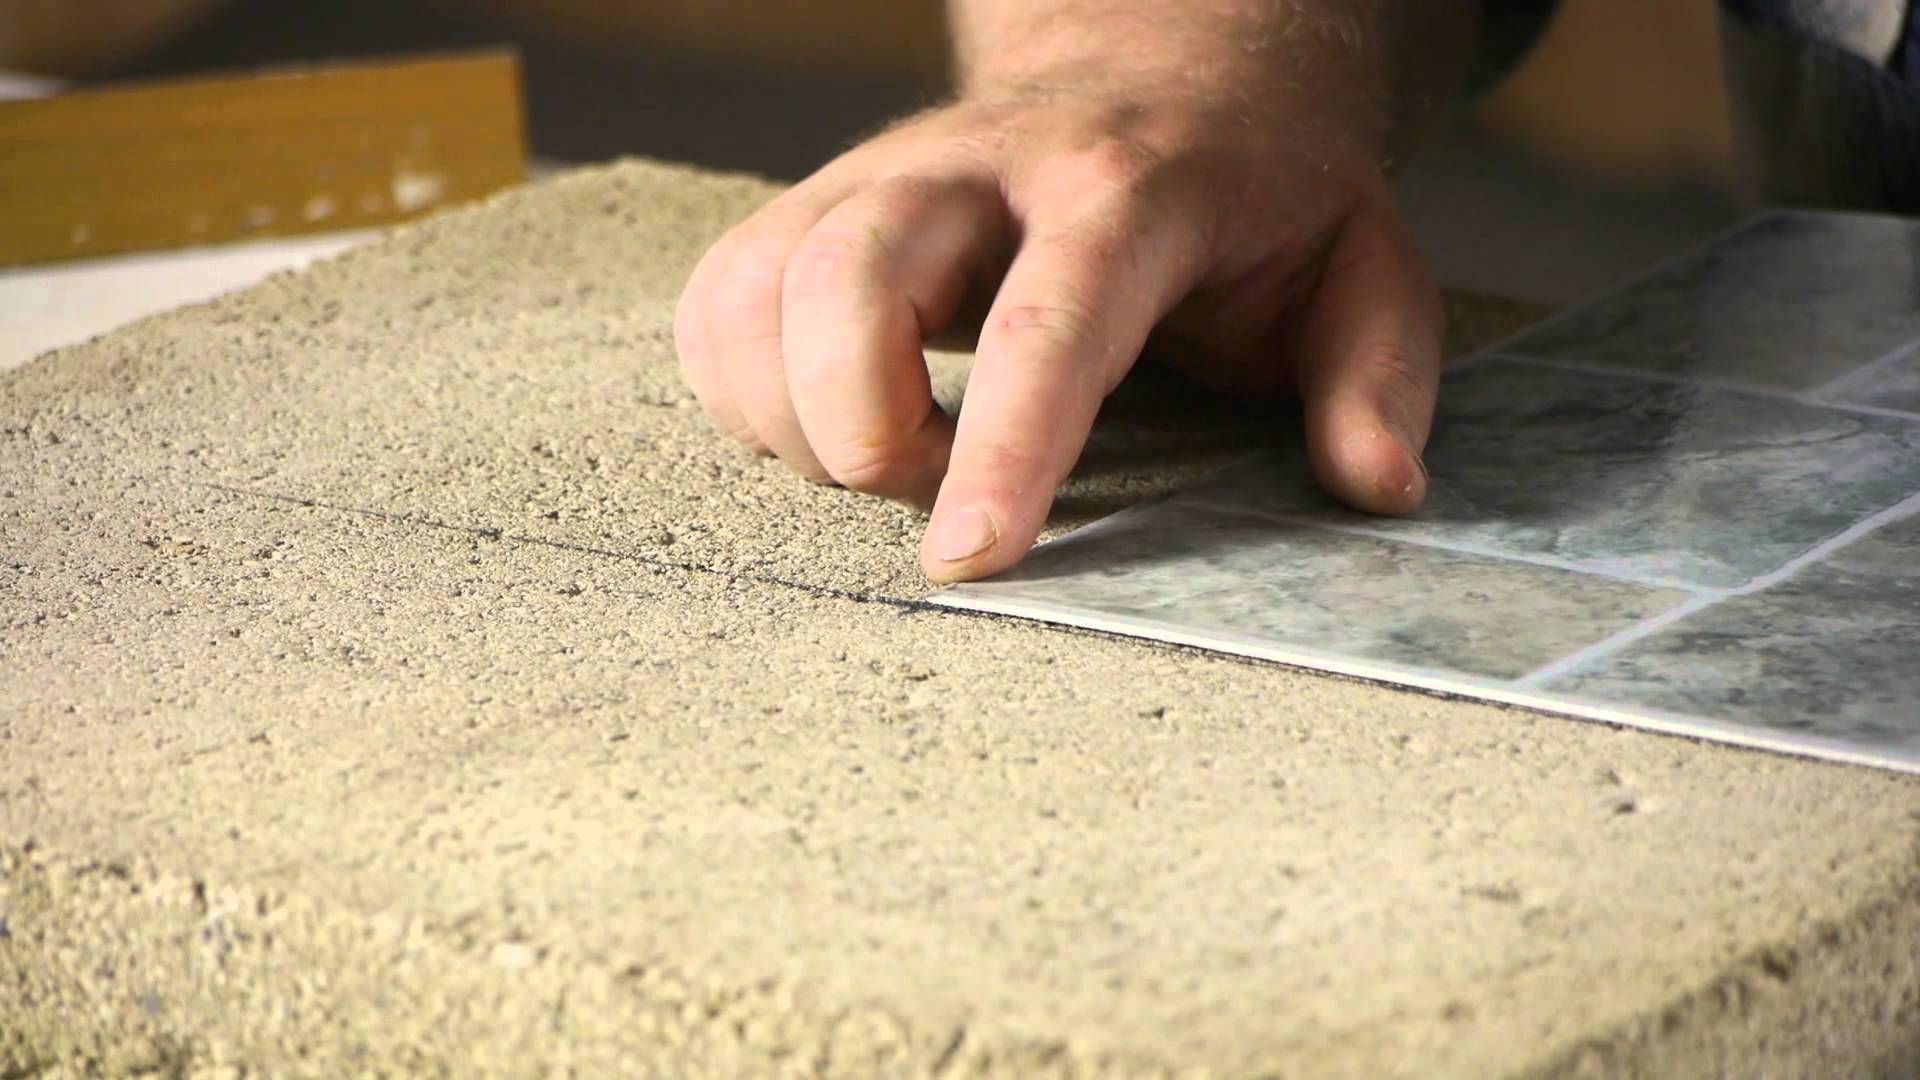
- Handle corners and edges: When reaching corners or edges, measure and cut the tiles to fit the space precisely. Use a straightedge as a guide when making the cuts to ensure clean and straight edges. Corner trims or edging strips can be used to provide a neat and finished look where tiles meet walls or other vertical surfaces.
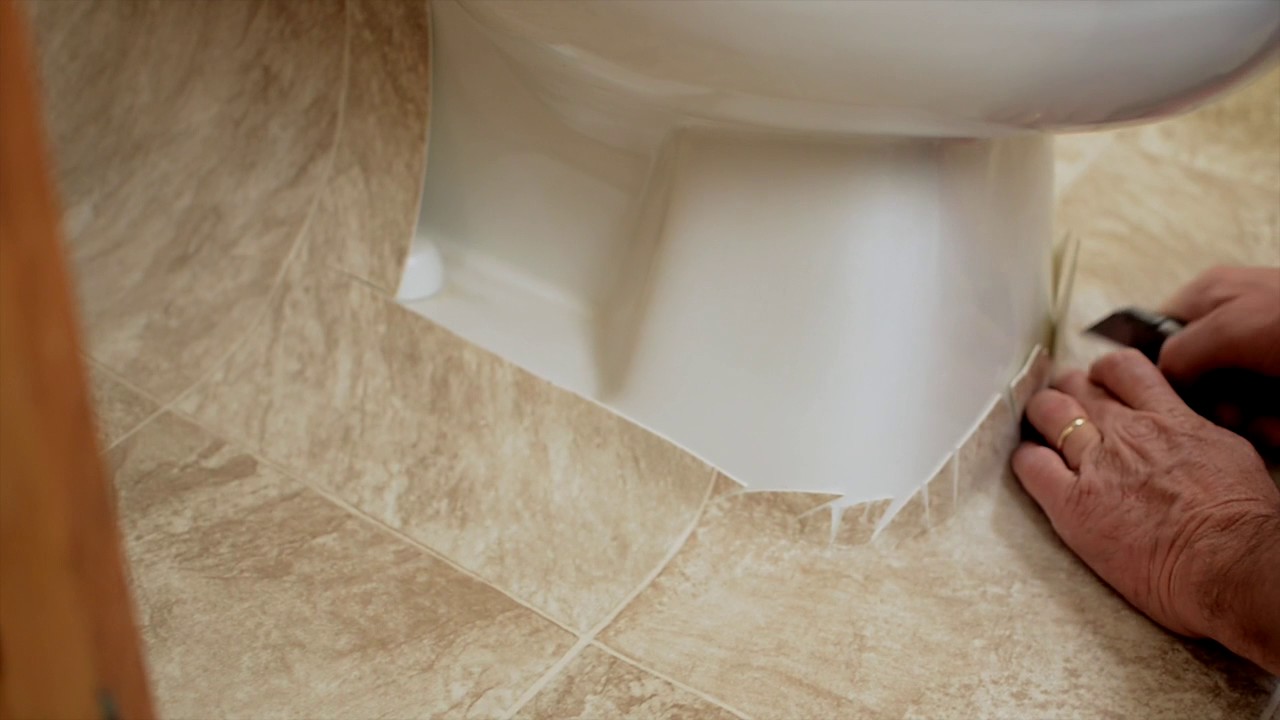
- Work around obstacles: If you encounter obstacles such as pipes or vents, carefully cut the tiles to fit around them. It may be necessary to temporarily remove or adjust the obstacle to ensure a precise fit. Once the tile is in position, trim any excess material and secure it tightly in place.
- Press and roll the tiles: After each tile is in position, firmly press it down and use a roller to ensure proper adhesion and to eliminate any air bubbles or wrinkles. This step is essential for a smooth and long-lasting finish. Pay extra attention to the edges and corners, ensuring they are securely bonded.
- Check for level and alignment: Periodically check that the tiles are level and aligned as you progress. Use a level and straightedge to ensure the tiles are flush and aligned with the reference lines or edges of the room. Make any necessary adjustments before proceeding.
- Allow time for bonding: Once all the tiles are installed, allow sufficient time for the adhesive to bond with the floor. Follow the manufacturer’s instructions for the recommended curing time. Avoid placing heavy objects or walking on the tiles until they are fully bonded.
By following these guidelines and taking your time during the installation process, you can achieve a professional and beautiful result. Proper alignment, handling of corners and edges, and careful installation around obstacles will ensure a cohesive and visually appealing finish for your peel and stick tiles.
Read more: How To Install Peel And Stick Tile
Sealing and Finishing: Protecting the Tiles from Water Damage, Applying Sealant for Long-Lasting Waterproofing
After successfully installing peel and stick tiles and ensuring they are properly adhered to the floor, the next important step is to seal and finish the surface. Sealing the tiles helps protect them from water damage and enhances their durability, ensuring long-lasting waterproofing. Here’s how you can seal and finish your peel and stick tiles:
- Clean the surface: Before applying any sealant, thoroughly clean the tiles using a mild cleaning solution and a non-abrasive cloth or mop. Make sure to remove any debris, dust, or residue from the installation process. Allow the tiles to dry completely.
- Choose the right sealant: Select a sealant that is suitable for the type of peel and stick tiles you have installed. Look for a sealant specifically designed for the material of your tiles, such as ceramic, vinyl, or porcelain. Additionally, ensure that the sealant is suitable for use in wet areas and is compatible with the waterproofing membrane or adhesive used.
- Apply the sealant: Follow the manufacturer’s instructions for applying the sealant. Use a brush, roller, or sprayer, depending on the recommended application method. Apply a thin, even layer of sealant across the entire surface of the tiles, working in small sections. Be careful to avoid any excess sealant pooling or dripping.
- Allow curing time: After applying the sealant, allow it to dry and cure as per the manufacturer’s instructions. This typically ranges from a few hours to a day, depending on the specific sealant used. Avoid walking on the tiles or placing heavy objects on them until the sealant has fully dried and hardened.
- Apply additional coats (if necessary): Depending on the product you are using, you may need to apply multiple coats of sealant for optimal protection. Follow the recommended drying time between each coat and ensure each layer is applied evenly and thoroughly. Be cautious not to create a thick buildup of sealant, as it may affect the appearance of the tiles.
- Maintain the sealed surface: Once the sealant has dried and cured completely, it’s important to maintain the sealed surface properly. Clean the tiles regularly using gentle cleaners and avoid using abrasive materials or harsh chemicals, as they can damage the sealant. Promptly clean up spills and avoid prolonged exposure to standing water, as it may compromise the sealant’s effectiveness over time.
- Periodically reapply the sealant: Over time, the sealant may wear off due to foot traffic, cleaning, and other factors. Periodically check the condition of the sealant and reapply it as needed to maintain the waterproofing and protection of your peel and stick tiles. Follow the manufacturer’s recommendations for reapplication intervals.
By sealing and finishing your peel and stick tiles, you provide an additional layer of protection against water damage and ensure their durability. Properly sealed tiles are more resistant to stains, spills, and moisture, prolonging their lifespan and maintaining their aesthetic appeal. Take the time to choose the right sealant and follow the application instructions carefully to achieve the best results.
Maintenance and Care: Recommendations for Regular Maintenance, Troubleshooting Common Issues
Regular maintenance and proper care are crucial for keeping your peel and stick tiles looking their best and ensuring their longevity. By following these recommendations, you can prevent potential issues and maintain the beauty and functionality of your flooring:
- Sweep or vacuum regularly: Remove loose dirt, dust, and debris by sweeping or vacuuming your peel and stick tiles regularly. This helps prevent scratches and keeps the surface clean and free from abrasive particles.
- Wipe up spills promptly: Accidents happen, but it’s important to wipe up spills as soon as possible to prevent them from seeping into the tiles. Use a damp cloth or mop to clean up spills, and avoid using excessive water, as it may affect the adhesive or waterproofing beneath the tiles.
- Use pH-neutral cleaners: When cleaning your peel and stick tiles, use pH-neutral cleaners specifically designed for the type of tiles you have. Avoid harsh chemicals, abrasive cleaners, or scrub brushes, as they can damage the surface and compromise the waterproofing. Always follow the manufacturer’s recommendations for cleaning products.
- Avoid excessive moisture: While peel and stick tiles are waterproofed, it’s important to avoid excessive moisture exposure. Prevent standing water or excessive humidity in the room, as it can cause damage over time. Use bath mats or rugs in wet areas, such as bathrooms or kitchens, to absorb excess moisture.
- Protect against scratches: Place protective pads or felt sliders on furniture legs to prevent scratches when moving or rearranging items. Avoid dragging heavy objects or using sharp objects directly on the tiles, as they can scratch or damage the surface. Use caution when moving heavy appliances or furniture.
- Inspect for damage: Regularly inspect your peel and stick tiles for any signs of damage, such as loose or lifting tiles, cracks, or chips. If you notice any issues, address them promptly to prevent further damage. Contact a professional for repairs if necessary.
- Troubleshoot common issues: If you experience any issues with your peel and stick tiles, such as loose or lifting tiles, discoloration, or gaps between tiles, take immediate action. Contact the manufacturer or consult with a professional for guidance on troubleshooting and resolving the issues. Quick intervention can help prevent further damage or costly repairs.
By following these maintenance recommendations and promptly addressing any issues that arise, you can extend the lifespan of your peel and stick tiles and keep them looking beautiful for years to come. Regular care and attention will help maintain the waterproofing, integrity, and aesthetic appeal of your flooring.
Conclusion: Importance of Waterproofing Peel and Stick Tiles, Final Tips, and Reminders
Waterproofing peel and stick tiles is a crucial step in ensuring their longevity, protecting the underlying floor, and maintaining the functionality and aesthetic appeal of your space. By creating a moisture barrier, you can prevent water damage, mold growth, and other issues associated with water seepage. Here are the key takeaways and final tips to keep in mind:
Importance of Waterproofing:
Waterproofing peel and stick tiles is essential in areas prone to moisture and water exposure, such as bathrooms, kitchens, laundry rooms, and basements. It prevents water from seeping through the tiles and reaching the subfloor, thus protecting the integrity of both the tiles and the underlying floor. Proper waterproofing enhances the durability, appearance, and performance of your peel and stick flooring.
Final Tips and Reminders:
- Ensure surface preparation: Properly prepare the surface by cleaning it, removing any old adhesive, and smoothing out uneven areas. This creates a clean and even base for the waterproofing and tile installation.
- Choose the right waterproofing method: Evaluate the different waterproofing methods available and select the one that is suitable for peel and stick tiles. Consider factors such as moisture exposure, compatibility with peel and stick adhesives, and manufacturer recommendations.
- Follow proper application techniques: When applying the waterproofing membrane, follow the manufacturer’s instructions and guidelines. Maintain consistency in thickness, embed reinforcement materials, and achieve a smooth and uniform surface for optimal results.
- Carefully install peel and stick tiles: Properly align the tiles, handle corners and edges with precision, and work around obstacles with care. Press firmly and use a roller to ensure proper adhesion, and periodically check for level and alignment.
- Seal and finish the tiles: Apply a suitable sealant to protect the tiles from water damage and enhance their durability. Follow manufacturer instructions for application and curing time. Regularly inspect and reapply sealant as needed.
- Maintain and care for your tiles: Regularly clean the tiles, wipe up spills promptly, and use pH-neutral cleaners. Avoid excessive moisture, protect against scratches, and inspect for any damage. Take immediate action to address any issues that arise.
By following these guidelines, you can ensure the long-lasting performance and beauty of your peel and stick tiles. Remember that proper waterproofing, installation, and maintenance are key to maximizing the lifespan of your flooring and enjoying a functional and visually appealing space.
Now that you've got the know-how for waterproofing peel and stick tiles, why not dive deeper into the world of home upgrades? Our next article, perfect for enthusiasts eager to roll up their sleeves, offers practical advice on tackling various projects around the house. Whether you're looking to spruce up your space or tackle a full renovation, this guide on DIY home improvement is your go-to resource for tips, tricks, and step-by-step instructions. Get ready to transform your home into a more beautiful and functional space!
Frequently Asked Questions about How To Waterproof Peel And Stick Tiles
Was this page helpful?
At Storables.com, we guarantee accurate and reliable information. Our content, validated by Expert Board Contributors, is crafted following stringent Editorial Policies. We're committed to providing you with well-researched, expert-backed insights for all your informational needs.


0 thoughts on “How To Waterproof Peel And Stick Tiles”