Home>Articles>How To Install Peel And Stick Carpet Tiles On Concrete
Articles
How To Install Peel And Stick Carpet Tiles On Concrete
Modified: September 1, 2024
Learn how to install peel and stick carpet tiles on concrete in this informative articles. Step-by-step instructions for a successful installation.
(Many of the links in this article redirect to a specific reviewed product. Your purchase of these products through affiliate links helps to generate commission for Storables.com, at no extra cost. Learn more)
Introduction
Are you looking to add a touch of warmth and comfort to your concrete floors? Peel and stick carpet tiles are a convenient and stylish option to transform your space. Whether you want to spruce up your basement, office, or any other room with a hard, cold surface, carpet tiles offer a quick and easy solution.
In this article, we’ll guide you through the process of installing peel and stick carpet tiles on concrete. We’ll cover everything from preparing the surface to trimming the tiles and finishing touches. So, let’s get started!
Key Takeaways:
- Transform your concrete floors with warmth and style using peel and stick carpet tiles. Proper preparation, precise installation, and finishing touches create a cozy and inviting space for any room.
- Selecting the right carpet tiles, preparing the surface, and meticulous installation ensure a professional-looking result. Enjoy the comfort and aesthetic appeal of peel and stick carpet tiles on your concrete floors.
Read more: How To Install Peel And Stick Tile
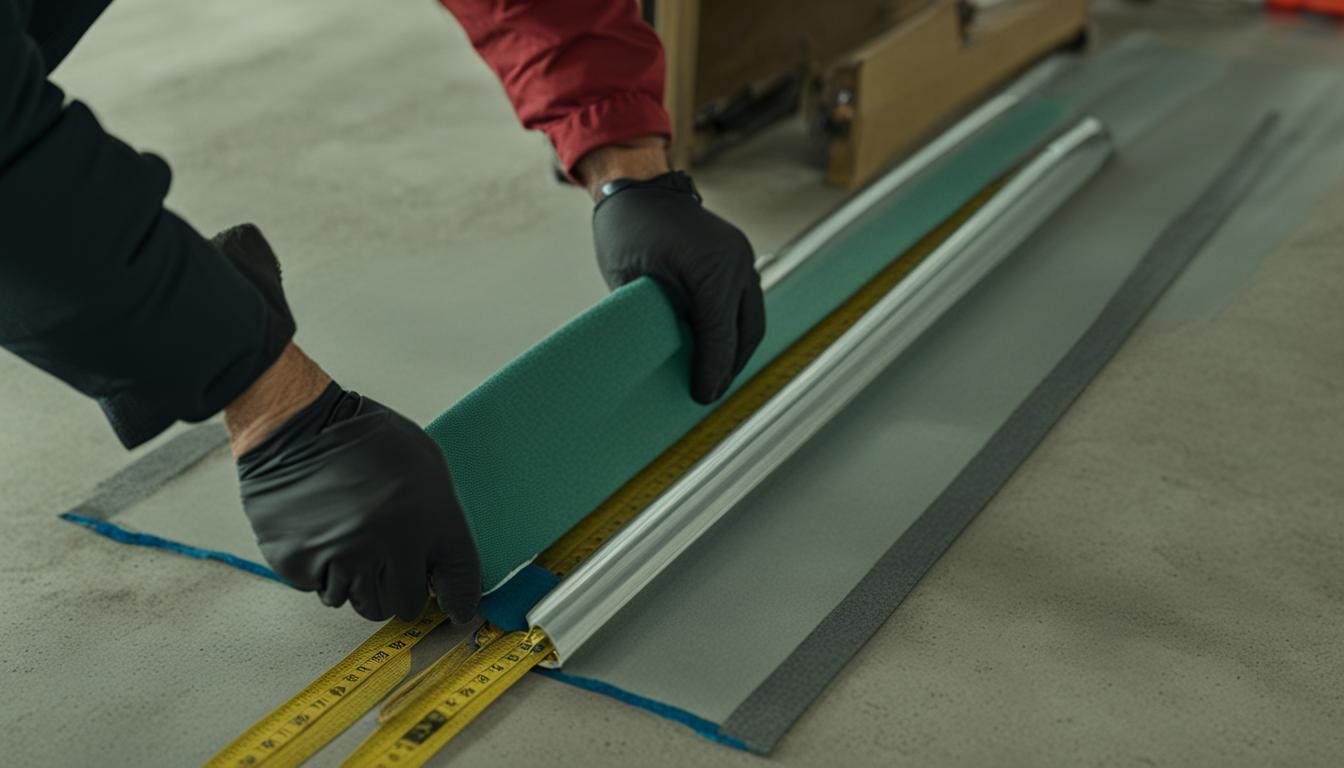
Materials Needed
Before you begin installing peel and stick carpet tiles on concrete, make sure you have the following materials handy:
- Peel and stick carpet tiles: Choose tiles that suit your style and meet your space requirements. Make sure to measure the area accurately to determine the number of tiles you’ll need.
- Tape measure: Essential for accurately measuring the area and ensuring proper tile placement.
- Utility knife or carpet cutter: These tools will come in handy when trimming the tiles to fit your space.
- Straightedge or chalk line: Use a straightedge or chalk line to mark guidelines and ensure a straight installation.
- Adhesive: While peel and stick tiles come with their adhesive backing, having extra adhesive can be useful in case any tiles need additional support.
- Floor cleaner: It’s important to thoroughly clean the concrete surface before installation to ensure proper adhesion.
- Smooth roller or hand tamper: A smooth roller or hand tamper will help in firmly pressing the tiles onto the concrete surface, ensuring a secure bond.
- Safety equipment: Gloves and knee pads are highly recommended to protect yourself during the installation process.
Having these materials ready will make the installation process smoother and more efficient. Now, let’s move on to preparing the concrete surface.
Preparing the Concrete Surface
Properly preparing the concrete surface is crucial for a successful installation of peel and stick carpet tiles. Follow these steps:
- Clean the surface: Start by thoroughly cleaning the concrete surface. Remove any dust, dirt, or debris using a broom or vacuum cleaner. For stubborn stains, use a mild detergent or concrete cleaner and scrub with a stiff-bristle brush. Rinse the area with clean water and allow it to dry completely.
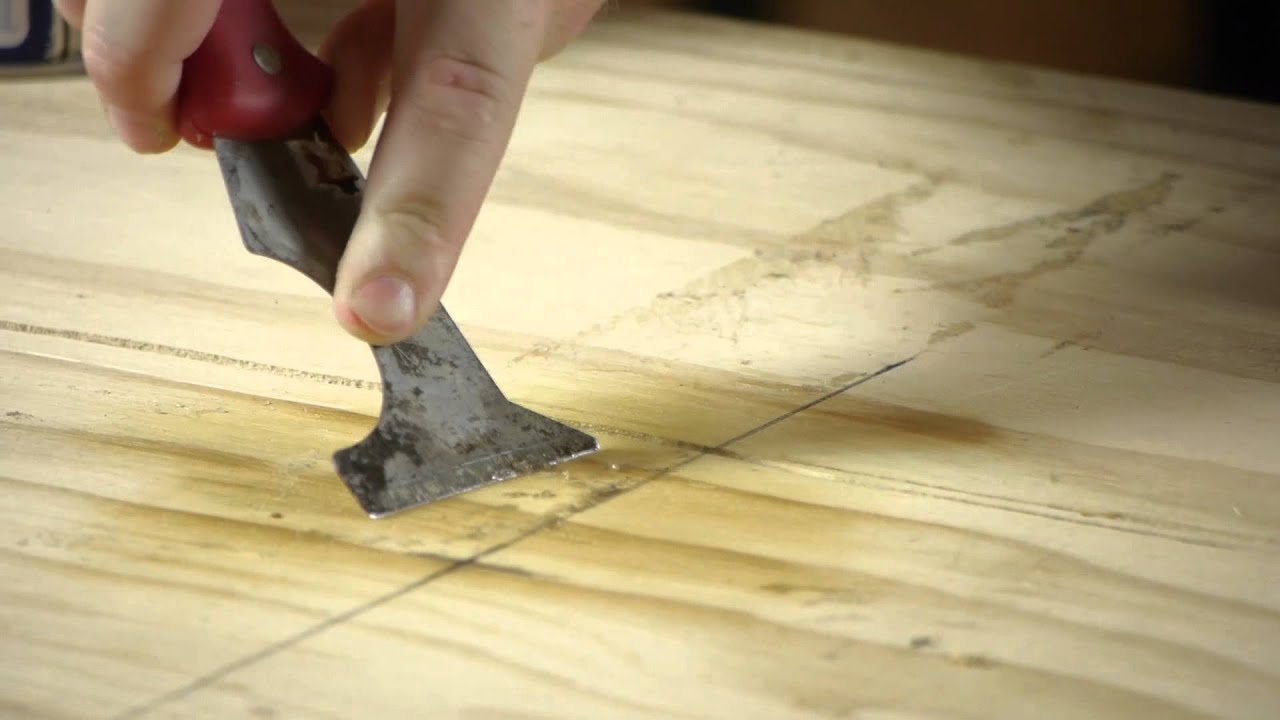
- Repair any damage: Inspect the concrete surface for any cracks, holes, or uneven areas. Fill in any gaps or cracks with a suitable concrete filler and smoothen the surface using a putty knife. Allow the filler to dry and sand it down if necessary to create a level surface.
- Moisture test: It’s essential to check the moisture level of the concrete before installation. Excess moisture can hinder the adhesive’s effectiveness. Conduct a moisture test by taping a plastic sheet onto the floor and leaving it for 24 hours. If condensation or visible moisture appears on the underside of the plastic, you may need to address moisture issues before proceeding.
- Apply primer: If recommended by the manufacturer, apply a concrete primer to enhance adhesion. Follow the manufacturer’s instructions for proper application and drying time.
By ensuring a clean and level surface, you create the perfect foundation for your peel and stick carpet tiles. Next, we’ll guide you through choosing the right carpet tiles for your project.
Choosing the Right Carpet Tiles
When it comes to selecting carpet tiles for your project, there are a few factors to consider:
- Style: Choose carpet tiles that suit your aesthetic preferences and the overall design of the space. Whether you prefer solid colors, patterns, or textured designs, there are endless options available to match your style.
- Size and Quantity: Measure the area accurately to determine the number of carpet tiles you’ll need. Most peel and stick tiles come in standard sizes, typically ranging from 12×12 inches to 24×24 inches. Keep in mind that having a few extra tiles is always a good idea in case of mistakes or future replacements.
- Quality and Durability: Consider the durability and quality of the carpet tiles. Look for tiles that are designed for heavy-duty use, if necessary. Consider the thickness, pile density, and backing material to ensure longevity.
- Installation Method: Check the installation instructions provided by the manufacturer to ensure that the peel and stick tiles are suitable for concrete surfaces. Some tiles may require additional adhesive or specific preparation steps for concrete installation.
- Maintenance: Take into consideration the maintenance requirements of the carpet tiles. Look for tiles that are stain-resistant, easy to clean, and resist fading over time.
By considering these factors, you can choose carpet tiles that not only enhance the visual appeal of the space but also meet your functional needs. Once you’ve selected your carpet tiles, it’s time to prepare them for installation.
Preparing the Tiles
Before you start installing the peel and stick carpet tiles on the concrete surface, it’s important to properly prepare them. Follow these steps:
- Acclimate the tiles: Open the boxes of carpet tiles and allow them to acclimate to the room’s temperature and humidity for at least 24 hours. This step ensures that the tiles adjust to the environment and minimize the risk of expansion or contraction after installation.
- Lay out the tiles: Lay out the tiles in the desired pattern or configuration to get a visual representation of how they will look once installed. This step helps in identifying any necessary adjustments or tile trimming.
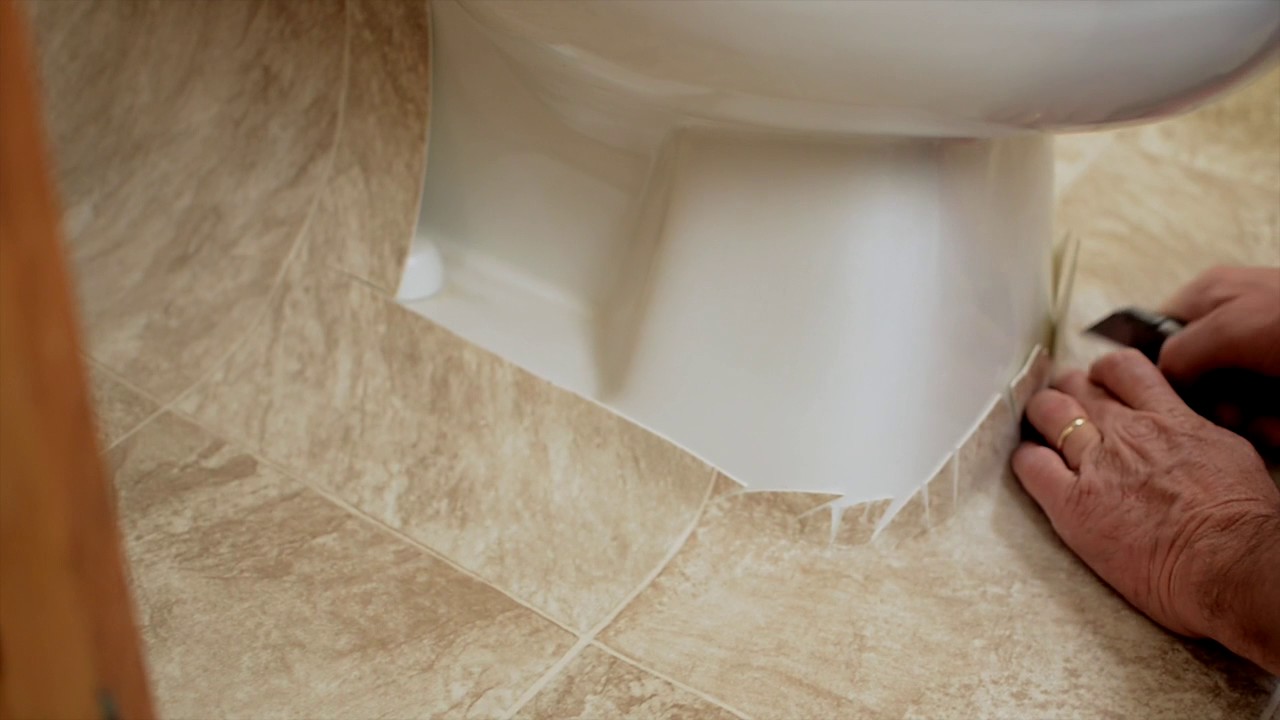
- Trimming the tiles: Using a straightedge and a sharp utility knife or carpet cutter, carefully trim the tiles to fit along the edges or around obstacles such as corners, doorways, or vents. Measure and mark the tile for cutting, ensuring precise and clean edges.
- Check adhesive backing: Peel back a corner of each tile to check the adhesive backing. Make sure it is intact and not damaged. If you come across any tiles with faulty adhesive, contact the manufacturer for replacements before proceeding with the installation.
By properly preparing the carpet tiles, you ensure a seamless and efficient installation process. Now that the tiles are ready, it’s time to start installing them on the concrete surface.
Make sure the concrete surface is clean and dry before installing peel and stick carpet tiles. Use a primer to ensure strong adhesion and follow the manufacturer’s instructions carefully for the best results.
Installing the First Tile
Now that you have prepared the carpet tiles, it’s time to begin the installation process. Follow these steps to install the first tile:
- Locate the starting point: Choose a corner of the room as your starting point. This corner will serve as your reference point for the rest of the installation.
- Clean the concrete surface: Before placing the first tile, ensure that the concrete surface is clean and free of debris. Use a broom or vacuum cleaner to remove any dust or dirt.
- Peel off the backing: Peel back the adhesive backing from the first tile. Start at one corner and slowly peel off the backing, exposing the adhesive side of the tile.
- Align the tile: Carefully place the tile in the desired position starting from the chosen corner. Align the edges of the tile with the guidelines or markings you made during the preparation phase.
- Press down firmly: Once the tile is properly aligned, press it down firmly onto the concrete surface. Use a smooth roller or a hand tamper to ensure a secure bond between the tile and the floor. This step is essential for proper adhesion.
- Check for alignment: Double-check the alignment of the first tile to ensure it is straight and properly positioned. Make any necessary adjustments before moving on to the next tile.
By following these steps, you successfully install the first carpet tile on the concrete surface. Now, let’s move on to installing the remaining tiles.
Installing the Remaining Tiles
With the first tile successfully installed, it’s time to continue the installation process by placing the remaining carpet tiles. Follow these steps:
- Align the tiles: Take the second carpet tile and align it with the edges of the first tile, ensuring a tight fit. Make sure the tiles are properly aligned with the guidelines or markings you made during the preparation phase.
- Peel and stick: Peel off the adhesive backing from the second tile and press it firmly onto the concrete surface next to the first tile. Use the guidelines to maintain proper spacing between the tiles.
- Continue the pattern: Repeat the process of aligning, peeling, and sticking the remaining tiles in the desired pattern or configuration. Work row by row or in small sections, maintaining consistent spacing and alignment.
- Press down firmly: After placing each tile, press it down firmly onto the concrete surface to ensure proper adhesion. Use a smooth roller or a hand tamper to achieve the best possible bond.
- Check for any gaps or overlaps: As you progress with the installation, periodically check for any gaps between the tiles or overlaps. Adjust the tiles as needed to achieve a seamless and uniform appearance.
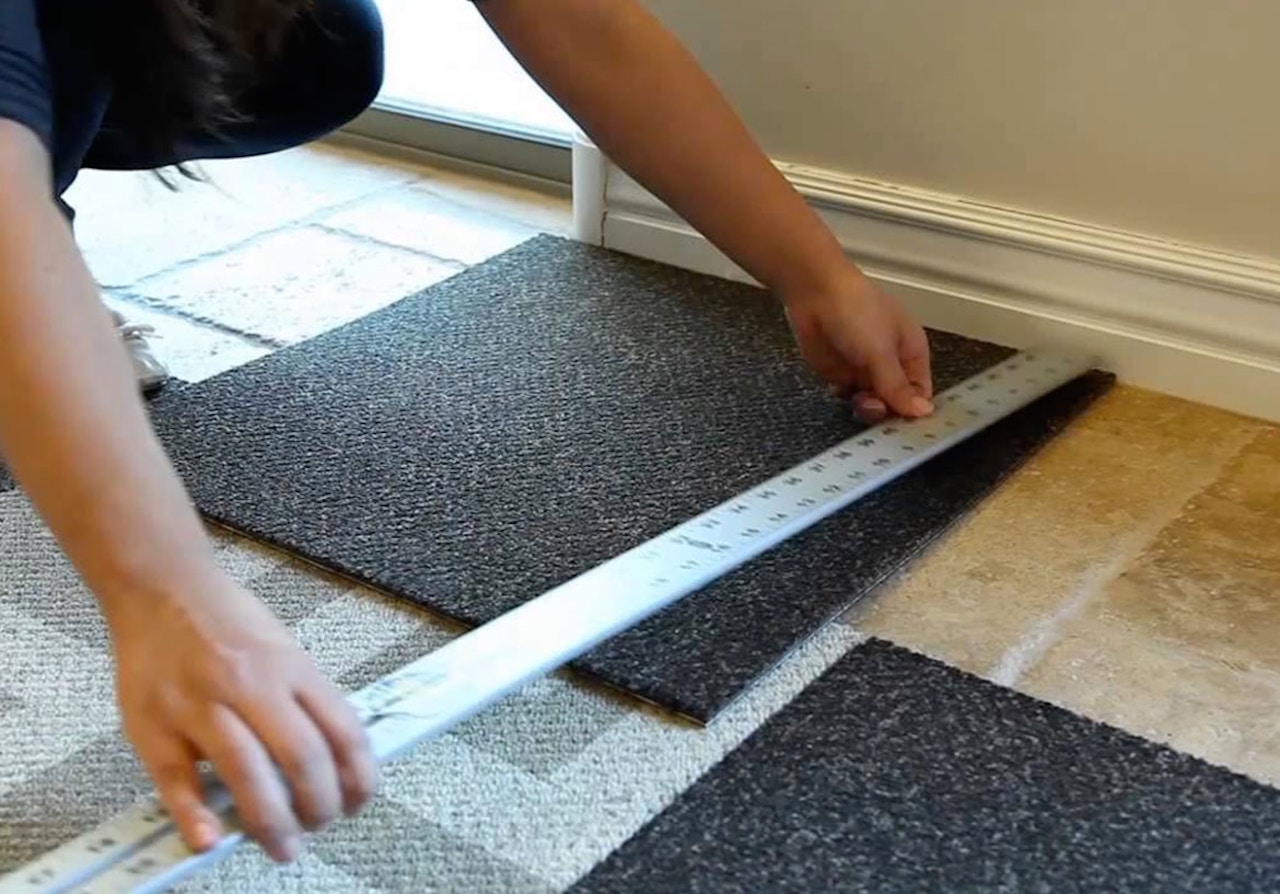
- Tile trimming: If you come across areas that require tile trimming to fit around obstacles or along the edges, use a straightedge and a sharp utility knife or carpet cutter to make precise cuts. Measure and mark the tile before cutting for the best results.
Continue installing the remaining carpet tiles in this manner until you have covered the entire desired area. Take your time to ensure accuracy and proper alignment. Once all the tiles are in place, it’s time to move on to trimming the tiles if necessary.
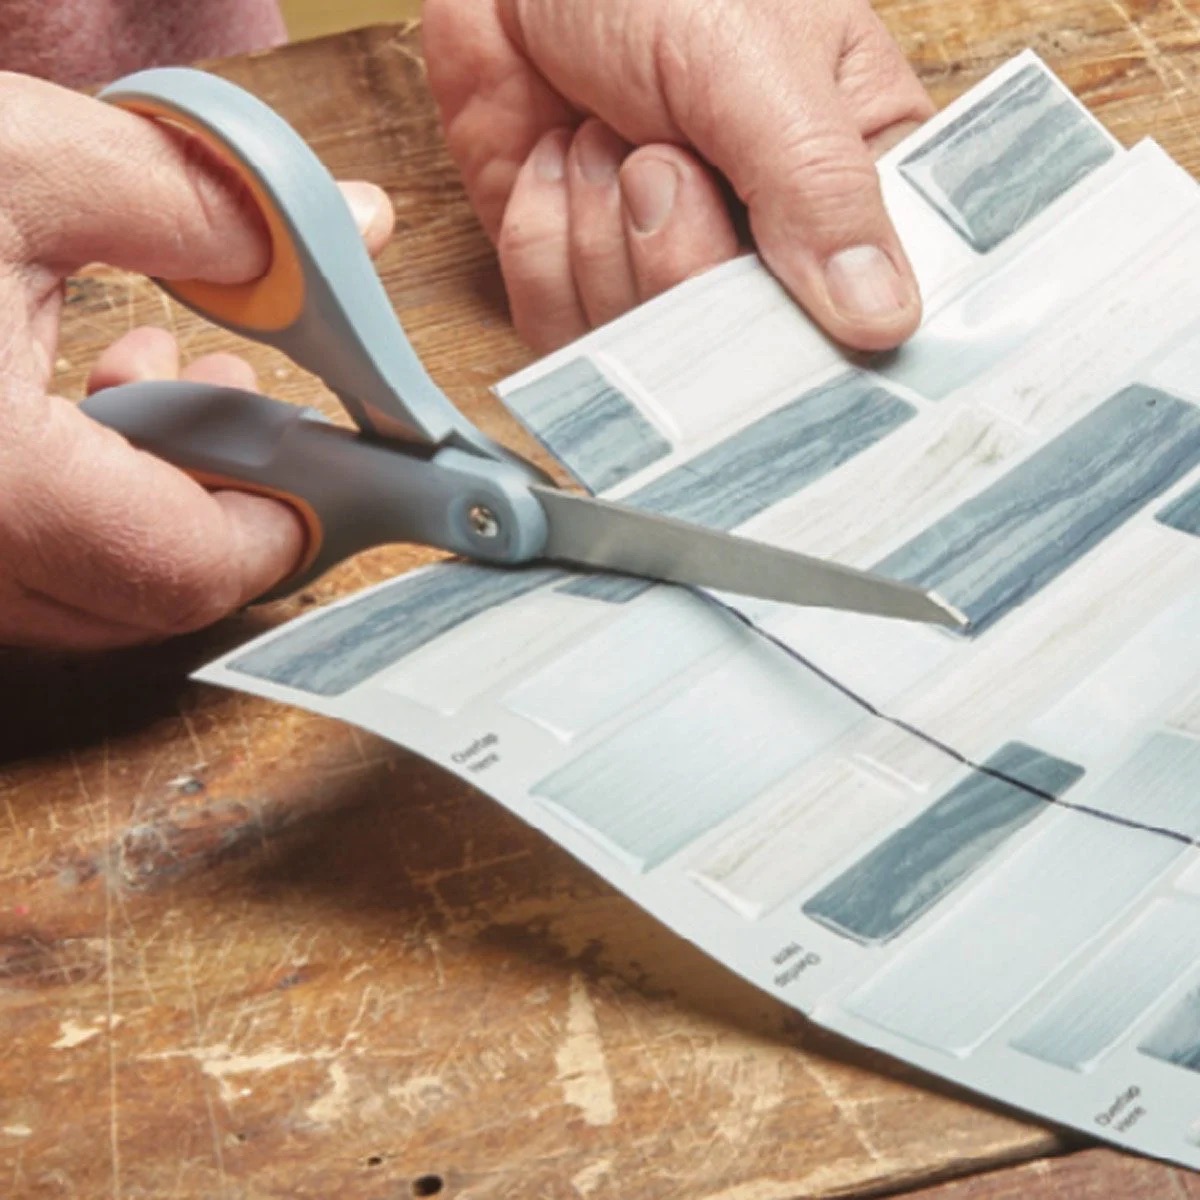
Trimming the Tiles
In some cases, you may encounter areas where the carpet tiles need to be trimmed to fit along the edges of the room or around obstacles. Follow these steps to trim the tiles:
- Measure and mark: Measure the area where the tile needs to be trimmed and mark it on the backside of the tile. Use a straightedge and a pencil or marker to ensure accurate markings.
- Cut along the marked line: Use a sharp utility knife or carpet cutter to carefully cut along the marked line. Apply gentle pressure and make multiple passes if needed, ensuring a clean and precise cut.
- Test the fit: After trimming the tile, place it back in its intended position and check the fit. Make any necessary adjustments or additional trims to ensure a proper fit.
Repeat these steps for any tiles that require trimming. It’s essential to take your time and make precise cuts to achieve a professional-looking installation.
Once all the tiles are properly trimmed and in place, it’s time for the finishing touches to complete the installation process.
Finishing Touches
With the carpet tiles installed and trimmed to perfection, it’s time to add the finishing touches to complete the installation. Follow these final steps:
- Inspect the installation: Take a close look at the entire carpet tile installation to ensure that all tiles are securely adhered to the concrete surface and there are no loose edges or corners.
- Smooth out any imperfections: If you notice any tiles that are not sitting completely flat, gently press them down with your hand or use a smooth roller to ensure a smooth, uniform appearance.
- Replace furniture and accessories: Once the installation is complete and the tiles are secure, you can move furniture and accessories back into the room. Take care not to drag heavy items across the carpet tiles to avoid any potential damage.
- Regular maintenance: To keep your new carpet tiles looking their best, make sure to follow the manufacturer’s recommended maintenance instructions. This may include regular vacuuming, spot cleaning, and avoiding excessive moisture on the carpet tiles.
- Enjoy your new carpeted space: With the finishing touches complete, it’s time to enjoy the warm and cozy ambiance that the peel and stick carpet tiles have brought to your concrete floors. Sit back, relax, and appreciate the transformation of your space!
Congratulations on successfully installing peel and stick carpet tiles on your concrete surface! By following these steps and adding the finishing touches, you’ve created a comfortable and inviting space. Now, you can enjoy the numerous benefits that carpet tiles bring to your home or office.
Remember, if you have any questions or concerns about the installation process, it’s always best to consult the manufacturer’s guidelines or seek professional assistance. Happy carpeting!
Read more: What Is Peel And Stick Tile
Conclusion
Installing peel and stick carpet tiles on concrete can be a rewarding DIY project that brings warmth and comfort to your space. By following the steps and guidelines outlined in this article, you can achieve a successful and professional-looking installation.
We began by discussing the materials needed for the project, such as the carpet tiles themselves, measuring tools, utility knives, and adhesives. Properly preparing the concrete surface by cleaning, repairing, and checking for moisture was emphasized as a crucial step to ensure the tiles adhere properly.
Choosing the right carpet tiles involves considering factors such as style, size, durability, and installation method. Taking the time to properly acclimate and lay out the tiles is essential in achieving a visually pleasing result.
We then covered the process of preparing the tiles by trimming and checking the adhesive backing to ensure they’re ready for installation. The step-by-step instructions for installing the first tile and the subsequent tiles provided a clear guide for a seamless installation process.
Trimming the tiles to fit along edges and around obstacles was explained, emphasizing the importance of careful measurements and precise cuts. Finally, we discussed the finishing touches, including inspecting the installation, addressing any imperfections, and practicing regular maintenance to keep the carpet tiles looking their best.
By following these guidelines, you can transform your concrete floors into comfortable and visually appealing spaces. Remember to consult the manufacturer’s instructions and seek professional assistance if needed.
Now, it’s time to sit back, relax, and enjoy the warmth and beauty that peel and stick carpet tiles bring to your home or office. Whether you’re revamping your basement, renovating an office space, or adding warmth to any room with a concrete surface, carpet tiles offer a convenient and stylish solution that enhances both aesthetics and comfort.
So, unleash your creativity, gather the necessary materials, and embark on the exciting journey of installing peel and stick carpet tiles on your concrete surfaces. Your space will thank you!
Frequently Asked Questions about How To Install Peel And Stick Carpet Tiles On Concrete
Was this page helpful?
At Storables.com, we guarantee accurate and reliable information. Our content, validated by Expert Board Contributors, is crafted following stringent Editorial Policies. We're committed to providing you with well-researched, expert-backed insights for all your informational needs.


0 thoughts on “How To Install Peel And Stick Carpet Tiles On Concrete”