
Articles
How Install Ceiling Fan
Modified: August 31, 2024
Learn how to install a ceiling fan with step-by-step articles. Get expert advice and tips to successfully complete your ceiling fan installation.
(Many of the links in this article redirect to a specific reviewed product. Your purchase of these products through affiliate links helps to generate commission for Storables.com, at no extra cost. Learn more)
Introduction
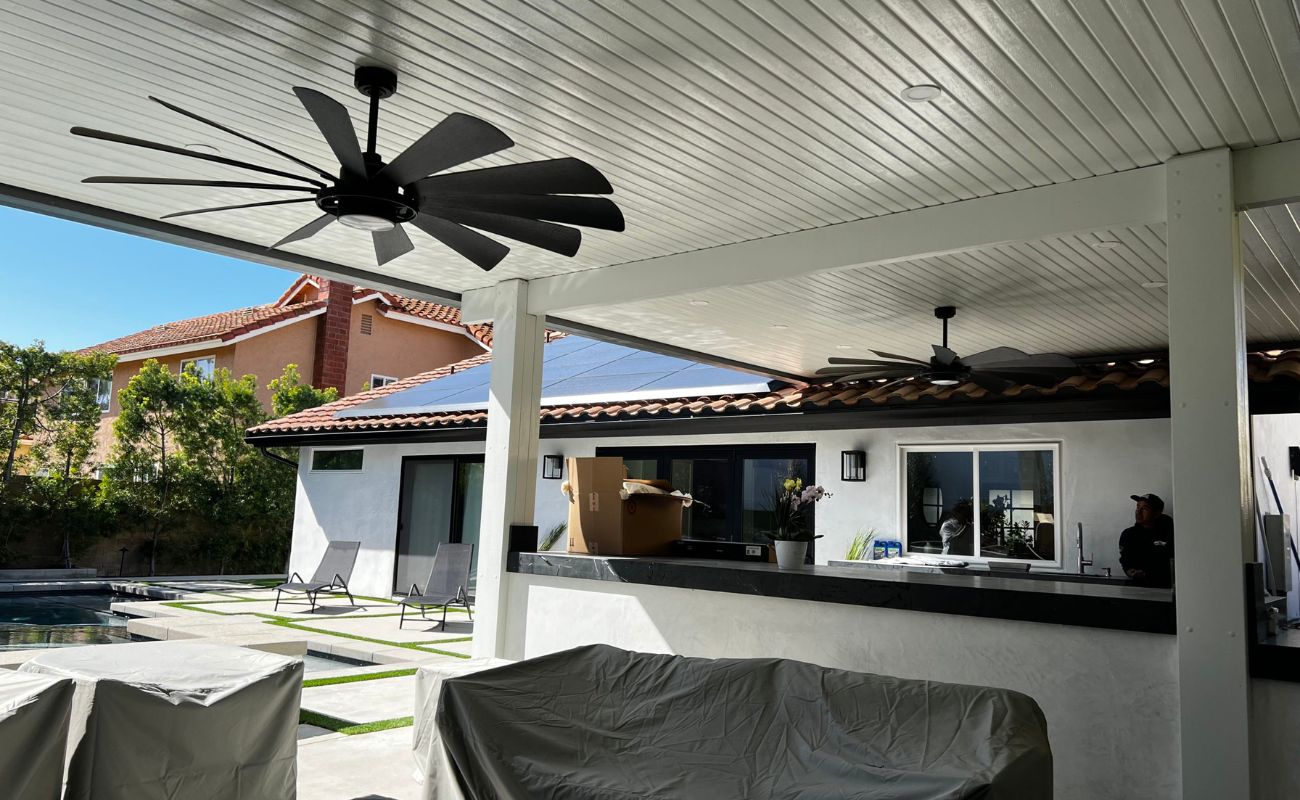
Installing a ceiling fan can be a great way to improve the comfort and functionality of your home. Not only can a ceiling fan help to circulate the air in a room and provide a cooling breeze in the summer months, but it can also help to distribute warm air more evenly during the winter. Additionally, a ceiling fan with a built-in light fixture can provide both illumination and a stylish focal point for any room.
If you’re thinking about installing a ceiling fan in your home, you might be wondering where to start and what steps to follow. In this article, we will guide you through the process of installing a ceiling fan, from turning off the power to testing the fan when you’re done. By following these steps and using the right tools and materials, you’ll have your new ceiling fan up and running in no time.
Before we get started, it’s important to note that if you’re not comfortable working with electrical wiring or if you’re unsure about any part of the installation process, it’s always best to hire a professional electrician. Safety should be your top priority when working with electricity.
Now, let’s dive into the details and learn how to install a ceiling fan step by step. Gather your tools and materials, and let’s get started!
Key Takeaways:
- Safety First
Before installing a ceiling fan, prioritize safety by turning off the power, using the right tools, and following the step-by-step instructions. If unsure, seek professional help to avoid electrical hazards. - Enjoy the Benefits
A well-installed ceiling fan can enhance comfort, air circulation, and room aesthetics. Regular maintenance and cleaning will ensure optimal performance and longevity. Embrace the breeze and ambiance it brings to your space!
Read more: Who Installs Ceiling Fans
Tools and Materials Needed
Before you begin the installation process, it’s important to gather all the necessary tools and materials. Here are the items you will need:
- A ceiling fan kit (including the fan blades, motor, and mounting bracket)
- A screwdriver (both Phillips and flathead)
- Pliers
- Wire strippers
- Electrical tape
- A voltage tester
- A ladder or step stool
- A pencil
- A drill with a drill bit suitable for your ceiling type
- An adjustable wrench
- A wire nut connector
- Electrical wire
- A non-contact voltage detector
Make sure you have all these tools and materials ready before you begin the installation process. It’s important to use the correct tools and follow safety precautions throughout the process.
Additionally, it’s a good idea to read through the instruction manual provided with your ceiling fan kit. The manual will have specific instructions and diagrams that may be helpful during the installation process.
Now that you have all the necessary tools and materials, let’s move on to the step-by-step installation process.
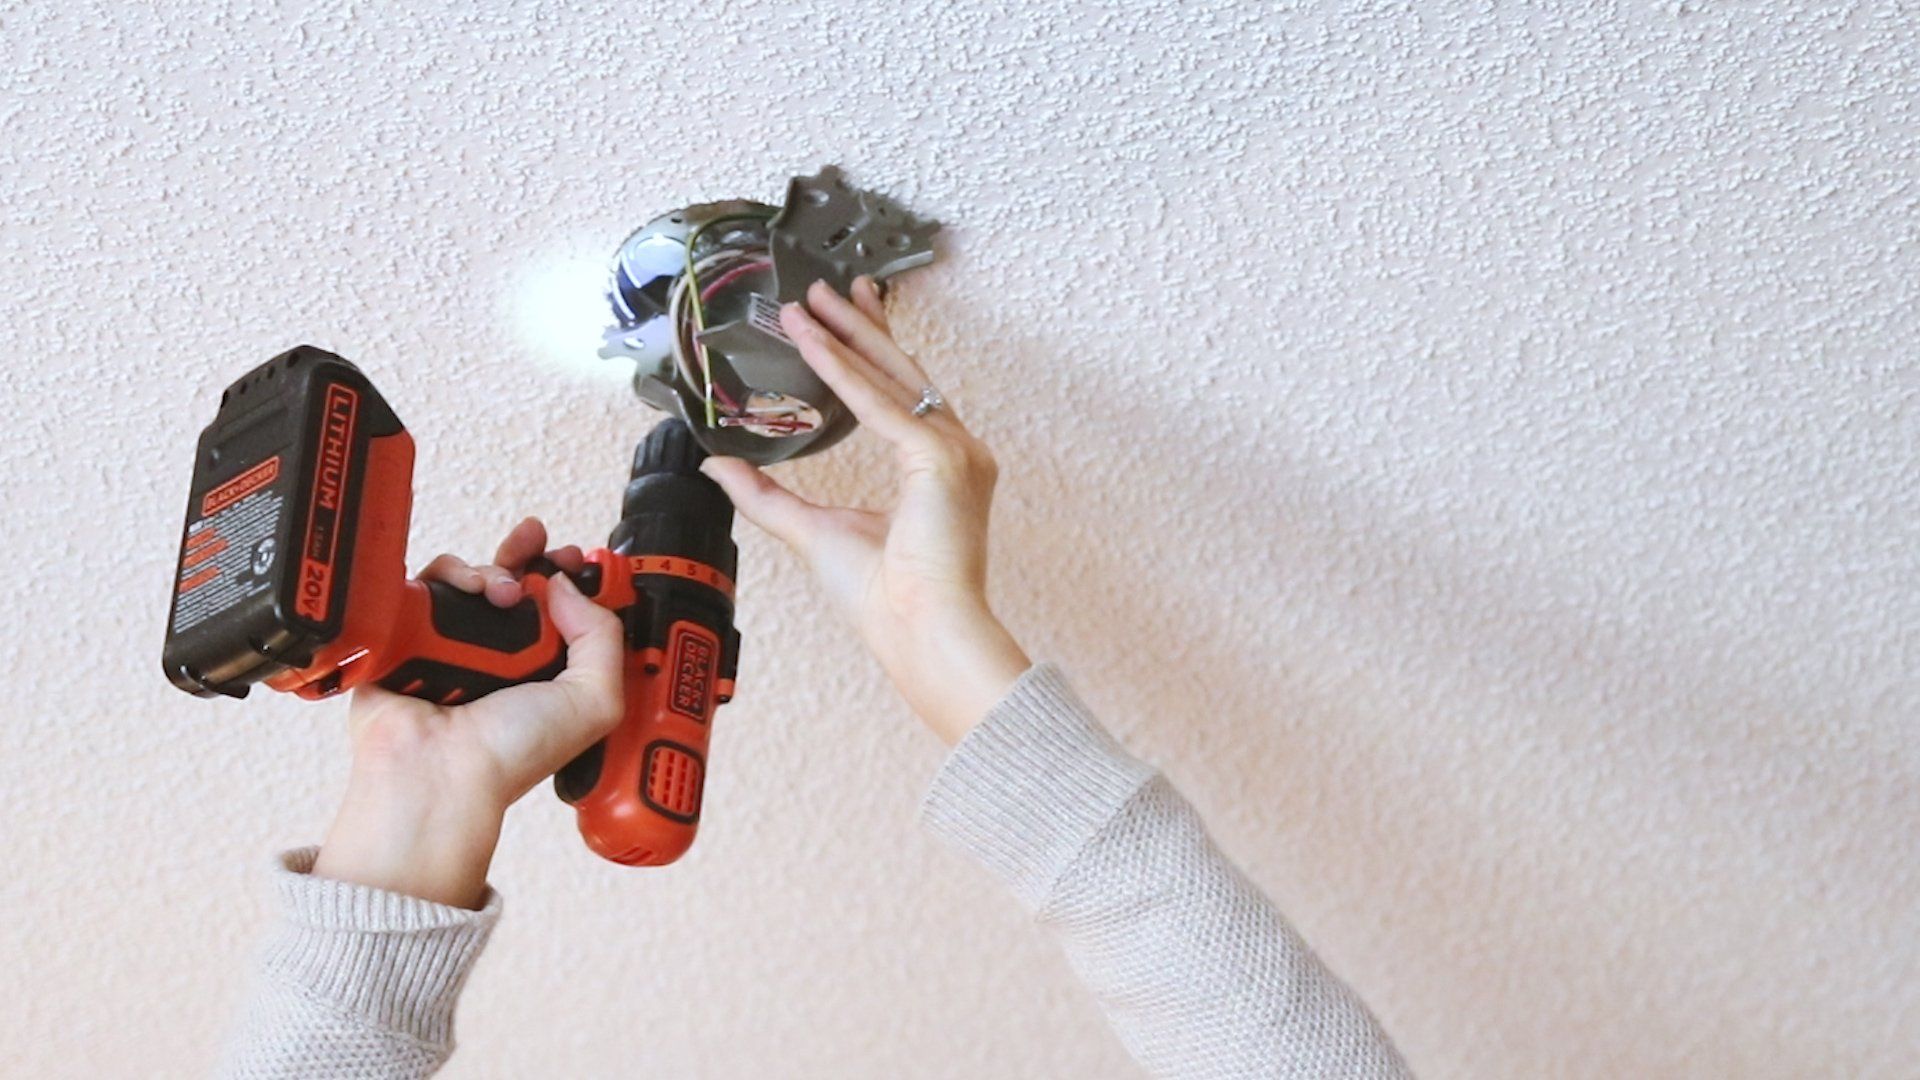
Step 1: Turn off the Power
Safety should always be your top priority when working with electricity. Before you begin installing your ceiling fan, the first step is to turn off the power to the room or area where you will be working.
Locate your electrical panel, also known as the circuit breaker box. Open the panel door and look for the breaker that controls the power to the room where you will be installing the ceiling fan.
If your breaker box is labeled, find the corresponding breaker that controls the room’s power and switch it to the “Off” position. If your breaker box is not labeled, you can identify the correct breaker by either trial and error or by using a non-contact voltage detector.
Once you have identified and turned off the correct breaker, use the voltage tester to double-check that the power is indeed off. Simply place the voltage tester near the wires or outlet you will be working with and ensure that it does not detect any electrical current.
Turning off the power is a critical step to ensure your safety during the installation process. It protects you from the risk of electric shock and ensures that you can work on the wiring and other components without any live electrical current.
Now that you have turned off the power, you can proceed with peace of mind to the next steps of installing your ceiling fan.
Step 2: Assemble the Ceiling Fan
Now that you have turned off the power and ensured your safety, it’s time to assemble your ceiling fan. Start by unpacking all the components of your ceiling fan kit.
Begin by attaching the fan blades to the fan motor. Most fan blades will have pre-drilled holes where they can be easily attached to the motor using screws provided in the kit. Follow the instructions in your ceiling fan manual to ensure that the blades are properly aligned and securely fastened.
Next, attach the mounting bracket to the ceiling fan motor. The mounting bracket is used to securely attach the fan to the ceiling and ensure stability. The specific steps for attaching the mounting bracket may vary depending on the model of your ceiling fan, so refer to the instruction manual for guidance.
Once the mounting bracket is attached, it’s time to attach the canopy cover. The canopy cover is a decorative cover that hides the electrical wires and connections. Align the canopy cover with the mounting bracket and secure it in place according to the instructions provided.
Finally, check all the connections and screws to ensure that everything is tight and secure. A loose connection or screw can cause the fan to wobble or make noise when in operation. Double-checking the assembly before proceeding to the next steps will help ensure a smooth installation and optimal performance of your ceiling fan.
With the ceiling fan fully assembled, you are now ready to move on to the next step: mounting the ceiling fan bracket.
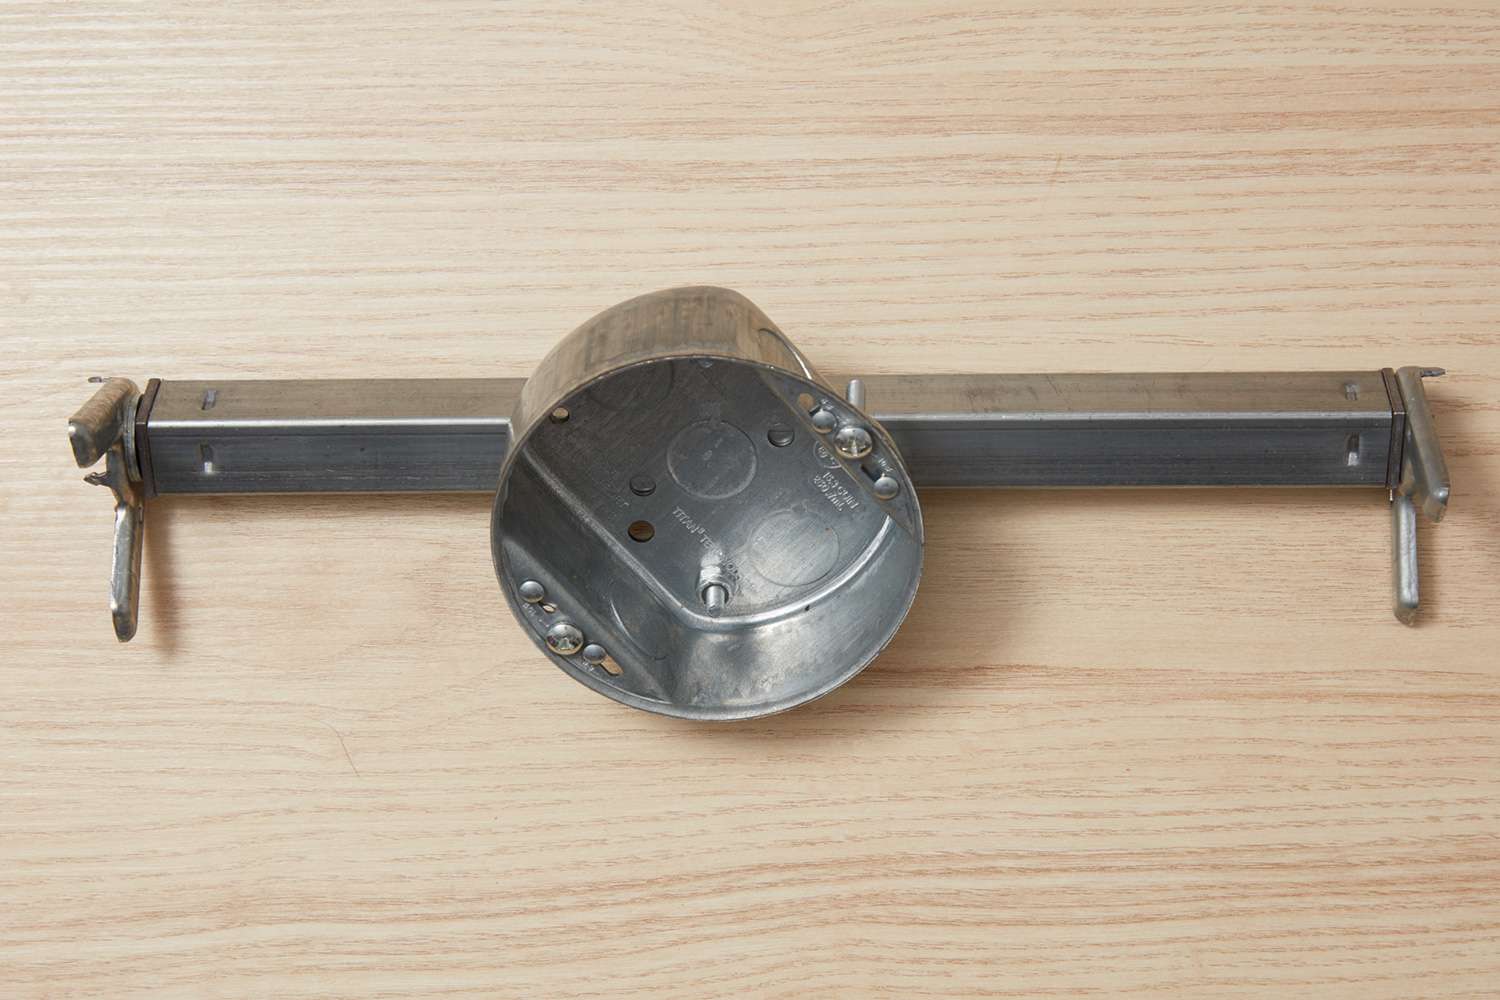
Step 3: Mount the Ceiling Fan Bracket
With the ceiling fan fully assembled, the next step is to mount the ceiling fan bracket. The bracket is used to secure the fan to the ceiling and provide stability.
Start by determining the location where you want to install the ceiling fan. Ideally, the fan should be mounted in the center of the room, approximately 7-9 feet above the floor. Use a pencil to mark the spot on the ceiling where the fan will be installed.
Next, take the ceiling fan bracket and align it with the marked spot on the ceiling. Make sure the bracket is level and centered. Once you have the desired position, use a drill with the appropriate drill bit for your ceiling type to create the necessary pilot holes for the screws.
Insert the screws into the pilot holes and tighten them securely using a screwdriver or drill. Ensure that the bracket is firmly attached to the ceiling. It’s important for the bracket to be properly secured to support the weight of the fan and prevent any wobbling or shaking.
Once the bracket is securely mounted, you’re ready to move on to the next step of installing the fan blades.
Remember, always refer to the specific instructions provided with your ceiling fan kit, as the mounting process may vary depending on the model you have chosen.
Now that the ceiling fan bracket is in place, you are one step closer to enjoying the comfort and functionality of your new ceiling fan. Let’s move on to the next step: installing the fan blades.
Read more: How To Install An Outdoor Ceiling Fan
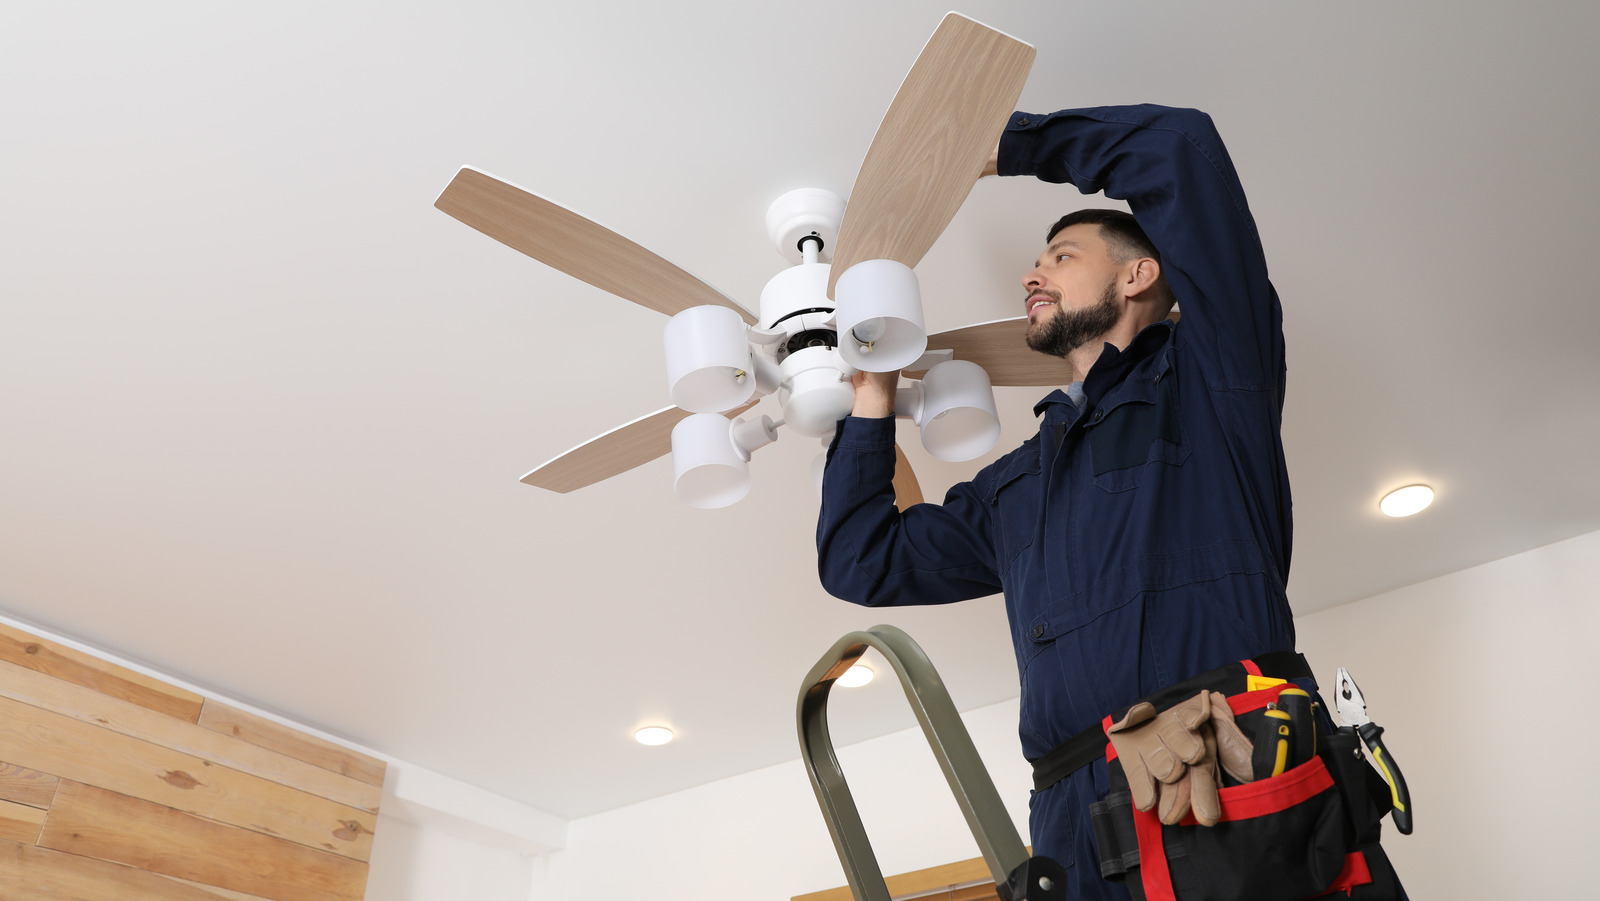
Step 4: Install the Fan Blades
Now that the ceiling fan bracket is securely mounted, it’s time to install the fan blades. The fan blades are what create the airflow and provide the cooling breeze in your room.
Start by taking one of the fan blades and aligning it with one of the mounting brackets on the fan motor. Most fan blades have pre-drilled holes where they can be easily attached using screws provided in the kit.
Insert the screws through the pre-drilled holes in the fan blade and into the mounting bracket. Use a screwdriver or a drill to tighten the screws, ensuring that the blade is securely fastened to the motor.
Repeat this process for each of the remaining fan blades, making sure to align them properly and securely attach them to the mounting brackets on the fan motor.
It’s important to note that some fan blades may be reversible with different finishes on each side. Choose the side that best fits your room’s aesthetic and attach the blades accordingly.
Once all the fan blades are installed, check their alignment and make any necessary adjustments. The blades should be evenly spaced and balanced to ensure smooth and efficient operation of the fan.
After verifying the alignment, give each blade a gentle tug to ensure that it is firmly attached and will not come loose during operation.
With the fan blades securely installed, you’re ready to move on to the next step: securing the fan motor to the mounting bracket.
Remember to consult the installation manual that came with your ceiling fan for any specific instructions or additional steps related to installing the fan blades.
Let’s proceed with the installation process and move on to step 5: securing the fan motor.
Step 5: Secure the Fan Motor
With the fan blades securely attached, the next step is to secure the fan motor to the mounting bracket. This step ensures that the fan is stable and properly connected to the ceiling.
Start by carefully lifting the fan motor and positioning it onto the mounting bracket. Align the holes on the fan motor with the holes on the mounting bracket.
Once aligned, insert the screws provided in the kit through the holes and into the mounting bracket. Use a screwdriver or drill to tighten the screws, making sure they are snug but not over-tightened.
It’s important to ensure that the fan motor is firmly and securely attached to the mounting bracket. A loose motor can cause the fan to wobble or make unnecessary noise during operation.
Once the fan motor is securely fastened, give it a gentle tug to confirm that it is properly attached and will not come loose. If there is any movement, tighten the screws further until the motor is stable and immobile.
After securing the fan motor, take a moment to visually inspect the overall installation. Check that the fan blades are level and evenly spaced, and that the motor is centered and aligned with the mounting bracket.
If everything looks good, congratulate yourself on a job well done! You’re now ready to move on to the next step: connecting the wiring.
Remember to consult the instruction manual provided with your ceiling fan kit for any specific guidelines or additional steps related to securing the fan motor.
Let’s continue with the installation process and move on to step 6: connecting the wiring.
Make sure to turn off the power to the existing light fixture before starting the installation process. Use a voltage tester to double-check that the power is off before proceeding.
Step 6: Connect the Wiring
Now that the fan motor is securely attached, it’s time to connect the wiring. This step involves making electrical connections to power the fan and control its functions. Follow these steps carefully to ensure a safe and proper installation.
Start by identifying the wires coming out of the ceiling. Typically, you will find three wires: a black (hot) wire, a white (neutral) wire, and a green or bare copper (ground) wire.
Connect the black wire from the ceiling to the black wire from the fan using a wire nut connector. Twist the wires together clockwise and then secure them by twisting on the wire nut connector. Make sure the connection is tight and no bare wire is exposed.
Next, connect the white wire from the ceiling to the white wire from the fan. Again, twist the wires together clockwise and secure them with a wire nut connector.
If your ceiling fan has a light fixture, there will be an additional wire to connect. This wire is typically blue or red and is used to control the light. Connect the corresponding colored wire from the fan to the ceiling wire using a wire nut connector.
Finally, connect the green or bare copper wire from the ceiling to the green or grounding wire from the fan. This wire is meant to provide a path for electrical current in case of a fault. Make sure the connection is tight and secure.
After making all the necessary connections, carefully tuck the wires into the electrical box in the ceiling. Ensure that no wires are pinched or exposed, as this can lead to electrical hazards.
Before proceeding to the next step, use a voltage tester to confirm that the power is still off. Double-checking the power is essential to avoid the risk of electric shock during the installation process.
Now that the wiring is properly connected and secure, you’re ready for the next step: attaching the fan canopy.
Remember to refer to the instruction manual provided with your ceiling fan kit for any specific wiring instructions or additional steps related to your fan model.
Let’s move forward with the installation process and proceed to step 7: attaching the fan canopy.
Step 7: Attach the Fan Canopy
After connecting the wiring, the next step is to attach the fan canopy. The fan canopy is the decorative cover that conceals the wiring and electrical components.
Start by lifting the fan canopy and aligning it with the mounting bracket on the ceiling. The canopy should fit snugly over the bracket.
Depending on the model of your ceiling fan, there may be different methods for attaching the canopy. Some models have screws that need to be inserted through the canopy and into the bracket, while others may have a twist-on or snap-on mechanism.
Follow the instructions provided in your fan’s manual to attach the canopy securely. Ensure that the canopy is level and covers the electrical box and wiring completely.
Once the canopy is attached, give it a gentle tug to ensure it is properly secured and will not come loose. This step is important for both safety and aesthetic reasons.
Take a moment to step back and inspect the overall installation. Make sure the fan canopy is aligned and flush with the ceiling, without any visible gaps or misalignment.
If everything looks good, you can move on to the next step: installing the light fixture (if applicable).
Remember to consult the instruction manual that came with your ceiling fan kit for any specific guidelines or additional steps related to attaching the fan canopy.
Let’s continue with the installation process and move on to step 8: installing the light fixture (if applicable).
Read more: DIY Guide: Installing A Ceiling Fan
Step 8: Install the Light Fixture (if applicable)
If your ceiling fan has a built-in light fixture or if you have purchased a separate light kit, this step guides you through the process of installing the light fixture.
Start by determining the type of light fixture you have and consult the instruction manual for specific instructions. Some light fixtures may require additional wiring or assembly, while others may simply need to be attached to the fan.
If your light fixture requires wiring, follow these steps carefully:
- Turn off the power to the room at the circuit breaker.
- Remove the fan canopy to access the wiring.
- Connect the corresponding wires from the light fixture to the wires coming from the fan. Typically, you will connect the black wires, white wires, and any additional colored wires for controlling the light function.
- Secure the wire connections with wire nut connectors.
- Tuck the wires carefully back into the electrical box and reattach the fan canopy.
If your light fixture simply needs to be attached, follow these steps:
- Attach the light fixture to the designated area on the fan, following the instructions provided.
- Secure the light fixture with the screws or other fastening mechanisms provided.
- Ensure that the light fixture is aligned and securely attached to the fan, without any wobbling or loose parts.
After installing the light fixture, turn the power back on at the circuit breaker and test the light. Make sure it functions properly and that any switches or controls for the light are working as intended.
If you encounter any issues or have uncertainties during the light fixture installation, it’s recommended to consult a professional electrician for assistance.
With the light fixture installed (if applicable), you’re now ready to move on to the next step: attaching the pull chains or remote control.
Remember to refer to the instruction manual provided with your ceiling fan kit for any specific guidelines or additional steps related to installing the light fixture.
Let’s continue with the installation process and move on to step 9: attaching the pull chains or remote control.
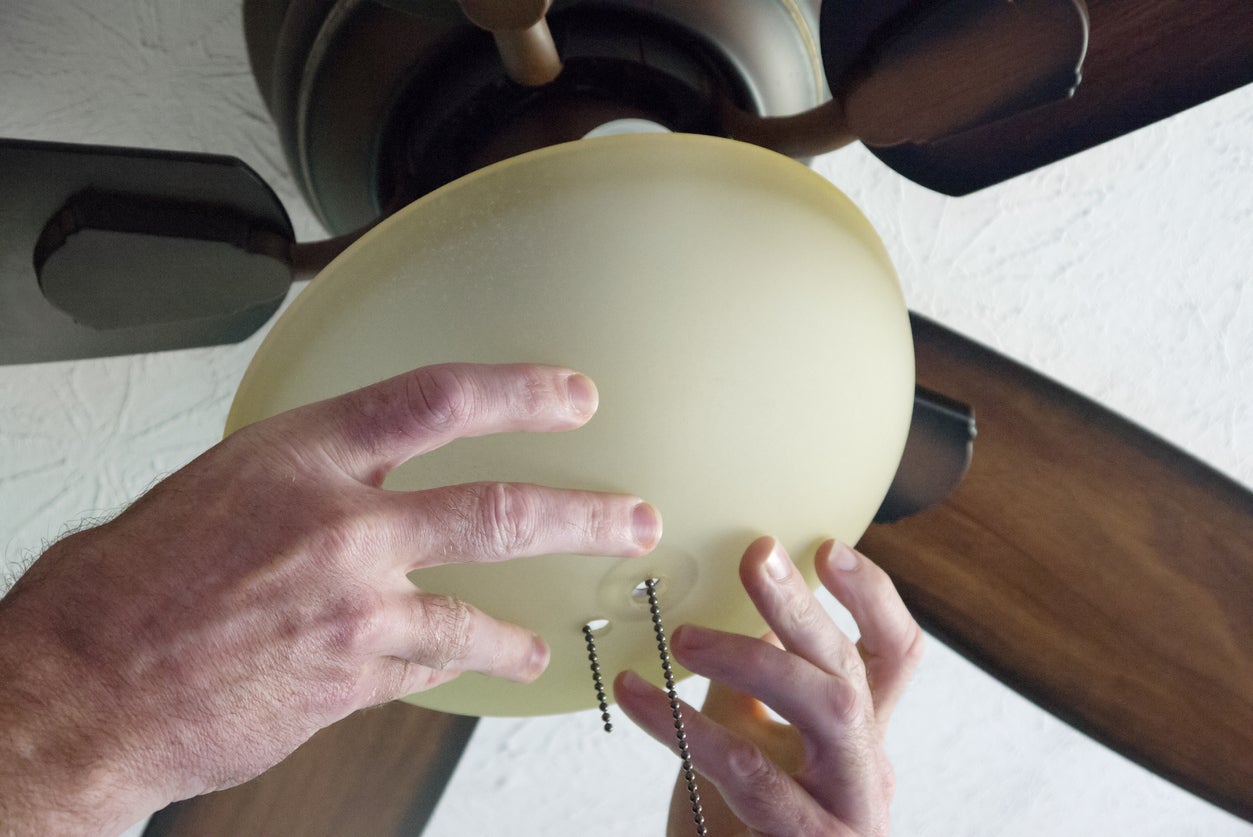
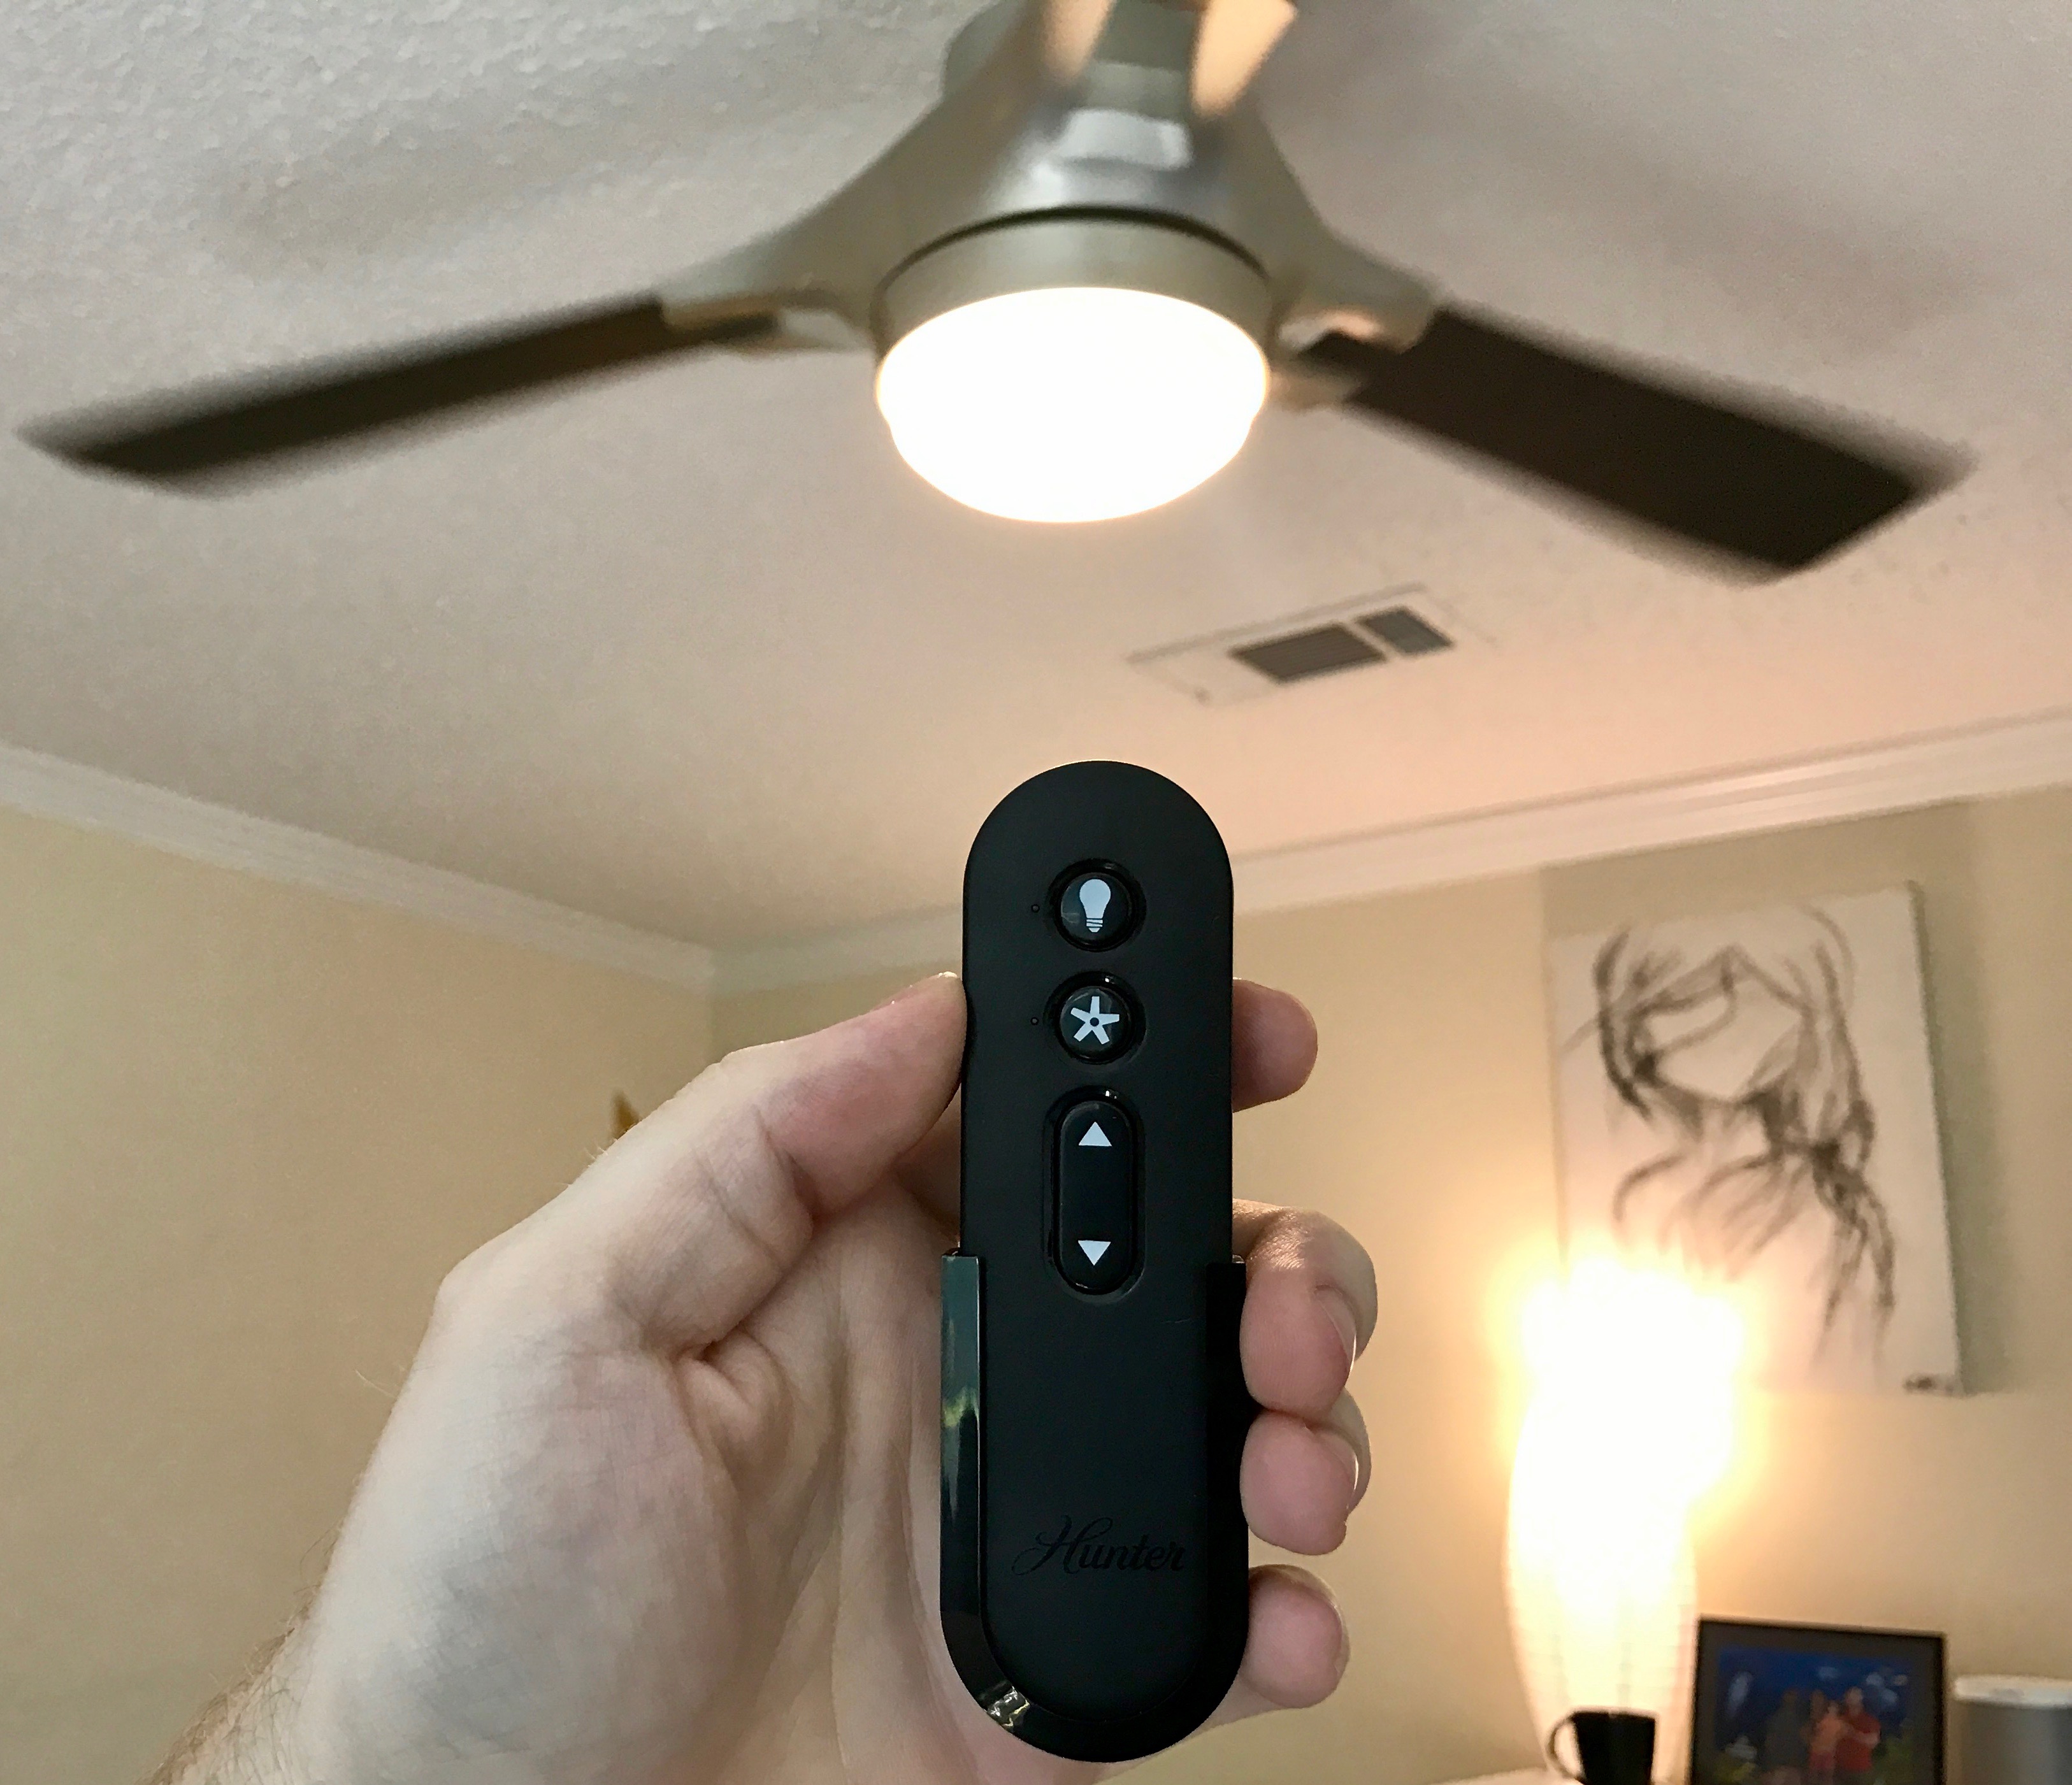
Step 9: Attach the Pull Chains or Remote Control
In this step, you will attach the pull chains or remote control to your ceiling fan. These components are used to control the fan speed, lighting, and other functions.
If your ceiling fan comes with pull chains, follow these steps:
- Identify the pull chain connectors on the fan. There may be separate connectors for controlling the fan speed and the light.
- Attach the appropriate pull chain to each corresponding connector. The fan speed chain is typically longer and has different symbols or labels to indicate the speed settings.
- If the pull chains have decorative globes or pendants, secure them to the end of each chain, if desired.
If your ceiling fan uses a remote control, follow these steps:
- Refer to the instruction manual for your specific remote control model and follow the provided instructions to program the remote.
- Locate the remote receiver on the ceiling fan. This is typically a small box that fits inside the fan’s canopy or attaches to the fan motor.
- Install the remote receiver according to the instructions provided. This may involve connecting wiring or securely fastening the receiver to the fan.
- Once the remote receiver is in place, insert batteries into the remote control and test the functions to ensure that it operates the fan and light properly.
After attaching the pull chains or setting up the remote control, double-check that they are functioning correctly. Test the fan speed settings, light controls, and any other features to ensure smooth and reliable operation.
If you encounter any difficulties or have questions about the pull chains or remote control, consult the instruction manual provided with your ceiling fan kit or reach out to the manufacturer for assistance.
With the pull chains or remote control securely attached, you’re almost finished with the installation process. Let’s proceed to the final step: turning on the power and testing the fan.
Remember to refer to the instruction manual provided with your ceiling fan kit for any specific guidelines or additional steps related to attaching the pull chains or remote control.
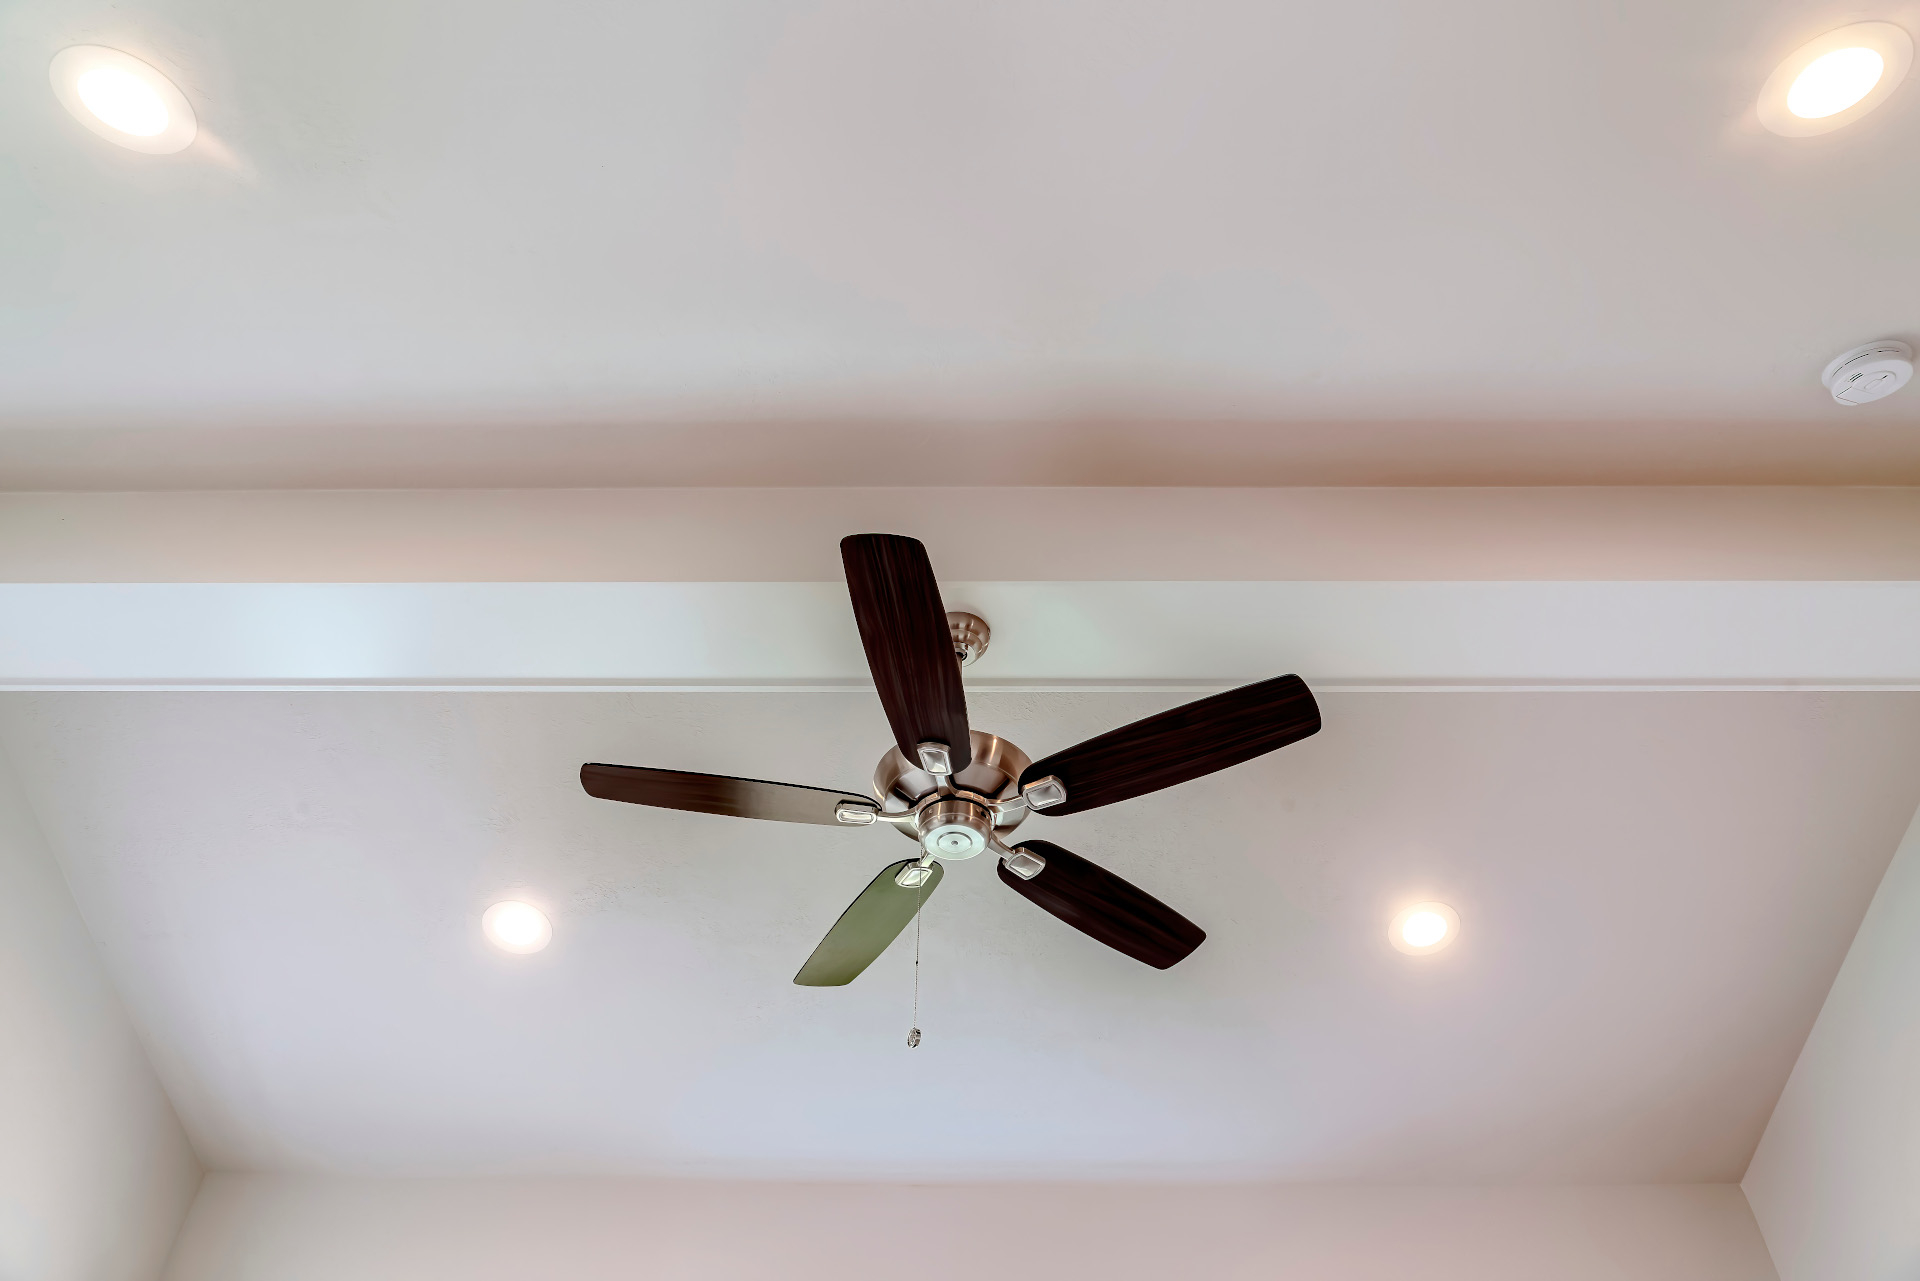
Step 10: Turn on the Power and Test the Fan
Congratulations! You have successfully completed the installation process for your ceiling fan. The final step is to turn on the power and test the fan to ensure that it is functioning properly.
Before proceeding, double-check that all the wiring connections, screws, and attachments are secure. Inspect the fan blades, the light fixture (if applicable), and the pull chains or remote control to ensure everything is in place.
Once you have confirmed everything is secure, go to the circuit breaker panel and turn on the power to the room where the fan is installed.
Return to the fan and test its different functions:
- Turn on the fan and observe if it is spinning in the correct direction and at the desired speed. Use the pull chains or remote control to adjust the speed settings if applicable.
- If your ceiling fan has a light fixture, turn on the light and check if it is illuminating the room adequately.
- Test the pull chains or remote control to make sure they are successfully operating the fan and light.
If everything is working as expected, you can now sit back and enjoy the comfort and functionality of your newly installed ceiling fan. Take note of any additional features your fan may have, such as a reverse function for year-round use.
If you encounter any issues during the testing process, first check the troubleshooting section of your instruction manual. It may provide guidance on common problems and their solutions. If the issue persists, you may want to contact the manufacturer or consult with a professional electrician for assistance.
Remember to periodically clean and maintain your ceiling fan to keep it in optimal condition and ensure its longevity.
With the fan successfully tested, you have completed the installation process. Congratulations on your DIY achievement!
Thank you for following this guide for installing a ceiling fan. We hope you find it helpful and that your new fan brings comfort and style to your space.
Conclusion
Installing a ceiling fan is a rewarding DIY project that can enhance the comfort and aesthetics of your home. By following the step-by-step instructions and using the right tools and materials, you can successfully install a ceiling fan and enjoy its benefits for years to come.
Throughout the installation process, safety should always be a top priority. Remember to turn off the power before starting any work and use caution when working with electrical components.
Taking the time to assemble the fan properly, mount the bracket securely, connect the wiring correctly, and attach the fan blades and canopy will ensure a smooth and efficient installation. Testing the fan at the end helps identify any potential issues before finalizing the installation process.
If at any point you feel uncomfortable or unsure about proceeding with the installation, it’s always best to consult a professional electrician who can ensure a safe and proper installation.
Once your ceiling fan is installed, sit back and enjoy the comfort and functionality it brings to your room. Feel the gentle breeze on a summer day and appreciate the improved air circulation throughout the year. Additionally, if your fan comes with a light fixture, you can enjoy the added illumination and ambiance.
Remember to maintain and clean your ceiling fan regularly to keep it in optimal condition and prolong its lifespan. Keep the fan blades dust-free and lubricate any moving parts as recommended by the manufacturer.
We hope that this installation guide has been helpful and has given you the confidence to install a ceiling fan in your home. Enjoy the benefits of a comfortable and stylish environment with your newly installed fan.
Thank you for choosing this guide, and we wish you success in your ceiling fan installation project!
Frequently Asked Questions about How Install Ceiling Fan
Was this page helpful?
At Storables.com, we guarantee accurate and reliable information. Our content, validated by Expert Board Contributors, is crafted following stringent Editorial Policies. We're committed to providing you with well-researched, expert-backed insights for all your informational needs.


0 thoughts on “How Install Ceiling Fan”