
Articles
How To Fix A Kitchen Faucet Sprayer
Modified: October 19, 2024
Learn how to fix a kitchen faucet sprayer with our helpful articles and step-by-step guides. Upgrade your kitchen with our expert tips and advice.
(Many of the links in this article redirect to a specific reviewed product. Your purchase of these products through affiliate links helps to generate commission for Storables.com, at no extra cost. Learn more)
Introduction
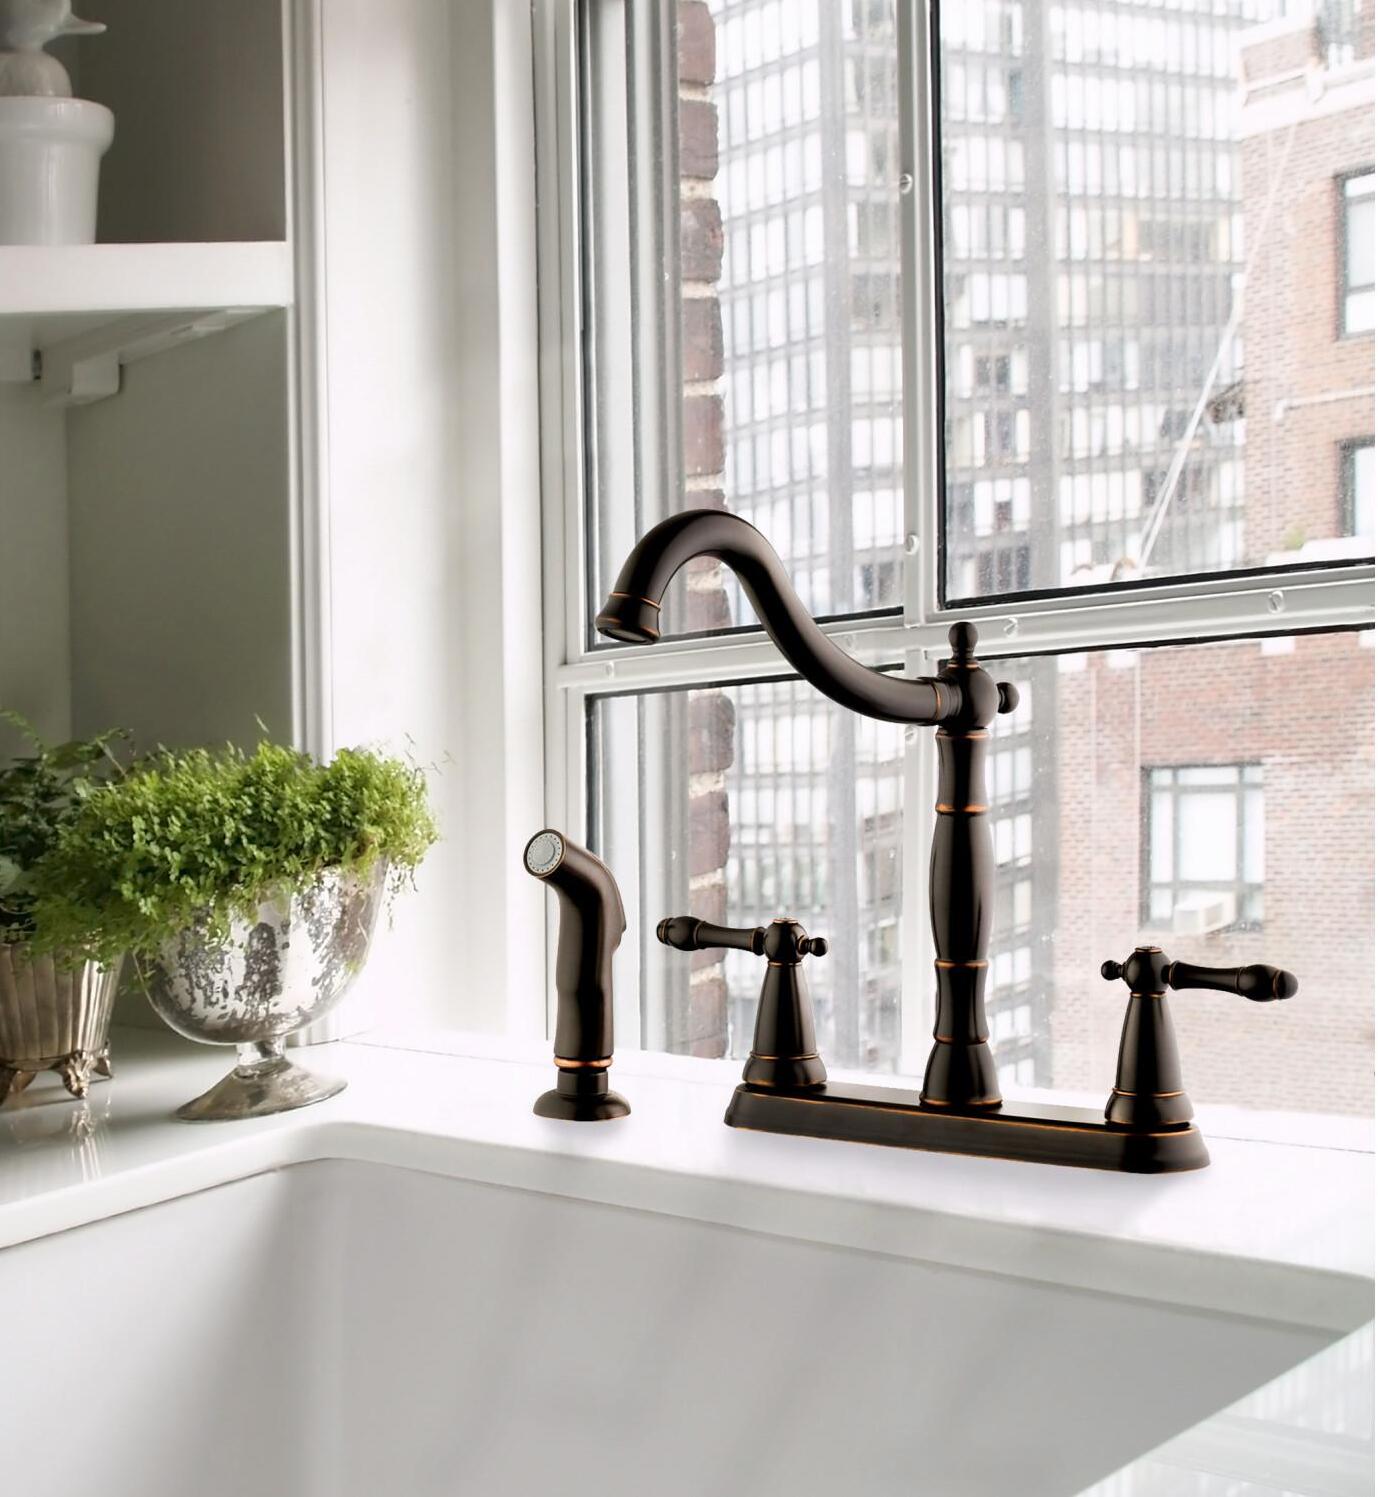
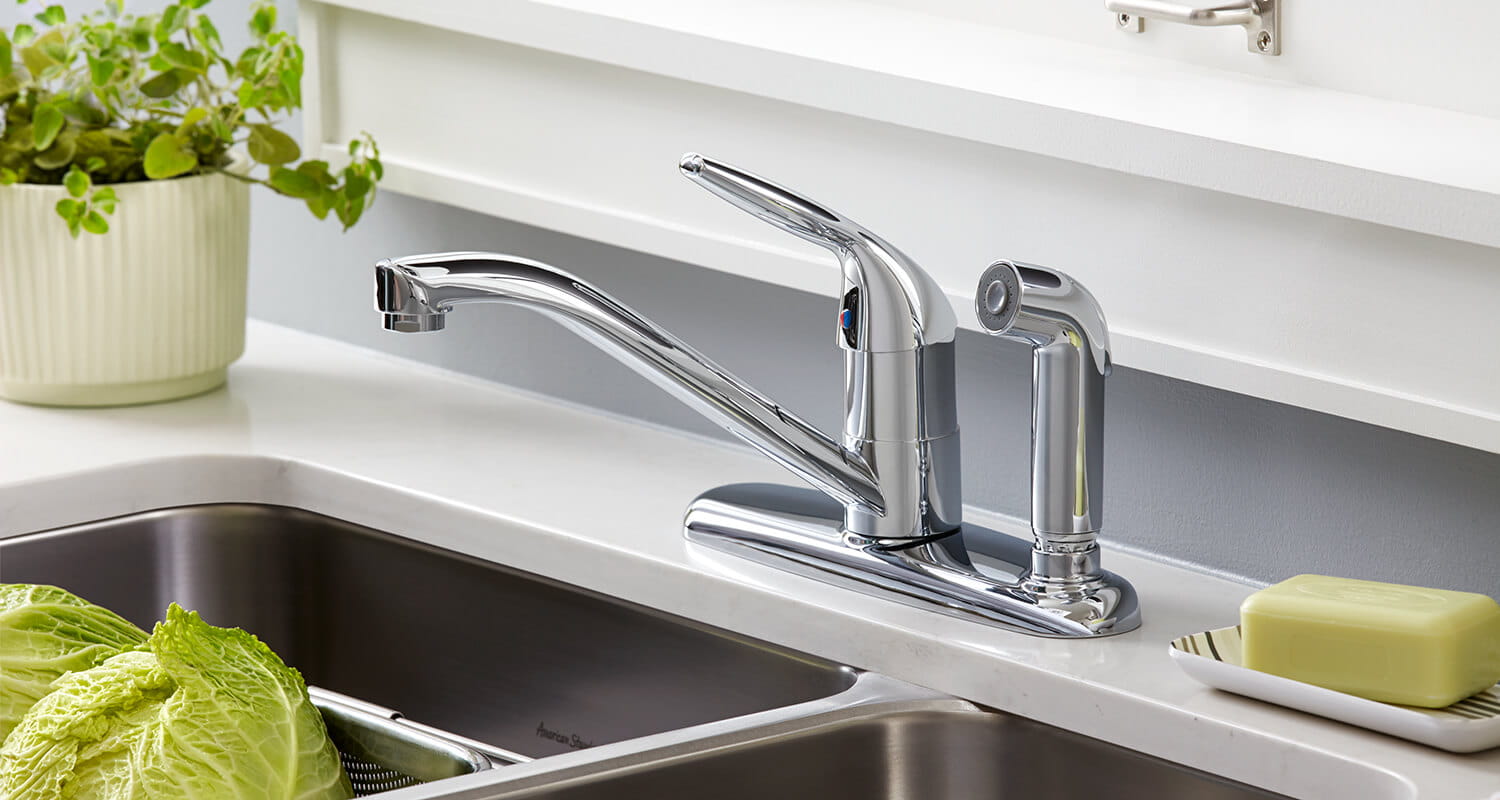
A kitchen faucet sprayer is a convenient tool that allows you to easily clean dishes, rinse produce, or fill pots with water. However, like any other plumbing fixture, it can develop issues over time. If you’re experiencing problems with your kitchen faucet sprayer, such as low water pressure, leaks, or no spray at all, don’t worry. In this article, we will guide you through the step-by-step process of fixing a kitchen faucet sprayer.
Before we dive in, it’s important to note that the specific steps may vary depending on the type of faucet sprayer you have. However, the general principles mentioned in this guide should apply to most kitchen faucet sprayers.
To successfully fix your kitchen faucet sprayer, you will need a set of basic tools and materials. Make sure you have the following items on hand before starting the repair:
- Adjustable wrench
- Slip joint pliers
- Bucket
- Plumber’s tape
- Clean cloth or sponge
- Vinegar or a lime scale remover (if necessary)
- Replacement aerator (if needed)
- Replacement sprayer head (if necessary)
Now that you have your tools and materials ready, let’s proceed to the step-by-step instructions for fixing your kitchen faucet sprayer.
Key Takeaways:
- Fixing a kitchen faucet sprayer is a manageable task with the right tools and steps. From shutting off the water supply to testing the sprayer, this guide empowers you to tackle common issues and restore functionality.
- Regular maintenance and prompt attention to issues can extend the lifespan of your kitchen faucet sprayer. By following the step-by-step process and seeking professional help if needed, you can keep your sprayer in optimal working condition.
Read more: How To Fix Sink Sprayer
Tools and Materials Needed
Before you can start fixing your kitchen faucet sprayer, it’s essential to gather all the necessary tools and materials. Here’s a list of what you’ll need:
- Adjustable wrench: This tool will help you loosen and tighten various connections on your faucet sprayer.
- Slip joint pliers: Pliers will come in handy for gripping and adjusting components of the sprayer.
- Bucket: Have a bucket nearby to catch any water that may spill during the repair.
- Plumber’s tape: Also known as Teflon tape, plumber’s tape is used to create a watertight seal on threaded connections.
- Clean cloth or sponge: You’ll need a cloth or sponge to wipe down any surfaces or components that may be dirty or greasy.
- Vinegar or a lime scale remover (if necessary): If your faucet sprayer is suffering from low water pressure due to mineral deposits, vinegar or a lime scale remover can help dissolve and remove the buildup.
- Replacement aerator (if needed): If your sprayer is experiencing reduced water flow, a clogged or damaged aerator could be the culprit. Having a replacement aerator on hand will allow you to easily swap out the old one.
- Replacement sprayer head (if necessary): If your sprayer head is leaking or malfunctioning, having a new sprayer head ready to install will make the process smoother.
Having all of these tools and materials readily available will ensure that you’re prepared to address any issues with your kitchen faucet sprayer. Now that you have everything you need, let’s move on to the step-by-step process of fixing the sprayer.
Step 1: Shut off the Water Supply
Before starting any repair work on your kitchen faucet sprayer, it’s crucial to turn off the water supply to avoid any accidents or water damage. Here’s how you can shut off the water supply:
- Locate the water shut-off valves under your sink. These are usually located on the hot and cold water supply lines.
- Turn the shut-off valve handles clockwise to close them. This will stop the flow of water to the faucet.
- Once the valves are closed, turn on the faucet and wait for any remaining water to drain out. This will relieve any pressure in the lines.
It’s important to ensure that the water supply is completely shut off before proceeding with the repair. This step will prevent any accidental water flow or leaks during the process.
Now that you have successfully shut off the water supply, you’re ready to move on to the next step: removing the sprayer head.
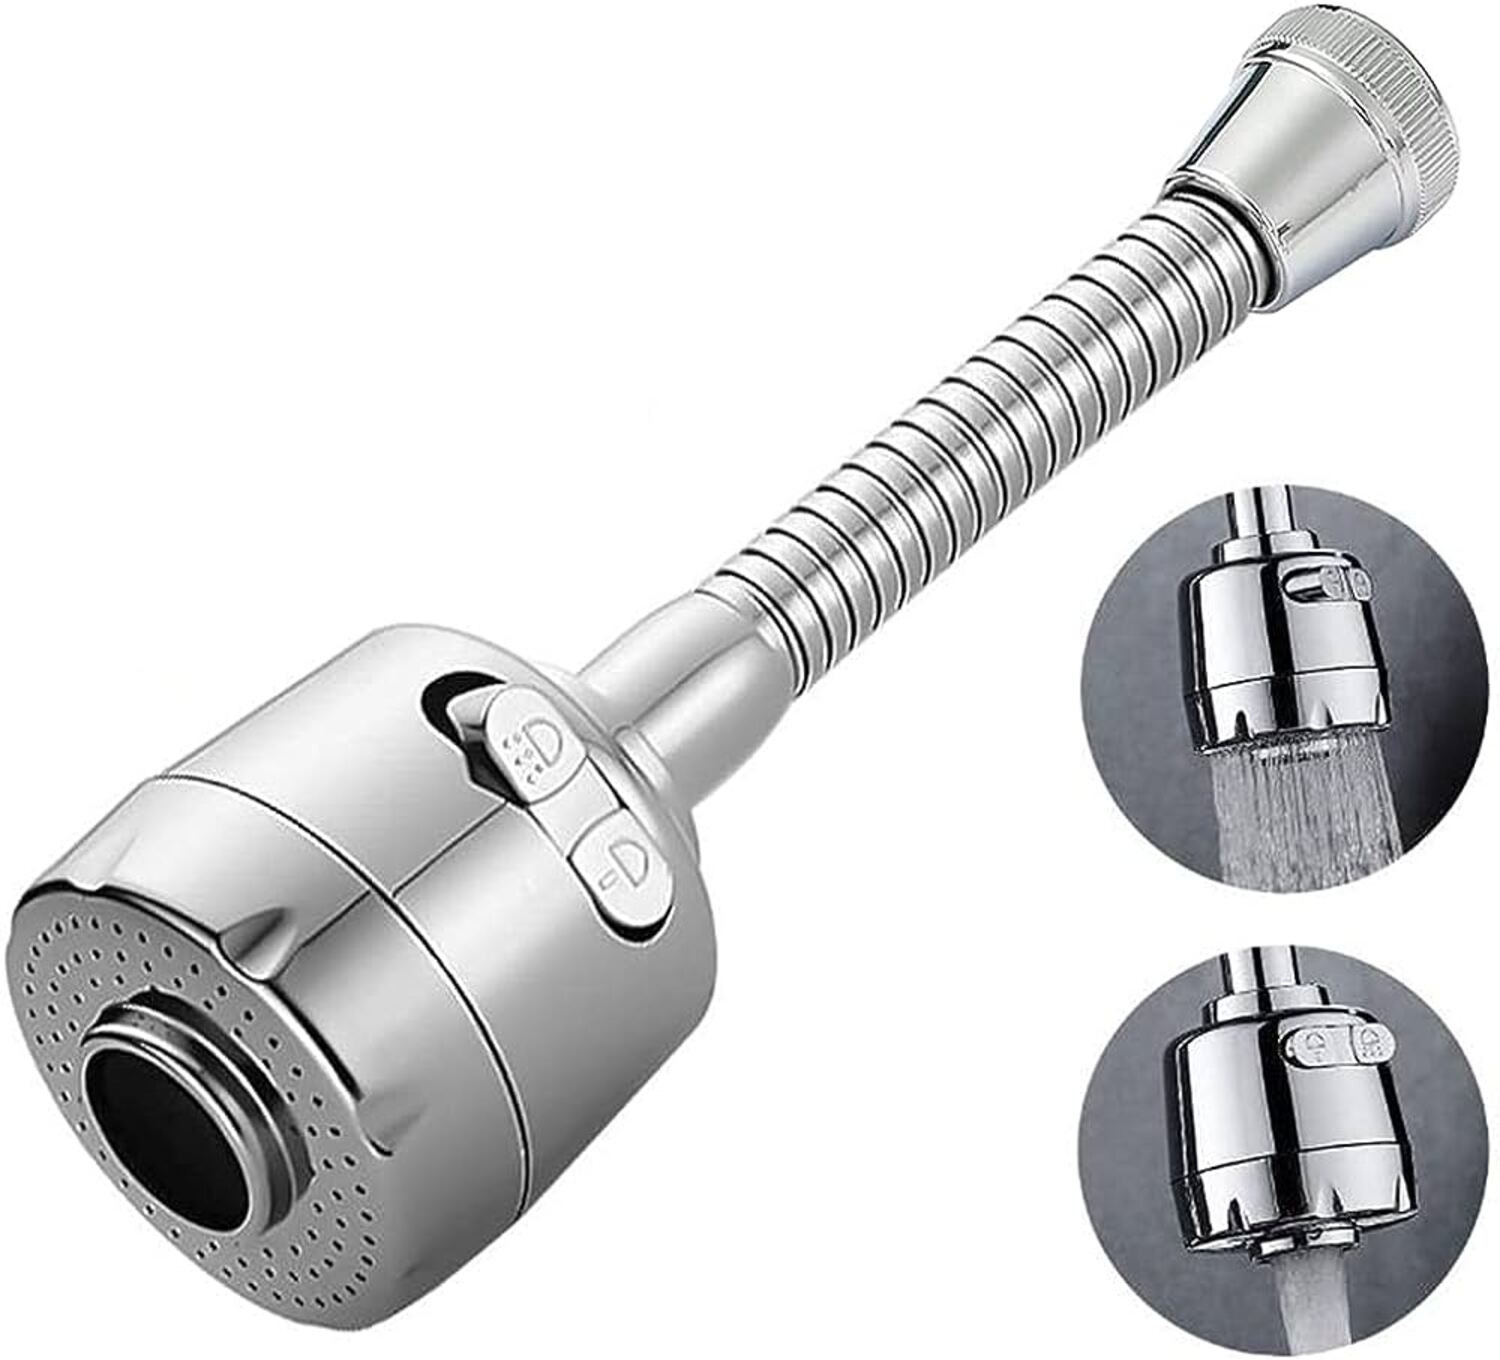
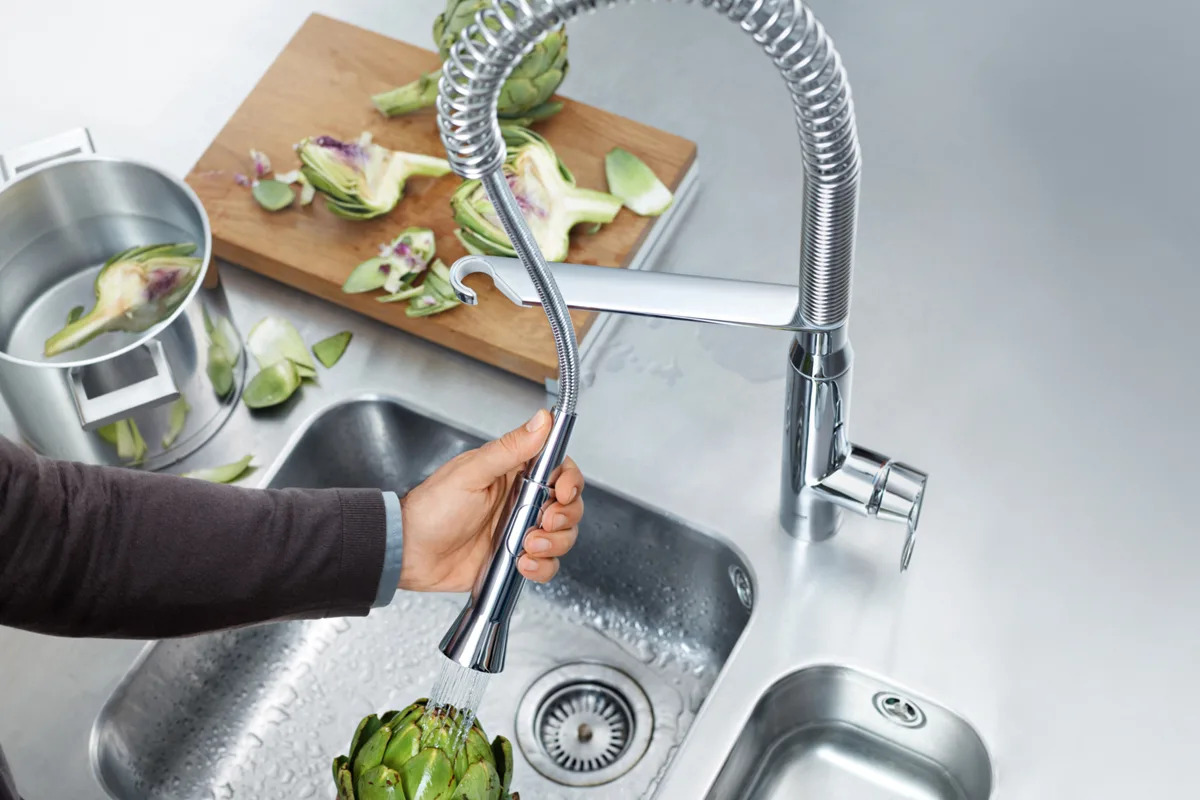
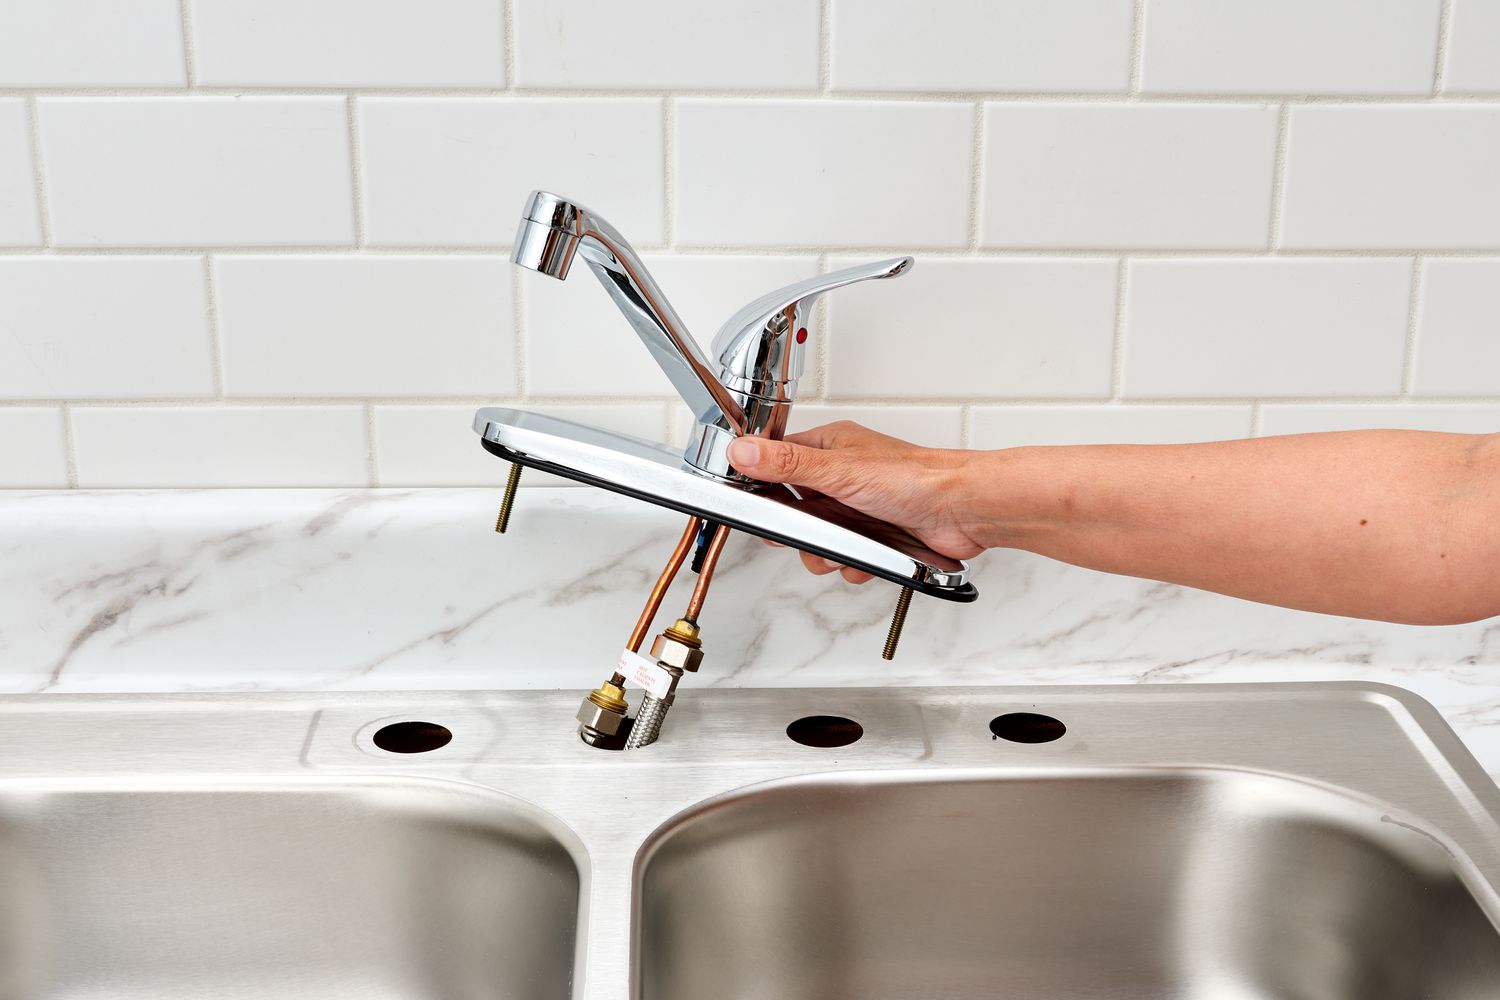
Step 2: Remove the Sprayer Head
Now that you’ve shut off the water supply, it’s time to remove the sprayer head from your kitchen faucet. Follow these steps:
- Locate the sprayer head at the end of the faucet spout. It is typically attached to a flexible hose.
- Find the connection point between the hose and the sprayer head. This is usually a threaded connection or a quick-connect fitting.
- If it’s a threaded connection, use your adjustable wrench to loosen the connection by turning it counterclockwise.
- If it’s a quick-connect fitting, squeeze the tabs on the fitting and pull the sprayer head away from the hose.
- Once the connection is loosened or disconnected, remove the sprayer head from the hose.
After removing the sprayer head, inspect it for any signs of damage or debris. Look for any clogs or obstructions that may be affecting the flow of water. If you notice any buildup or blockage, clean the sprayer head thoroughly using water and a brush, or soak it in vinegar to dissolve mineral deposits.
If the sprayer head is damaged beyond repair, you may need to replace it with a new one. Keep this in mind as we move on to the next steps.
With the sprayer head removed and inspected, you’re now ready to move on to step 3: inspecting the sprayer and hose for any issues.
Step 3: Inspect the Sprayer and Hose
After removing the sprayer head, it’s time to inspect both the sprayer and the hose for any potential issues. Follow these steps:
- Examine the sprayer head for any visible signs of damage, such as cracks or leaks. If you notice any damage, it’s best to replace the sprayer head.
- Inspect the hose for any kinks or bends that may be obstructing the water flow. Straighten out any kinks or bends in the hose as necessary.
- Check the hose for any leaks or tears. If you find any leaks, you may be able to repair them using plumber’s tape. If the hose is significantly damaged, it’s best to replace it with a new one.
- Ensure that all connections between the sprayer, hose, and faucet are tight and secure. Use your adjustable wrench or slip joint pliers to tighten any loose connections.
By thoroughly inspecting the sprayer and hose, you can identify any issues that may be causing problems with the functionality of your kitchen faucet sprayer. Addressing these issues early on will help ensure smooth operation and prevent further damage.
Now that you’ve inspected the sprayer and hose, we can move on to step 4: cleaning or replacing the aerator.
If your kitchen faucet sprayer is leaking or not working properly, try cleaning the aerator and checking for any clogs in the hose. If that doesn’t work, you may need to replace the sprayer head or the hose.
Read more: How To Install A Kitchen Faucet With Sprayer
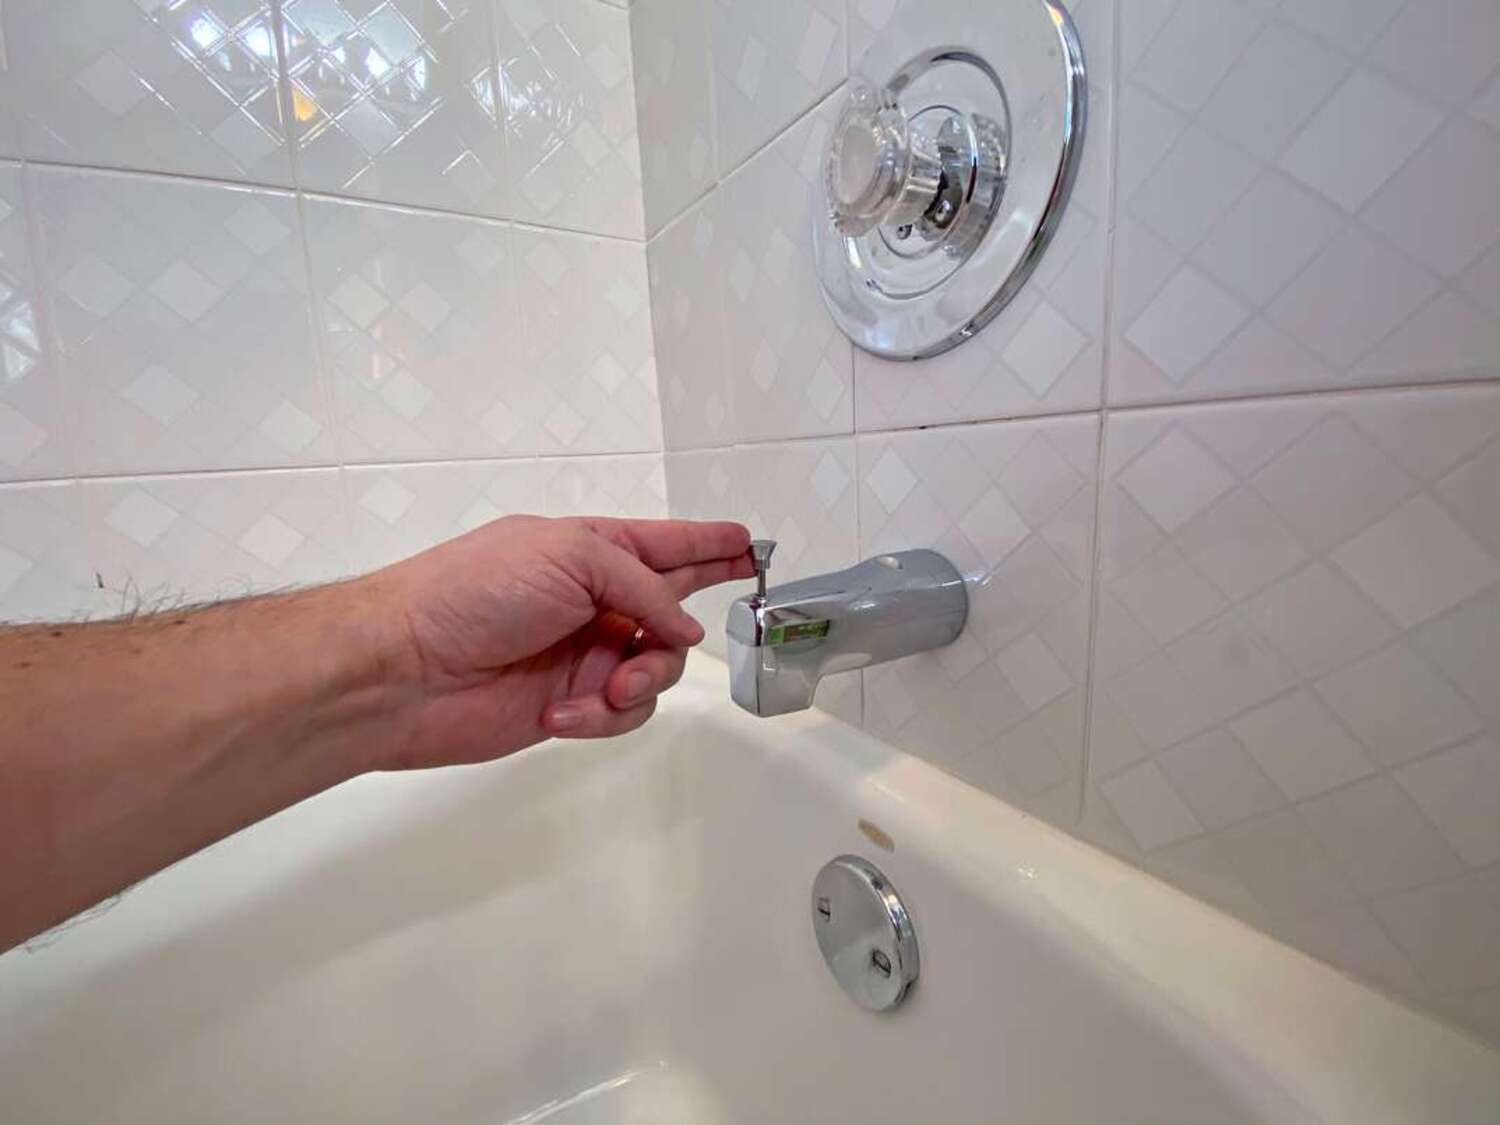
Step 4: Clean or Replace the Aerator
The aerator is a small screened attachment located at the end of your faucet. It’s responsible for controlling the water flow and preventing splashing. If you’re experiencing reduced water flow or uneven spray patterns, the aerator may be clogged with sediment or minerals. Follow these steps to clean or replace the aerator:
- Using a pair of pliers, carefully unscrew the aerator from the end of the faucet spout in a counterclockwise direction.
- Once removed, examine the aerator for any visible debris or mineral buildup. If you notice any clogs, use a toothbrush or small brush to gently scrub away the dirt or sediment. Alternatively, soak the aerator in a mixture of equal parts vinegar and water for about 30 minutes to dissolve any mineral deposits.
- Rinse the aerator thoroughly with water to remove any loosened debris or vinegar solution.
- Inspect the aerator for damage. If it’s cracked or broken, it’s best to replace it with a new aerator.
- If the aerator is clean and undamaged, reattach it to the faucet spout in a clockwise direction, making sure to hand-tighten it firmly.
By cleaning or replacing the aerator, you can restore optimal water flow and improve the performance of your kitchen faucet sprayer. It’s a simple yet effective step that can make a significant difference.
Now that you’ve cleaned or replaced the aerator, it’s time to move on to step 5: checking the hose connections.
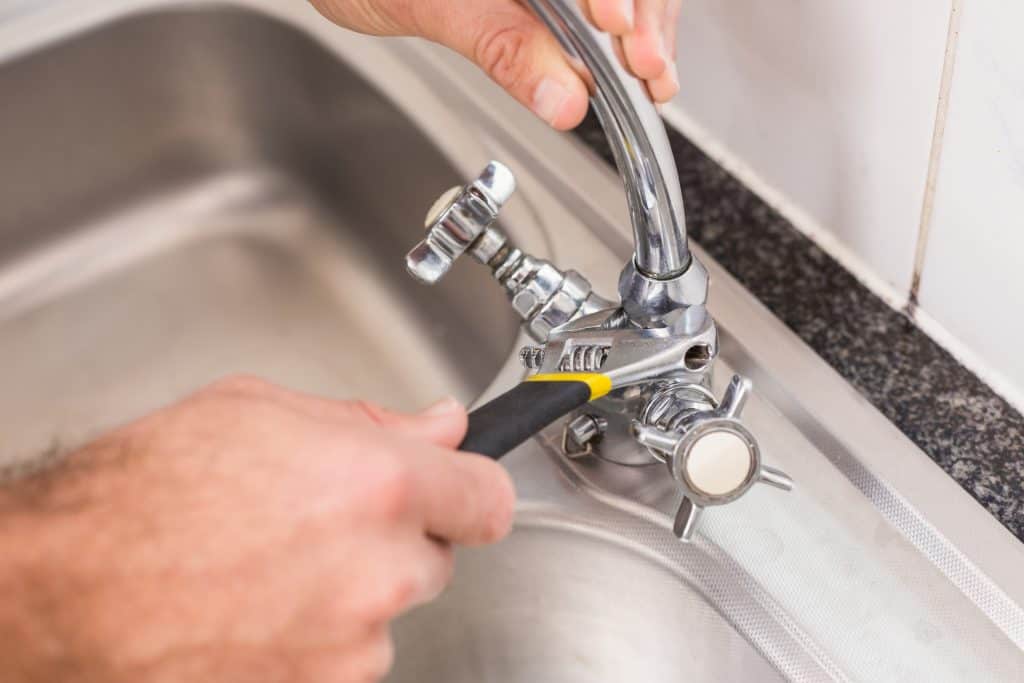
Step 5: Check the Hose Connections
In this step, we will focus on inspecting and ensuring the proper connections of the hose that supplies water to the kitchen faucet sprayer. Follow these steps to check the hose connections:
- Start by locating the connection points of the hose. These are typically found near the faucet base and under the sink.
- Ensure that both ends of the hose are tightly connected to their respective fittings. Use an adjustable wrench to tighten any loose connections.
- If you notice any signs of leaks, such as dripping water or noticeable moisture, there may be an issue with the hose connection. In this case, you will need to address the leak by either tightening the connection or replacing the hose.
- Inspect the hose for any signs of damage, such as cracks or tears. If you find any significant damage, it’s best to replace the hose with a new one to prevent water leakage and further issues.
- Make sure that the hose is free from any kinks or bends that might restrict water flow. Straighten out any kinks or bends as necessary.
By thoroughly checking the hose connections, you can prevent potential leaks and ensure a smooth water flow to your kitchen faucet sprayer.
Now that you’ve checked the hose connections, it’s time to move on to step 6: replacing the sprayer head if necessary.
Step 6: Replace the Sprayer Head
If you’ve determined that the sprayer head is damaged beyond repair or it’s not functioning properly, it’s time to replace it. Follow these steps to replace the sprayer head:
- Start by purchasing a new sprayer head that is compatible with your kitchen faucet. Take note of the make and model of your faucet to ensure a proper fit.
- Prepare the new sprayer head by removing any protective caps or packaging materials.
- Attach the sprayer head to the end of the hose, making sure it is securely connected. For threaded connections, hand-tighten the sprayer head in a clockwise direction. For quick-connect fittings, push the sprayer head onto the hose until it clicks into place.
- Once the sprayer head is connected, turn on the water supply slowly and check for any leaks around the sprayer head. If you notice any leaks, tighten the connection or use plumber’s tape to create a watertight seal.
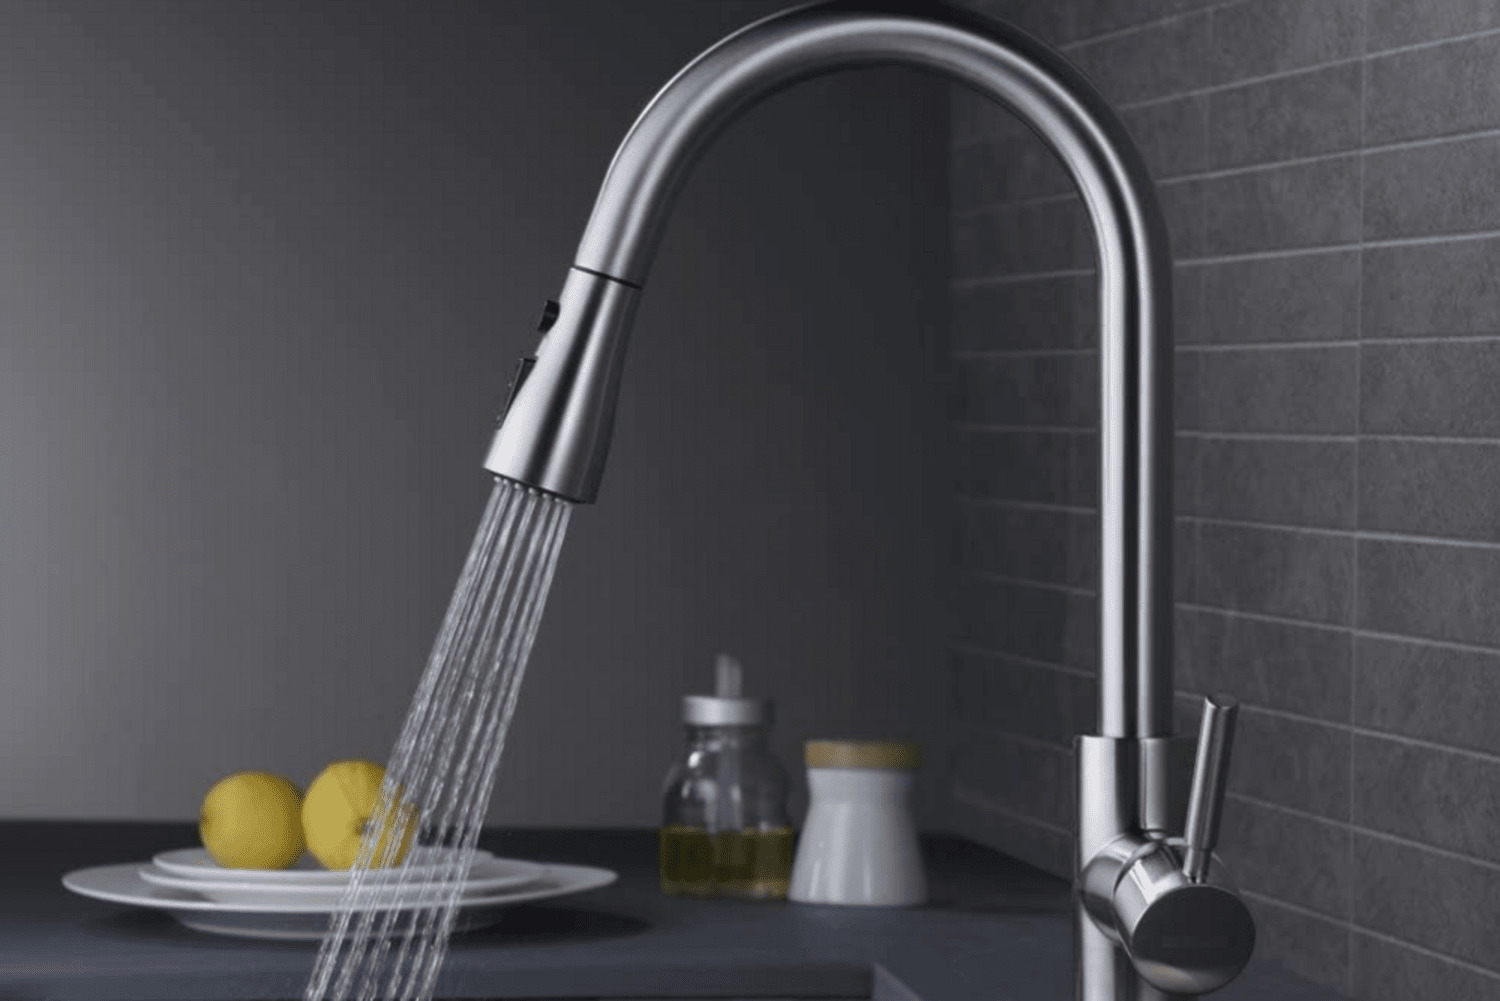
- Test the functionality of the new sprayer head by turning on the faucet and activating the sprayer. Ensure that the water flow is steady and the spray pattern is consistent.
By replacing the sprayer head, you can restore the proper functionality of your kitchen faucet sprayer and ensure a reliable water flow.
Now that you’ve successfully replaced the sprayer head, it’s time to move on to the final step: testing the faucet sprayer.
Step 7: Test the Faucet Sprayer
After completing the necessary repairs and replacements, it’s important to test the functionality of your kitchen faucet sprayer to ensure that everything is working properly. Follow these steps to test the faucet sprayer:
- Turn on the water supply to the faucet by opening the shut-off valves underneath the sink. Make sure to open the hot and cold water valves.
- Activate the sprayer by pressing the handle or button that controls the sprayer function. Observe the water flow and spray pattern.
- Check for any leaks around the sprayer head, hose connections, or the faucet itself. If you notice any leaks, tighten the connections or make the necessary adjustments to prevent further leakage.
- Adjust the spray pattern if necessary. Some sprayer heads offer different spray settings, such as a wide spray or a focused stream. Test each setting to ensure they are functioning as intended.
- Pay attention to the water pressure of the sprayer. If you still notice low water pressure or inconsistent flow, you may need to revisit the previous steps to identify and address any underlying issues.
By testing the faucet sprayer, you can verify that the repairs and replacements have been successful. It also provides the opportunity to make any additional adjustments or fine-tuning if needed.
Congratulations! You have successfully fixed your kitchen faucet sprayer. With proper maintenance and occasional checks, your sprayer should continue to function smoothly for years to come.
Remember, if you encounter any persistent issues or complications, it’s always best to consult a professional plumber to ensure that the problem is adequately addressed.
We hope this step-by-step guide has been helpful in resolving any issues with your kitchen faucet sprayer. Happy spraying!
Read more: How To Fix Bidet Sprayer
Conclusion
Fixing a problematic kitchen faucet sprayer can seem like a daunting task, but with the right tools and knowledge, it can be a relatively straightforward process. By following the step-by-step instructions outlined in this guide, you can identify and address common issues such as low water pressure, leaks, and malfunctioning spray patterns.
Remember to start by shutting off the water supply and gathering the necessary tools and materials. Inspect the sprayer head and hose for any damage or debris, cleaning or replacing them as needed. Check the hose connections for tightness and any signs of leaks. Clean or replace the aerator to improve water flow. Finally, replace the sprayer head if it’s damaged or not functioning properly. Test the faucet sprayer to ensure that all repairs have been successful.
Regular maintenance and proper care of your kitchen faucet sprayer will help extend its lifespan and prevent future issues. Keep an eye out for any signs of wear and tear, and address them promptly before they escalate into more significant problems.
If you’re unsure about any part of the repair process or encounter any complications, don’t hesitate to seek assistance from a professional plumber. They have the expertise and experience to handle more complex repairs and ensure that your kitchen faucet sprayer is in optimal working condition.
We hope this guide has provided you with the necessary information and confidence to tackle any issues with your kitchen faucet sprayer. By following these steps, you can enjoy the convenience of a fully functional and efficient sprayer in your kitchen once again.
Happy fixing, and may your kitchen faucet sprayer continue to serve you well for years to come!
Frequently Asked Questions about How To Fix A Kitchen Faucet Sprayer
Was this page helpful?
At Storables.com, we guarantee accurate and reliable information. Our content, validated by Expert Board Contributors, is crafted following stringent Editorial Policies. We're committed to providing you with well-researched, expert-backed insights for all your informational needs.


0 thoughts on “How To Fix A Kitchen Faucet Sprayer”