
Articles
How To Install Delta Shower Faucet
Modified: May 6, 2024
Learn how to install a Delta shower faucet with our step-by-step guide. Find articles, tips, and tricks to complete the installation process easily.
(Many of the links in this article redirect to a specific reviewed product. Your purchase of these products through affiliate links helps to generate commission for Storables.com, at no extra cost. Learn more)
Introduction
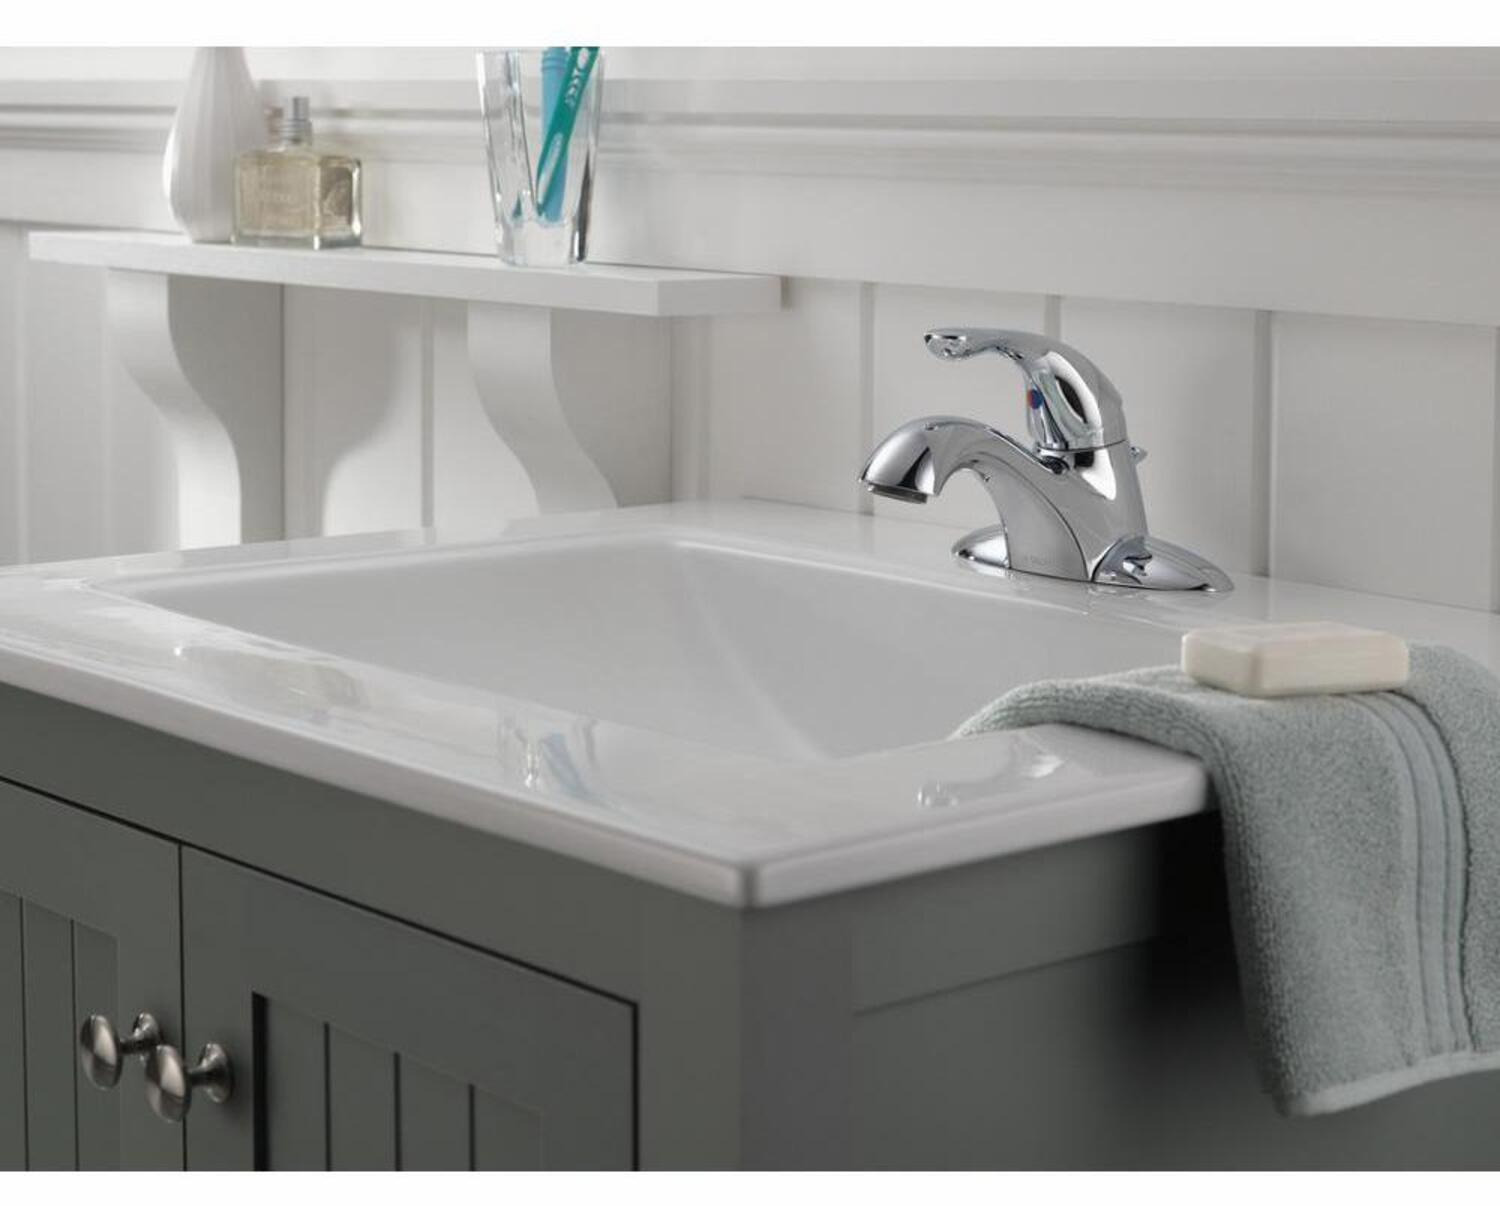
Installing a new faucet in your shower can be a rewarding and transformative project. Not only will it enhance the appearance of your bathroom, but it will also improve the functionality and efficiency of your shower experience. One popular option for shower faucets is the Delta shower faucet, known for its durability, reliability, and sleek design.
In this article, we will guide you through the step-by-step process of how to install a Delta shower faucet. We will cover everything from the tools and materials you will need to the preparation and installation process. Whether you are a seasoned DIY enthusiast or a beginner, this guide will help you successfully install your new Delta shower faucet and enjoy the benefits it brings.
Key Takeaways:
- Transform your bathroom with a Delta shower faucet, enhancing both appearance and functionality. Proper preparation, installation, and testing ensure a smooth and rewarding DIY project.
- Enjoy a revitalized shower experience with a new Delta shower faucet. Follow step-by-step instructions, test for leaks and water flow, and seek professional assistance if needed.
Read more: How To Remove Delta Shower Faucet
Tools and Materials Needed
Before you begin the installation process, it is important to gather all the necessary tools and materials to ensure a smooth and efficient installation. Here is a list of the items you will need:
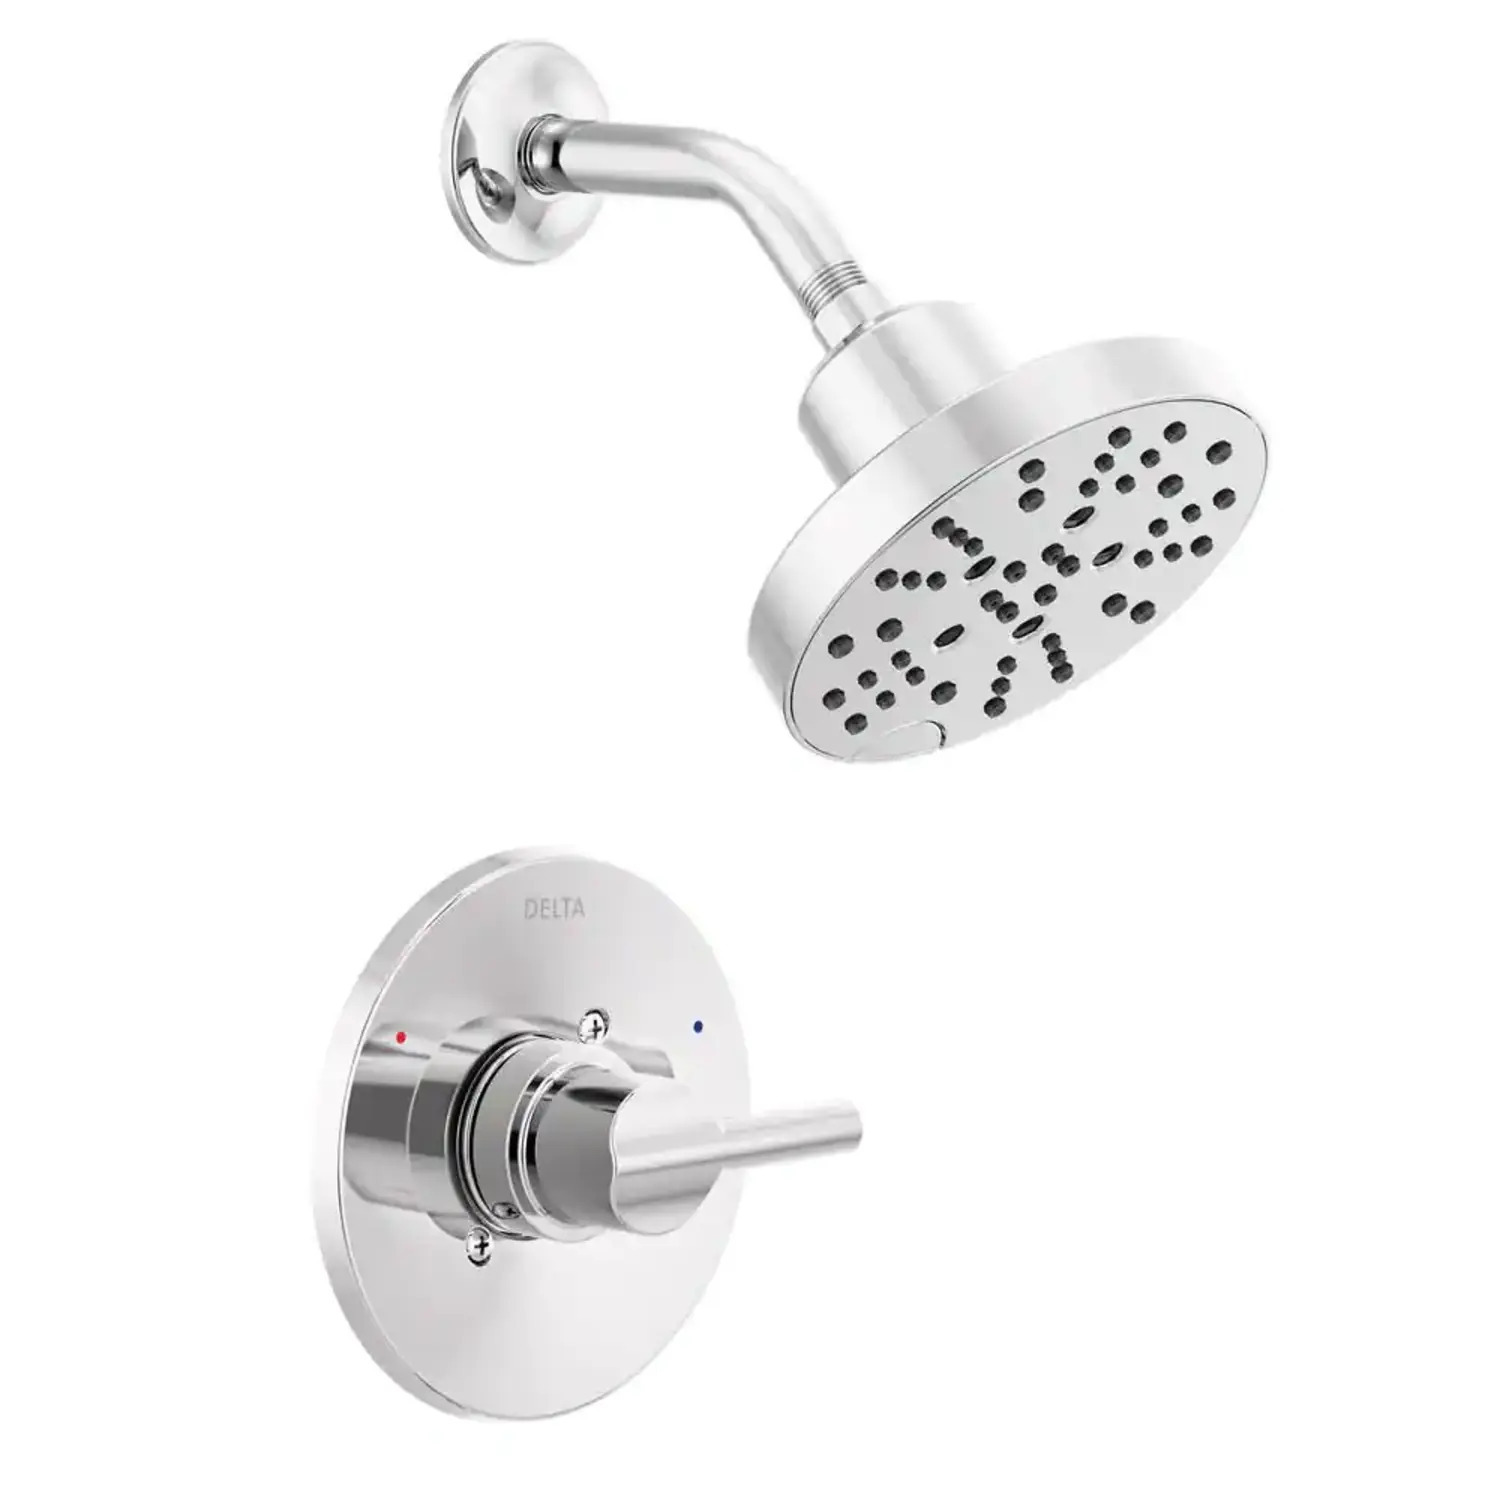
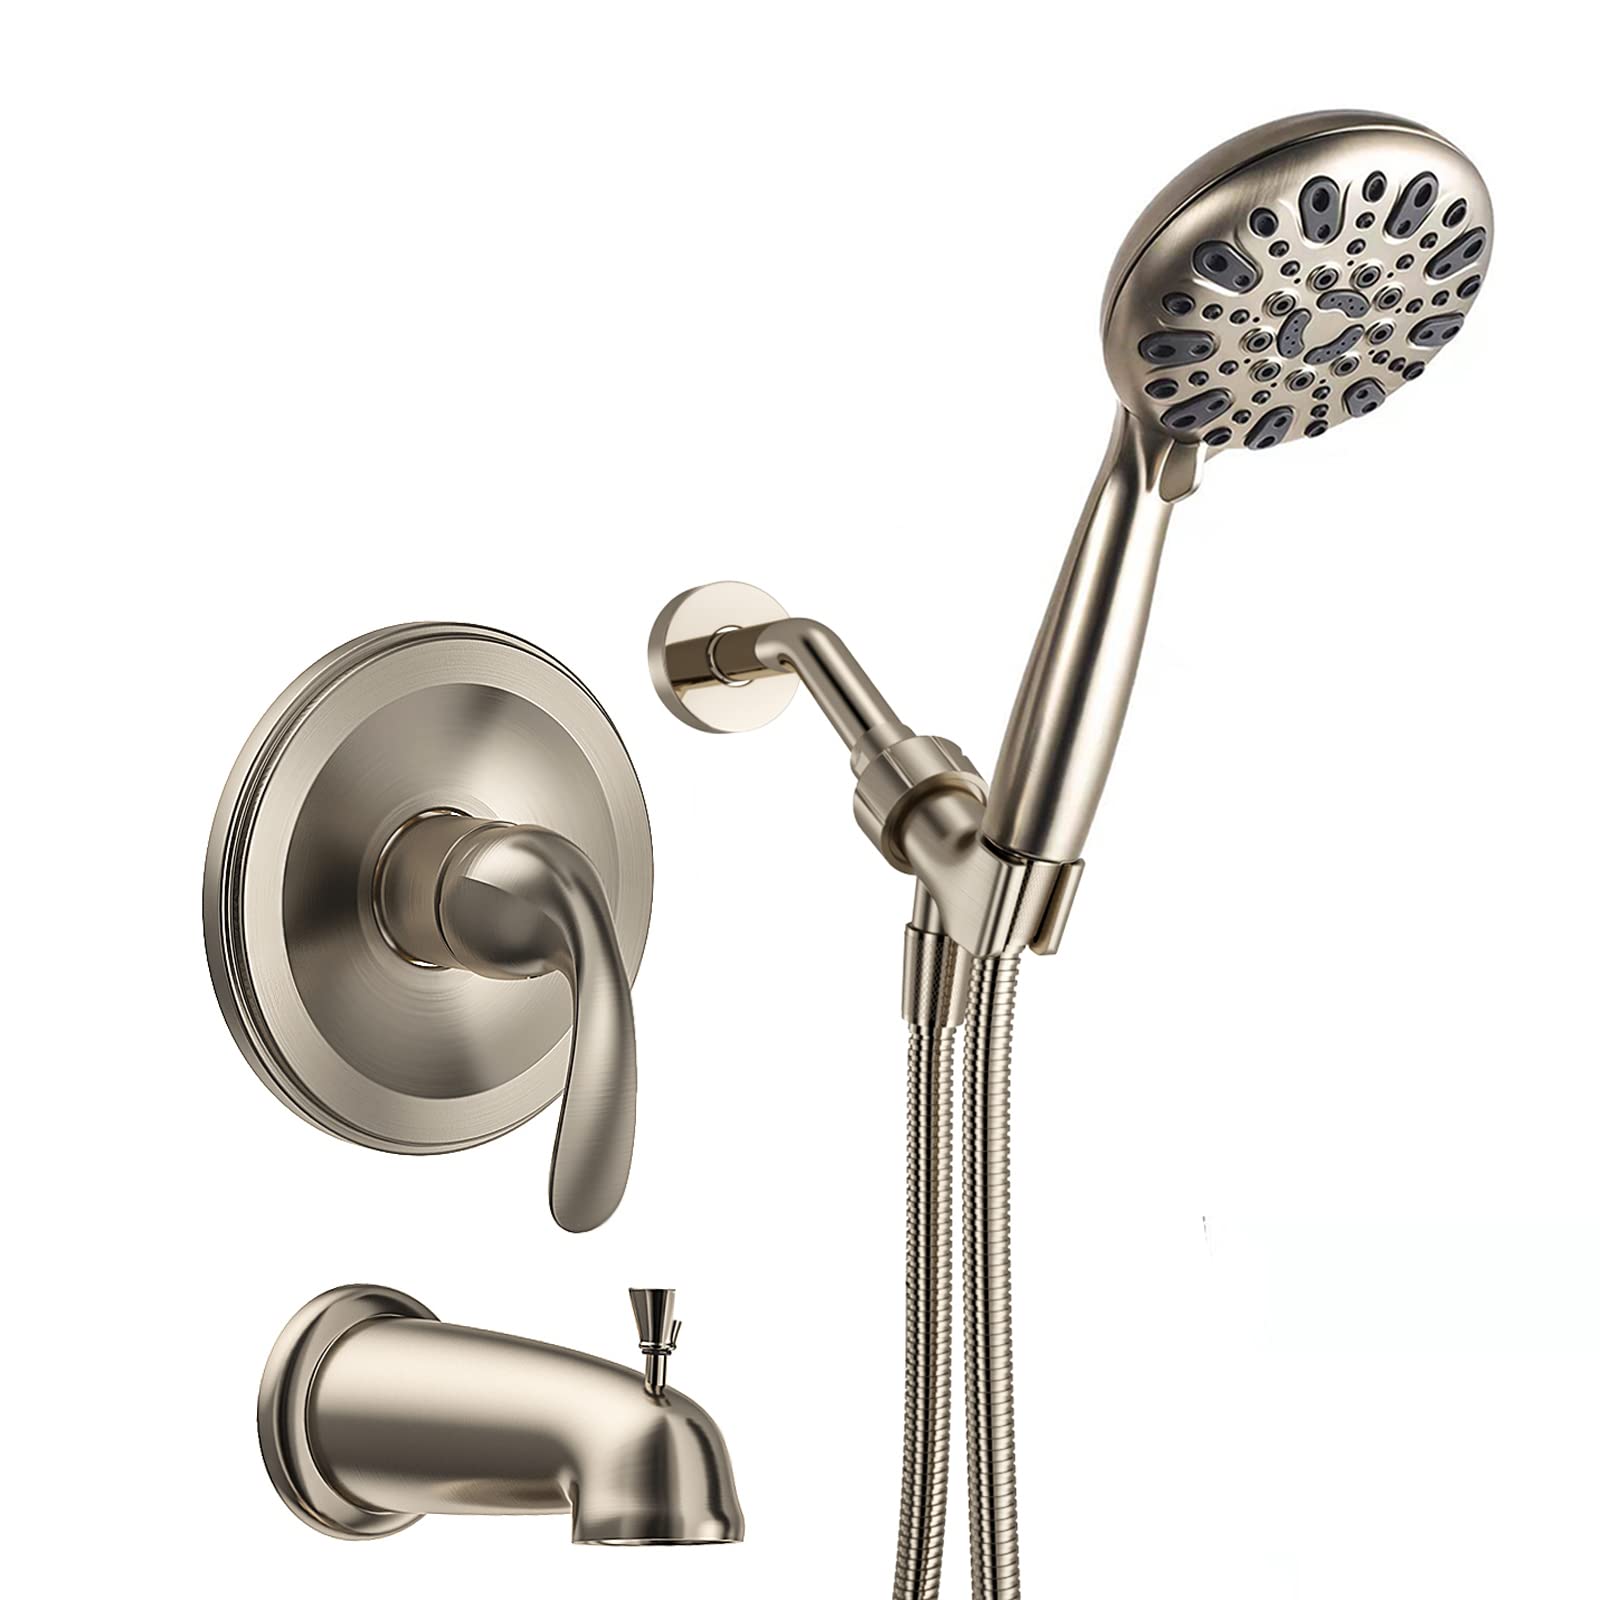
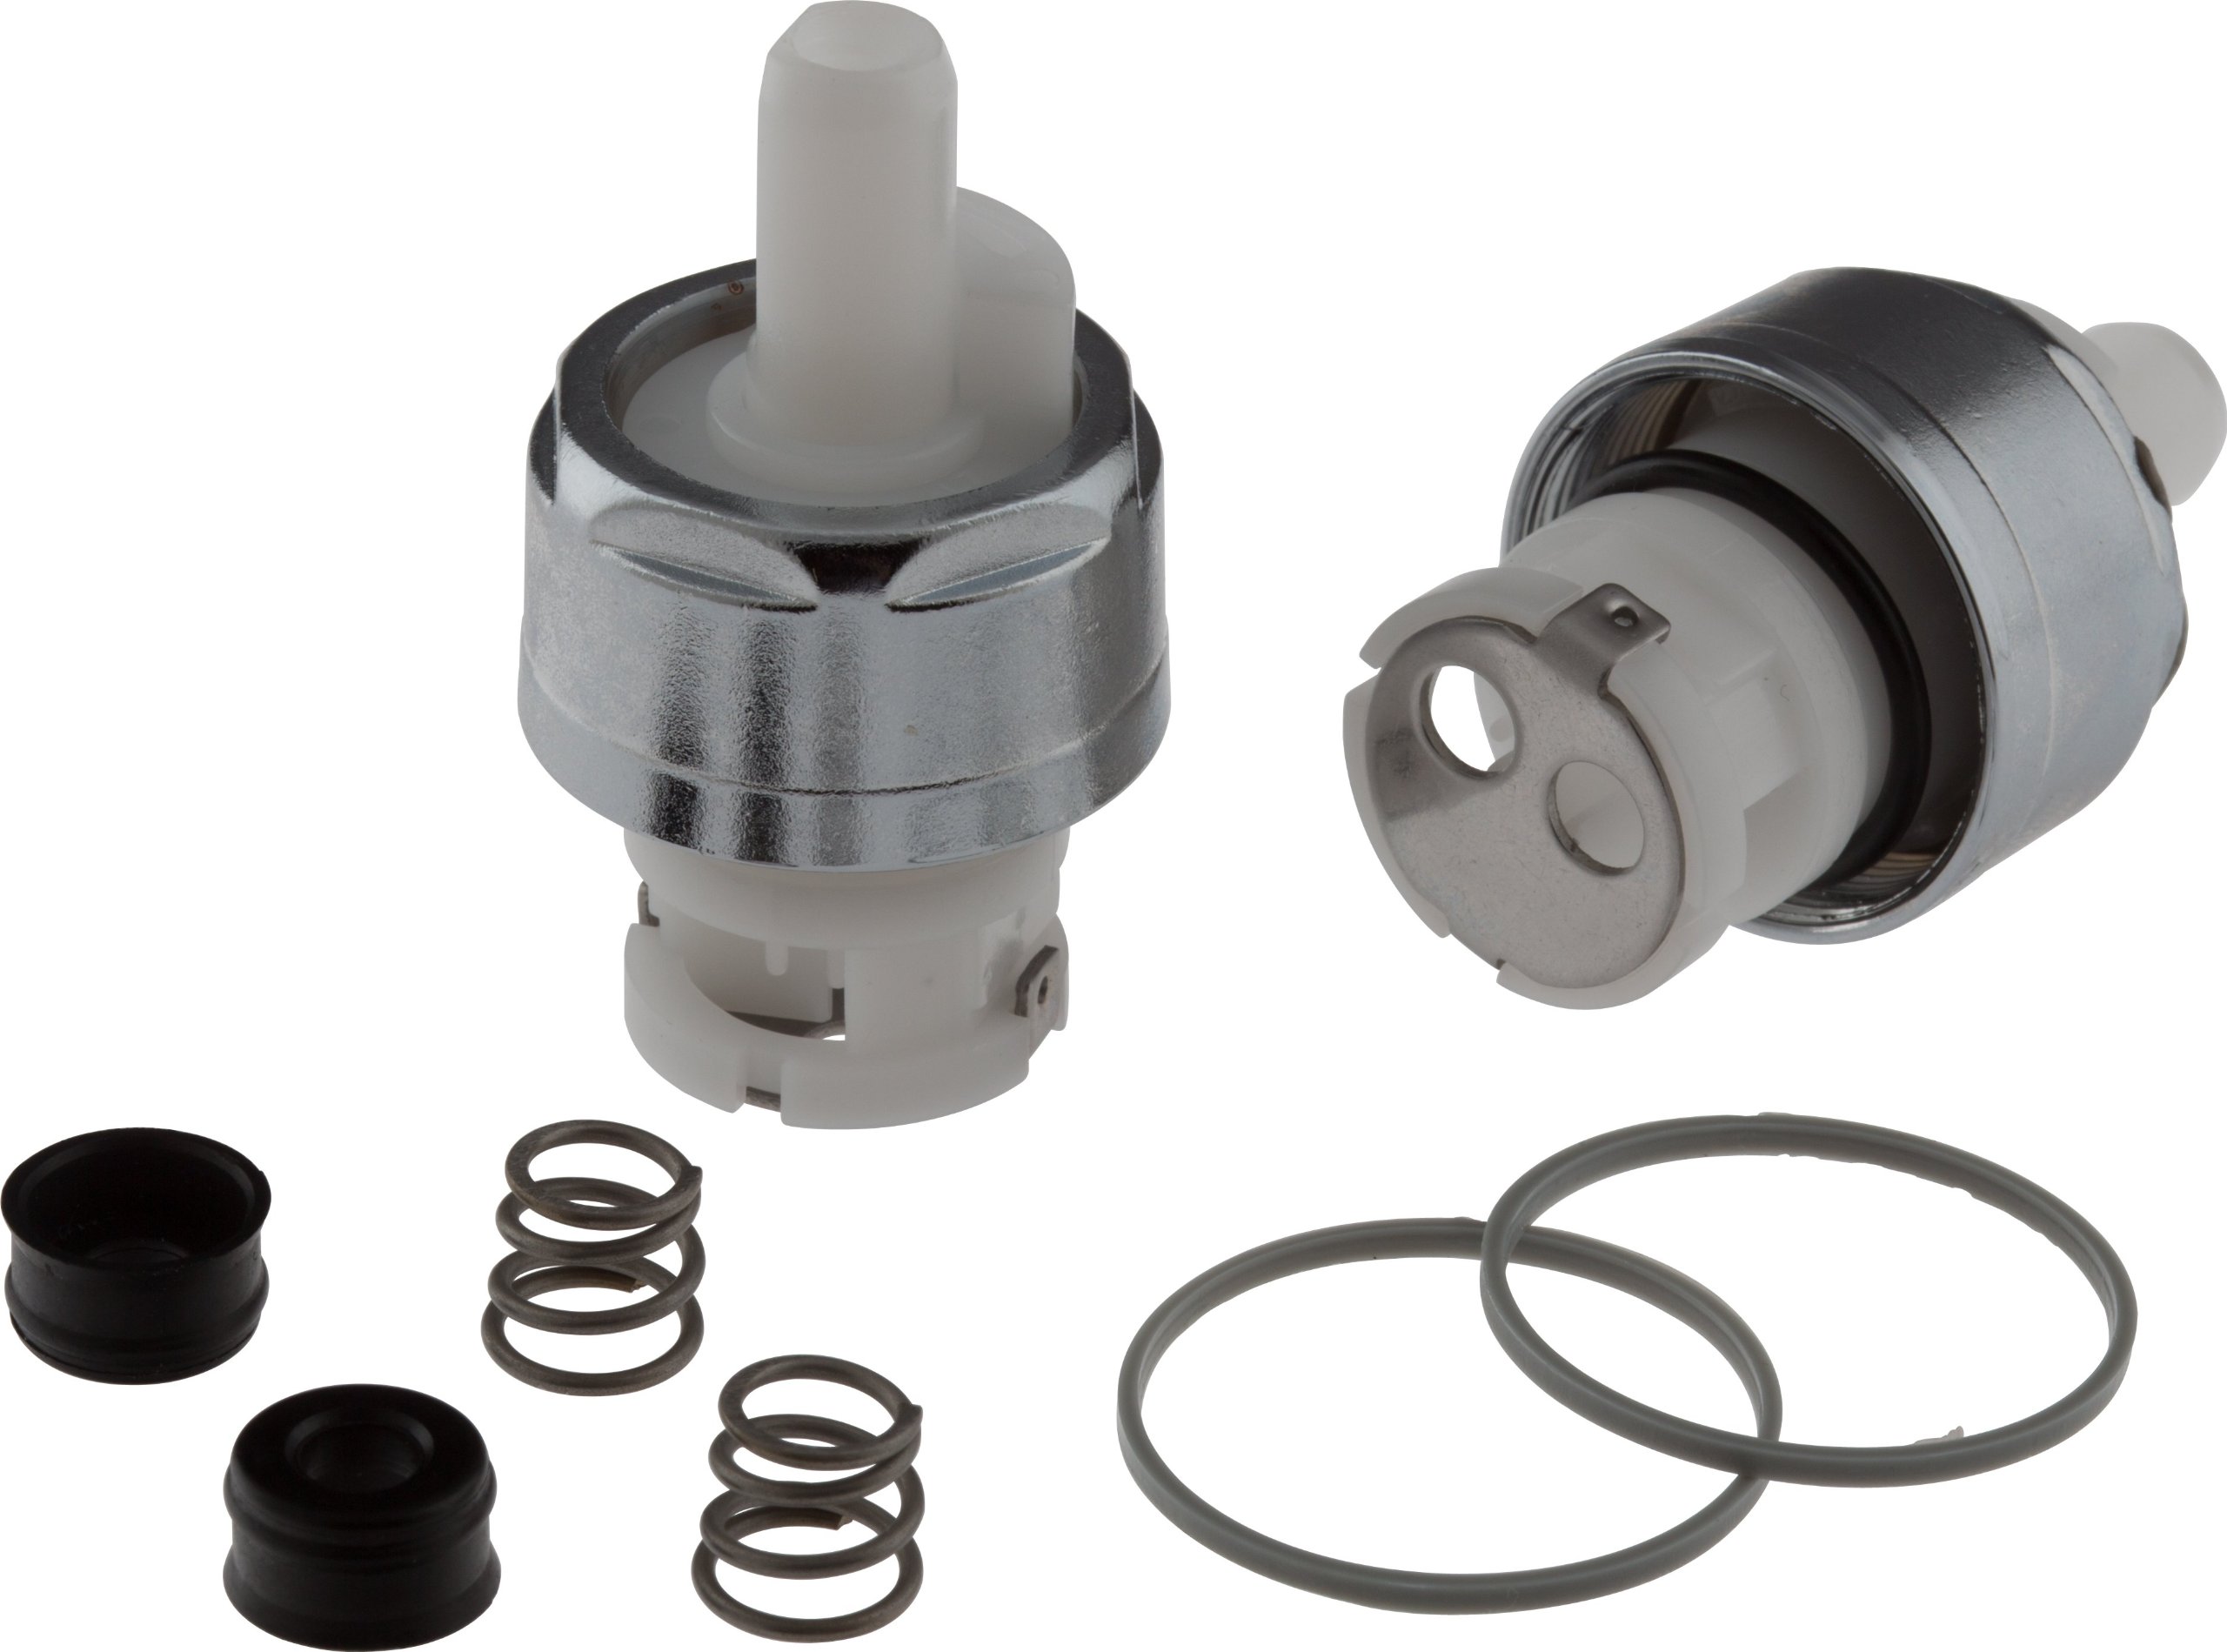
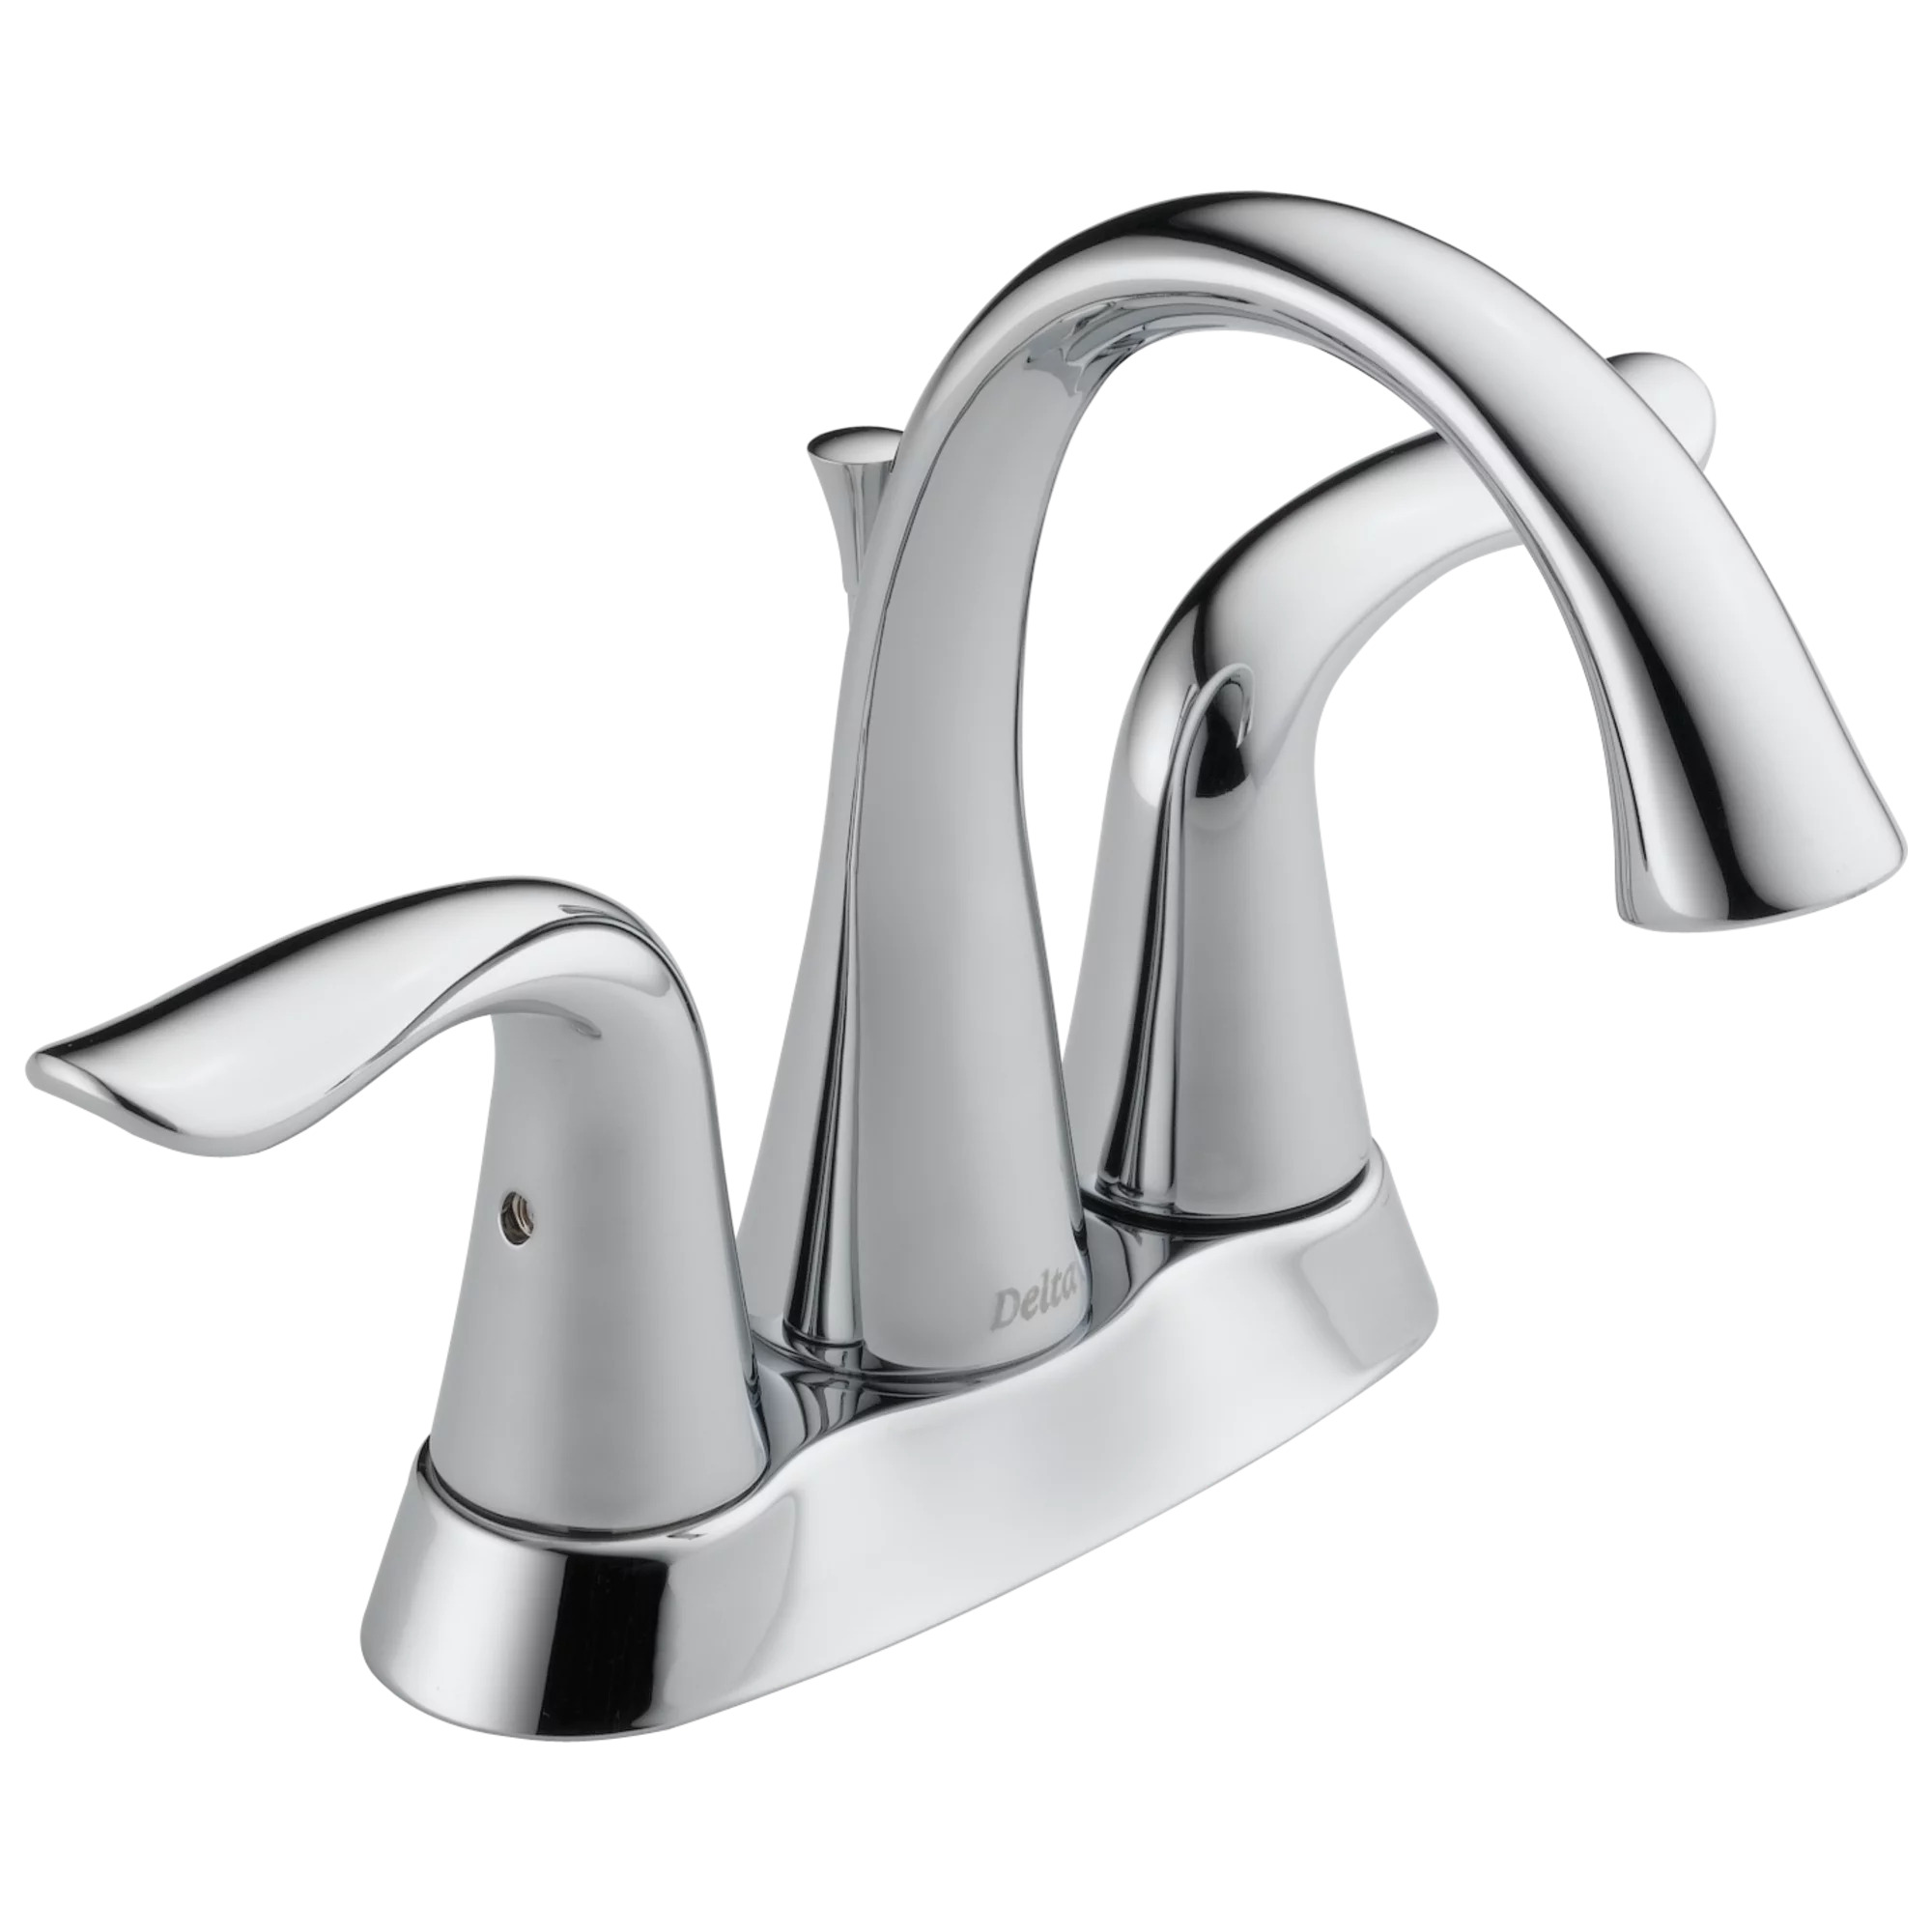
- Delta shower faucet kit (including the valve, trim, and handle)
- Adjustable wrench
- Plumber’s tape
- Screwdriver
- Plumbing adhesive or silicone sealant
- Plumbing tape
- Bucket or towels
- Rag or towel
- Teflon tape
- Accessories such as safety glasses and gloves
Make sure to purchase a Delta shower faucet kit that is specifically designed for your shower. This will ensure compatibility and ease of installation.
Once you have gathered all the necessary tools and materials, you are ready to move on to the next step of the installation process: preparation.
Preparation
Before you start installing the Delta shower faucet, it is important to take some time to prepare the area and gather everything you need. Here are some key steps to follow:
- Turn off the water supply: Locate the main water supply valve and turn it off to prevent any water flow while you work. This will help avoid any accidents or water damage.
- Protect the area: Lay down towels or use a bucket to catch any water that may come out of the pipes when you remove the old faucet. This will help keep your bathroom clean and dry during the installation process.
- Read the instructions: Carefully read the installation instructions provided with your Delta shower faucet kit. Familiarize yourself with the steps and any specific requirements or precautions.
- Inspect the plumbing: Take a close look at the existing plumbing fixtures and connections. Make sure there are no leaks, corrosion, or other issues that need to be addressed before installing the new faucet.
- Remove any obstructions: Clear out any items or obstacles around the shower area to ensure easy access to the faucets and pipes. This will make the installation process smoother and more efficient.
- Measure and mark: Use a measuring tape to measure the distance between the existing faucet and the shower wall. This will help you position the new faucet correctly during the installation process.
By taking these preparation steps, you will set a solid foundation for a successful installation. Now it’s time to move on to the next phase: removing the old faucet.
Removing the Old Faucet
Now that you have prepared the area, it’s time to remove the old faucet. Follow these steps to ensure a smooth removal process:
- Turn off the water supply: Before you start removing the faucet, ensure the water supply is turned off. This will prevent any water flow and potential leaks during the removal process.
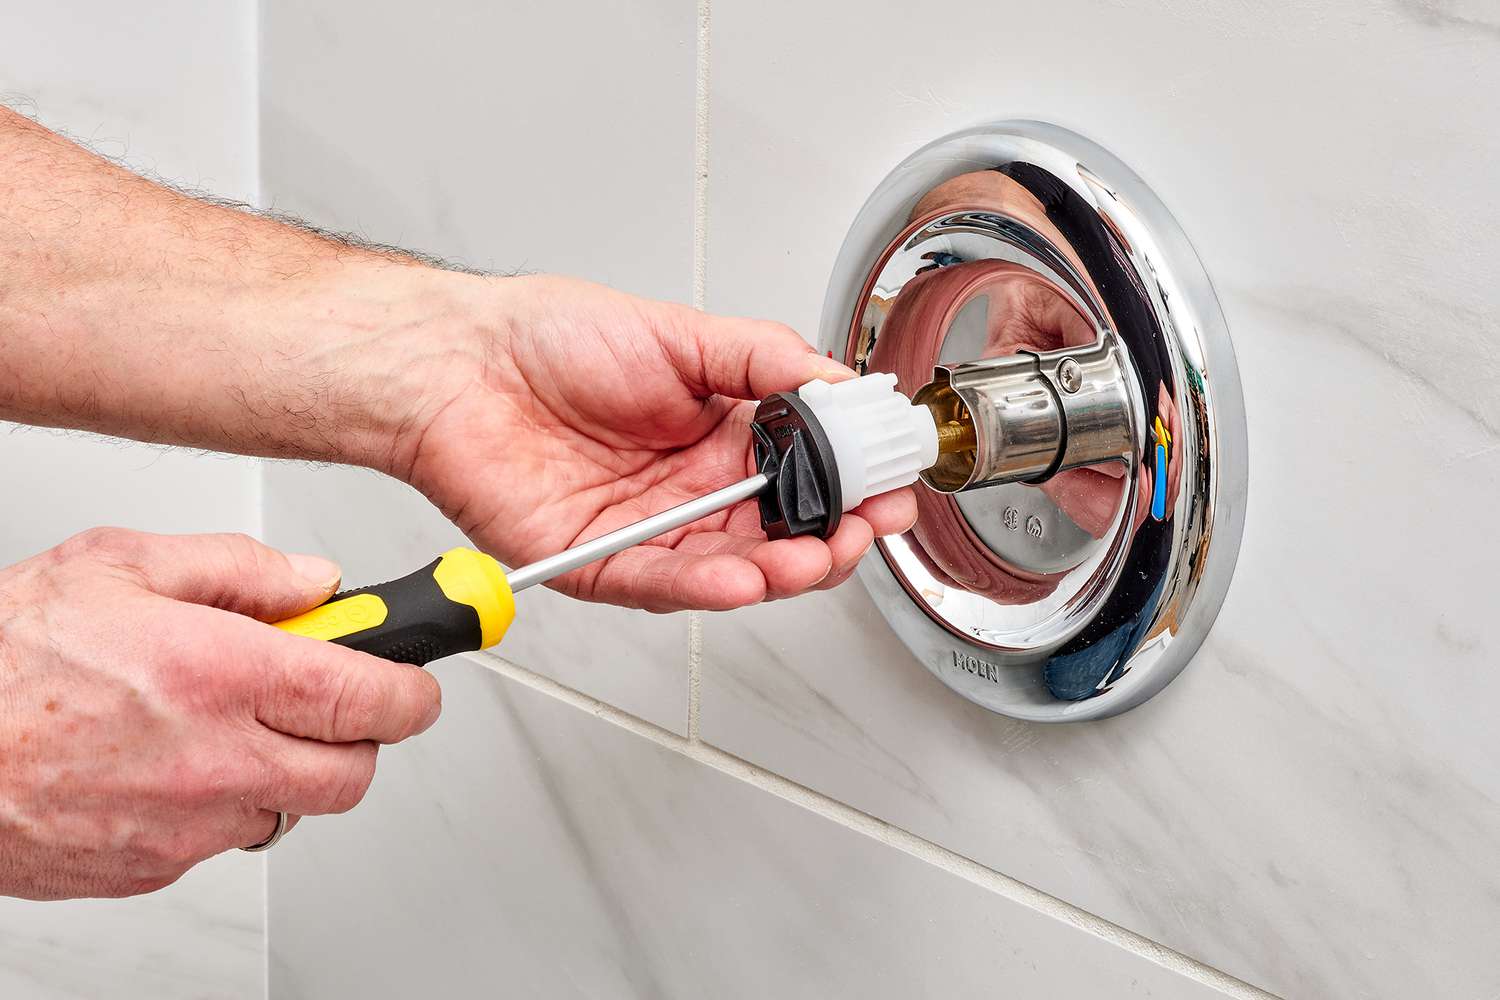
- Remove any decorative covers: Look for any decorative caps or covers on the faucet handles or trim. Gently pry them off using a screwdriver or your fingers to reveal the screws beneath.
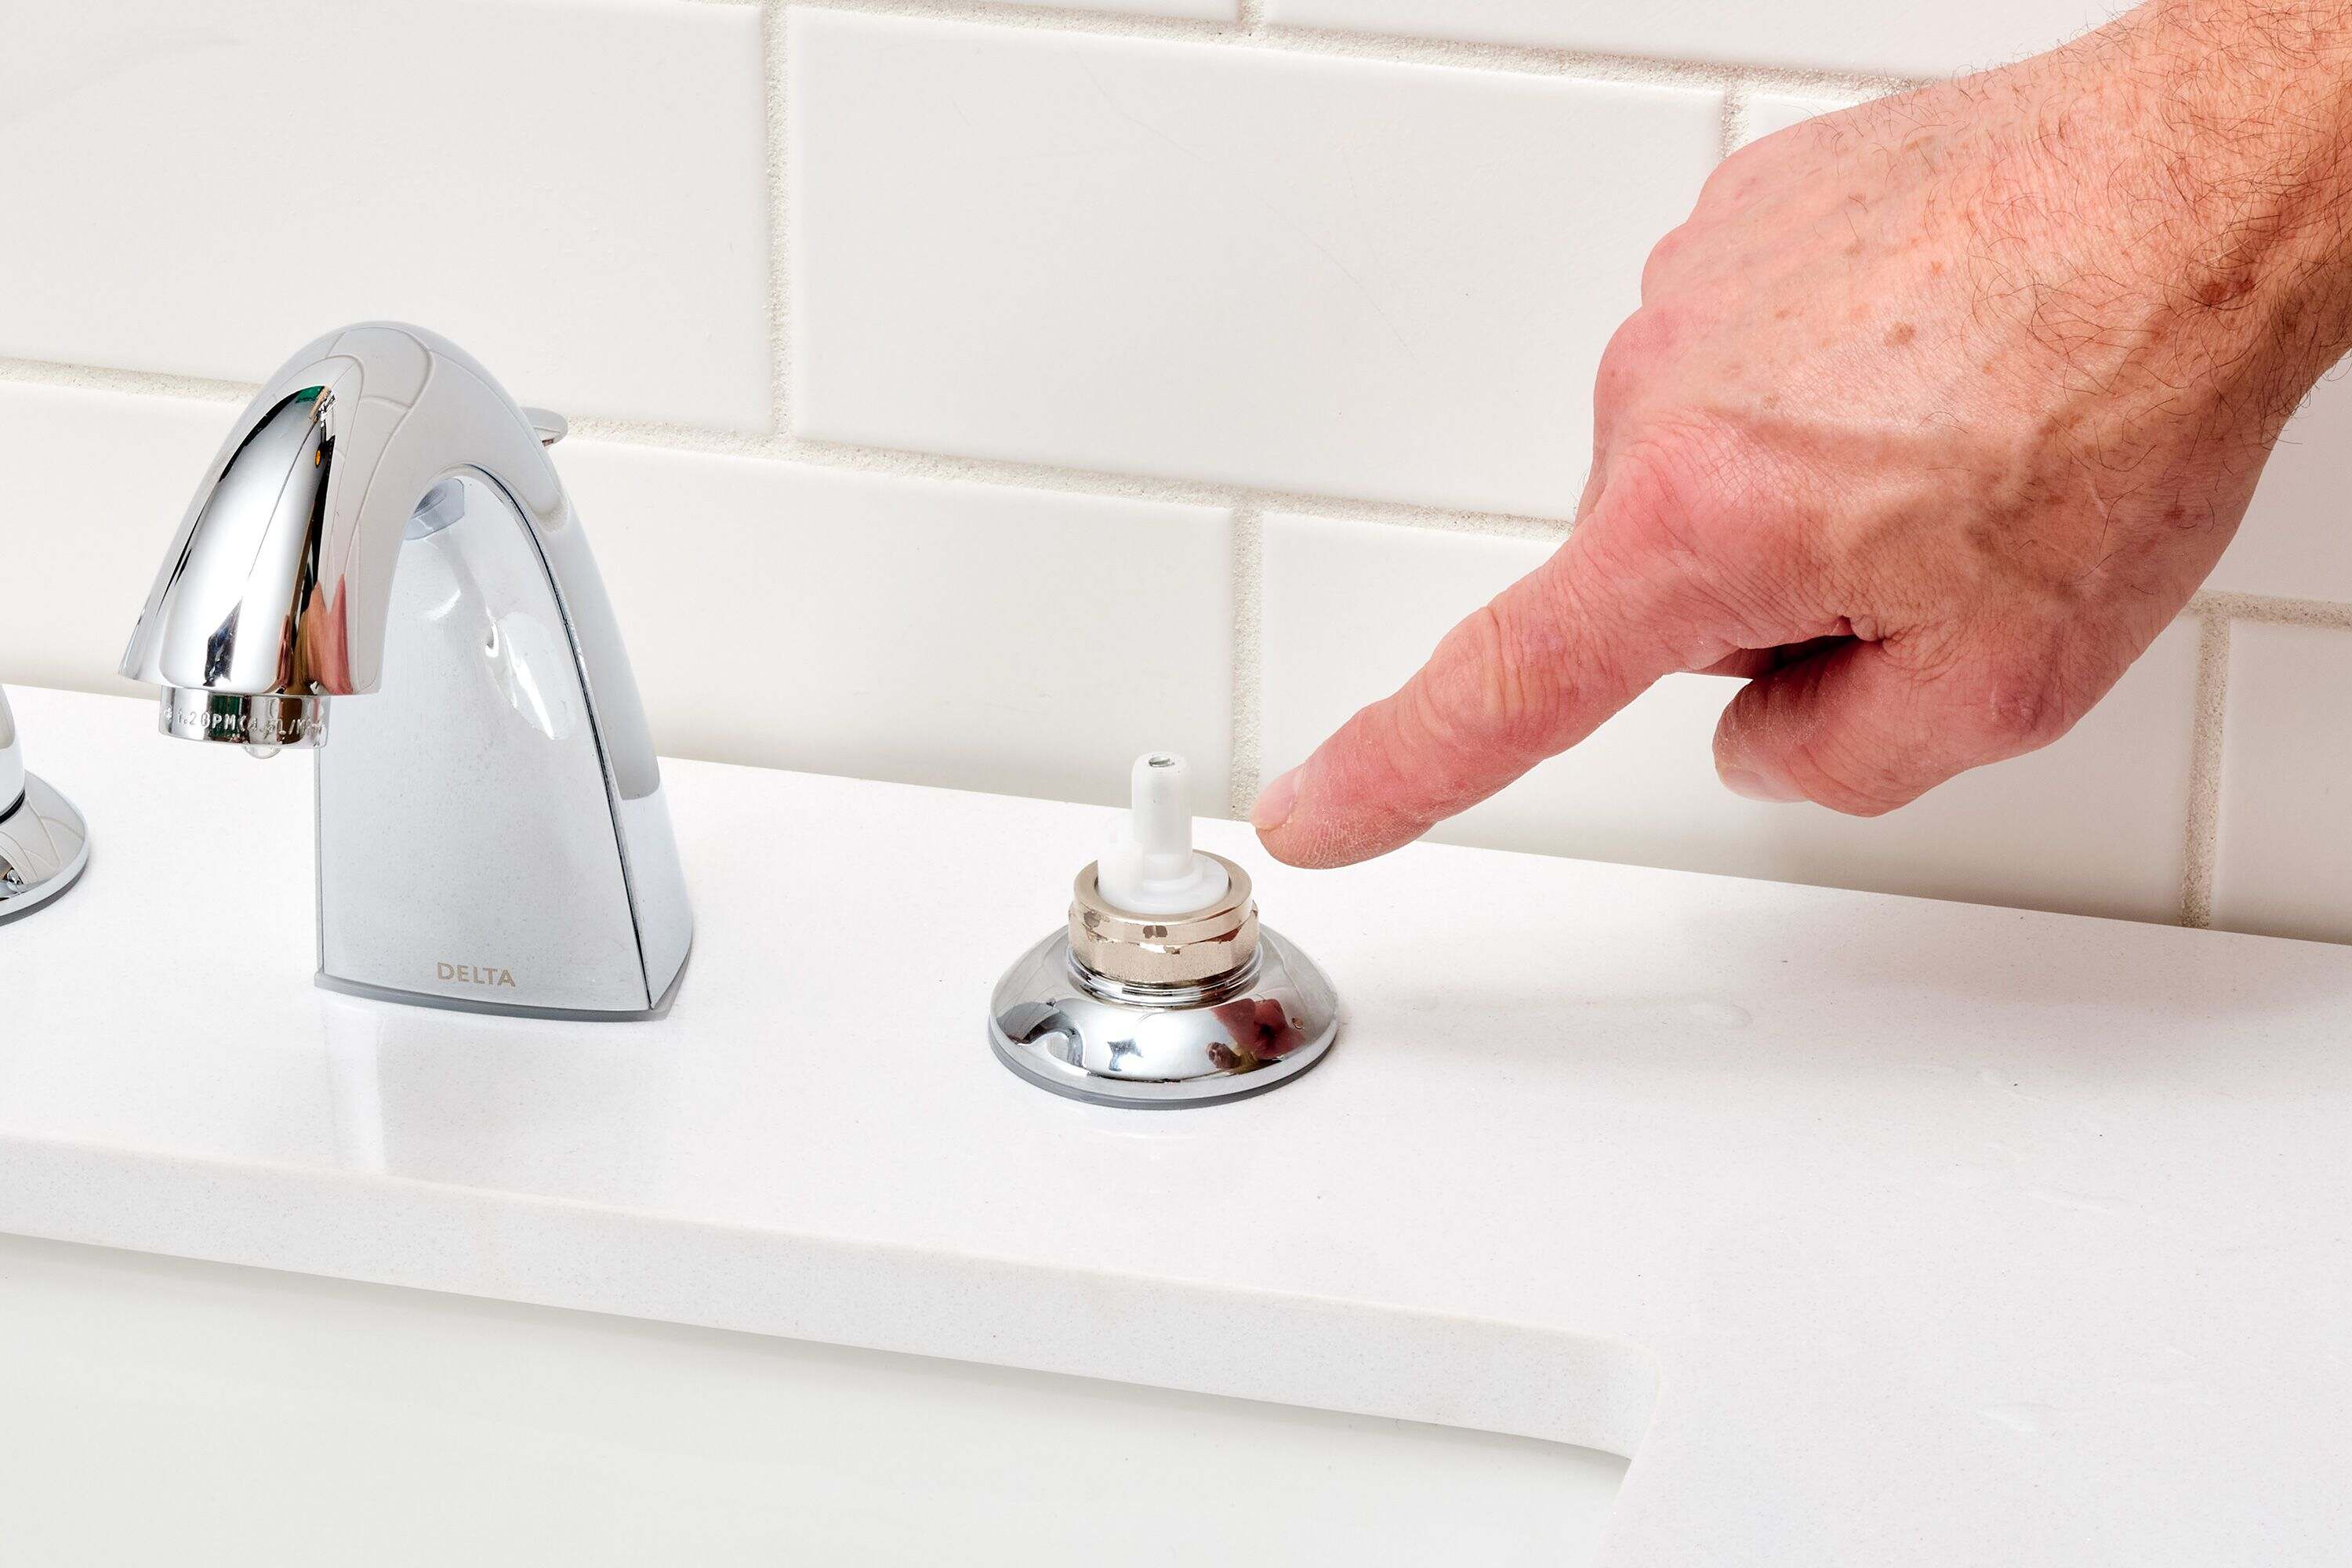
- Remove the screws: Use a screwdriver to remove the screws that secure the faucet handles or trim to the wall. Set the screws aside in a safe place.
- Detach the handles: Once the screws are removed, carefully pull the faucet handles or trim away from the wall. They may be connected to the valve stems with screws or a locking mechanism. Unfasten any connections and set the handles or trim aside.
- Disconnect the water supply lines: Locate the water supply lines connected to the faucet. Use an adjustable wrench to loosen and disconnect them from the faucet. Place a bucket or towel underneath to catch any residual water.
- Remove the old valve: Depending on the type of faucet and plumbing system you have, you may need to remove the old valve from the wall. Follow the manufacturer’s instructions or consult a professional plumber if you are unsure how to proceed.
Once you have successfully removed the old faucet, inspect the area for any damage or debris. Clean the surface and ensure it is ready for the installation of the new Delta shower faucet.
With the old faucet safely removed, you are ready to move on to the exciting part: installing the new Delta shower faucet!
When installing a Delta shower faucet, make sure to shut off the water supply before beginning. Follow the manufacturer’s instructions carefully and use the appropriate tools for a successful installation.
Installing the New Faucet
Now that you have removed the old faucet, it’s time to install your new Delta shower faucet. Follow these step-by-step instructions to ensure a successful installation:
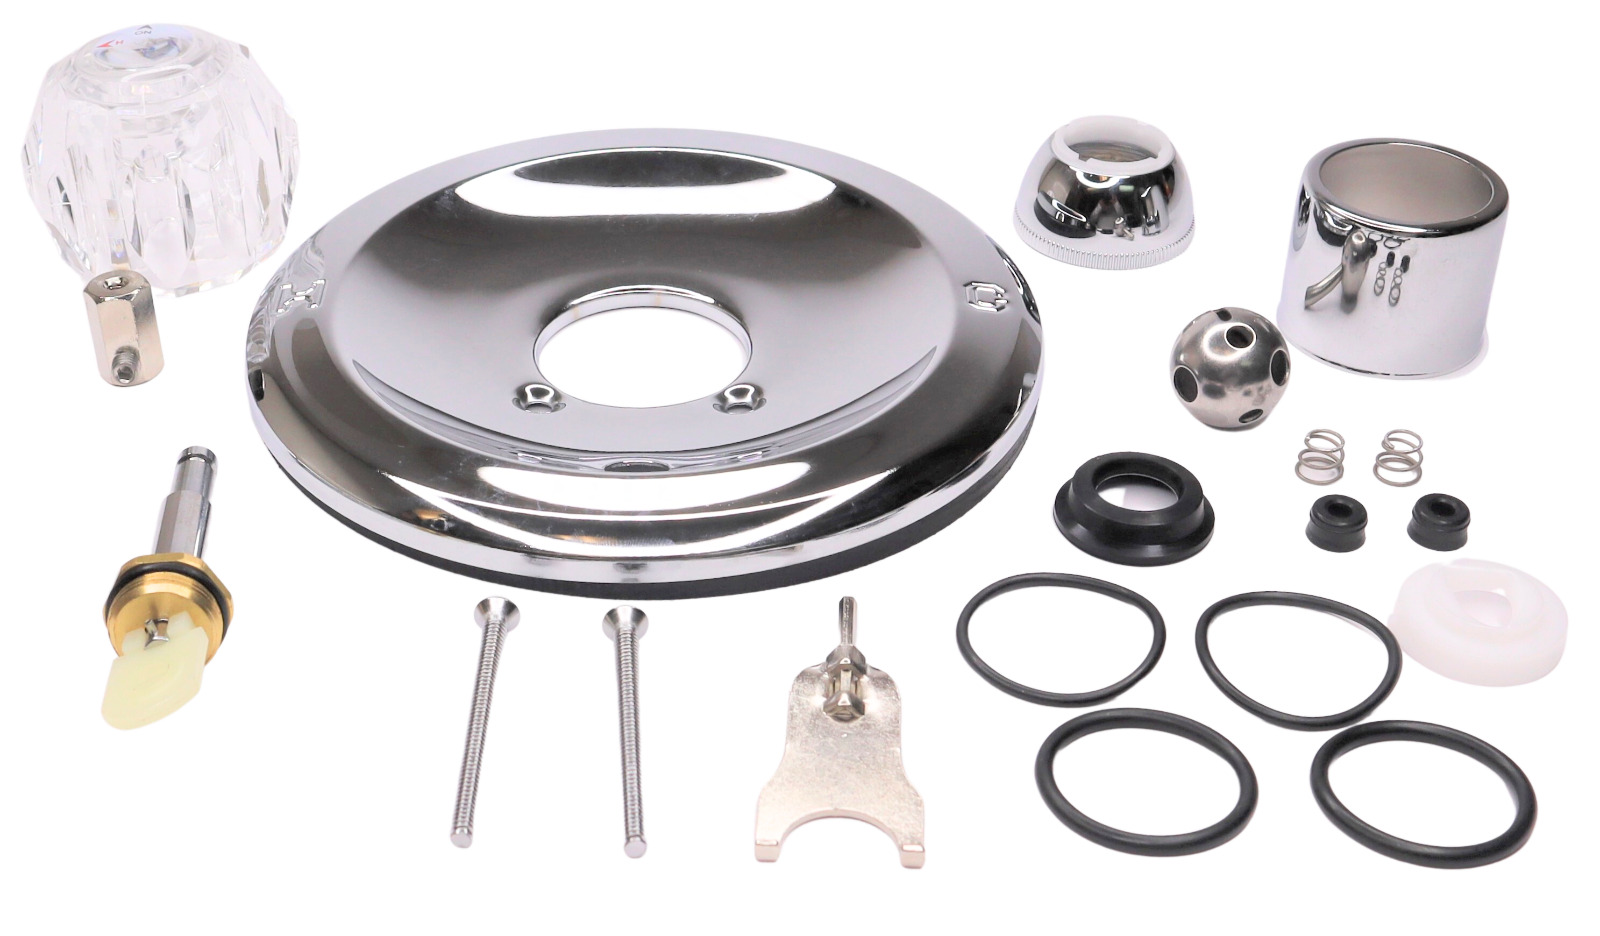
- Prepare the valve: Before installing the new faucet, ensure the valve is properly positioned and secure. Follow the manufacturer’s instructions for valve installation. Apply plumber’s tape to the threaded ends of the valve to create a watertight seal.
- Attach the trim: Take the trim piece included in your Delta shower faucet kit and align it with the valve. Secure it in place using the provided screws or other attachments. Make sure the trim is level and flush against the wall.
- Connect the water supply lines: Take the water supply lines from the faucet kit and carefully attach them to the corresponding hot and cold water connections on the valve. Use an adjustable wrench to tighten the connections, ensuring they are snug but not overtightened.
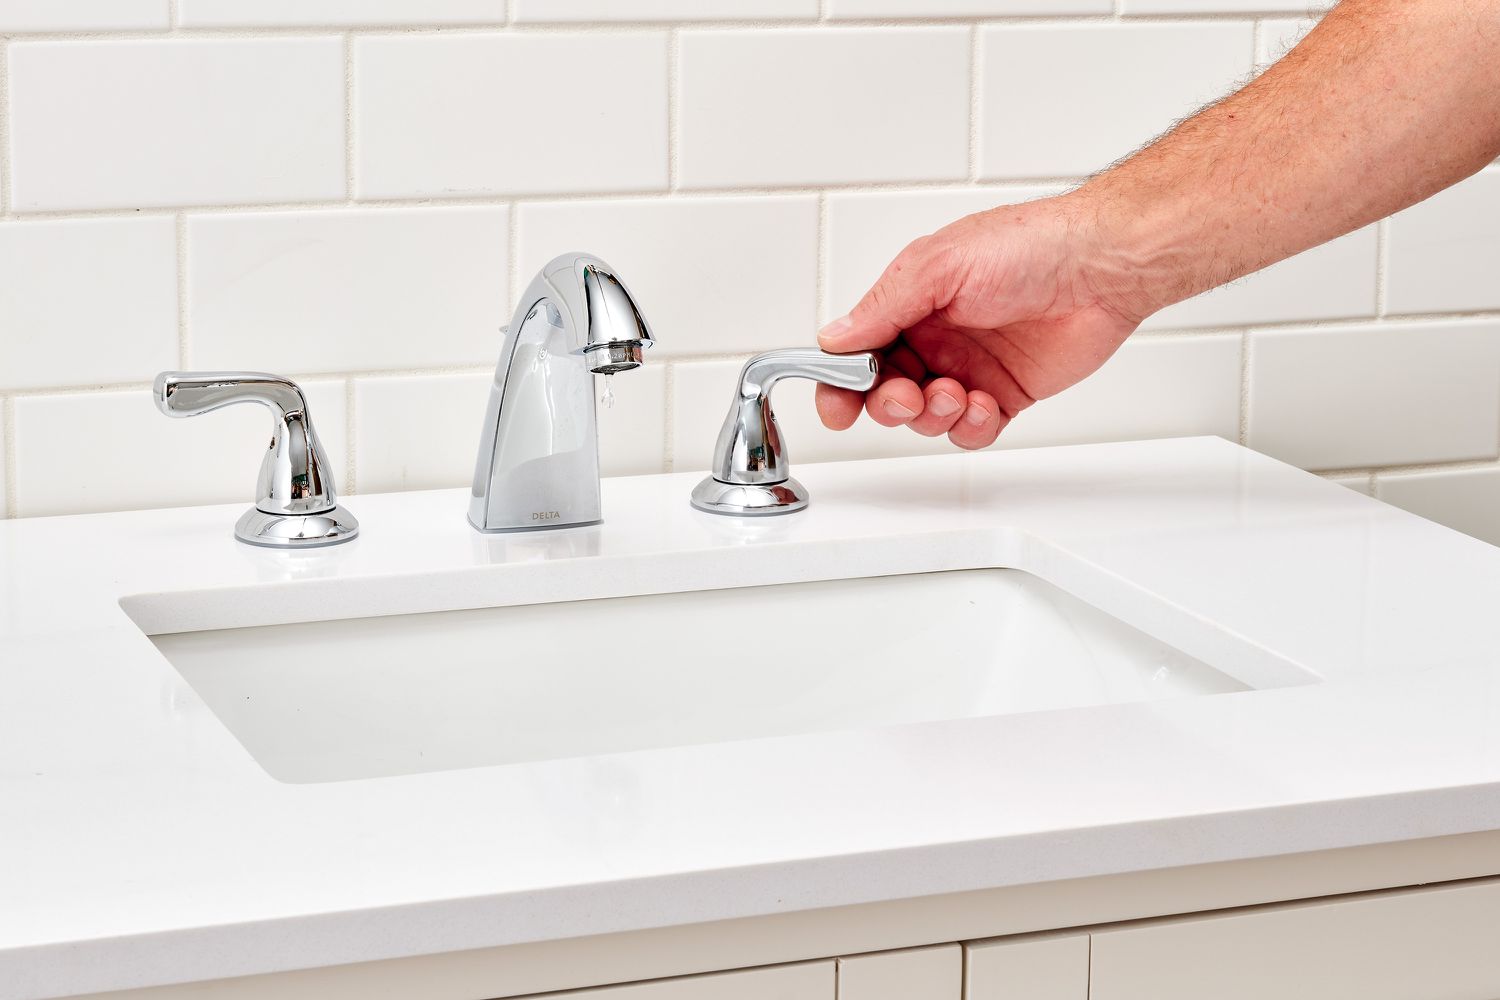
- Install the handle: Depending on your Delta shower faucet model, you may need to install a handle. Follow the manufacturer’s instructions for handle installation. Secure it in place using the provided screws or other attachments.
- Apply sealant: To prevent any water leaks, apply plumbing adhesive or silicone sealant around the edges of the trim and valve. This will create a watertight seal and ensure a secure installation. Use a rag or towel to wipe away any excess sealant.
- Turn on the water supply: Once everything is securely in place, turn on the water supply by gradually opening the main water supply valve. Check for any leaks or water flow issues. If you notice any problems, turn off the water supply immediately and troubleshoot the issue.
With the new Delta shower faucet installed, take a moment to admire your work. Enjoy the fresh look and enhanced functionality that your new faucet brings to your shower. Now it’s time to move on to the final step: testing and troubleshooting.
Read more: How To Identify Delta Shower Faucet Model
Testing and Troubleshooting
After installing your new Delta shower faucet, it is important to thoroughly test it for proper functioning and address any potential issues. Follow these steps to ensure everything is working as it should:
- Check for leaks: Turn on the water supply and carefully inspect all connections for any signs of leaks. Look for dripping water or moisture around the valve, handles, and water supply lines. If you notice any leaks, tighten the connections or reapply sealant as needed.
- Test the water flow: Turn on the shower and check the water flow from the faucet. Ensure that the water flows smoothly and there are no blockages or restrictions. If you experience low water pressure or uneven flow, check for any clogs or obstructions in the aerator or showerhead, and clean or replace them if necessary.
- Check for temperature control: Test the hot and cold water controls to ensure they are working properly. Adjust the temperature to your desired level and verify that the water temperature matches your preference. If there are any issues with temperature control, consult the manufacturer’s instructions or seek professional assistance.
- Inspect for any loose or wobbly parts: Give the handles and trim a gentle shake to ensure they are securely attached. Tighten any loose screws or connections as necessary. It is essential to have a stable and reliable faucet in your shower.
- Listen for unusual noises: While the water is running, listen for any unusual noises such as rattling or banging. These can indicate issues with water pressure or plumbing. If you notice any strange noises, consult a professional plumber for further investigation and resolution.
If you encounter any problems during testing, consult the manufacturer’s instructions or seek assistance from a professional plumber. They can provide guidance and expertise to address any issues and ensure the proper functioning of your new Delta shower faucet.
Once you have successfully tested and verified that your new faucet is working smoothly, you can confidently enjoy your revitalized shower experience. Congratulations on successfully installing your Delta shower faucet!
Conclusion
Installing a Delta shower faucet can be a rewarding and transformative project for your bathroom. By following the step-by-step instructions in this article, you can successfully install your new faucet and enjoy the benefits it brings. From improving the functionality and efficiency of your shower to enhancing the overall aesthetic appeal, a Delta shower faucet is a great addition to any bathroom.
Remember, proper preparation is essential before starting the installation process. Gather all the necessary tools and materials, turn off the water supply, and protect the area to ensure a smooth and hassle-free installation. Take your time to remove the old faucet, paying close attention to disconnecting the water supply lines and removing the valve.
Once you have removed the old faucet, it’s time to install the new Delta shower faucet. Follow the instructions provided with your faucet kit, properly position and secure the valve, and attach the trim and handle. Apply sealant to prevent leaks and test the faucet for proper functioning, checking for any leaks or issues with water flow and temperature control.
If you encounter any problems during testing or need assistance, don’t hesitate to consult the manufacturer’s instructions or seek the help of a professional plumber. They can provide you with the guidance and expertise needed to resolve any issues and ensure the proper functioning of your new faucet.
With your new Delta shower faucet successfully installed and functioning as desired, you can now enjoy a revitalized shower experience. From the sleek design to the reliable performance, your new faucet will enhance the overall aesthetic and functionality of your bathroom. Sit back, relax, and enjoy your newly installed Delta shower faucet!
Just finished setting up your new Delta shower faucet? Keep that DIY spirit moving and tackle your next home improvement project. Wondering how much time you'll need for a full makeover? Our guide on bathroom renovations breaks it down, ensuring you plan effectively. Or maybe you're ready to upgrade more fixtures? Dive into our detailed guide for fitting a new shower or tub faucet, making the process straightforward and hassle-free. Both resources are packed with practical advice to help you succeed.
Frequently Asked Questions about How To Install Delta Shower Faucet
Was this page helpful?
At Storables.com, we guarantee accurate and reliable information. Our content, validated by Expert Board Contributors, is crafted following stringent Editorial Policies. We're committed to providing you with well-researched, expert-backed insights for all your informational needs.


0 thoughts on “How To Install Delta Shower Faucet”