Articles
How Do You Fix A Dripping Faucet
Modified: March 1, 2024
Learn how to fix a dripping faucet with these helpful articles. Find step-by-step guides and tips to stop the leak and save water.
(Many of the links in this article redirect to a specific reviewed product. Your purchase of these products through affiliate links helps to generate commission for Storables.com, at no extra cost. Learn more)
Introduction
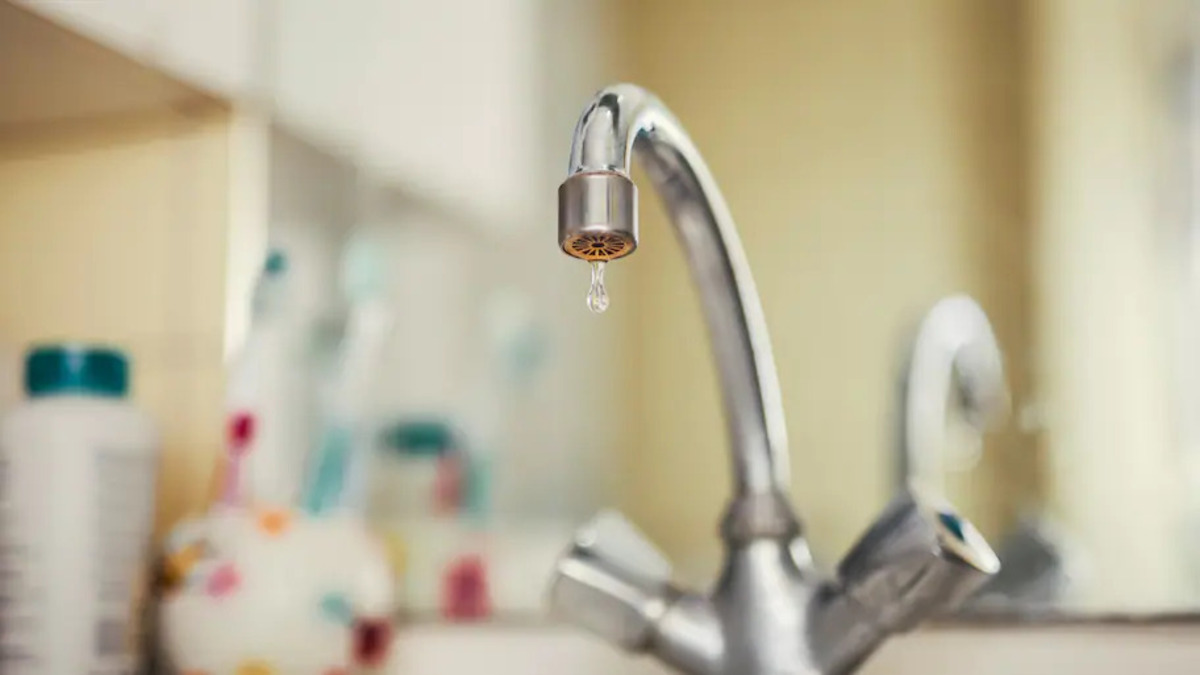
Dealing with a dripping faucet can be incredibly frustrating. Not only is it a constant source of annoyance due to the dripping sound, but it can also lead to water wastage and increased utility bills. If you find yourself with a dripping faucet, don’t worry – you’re not alone. It’s a common household issue that can be easily fixed with a little bit of know-how and some basic tools.
In this article, we will guide you through the process of fixing a dripping faucet step by step. Whether you’re a seasoned DIYer or a novice at home repairs, you’ll find this guide easy to follow and comprehensive. By taking the time to fix your dripping faucet, you can save money, conserve water, and eliminate that pesky drip that’s been driving you crazy.
Before we get started, it’s important to understand that there are different types of faucets, and the repair methods may vary depending on the specific type you have. The most common types of faucets include compression faucets, ball faucets, cartridge faucets, and ceramic disc faucets. This guide will provide a general overview of the repair process that can be applied to most types of faucets. However, if you’re unsure about the type of faucet you have or encounter any difficulties during the repair, it’s always a good idea to consult a professional plumber.
Now that we’ve set the stage, let’s gather our tools and materials and dive into the process of fixing a dripping faucet!
Key Takeaways:
- Fixing a dripping faucet is a manageable DIY task that can save money, conserve water, and eliminate the annoyance of a constant drip. By following the step-by-step guide, anyone can successfully diagnose and repair the cause of the drip.
- Regular maintenance and inspections can help prolong the lifespan of faucets and prevent future leaks. Consulting a professional plumber for guidance is recommended if unsure or encountering difficulties during the repair process.
Read more: How Do You Stop A Dripping Faucet
Understanding the Problem
Before we start fixing the dripping faucet, it’s important to understand the root cause of the problem. There are a few common reasons why a faucet may start to drip:
- Worn-out washer: In compression faucets, a rubber washer is used to create a watertight seal. Over time, this washer can become worn out or damaged, causing water to leak through and create a dripping effect.
- Loose or damaged parts: Any loose or damaged parts within the faucet, such as the valve seat or O-rings, can lead to leaks and drips.
- High water pressure: Excessively high water pressure in your plumbing system can cause faucets to drip. The pressure can lead to wear and tear on the internal components of the faucet, resulting in leaks.
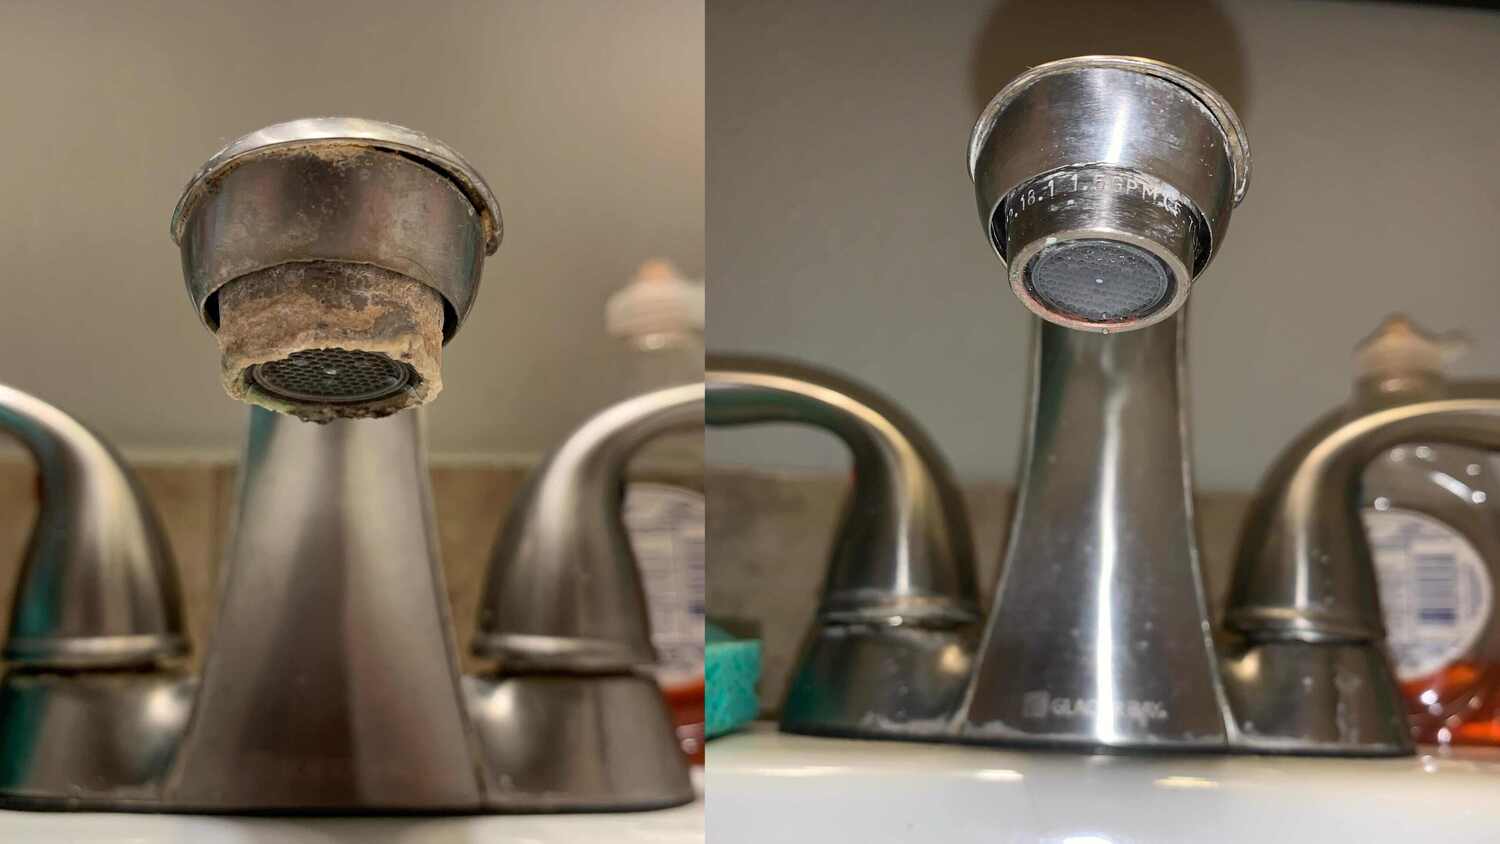
- Mineral buildup: Hard water contains minerals that can accumulate in the faucet over time. This buildup can interfere with the smooth operation of the faucet, causing leaks and drips.
- Improper installation: If the faucet was not installed correctly, it may not be able to create a tight seal, leading to leaks and drips.
By understanding these common causes, you can better diagnose the issue with your dripping faucet. This knowledge will also help you determine the best course of action for repair. In some cases, a simple cleaning or tightening of parts may solve the problem. However, in more severe cases, you may need to replace worn-out or damaged components.
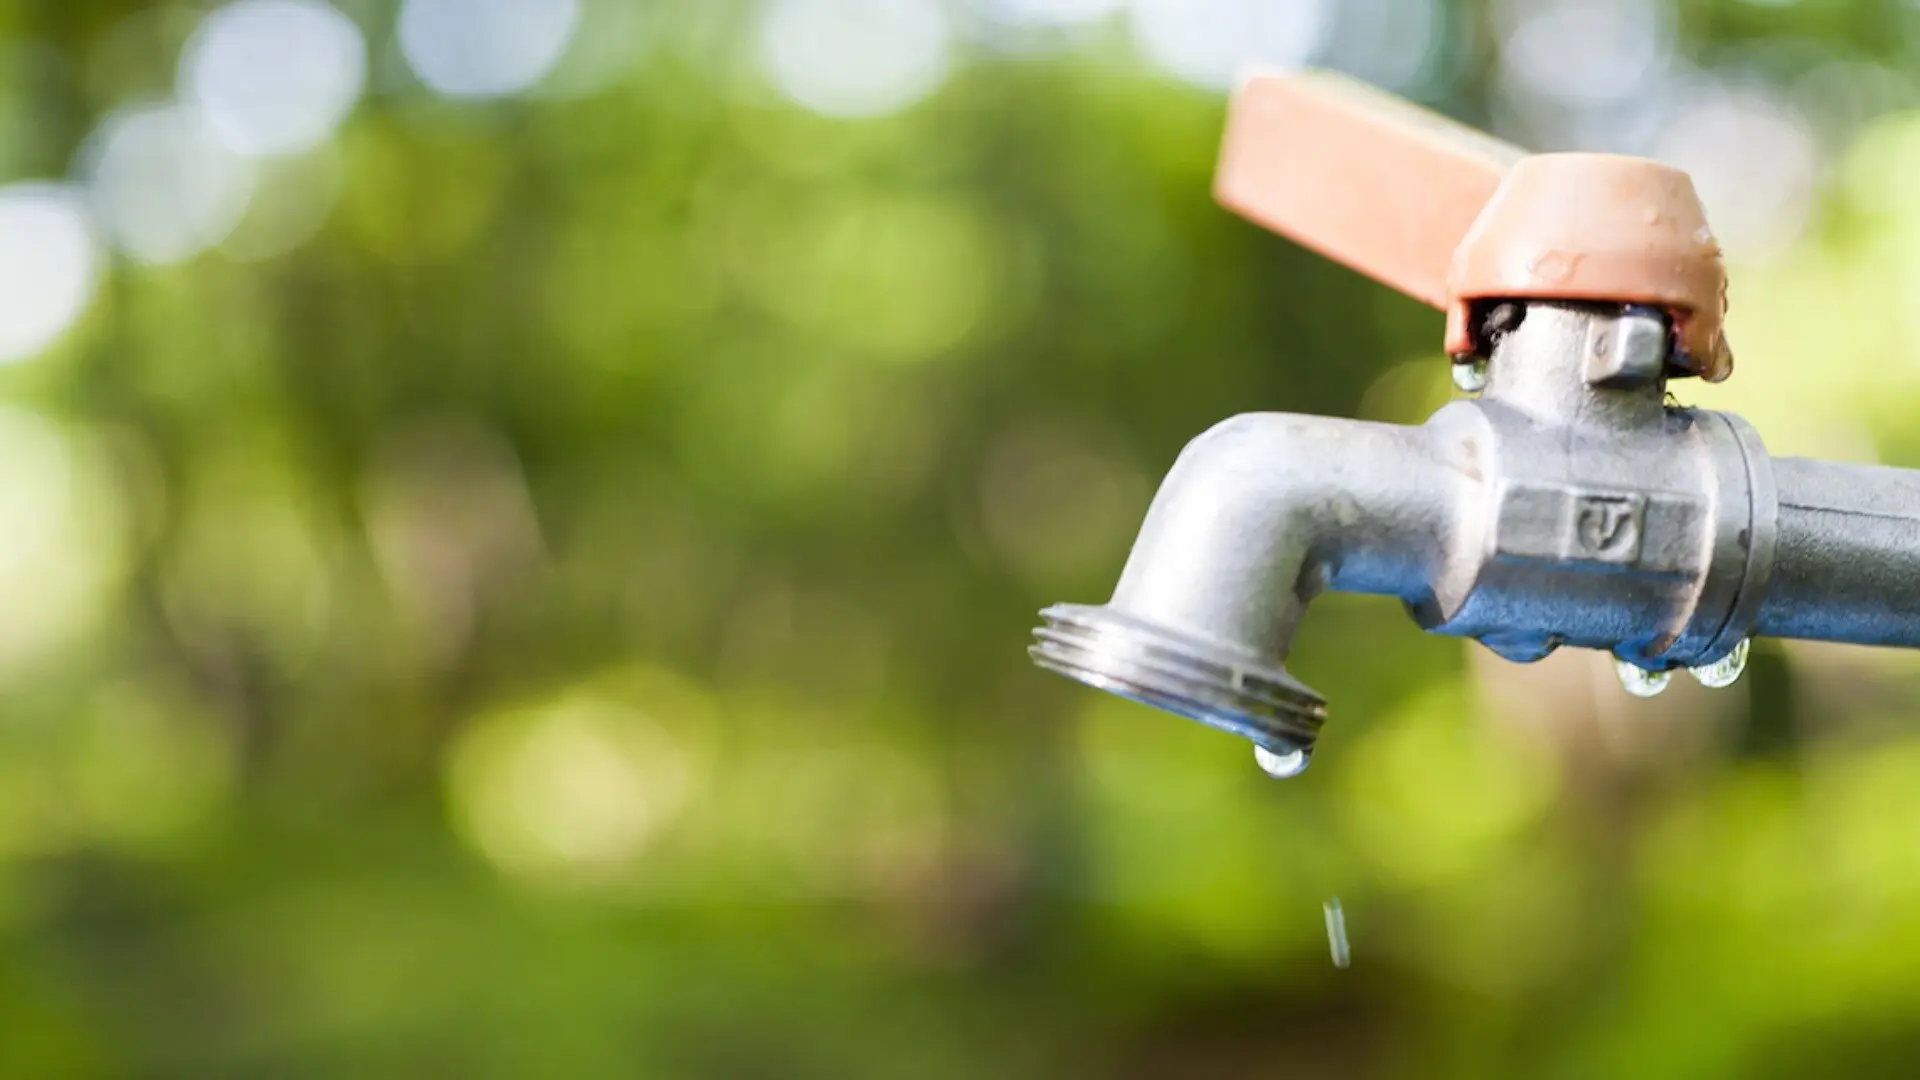
It’s worth noting that a dripping faucet is not only inconvenient but can also waste a significant amount of water over time. According to the Environmental Protection Agency (EPA), a faucet that drips at a rate of one drop per second can waste up to 3,000 gallons of water per year. This not only adds to your water bill but also contributes to water scarcity and environmental concerns.
Now that we have a better understanding of the problem, let’s move on to the next step: gathering the tools and materials we’ll need to fix the dripping faucet.
Tools and Materials Needed
Before we start fixing the dripping faucet, it’s important to gather the necessary tools and materials. Having everything ready beforehand will make the repair process smoother and more efficient. Here’s what you’ll need:
- Adjustable wrench: This versatile tool will come in handy for loosening and tightening various parts of the faucet.
- Screwdrivers: Both Phillips and flathead screwdrivers may be needed to remove screws and disassemble the faucet.
- Allen wrench set: Some faucets may require an Allen wrench to remove specific handle components.
- Plumber’s tape: Also known as Teflon tape, plumber’s tape is used to create a watertight seal when reassembling the faucet.
- Replacement parts: Depending on the issue with your faucet, you may need to replace certain components such as washers, O-rings, cartridges, or valve seats. It’s a good idea to have these replacement parts on hand before starting the repair.
- Bucket or basin: To catch any water that may spill during the repair process and to prevent water damage.
- Clean cloth or rag: To wipe down the faucet and ensure a clean working surface.
- Penetrating oil: If any parts are stuck or difficult to remove, applying a penetrating oil can help loosen them.
- Plastic gloves: To protect your hands from dirt, grime, and any harsh chemicals you may encounter during the repair.
Having these tools and materials ready will save you time and prevent any unnecessary delays during the repair process. Now that we’re prepared, it’s time to move on to the next step: shutting off the water supply.
Step 1: Shutting Off the Water Supply
Before we begin disassembling the faucet, it’s crucial to shut off the water supply to avoid any water leakage or accidents. Here’s how you can do it:
- Locate the water shut-off valves: The shut-off valves are usually located beneath the sink or, in some cases, near the main water supply valve for the house. Turn off both the hot and cold water supply valves by rotating them clockwise until they are fully closed.
- Test the water supply: After closing the valves, turn on the faucet to check if the water supply has been successfully shut off. If no water comes out, then you’ve successfully shut off the water supply. If water continues to flow, you may need to locate and close the main water supply valve for your house.
- Open the faucet to relieve pressure: To release any remaining water pressure in the faucet, open the handle and let the water drain out completely. This step will help in disassembling the faucet without any excess water flooding the area.
It’s important to note that the location of shut-off valves may vary depending on the plumbing setup in your home. If you’re unsure about the location of the valves or encounter any difficulties during this step, it’s recommended to consult a professional plumber.
Now that we’ve successfully shut off the water supply, we can move on to the next step: disassembling the faucet to identify the cause of the drip.
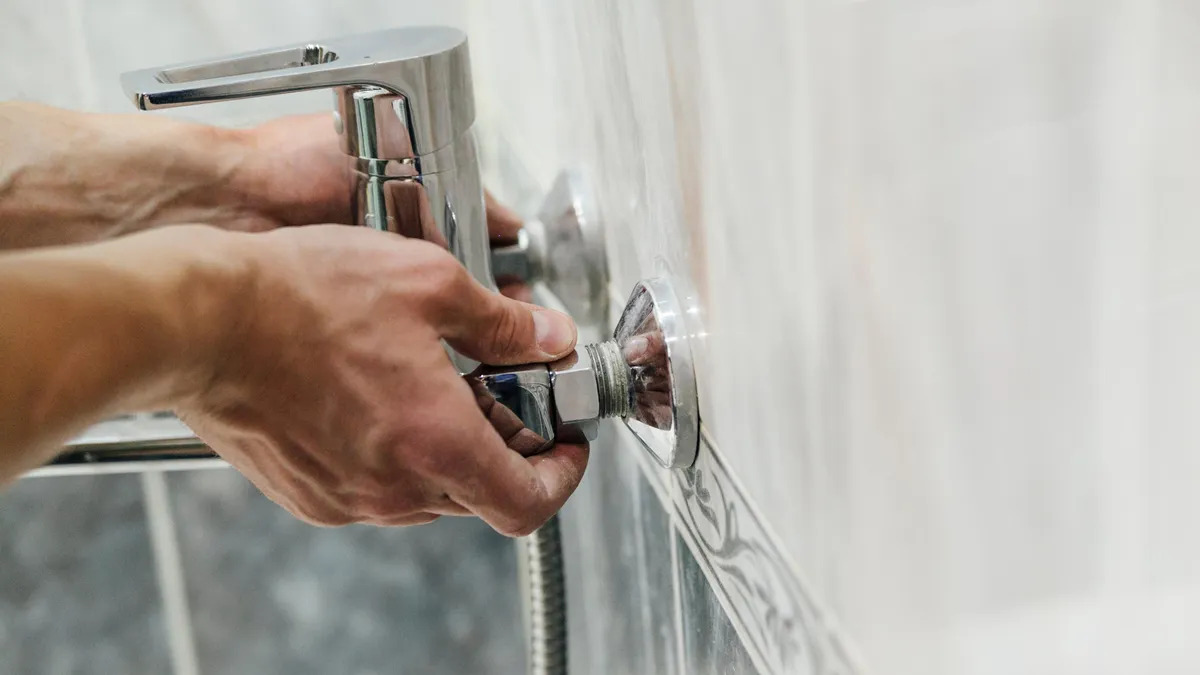
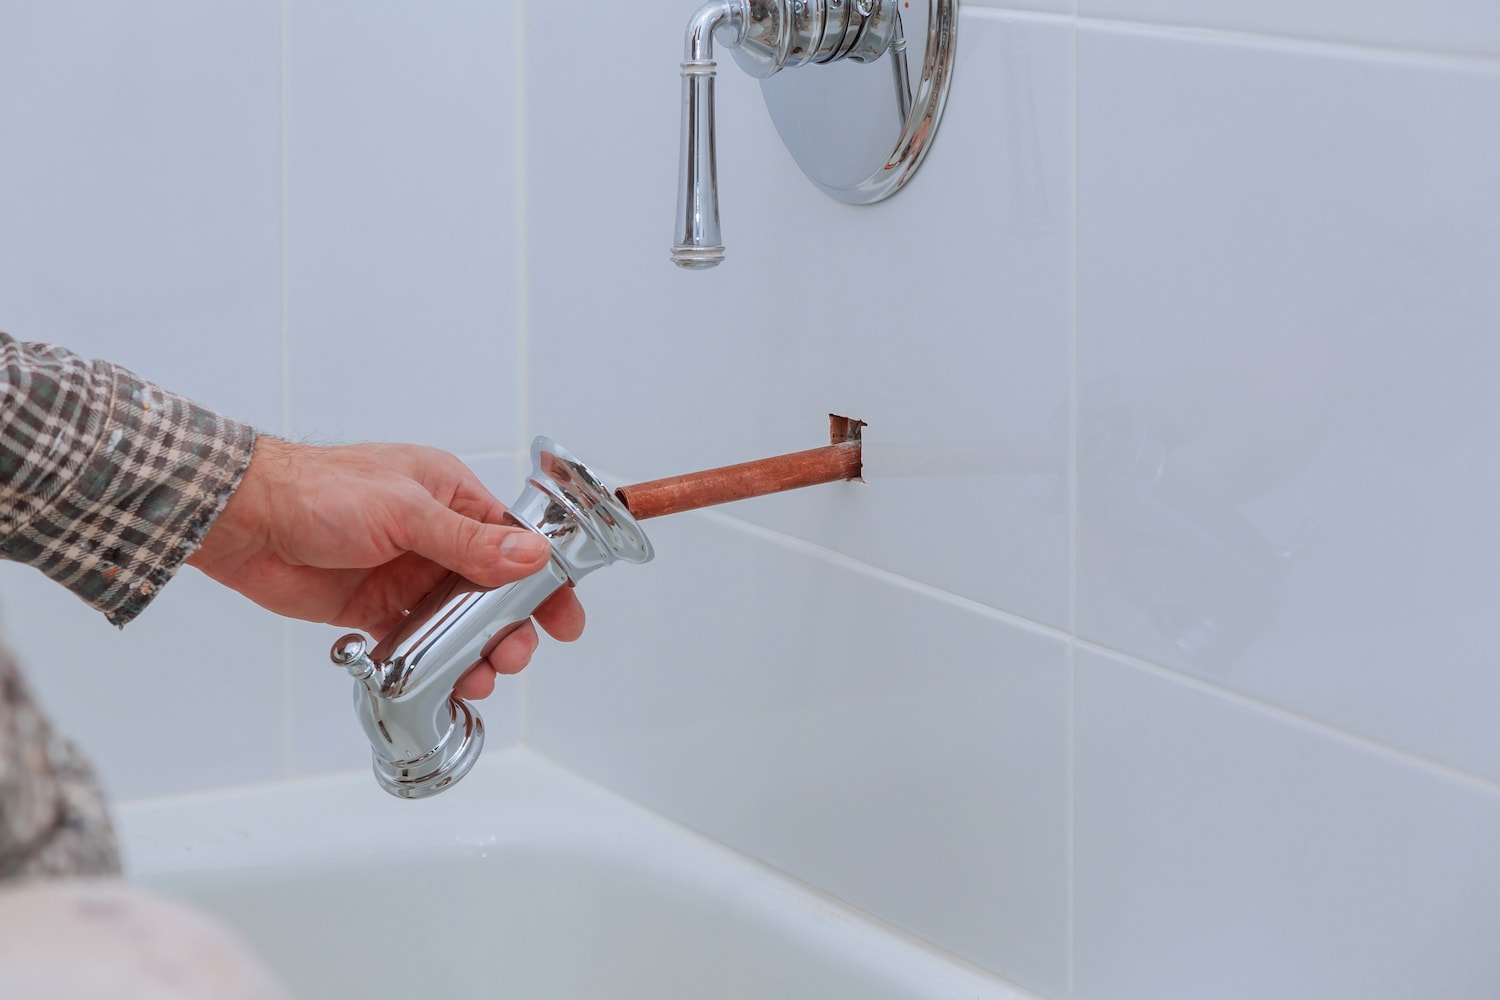
Step 2: Disassembling the Faucet
Now that the water supply has been shut off, it’s time to disassemble the faucet to gain access to the internal components. Here’s how you can do it:
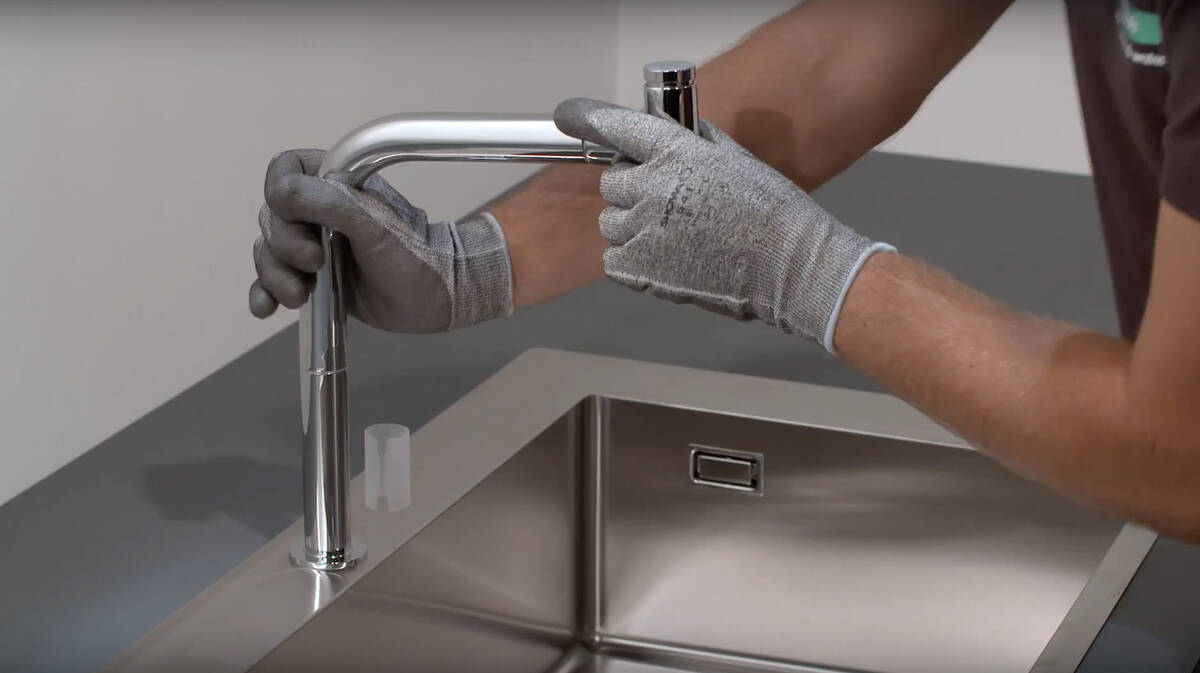
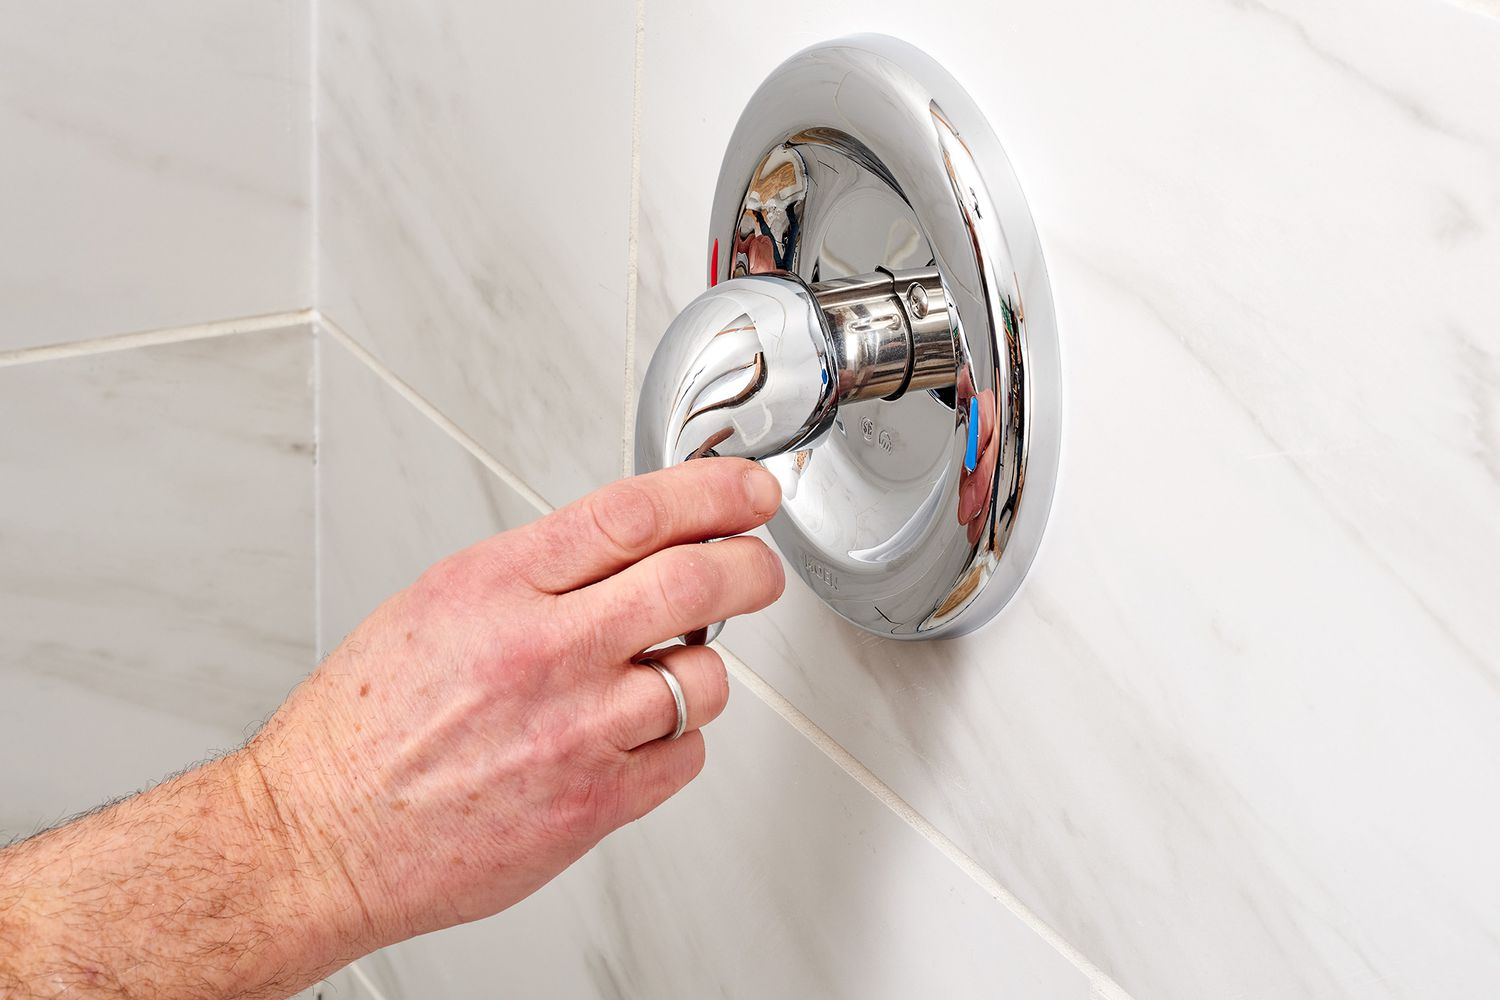
- Remove the handle: Start by removing the handle of the faucet. Depending on the type of faucet you have, this may involve unscrewing a handle cap or using an Allen wrench to remove a set screw. Once the handle is loose, carefully pull it off to expose the cartridge or valve assembly.
- Take apart the cartridge or valve assembly: Use an adjustable wrench to unscrew the cartridge or valve assembly. Wrap a cloth around the wrench to protect the finish of the faucet. Some faucets may have a retaining nut that needs to be removed before accessing the cartridge or valve assembly. Once the assembly is free, gently pull it out of the faucet body.
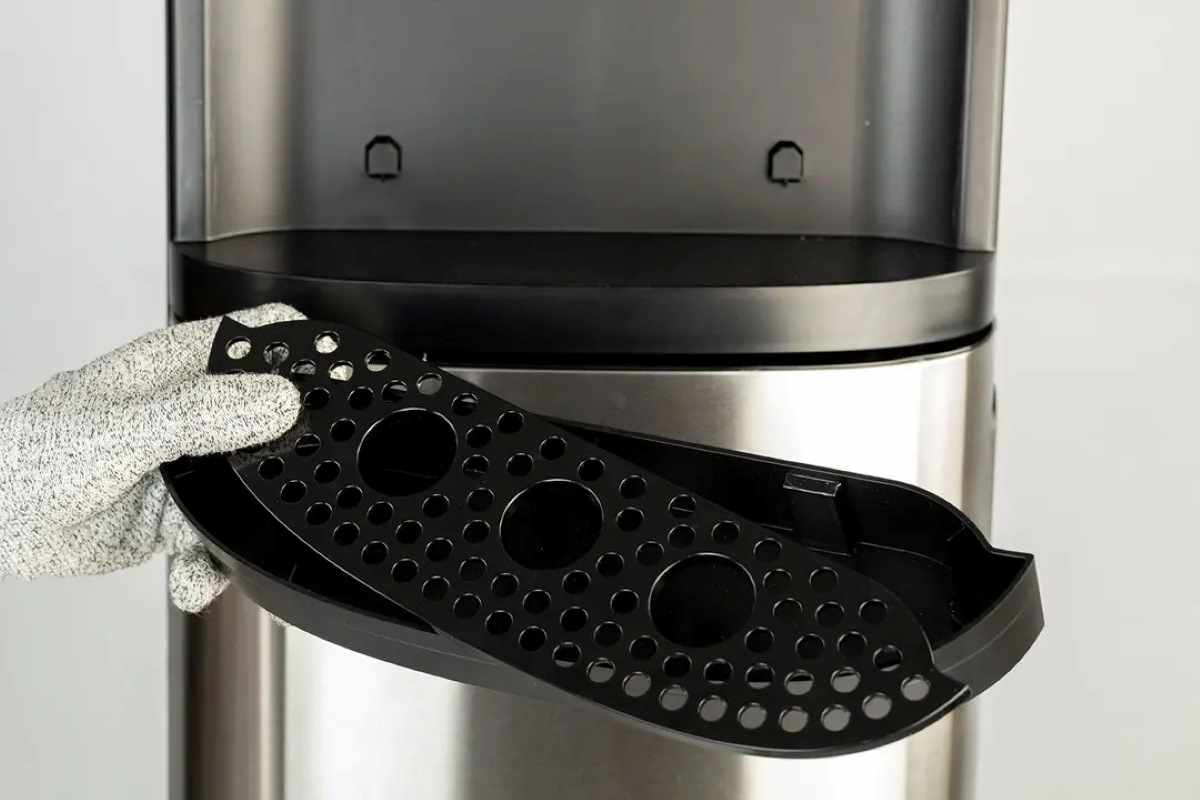
- Inspect the components: With the cartridge or valve assembly removed, visually inspect the components for any signs of damage, wear, or buildup. Pay attention to the O-rings, washers, and seals as these are common sources of leaks. If any parts appear worn-out or damaged, they will likely need to be replaced.
- Clean the components: Regardless of whether you’re replacing any parts or not, it’s a good idea to clean the components thoroughly. Use a clean cloth or an old toothbrush to remove any mineral buildup or debris that may have accumulated on the components.
As you disassemble the faucet, it’s important to keep track of the order in which the components are removed. This will make reassembling the faucet easier later on. If you’re uncertain about the disassembly process or encounter any difficulties, consulting the manufacturer’s instructions or seeking professional assistance is recommended.
Now that we have successfully disassembled the faucet and inspected the components, we can move on to the next step: inspecting and cleaning the components to identify and resolve the cause of the drip.
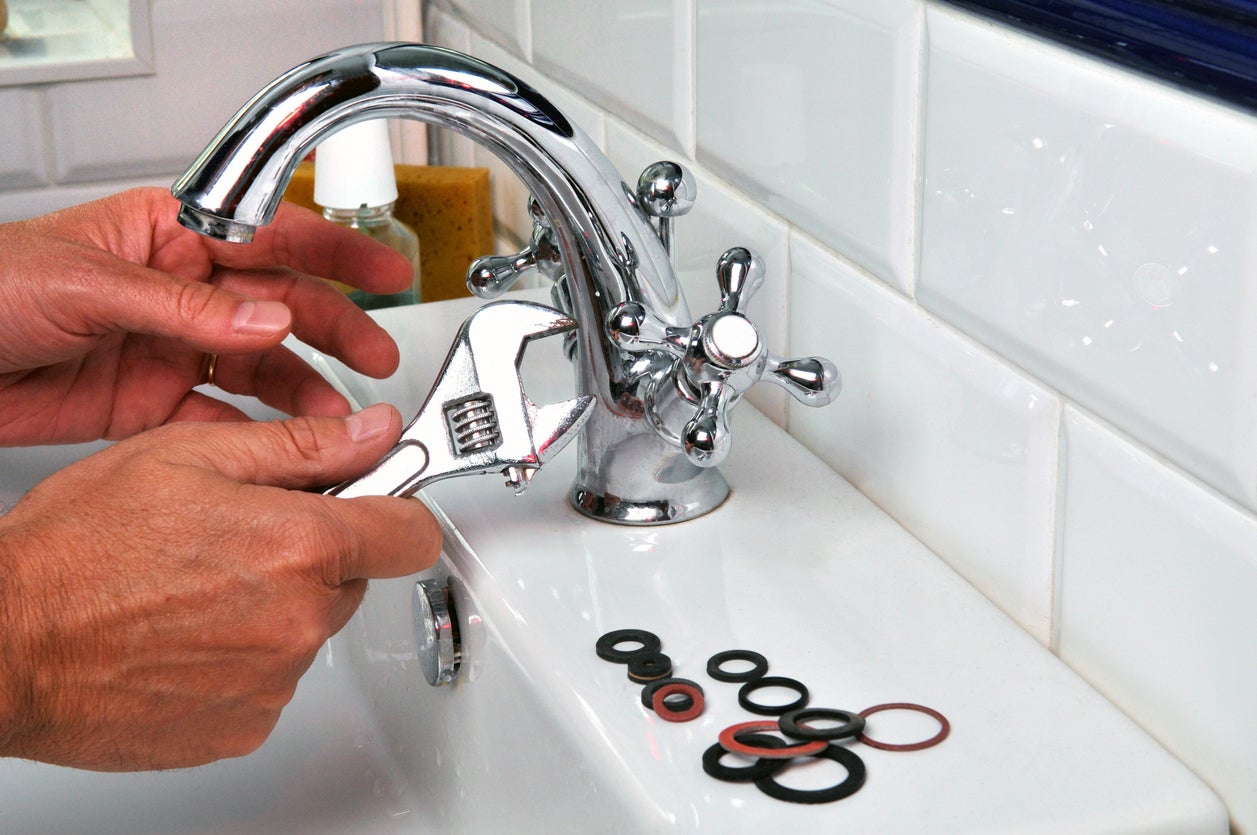
If your faucet is dripping, it may be due to a worn-out washer. Turn off the water supply, disassemble the faucet, and replace the washer with a new one to fix the drip.
Read more: How To Fix Dripping Bathroom Faucet
Step 3: Inspecting and Cleaning the Components
With the faucet disassembled, it’s time to take a closer look at the components and identify any issues that may be causing the dripping. Here’s how you can inspect and clean the components:
- Inspect the O-rings and washers: Check the O-rings and washers for any signs of damage, wear, or deterioration. These small rubber or silicone rings are responsible for creating a watertight seal and preventing leaks. If they appear worn-out, swollen, or flattened, they will need to be replaced.
- Examine the cartridge or valve assembly: Inspect the cartridge or valve assembly for any cracks, corrosion, or rough spots. These can be indications of wear or damage that may lead to leaks. If any issues are found, consider replacing the entire assembly to ensure a long-lasting repair.
- Clean the components: Use a cleaning solution or white vinegar to remove mineral buildup and debris from the components. Soak the parts in the solution and gently scrub them with a brush or cloth to ensure they are free from any blockages or obstructions. This step is particularly important if you have hard water, as mineral deposits can contribute to leaks and drips.
- Check the valve seat: If your faucet has a compression or cartridge type, inspect the valve seat for any signs of damage or corrosion. A worn-out or uneven valve seat can prevent the faucet from forming a proper seal, leading to leaks. If you notice any issues, consider replacing the valve seat.
As you inspect and clean the components, take note of any parts that may need to be replaced. It’s important to use the correct replacement parts to ensure a proper fit and prevent further issues down the line.
Once the components are inspected, cleaned, and any necessary replacements are identified, we can move on to the next step: replacing the faulty parts to eliminate the drip.
Step 4: Replacing Faulty Parts
Now that you have identified the faulty components during the inspection and cleaning process, it’s time to replace them to eliminate the drip. Here’s how you can proceed with replacing the parts:
- Replace worn-out O-rings and washers: If the O-rings or washers appear damaged or worn-out, remove them from the faucet using a screwdriver or pliers. Take the old parts to a hardware store to find suitable replacements. Apply a small amount of plumber’s grease to the new O-rings and washers before installing them to ensure a proper seal.
- Install a new cartridge or valve assembly: If the cartridge or valve assembly is faulty, it’s recommended to replace the entire unit. Consult the manufacturer’s instructions or a plumbing professional to find the right replacement part for your specific faucet model. Install the new assembly according to the manufacturer’s guidelines, ensuring a secure fit.
- Tighten any loose parts: While you have the faucet disassembled, check for any loose parts or connections. Use an adjustable wrench or screwdriver to tighten any loose screws, nuts, or bolts. This step will ensure that all components are securely in place and prevent future leaks.
It’s crucial to use the correct replacement parts and follow the manufacturer’s instructions to ensure a successful repair. Mismatched or ill-fitting parts may lead to further issues or cause leaks in the future.
Once you have replaced the faulty parts, the faucet should be in a much better condition. However, before reassembling the faucet, it’s important to conduct a thorough check and test for leaks, which will be covered in the next step.
Now that we have replaced the faulty parts, let’s move on to the next step: reassembling the faucet to complete the repair process.
Step 5: Reassembling the Faucet
Now that you have replaced the faulty parts and ensured that everything is in proper working order, it’s time to reassemble the faucet. Here’s how you can proceed with reassembling the components:
- Reinsert the cartridge or valve assembly: Carefully place the new or cleaned cartridge or valve assembly back into the faucet body. Ensure that it fits securely and aligns properly with the other components.
- Tighten the retaining nut: If your faucet has a retaining nut, use an adjustable wrench to tighten it, securing the cartridge or valve assembly in place. If your faucet doesn’t have a retaining nut, skip to the next step.
- Replace the handle: Align the handle with the stem of the cartridge or valve assembly and firmly press it back into place. If necessary, tighten any set screws or attach the handle cap, depending on the type of faucet you have.
- Secure all connections: Check that all connections, including screws, nuts, and bolts, are securely tightened. Double-check that everything is in its proper place and aligned correctly.
As you reassemble the faucet, refer to any manufacturer’s instructions or diagrams if needed. It’s essential to follow the proper sequence and ensure that all components are fitted correctly to prevent leaks or other issues.
Once you’ve reassembled the faucet, it’s time to move on to the final step: testing the faucet for any leaks and ensuring that the repair is successful.
Step 6: Testing for Leaks
After reassembling the faucet, it’s crucial to test it for any potential leaks to ensure that the repair was successful. Here’s how you can test your faucet:
- Turn on the water supply: Slowly turn the water supply valves back on by rotating them counterclockwise. This will restore the water flow to the faucet.
- Inspect the faucet: Carefully observe the faucet and all its connections for any signs of leaks. Look for drips or water seepage around the base of the faucet, handles, spout, or any other connections. Pay close attention to any areas that were previously leaking to see if the repairs have resolved the issue.
- Run the faucet: Turn on the faucet and let the water flow at full force. Test both the hot and cold water settings separately. Pay attention to any abnormal water flow, unusual noises, or persistent drips. Occasionally, it may take a few moments for the water pressure to stabilize.
- Check for leaks under the sink: While the faucet is running, inspect the area under the sink for any leaks or drips. Look for water pooling or dampness around the pipes and connections. If you notice any leaks, tighten the connections or consider seeking professional assistance.
- Monitor over time: After testing the faucet, leave it running for a few minutes and then turn it off. Observe the faucet and surrounding areas over the next couple of hours or days to ensure that no leaks occur during normal use.
If you notice any leaks during the testing process, it may indicate that there are still underlying issues with the faucet. In such cases, you may need to recheck the components, tighten connections, or seek further professional assistance.
Once you have thoroughly tested the faucet and confirmed that there are no leaks, you can consider the repair process complete!
Congratulations on fixing your dripping faucet. Not only have you saved yourself from the annoyance of a constant drip, but you have also prevented water waste and potential damage to your home. Remember, proper maintenance and regular inspections can help prolong the lifespan of your faucet and prevent future leaks.
If you encounter any difficulties during the repair process or are unsure about any steps, it’s always best to consult a professional plumber for assistance. They have the expertise and experience to tackle more complex faucet issues and ensure a proper and lasting solution.
Read more: How To Drip Faucet
Conclusion
Fixing a dripping faucet may seem like a daunting task, but with the right knowledge and tools, it’s a repair that can be easily accomplished. By following the step-by-step guide outlined in this article, you can successfully diagnose and repair the cause of the drip, saving water, money, and your sanity.
Throughout the repair process, we covered essential steps such as shutting off the water supply, disassembling the faucet, inspecting and cleaning the components, replacing faulty parts, reassembling the faucet, and testing for leaks. Each step plays a crucial role in eliminating the drip and restoring your faucet to full functionality.
Remember that different types of faucets may have specific repair methods, so it’s important to be aware of the specific type you have and adjust the repair process accordingly. If you’re ever unsure or encounter difficulties, don’t hesitate to consult a professional plumber for guidance. They can provide valuable expertise and assistance to ensure a successful repair.
By fixing a dripping faucet, you not only save money on your water bill but also contribute to water conservation efforts. Every drop counts, and by addressing leaks promptly, you help preserve this precious resource for future generations.
We hope that this comprehensive guide has empowered you to tackle the issue of a dripping faucet with confidence. Remember to conduct regular maintenance and inspections to catch any problems early on and prevent future drips.
Thank you for taking the time to read this article, and we wish you success in fixing your dripping faucet!
Frequently Asked Questions about How Do You Fix A Dripping Faucet
Was this page helpful?
At Storables.com, we guarantee accurate and reliable information. Our content, validated by Expert Board Contributors, is crafted following stringent Editorial Policies. We're committed to providing you with well-researched, expert-backed insights for all your informational needs.

0 thoughts on “How Do You Fix A Dripping Faucet”