
Articles
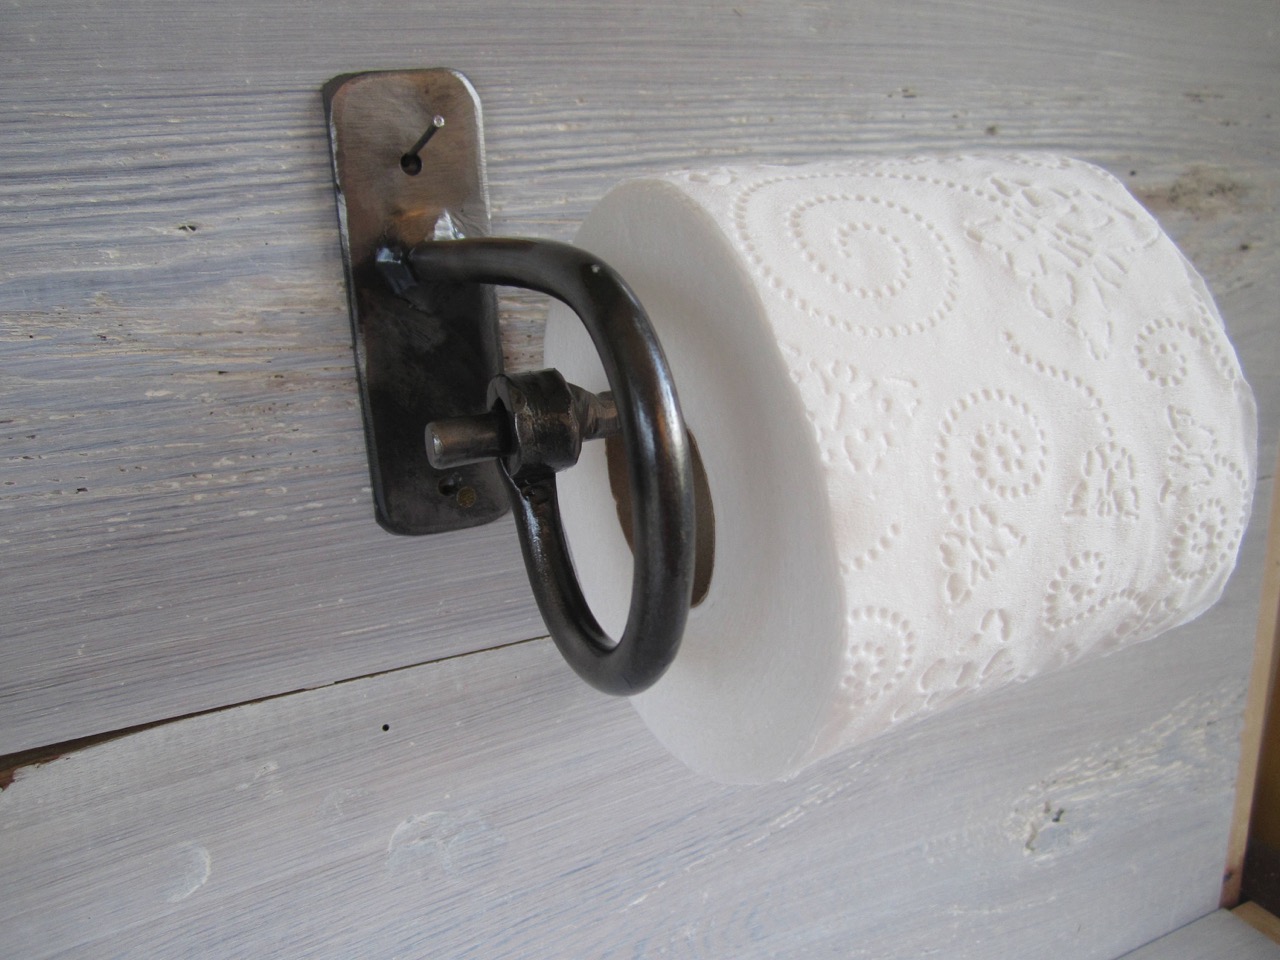
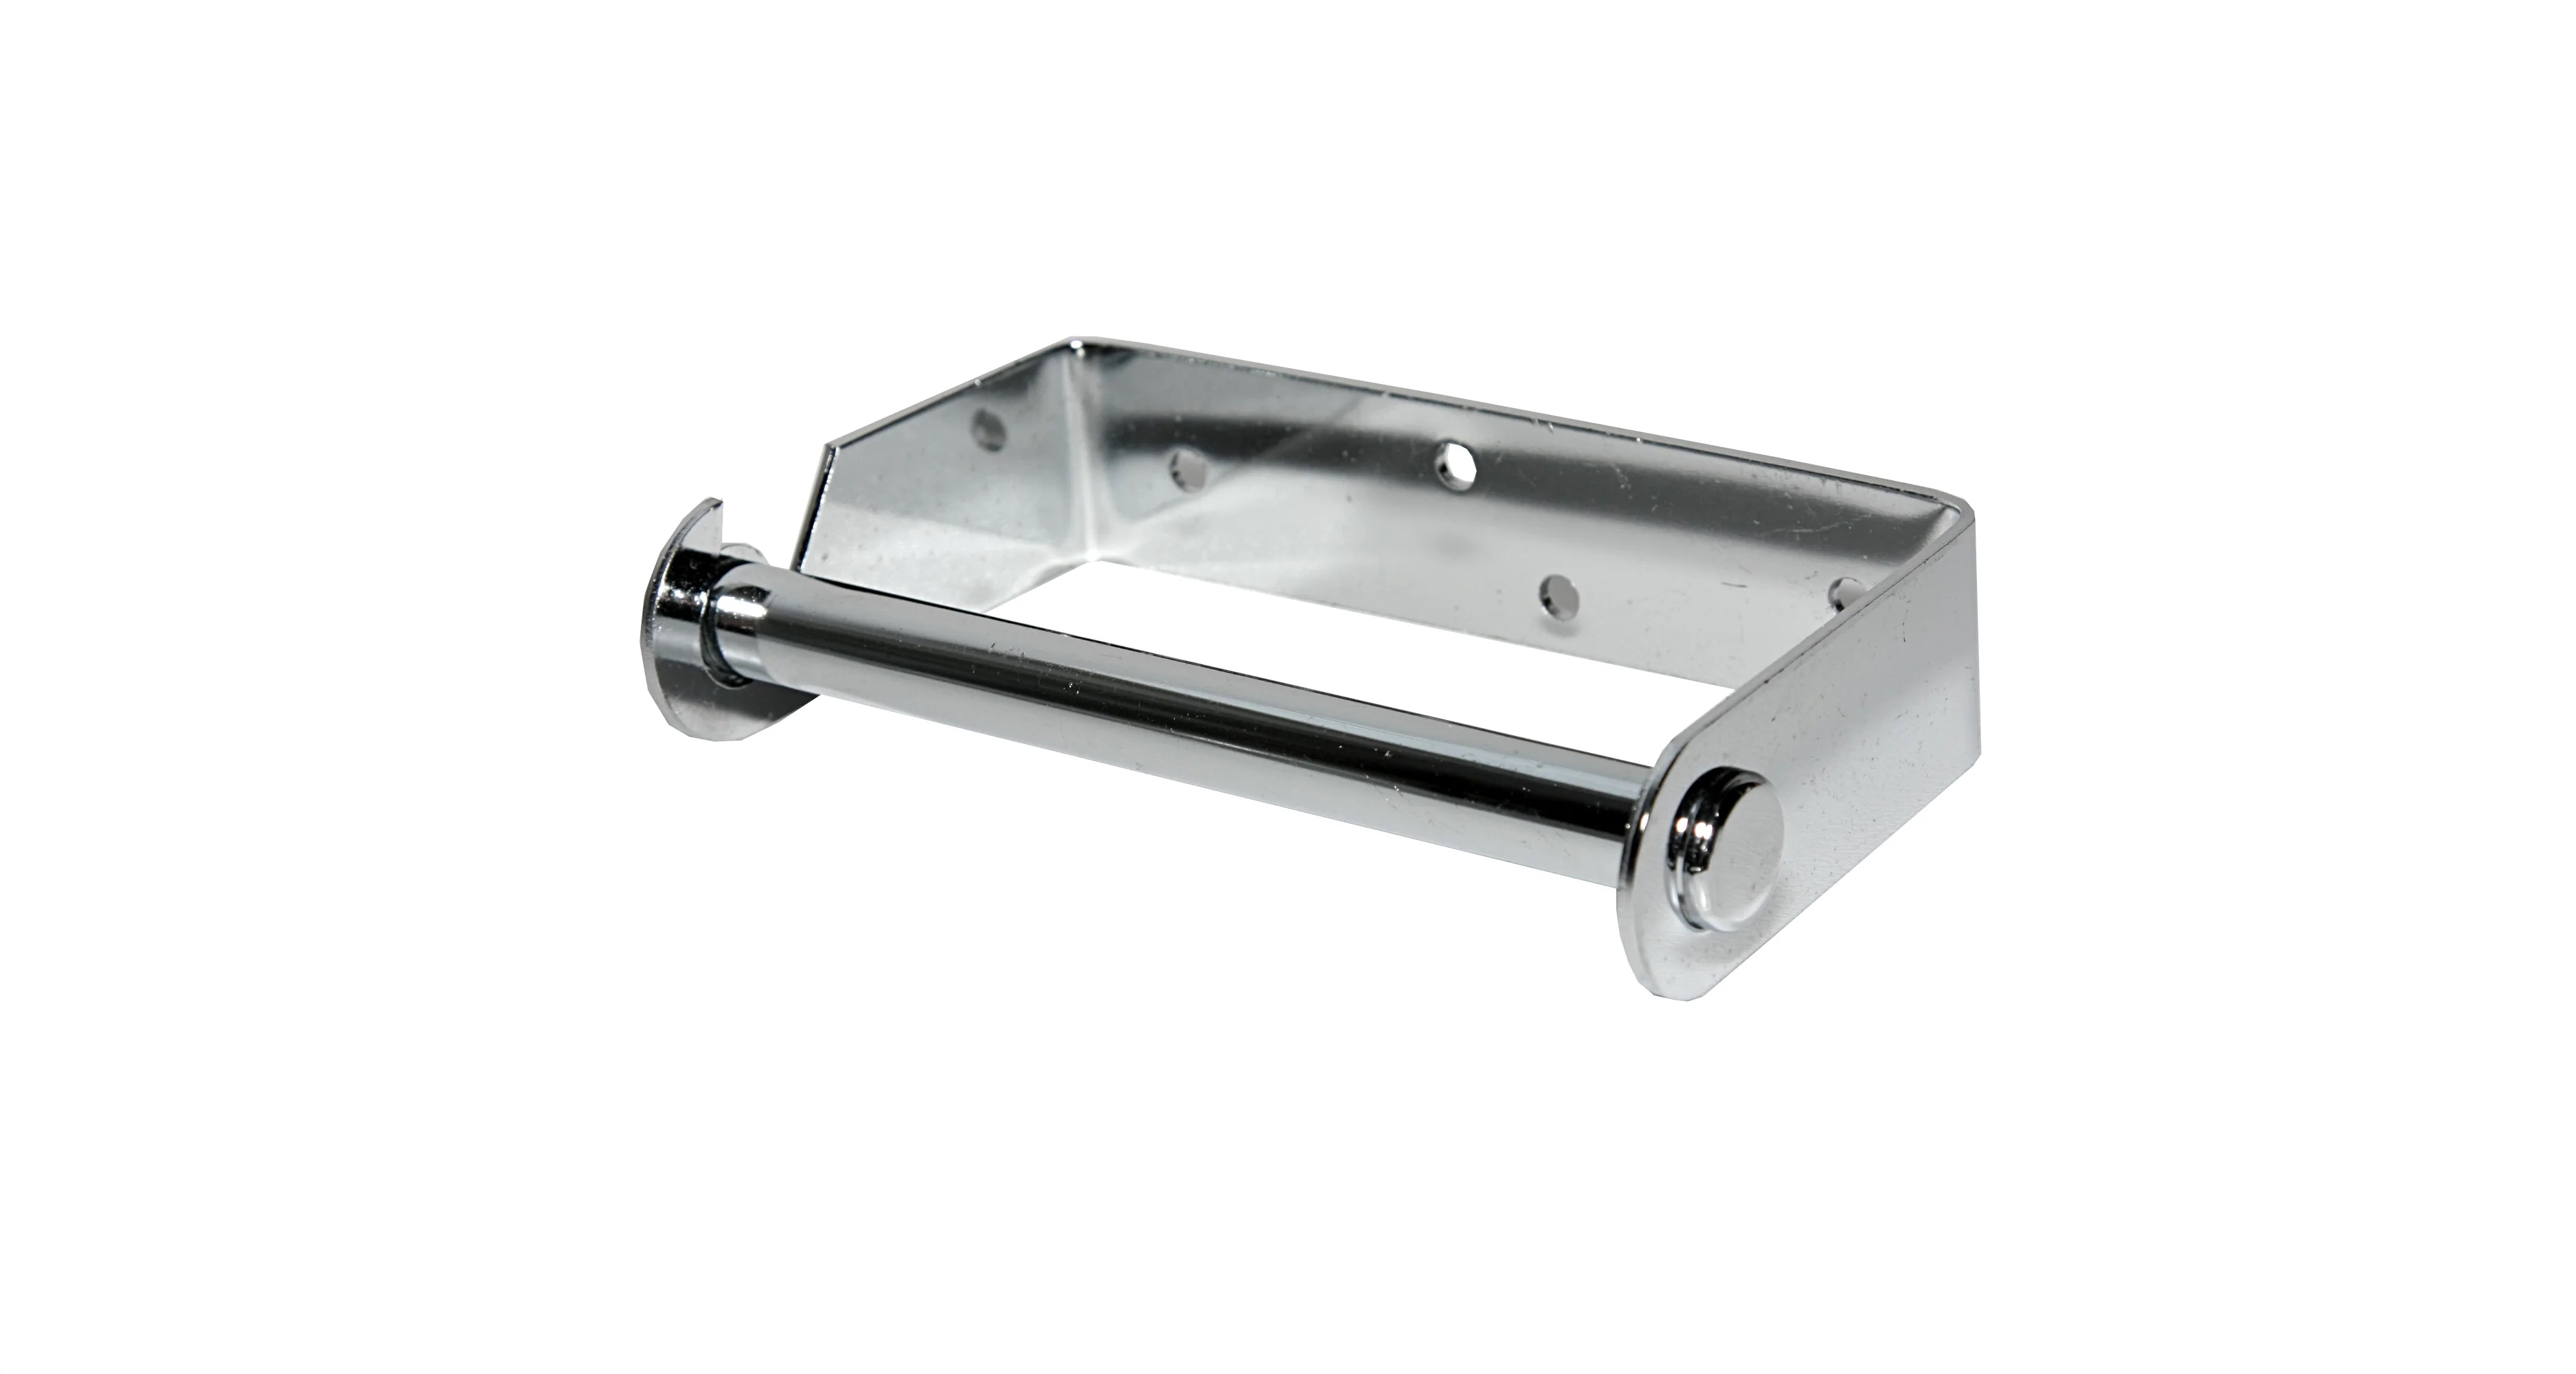
How To Install A Metal Toilet Paper Holder
Modified: December 7, 2023
Discover the best articles on how to choose and install a metal toilet paper holder. Improve your bathroom decor with these helpful tips and ideas.
(Many of the links in this article redirect to a specific reviewed product. Your purchase of these products through affiliate links helps to generate commission for Storables.com, at no extra cost. Learn more)
Introduction
A metal toilet paper holder is not only a practical addition to any bathroom but also a stylish and durable option. If you’re looking to add a touch of elegance and functionality to your bathroom, making your own metal toilet paper holder can be a great DIY project. Plus, it allows you to customize the design and ensure it matches your bathroom’s aesthetics perfectly.
In this article, we will guide you through the process of creating a metal toilet paper holder step by step. By following these instructions and gathering the necessary materials, you can create a unique and personalized holder that will make a statement in your bathroom.
Before we begin, it’s important to note that this project does require some basic knowledge and skills in metalworking. However, with the right tools and a little practice, this DIY project can be accomplished by anyone who is willing to give it a try.
So without further ado, let’s dive into the materials you will need for this project.
Key Takeaways:
- Create a personalized metal toilet paper holder to add elegance and functionality to your bathroom. With basic metalworking skills and the right materials, you can craft a unique and durable holder that matches your bathroom’s aesthetics perfectly.
- Enjoy the satisfaction of using a toilet paper holder made with your own hands. By following simple steps and safety precautions, you can create a stylish and secure holder, adding a touch of creativity to your bathroom decor.
Materials Needed
Before you start creating your metal toilet paper holder, make sure you have the following materials on hand:
- Metal sheet: Choose a metal sheet that is sturdy enough to hold the weight of a toilet paper roll. Common options include stainless steel or aluminum.
- Measuring tape: You will need a measuring tape to determine the dimensions of the toilet paper holder.
- Marker or pencil: This will be used to mark the measurements on the metal sheet.
- Metal cutting tools: Depending on the thickness of your metal sheet, you may need a hacksaw, tin snips, or a bandsaw to cut the metal.
- File or sandpaper: To smoothen the edges of the cut metal and remove any sharp points.
- Drill and bit: A drill will be needed to create holes for attaching the holder to the wall.
- Screws or mounting hardware: Choose screws or mounting hardware that are suitable for the type of wall you’ll be attaching the holder to.
- Paint or finish options: If you want to add some color or protection to your metal holder, consider getting spray paint or a metal finish.
- Safety equipment: When working with metal, it’s important to have safety goggles, gloves, and ear protection to protect yourself.
These are the essential materials you will need to create your own metal toilet paper holder. However, feel free to customize the design and include any additional decorative elements that suit your preferences.
Now that you have all the necessary materials, let’s move on to the step-by-step process of making a metal toilet paper holder.
When installing a metal toilet paper holder, use a level to ensure it is straight before securing it to the wall. This will help prevent any future issues with the holder coming loose or causing the toilet paper to roll unevenly.
Steps to Make a Metal Toilet Paper Holder
Follow these steps to create your own metal toilet paper holder:
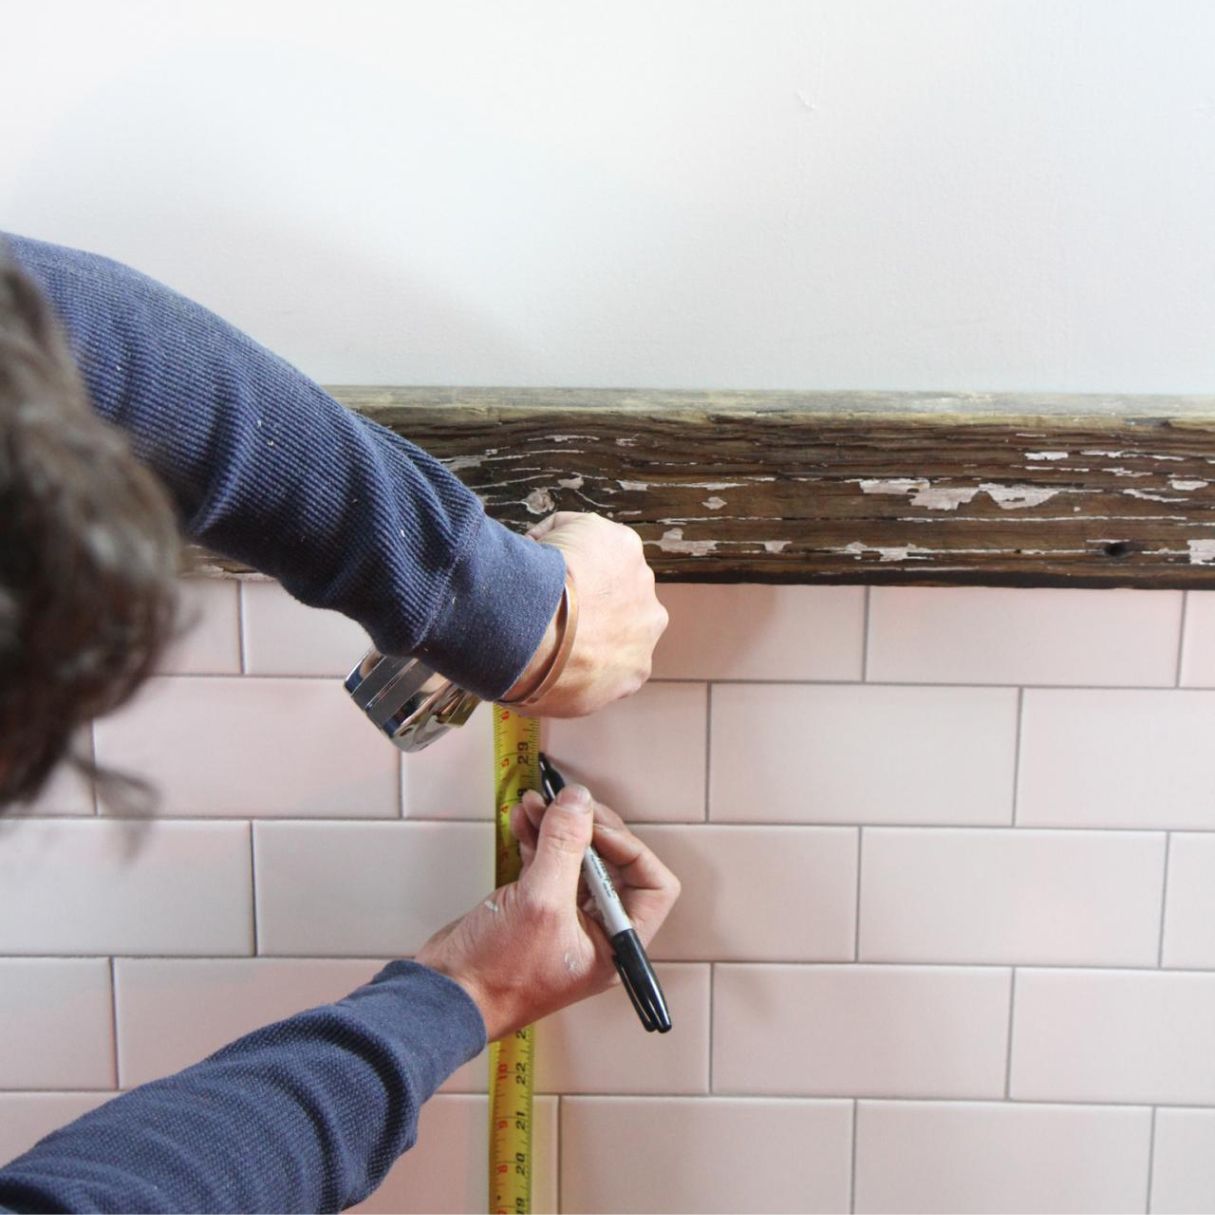
- Measure and mark: Begin by measuring the desired dimensions for your toilet paper holder on the metal sheet. Use a measuring tape and mark the measurements with a marker or pencil.
- Cut the metal: Using the appropriate metal cutting tools, carefully cut along the marked lines to create the main body of the toilet paper holder. Take your time and ensure smooth and accurate cuts.
- Smooth the edges: After cutting the metal, use a file or sandpaper to smoothen any rough edges and remove any sharp points. This step is crucial to avoid injury when using the toilet paper holder.
- Create mounting holes: Determine where you want to position the mounting holes for attaching the holder to the wall. Mark the holes on the metal sheet and drill them using a drill and appropriate bit size.
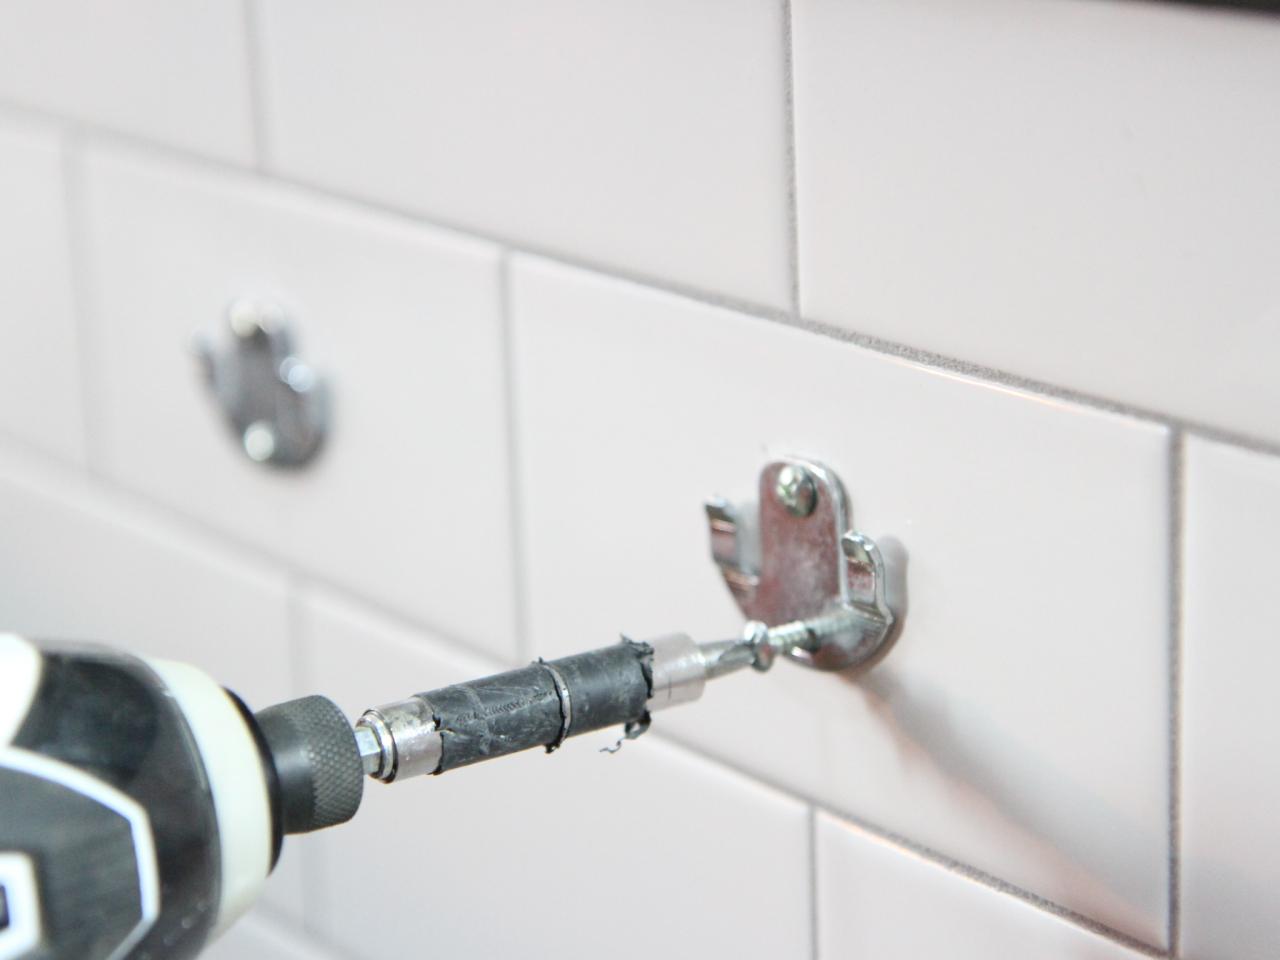
- Attach the holder to the wall: With the mounting holes created, align the holder with the desired position on the wall. Use screws or mounting hardware to firmly attach the holder to the wall. Make sure it is securely fastened.
- Paint or finish: If you wish to add color or protection to your metal toilet paper holder, now is the time to apply a coat of paint or a metal finish. Follow the instructions on the paint or finish product for the best results. Allow it to dry completely before using the holder.
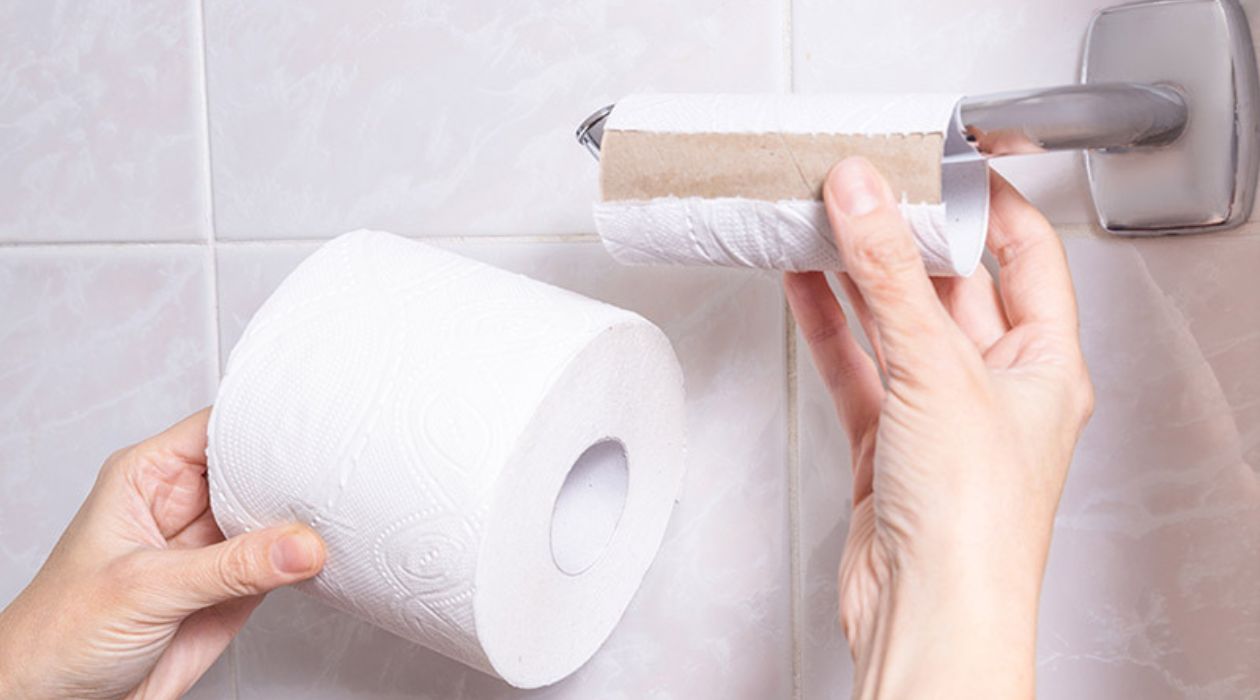
- Insert the toilet paper: Once the holder is securely attached to the wall and the paint or finish is dry, you can insert a roll of toilet paper into the holder. Ensure it rolls smoothly and securely.
- Final touches: Step back and admire your handcrafted metal toilet paper holder. Make any final adjustments or embellishments to personalize it further to your liking.
With these simple steps, you can create a functional and stylish metal toilet paper holder for your bathroom. Just remember to take your time, follow safety precautions, and enjoy the process of bringing your design to life.
Conclusion
Congratulations! You have successfully learned how to make your own metal toilet paper holder. By following the steps outlined in this article and gathering the necessary materials, you have created a functional and personalized addition to your bathroom.
Not only does a metal toilet paper holder offer durability and stability, but it also adds a touch of elegance and style to your bathroom decor. By customizing the design and choosing the right finish, you can create a unique holder that perfectly complements your bathroom’s aesthetics.
Remember, this DIY project requires some basic metalworking skills and tools. However, with a little practice, anyone can create their own metal toilet paper holder. Take your time, be patient, and don’t be afraid to try new techniques or add your own creative flair.
Now that you have your metal toilet paper holder installed, you can enjoy the convenience of having a secure and stylish way to hold your toilet paper roll. No more fumbling or reaching for a loose roll – your homemade holder will keep it in place and easily accessible.
Feel free to experiment with different styles, shapes, and finishes to create multiple holders for different bathrooms in your home. You can even make them as personalized gifts for friends and family.
So go ahead, put your newfound knowledge into practice, and enjoy the satisfaction of using a toilet paper holder that you’ve made with your own hands. Happy crafting!
Frequently Asked Questions about How To Install A Metal Toilet Paper Holder
Was this page helpful?
At Storables.com, we guarantee accurate and reliable information. Our content, validated by Expert Board Contributors, is crafted following stringent Editorial Policies. We're committed to providing you with well-researched, expert-backed insights for all your informational needs.

0 thoughts on “How To Install A Metal Toilet Paper Holder”