Articles
How To Install Futura Toilet Paper Holder
Modified: December 7, 2023
Discover the step-by-step process to easily install the Futura Toilet Paper Holder in your bathroom. Our comprehensive article provides all the guidance you need for a hassle-free installation.
(Many of the links in this article redirect to a specific reviewed product. Your purchase of these products through affiliate links helps to generate commission for Storables.com, at no extra cost. Learn more)
Introduction
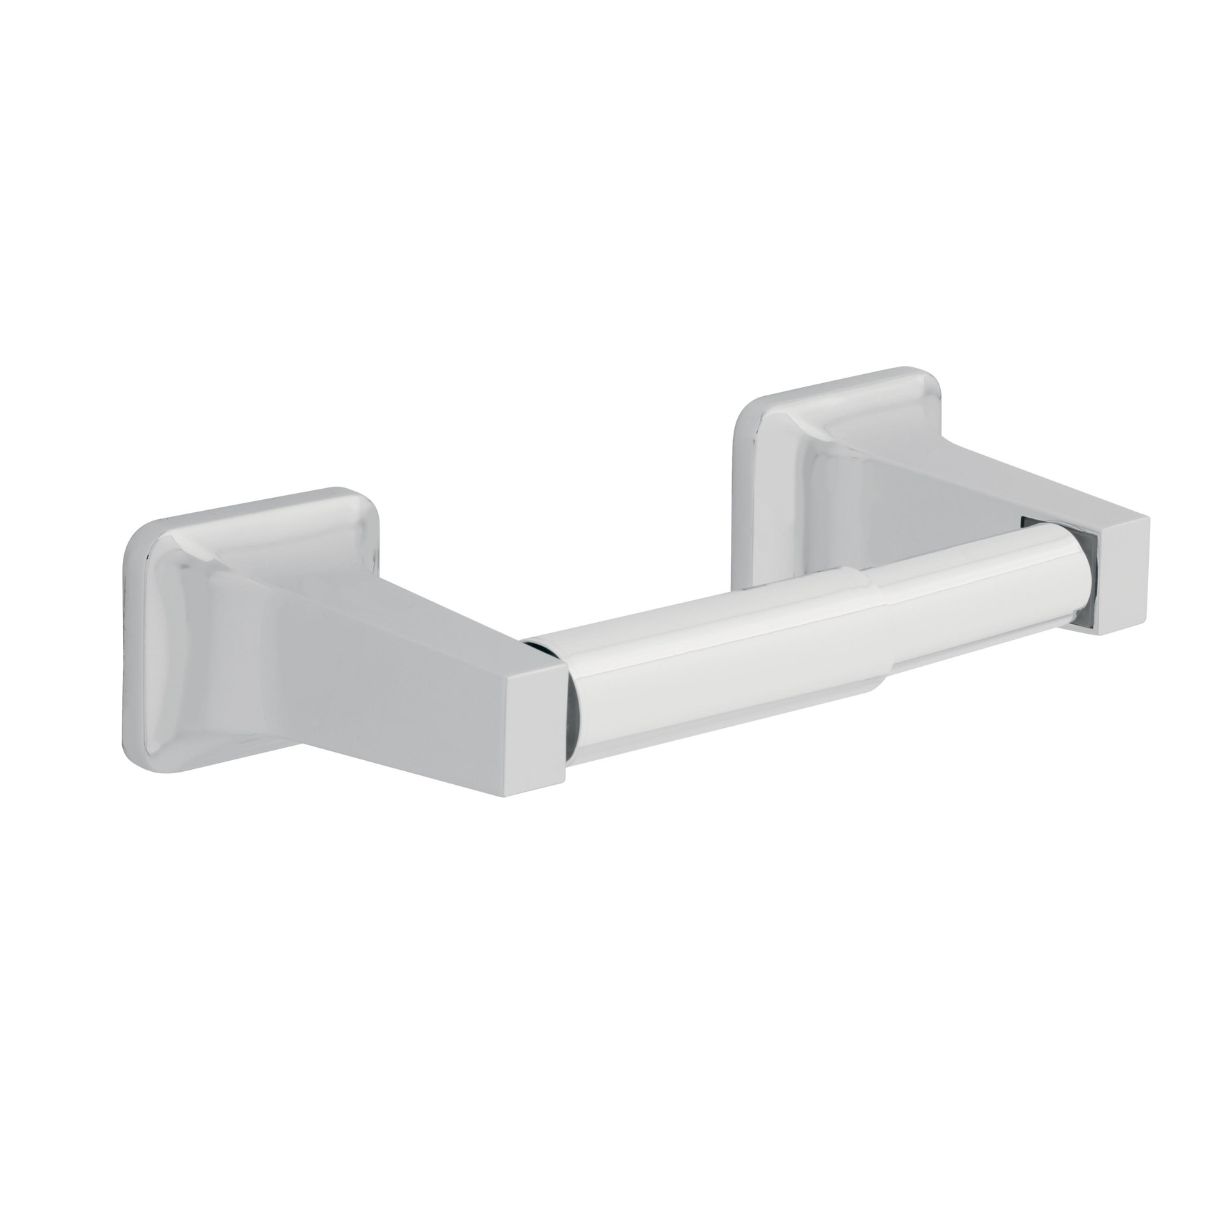
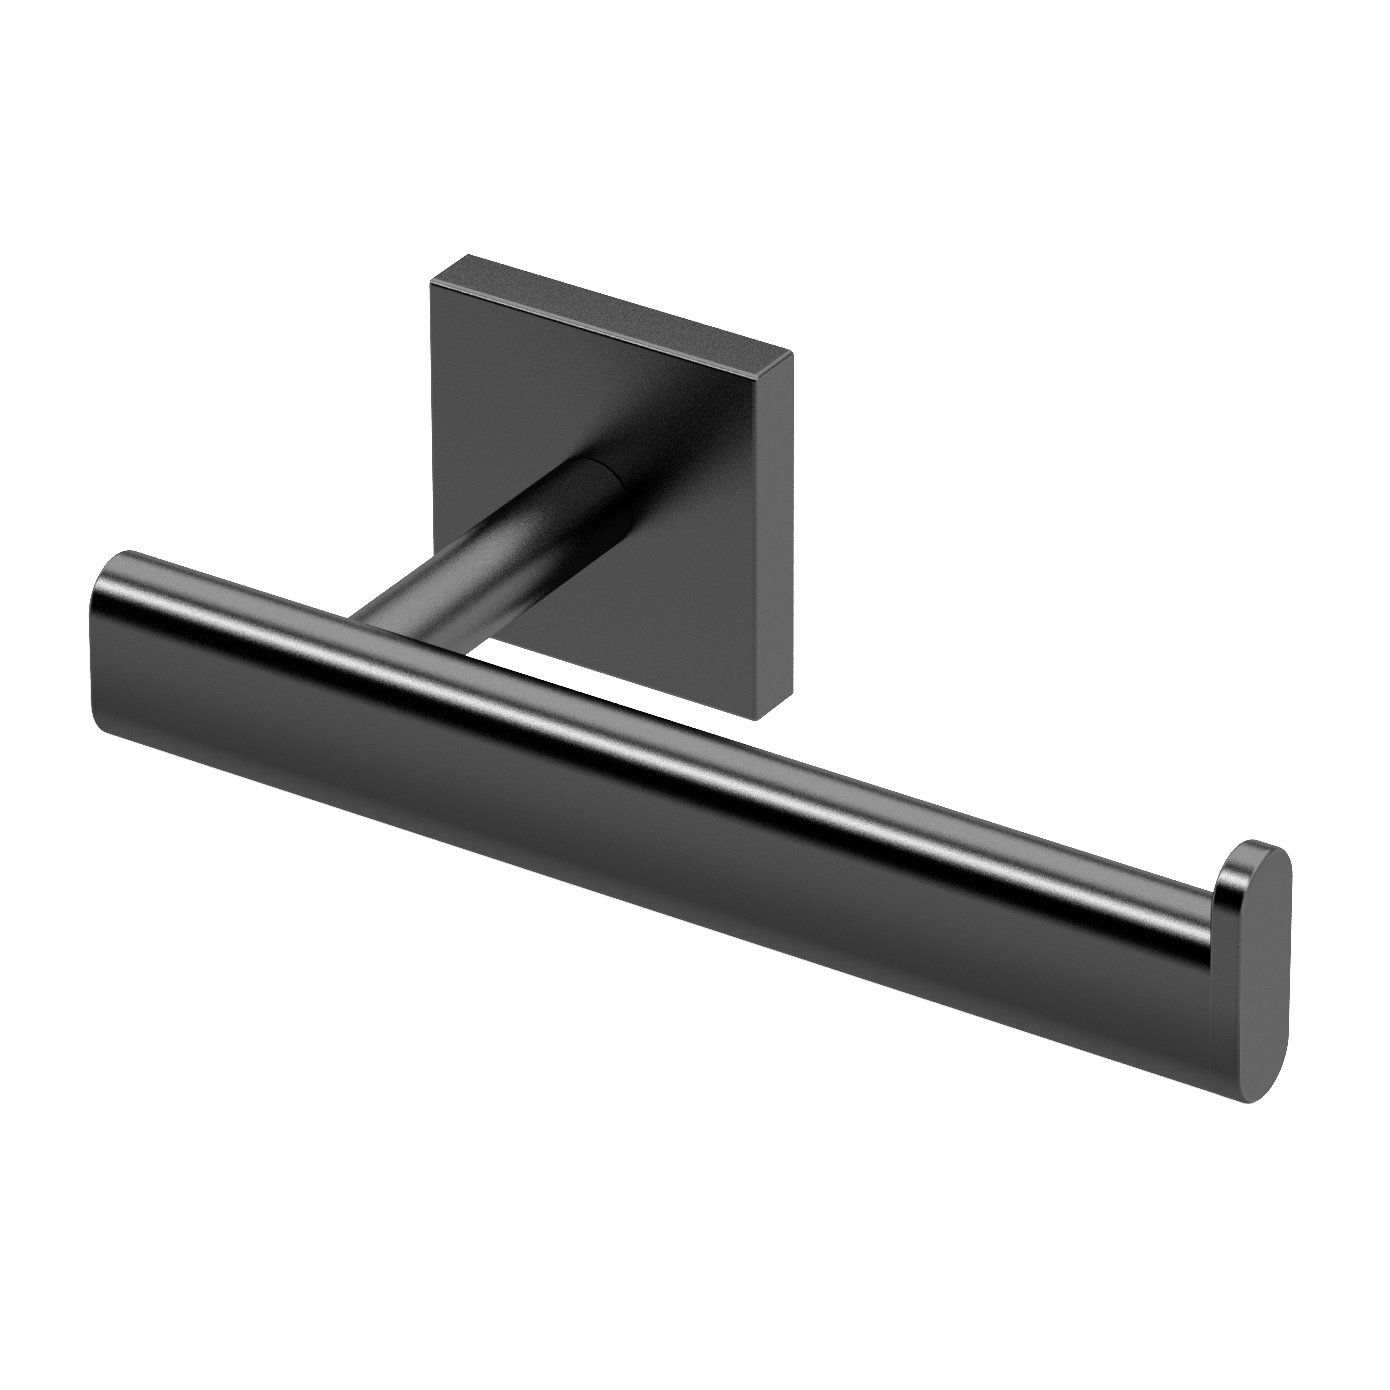
Welcome to our step-by-step guide on how to install a Futura Toilet Paper Holder. The Futura Toilet Paper Holder is a sleek and modern accessory that not only adds functionality to your bathroom but also enhances its overall aesthetic. With its contemporary design and easy installation process, this toilet paper holder is the perfect addition to any bathroom.
Whether you are undertaking a bathroom renovation, remodeling your existing space, or simply looking to upgrade your current toilet paper holder, this guide will walk you through the installation process. By following these simple steps and utilizing the right tools and materials, you will have your new Futura Toilet Paper Holder securely installed and ready to use in no time.
Before we get started, please ensure you have all the necessary tools and materials at hand. This will help streamline the installation process and prevent any delays or interruptions. Let’s take a look at what you will need:
Key Takeaways:
- Elevate your bathroom with the sleek and modern Futura Toilet Paper Holder. Follow the simple installation guide to add functionality and style to your space, creating a delightful restroom experience.
- With the right tools and careful measurements, installing the Futura Toilet Paper Holder is a rewarding DIY project. Enjoy the convenience and elegance it brings to your bathroom, and admire your handiwork!
Tools and Materials Needed
Before you begin the installation process, it’s important to gather all the necessary tools and materials. Here’s a list of what you’ll need:
- Measuring tape
- Pencil
- Power drill
- Drill bits
- Wall anchors
- Screwdriver
- Level
- Toilet paper holder mounting bracket
- Mounting screws
- Toilet paper holder
Make sure you have all these tools and materials ready before you start. This will save you the hassle of searching for them during the installation process.
Once you have everything you need, it’s time to move on to the next step: measuring and marking the installation location.
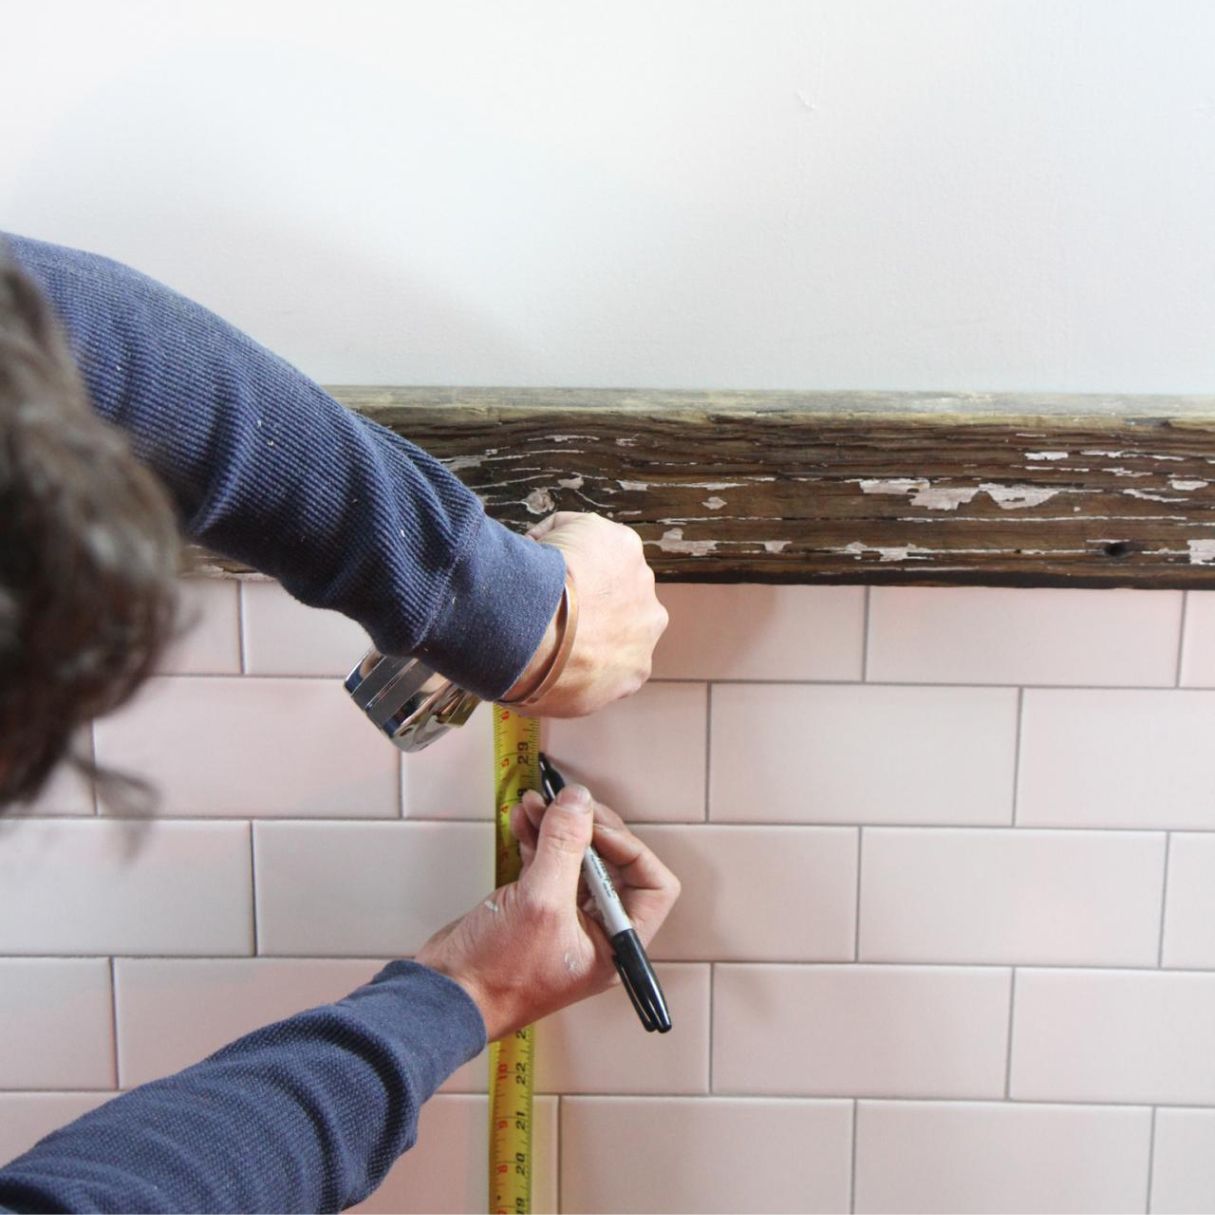
Step 1: Measure and Mark
The first step in installing your Futura Toilet Paper Holder is to properly measure and mark the installation location. This ensures that the holder will be placed at the desired height and position on the wall.
Start by locating the desired placement for your toilet paper holder. Keep in mind factors such as convenience and accessibility. Typically, the holder is installed within easy reach of the toilet, preferably within arm’s reach.
Using a measuring tape, measure the distance from the floor to the desired height of the toilet paper holder. Mark this height on the wall using a pencil. Make sure the mark is level to ensure a straight and visually pleasing installation.
Next, measure the distance from the adjacent wall or cabinet to determine the desired position of the toilet paper holder in relation to other fixtures in the bathroom. Mark this position on the wall using a pencil.
Double-check the measurement and marks to ensure accuracy. This will prevent any potential errors during the installation process.
Now that you have the proper measurements and marks, you can move on to the next step: installing the mounting bracket.
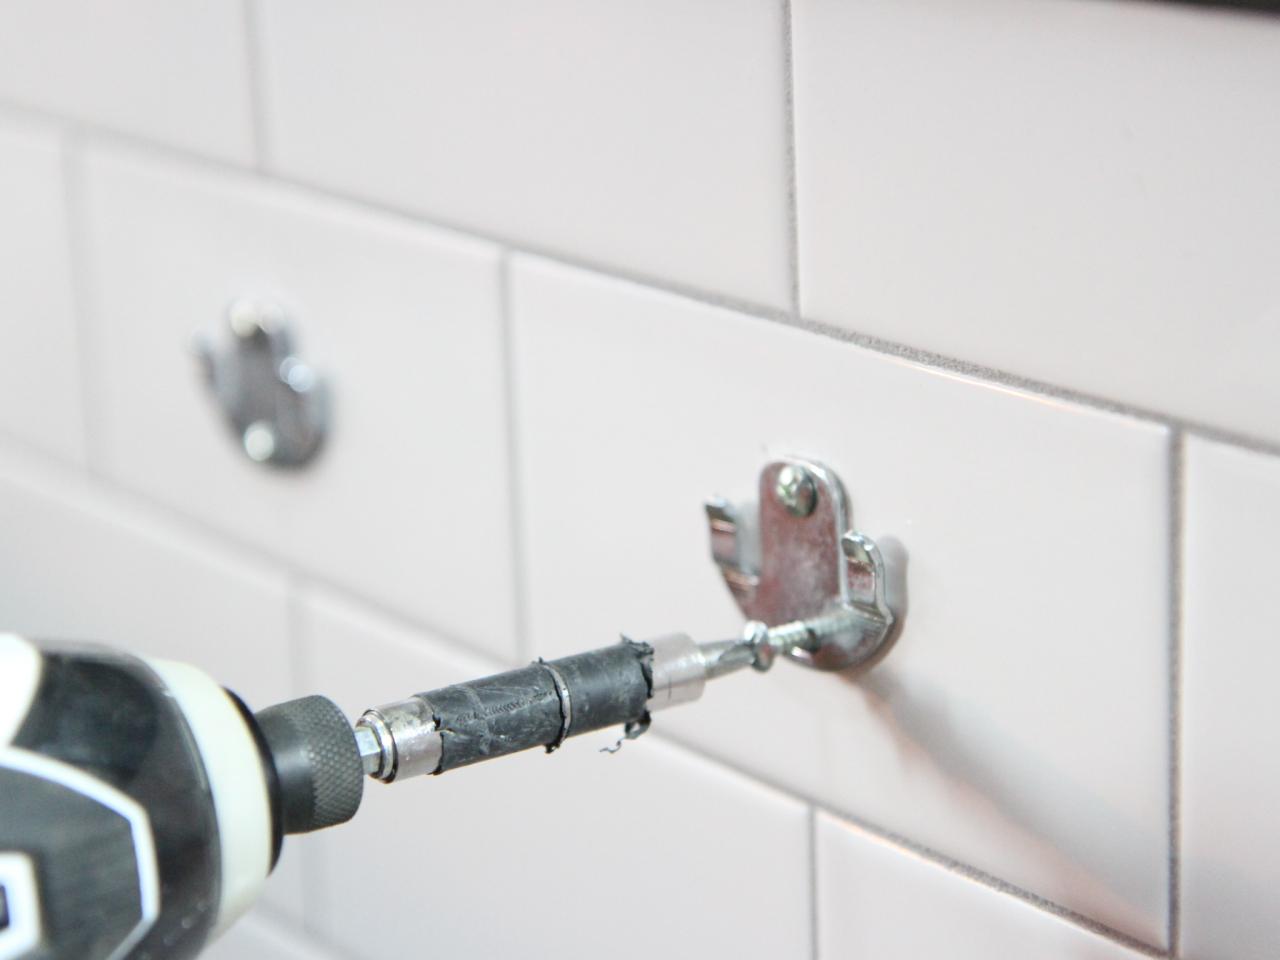
Step 2: Install Mounting Bracket
Once you have measured and marked the installation location for your Futura Toilet Paper Holder, it’s time to install the mounting bracket. The mounting bracket is what holds the toilet paper holder securely to the wall.
Start by aligning the mounting bracket with the marks you made on the wall. Ensure that it is level and centered according to your measurements.
Using a power drill and the appropriate size drill bit, create pilot holes at the marked locations for the mounting bracket. These pilot holes will guide the screws into the wall and prevent any potential damage.
If you are installing the holder onto a drywall or a hollow wall, it is essential to insert wall anchors into the pilot holes. Wall anchors provide extra stability and support for the mounting bracket.
Insert the wall anchors into the pilot holes and tap them gently until they are flush with the wall surface. This may require light hammering or applying gentle pressure with your hand. Ensure that the wall anchors are secure and snug within the wall.
With the wall anchors in place, position the mounting bracket over the pilot holes and wall anchors. Insert the mounting screws through the bracket and into the wall anchors or directly into the pilot holes, depending on your specific installation requirements.
Tighten the screws using a screwdriver or a power drill until the mounting bracket is firmly secured to the wall. Double-check that the bracket is level and properly aligned.
Now that the mounting bracket is securely installed, you can proceed to the next step: attaching the toilet paper holder.
When installing a Futura toilet paper holder, make sure to use a level to ensure it is mounted straight. Use the provided hardware and follow the manufacturer’s instructions for a secure installation.
Step 3: Attach Toilet Paper Holder
With the mounting bracket securely installed, it’s time to attach the Futura Toilet Paper Holder to the bracket. This step will complete the overall installation process and allow you to start using your new toilet paper holder.
Start by positioning the toilet paper holder onto the mounting bracket. Depending on the specific design of your holder, there may be hooks, slots, or other mechanisms to hold it in place. Ensure that the holder is aligned properly with the bracket so that it sits securely and functions correctly.
Once the holder is in position, look for any screws or fasteners provided with the holder. These screws are designed to secure the holder to the mounting bracket, preventing it from coming off unintentionally.
Using the appropriate screwdriver or tool, tighten the screws to attach the holder firmly to the mounting bracket. Be careful not to overtighten, as this can damage the holder or the bracket.
After attaching the holder to the bracket, give it a gentle tug or shake to ensure that it is securely in place. If there is any movement or instability, double-check the screws or fasteners and tighten them as needed.
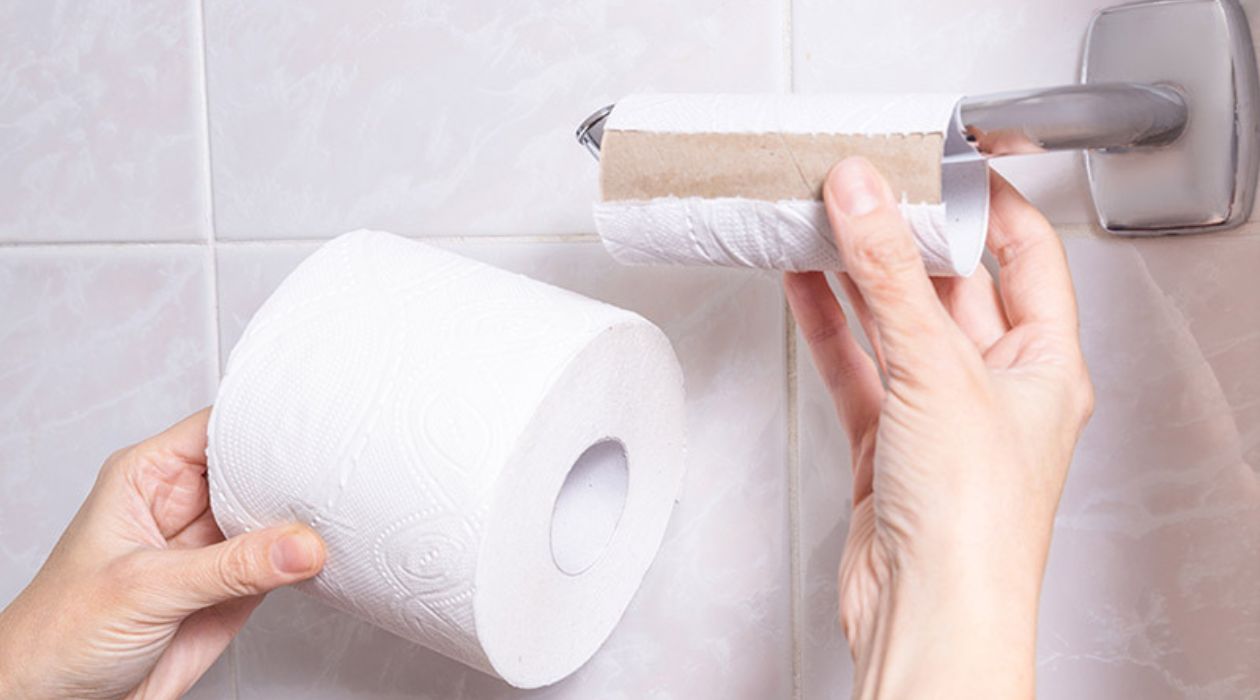
At this point, you can insert a roll of toilet paper onto the holder to test its functionality. Pull and release the toilet paper to ensure that it rolls smoothly and without any obstructions. Make any necessary adjustments if the roll does not rotate freely.
Congratulations! You have successfully attached the Futura Toilet Paper Holder to the mounting bracket.
Before we move on to the next step, take a moment to step back and admire your handiwork. Not only have you completed the installation, but you have also added a stylish and functional accessory to your bathroom.
Now let’s proceed to the next step: testing and adjusting the toilet paper holder.
Step 4: Test and Adjust
After attaching the Futura Toilet Paper Holder to the mounting bracket, it’s important to test its functionality and make any necessary adjustments. This step ensures that the holder is working properly and provides maximum convenience for everyday use.
Start by testing the roll of toilet paper on the holder. Pull the toilet paper gently to see if it unrolls smoothly. If there is any friction or resistance, check for any obstructions or misalignments that may be causing the issue.
If the roll does not rotate freely, you may need to adjust the position of the holder slightly. Loosen the screws that secure the holder to the mounting bracket and make slight adjustments as needed. Once you have achieved a smooth rolling motion, tighten the screws to secure the holder in the adjusted position.
Next, check the stability of the holder. Give it a gentle tug to ensure that it remains securely attached to the mounting bracket. If there is any wobbling or instability, double-check the screws and fasteners and tighten them as needed.
Now is also a good time to assess the overall placement and positioning of the toilet paper holder. Step back and evaluate whether it is at the ideal height and position for easy access. Make any necessary adjustments to ensure maximum convenience.
Once you are satisfied with the functionality, smoothness of the roll, and stability of the holder, move on to the final step: securing the holder.
Before we conclude, take a moment to appreciate your craftsmanship. You have successfully installed and tested the Futura Toilet Paper Holder, bringing both practicality and style to your bathroom.
Now, let’s proceed to the last step: securing the holder.
Step 5: Secure the Holder
After testing and adjusting the Futura Toilet Paper Holder to ensure its functionality, it’s time to secure the holder in its final position. This step ensures that the holder remains stable and does not come loose over time.
Start by inspecting the screws or fasteners that attach the holder to the mounting bracket. Ensure that they are tightened properly but be careful not to overtighten, as this can damage the holder or the bracket.
Next, apply a small amount of thread-locking adhesive to the screws or fasteners. This adhesive helps to keep the screws securely in place, preventing them from loosening due to vibrations or regular use.
Tighten the screws or fasteners once again after applying the thread-locking adhesive. Ensure that they are snug and secure, but avoid excessive force that could damage the holder or the bracket.
Take a moment to test the stability of the holder by giving it a gentle tug. If it remains firmly in place, you have successfully secured the holder.
Finally, give the entire installation a visual inspection. Check for any visible gaps or misalignments between the holder, the mounting bracket, and the wall. If necessary, make any last-minute adjustments to ensure a clean and aesthetically pleasing installation.
Congratulations! You have completed the installation of your Futura Toilet Paper Holder. Take a step back and admire your work.
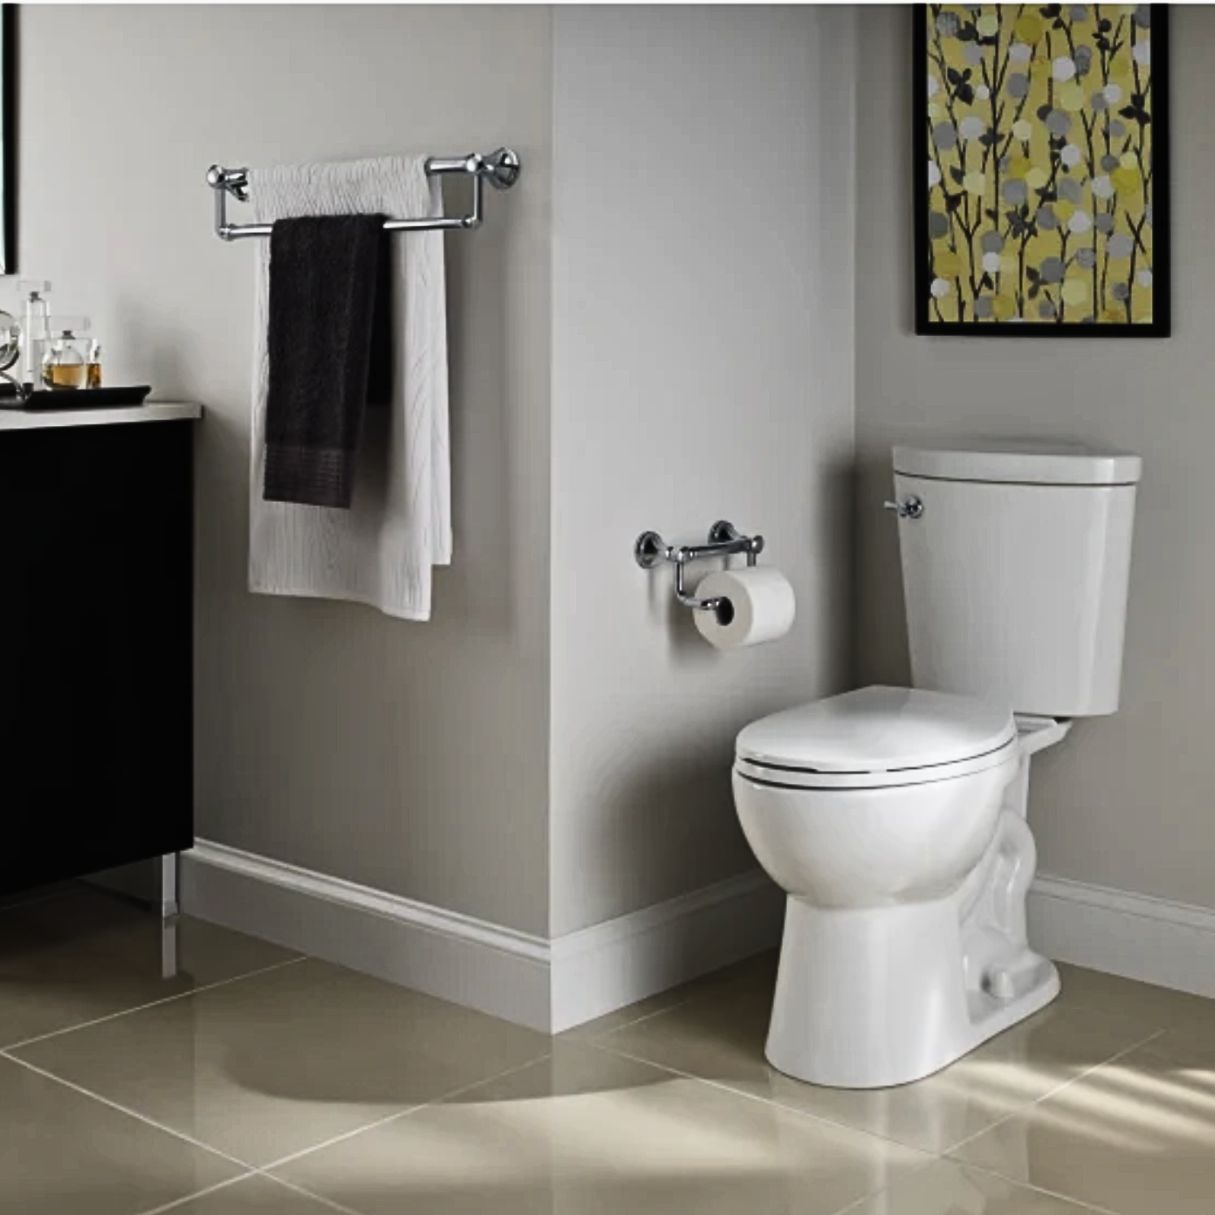
Now you can enjoy the convenience and functionality of your newly installed toilet paper holder. It will not only serve its purpose in providing easy access to toilet paper but also add a touch of modern elegance to your bathroom.
Remember to regularly inspect and maintain the holder to ensure its continued stability and functionality. With proper care, your Futura Toilet Paper Holder will provide years of reliable service.
Thank you for following our installation guide. We hope it has been helpful in your DIY bathroom project. Enjoy your new toilet paper holder!
Conclusion
Installing a Futura Toilet Paper Holder is a simple and rewarding DIY project that can enhance the functionality and appearance of your bathroom. By following the step-by-step guide outlined in this article, you can easily install your new toilet paper holder and enjoy its benefits for years to come.
From measuring and marking the installation location to securing the holder in place, each step has been carefully explained to ensure a successful installation. By gathering the necessary tools and materials and taking the time to properly measure and align the holder, you can achieve a professional-looking result.
Throughout the installation process, it is important to test the functionality of the holder and make any necessary adjustments. By ensuring that the roll of toilet paper rotates smoothly and the holder remains stable, you can guarantee maximum convenience and satisfaction.
Once the installation is complete and the holder is securely attached, take a moment to admire your work. The Futura Toilet Paper Holder not only adds a practical element to your bathroom but also brings a modern and stylish touch. It is the perfect accessory to complement your existing décor.
Remember to periodically check the screws and fasteners to ensure they remain secure. Additionally, maintaining the cleanliness of the holder will contribute to its longevity and aesthetic appeal.
We hope this installation guide has helped you successfully install your Futura Toilet Paper Holder. Enjoy the convenience and style it brings to your bathroom, and may every trip to the restroom be a delightful experience!
Frequently Asked Questions about How To Install Futura Toilet Paper Holder
Was this page helpful?
At Storables.com, we guarantee accurate and reliable information. Our content, validated by Expert Board Contributors, is crafted following stringent Editorial Policies. We're committed to providing you with well-researched, expert-backed insights for all your informational needs.


0 thoughts on “How To Install Futura Toilet Paper Holder”