Home>Articles>How To Install A Toilet Paper Holder On The Side Of A Cabinet
Articles
How To Install A Toilet Paper Holder On The Side Of A Cabinet
Modified: August 21, 2024
Learn how to install a toilet paper holder on the side of a cabinet with this step-by-step guide. Find more informative articles on DIY home improvements.
(Many of the links in this article redirect to a specific reviewed product. Your purchase of these products through affiliate links helps to generate commission for Storables.com, at no extra cost. Learn more)
Introduction
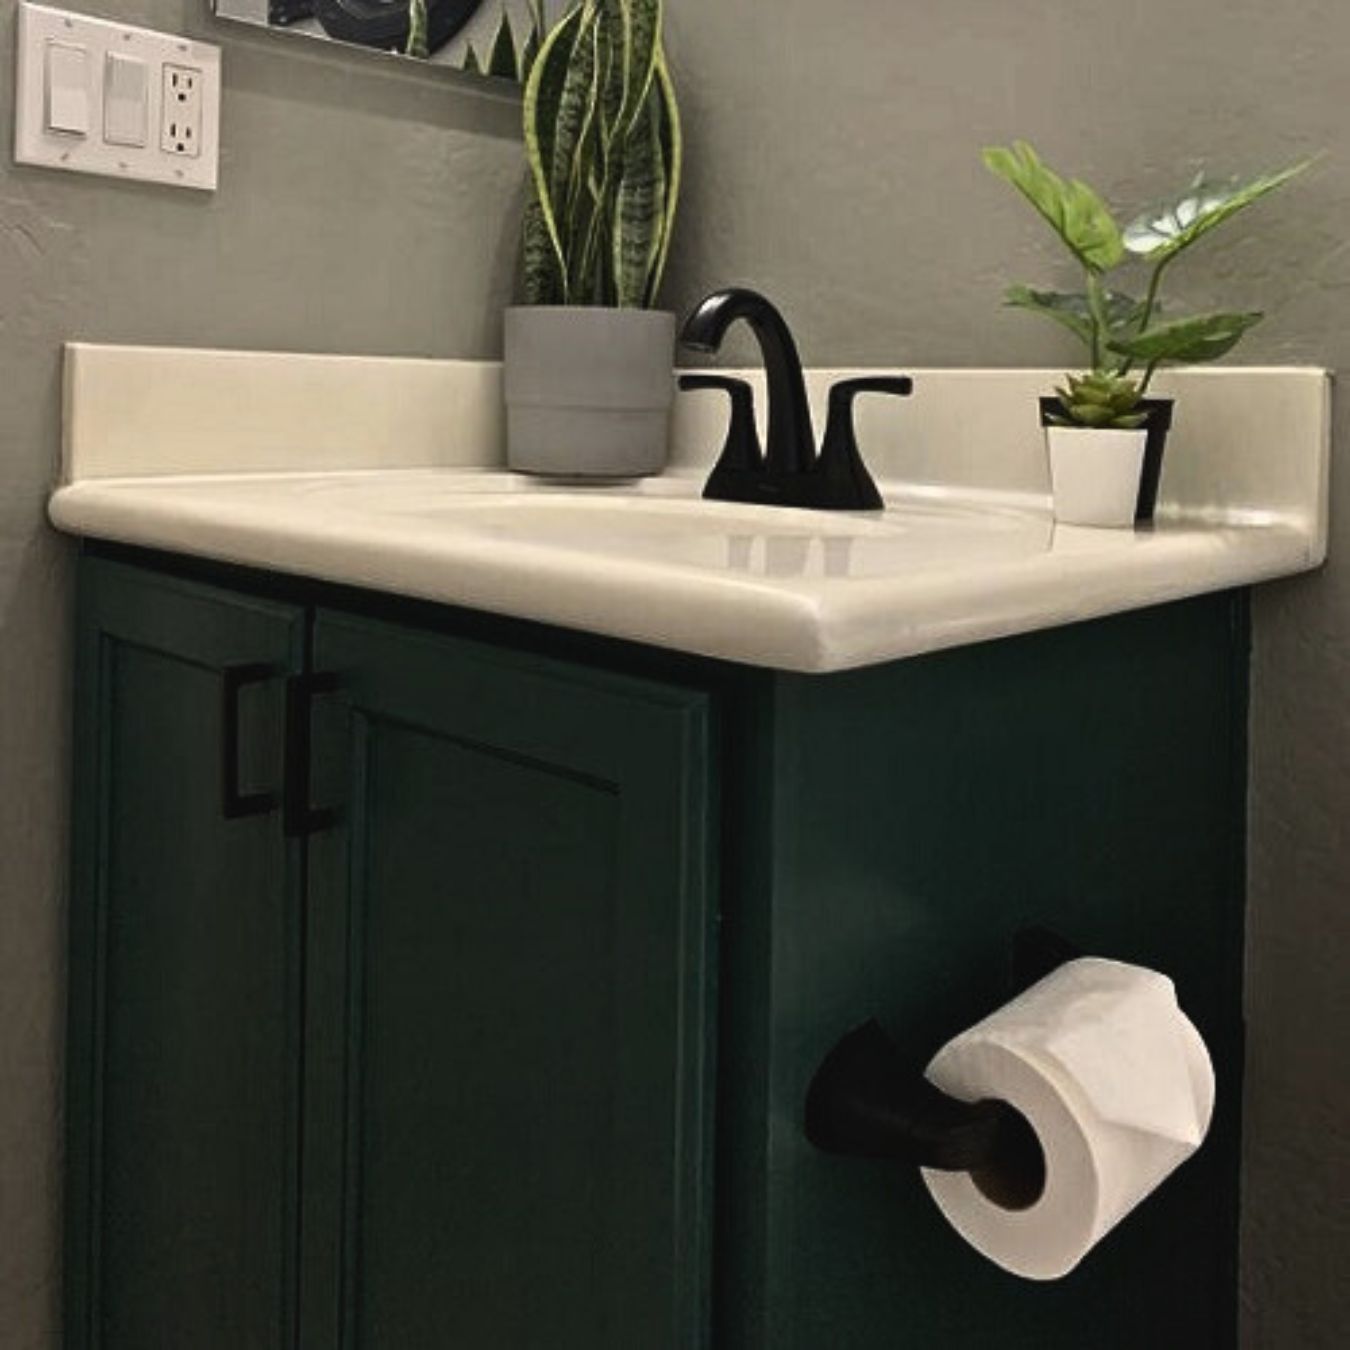
Installing a toilet paper holder on the side of a cabinet can be a convenient and space-saving solution for keeping your bathroom organized. Whether you have limited wall space or simply prefer to have the toilet paper within easy reach, this installation method is a practical choice.
In this step-by-step guide, we will walk you through the process of installing a toilet paper holder on the side of a cabinet. We will cover everything from gathering the necessary tools and materials to securing the holder in place. So, let’s get started!
Before beginning the installation, it is important to note that the steps mentioned here are for a standard toilet paper holder with mounting brackets. If you have a different type of holder or cabinet, you may need to adjust the process accordingly.
Now, let’s gather the tools and materials you’ll need for this project.
Key Takeaways:
- Installing a toilet paper holder on the side of a cabinet is a practical and space-saving solution that enhances bathroom organization and accessibility. Follow the step-by-step guide for a hassle-free installation process.
- Enjoy the convenience and functionality of a well-installed toilet paper holder while adding a touch of organization and style to your bathroom. Keep the area clean, periodically check for stability, and personalize your space for an enhanced bathroom experience.
Step 1: Gather the necessary tools and materials
Before you begin the installation process, it’s essential to gather all the required tools and materials. Having everything on hand will make the process smoother and more efficient. Here’s a list of what you’ll need:
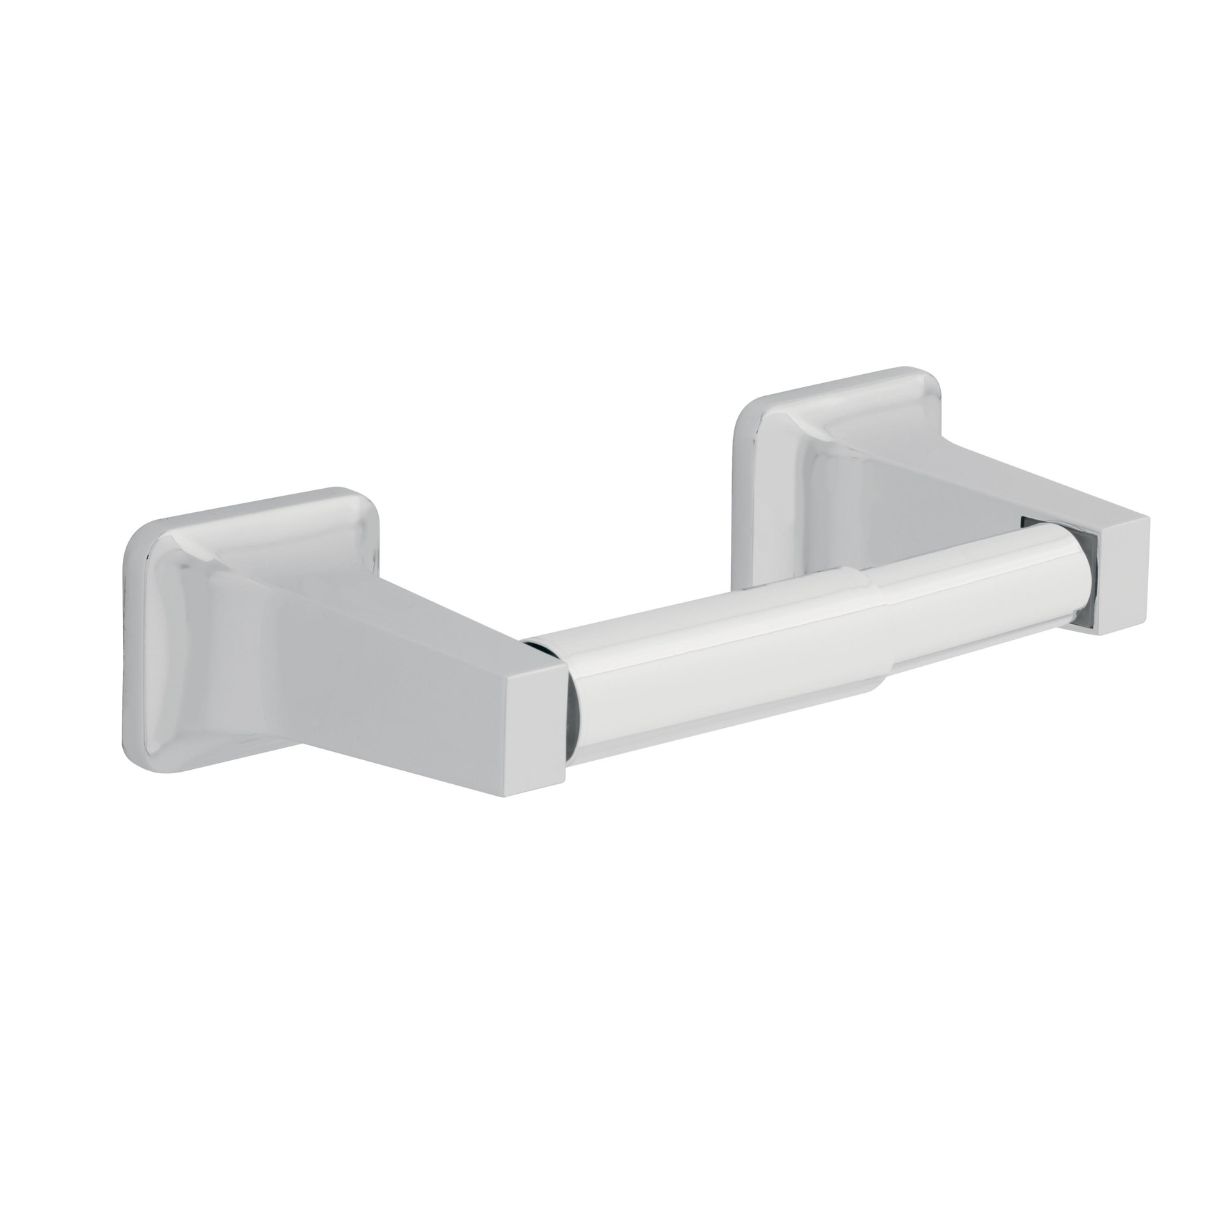
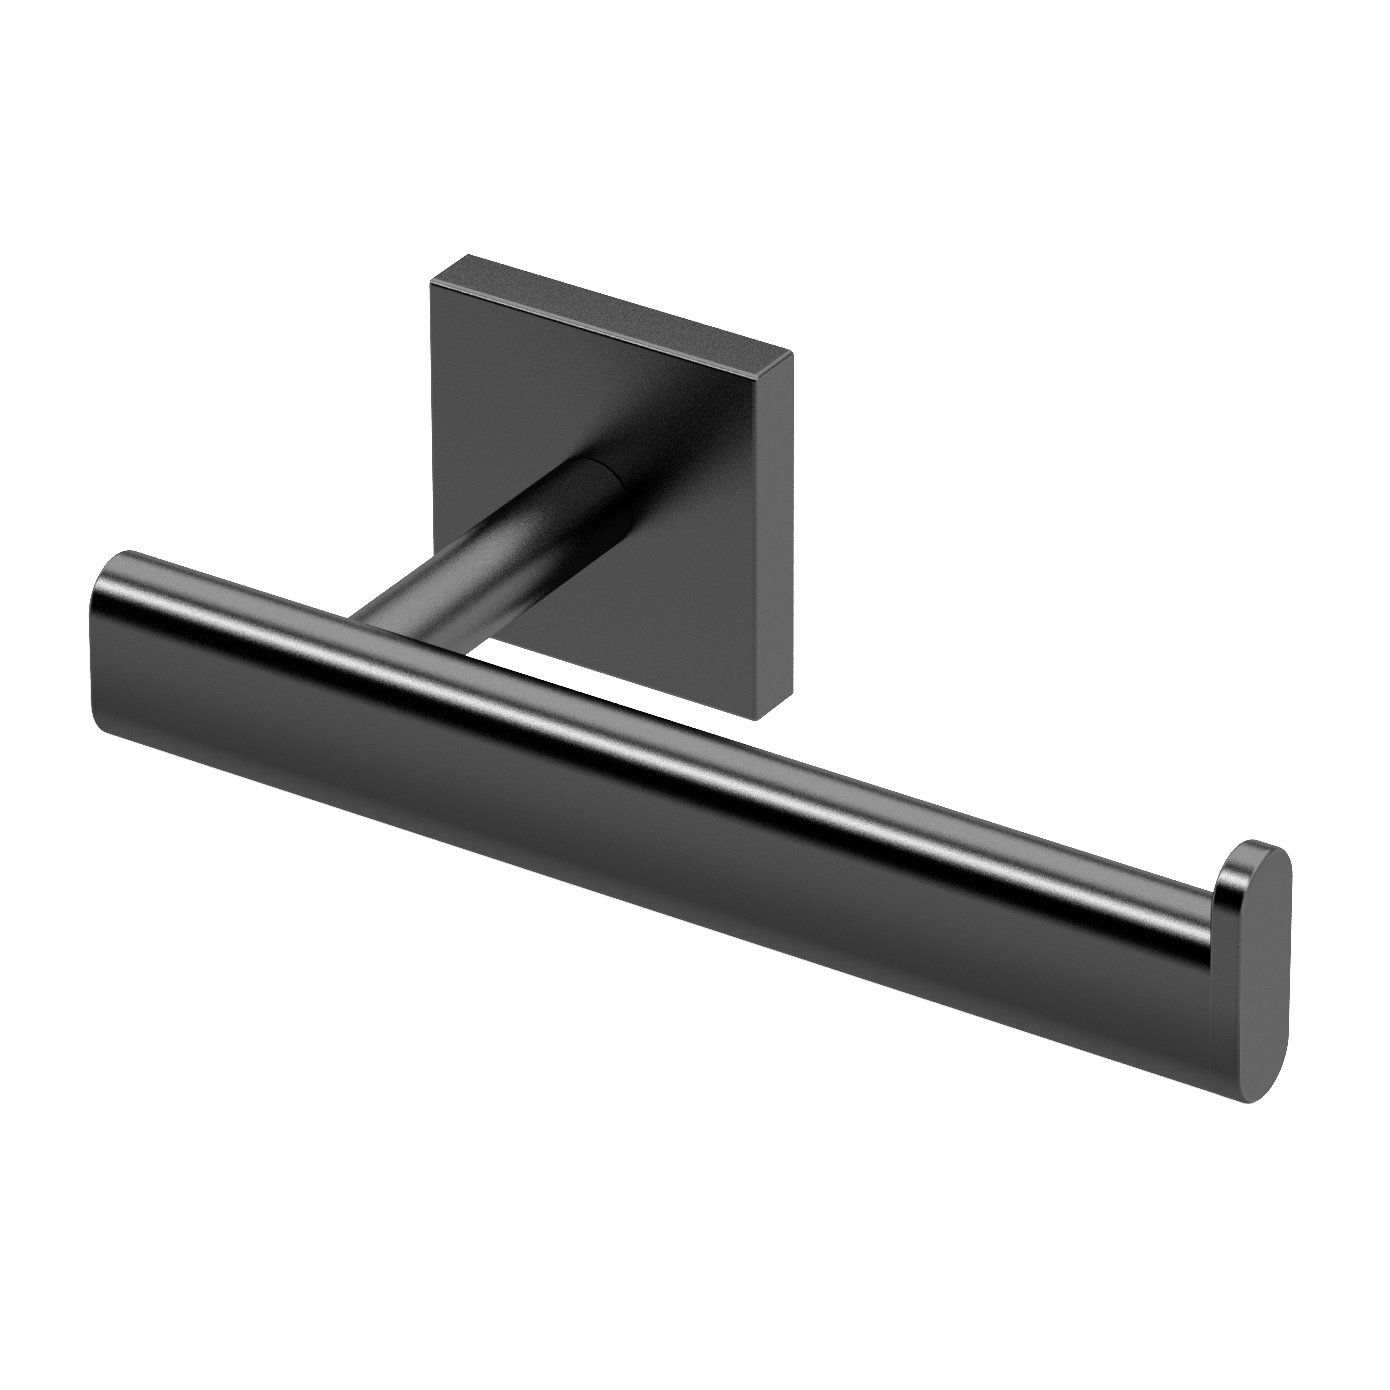
- A toilet paper holder with mounting brackets: Choose a holder that matches your cabinet’s style and meets your functional needs.
- A measuring tape: This will come in handy for determining the placement of the toilet paper holder.
- A pencil or marker: You’ll need this to mark the drilling points on the side of the cabinet.
- A power drill: This tool will be used to pre-drill holes for the mounting brackets.
- Drill bits: Select the appropriate size for the screws included with your toilet paper holder.
- Screws and anchors: These will be used to secure the mounting brackets to the cabinet.
- A screwdriver or a drill with a screwdriver attachment: This will be used to attach the toilet paper holder to the mounting brackets.
- A level: This tool will help ensure that the holder is straight and properly aligned.
Once you have gathered all the necessary tools and materials, you can move on to the next step: determining the placement of the toilet paper holder.
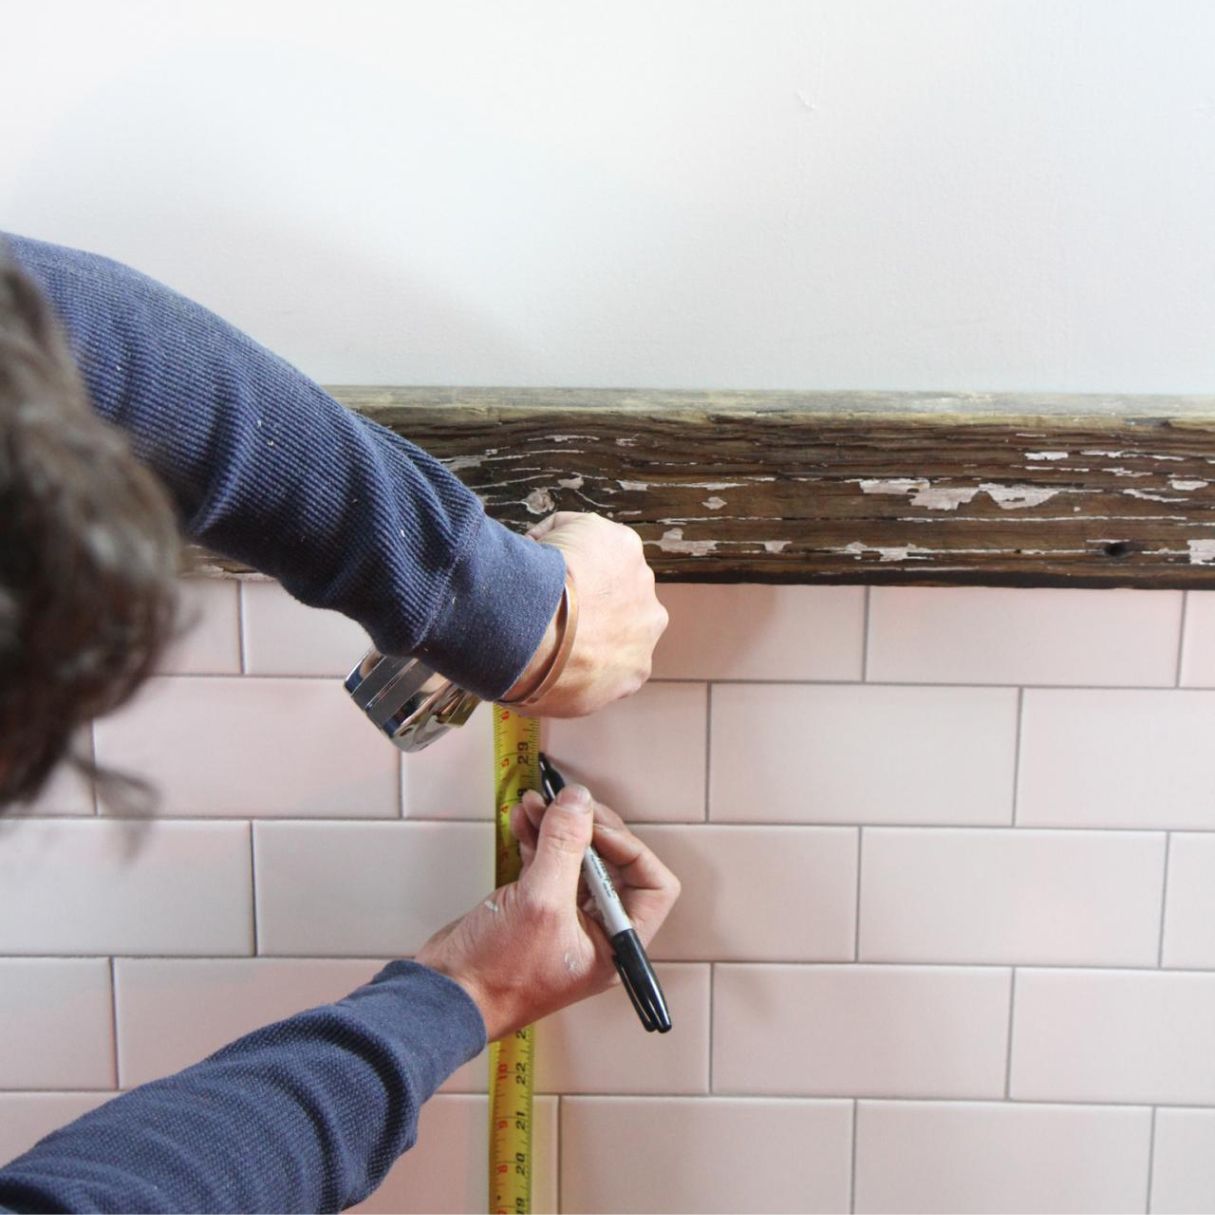
Step 2: Determine the placement of the toilet paper holder
The next step in installing a toilet paper holder on the side of a cabinet is to determine the optimal placement. This will ensure that the holder is conveniently accessible and doesn’t interfere with the functionality of the cabinet. Here’s how you can proceed:
- Take a moment to consider the height at which you want the toilet paper holder to be located. It should be easily reachable for everyone using the bathroom.
- Hold the toilet paper holder against the side of the cabinet to get a visual idea of how it will look. Take note of the positioning and alignment.
- Consider the direction in which you want the toilet paper to unroll. Typically, the loose end should hang down in front of the cabinet, but you can adjust it based on personal preference.
- Ensure that the placement of the toilet paper holder doesn’t obstruct any other items or functions within the cabinet. For example, make sure it won’t interfere with shelves or drawer handles.
- Using a measuring tape, take measurements to determine the exact location where the mounting brackets will be placed. It’s a good idea to mark these points with a pencil or marker for reference.
By carefully considering these factors and taking accurate measurements, you’ll be able to determine the ideal placement for your toilet paper holder. Once you have marked the drilling points on the cabinet, you can move on to the next step: marking the drilling points.
Step 3: Mark the drilling points on the side of the cabinet
Now that you have determined the placement of the toilet paper holder, it’s time to mark the drilling points on the side of the cabinet. This step ensures that you have a clear guide for drilling the holes and ensures proper alignment. Follow these instructions:
- Hold the mounting brackets against the side of the cabinet in the locations you previously marked. Ensure that they are level and aligned as desired.
- Using a pencil or marker, carefully mark the center of each screw hole on the side of the cabinet. Make sure the marks are visible and won’t be covered by the mounting brackets.
- Double-check the alignment and positioning of the markings to ensure accuracy.
It’s important to take your time while marking the drilling points to ensure that they are correctly positioned. This will make the installation process much smoother and help you achieve the desired results. Once you have marked the drilling points, you can move on to the next step: pre-drilling holes for the mounting brackets.
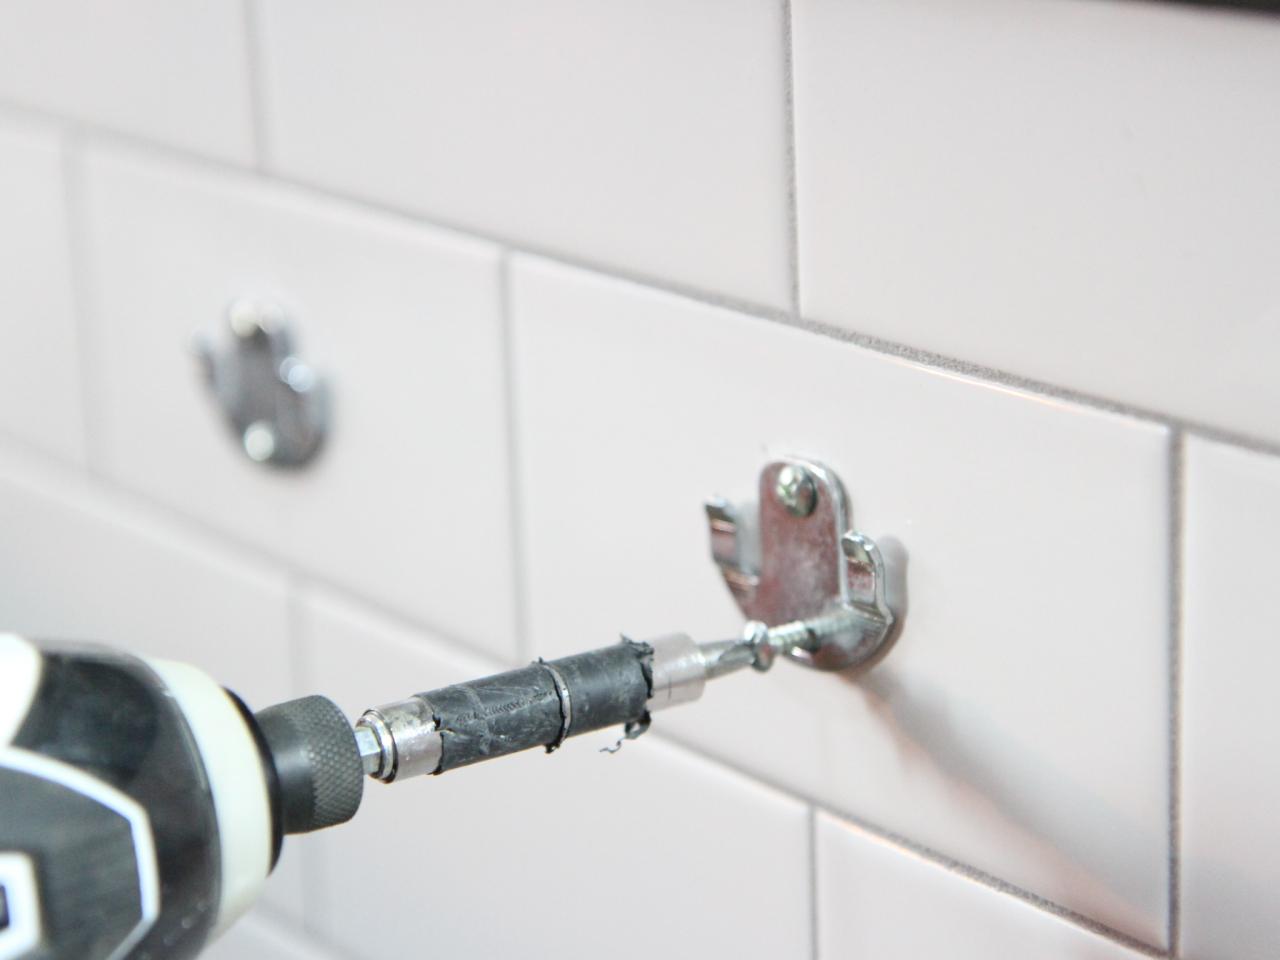
Step 4: Pre-drill holes for the mounting brackets
With the drilling points marked on the side of the cabinet, it’s time to pre-drill holes for the mounting brackets. This step is crucial as it ensures that the screws will go in smoothly and firmly hold the holder in place. Follow these instructions:
- Start by selecting an appropriate drill bit for your screws. The size should match the diameter of the screws or the manufacturer’s recommendations.
- Attach the drill bit to your power drill securely. Make sure it is aligned straight and perpendicular to the cabinet surface.
- Position the drill bit on one of the marked points and gently apply pressure to begin drilling. Start with a slower speed to prevent damaging the cabinet material.
- Once you have drilled a hole, repeat the process for the remaining marked points. Take your time and maintain steady pressure to create clean and precise holes.
- After drilling all the holes, remove any debris or wood shavings from the cabinet surface.
By pre-drilling the holes, you make it easier to insert the screws and reduce the risk of splitting or damaging the cabinet material. Remember to always exercise caution while drilling and follow the correct technique. With the pre-drilled holes prepared, you can now proceed to the next step: attaching the mounting brackets.
When installing a toilet paper holder on the side of a cabinet, make sure to use a level to ensure it is straight. Use a stud finder to locate a stud for secure mounting. Use the appropriate screws and anchors for the cabinet material.
Step 5: Attach the mounting brackets
With the pre-drilled holes in place, it’s time to attach the mounting brackets to the side of the cabinet. These brackets will provide the support necessary to securely hold the toilet paper holder. Follow these instructions:
- Insert the screws provided with your toilet paper holder through the holes of the mounting brackets.
- Align the holes of the mounting brackets with the pre-drilled holes on the side of the cabinet.
- Using a screwdriver or a drill with a screwdriver attachment, start tightening the screws into the pre-drilled holes. Begin with one screw on each bracket, and then gradually tighten the remaining screws.
- Make sure to tighten the screws securely, but avoid over-tightening, as it may damage the cabinet material or strip the screw threads.
When attaching the mounting brackets, it’s important to ensure that they are lined up straight and parallel to each other. This will ensure proper alignment for the toilet paper holder. Take your time to adjust them as needed before tightening the screws. With the mounting brackets securely in place, you’re ready to move on to the next step: securing the toilet paper holder to the brackets.
Step 6: Secure the toilet paper holder to the mounting brackets
Now that the mounting brackets are securely attached to the side of the cabinet, it’s time to secure the toilet paper holder itself. This step involves attaching the holder to the brackets using screws or other provided mechanisms. Follow these instructions:
- Place the toilet paper holder onto the mounting brackets, ensuring that it rests snugly and evenly.
- If your holder requires screws, align the holes of the holder with the holes on the mounting brackets.
- Insert the screws into the holes, starting with one screw on each side. Gradually tighten the remaining screws.
- Use a screwdriver or a drill with a screwdriver attachment to tighten the screws securely. Be careful not to over-tighten as it may damage the holder or the mounting brackets.
It’s important to ensure that the holder is securely attached to the mounting brackets to prevent any wobbling or instability. Double-check that all screws are tightened evenly and that the holder is level and aligned straight. With the toilet paper holder properly secured, you’re ready to move on to the next step: testing the stability of the holder.
Step 7: Test the stability of the holder
With the toilet paper holder securely installed, it’s important to test its stability before considering the job complete. Testing the stability ensures that the holder can withstand regular use without any issues. Follow these instructions to test the stability of the holder:
- Gently pull and push the toilet paper holder to simulate the motion of unrolling and tearing off toilet paper. This will help gauge the stability of the holder and the strength of the mounting brackets.
- Check for any excessive movement or wobbling of the holder. It should feel secure and firmly attached to the mounting brackets, without any loose joints or parts.
- If you notice any instability or weakness, double-check the tightness of the screws and brackets. If necessary, tighten them further or make any necessary adjustments.
- Once you are satisfied with the stability of the holder, give it a few more gentle tugs to make sure it remains secure even with repeated pulling and pushing motions.
Testing the stability is an important step to ensure the longevity and functionality of your toilet paper holder. By checking for any potential issues early on, you can make any necessary adjustments and prevent future problems. With the holder passing the stability test, you’re ready to move on to the final step: enjoying your new toilet paper holder on the side of the cabinet!
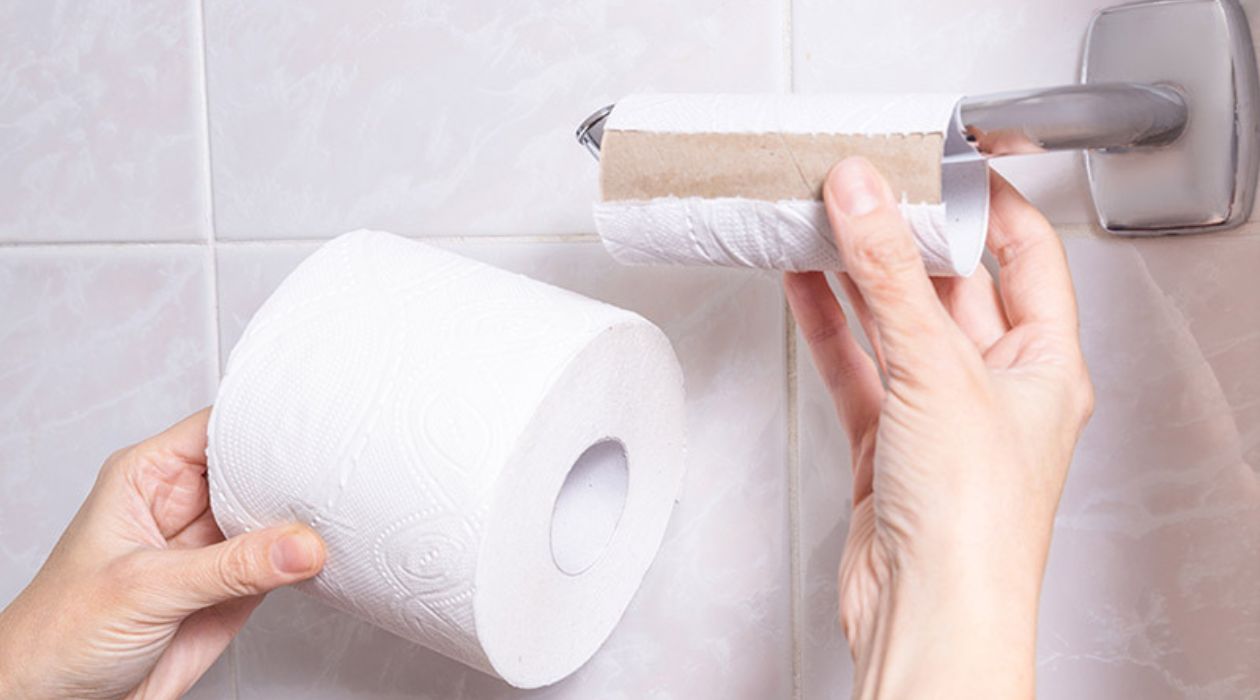
Step 8: Enjoy your new toilet paper holder on the side of a cabinet
Congratulations! You’ve successfully installed a toilet paper holder on the side of your cabinet. Now, it’s time to sit back, relax, and enjoy the convenience and functionality that it brings to your bathroom. Here are a few tips to ensure you make the most of your new toilet paper holder:
- Load the holder with a fresh roll of toilet paper, making sure it unrolls smoothly and without any obstructions.
- Regularly check the tightness of the mounting screws and brackets to ensure they remain secure over time.
- Keep the area around the holder clean and free of clutter to maintain a neat and organized bathroom space.
- If desired, you can decorate the area around the holder with small accessories or add a personal touch to enhance the aesthetic appeal of your bathroom.
Remember, a well-installed and sturdy toilet paper holder not only adds convenience but also contributes to the overall organization and tidiness of your bathroom. By following the steps outlined in this guide, you can enjoy a hassle-free experience and the satisfaction of a job well done.
Thank you for following this step-by-step guide on how to install a toilet paper holder on the side of a cabinet. We hope this article has been informative and helpful. May your new toilet paper holder bring functionality and style to your bathroom for years to come!
Enjoy your newly installed toilet paper holder and happy bathroom organization!
Conclusion
Installing a toilet paper holder on the side of a cabinet offers a convenient and space-saving solution for keeping your bathroom organized. By following the step-by-step guide provided, you can successfully install a toilet paper holder that meets your functional needs and enhances the aesthetic appeal of your bathroom.
Throughout the installation process, we covered important steps such as gathering the necessary tools and materials, determining the placement of the holder, marking the drilling points on the side of the cabinet, pre-drilling holes, attaching the mounting brackets, securing the holder, testing its stability, and finally, enjoying your new toilet paper holder.
By carefully following the instructions, you can ensure that the holder is securely attached, stable, and able to withstand regular use. Remember to periodically check the tightness of the screws and brackets to maintain the stability of the holder over time.
Installing a toilet paper holder on the side of a cabinet not only provides a practical solution for storing your toilet paper, but it also adds a touch of organization and style to your bathroom. With a well-installed holder, you can enjoy the convenience of having your toilet paper easily accessible and within reach whenever needed.
We hope this guide has been informative and helpful in your toilet paper holder installation journey. Don’t forget to personalize your bathroom space and keep it clean and clutter-free. Enjoy the benefits of your new toilet paper holder and revel in the organized and functional bathroom experience it brings.
Thank you for reading, and may your newly installed toilet paper holder bring joy and efficiency to your bathroom routine!
Now that you've mastered installing a toilet paper holder on the side of a cabinet, why not perfect your placement skills too? Get insights on where to position your holder for maximum convenience and functionality. Perfect placement ensures accessibility and adds a neat touch to bathroom aesthetics. Dive into our detailed guide on toilet paper holder installation, and ensure every detail in your bathroom is just right. Don't miss out on these practical tips that will make a big difference in your space!
Frequently Asked Questions about How To Install A Toilet Paper Holder On The Side Of A Cabinet
Was this page helpful?
At Storables.com, we guarantee accurate and reliable information. Our content, validated by Expert Board Contributors, is crafted following stringent Editorial Policies. We're committed to providing you with well-researched, expert-backed insights for all your informational needs.


0 thoughts on “How To Install A Toilet Paper Holder On The Side Of A Cabinet”