Home>Articles>How To Install Recessed Toilet Paper Holder Into Drywall
Articles
How To Install Recessed Toilet Paper Holder Into Drywall
Modified: August 21, 2024
Learn how to easily install a recessed toilet paper holder into drywall with this informative article. Our step-by-step guide will help you complete the installation process smoothly and efficiently.
(Many of the links in this article redirect to a specific reviewed product. Your purchase of these products through affiliate links helps to generate commission for Storables.com, at no extra cost. Learn more)
Introduction
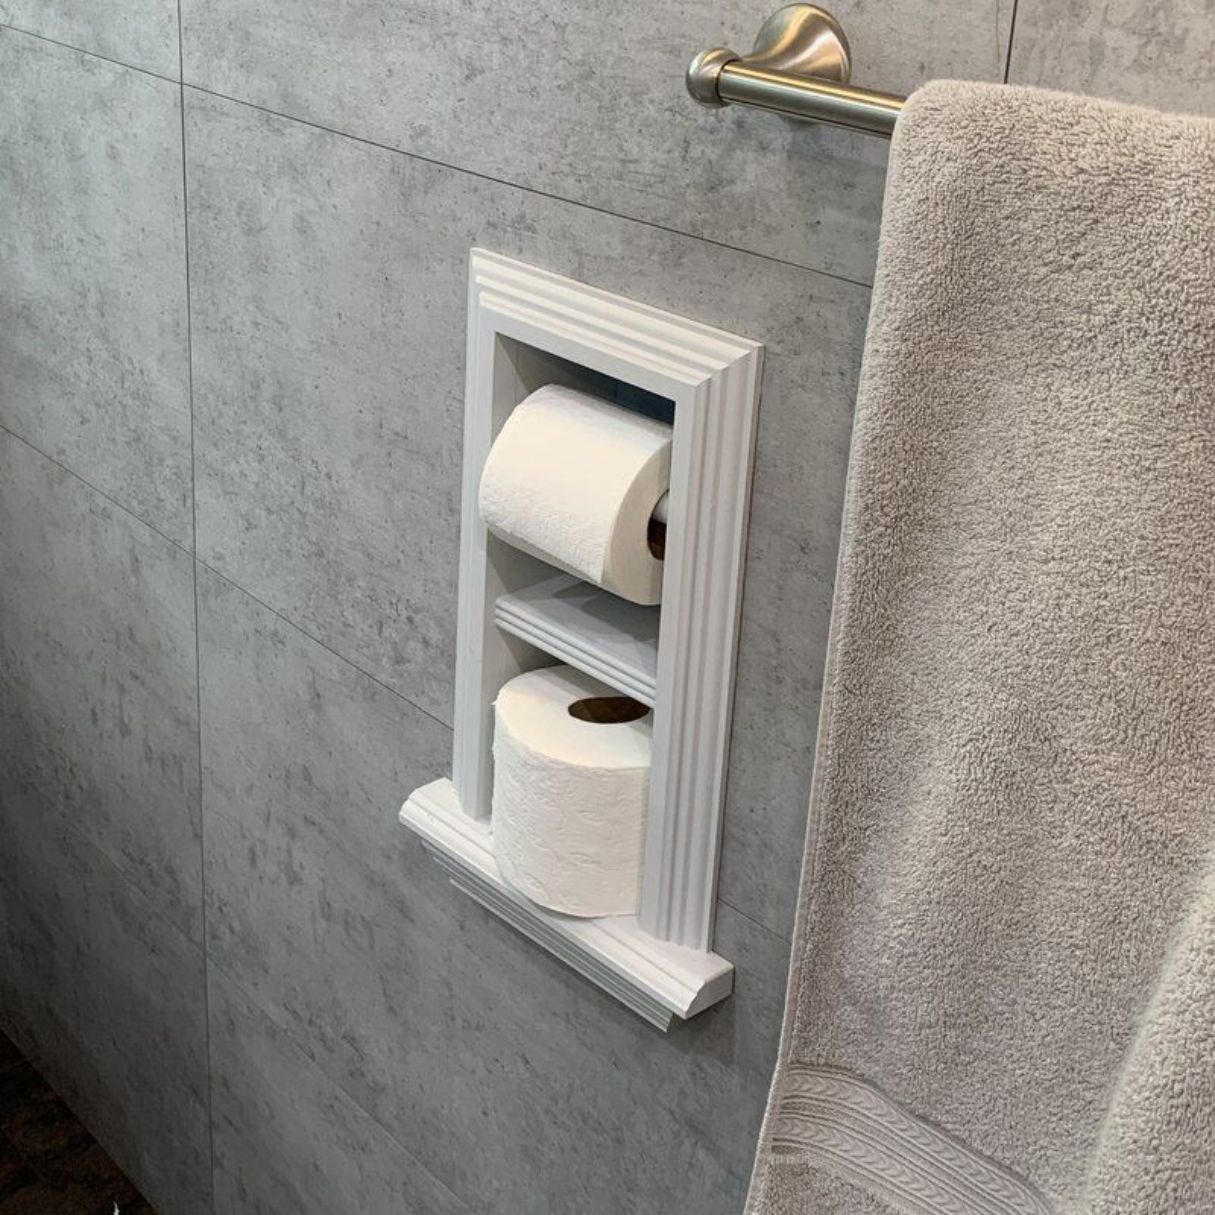
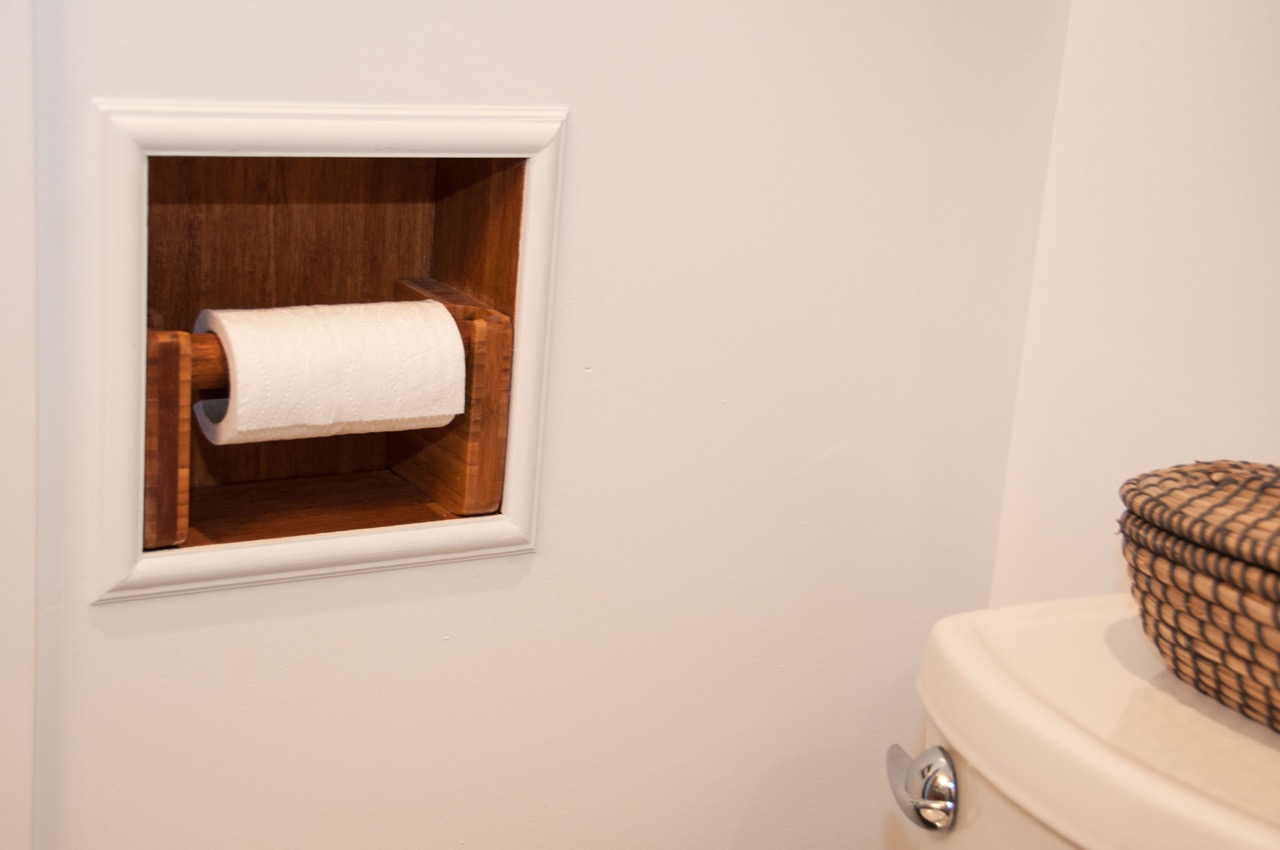
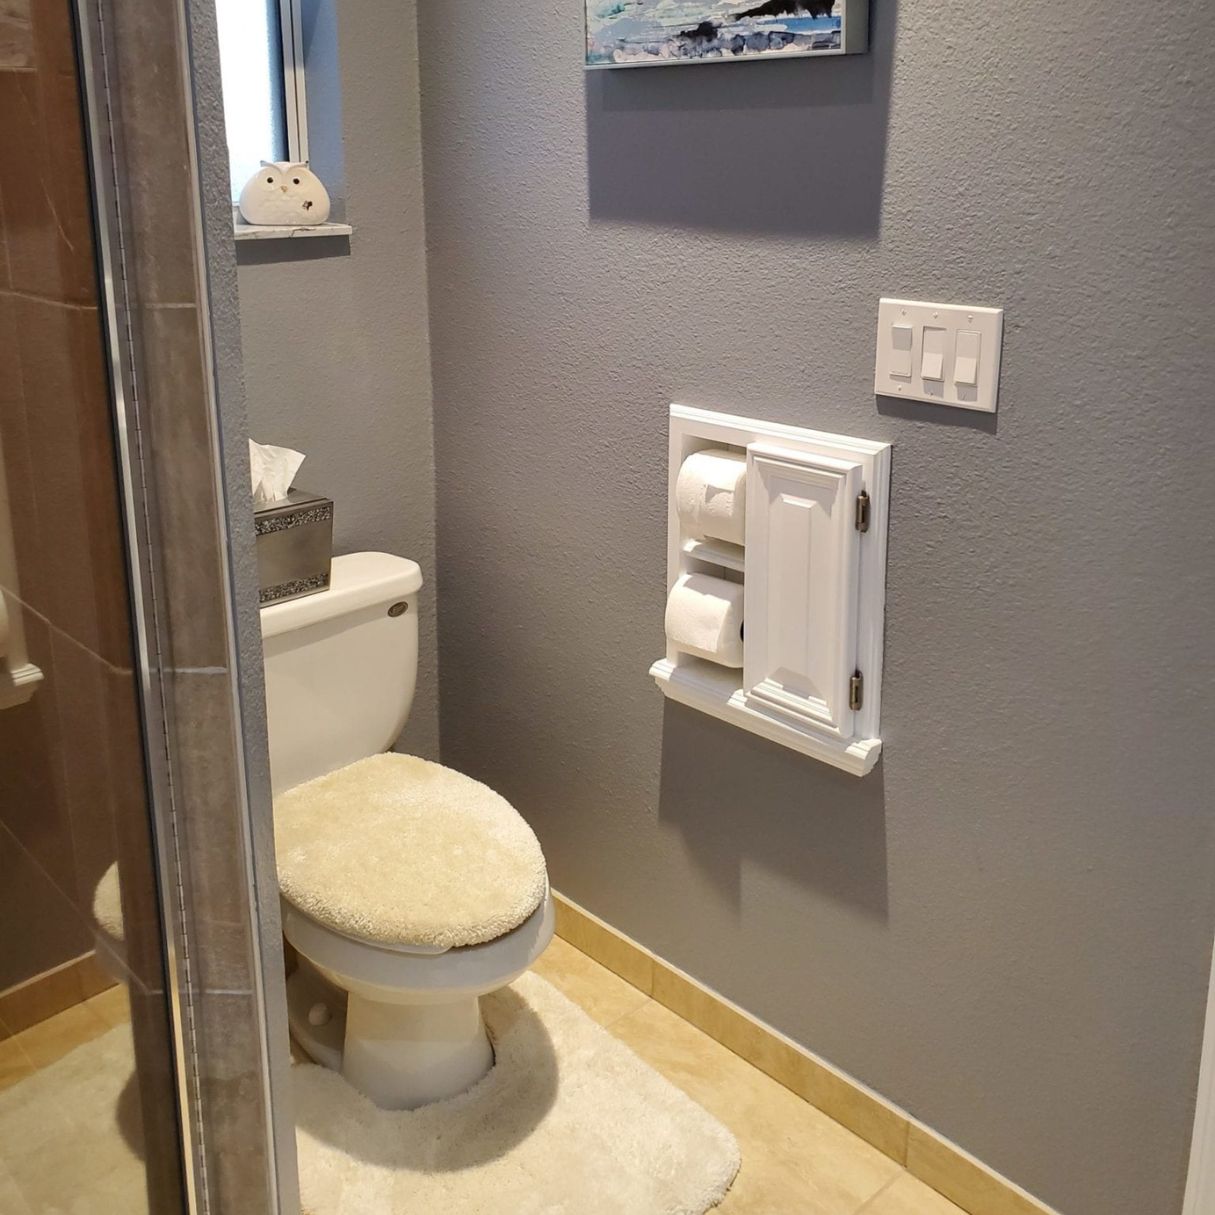
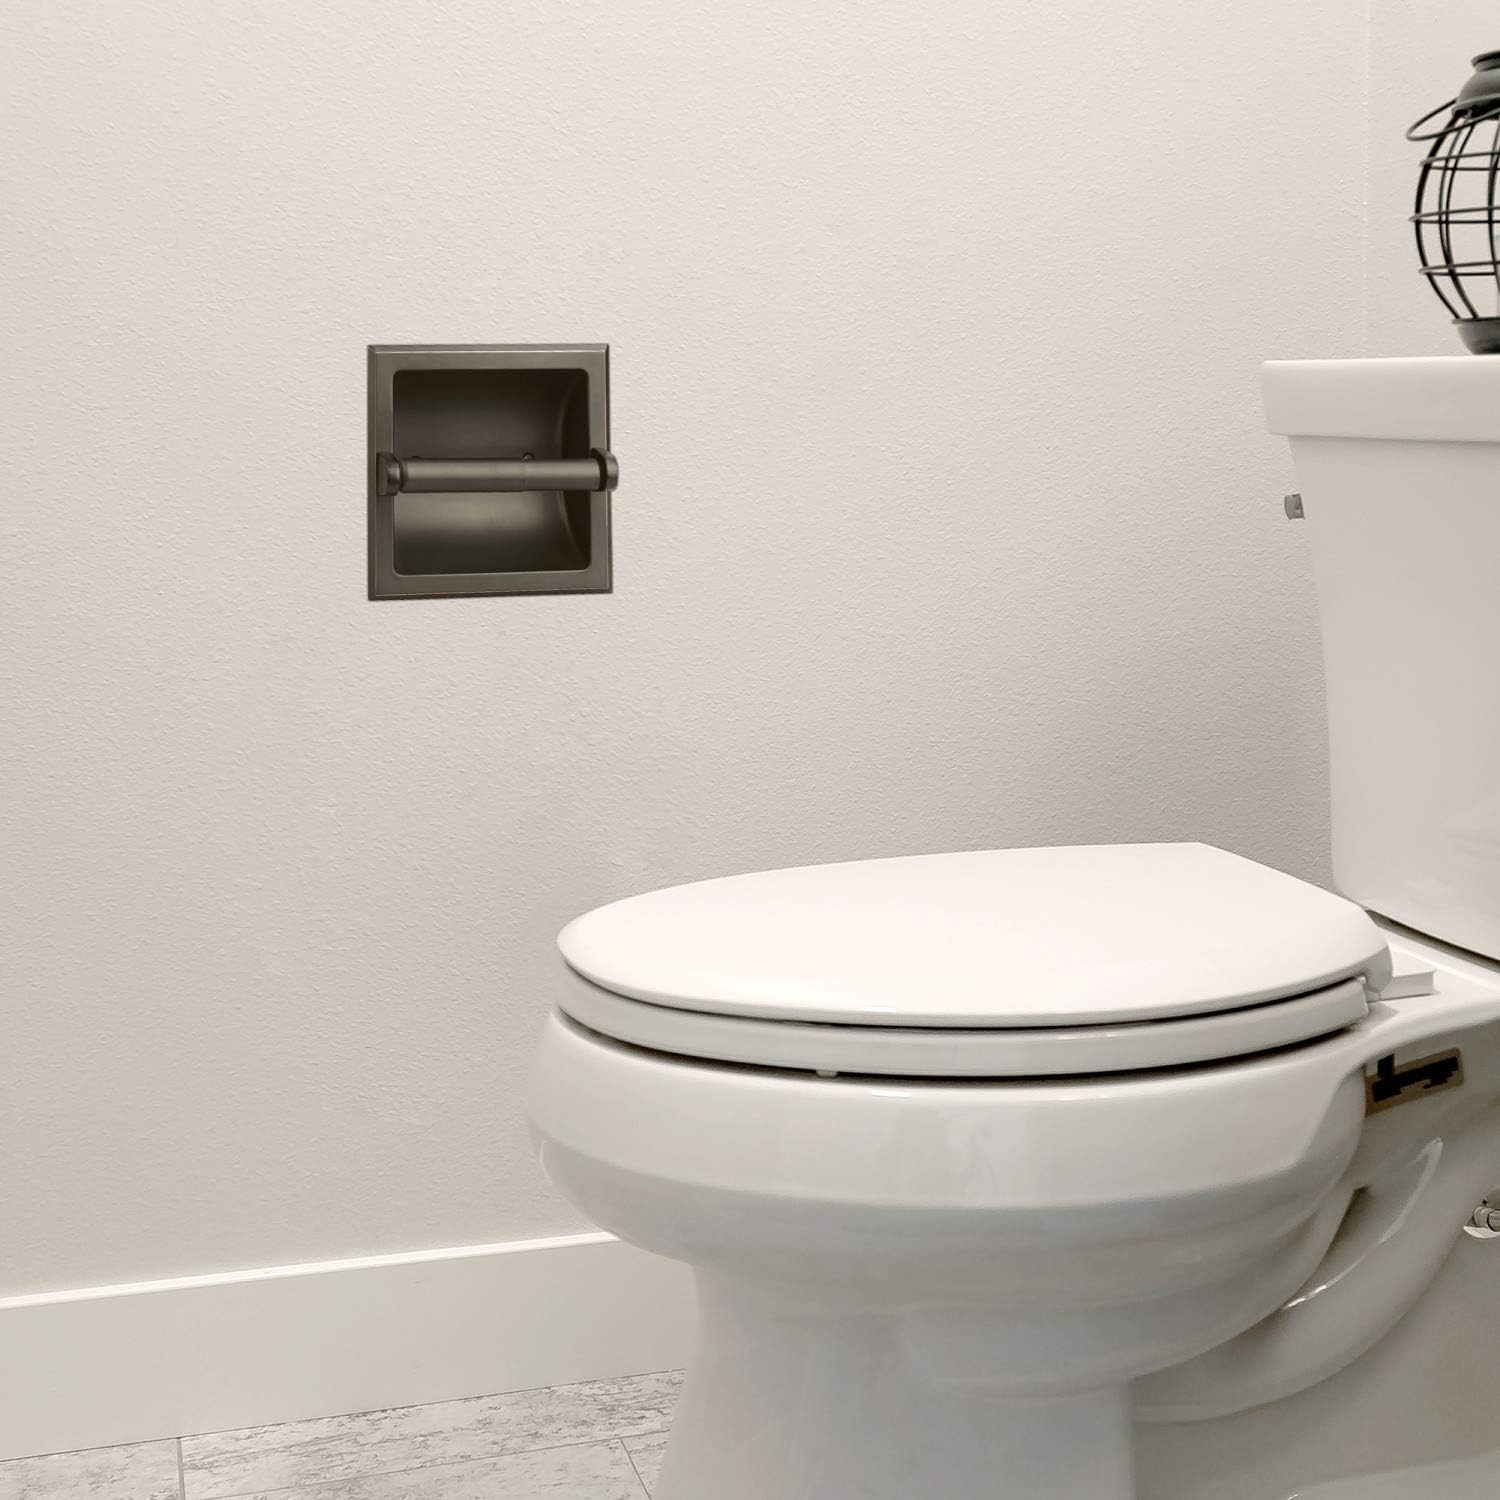
Installing a recessed toilet paper holder into drywall is a simple and convenient way to free up space in your bathroom while keeping your toilet paper easily accessible. This type of installation is preferred by many homeowners as it offers a clean and streamlined look, with no protruding hardware or bulky fixtures.
In this article, we will guide you through the step-by-step process of installing a recessed toilet paper holder into drywall. We will provide you with a list of materials needed and detailed instructions to ensure a successful installation.
Before we begin, it’s important to note that while this installation is relatively straightforward, it does require some basic DIY skills and tools. If you are not confident in your abilities, it is always recommended to consult a professional or seek assistance from someone with experience in this type of installation.
Now, let’s gather the materials needed and get started with the installation process.
Key Takeaways:
- Say goodbye to bulky toilet paper holders! Installing a recessed holder into drywall is a DIY project that frees up space and adds a sleek, organized look to your bathroom.
- Enjoy the convenience of a recessed toilet paper holder! Follow our step-by-step guide to successfully install it into drywall, creating a streamlined and space-saving solution for your bathroom.
Read more: How To Remove Recessed Toilet Paper Holder
Materials Needed
Before you begin the installation process, it’s important to gather all the necessary materials. Here’s a list of what you’ll need:
- Recessed toilet paper holder
- Drywall saw
- Measuring tape
- Pencil or marker
- Screwdriver
- Level
- Construction adhesive
- Wall putty
- Sanding block
- Paint or primer (optional)
- Paintbrush or roller (optional)
These materials are widely available at most hardware stores or can be purchased online. Ensure that you have all the necessary materials before starting the installation process to avoid any interruptions.
Step 1: Determine the Installation Location
The first step in installing a recessed toilet paper holder into drywall is to determine the ideal location for the installation. You want to choose a spot that is convenient and easily accessible. Here’s how to do it:
- Take into consideration the height and distance from the toilet bowl. The usual height for a toilet paper holder is around 26 inches from the floor, but you can adjust it to your preference.
- Locate the wall stud. Securing the mounting bracket to a wall stud will provide extra support and stability. You can use a stud finder or knock on the wall to find the stud. Mark the center of the stud to indicate the starting point for installation.
- Consider the orientation. Determine whether you want the toilet paper holder to be mounted horizontally or vertically. This is typically based on personal preference and the design of the holder.
Once you have determined the installation location, proceed to the next step, which involves marking the position on the wall.
Step 2: Mark the Position
After determining the installation location for your recessed toilet paper holder, it’s time to mark the position on the wall. This step ensures accuracy and helps you visualize the final placement of the holder. Follow these steps:
- Place the mounting bracket against the wall at the desired location. Ensure that it is level and aligns with your chosen orientation (horizontal or vertical).
- Using a pencil or marker, mark the outline of the mounting bracket on the wall. This will serve as a guide for the next steps.
- Take into consideration the size of the recessed toilet paper holder and the space it requires. Ensure that you have enough clearance around the marked position to accommodate the holder without any obstructions.
- Double-check the levelness of the marks to avoid any crooked installations.
Once you have accurately marked the position, you are ready to move on to the next step, which involves cutting the opening in the drywall.
Step 3: Cut the Opening
Now that you have marked the position of the recessed toilet paper holder on the wall, it’s time to cut the opening in the drywall. This step will create the space for the holder to fit neatly into the wall. Follow these steps for a precise and clean opening:
- Put on safety goggles and a dust mask to protect yourself from any debris.
- Using a drywall saw, carefully cut along the marked outline of the mounting bracket. Start at one corner and slowly work your way around the perimeter.
- Take your time and make precise cuts to ensure a clean and accurate opening. It is always better to cut slightly smaller and then adjust if needed.
- If you encounter any electrical wires or pipes while cutting, stop immediately and consult a professional. Do not proceed further until you are certain it is safe to do so.
- Once the initial cut is complete, remove the piece of drywall you have cut out and set it aside. Keep it handy in case you need to make any adjustments later.
With the opening cut, you are ready to move on to the next step, which involves inserting the mounting bracket into the wall.
Before installing a recessed toilet paper holder into drywall, make sure to locate the wall studs for a secure installation. Use a stud finder to find the studs and mark their locations before cutting into the drywall.
Step 4: Insert the Mounting Bracket
After cutting the opening in the drywall, it’s time to insert the mounting bracket for the recessed toilet paper holder. This step provides the support and structure for the holder to be securely installed. Follow these steps to insert the mounting bracket:
- Take the mounting bracket and ensure it fits properly into the opening you cut in the previous step. Adjust the opening if needed to achieve a snug fit.
- If the bracket has adjustable arms, extend them to their maximum width to ensure a secure fit within the opening.
- Insert the mounting bracket into the opening, making sure that it is level and aligns properly with the wall.
- Apply gentle pressure to secure the bracket into place. Ensure that it is flush against the wall and there are no gaps or spaces between the bracket and the drywall.
- If necessary, use a screwdriver to tighten any screws or fasteners on the mounting bracket to secure it further.
With the mounting bracket inserted, you are now ready to move on to the next step, which involves securing the bracket in place.
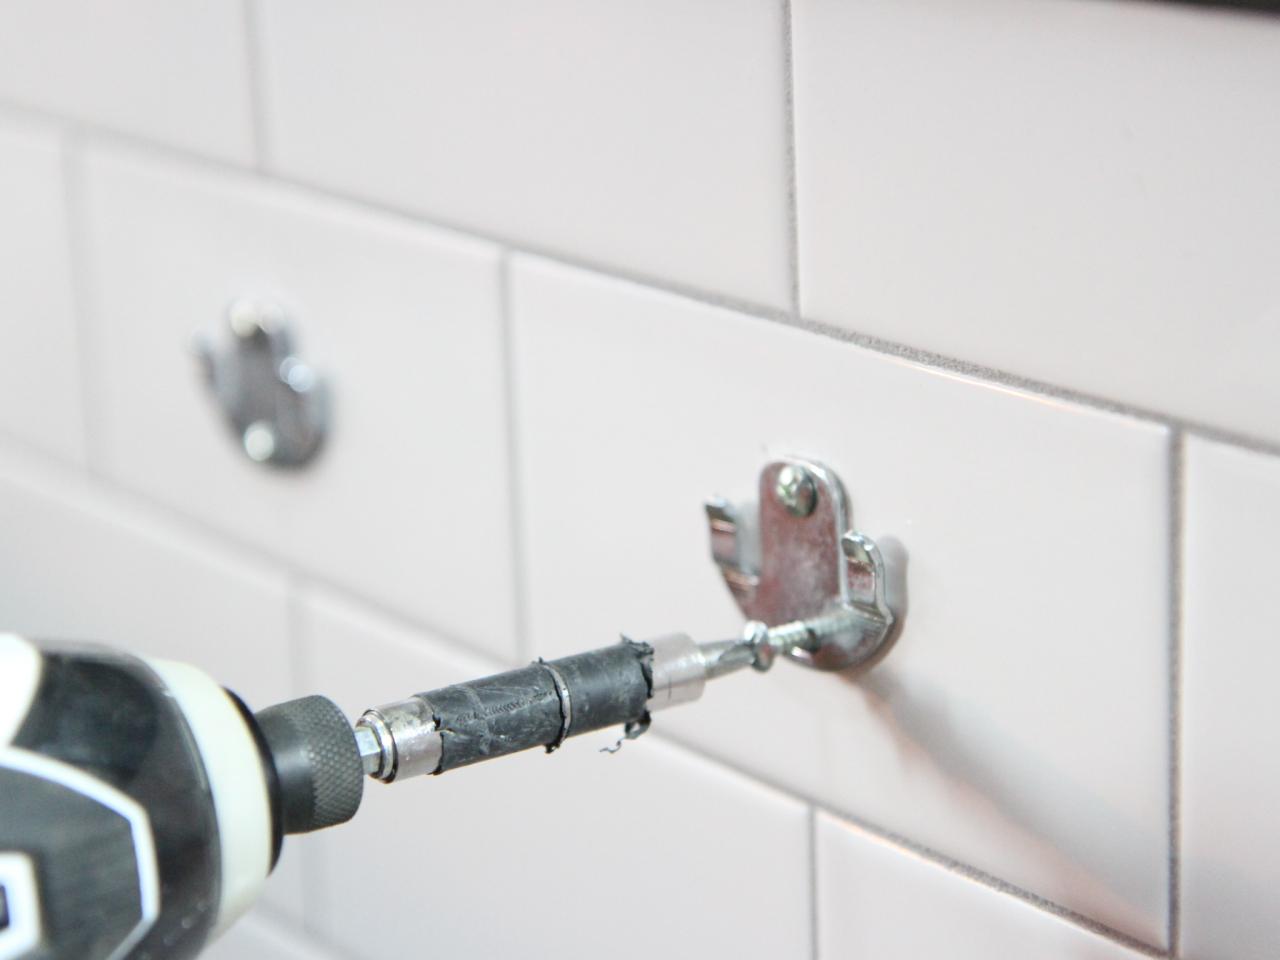
Step 5: Secure the Mounting Bracket
Securing the mounting bracket for your recessed toilet paper holder is crucial to ensure stability and longevity. This step will help to prevent any movement or wobbling of the holder once it’s installed. Follow these steps to properly secure the mounting bracket:
- Apply a small amount of construction adhesive to the backside of the mounting bracket. This will provide extra support and help to hold the bracket in place.
- Place the mounting bracket back into the opening in the drywall, aligning it properly with the marked position.
- Use a screwdriver to insert screws through the pre-drilled holes in the mounting bracket. Make sure to screw them into the wall stud for added stability.
- With the screws tightened, double-check the levelness of the mounting bracket and adjust if necessary.
- Wipe away any excess adhesive that may have oozed out from behind the bracket. Use a damp cloth or sponge to clean the area around the bracket.
- Allow the adhesive to dry and cure according to the manufacturer’s instructions before moving on to the next step.
By securely fastening the mounting bracket, you have prepared the foundation for installing the recessed toilet paper holder. The next step will guide you through attaching the holder to the bracket.
Step 6: Attach the Toilet Paper Holder
Now that the mounting bracket is securely in place, it’s time to attach the recessed toilet paper holder. This step will complete the installation and allow you to start using the holder. Follow these steps to attach the holder:
- Take the recessed toilet paper holder and align it with the mounting bracket. Ensure that it fits properly and aligns with the orientation you desire (horizontal or vertical).
- Depending on the specific design of the holder, there may be screws or fasteners that need to be inserted through the holes in the holder and into the corresponding holes in the mounting bracket. Use a screwdriver to tighten them securely.
- Ensure that the holder is level and straight. Use a level to make any necessary adjustments.
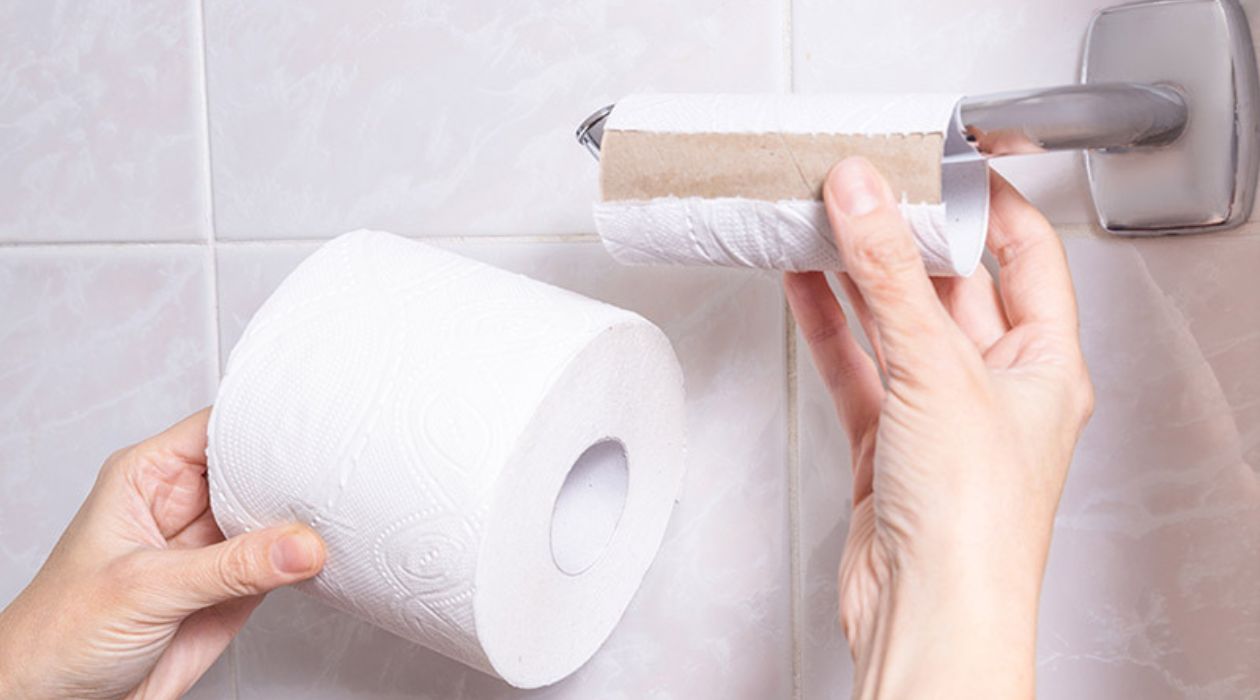
- Test the functionality of the holder by inserting a toilet paper roll and ensuring that it rolls smoothly without any obstructions.
- If the holder is adjustable, adjust it to your preference in terms of tension or ease of tearing the paper.
Once you have attached the recessed toilet paper holder to the mounting bracket and tested its functionality, you are almost done. The final step involves testing the holder one last time to ensure it is properly installed.
Step 7: Test the Holder
After completing the installation of your recessed toilet paper holder, it’s important to test it to ensure it is functioning properly and securely in place. This final step will give you peace of mind knowing that your holder is reliable and ready to use. Follow these steps to test the holder:
- Double-check that the holder is securely attached to the mounting bracket. Give it a gentle tug to ensure it doesn’t come loose.
- Insert a toilet paper roll onto the holder and make sure it fits properly, rolls smoothly, and does not get stuck or jammed.
- Test the tension of the holder by pulling the paper gently to tear off a section. Adjust the tension if necessary to ensure it is not too tight or too loose.
- Check for any wobbling or movement of the holder. If you notice any instability, tighten the screws or fasteners on the mounting bracket to secure it further.
- Open and close the holder to ensure the movement is smooth and the roll stays in place.
If the holder passes these tests successfully, congratulations! You have successfully installed a recessed toilet paper holder into your drywall. Now you can enjoy the convenience and space-saving benefits of having a neatly recessed holder in your bathroom.
Remember, regular maintenance and cleaning are essential to keep your recessed toilet paper holder in good condition. Wipe it down regularly to remove any dust or debris, and if necessary, touch up the paint or finish to maintain its appearance.
Enjoy your newly installed recessed toilet paper holder and the enhanced functionality it brings to your bathroom space!
Conclusion
Installing a recessed toilet paper holder into drywall is a simple and effective way to free up space in your bathroom while adding a sleek and streamlined look. By following the step-by-step instructions outlined in this article, you can successfully complete the installation process and enjoy the convenience of a recessed holder.
Remember to gather all the necessary materials before starting the installation and take the time to determine the ideal location for the holder. Properly marking the position and cutting the opening in the drywall will ensure a precise and clean installation. Insert the mounting bracket securely into the wall, and use construction adhesive and screws to fasten it in place.
Attaching the recessed toilet paper holder to the mounting bracket and testing its functionality will complete the installation. Ensure that the holder is secure, rolls smoothly, and has proper tension for tearing the paper. Regular maintenance and cleaning will help keep the holder in good condition.
With the installation complete, you can now enjoy the convenience and space-saving benefits of a recessed toilet paper holder in your bathroom. Say goodbye to bulky and protruding fixtures, and embrace the sleek and organized look that a recessed holder provides.
Remember, if you are unsure or uncomfortable with any step of the installation process, it’s always best to consult a professional for assistance. Safety should be a top priority when undertaking any DIY project.
We hope this article has provided valuable guidance and insights into installing a recessed toilet paper holder into drywall. Enjoy your newly installed holder and the improved functionality it brings to your bathroom!
Frequently Asked Questions about How To Install Recessed Toilet Paper Holder Into Drywall
Was this page helpful?
At Storables.com, we guarantee accurate and reliable information. Our content, validated by Expert Board Contributors, is crafted following stringent Editorial Policies. We're committed to providing you with well-researched, expert-backed insights for all your informational needs.


0 thoughts on “How To Install Recessed Toilet Paper Holder Into Drywall”