Articles
How To Remove Moen Brantford Towel Bar
Modified: August 27, 2024
Learn how to easily remove the Moen Brantford towel bar with step-by-step instructions and helpful tips. Discover more articles on DIY home improvement projects.
(Many of the links in this article redirect to a specific reviewed product. Your purchase of these products through affiliate links helps to generate commission for Storables.com, at no extra cost. Learn more)
Introduction
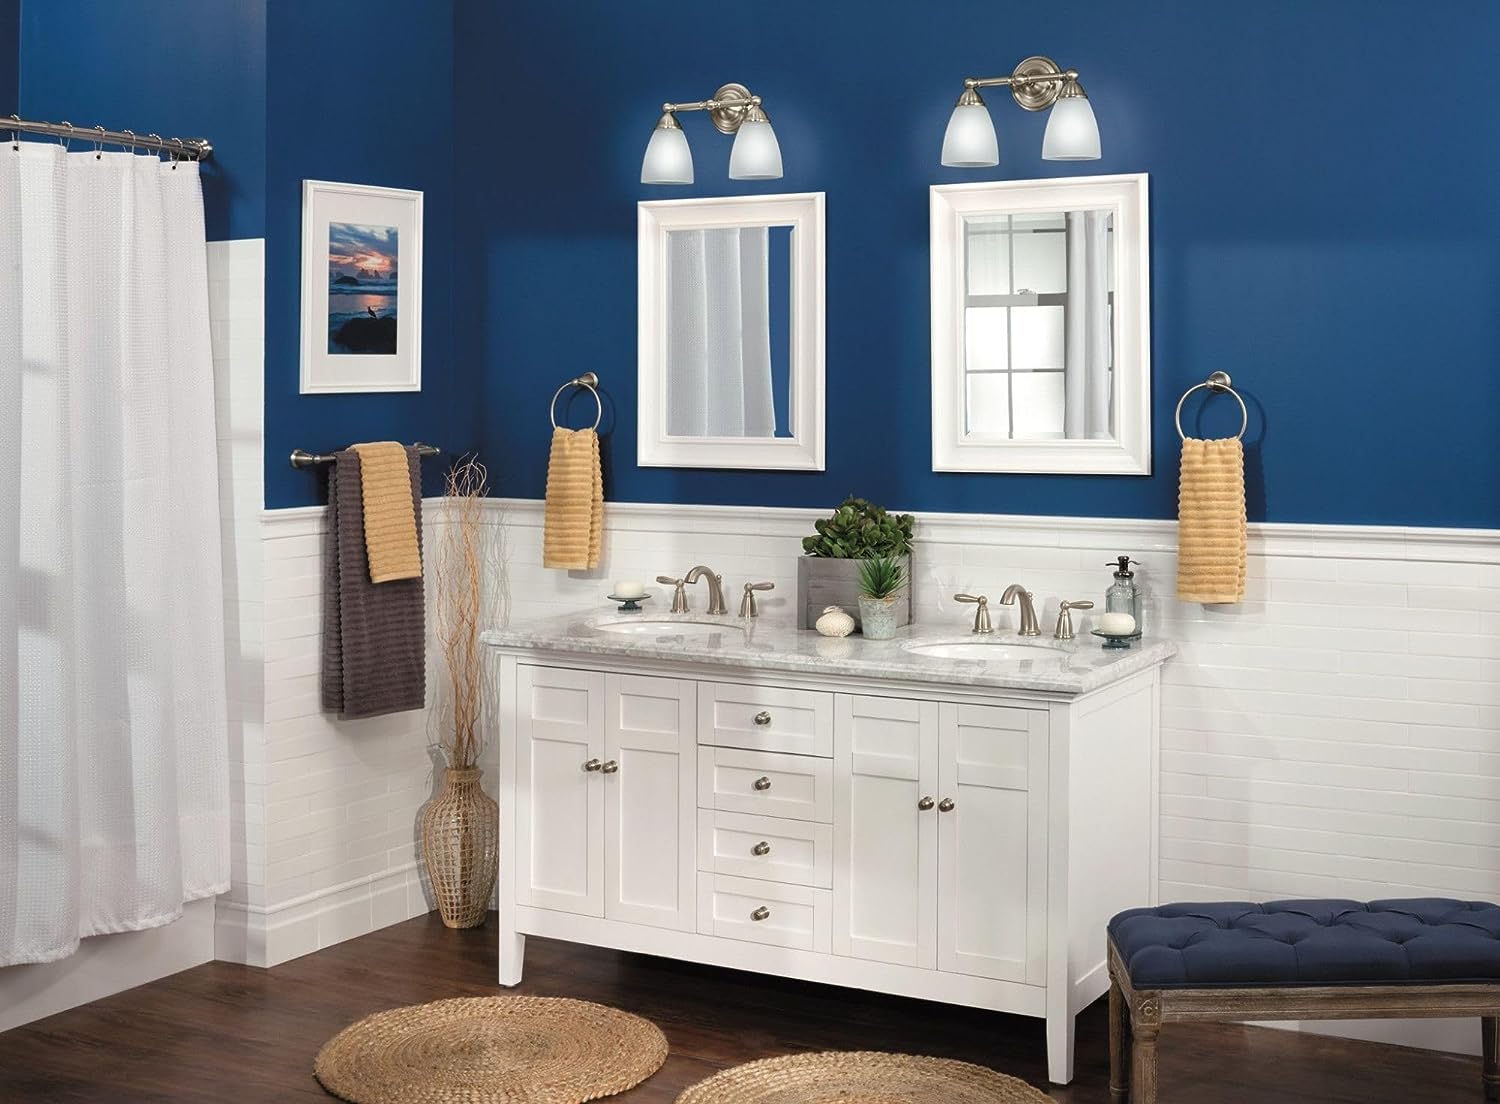
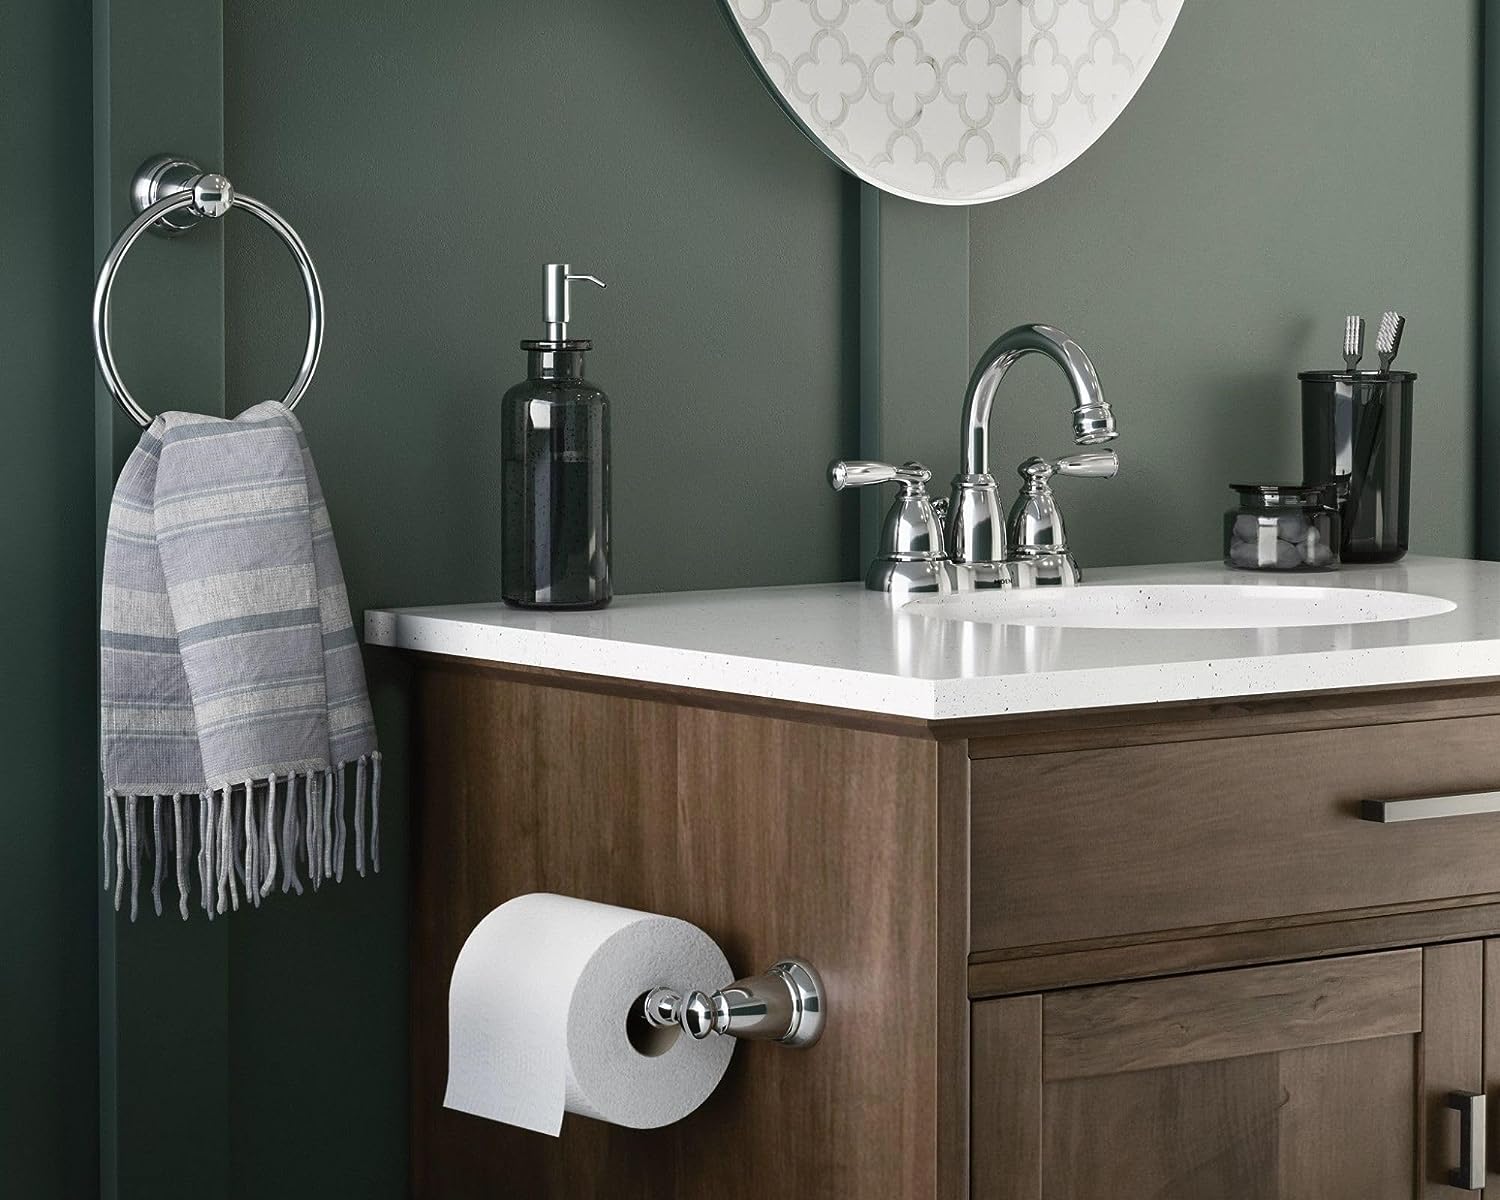
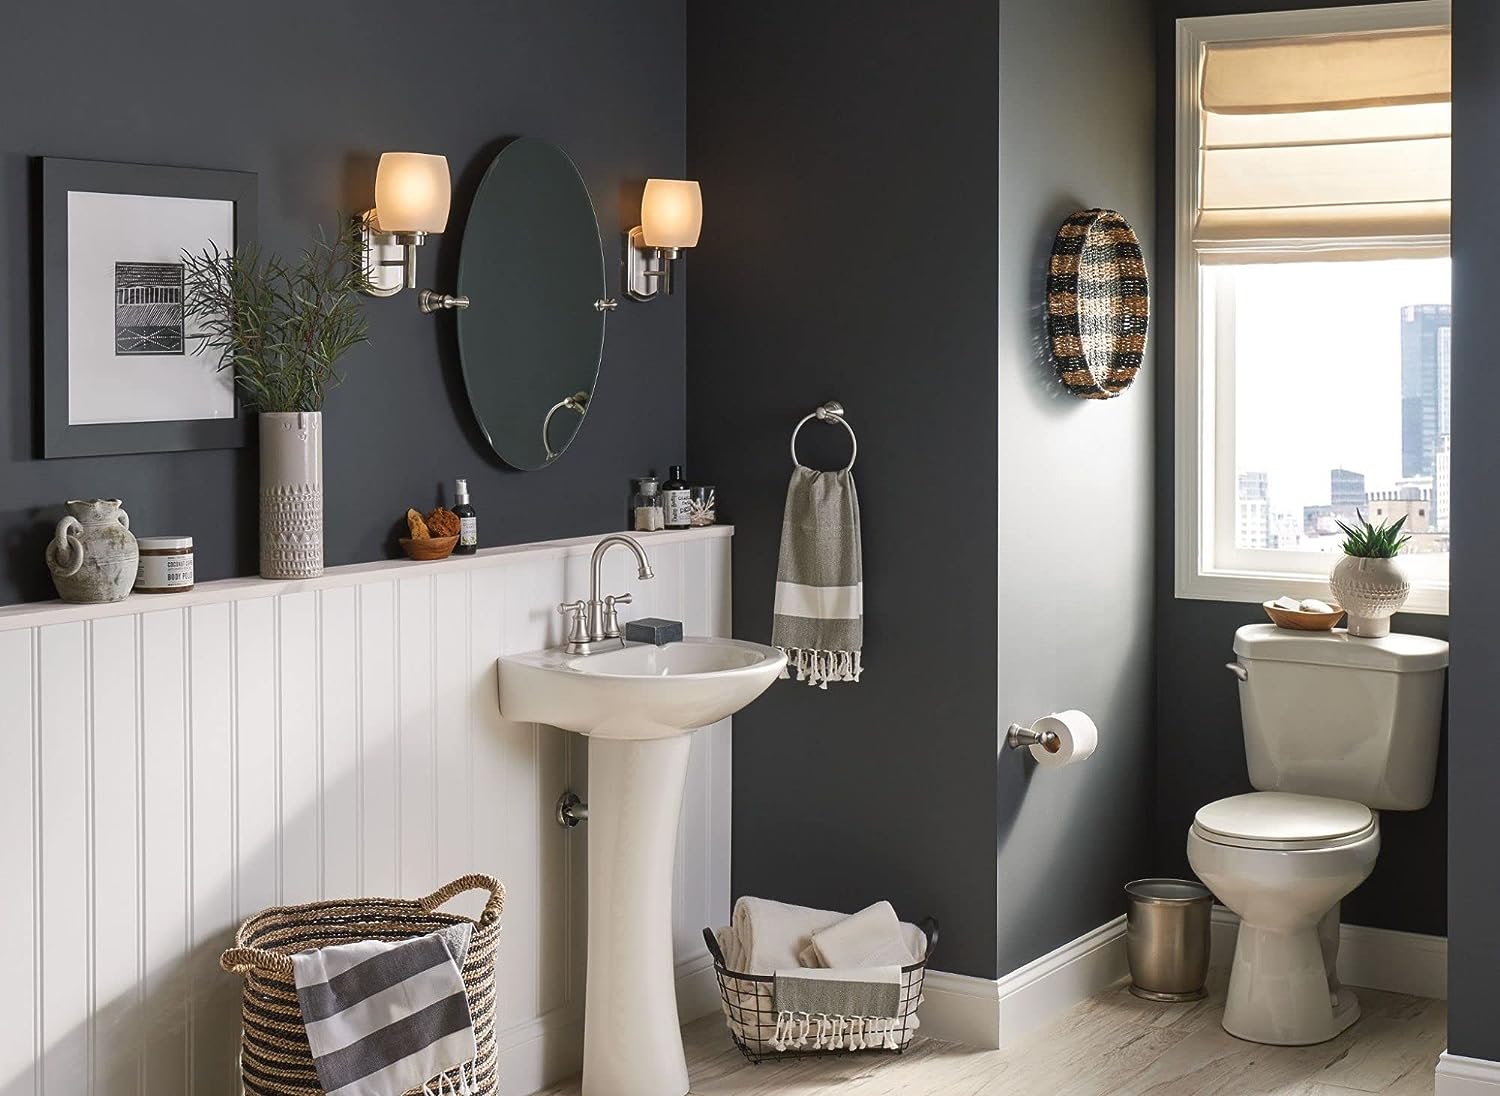
The Moen Brantford towel bar is a popular choice for homeowners looking to add functionality and style to their bathroom. However, there may come a time when you need to remove the towel bar, whether it’s for a bathroom renovation or a simple replacement. While the process may seem daunting, it can be straightforward with the right tools and know-how.
In this article, we will guide you through the step-by-step process of removing a Moen Brantford towel bar. We will provide you with the necessary tools and materials needed, as well as detailed instructions to ensure a successful removal. Whether you’re a DIY enthusiast or a homeowner looking to save some money on home improvement tasks, this guide is for you.
Before we get started, it’s important to note that safety should always be a priority when working with tools and hardware. Make sure to follow safety guidelines and take necessary precautions while removing the towel bar. If you’re not comfortable or confident in your abilities, it’s always a good idea to consult a professional.
Now, let’s gather the tools and materials needed for the removal process.
Key Takeaways:
- Removing a Moen Brantford towel bar is a manageable DIY task with the right tools and know-how. Follow the step-by-step guide to safely and effectively remove the towel bar for renovations or replacements.
- After removing the towel bar, patch any holes or damage left behind to ensure a smooth and clean surface for future use or the installation of a new towel bar. Approach the process with patience and attention to detail for the best results.
Read more: How To Install A Moen Towel Bar
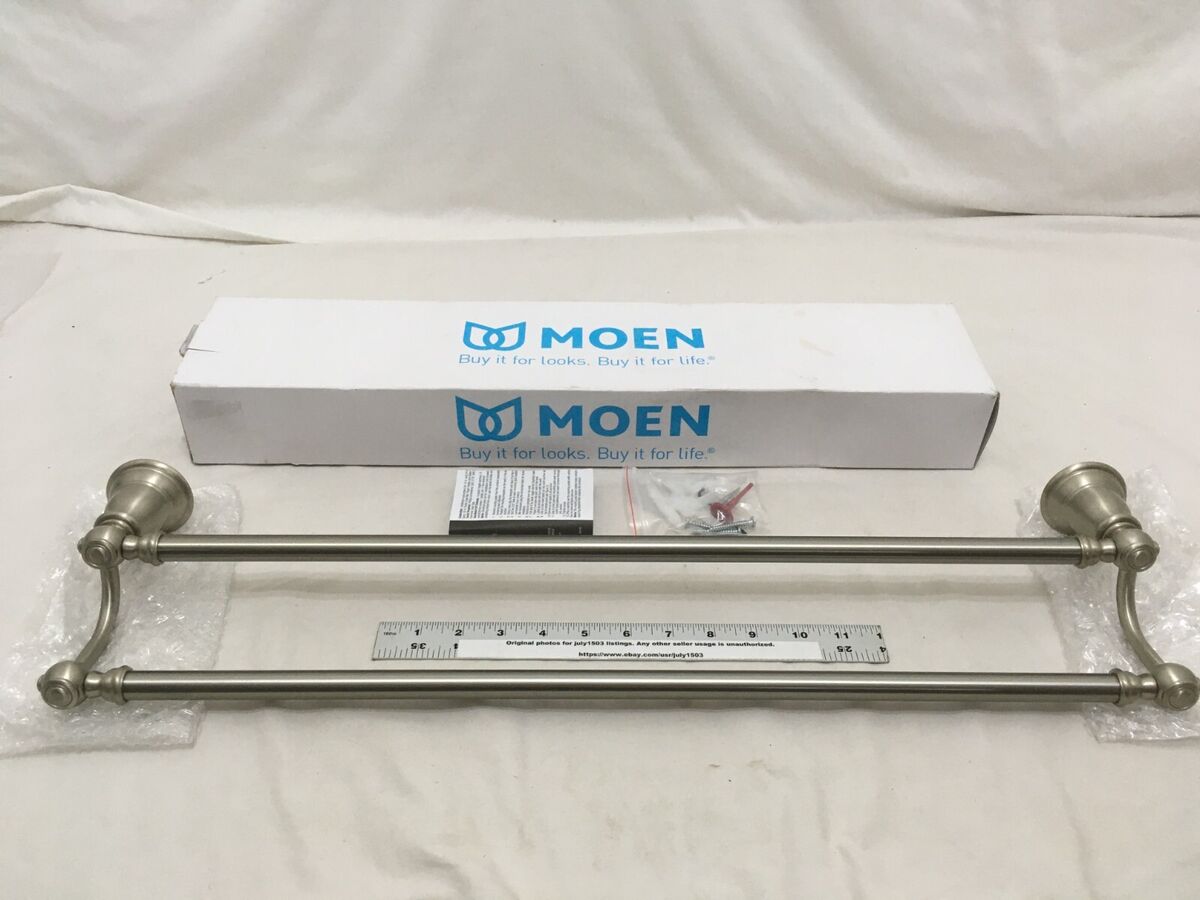
Tools and Materials Needed
Before beginning the process of removing a Moen Brantford towel bar, gather the following tools and materials:
- Flathead screwdriver
- Phillips screwdriver
- Allen wrench
- Adjustable pliers
- Patch kit (if needed)
- Paint scraper (if needed)
- Caulk remover (if needed)
- Clean cloth
- Soap and water (if needed)
Having these tools ready will ensure a smoother and more efficient removal process. Make sure the screwdrivers and wrench are the appropriate sizes for the set screws and mounting brackets of the towel bar.
If you’re planning to install a new towel bar after removal, double-check the mounting requirements of the new towel bar and ensure you have the necessary hardware. It’s also a good idea to have a patch kit, paint scraper, caulking remover, clean cloth, and soap and water on hand in case you need to repair any damage or clean the area before installing the new towel bar.
Now that you have the necessary tools and materials, let’s move on to the step-by-step guide on how to remove the Moen Brantford towel bar.
Step 1: Prepare the necessary tools
Before you begin removing the Moen Brantford towel bar, make sure you have all the necessary tools within reach. This will prevent any delays and ensure a smooth removal process.
Start by gathering the flathead screwdriver, Phillips screwdriver, Allen wrench, adjustable pliers, clean cloth, and any other tools specified in the previous section. Lay them out on a nearby surface or have them in a tool belt for easy access.
It’s also a good idea to examine the towel bar to familiarize yourself with its structure and identify any specific components that may require certain tools or techniques for removal.
Once you have the tools ready, you’re prepared to move on to the next step of removing the Moen Brantford towel bar.
Keep in mind that if you’re unsure of any step or encounter any difficulties during the removal process, it’s best to consult the manufacturer’s instructions or seek professional assistance.
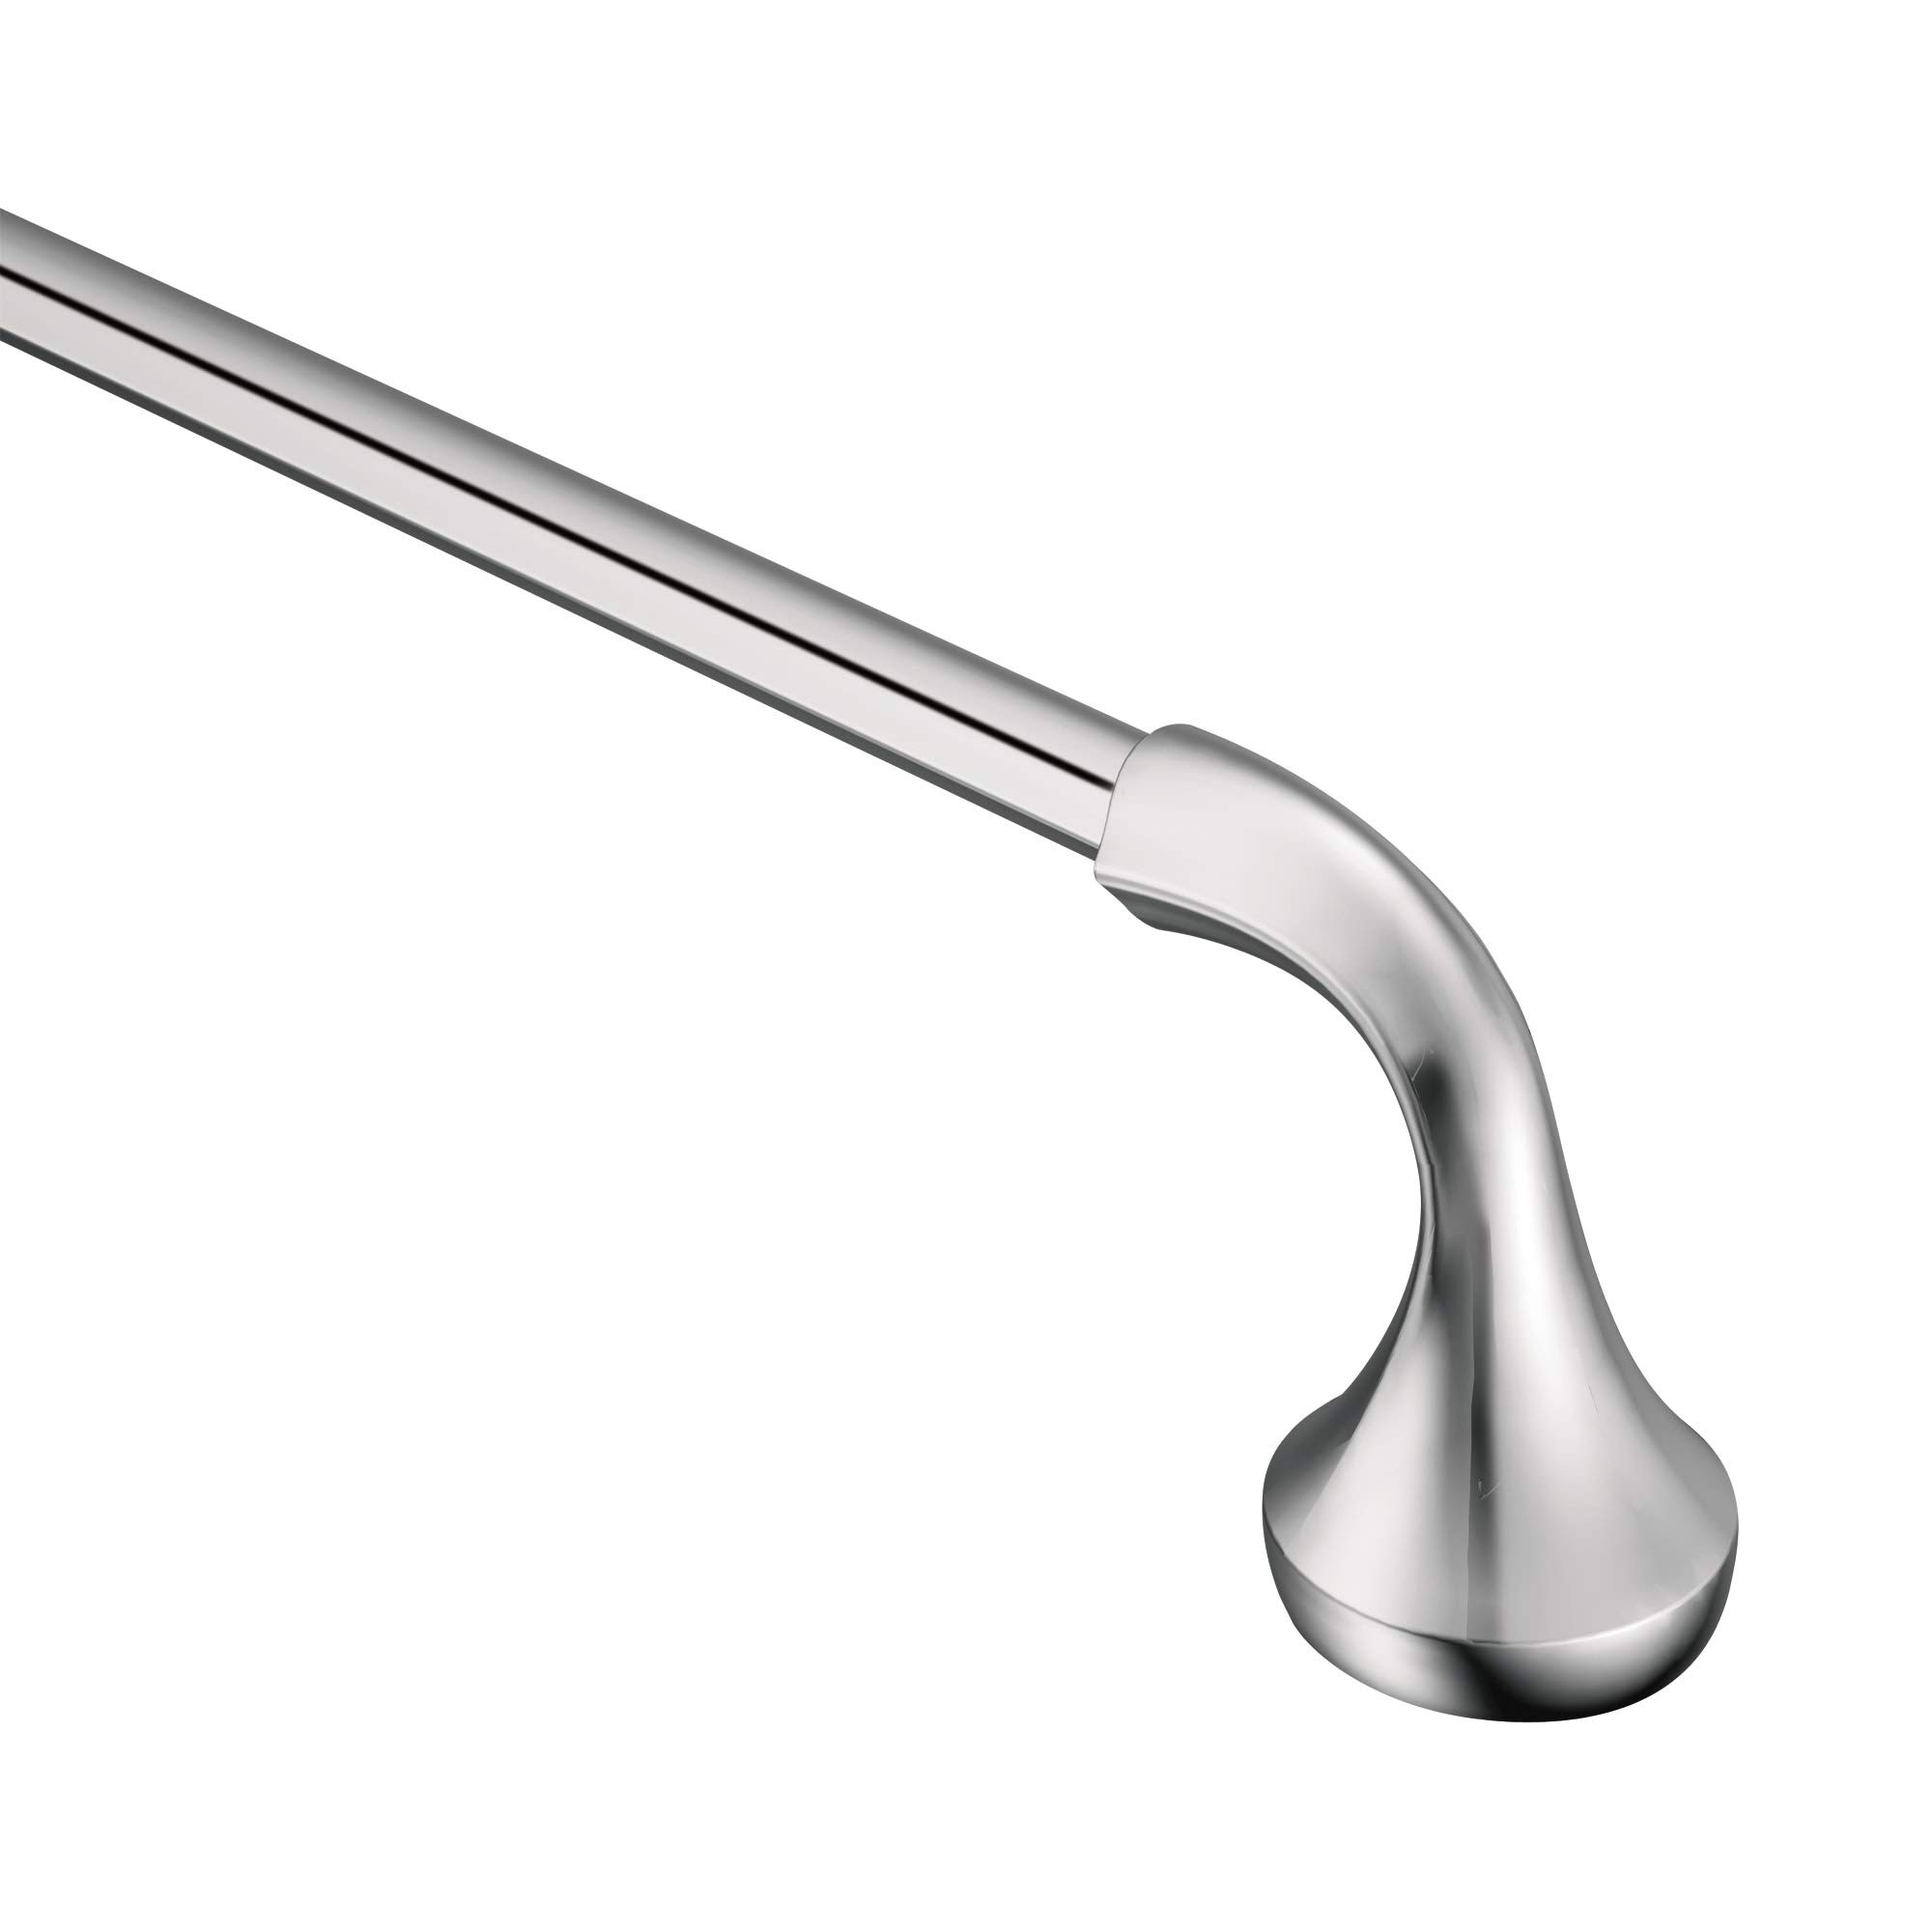
Step 2: Find the set screw
In order to remove the Moen Brantford towel bar, you’ll need to locate the set screw that holds it in place. The set screw is a small screw typically located underneath the towel bar, near the wall mounts or brackets.
Start by examining the towel bar to identify the set screw’s location. It may be visible and accessible, or it may be hidden behind a decorative cover or cap. If there’s a cover or cap, use a flathead screwdriver to gently pry it off and reveal the set screw.
Once you’ve located the set screw, take the appropriate screwdriver (flathead or Phillips, depending on the type of screw) and loosen it by turning it counterclockwise. You may need to apply a bit of pressure, as set screws are often tightened securely to keep the towel bar in place.
If the set screw is particularly stubborn or stuck, you can try using a little penetrating oil to help loosen it. Apply a small amount of oil to the screw and let it sit for a few minutes before attempting to loosen it again.
Once the set screw is loosened, but not completely removed, proceed to the next step of removing the Moen Brantford towel bar.
Remember to take care while handling tools and screws to avoid injury or damage to the towel bar or surrounding areas.
Step 3: Loosen the set screw
Now that you’ve located the set screw, it’s time to loosen it to release the Moen Brantford towel bar from its mounting brackets. Loosening the set screw will allow you to detach the towel bar and proceed with the removal process.
Using the appropriate screwdriver (flathead or Phillips), continue turning the set screw counterclockwise until it is completely loosened. Ensure that you hold onto the towel bar with your free hand to prevent it from falling once the set screw is fully removed.
If you encounter any resistance or the set screw is difficult to turn, try applying some lubricating oil to loosen it further. Apply a small amount of oil to the screw and let it sit for a few minutes before attempting to loosen it again. This should make the process easier and prevent any damage to the set screw.
Once the set screw is completely loosened, carefully remove it from the towel bar using your fingers or a pair of pliers if necessary. Set it aside in a safe place to avoid misplacing it during the removal process.
With the set screw removed, you’re ready to move on to the next step of removing the Moen Brantford towel bar.
Remember to handle the set screw and tools with care to avoid injury or damage to the towel bar or surrounding areas.
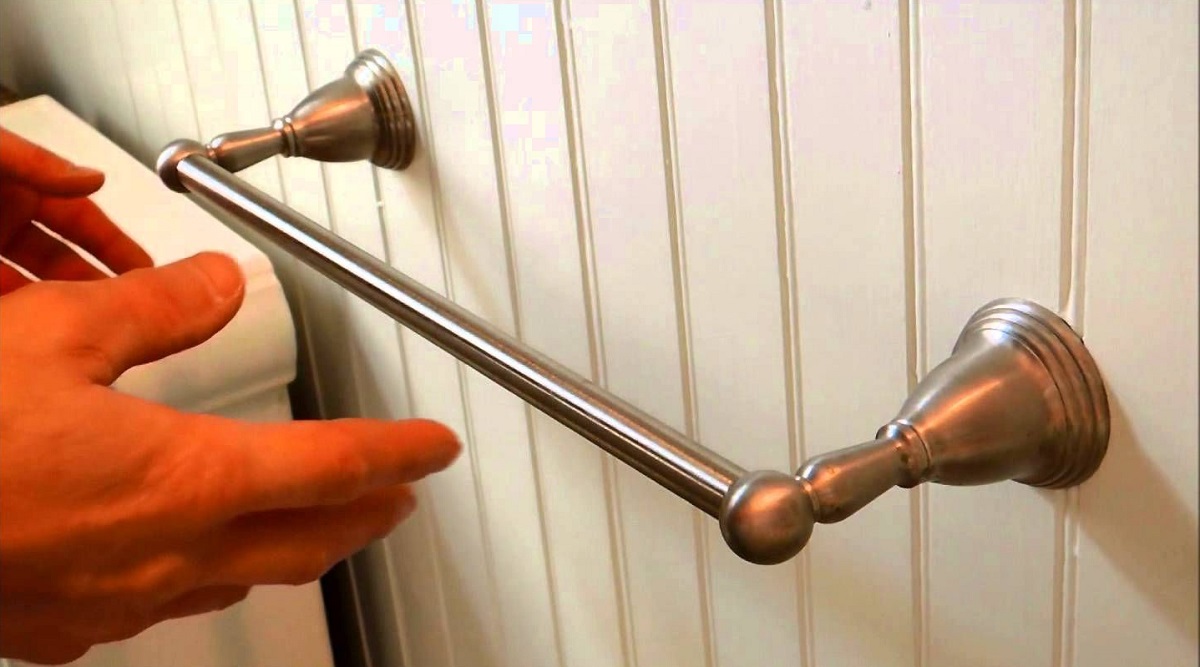
To remove a Moen Brantford towel bar, locate the set screw on the base of the mounting post and use an Allen wrench to loosen it. Once the set screw is loosened, the bar can be lifted off the mounting posts.
Read more: How To Tighten Your Moen Towel Bar
Step 4: Remove the mounting brackets
With the set screw loosened or removed, the next step is to remove the mounting brackets that secure the Moen Brantford towel bar to the wall. Removing the mounting brackets will allow you to detach the towel bar completely and prepare for its removal.
Start by inspecting the mounting brackets to determine the type of attachment they have with the wall. There are typically two types: brackets that are screwed into the wall and brackets that are attached with adhesive or strong double-sided tape.
If you have brackets that are screwed into the wall, use a screwdriver (flathead or Phillips, depending on the screw type) to loosen and remove the screws holding the brackets in place. Turn the screws counterclockwise until they are fully removed from the wall. Be sure to keep track of the screws to avoid misplacing them.
On the other hand, if your mounting brackets are attached with adhesive or double-sided tape, you’ll need to apply gentle pressure to release them from the wall. Start by placing your fingers behind the bracket and pushing it away from the wall. Use steady pressure while ensuring you don’t damage the wall surface. With enough pressure, the adhesive or tape should release, allowing you to remove the bracket.
Once the mounting brackets are removed, set them aside in a safe place. Keep them if you plan on reusing them or discard them if you’re replacing the towel bar with a new one.
With the mounting brackets removed, you’re now ready to proceed to the next step of removing the Moen Brantford towel bar.
Remember to handle the brackets and screws with care to avoid injury or damage to yourself or the surrounding areas.
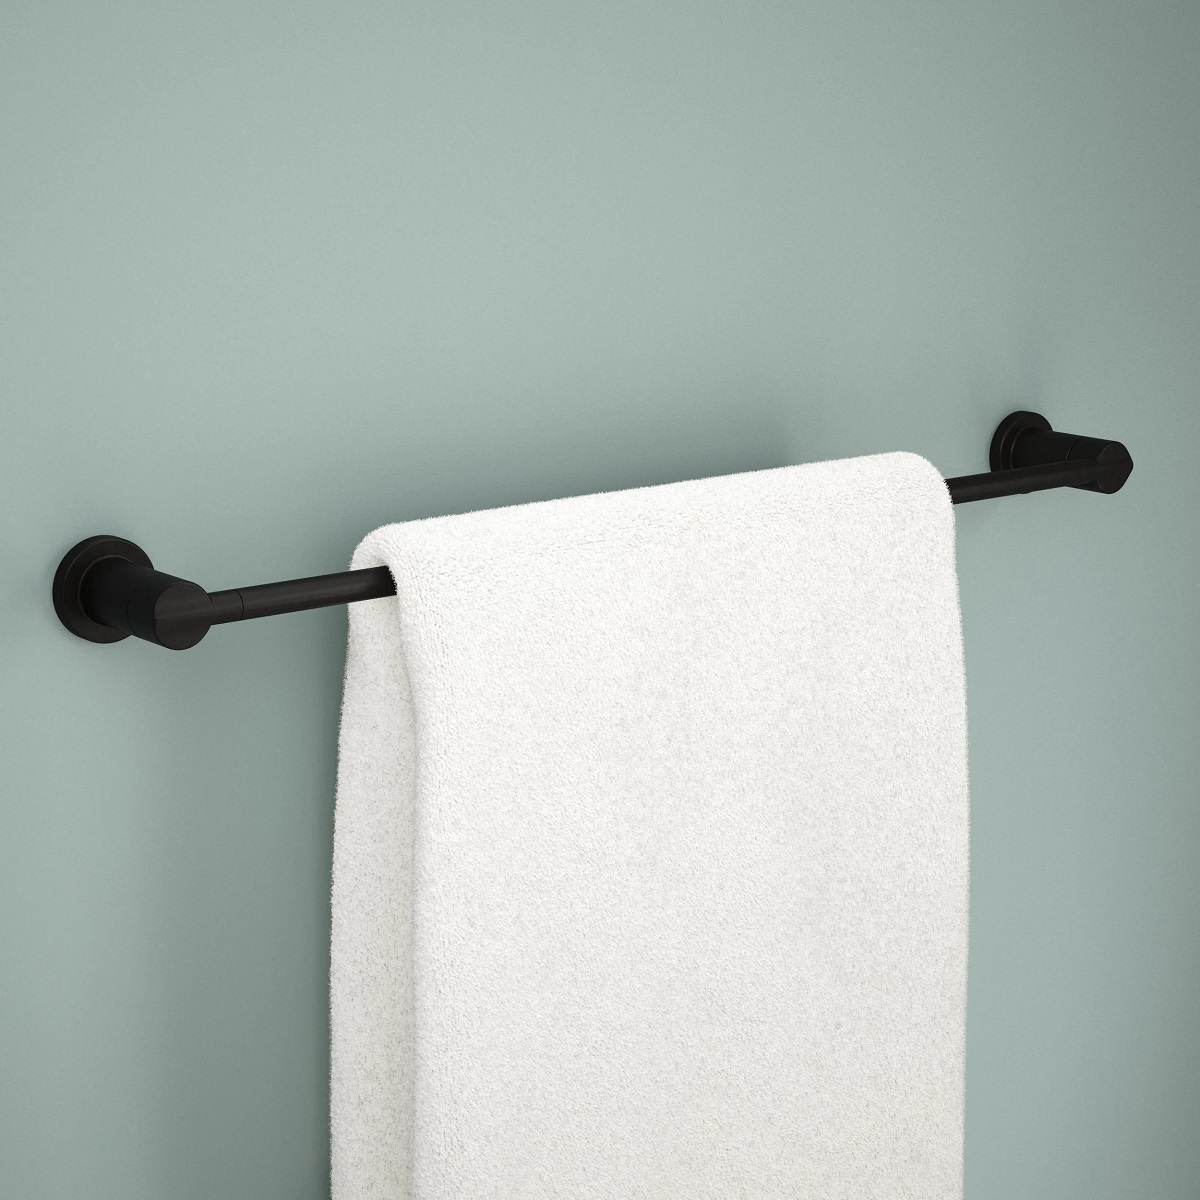
Step 5: Remove the towel bar
Now that the set screw and mounting brackets have been removed, it’s time to detach and remove the Moen Brantford towel bar from the wall. This step will complete the removal process and allow you to prepare for any necessary repairs or the installation of a new towel bar.
Begin by firmly grasping the towel bar with both hands. Gently pull the towel bar away from the wall, applying even pressure on both ends. Take care not to force or yank the towel bar, as this could cause damage to the wall or the towel bar itself.
If the towel bar seems stuck or doesn’t easily come off, it may be helpful to slightly twist or wiggle it while pulling. This can help loosen any residual adhesive or grip from the mounting brackets.
Once the towel bar is detached from the wall, carefully set it aside in a safe location. Depending on your plans, you may choose to store it for future use, donate it, or dispose of it appropriately.
At this point, you have successfully removed the Moen Brantford towel bar from the wall. Take a moment to inspect the area and ensure that it is clear and ready for any necessary repairs or the installation of a new towel bar.
Now, let’s move on to the next step to patch any holes or damage that may have been left after removing the towel bar.
Remember to handle the towel bar with care to avoid injury or damage to yourself or the surrounding areas.
Step 6: Patch any holes or damage
After removing the Moen Brantford towel bar, it’s common to have holes or damage left behind on the wall. Step 6 focuses on patching these areas to ensure a smooth and clean surface for future use or the installation of a new towel bar.
Start by assessing the condition of the wall and determining the appropriate method for patching. If there are small screw holes, you can easily patch them with spackling paste or a similar wall repair compound.
Using a putty knife or a small spatula, apply the wall repair compound to the hole, filling it completely. Smooth out the surface with the putty knife or spatula to make it level with the surrounding wall. Allow the compound to dry according to the manufacturer’s instructions.
If there are larger holes or more extensive damage, you may need to use a patching kit. These kits typically include a patch and a wall repair compound that will allow you to cover and repair the damaged area effectively.
Follow the instructions provided with the patching kit to cut the patch to the appropriate size and apply it over the damaged area. Once the patch is in place, use the wall repair compound to cover the patch and create a smooth surface. Allow the compound to dry completely before moving on.
Once the patched areas are dry, use a sanding block or sandpaper to gently sand the patched spots, making them flush with the surrounding wall. Be careful not to sand too much, as you don’t want to damage the surrounding surface.
After sanding, wipe away any dust with a clean cloth. If necessary, wash the wall with soap and water to remove any remaining residue or dirt. Allow the wall to dry fully before proceeding.
Now that you’ve patched any holes or damage, the wall is ready for the installation of a new towel bar or for any other use. Be sure to follow the manufacturer’s instructions for the new towel bar installation or consult a professional if you’re uncertain.
Remember to take your time and work carefully when patching the wall to achieve the best possible results.
Step 7: Final thoughts and tips
Congratulations! You have successfully removed the Moen Brantford towel bar and patched any holes or damage left behind. As you wrap up the removal process, here are some final thoughts and tips to keep in mind:
- Dispose of any old towel bar components responsibly. Consider recycling or donating them if possible.
- If you plan to install a new towel bar, carefully read the installation instructions provided by the manufacturer.
- Ensure that the wall is clean and dry before attempting to install a new towel bar or make any additional repairs.
- When installing a new towel bar, follow the recommended weight limits and installation guidelines to prevent damage to the wall or the new fixture.
- If you encounter any difficulties or feel unsure about any step of the process, it’s always best to consult a professional for assistance.
- Consider taking this opportunity to give your bathroom a fresh look by painting the walls or making other cosmetic enhancements.
- Maintain proper safety precautions when handling tools and hardware throughout the removal and installation process.
- If you’re unsure about any aspect of the towel bar removal or installation process, don’t hesitate to seek help from a professional plumber or handyman.
Removing the Moen Brantford towel bar is a relatively straightforward task with the right tools and instructions. By following the steps outlined in this guide, you can effectively remove the towel bar and prepare for any future updates or replacements in your bathroom.
Remember to approach the process with patience and attention to detail for the best results. With a little time and effort, you’ll have a fresh canvas to work with for your bathroom’s towel bar needs.
Frequently Asked Questions about How To Remove Moen Brantford Towel Bar
Was this page helpful?
At Storables.com, we guarantee accurate and reliable information. Our content, validated by Expert Board Contributors, is crafted following stringent Editorial Policies. We're committed to providing you with well-researched, expert-backed insights for all your informational needs.


0 thoughts on “How To Remove Moen Brantford Towel Bar”