Articles
How To Install A Moen Bathroom Faucet
Modified: October 28, 2024
Learn how to install a Moen bathroom faucet with our step-by-step articles. Simplify your DIY project with our expert guidance.
(Many of the links in this article redirect to a specific reviewed product. Your purchase of these products through affiliate links helps to generate commission for Storables.com, at no extra cost. Learn more)
Introduction
Installing a new faucet in your bathroom can not only give it a fresh and updated look, but it can also improve its functionality. One of the most popular brands for bathroom faucets is Moen, known for their quality and durability.
In this article, we will walk you through the step-by-step process of how to install a Moen bathroom faucet. Whether you’re a seasoned DIY enthusiast or a beginner, with the right tools and a little patience, you can successfully complete this project and enjoy the satisfaction of a job well done.
Before we get started, it’s important to gather all the necessary tools and materials to ensure a smooth installation process. Let’s take a look at what you’ll need.
Key Takeaways:
- Upgrade your bathroom with a Moen faucet for a fresh look and improved functionality. Follow the step-by-step guide for a successful DIY installation and enjoy the satisfaction of a job well done.
- Gather the necessary tools, prepare the sink, remove the old faucet, install the new Moen faucet, connect the water supply lines, check for leaks, and test the faucet’s operation for a successful installation.
Read more: How To Install A Moen Kitchen Faucet
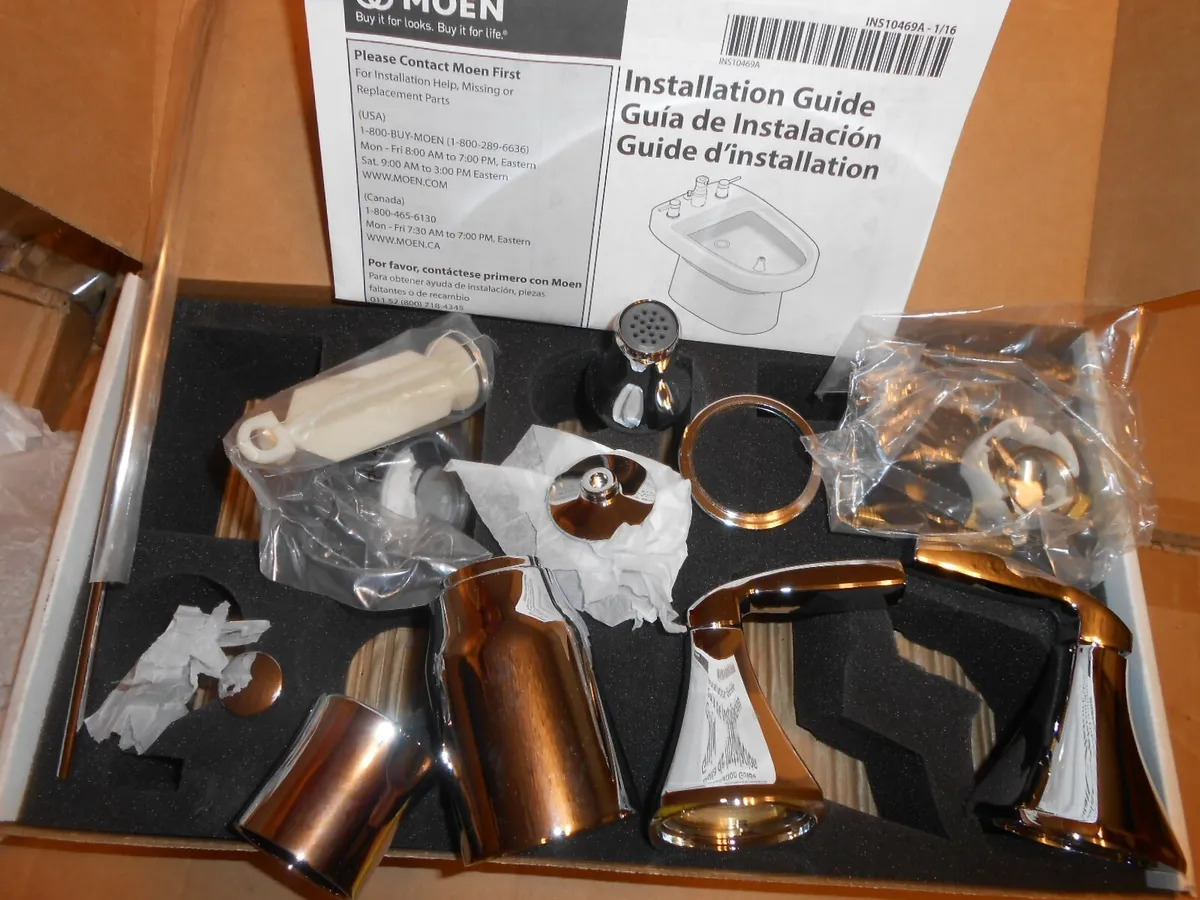
Tools and Materials Needed
Before you begin, gather the following tools and materials:
- Adjustable wrench
- Plumber’s tape
- Screwdriver (flathead and Phillips)
- Tongue-and-groove pliers
- Bucket or container to catch water
- Plumbing putty or silicone sealant
- New Moen bathroom faucet
- Flexible supply lines
- Rag or towel
It’s important to have these tools and materials on hand before starting the installation process to ensure a smooth and efficient workflow.
Step 1: Prepare the Sink
The first step in installing a Moen bathroom faucet is to prepare the sink. Follow these instructions:
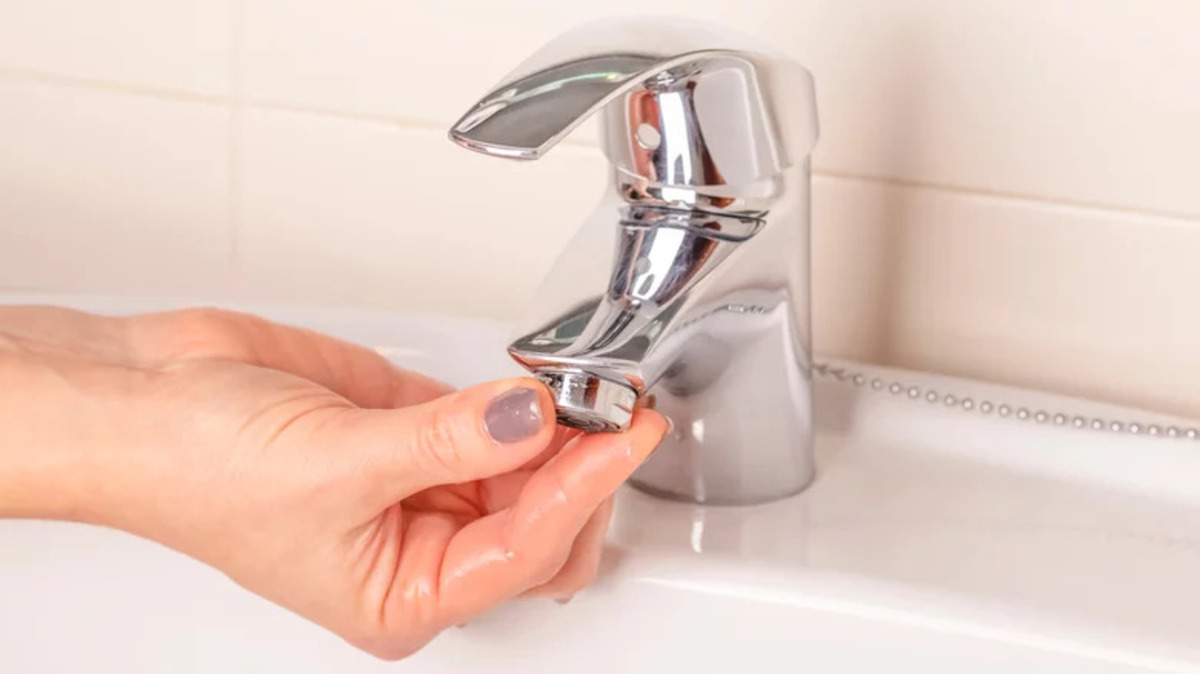
- Turn off the water supply: Locate the shut-off valves underneath the sink and turn them clockwise to shut off the water supply. If you can’t find the shut-off valves, turn off the main water supply to your home.
- Open the faucet: Turn on the old faucet to release any remaining water in the pipes. Place a rag or towel in the sink to catch any excess water.
- Remove any obstructions: Clear the sink of any items, such as soap dispensers or toothbrush holders, that might obstruct the installation process.
- Inspect the sink: Check for any visible damage or leaks on the sink. If there are any issues, address them before proceeding with the installation.
- Clean the sink: Use a non-abrasive cleaner and a soft cloth to clean the sink’s surface, ensuring a clean and smooth installation.
Once the sink is prepared, you’re ready to move on to the next step: removing the old faucet.
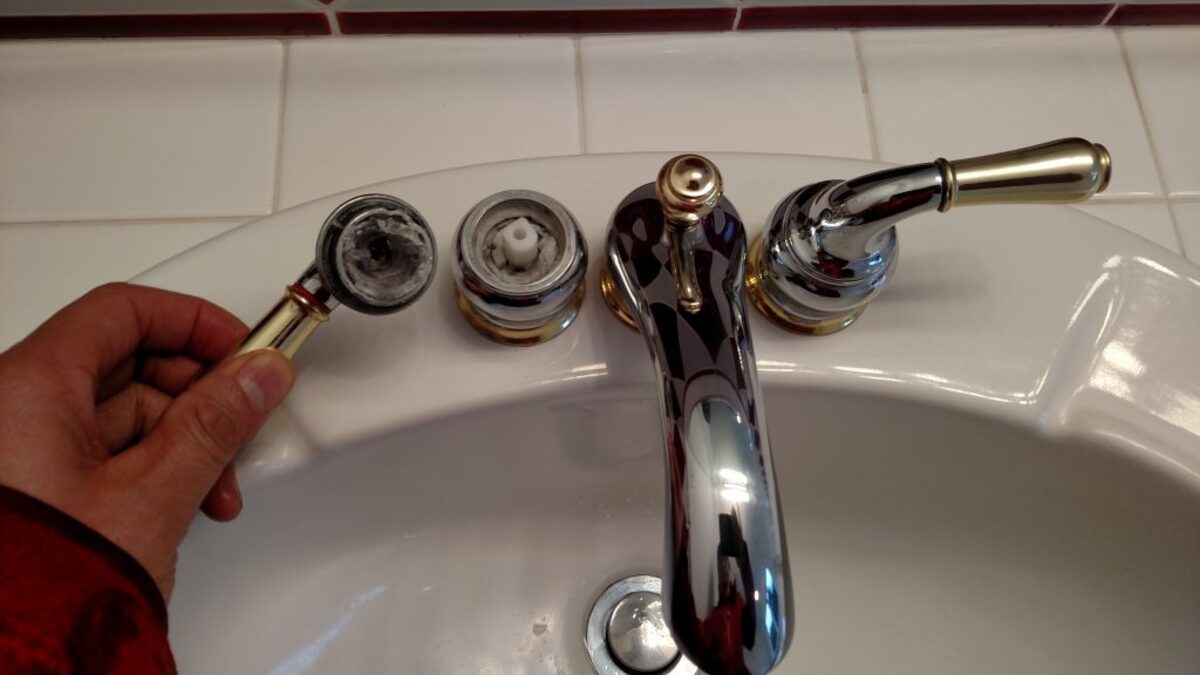
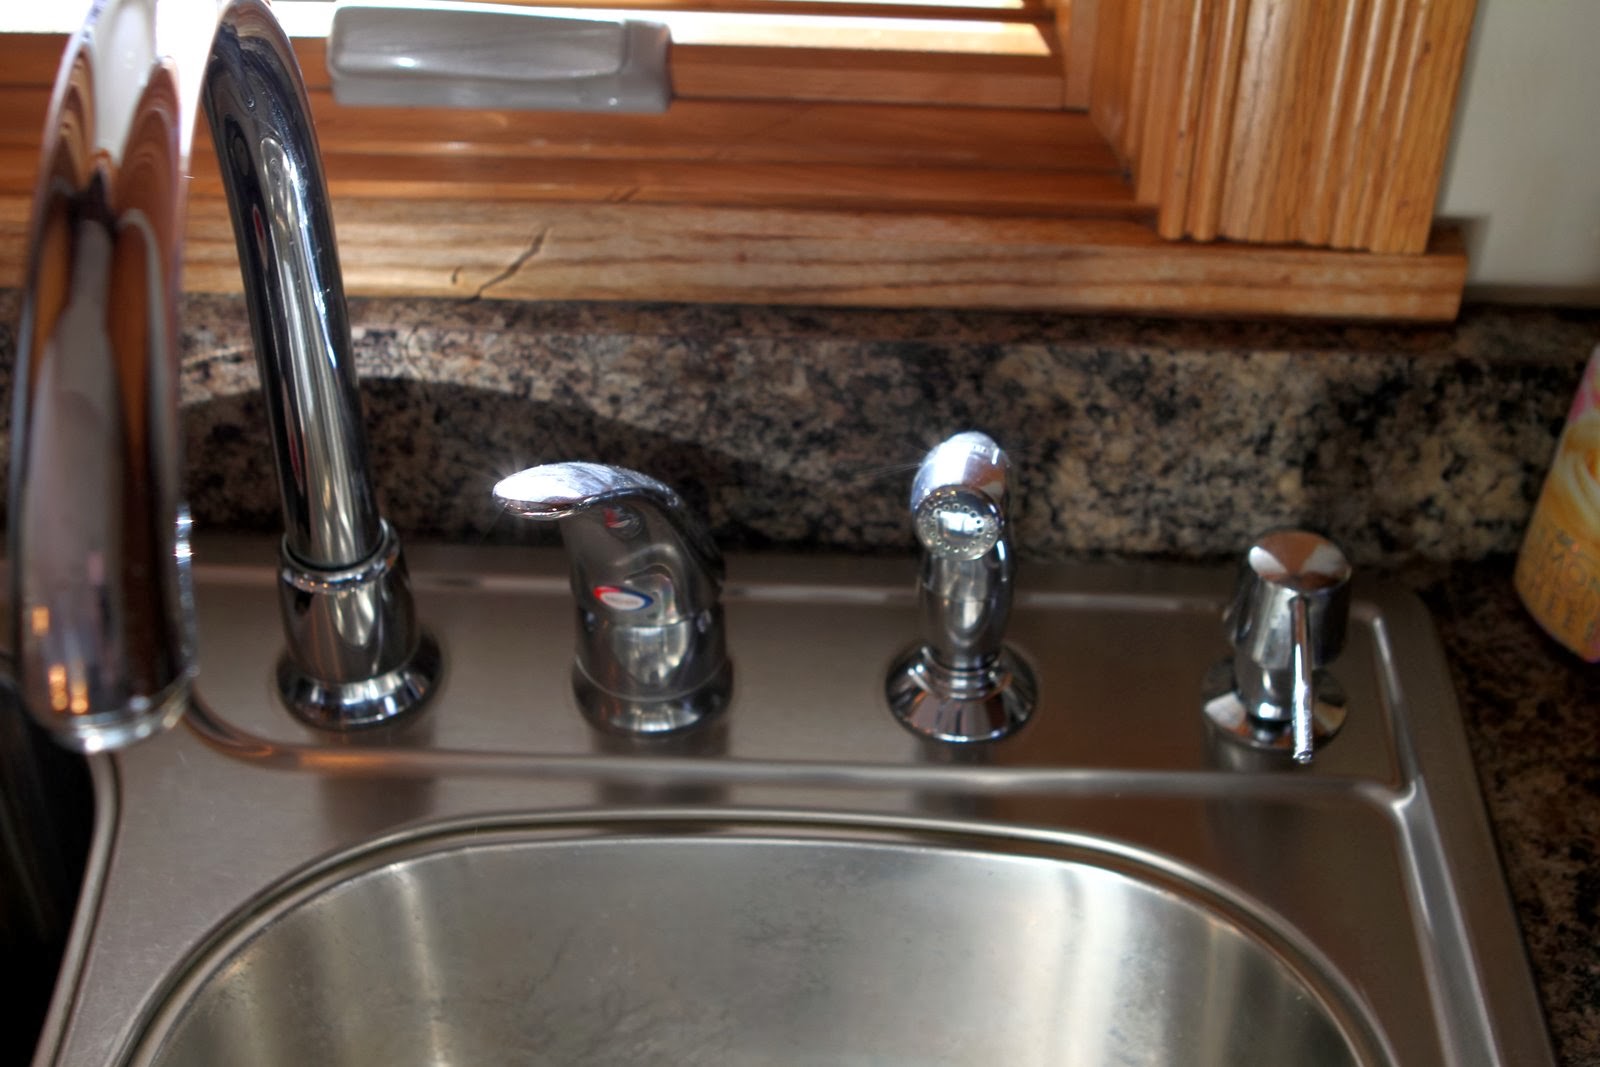
Step 2: Remove the Old Faucet
Now that the sink is prepared, it’s time to remove the old faucet. Follow these steps:
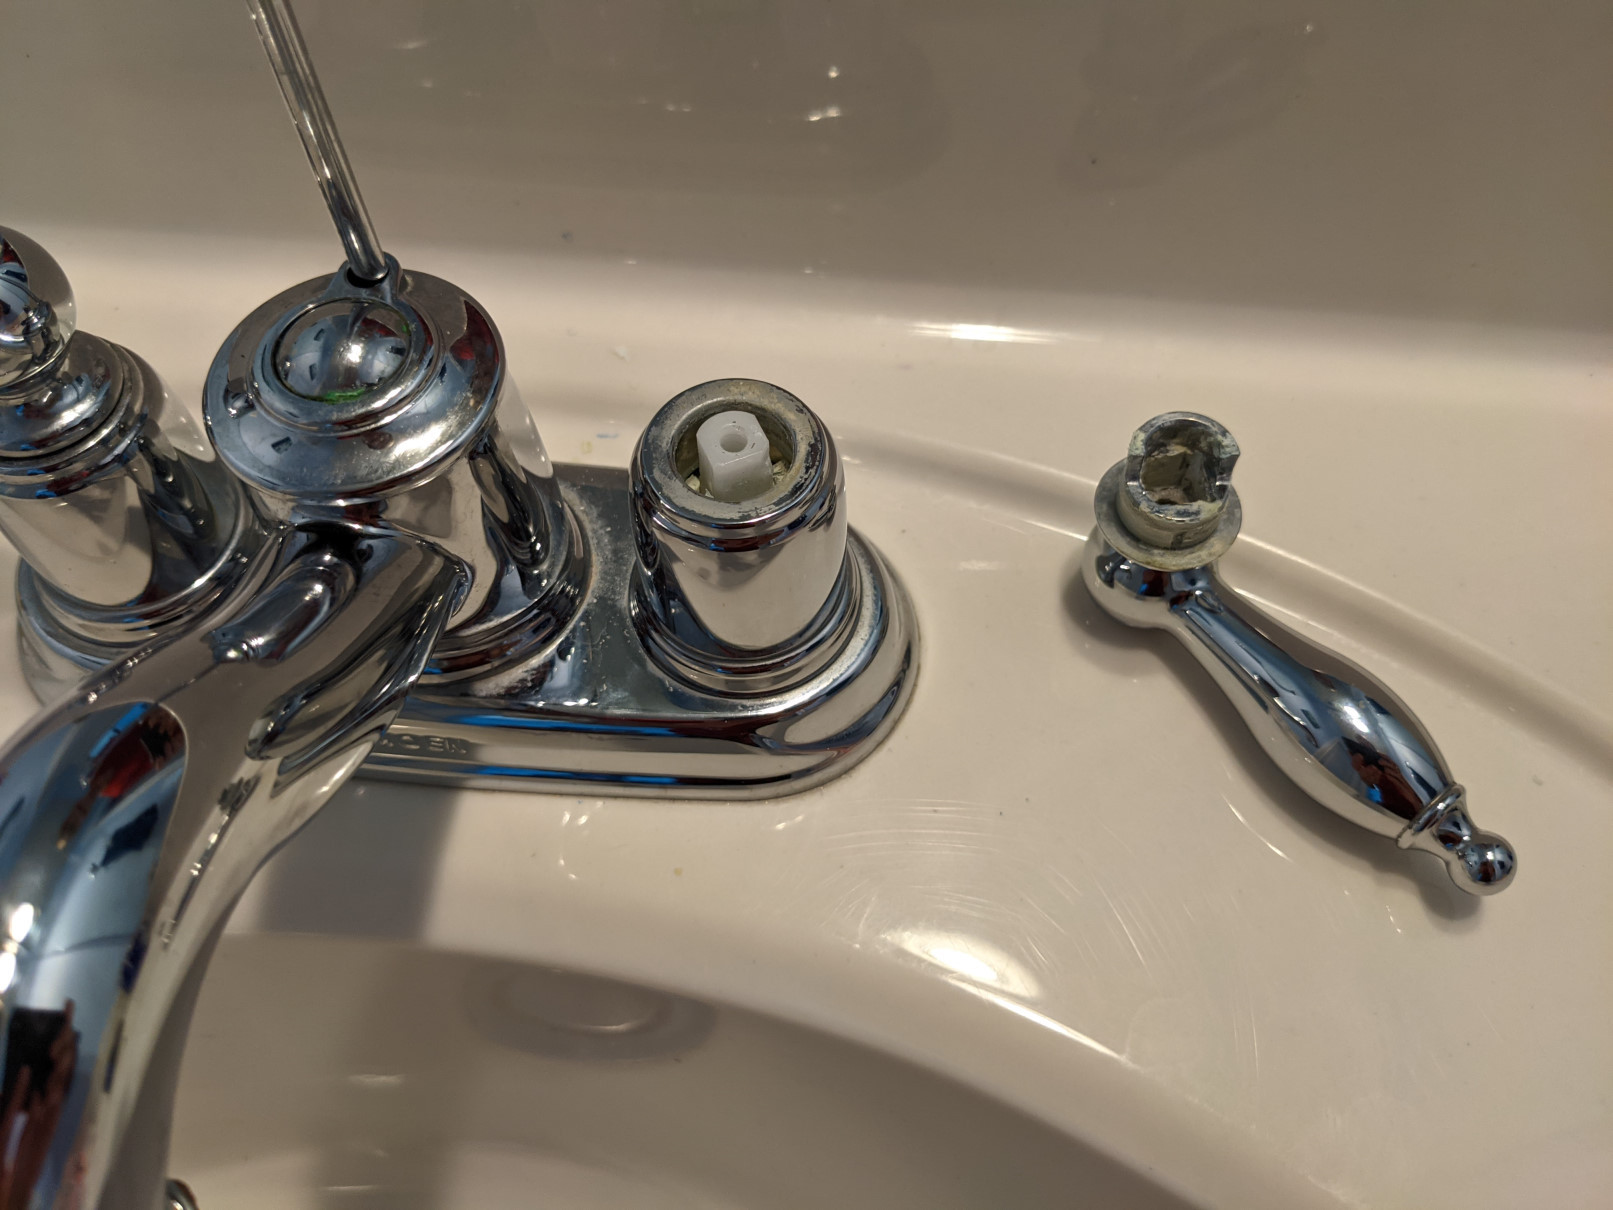
- Locate the mounting nuts: Underneath the sink, find the mounting nuts that secure the old faucet to the sink. Use an adjustable wrench to loosen and remove these nuts.
- Disconnect the water supply lines: Using tongue-and-groove pliers, carefully disconnect the water supply lines from the faucet. Be prepared for some water to come out, so have a bucket or container nearby to catch any spills.
- Remove the old faucet: Once the mounting nuts and water supply lines are disconnected, lift the old faucet out of the sink. If it’s stuck, gently wiggle it back and forth while pulling up to loosen it.
- Clear any residue: Check the sink surface for any remnants of the old faucet or plumber’s putty. Use a scraper or soft cloth to clean the area thoroughly, ensuring a smooth installation for the new faucet.
Once the old faucet is removed, it’s time to move on to the exciting part: installing the new Moen bathroom faucet.
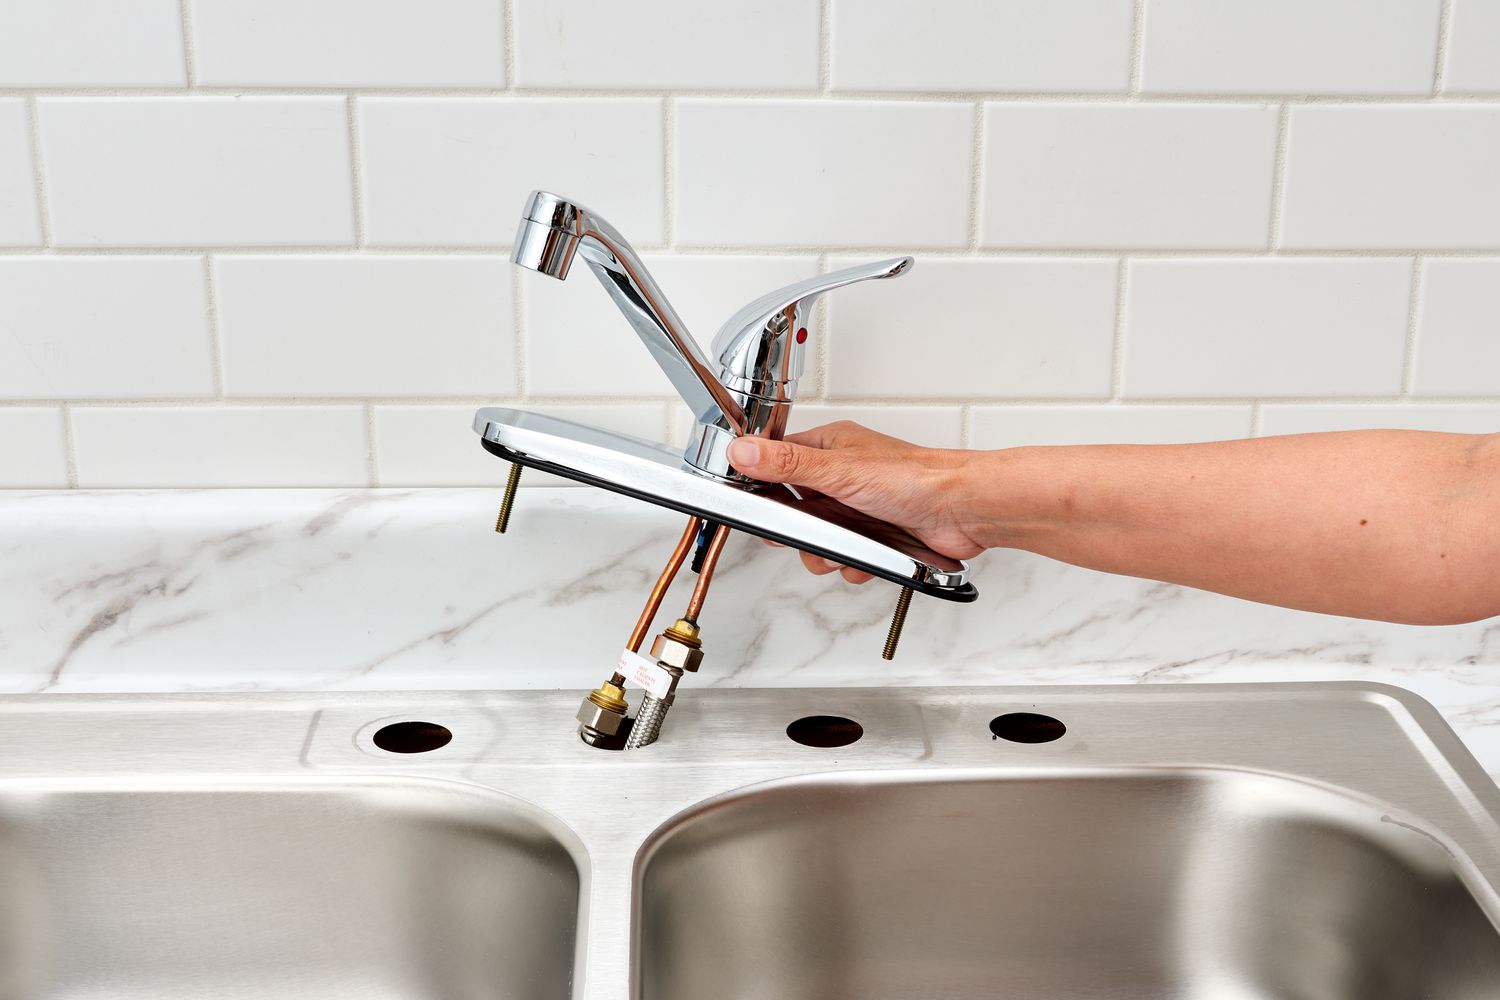
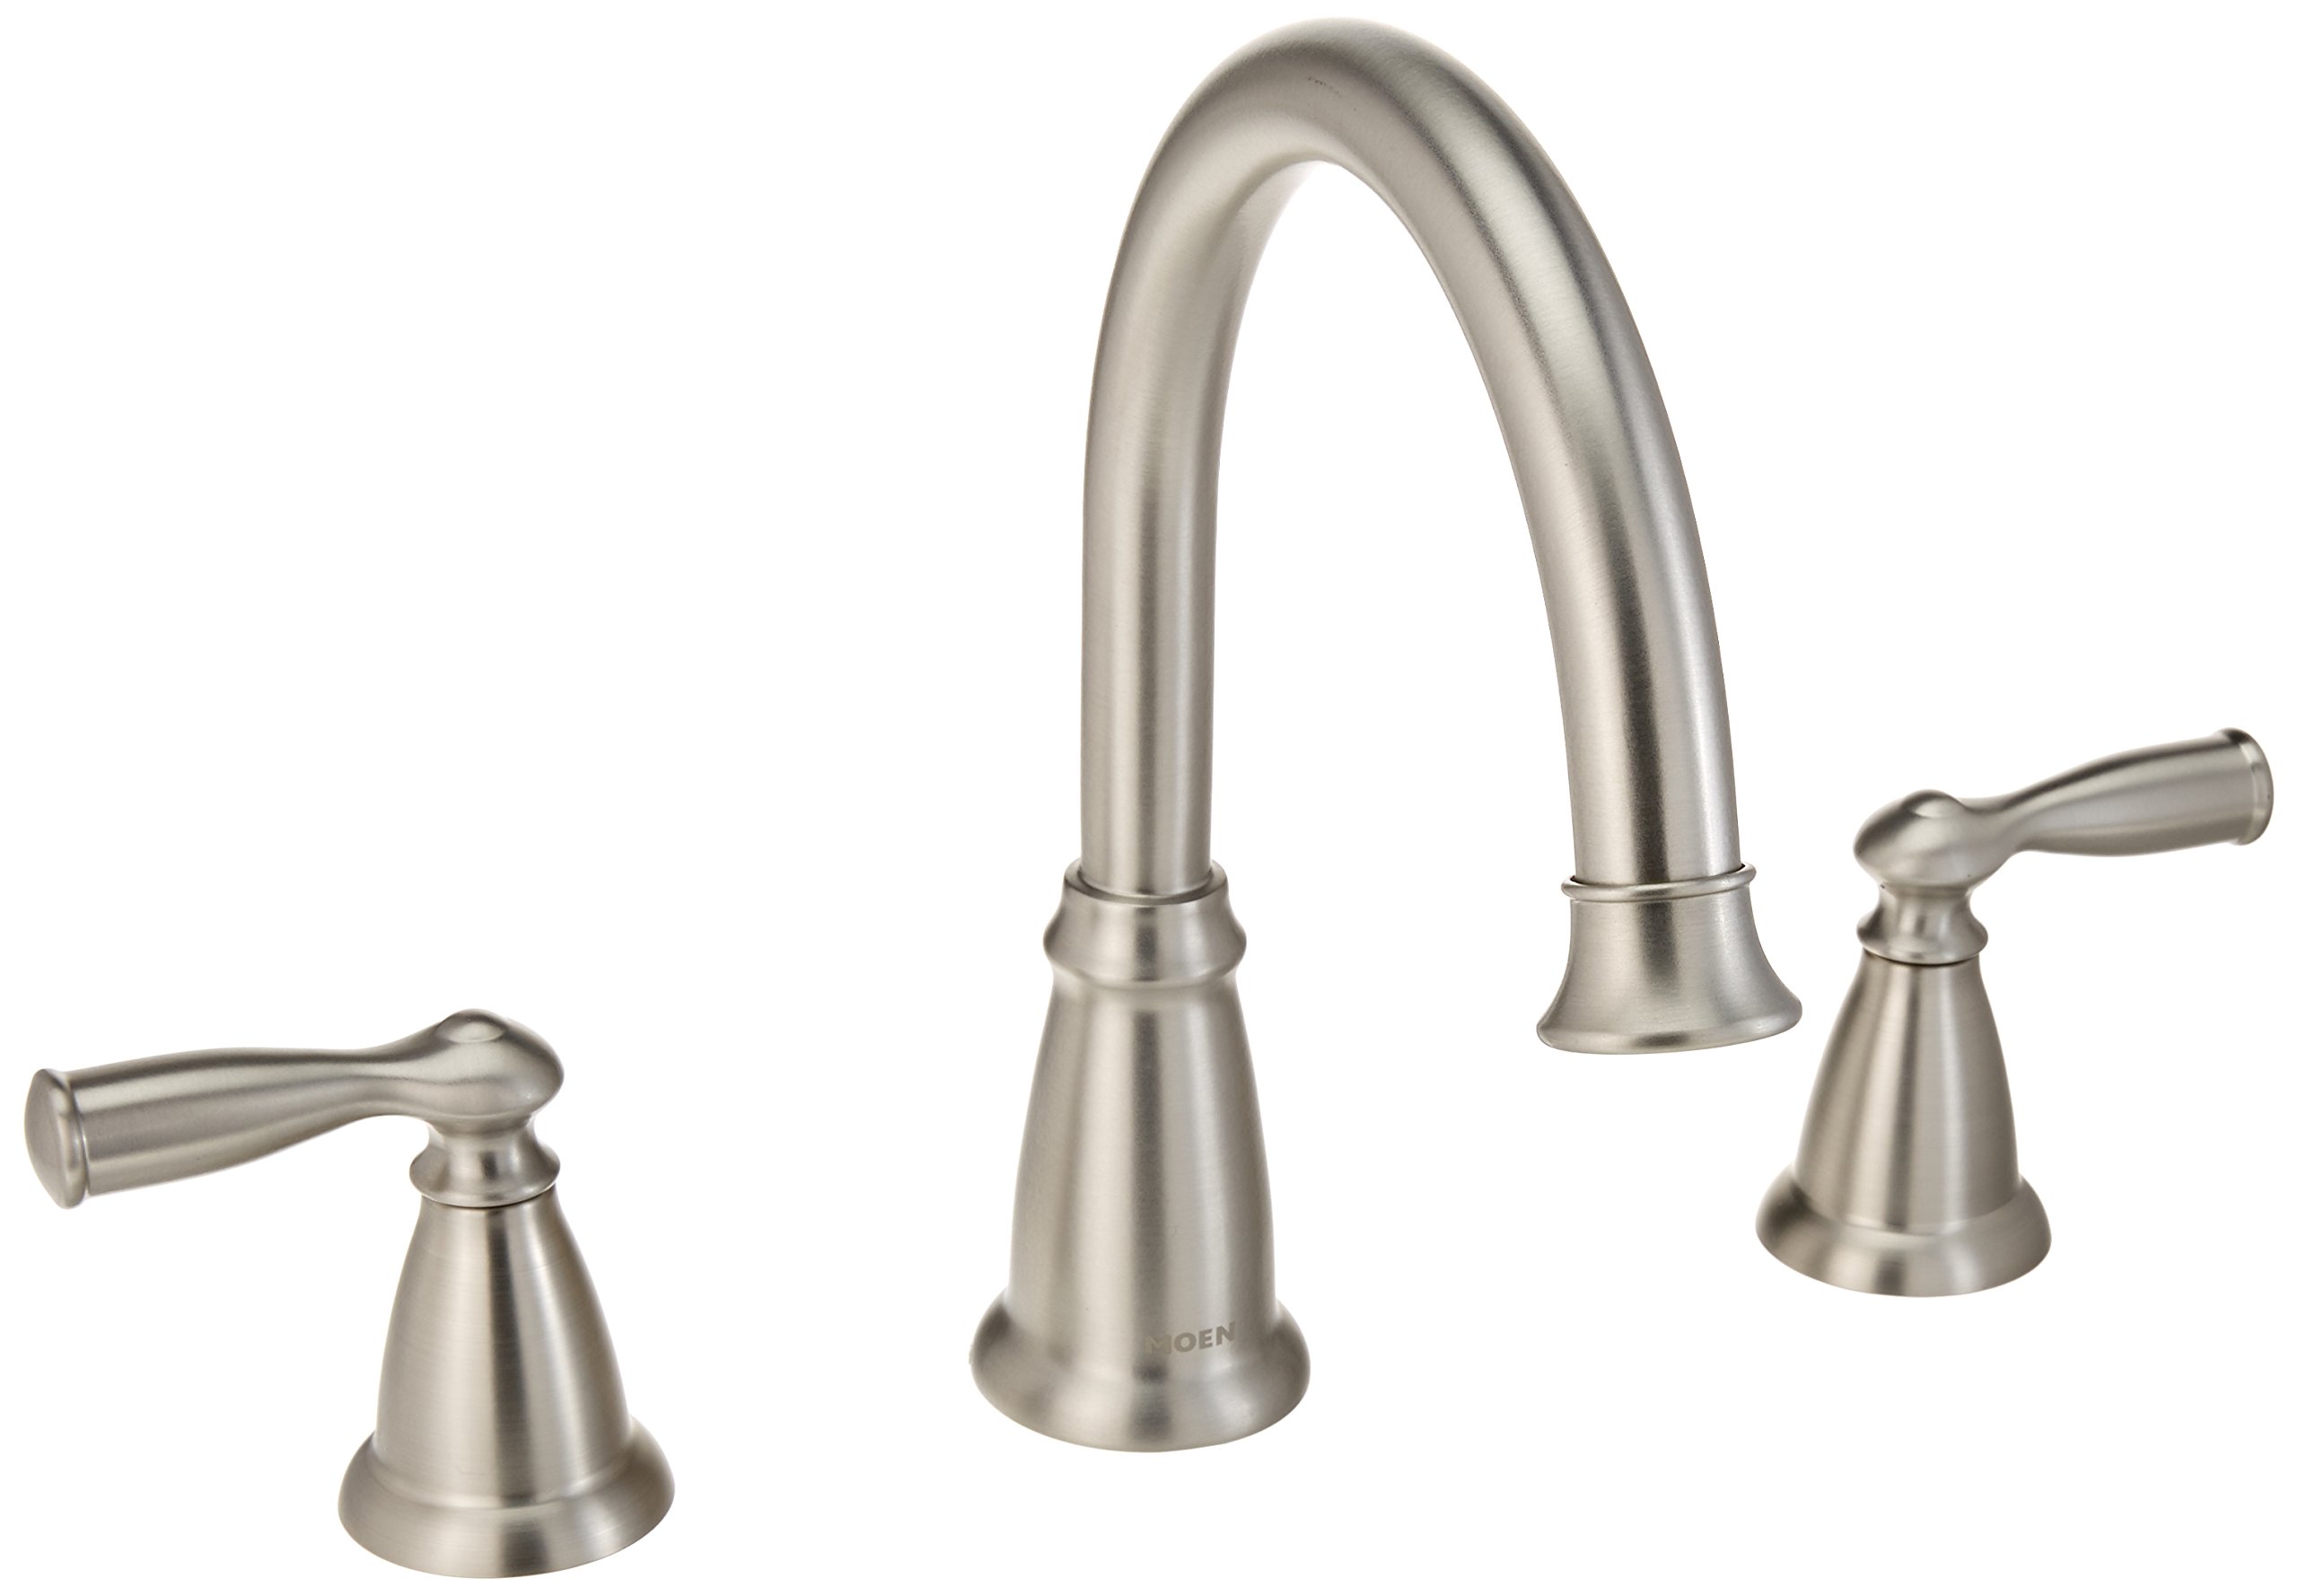
Step 3: Install the New Faucet
With the old faucet removed, it’s time to install the new Moen bathroom faucet. Follow these steps:
- Apply plumber’s putty: Take a small amount of plumber’s putty or silicone sealant and apply it to the base of the faucet. This will help create a watertight seal when the faucet is installed.
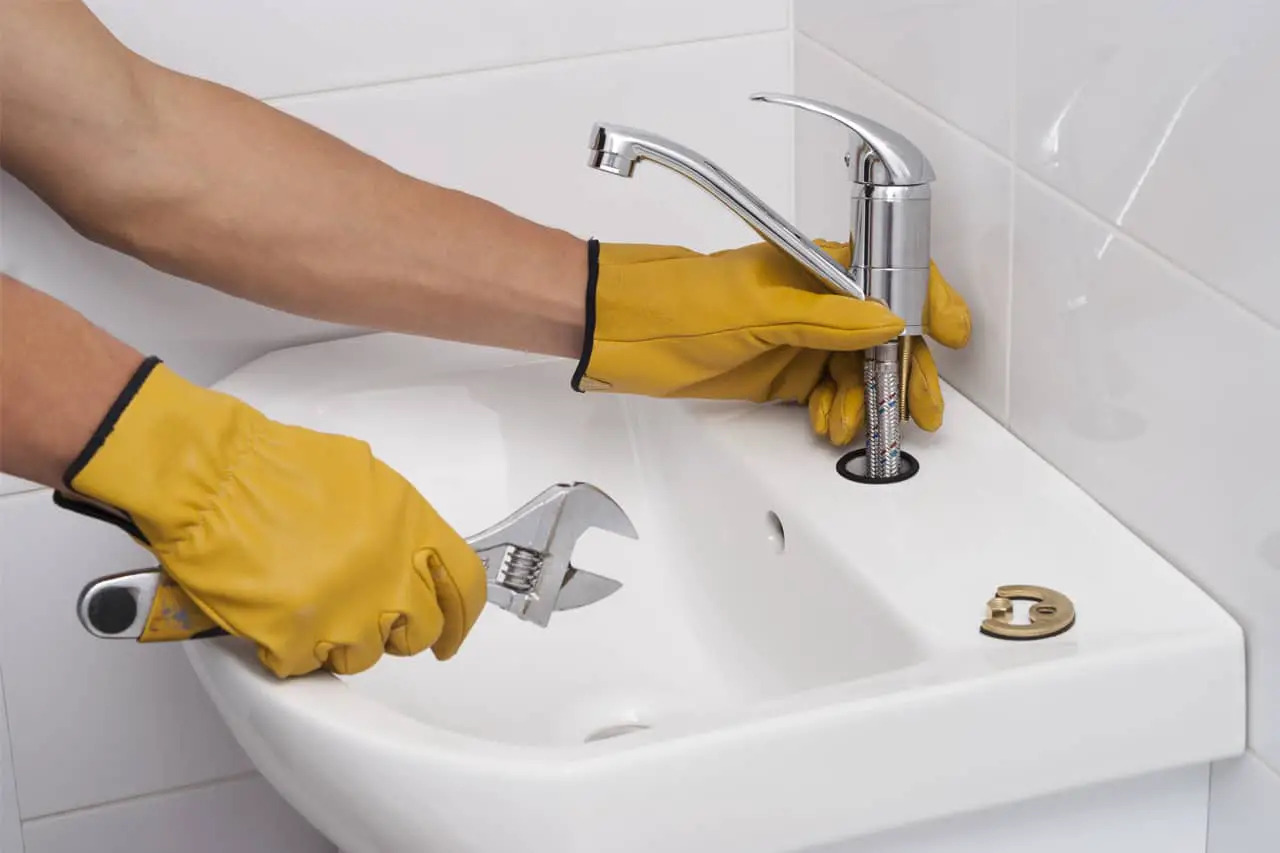
- Position the faucet: Carefully lower the new faucet into the mounting holes on the sink. Make sure it is centered and aligned properly.
- Secure the faucet: From underneath the sink, thread the mounting nuts onto the faucet’s tailpieces and tighten them using an adjustable wrench. Be careful not to overtighten, as this can damage the faucet or the sink.
- Connect the water supply lines: Attach the flexible supply lines to the hot and cold water connections on the faucet. Hand-tighten them first, then use tongue-and-groove pliers to give them a final snug fit.
- Trim excess supply line: If the supply lines are too long, use a pipe cutter or scissors to trim them to the appropriate length. Leave enough slack for easy connection to the shut-off valves.
Once the new faucet is securely installed, it’s time to connect the water supply lines in the next step.
Before installing a Moen bathroom faucet, make sure to shut off the water supply to the existing faucet. This will prevent any water from leaking while you are working on the installation.
Read more: How To Repair A Moen Shower Faucet
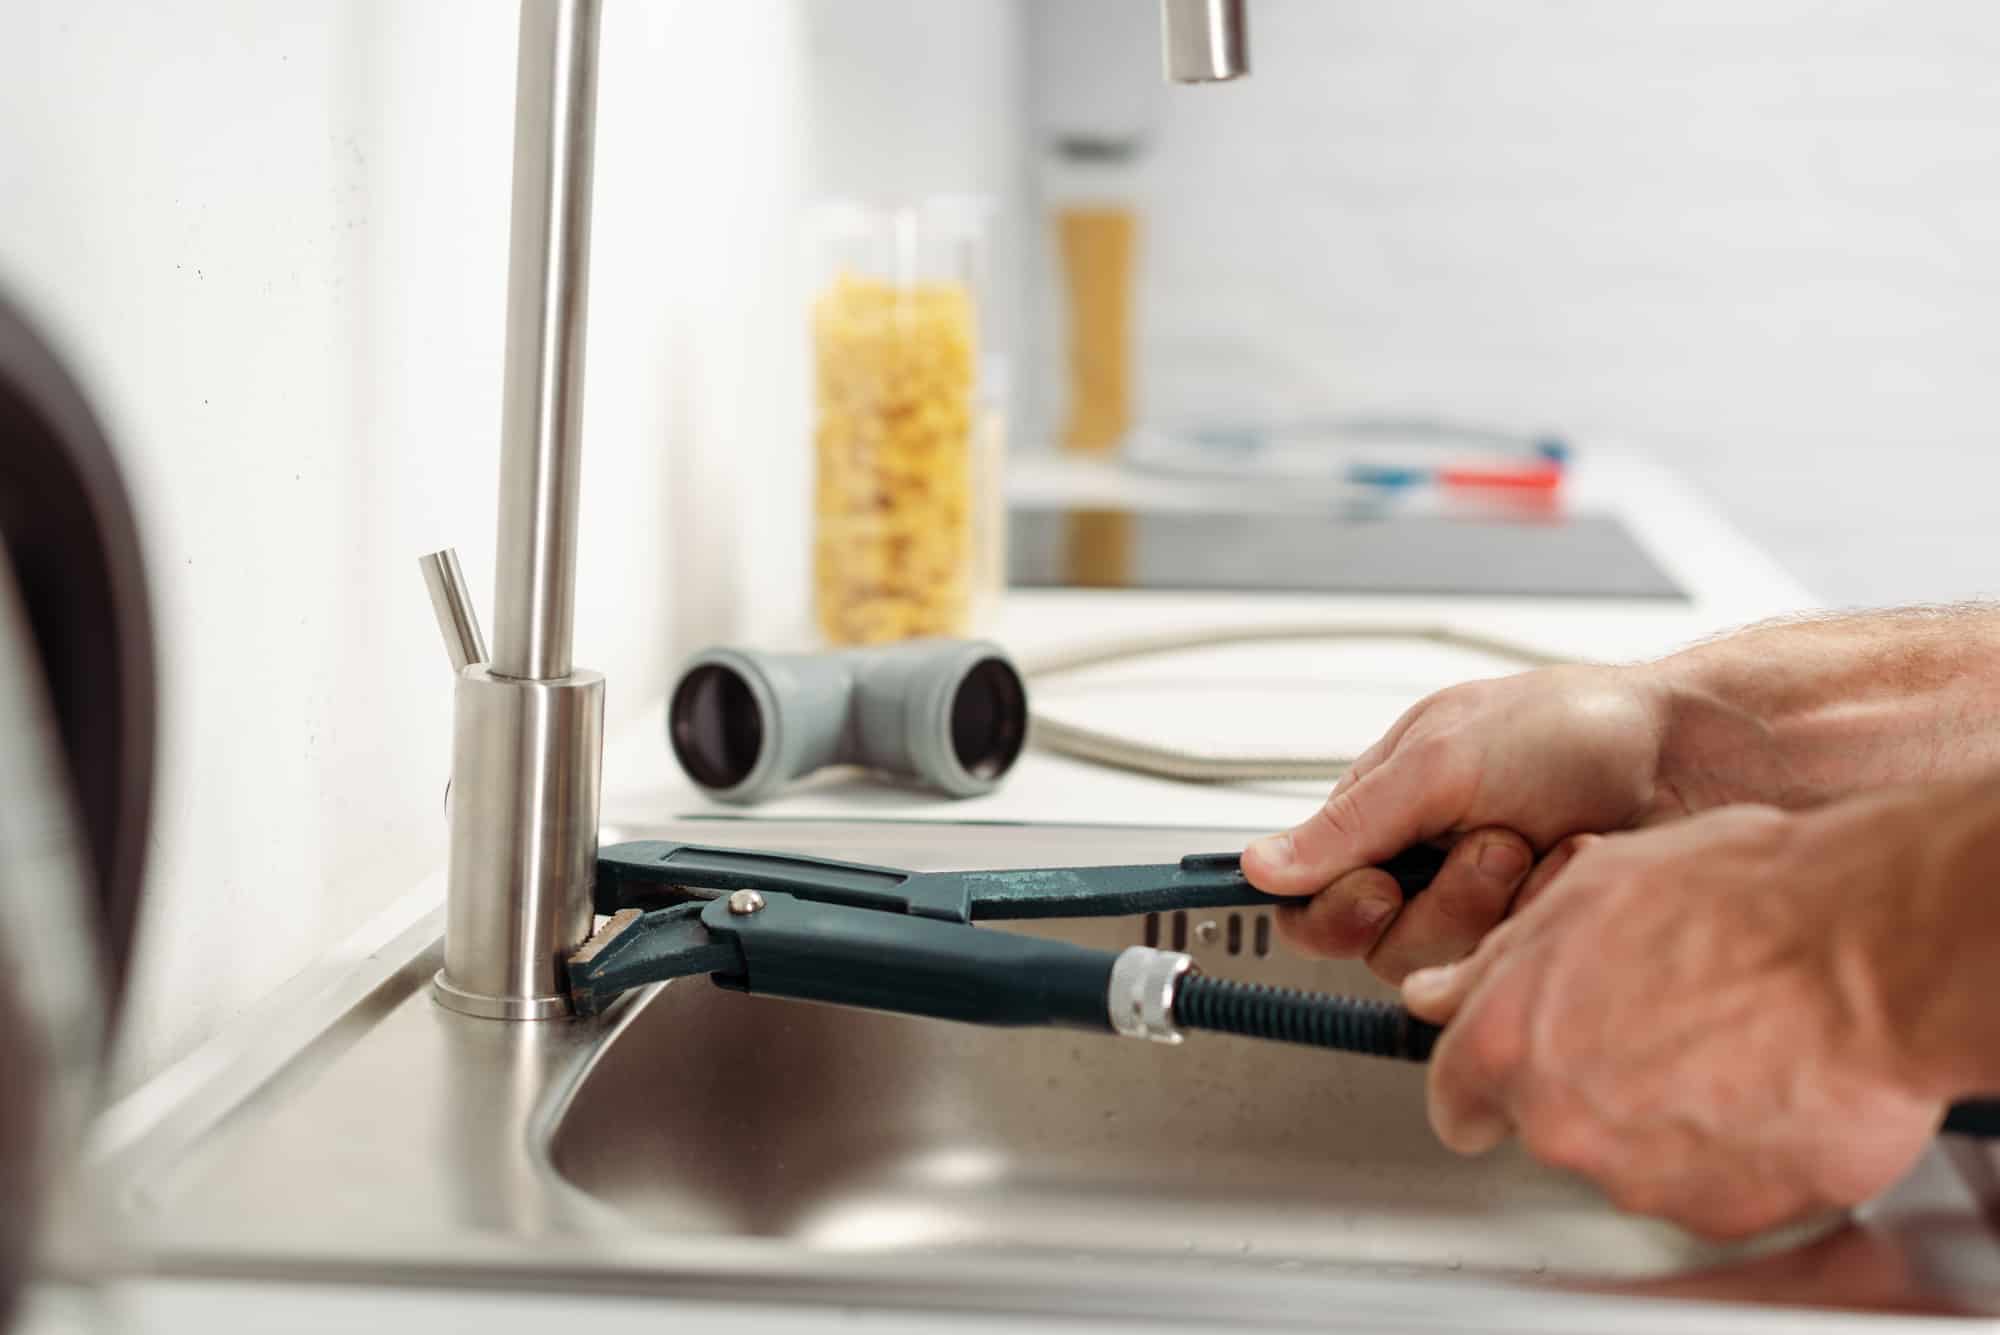
Step 4: Connect the Water Supply Lines
Now that the new faucet is installed, it’s time to connect the water supply lines. Follow these steps:
- Turn on the shut-off valves: Locate the shut-off valves underneath the sink and turn them counterclockwise to open the water supply. If you had turned off the main water supply, turn it back on now.
- Check for leaks: Once the water is flowing, carefully inspect the connections between the faucet and the supply lines for any leaks. If you notice any leaks, tighten the connections slightly with tongue-and-groove pliers.
- Use plumber’s tape: If your supply lines do not have built-in rubber gaskets, wrap plumber’s tape around the threaded ends of the supply lines. This helps create a tight seal and prevents leaks.
- Connect to the shut-off valves: Attach the supply lines to the shut-off valves, making sure to connect the hot water line to the hot water shut-off valve and the cold water line to the cold water shut-off valve. Hand-tighten the connections, then use tongue-and-groove pliers to give them a final snug fit.
- Check for leaks again: Once all connections are made, turn on the faucet and let the water flow. Inspect all the connections for any signs of leaks. If you notice any leaks, tighten the connections further or consider using plumbing putty or silicone sealant to create a better seal.
With the water supply lines connected and any leaks addressed, it’s time to move on to the next step: checking for leaks and ensuring the proper operation of the faucet.
Step 5: Check for Leaks
After connecting the water supply lines, it’s crucial to check for any leaks. Follow these steps:
- Inspect all connections: Carefully examine all the connections between the faucet, supply lines, and shut-off valves. Check for any signs of water leakage, such as drips or puddles.
- Look for water accumulation: Pay attention to any water accumulation or moisture around the base of the faucet or underneath the sink. Even small amounts of water can indicate potential leaks.
- Run the faucet: Turn on the faucet and let the water flow for a few minutes. Watch closely for any leaks that may occur during this time.
- Check the supply lines: Inspect the supply lines for any signs of leaks or dripping water. Make sure the connections are tight and secure.
- Take corrective measures: If you notice any leaks, tighten the connections further or consider using plumber’s tape or silicone sealant to create a better seal. If the leaks persist, consult a professional plumber for assistance.
It’s important to address any leaks promptly to prevent water damage to your sink, cabinets, or surrounding areas. Once you’ve ensured a leak-free installation, it’s time to move on to the final step: testing the faucet’s operation.
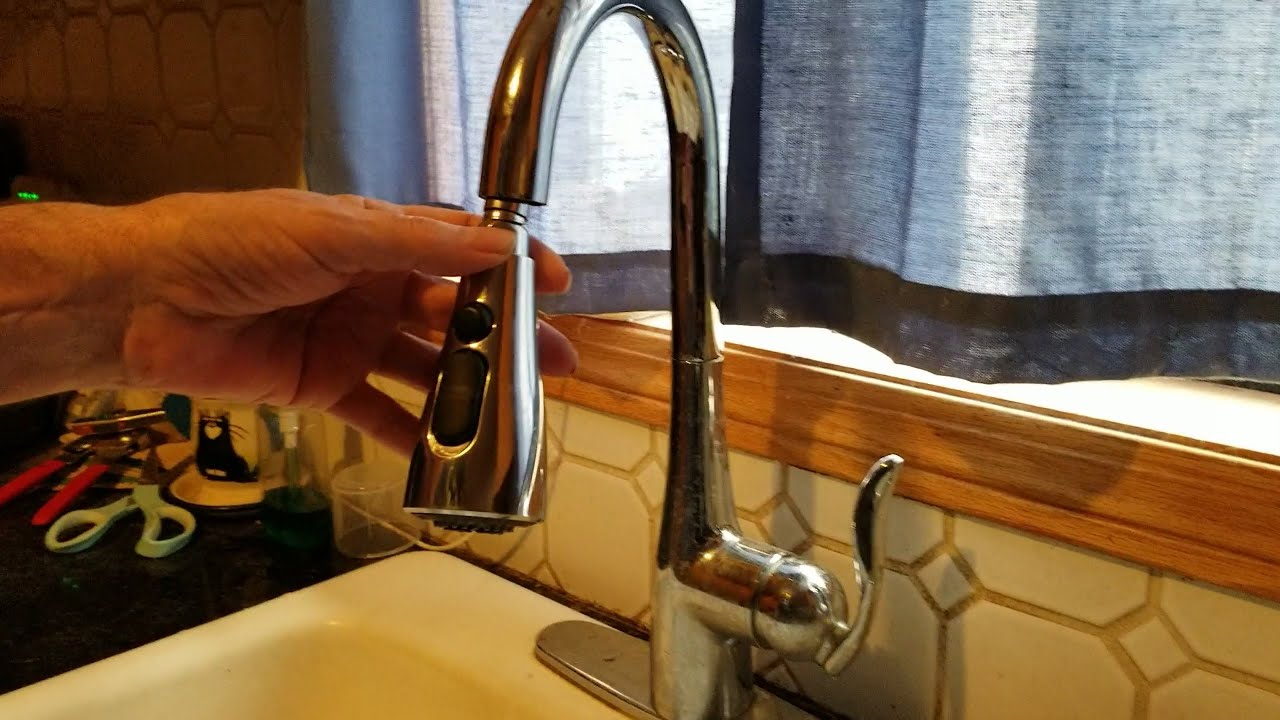
Step 6: Test the Faucet’s Operation
With the installation complete and any leaks resolved, it’s time to test the operation of your new Moen bathroom faucet. Follow these steps:
- Turn on the faucet: Gradually turn on the water by adjusting the handle or knobs on the faucet. Start with the cold water and then gradually introduce hot water.
- Check for smooth operation: Observe the flow of water from the faucet. Ensure that it runs smoothly and without any sputtering or irregularities. Test both hot and cold water separately to ensure proper functionality.
- Test all faucet components: Operate and test all the components of the faucet, such as the handles or knobs, sprayer (if applicable), and any other features. Ensure they function correctly and smoothly.
- Check the drain: While running the faucet, inspect the drain to ensure it’s working properly. Ensure water quickly drains without any clogging or backup.
- Adjust temperature and flow: Test the temperature control and flow adjustment features of the faucet. Ensure you can easily switch between hot and cold water and adjust the water flow to your desired level.
If you notice any issues during the testing process, such as inconsistent water flow, difficulty adjusting the temperature, or any other concerns, refer to the manufacturer’s instructions or contact Moen customer support for assistance.
Once you’re satisfied with the faucet’s operation, congratulations! You have successfully installed your new Moen bathroom faucet. Enjoy your refreshed and functional bathroom!
Conclusion
Installing a Moen bathroom faucet can be a rewarding and relatively simple DIY project that can enhance the look and functionality of your bathroom. By following the step-by-step instructions outlined in this article, you can successfully install your new faucet with ease.
Remember to gather all the necessary tools and materials before you begin, and take the time to properly prepare the sink and remove the old faucet. Installing the new Moen bathroom faucet involves applying plumber’s putty, securely mounting the faucet, and connecting the water supply lines.
After the installation, it’s important to carefully check for any leaks, inspect all connections, and ensure the proper operation of the faucet. Address any leaks immediately and make any necessary adjustments to achieve a leak-free installation.
Once your new faucet is in place and functioning properly, you can enjoy the benefits of a beautiful and functional bathroom. If you encounter any difficulties or have questions along the way, don’t hesitate to consult the manufacturer’s instructions or seek professional assistance.
Now that you have the knowledge and confidence to install a Moen bathroom faucet, go ahead and give your bathroom a fresh update. Your new faucet will not only provide you with a stylish and efficient water source but also give you the satisfaction of a successful DIY project.
Now that you've mastered installing your Moen bathroom faucet, why not tackle more home improvement projects? If you're considering a full bathroom upgrade, our guide on how long a bathroom renovation takes will help you understand the time commitment involved. Or, if your kitchen needs a refresh, learn about installing a kitchen faucet with a sprayer through our detailed instructions. Both articles offer practical tips and straightforward steps to enhance your living spaces efficiently.
Frequently Asked Questions about How To Install A Moen Bathroom Faucet
Was this page helpful?
At Storables.com, we guarantee accurate and reliable information. Our content, validated by Expert Board Contributors, is crafted following stringent Editorial Policies. We're committed to providing you with well-researched, expert-backed insights for all your informational needs.


0 thoughts on “How To Install A Moen Bathroom Faucet”