
Articles
How To Replace A Shower Faucet Cartridge
Modified: May 6, 2024
Learn how to replace a shower faucet cartridge with step-by-step instructions in this informative article. Find expert tips and tricks for a smooth DIY process.
(Many of the links in this article redirect to a specific reviewed product. Your purchase of these products through affiliate links helps to generate commission for Storables.com, at no extra cost. Learn more)
Introduction
Welcome to our comprehensive guide on how to replace a shower faucet cartridge. Over time, shower faucet cartridges can become worn out or damaged, leading to leaks, inconsistent water temperature, or a loss of water pressure. Fortunately, replacing the cartridge is a relatively simple DIY task that can save you time and money compared to hiring a plumber.
In this article, we will walk you through the step-by-step process of replacing a shower faucet cartridge, from gathering the necessary tools and materials to testing the new cartridge. By following these instructions, you can regain control over your shower’s performance and enjoy a refreshing and leak-free bathing experience.
Before we dive into the details, it’s important to note that there are various types of shower faucet cartridges, and the specific replacement process may vary depending on the make and model of your existing faucet. It’s always a good idea to consult the manufacturer’s instructions or seek professional advice if you are unsure about any aspect of the replacement.
Now, without further ado, let’s get started on replacing your shower faucet cartridge!
Key Takeaways:
- Easily replace your shower faucet cartridge with simple DIY steps, saving time and money while regaining control over your shower’s performance for a refreshing and leak-free bathing experience.
- Prioritize safety, gather essential tools, and follow manufacturer’s instructions to successfully install a new shower faucet cartridge, ensuring proper water flow, temperature control, and a comfortable shower experience.
Read more: How To Replace A Kitchen Faucet Cartridge
Step 1: Gather the necessary tools and materials
Before you begin replacing the shower faucet cartridge, you’ll need to gather a few essential tools and materials. Having everything prepared in advance will streamline the process and make your task much more efficient.
Here’s a list of the tools and materials you’ll need:
- Adjustable wrench
- Screwdriver (Phillips or flathead, depending on your faucet)
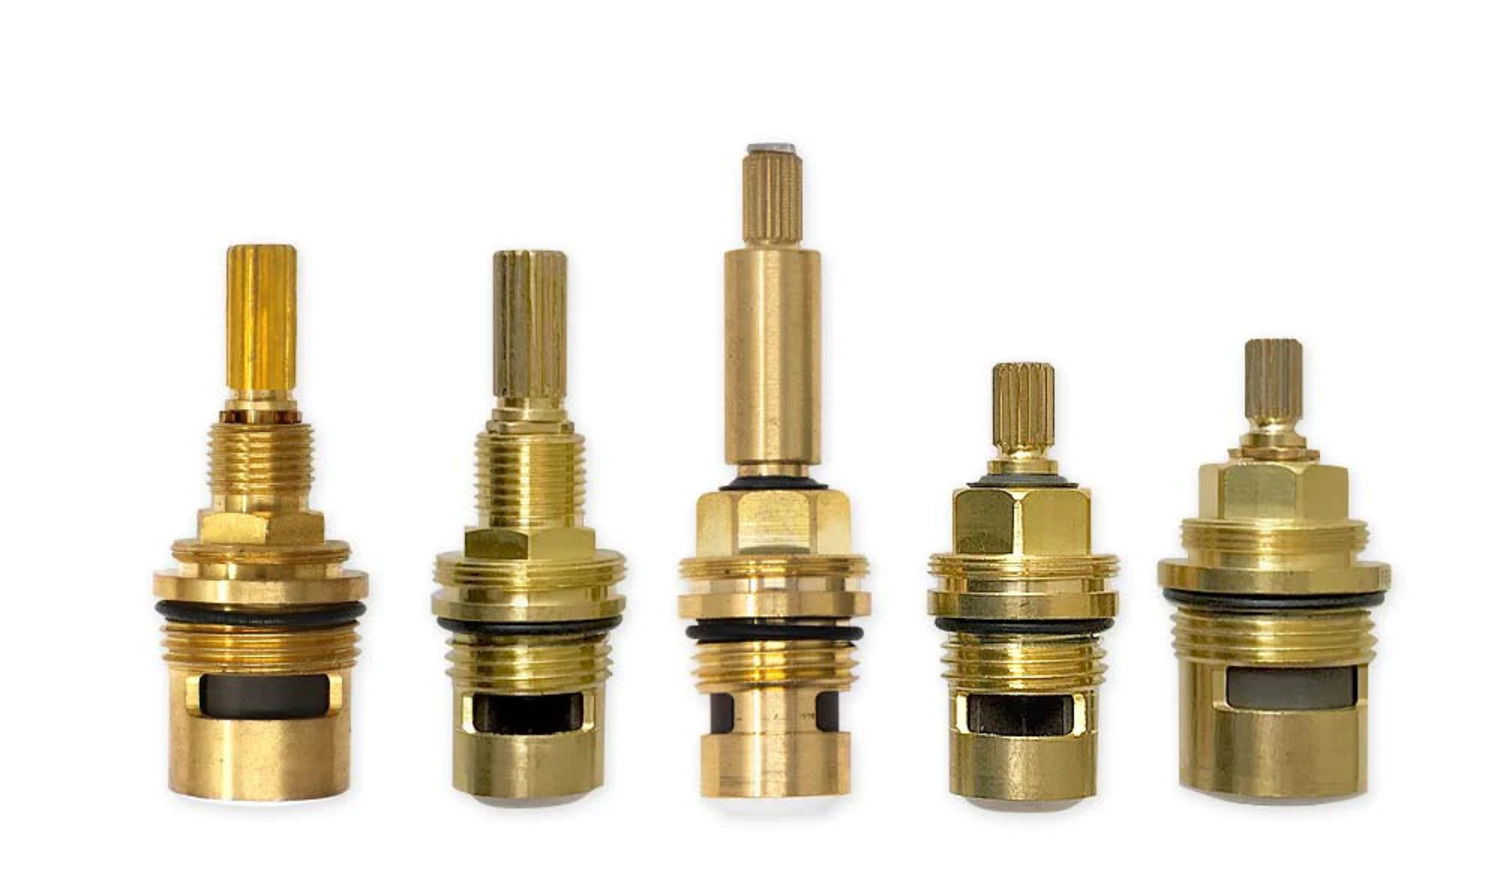
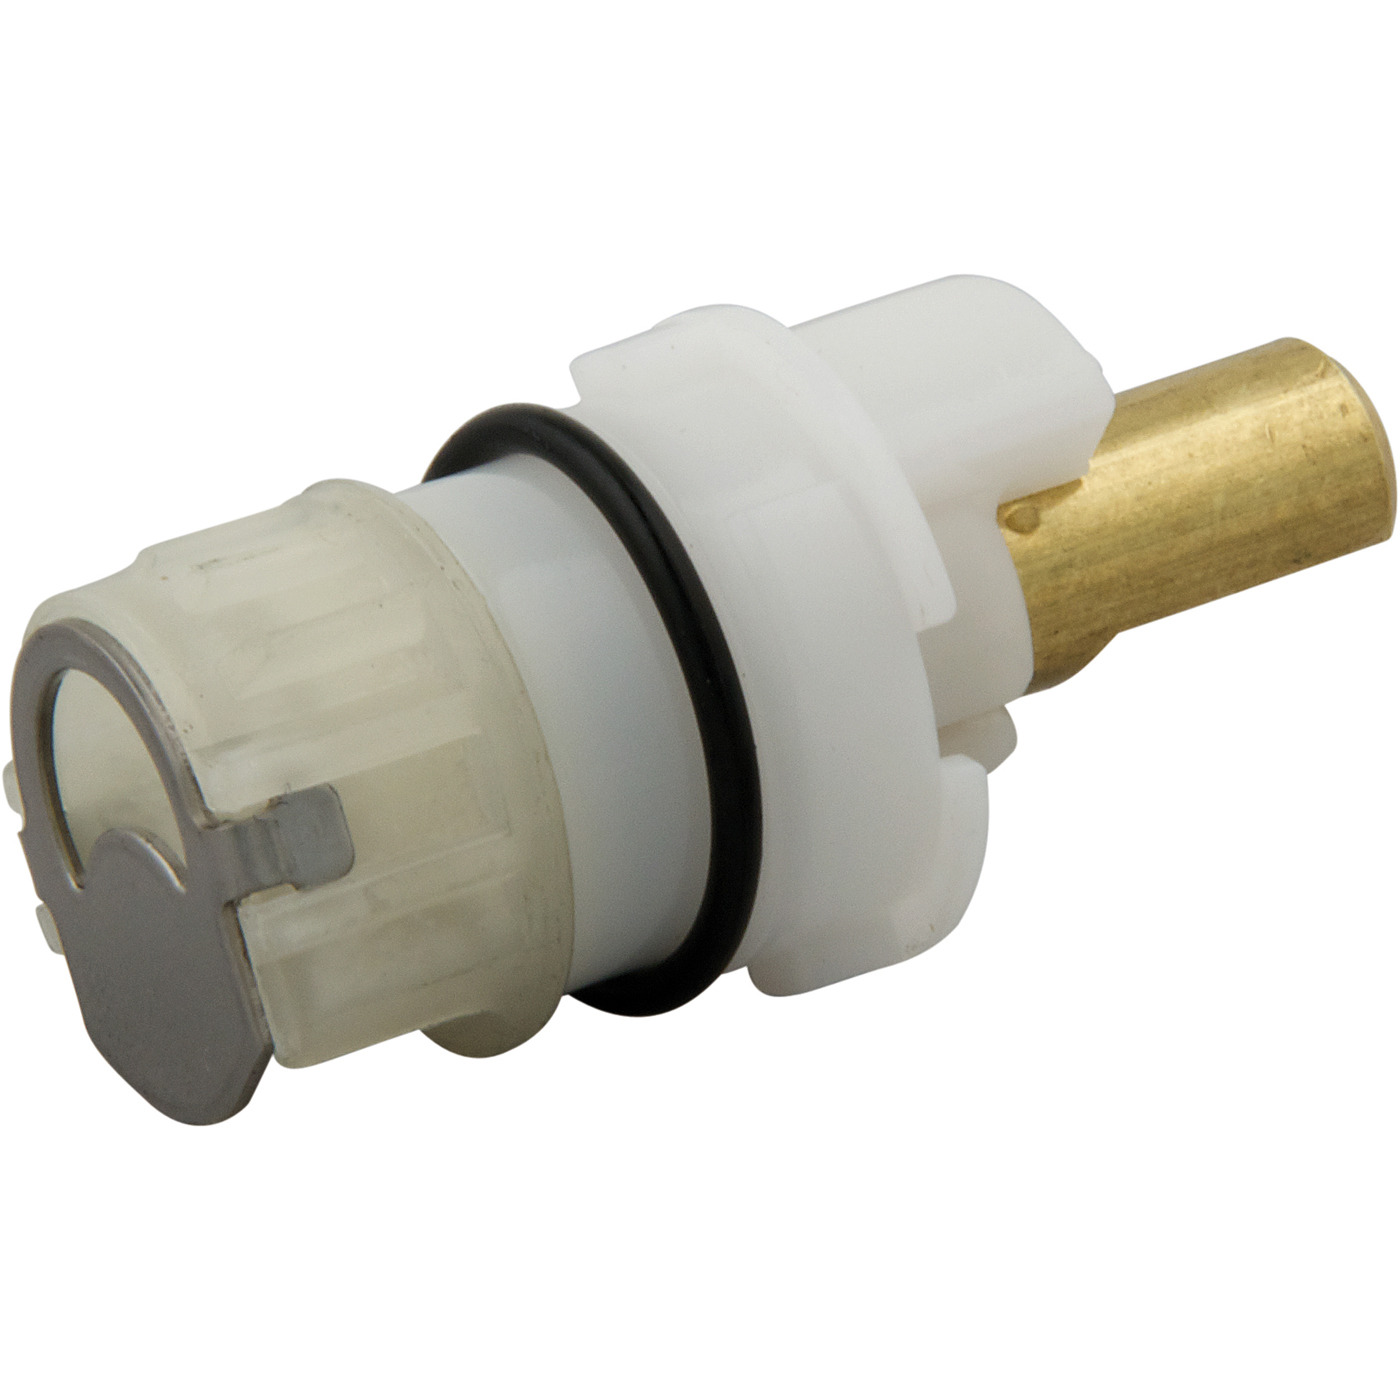
- Replacement shower faucet cartridge
- Plumber’s tape (also known as Teflon tape)
- Rag or towel
- Bucket or container
The adjustable wrench will be used to loosen and tighten the various nuts and connections, while the screwdriver will help you remove any screws or handles holding the faucet together. The replacement shower faucet cartridge is, of course, the most important item on the list as it will be the heart of your new shower system.
Plumber’s tape is an essential material used to create a watertight seal between threaded plumbing connections. It will help prevent any leaks or drips once you have installed the new cartridge. A rag or towel will come in handy to wipe away any excess water, and a bucket or container can be used to catch any water that may drip during the process.
Once you have acquired all the necessary tools and materials, you’ll be well prepared to move on to the next step: turning off the water supply.
Step 2: Turn off the water supply
Before you start working on replacing the shower faucet cartridge, it is essential to turn off the water supply to prevent any potential leaks or water damage. Here’s how to do it:
- Locate the main water shut-off valve for your home. This valve is usually located near the water meter, in the basement, or near the water heater.
- Turn the valve clockwise (to the right) until it is fully closed. This will shut off the water supply to your entire home.
- Once the water supply is turned off, relieve any remaining pressure in the plumbing system by opening a few faucets and letting the water run until it stops.
By turning off the water supply and relieving the pressure, you minimize the risk of water spraying or leaking while you work on replacing the shower faucet cartridge. It’s important to ensure that there is no water flow before proceeding to the next steps.
Note: If you have difficulty locating or turning off the main water shut-off valve, or if you are unsure about the procedure, it is recommended to consult a professional plumber for assistance.
With the water supply turned off, you are now ready to move on to the next step: removing the faucet handle.
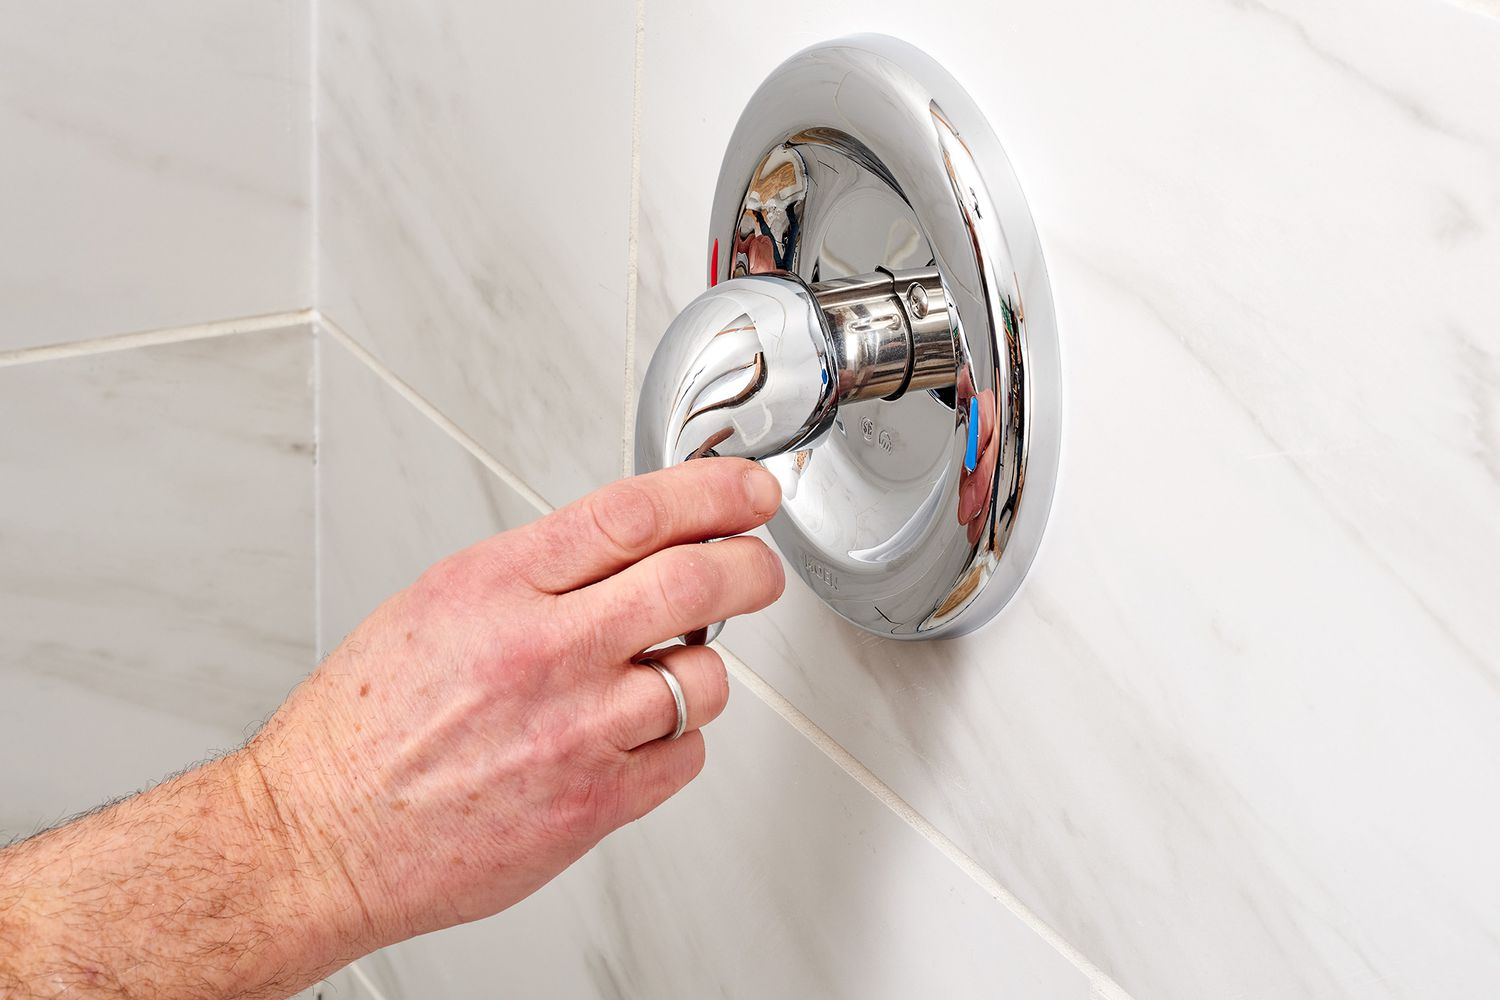
Step 3: Remove the faucet handle
Now that you have turned off the water supply, it’s time to remove the faucet handle. This step may vary depending on the type of faucet you have, but the general process is as follows:
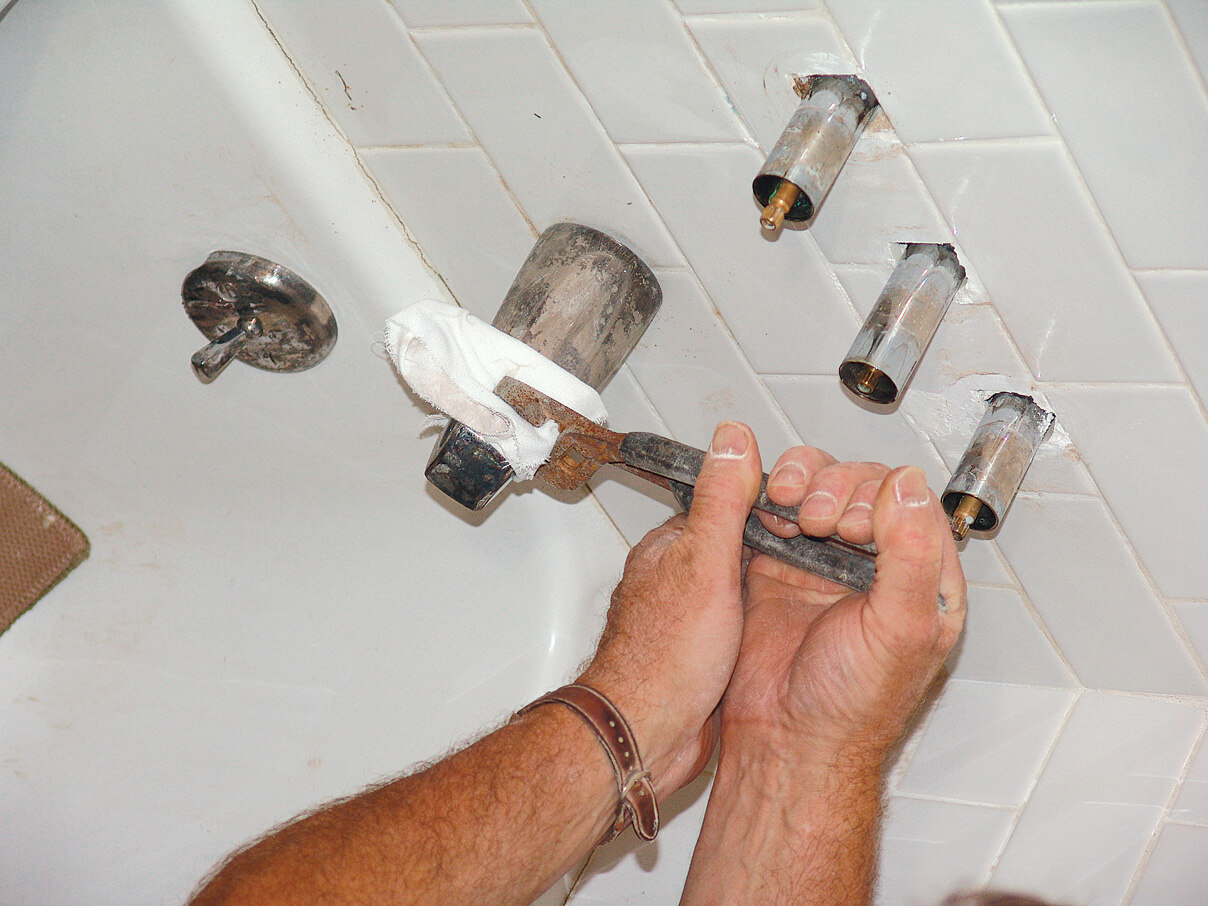
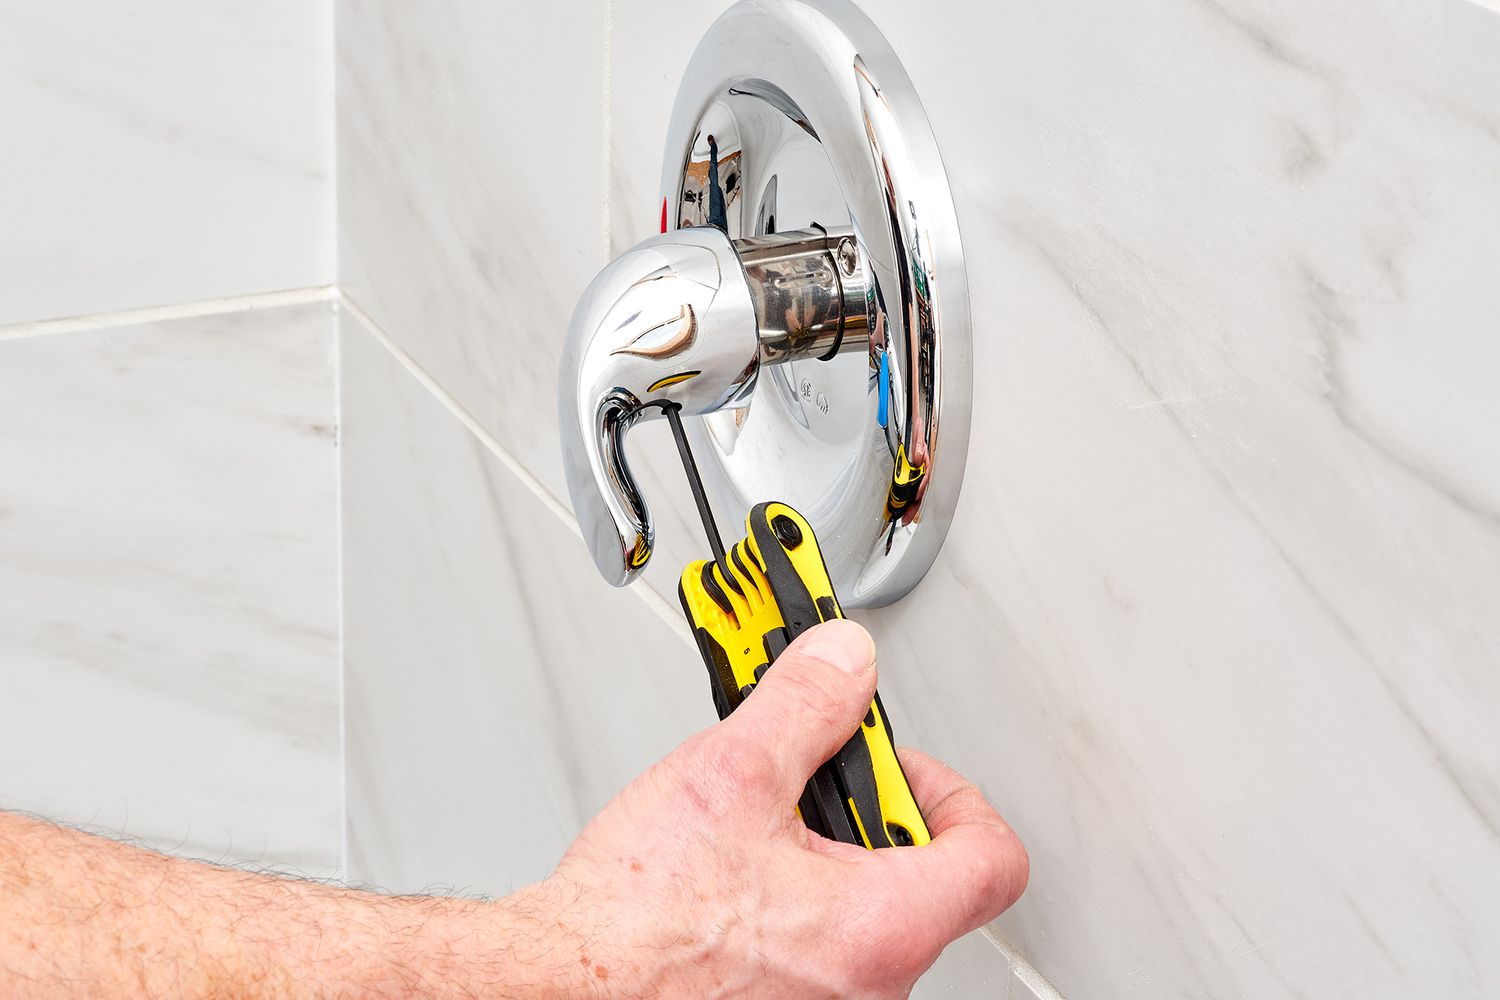
- Locate the screw or set screw that holds the handle in place. This is usually located under a plastic or metal cap on the top or side of the handle.
- Use a screwdriver (Phillips or flathead, depending on the screw type) to remove the screw. Be sure to keep it in a safe place as you will need it later during reassembly.
- Once the screw is removed, carefully pull the handle away from the faucet body. It may require a bit of force, but be gentle to avoid damaging the handle or the surrounding area.
- If the handle is stuck, you can try using a handle puller tool or gently tapping the base of the handle with a rubber mallet to loosen it.
With the faucet handle removed, you will have better access to the cartridge and other components of the faucet. Set the handle aside and keep it in a safe place for now.
Every faucet is unique, so consult the manufacturer’s instructions if you encounter any difficulties during this step. Additionally, taking photos or making notes of the handle’s orientation and position may be helpful for reassembly later.
Now that the faucet handle is removed, you’re ready to move on to the next step: removing the cartridge retaining clip or nut.
Step 4: Remove the cartridge retaining clip
With the faucet handle removed, it’s time to move on to removing the cartridge retaining clip or nut. The specific method will depend on the type of shower faucet you have, but here are the general steps to follow:
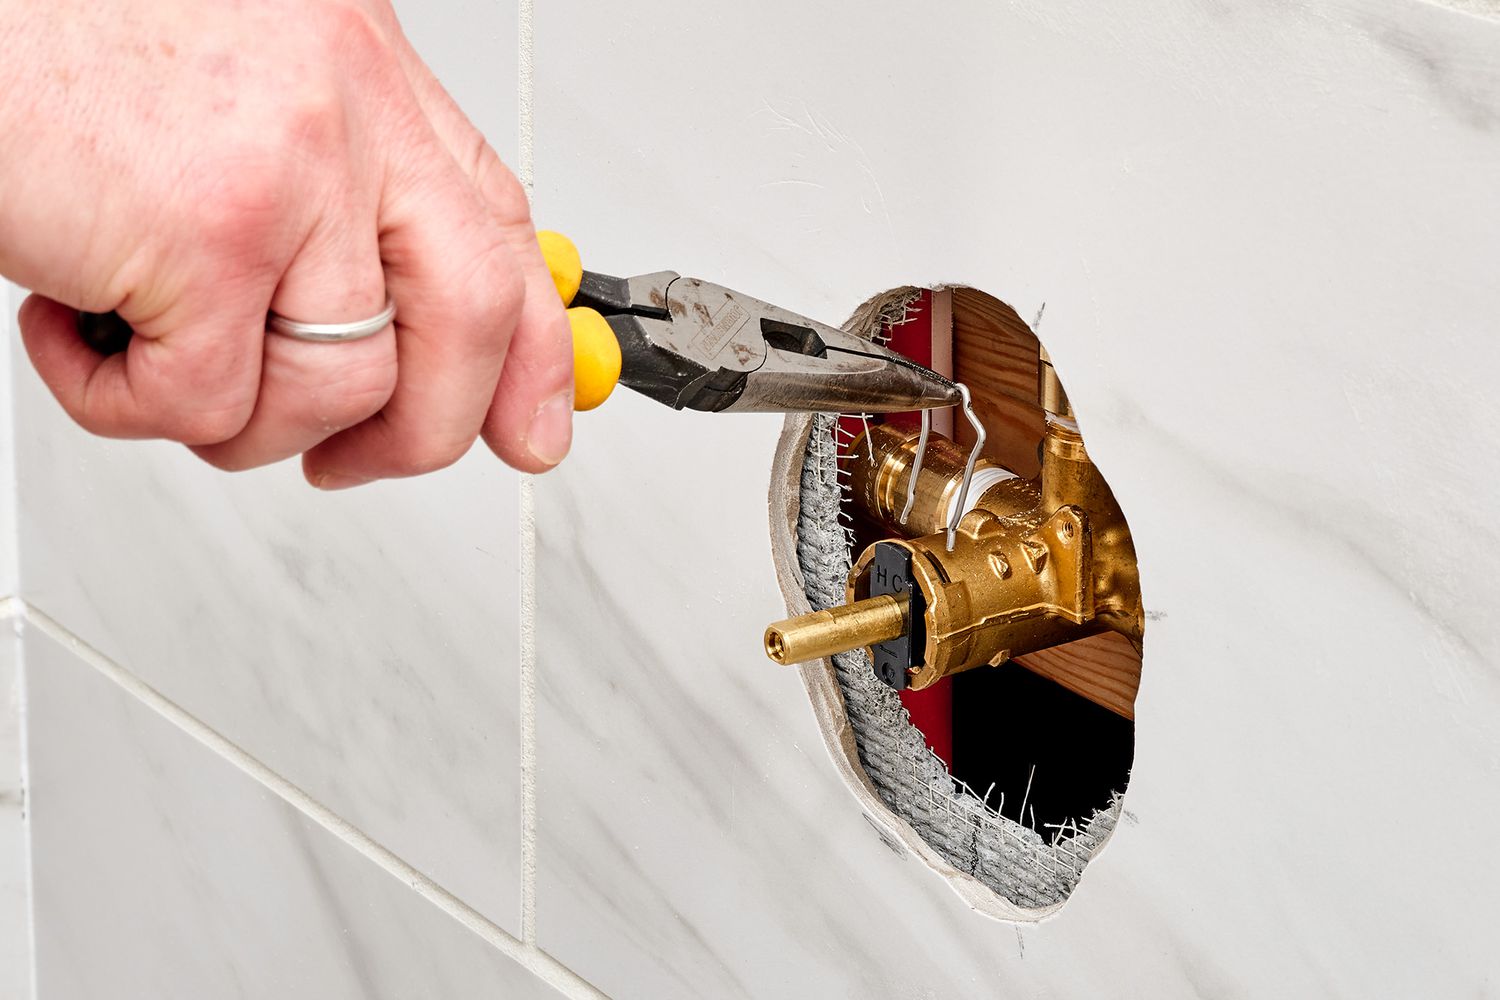
- Locate the cartridge retaining clip or nut. This is typically located on the valve body, holding the cartridge in place. It may be a small metal or plastic clip that needs to be pulled out, or a nut that needs to be unscrewed.
- If you see a retaining clip, use a pair of pliers to grasp it firmly and carefully pull it straight out. Be cautious not to damage the surrounding components.
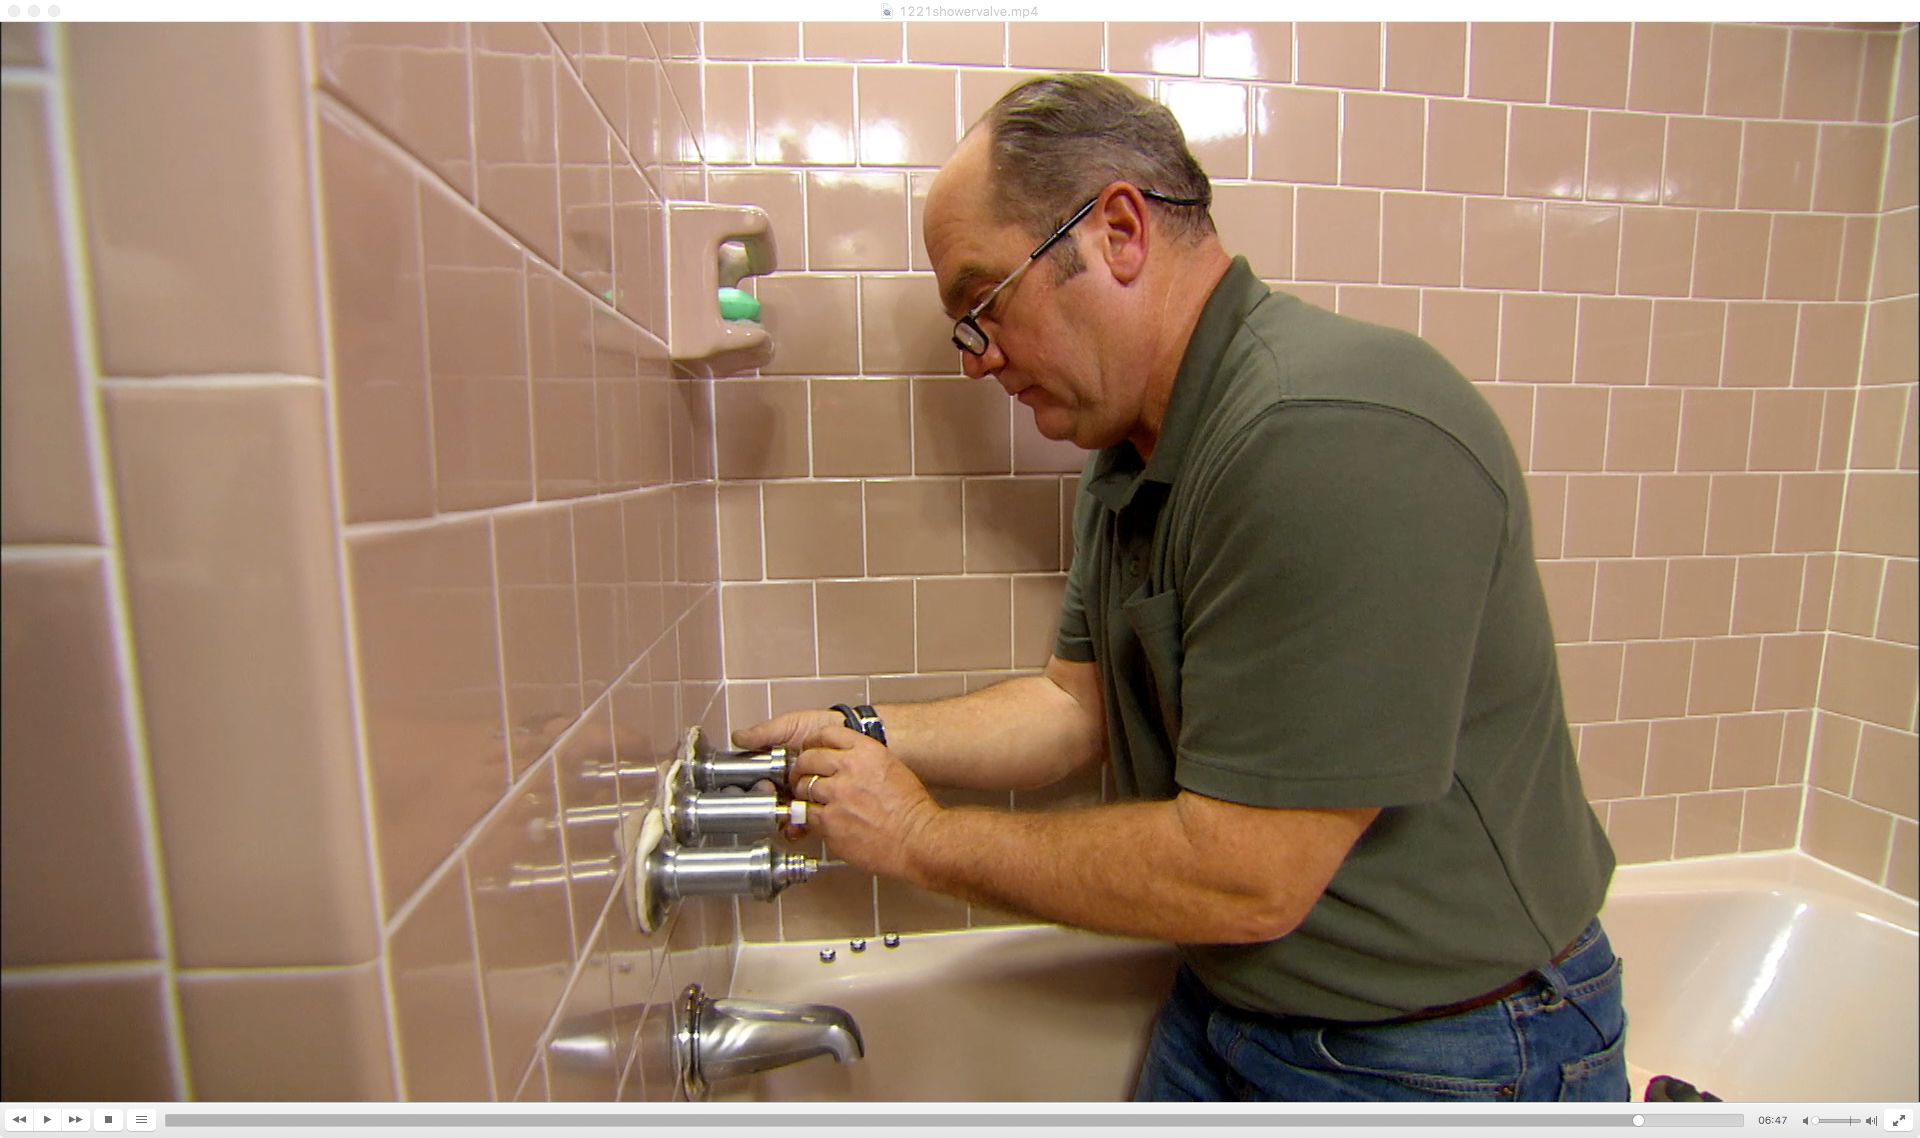
- If there is a retaining nut, use an adjustable wrench to loosen it by turning it counterclockwise. Once loose, continue to unscrew it by hand until it can be removed completely.
- Some faucets may have both a retaining clip and a retaining nut. In such cases, remove the clip first, and then proceed to remove the nut.
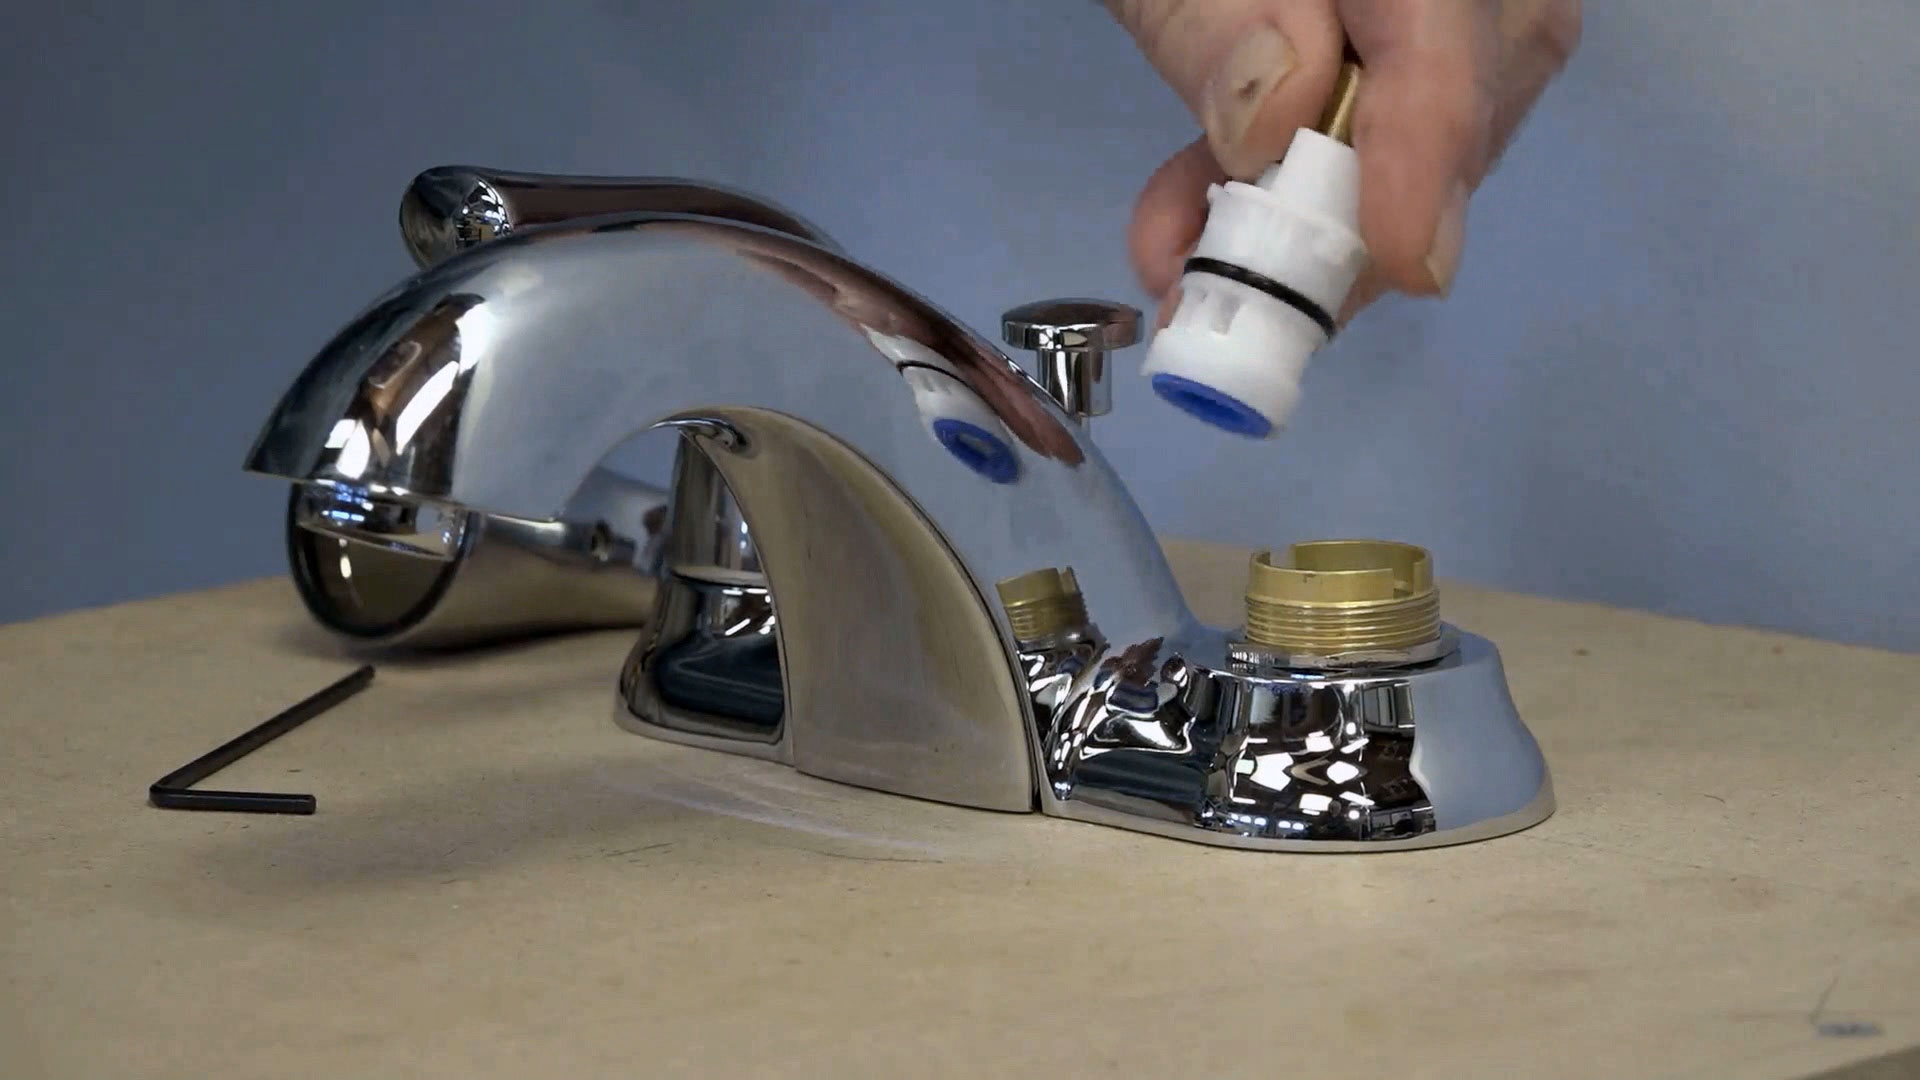
Once the cartridge retaining clip or nut has been removed, you can easily slide out the old cartridge from the valve body.
It’s important to note that some cartridges may be stubborn and require a bit of force to remove. If you’re having difficulty, try gently wiggling the cartridge back and forth while pulling to loosen it. In extreme cases, a cartridge puller tool may be necessary to extract it.
Remember to keep the retaining clip or nut in a safe place, as you may need it for reassembling the new cartridge.
Now that the cartridge retaining clip or nut has been removed, it’s time to proceed to the next step: taking out the old cartridge.
Read more: How To Replace Moen Kitchen Faucet Cartridge
Step 5: Take out the old cartridge
Now that the cartridge retaining clip or nut has been removed, it’s time to take out the old cartridge. Follow these steps to do so:
- Grab the cartridge firmly and gently pull it straight out of the valve body. You may need to wiggle it slightly to loosen it.
- Inspect the cartridge for any signs of damage or wear. Look for cracks, debris, or mineral buildup that may have caused the cartridge to malfunction.
- If you notice any damage or excessive buildup, clean the valve body with a small brush or cloth to remove any debris or sediment that may have accumulated.
- Take this opportunity to inspect the O-rings and seals on the cartridge. If they are worn or damaged, it is recommended to replace them with new ones to ensure a proper seal.
Removing the old cartridge can sometimes be challenging, especially if it has been in place for a long time. If you’re having difficulty, you can try using a cartridge puller tool specifically designed for this purpose. These tools provide additional leverage and help to safely remove stubborn cartridges without damaging the valve body.
Once the old cartridge is removed, set it aside and dispose of it properly. Make sure to clean any debris or sediment from the valve body to prepare for the installation of the new cartridge.
Now that the old cartridge is out, you’re ready to move on to the next step: installing the new cartridge.
When replacing a shower faucet cartridge, make sure to turn off the water supply to the shower before beginning the replacement process to avoid any water damage.
Step 6: Install the new cartridge
With the old cartridge removed, it’s time to install the new one. Follow these steps to properly install the new shower faucet cartridge:
- Before inserting the new cartridge, make sure to lubricate the O-rings on the cartridge with a small amount of plumber’s grease. This will help ensure a smooth installation and create a watertight seal.
- Align the new cartridge with the valve body, ensuring that it is properly oriented according to the manufacturer’s instructions. The cartridge should easily slide into place.
- Push the cartridge firmly into the valve body until it is fully seated. You should feel or hear a click when it is properly positioned.
- If your cartridge has a retaining clip, reinsert it into the designated slot to secure the cartridge in place. Ensure that the clip is fully engaged.
- If your cartridge has a retaining nut, hand-tighten it onto the valve body by turning it clockwise. Use an adjustable wrench to snugly tighten the nut, but be careful not to over-tighten, as it may damage the cartridge or the valve body.
It’s crucial to refer to the manufacturer’s instructions or the packaging of the new cartridge to ensure the proper installation technique. Each cartridge may have specific guidelines and requirements.
Once the new cartridge is securely installed, double-check that it is properly seated and aligned. Any misalignment or incomplete installation may cause leaks or functionality issues.
Now that the new cartridge is in place, you’re ready to move on to the next step: replacing the faucet handle.
Step 7: Replace the faucet handle
Now that the new cartridge is securely installed, it’s time to put the faucet handle back in place. Here’s how to replace the faucet handle:
- Line up the faucet handle with the cartridge stem. Ensure that any grooves or notches on the handle align with the corresponding features on the cartridge.
- Slide the handle onto the cartridge stem and push it firmly into place. You may need to apply a bit of pressure to fully insert the handle.
- If the handle has a screw or set screw, make sure to find the hole on the handle or the cartridge stem where the screw will go.
- Insert the screw into the hole and tighten it using a screwdriver. Be careful not to overtighten, as it may damage the handle or the cartridge.
- If your faucet has a decorative cap covering the screw, carefully snap it back into place.
Once the faucet handle is replaced, give it a few turns to test its functionality. Ensure that it operates smoothly and securely and that it turns on and off without any issues.
Take a moment to visually inspect the handle and ensure that it is aligned properly and sits flush against the faucet body. Proper alignment will enhance the aesthetic appeal of your faucet and prevent any potential leaks.
With the faucet handle successfully replaced, you’re now ready to move on to the next step: turning on the water supply.
Step 8: Turn on the water supply
With the new cartridge and faucet handle in place, it’s time to turn on the water supply and restore water flow to your shower. Follow these steps to safely and effectively turn on the water supply:
- Locate the main water shut-off valve for your home, which you turned off before starting the replacement process.
- Turn the valve counterclockwise (to the left) until it is fully open. This will allow water to flow freely throughout your plumbing system.
- Once the water supply is turned on, go back to the shower and check for any leaks around the faucet handle or the cartridge.
- If you notice any leaks, shut off the water supply again and carefully inspect the cartridge and the handle connections. Ensure that everything is securely tightened and properly sealed.
- If you find any loose connections, tighten them using an adjustable wrench, and if necessary, apply plumber’s tape to create a watertight seal.
After ensuring there are no leaks, turn the water supply back on and watch for any signs of leakage or dripping. Remember to check for leaks both during and after the water flow has been established.
If you spot any leaks or continue to experience issues with water flow or temperature control, it may be necessary to reevaluate the installation or seek professional assistance.
With the water supply turned on and any potential leaks addressed, you’re ready to move on to the final step: testing the new shower faucet cartridge.
Read more: How To Replace A Delta Faucet Cartridge
Step 9: Test the new shower faucet cartridge
Now that the water supply is back on, it’s time to test the new shower faucet cartridge and ensure that everything is functioning correctly. Follow these steps to test the cartridge:
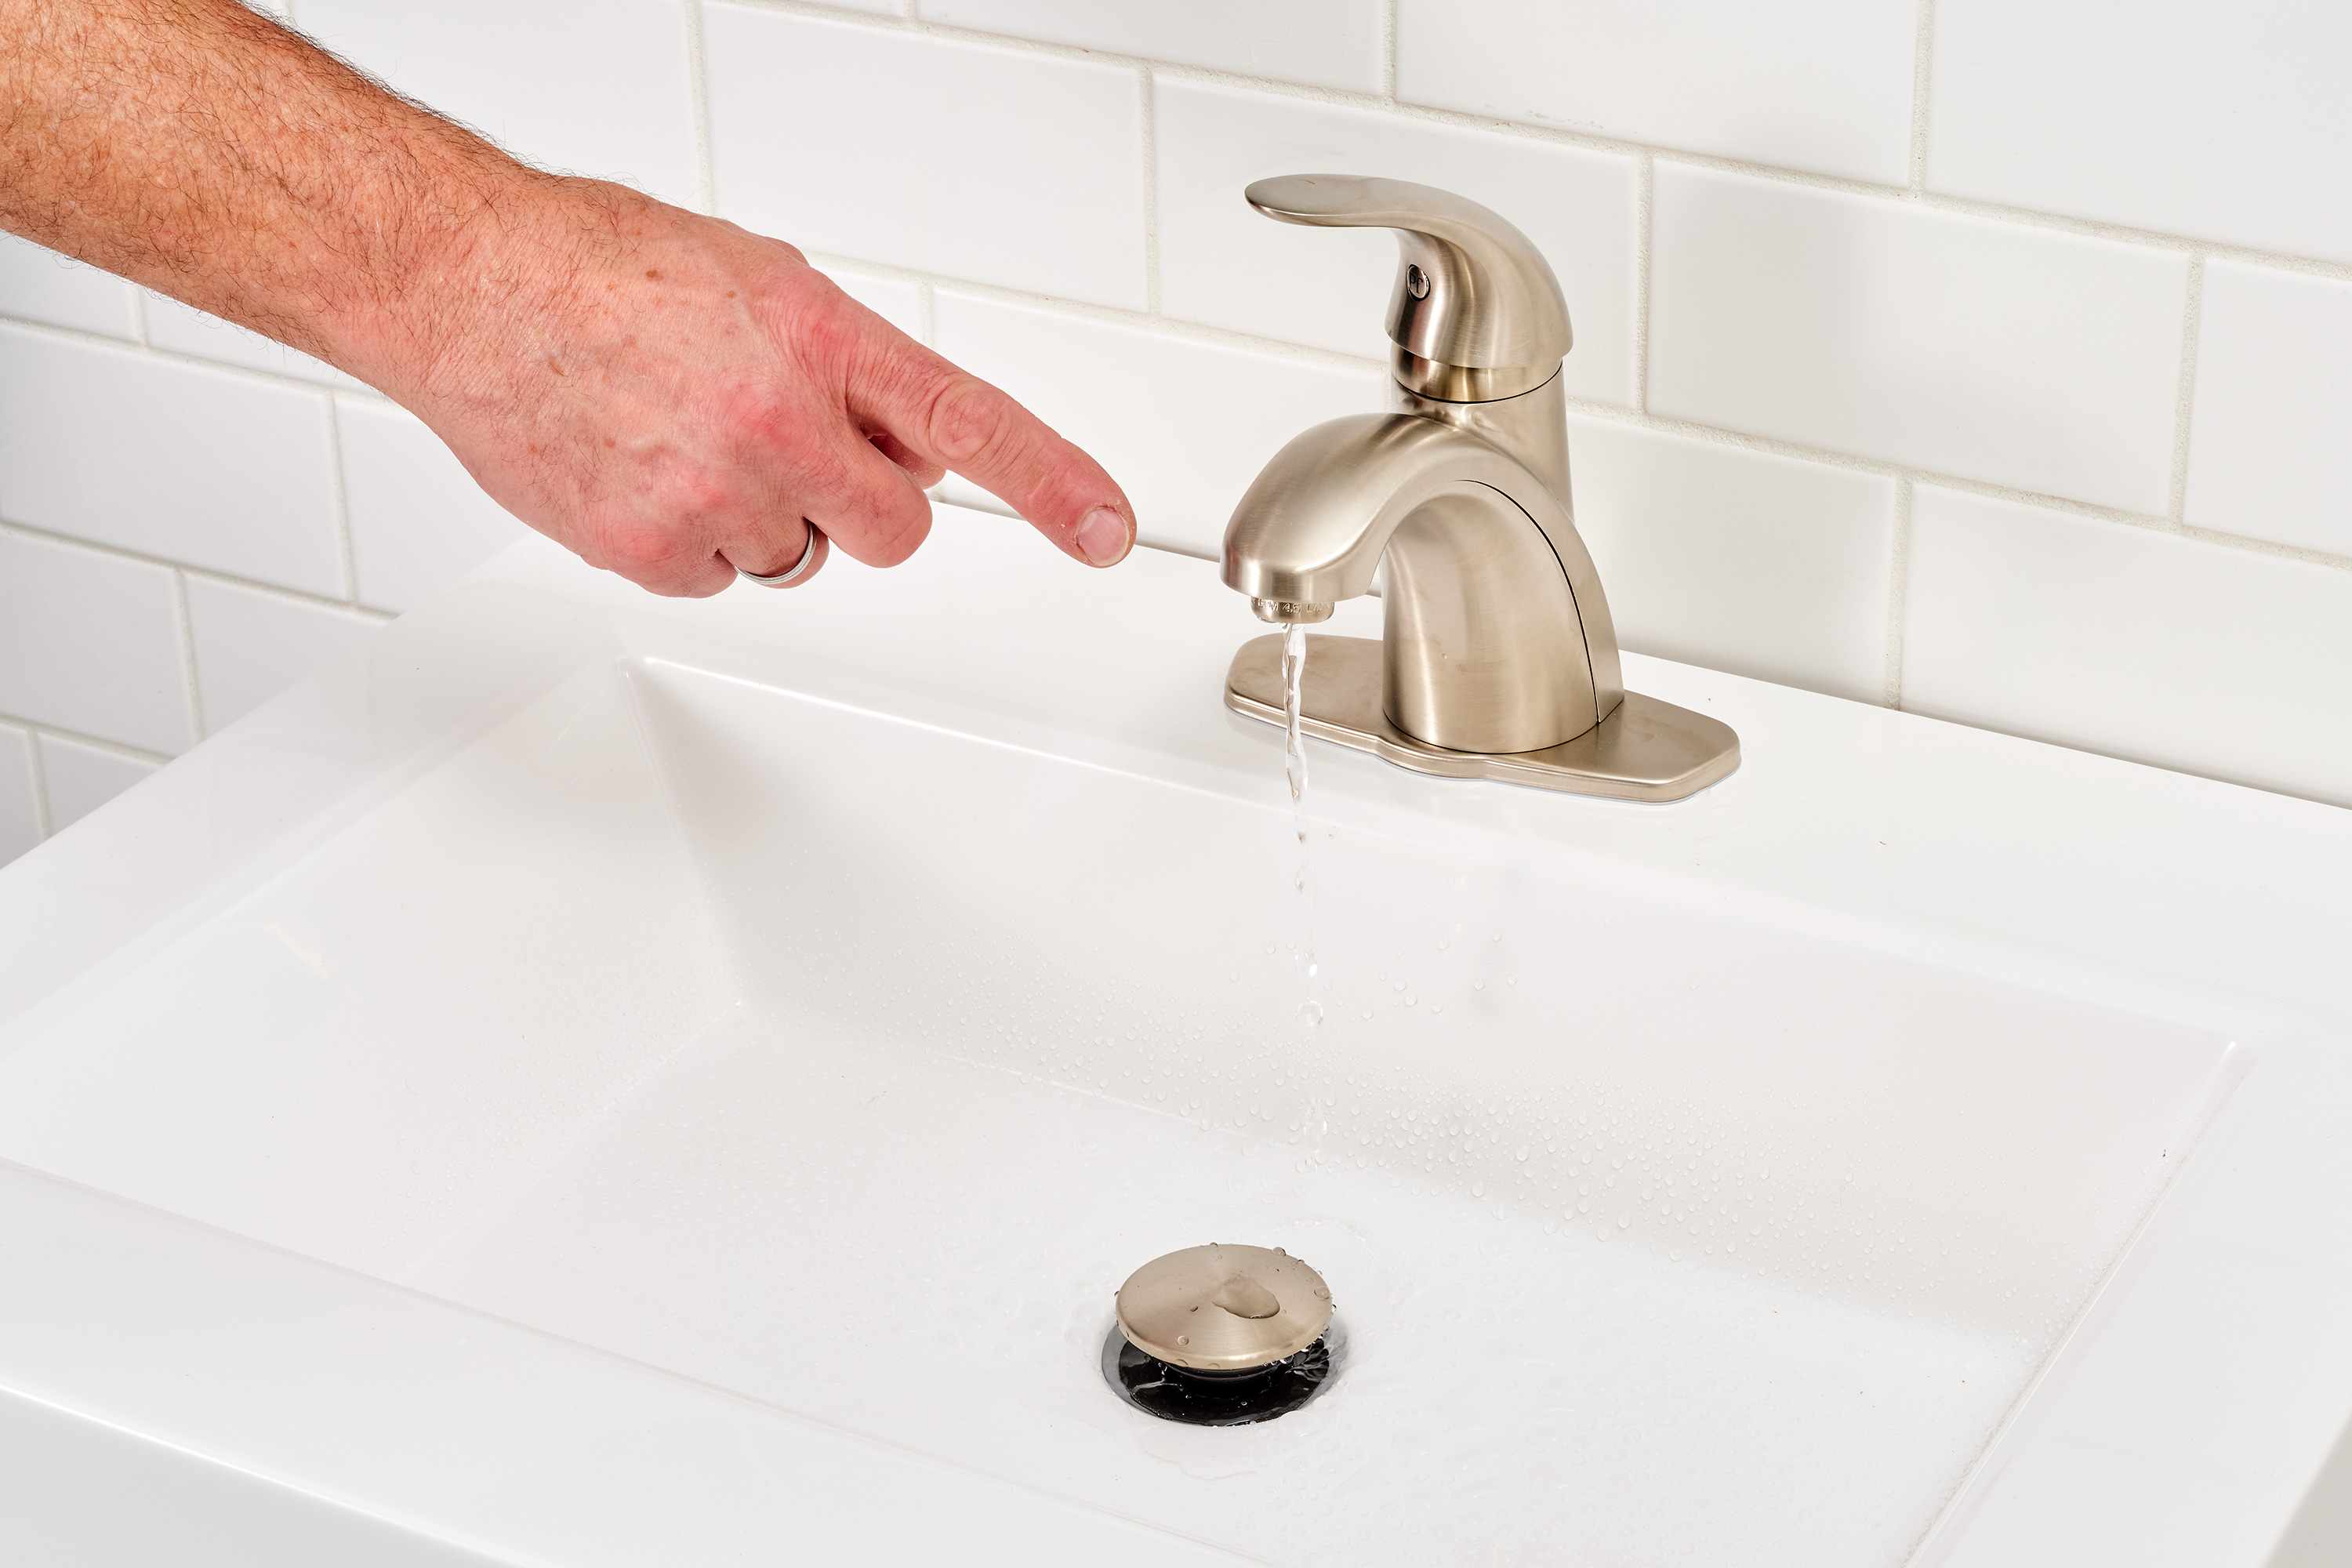
- Turn on the shower faucet to check for proper water flow. Ensure that both hot and cold water are coming out smoothly and without any unusual noises or sputtering.
- Test the temperature control by adjusting the hot and cold water knobs or handles. Pay attention to any changes in water temperature and make sure it maintains a consistent and comfortable level.
- Check for any leaks around the faucet handle or the cartridge. Look for any signs of dripping or water pooling around the shower area.
- If you notice any leaks or issues with water flow or temperature control, turn off the water supply and double-check the cartridge installation and connections. Make sure that everything is properly aligned, tightened, and sealed.
- If necessary, make adjustments or re-install the cartridge following the manufacturer’s instructions or seek professional assistance.
Performing a thorough test after the cartridge replacement ensures that your shower faucet is in proper working condition and you can enjoy a leak-free and comfortable shower experience.
If everything is functioning smoothly and there are no leaks or issues, congratulations! You have successfully replaced the shower faucet cartridge.
Remember to clean up any excess water and properly dispose of any old materials or cartridges you have removed during the process.
By following these steps, you have saved time and money by completing this DIY project. However, if you encounter any difficulties or are unsure about any aspect of the replacement process, it’s always recommended to consult a professional plumber for guidance.
Now go ahead and enjoy your refreshed and leak-free shower!
Conclusion
Replacing a shower faucet cartridge is a practical and manageable DIY task that can improve the functionality and efficiency of your shower. By following the step-by-step guide outlined in this article, you can successfully replace the cartridge and enjoy a leak-free and enjoyable shower experience.
Throughout the process, we covered essential steps such as gathering the necessary tools and materials, turning off the water supply, removing the faucet handle, removing the cartridge retaining clip or nut, taking out the old cartridge, installing the new cartridge, replacing the faucet handle, turning on the water supply, and testing the new shower faucet cartridge.
It’s important to note that the specific steps and techniques may vary depending on your faucet’s make and model, so always refer to the manufacturer’s instructions for guidance. Additionally, if you encounter any difficulties or are unsure about any aspect of the replacement process, it’s best to seek professional assistance.
By taking the time to properly replace the shower faucet cartridge, you can avoid leaks, inconsistent water temperature, and decreased water pressure. This DIY project helps you save time and money that would have otherwise been spent on hiring a professional plumber.
Remember to prioritize safety throughout the process by ensuring the water supply is turned off and by being cautious when handling tools and components. Take your time and carefully follow the steps outlined in this guide to achieve the desired results.
We hope this comprehensive guide has provided you with the knowledge and confidence to tackle your shower faucet cartridge replacement. With a little effort and attention to detail, you can enjoy a refreshing and leak-free shower for years to come.
Now that you've mastered replacing a shower faucet cartridge, why not tackle a bigger project? Upgrading your bathroom can be rewarding, but knowing what to expect time-wise helps plan effectively. Curious about the time commitment for upgrading your restroom? Our detailed guide on bathroom renovations outlines expected durations and factors that might influence the timeline. Get ready to transform your space efficiently!
Frequently Asked Questions about How To Replace A Shower Faucet Cartridge
Was this page helpful?
At Storables.com, we guarantee accurate and reliable information. Our content, validated by Expert Board Contributors, is crafted following stringent Editorial Policies. We're committed to providing you with well-researched, expert-backed insights for all your informational needs.

0 thoughts on “How To Replace A Shower Faucet Cartridge”