Articles
How To Repair A Moen Shower Faucet
Modified: October 20, 2024
Learn how to repair a Moen shower faucet with this comprehensive guide. Our articles provide step-by-step instructions and helpful tips to fix common issues, saving you time and money.
(Many of the links in this article redirect to a specific reviewed product. Your purchase of these products through affiliate links helps to generate commission for Storables.com, at no extra cost. Learn more)
Introduction
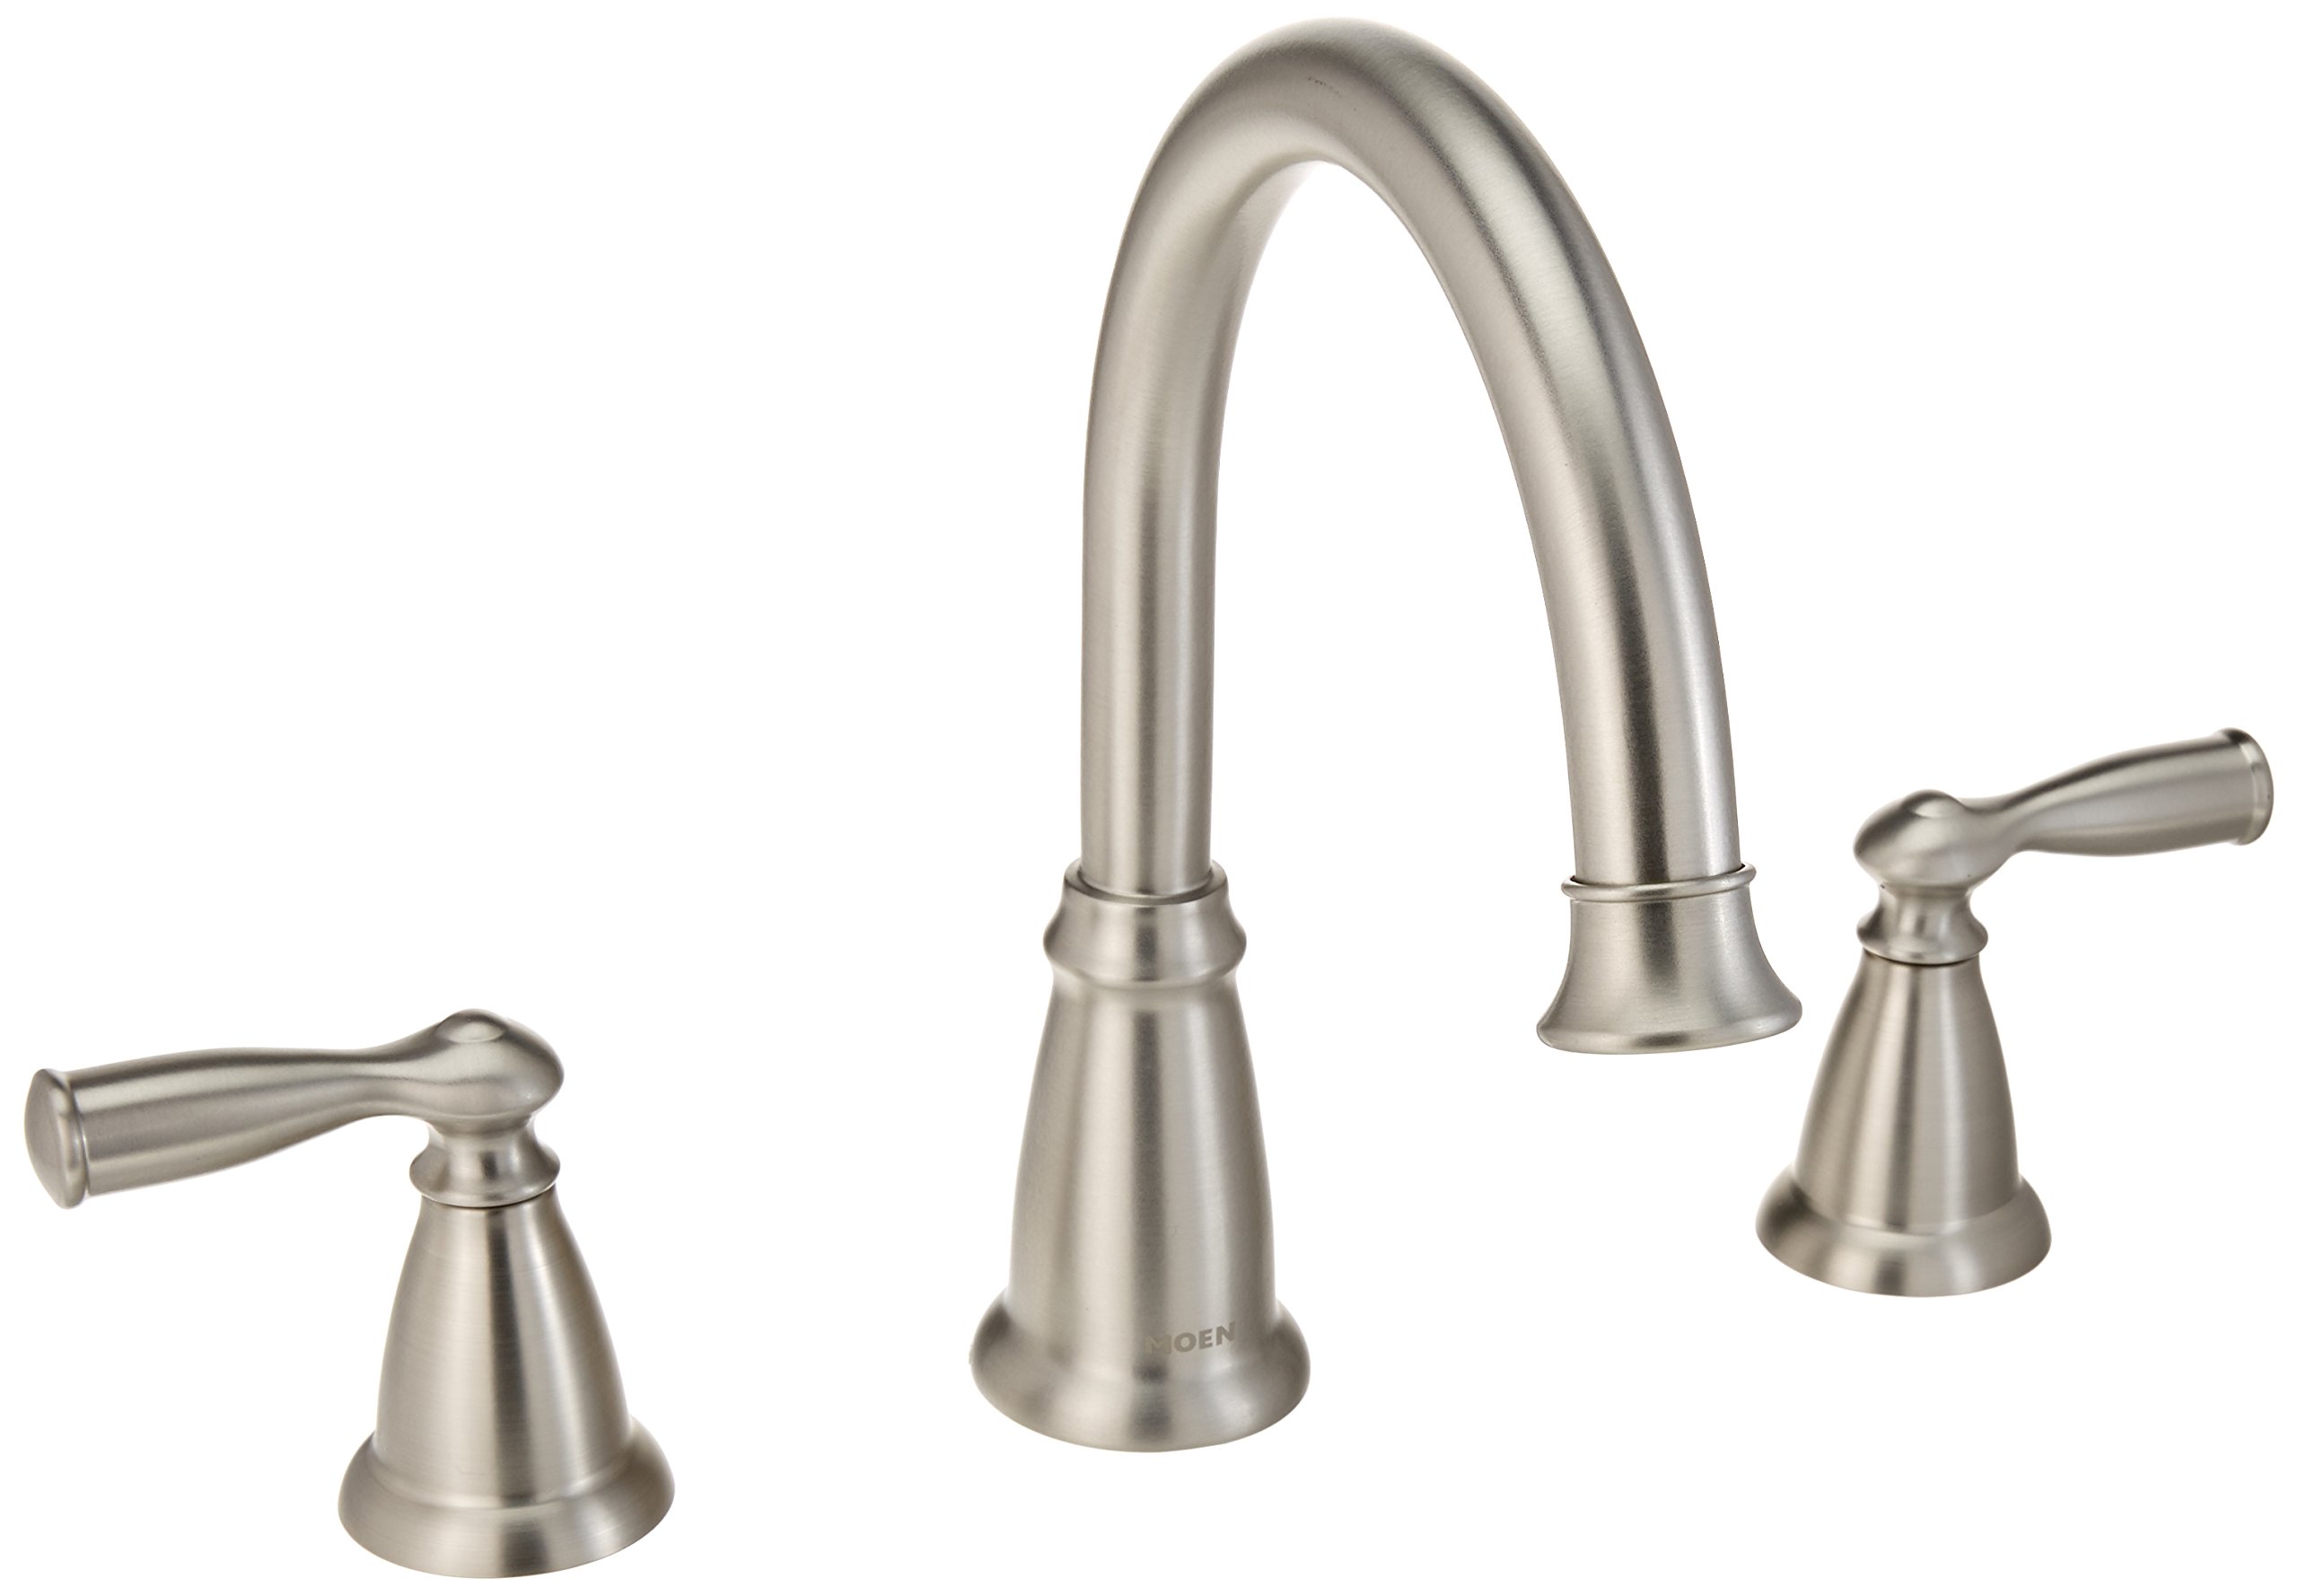
When it comes to your shower faucet, a broken or malfunctioning Moen shower faucet can be a real hassle. Not only does it disrupt your daily routine, but it can also lead to wasted water and an increase in your utility bills. Fortunately, repairing a Moen shower faucet is a relatively simple DIY project that can save you time and money.
In this article, we will guide you through the step-by-step process of repairing a Moen shower faucet. Whether you are dealing with a drip, a leak, or any other issue, we have got you covered. Before we get started, make sure you have the necessary tools and materials on hand to complete the job efficiently.
Key Takeaways:
- Repairing a Moen shower faucet is a manageable DIY project that can save time and money. By following the step-by-step guide and using the right tools, anyone can successfully fix leaks, drips, and other issues, restoring a properly functioning shower.
- Regular maintenance checks and prompt attention to leaks or irregularities can prolong the lifespan of a Moen shower faucet. Successfully repairing the faucet not only saves on potential plumber fees but also provides the satisfaction of accomplishing a DIY home improvement project.
Read more: How To Remove A Moen Kitchen Faucet
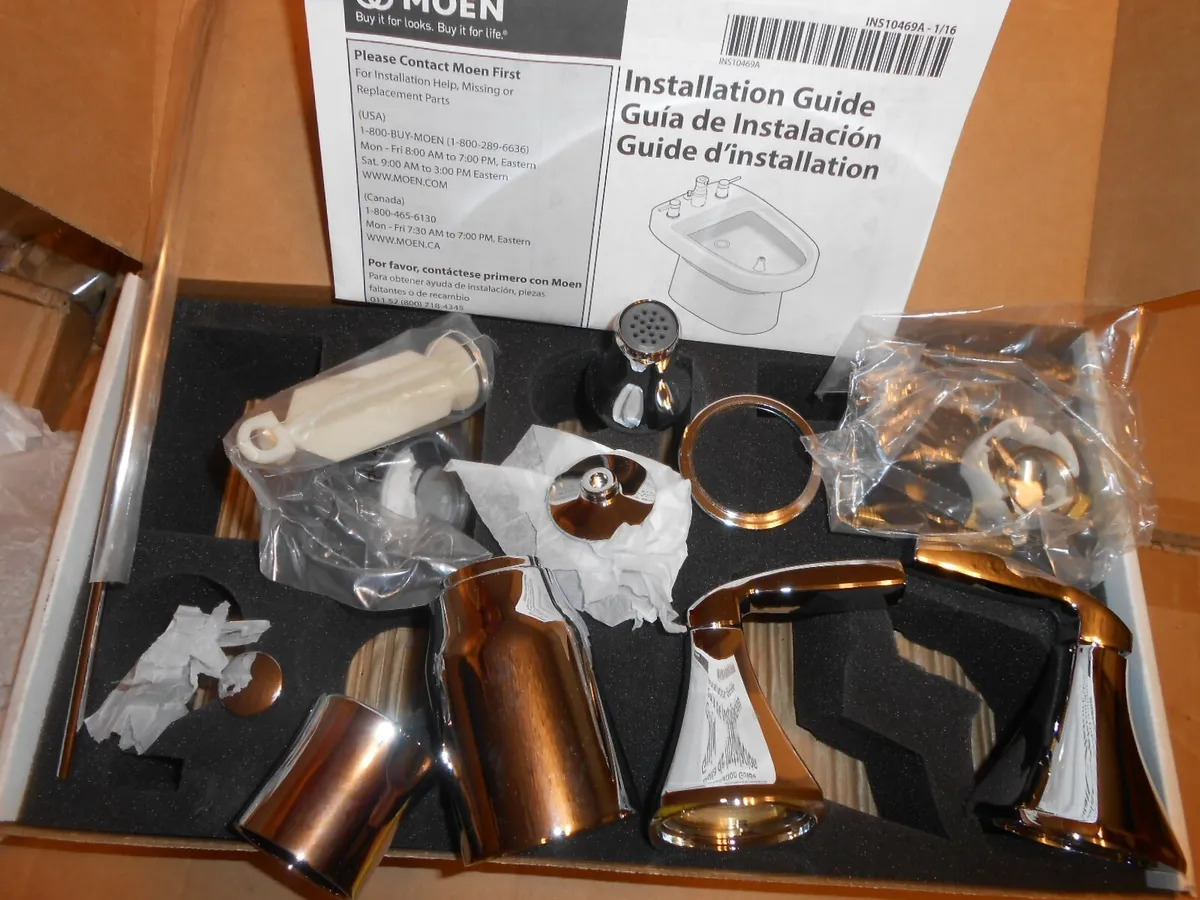
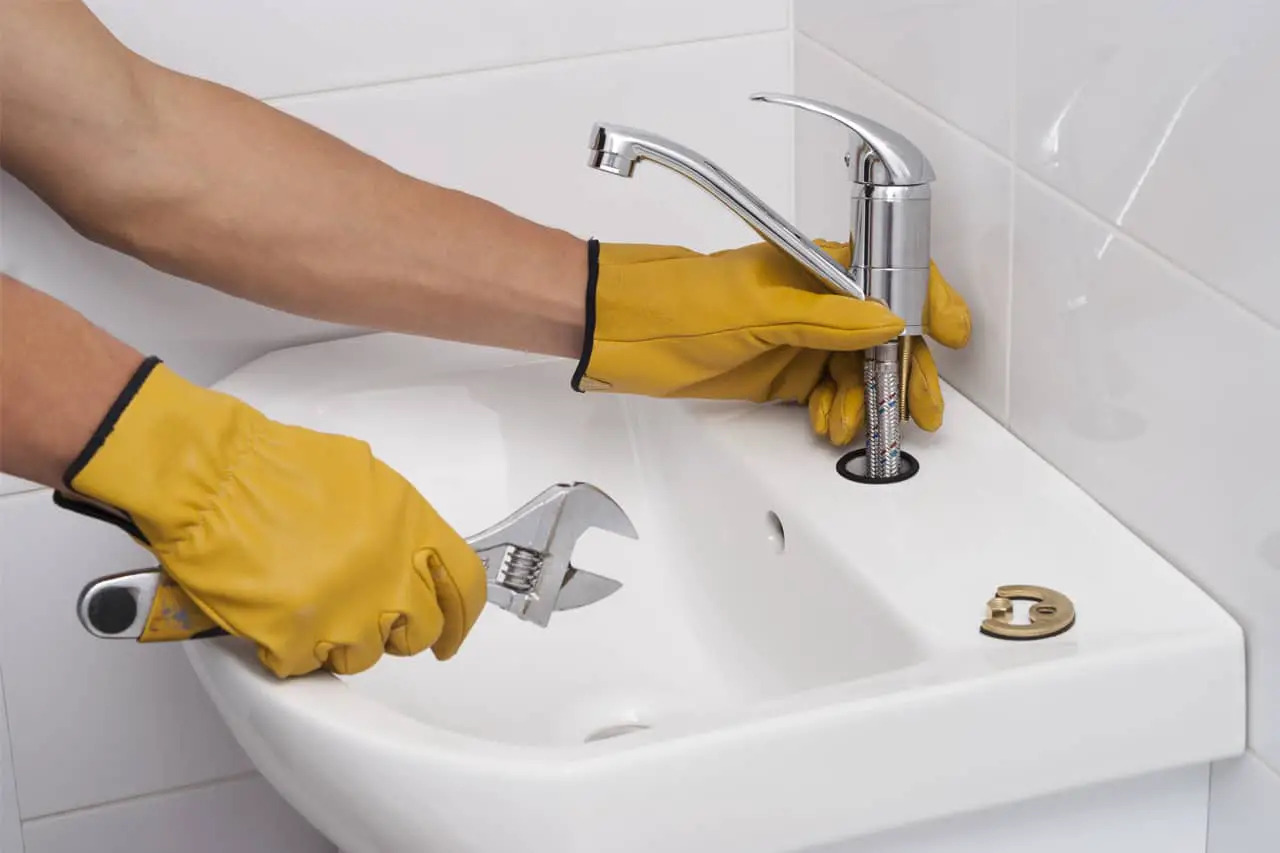
Tools and Materials Needed
Before you begin repairing your Moen shower faucet, gather the following tools and materials:
- Adjustable wrench
- Phillips screwdriver
- Allen wrench (if required)
- Replacement cartridge
- Plumber’s grease
- New O-rings (if necessary)
- Clean cloth or rag
- Bucket or container (to catch water)
Having these tools and materials readily available will ensure a smooth repair process and help you avoid interruptions. Now that you have everything you need, let’s get started on fixing your Moen shower faucet.
Step 1: Shut Off the Water Supply
The first step in repairing a Moen shower faucet is to shut off the water supply to the bathroom. This will prevent any accidental leaks or spurts of water while you work on the faucet.
Locate the shut-off valve for your bathroom. This is typically found near the shower or bathtub, either in the form of a valve handle or a lever. Turn the valve clockwise to shut off the water supply.
If you cannot find a dedicated shut-off valve for the bathroom, you may need to shut off the main water supply to your home. This can usually be done at the water meter or at the main valve near your water heater. Consult your home’s plumbing system layout or contact a professional if you are unsure.
Once the water supply is shut off, relieve any remaining pressure in the shower faucet by turning the faucet handle to the “on” position. This will drain any remaining water from the system.
Now that the water supply is safely turned off, you can move on to the next step in repairing your Moen shower faucet.
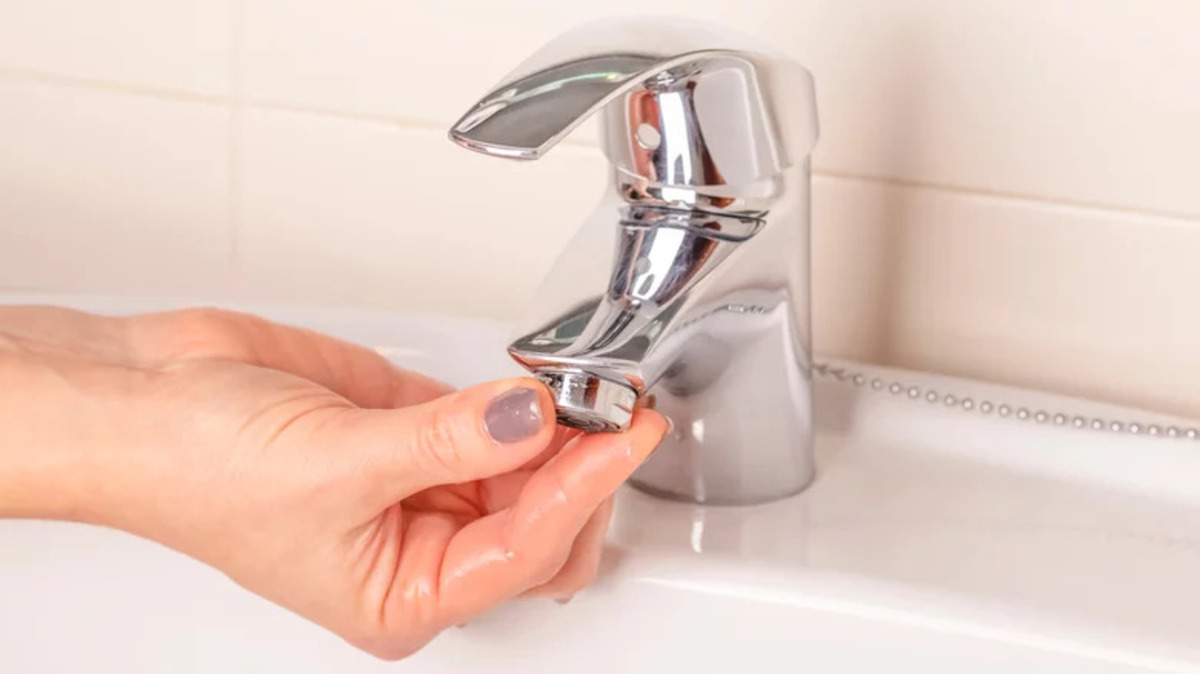
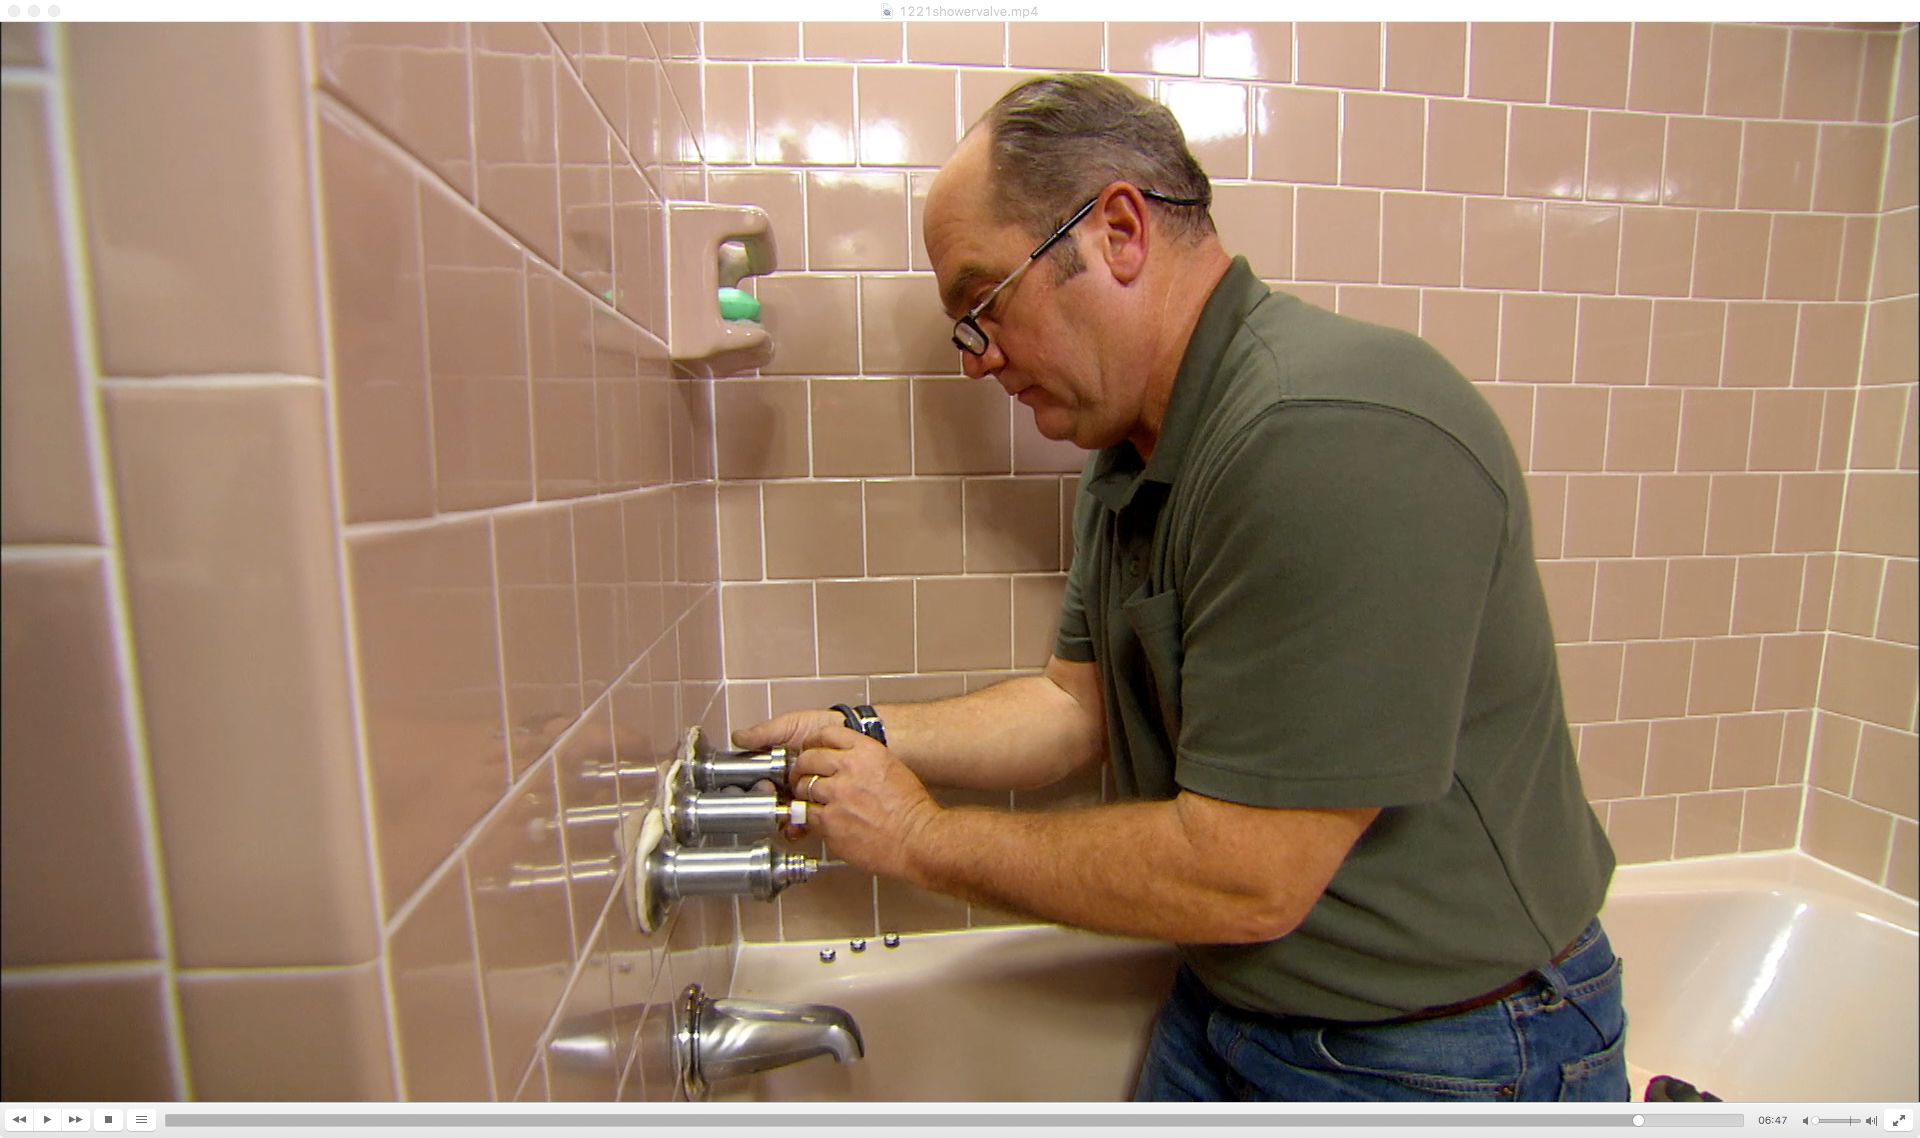
Step 2: Remove the Handle and Trim
With the water supply shut off, it’s time to remove the handle and trim of your Moen shower faucet. This will give you access to the cartridge, which is often the cause of the faucet issues.
Start by removing any decorative caps or covers on the handle. These are usually located at the base of the handle and can be easily pried off with a flat-headed screwdriver.
Once the caps are removed, you will find screws or Allen bolts securing the handle in place. Use a Phillips screwdriver or an Allen wrench to loosen and remove these fasteners.
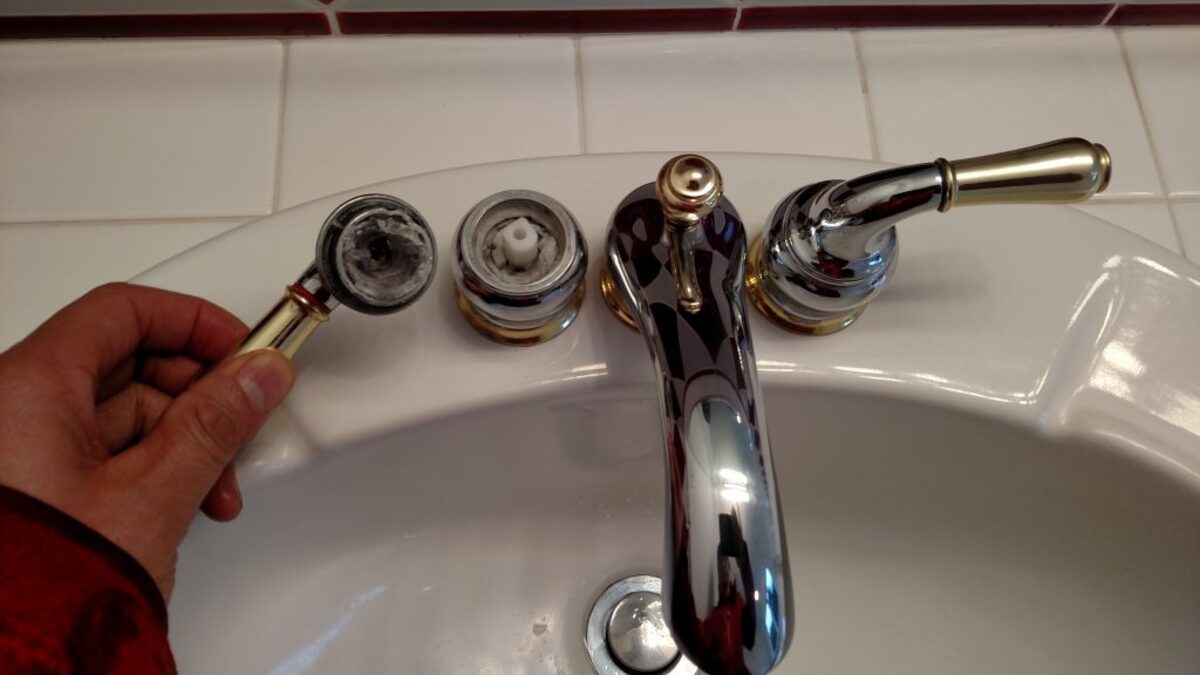
With the screws or bolts removed, gently pull the handle away from the wall. Depending on the model of your Moen shower faucet, there may be a trim plate or escutcheon covering the valve assembly. If present, carefully remove this as well by unscrewing any visible screws or bolts.
Keep track of all the screws or bolts you remove and place them in a safe spot. You will need them for reassembly later.
Once you have successfully removed the handle and trim, inspect the area for any signs of leakage or damage. This is also a good time to clean the exposed surfaces using a clean cloth or rag.
Now that the handle and trim are out of the way, you can proceed to the next step: removing the cartridge.
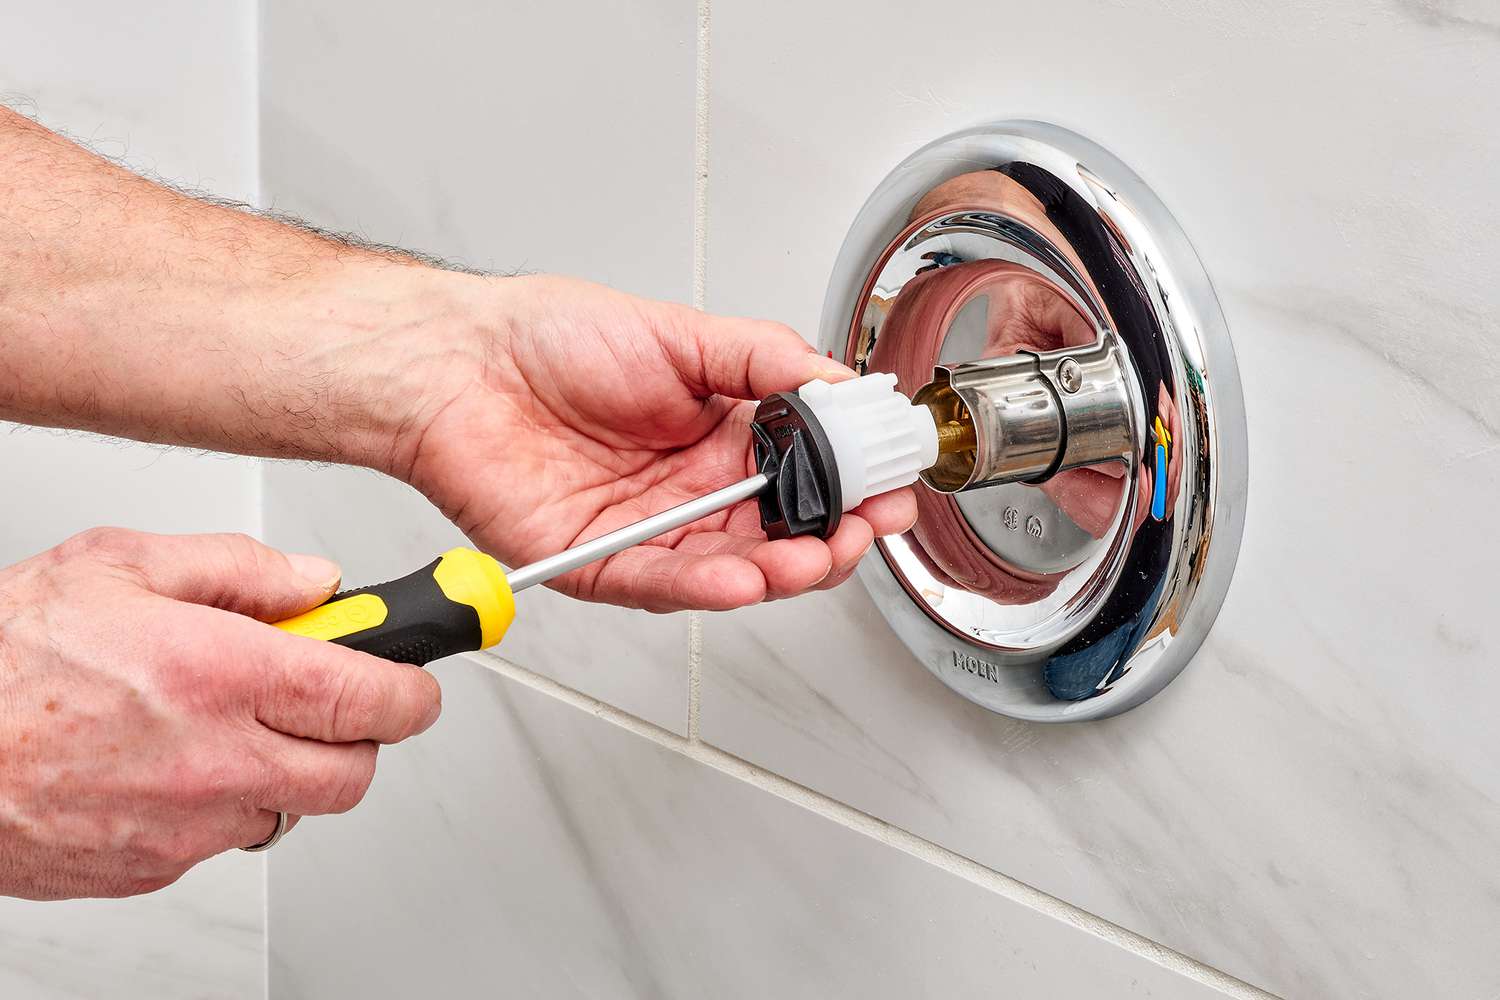
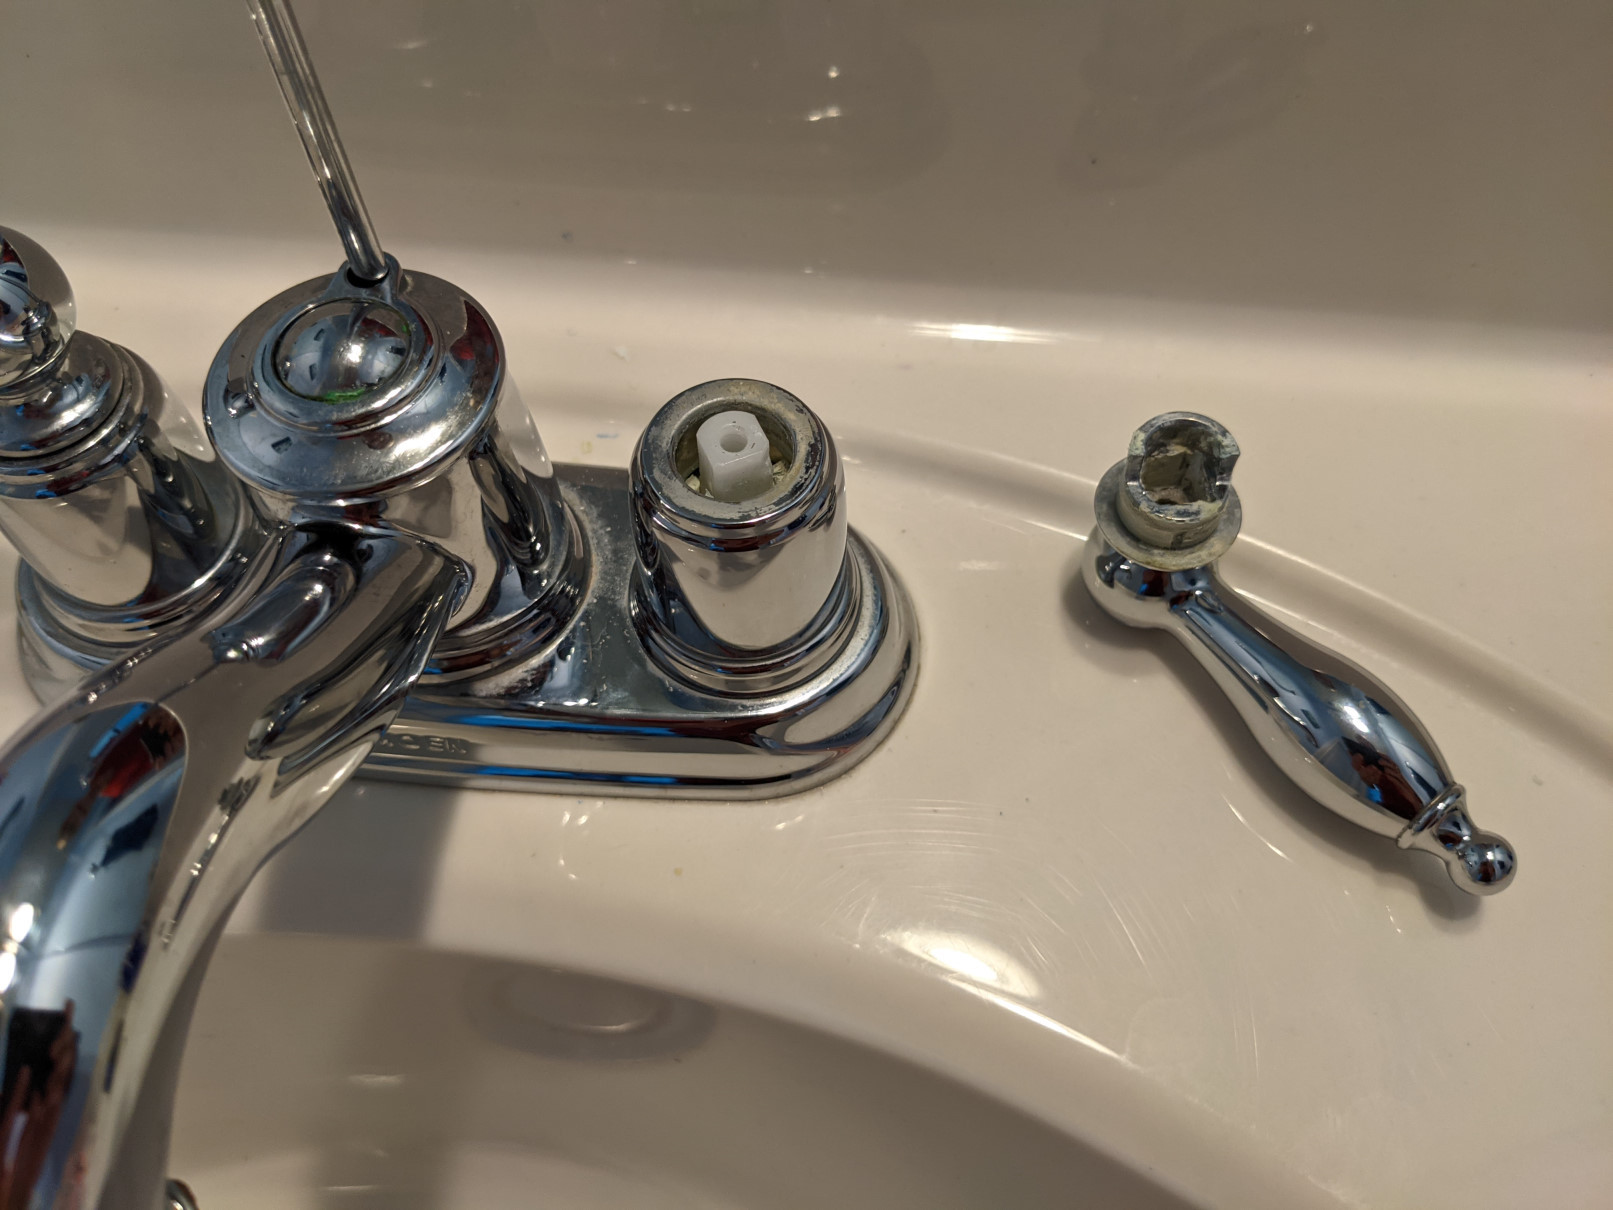
Step 3: Remove the Cartridge
With the handle and trim removed, it’s time to tackle the next step: removing the cartridge from your Moen shower faucet. The cartridge is the part responsible for controlling the flow and temperature of the water.
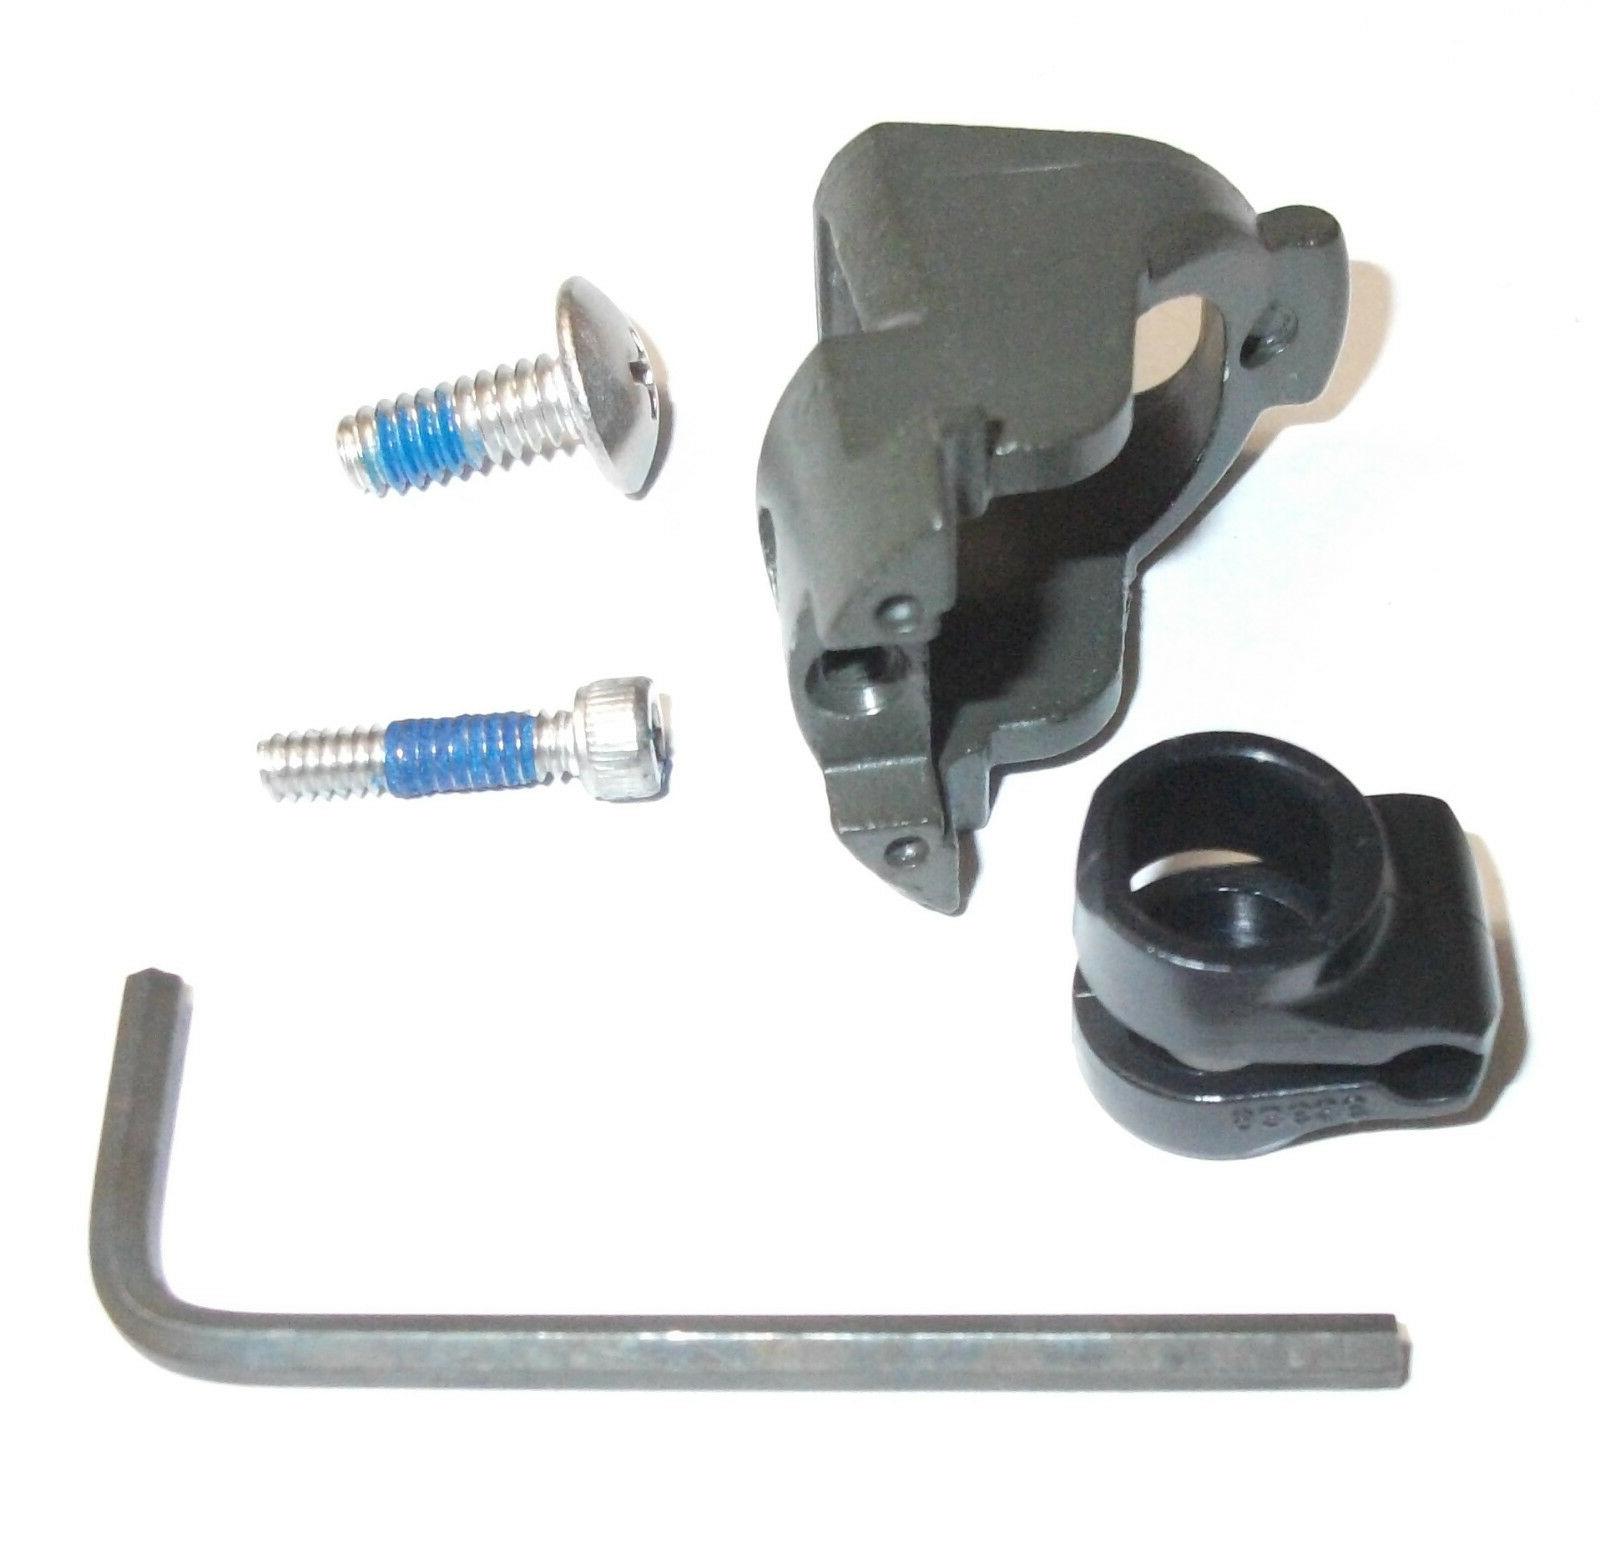
Begin by locating the cartridge, which is typically located behind the trim plate or escutcheon. It is held in place by a retaining clip or nut. Use pliers or an adjustable wrench to loosen and remove the clip or nut, and set it aside.
Once the retaining clip or nut is removed, you can proceed to pull out the old cartridge. Grab it firmly and carefully wiggle it back and forth while applying gentle pressure. This will help loosen it from its housing.
If the cartridge is stubborn and doesn’t budge, you may need to use a cartridge puller tool. This tool is designed specifically for removing stuck cartridges and can be purchased from your local hardware store.
Once the old cartridge is removed, inspect it for any signs of damage or wear. Look for any cracks, mineral buildup, or broken pieces. If you notice any issues, it’s time to replace the cartridge with a new one.
Before installing the new cartridge, take a moment to clean the cartridge housing. Use a clean cloth or rag to wipe away any debris, and make sure the surface is smooth and free from any obstructions.
Now that the old cartridge is out and the housing is clean, you’re ready for the next step: installing the new cartridge.
When repairing a Moen shower faucet, start by turning off the water supply to the faucet. Then, use a screwdriver to remove the handle and trim to access the cartridge. Inspect the cartridge for any damage and replace if necessary. Finally, reassemble the faucet and turn the water supply back on to test for leaks.
Read more: How To Fix A Moen Kitchen Faucet
Step 4: Install the New Cartridge
Now that you’ve removed the old cartridge, it’s time to install the new one and get your Moen shower faucet back in working order. The new cartridge will help restore proper water flow and temperature control.
Start by aligning the new cartridge with the housing. Be sure to match the tabs or grooves on the cartridge with the corresponding slots in the housing. Insert the cartridge firmly, making sure it sits flush and secure.
If your new cartridge came with O-rings, lubricate them with plumber’s grease before installation. This will help ensure a tight and leak-free seal. Apply a small amount of grease to each O-ring and distribute it evenly.
Once the new cartridge is in place, reattach the retaining clip or nut to secure it. Tighten the clip or nut with pliers or an adjustable wrench, ensuring it is firmly in place.
Before moving on to reassembly, take a moment to test the cartridge. With the water supply still shut off, turn the faucet handle to both the hot and cold positions. The handle should move smoothly and without resistance. If you encounter any issues, double-check the installation to ensure the cartridge is properly aligned.
Now that the new cartridge is securely installed, you’re ready for the next step: reattaching the handle and trim.
Step 5: Reattach the Handle and Trim
With the new cartridge installed, it’s time to reattach the handle and trim to your Moen shower faucet. This step will bring the faucet back to its functional and aesthetically pleasing state.
Begin by aligning the trim plate or escutcheon with the valve assembly. Make sure it fits snugly and covers the cartridge housing completely.
Next, hold the handle in place and align it with the valve stem. Ensure that the handle is properly aligned with the hot and cold labels. Slide the handle onto the valve stem, making sure it seats securely.
Once the handle is in place, reinsert the screws or Allen bolts that were removed earlier. Use a Phillips screwdriver or an Allen wrench to tighten the fasteners, but be careful not to overtighten and damage the handle or trim.
After securing the handle, check for any wobbling or loose parts. If necessary, adjust the handle or trim to ensure a sturdy and stable connection. Double-check that the handle moves smoothly and turns the faucet on and off without any issues.
Lastly, replace any decorative caps or covers that were removed during the disassembly process. These caps add a finishing touch to the faucet and help protect the underlying components.
With the handle and trim reattached, you’re now ready for the final steps: turning on the water supply and testing the faucet.
Step 6: Turn on the Water Supply
With the handle and trim securely reattached, it’s time to turn on the water supply and bring your repaired Moen shower faucet back to life. This step will allow you to test the faucet and ensure that it is functioning correctly.
Before turning on the water supply, make sure that all other faucets and fixtures in your home are turned off. This will prevent any sudden surges or splashes of water when you open the supply valve.
Locate the shut-off valve that you previously turned off in Step 1. Turn the valve counterclockwise to gradually open the water supply. You should hear the sound of water flowing through the pipes.
As the water supply is restored, be prepared for air and sputtering noises initially. This is normal and should subside once the air is expelled from the system.
Once the water is flowing smoothly, visually inspect the Moen shower faucet for any leaks or drips. Pay close attention to the areas around the handle, trim, and cartridge. If you notice any leaks, tighten the corresponding connections or contact a plumbing professional for further assistance.
Now that the water supply is turned on, you’re almost done. The final step is to test the faucet and make sure everything is in working order.
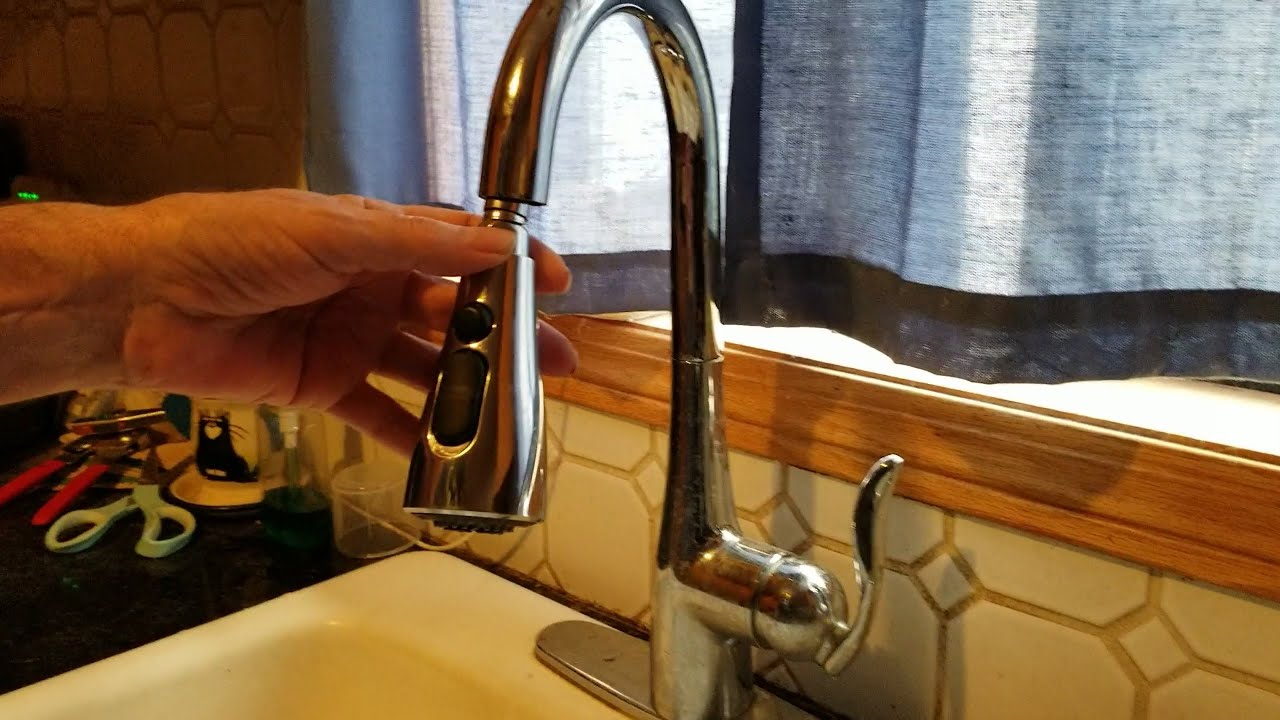
Step 7: Test the Faucet
Congratulations! You’re on the final step of repairing your Moen shower faucet. Testing the faucet will help ensure that your repair work was successful and that the faucet is functioning properly.
To test the faucet, start by turning the handle to both the hot and cold positions. The water should flow smoothly and consistently from the showerhead. Check for any fluctuations in temperature or pressure, which could indicate ongoing issues.
While running the water, listen for any unusual noises or vibrations. A well-repaired faucet should operate quietly and without any excessive vibrations. If you notice anything out of the ordinary, it may be worth inspecting the connections or seeking professional help.
Test the handle by turning it on and off in quick succession. The handle should move easily and without resistance. If it feels tight or difficult to turn, double-check the alignment of the cartridge and make any necessary adjustments.
Finally, check for any leaks or drips around the handle, trim, or showerhead. Use a dry cloth or tissue to wipe the area and look for any signs of moisture. If you notice any leaks, it may be necessary to retighten connections or replace faulty seals.
If everything appears to be in working order and there are no issues with the faucet, congratulations! You have successfully repaired your Moen shower faucet. Enjoy the satisfaction of a properly functioning and leak-free shower.
However, if you encounter any persistent issues, or if the faucet continues to leak or malfunction, it’s recommended to contact a professional plumber for further assistance. They will be able to diagnose and resolve any underlying problems that may require expertise beyond a simple DIY repair.
With the faucet tested and working, you can now fully enjoy your refreshed Moen shower faucet. Remember to periodically check for any signs of trouble and perform routine maintenance to prolong the lifespan of your faucet.
We hope this guide has been helpful in guiding you through the process of repairing your Moen shower faucet. Happy showering!
Read more: How To Fix A Leaky Moen Faucet
Conclusion
Repairing a Moen shower faucet may seem like a daunting task, but with the right tools and knowledge, it can be a straightforward and satisfying DIY project. By following the step-by-step guide provided in this article, you can successfully fix issues such as leaks, drips, and malfunctioning handles.
Remember to start by shutting off the water supply and removing the handle and trim to access the cartridge. Take your time to carefully remove the old cartridge and replace it with a new one, ensuring proper alignment and lubrication. Reattach the handle and trim, and then turn on the water supply to test the faucet’s functionality.
Throughout the repair process, pay attention to any leaks, noises, or irregularities that may indicate underlying problems. Addressing these issues promptly will help you avoid further damage and prolong the lifespan of your Moen shower faucet.
If you encounter any difficulties or prefer professional assistance, do not hesitate to contact a plumber who can provide expert guidance and support.
By successfully repairing your Moen shower faucet, you not only save money on potential plumber fees but also gain the satisfaction of accomplishing a DIY home improvement project. Plus, you can now enjoy a properly functioning and leak-free shower.
Remember to perform regular maintenance checks on your faucet to prevent future issues and ensure it continues to provide reliable service for years to come.
We hope this comprehensive guide has been helpful in assisting you throughout the repair process. With the right tools, knowledge, and a little bit of patience, you can confidently tackle any Moen shower faucet repair and restore the functionality of your bathroom.
Happy repairing!
Now that you've mastered repairing your Moen shower faucet, why not tackle other home improvement projects? For those eager to keep their faucets in top shape, our guide on the best Delta faucet repair kits offers invaluable advice. Additionally, if you're contemplating a bigger endeavor, understanding how long a bathroom renovation takes will prepare you for what lies ahead. Both articles provide practical tips and insights to help you make informed decisions and achieve great results.
Frequently Asked Questions about How To Repair A Moen Shower Faucet
Was this page helpful?
At Storables.com, we guarantee accurate and reliable information. Our content, validated by Expert Board Contributors, is crafted following stringent Editorial Policies. We're committed to providing you with well-researched, expert-backed insights for all your informational needs.


0 thoughts on “How To Repair A Moen Shower Faucet”