Home>Furniture & Design>Outdoor Furniture>How To Install An Outdoor Shower
Outdoor Furniture
How To Install An Outdoor Shower
Modified: August 26, 2024
Learn how to install an outdoor shower with our expert tips and ideas for outdoor furniture and design. Create a stylish and functional outdoor space.
(Many of the links in this article redirect to a specific reviewed product. Your purchase of these products through affiliate links helps to generate commission for Storables.com, at no extra cost. Learn more)
Introduction
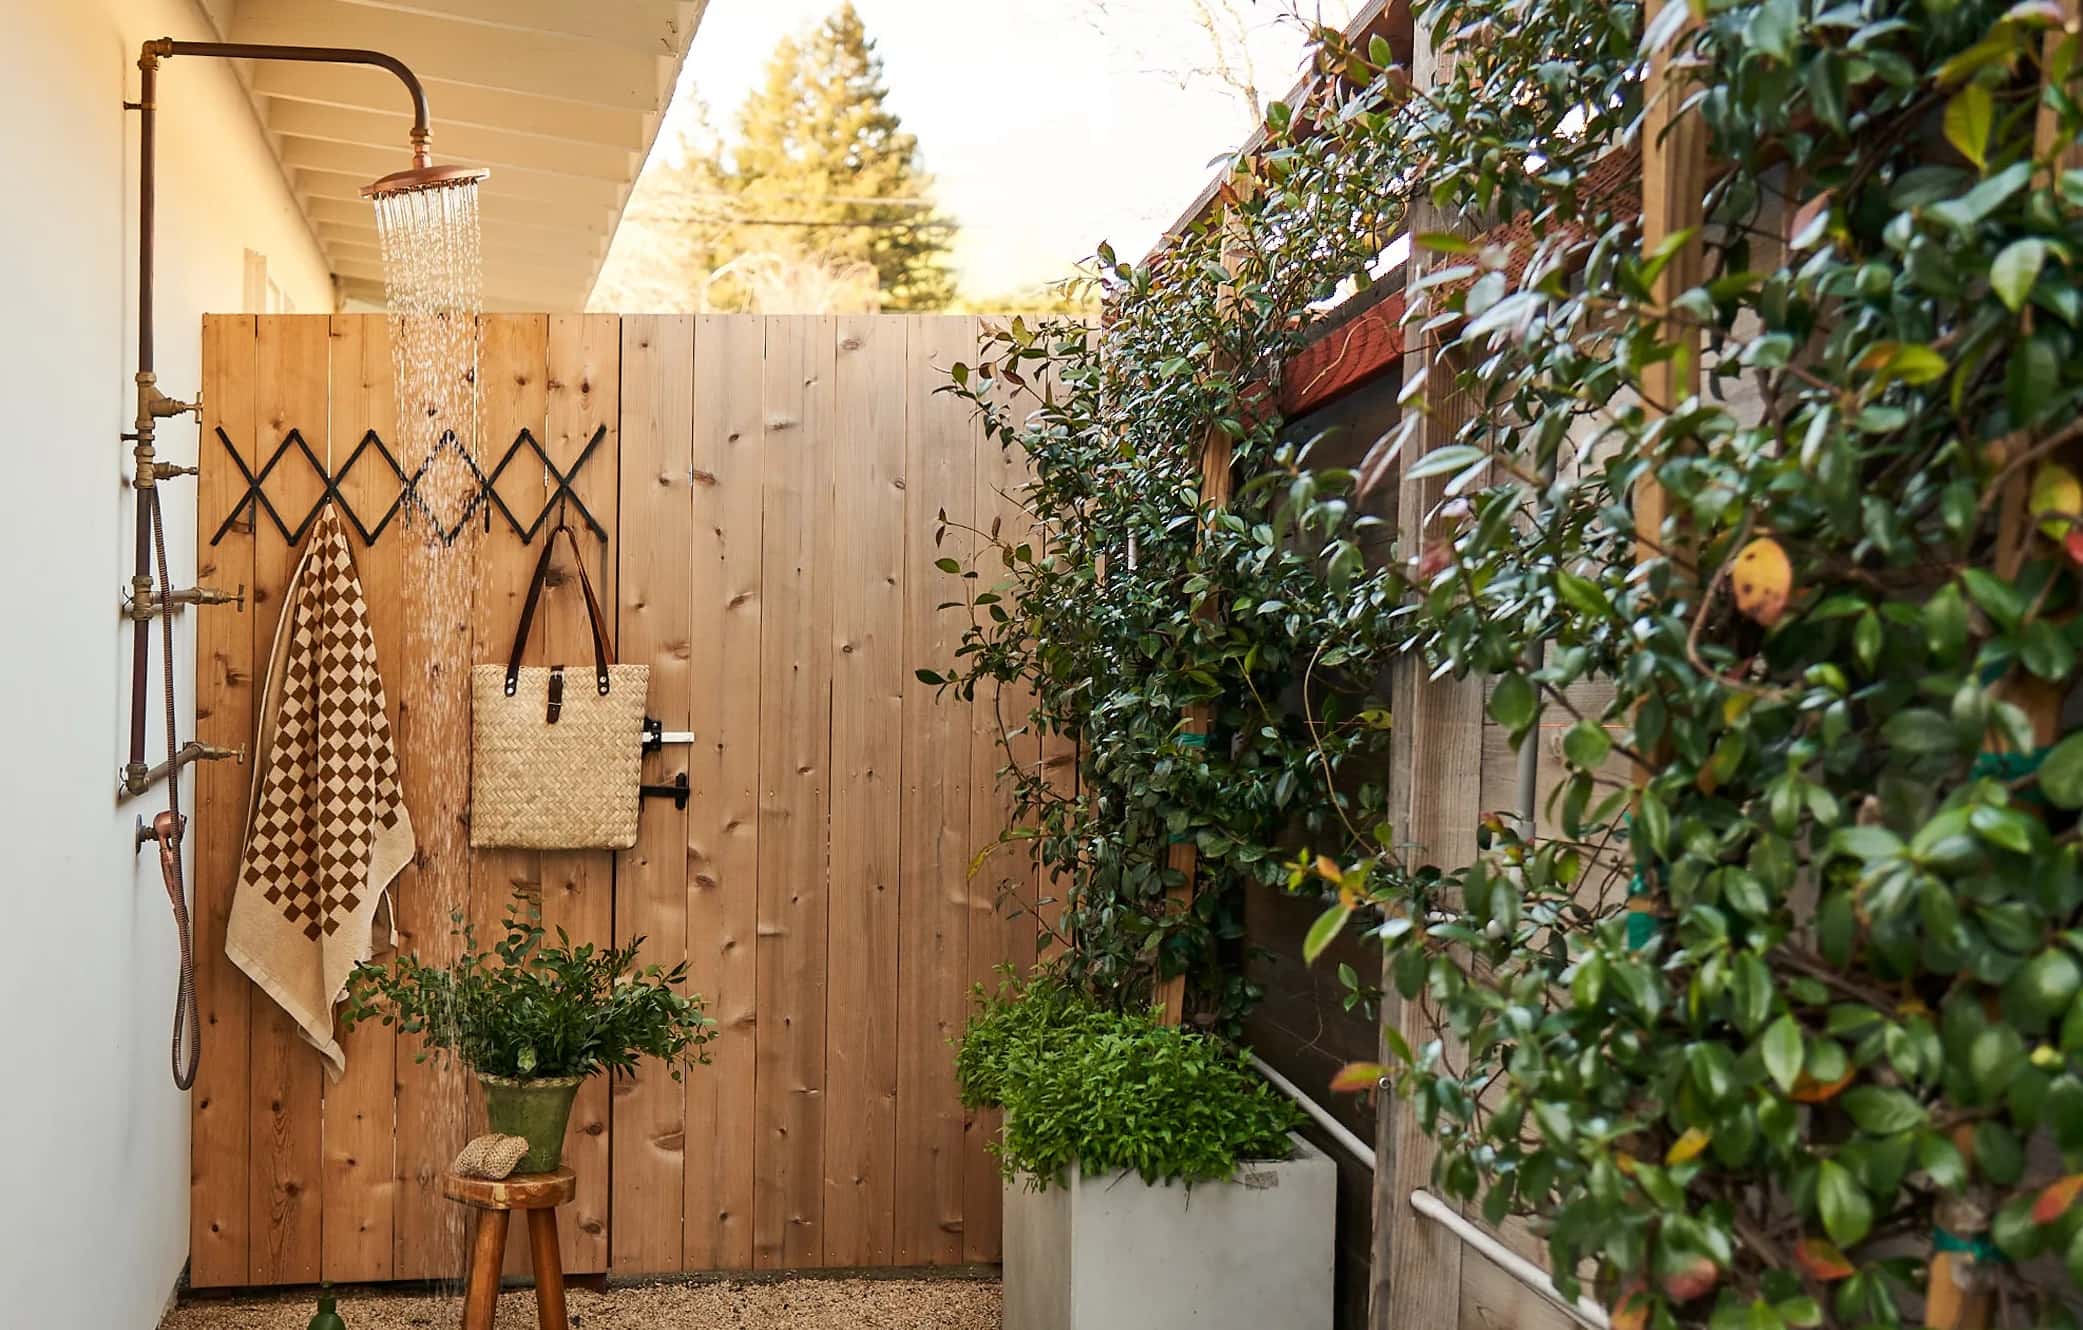
Are you dreaming of a refreshing oasis in your backyard? An outdoor shower can transform your outdoor space into a luxurious retreat, providing a convenient way to rinse off after a swim, wash away the day's stress, or simply indulge in the joy of showering under the open sky. Whether you're planning to install an outdoor shower at your beach house, by the pool, or in your garden, this comprehensive guide will walk you through the process step by step, ensuring that you can bring your vision to life with confidence and ease.
Picture this: the sun is shining, a gentle breeze is rustling through the leaves, and you're basking in the comfort of your own personal outdoor shower. The thought alone evokes a sense of tranquility and bliss, doesn't it? With the right location, tools, and a dash of creativity, you can make this dream a reality. From selecting the perfect spot to assembling the necessary materials and constructing the shower structure, each stage of the installation process presents an opportunity to infuse your outdoor shower with your unique style and preferences.
Throughout this guide, we'll explore the essential considerations for choosing the ideal location, the tools and materials you'll need, and the step-by-step instructions for installing the plumbing, constructing the shower structure, and adding the finishing touches. By the end, you'll be ready to revel in the simple pleasure of an outdoor shower, elevating your outdoor living space and adding a touch of luxury to your daily routine.
So, roll up your sleeves, unleash your creativity, and get ready to embark on a rewarding journey of creating your very own outdoor oasis. Let's dive in and discover how to bring the rejuvenating experience of an outdoor shower to your doorstep.
Key Takeaways:
- Create your own outdoor oasis by installing an outdoor shower. Choose the perfect location, gather necessary tools and materials, and infuse your unique style into the construction process for a luxurious and rejuvenating experience.
- Transform your outdoor space with a functional and stylish outdoor shower. Carefully plan the location, prepare the area, and add personal touches to create a captivating retreat that seamlessly integrates with your outdoor environment.
Choosing the Right Location
Before you start installing your outdoor shower, it’s crucial to carefully consider the location. The right spot can enhance your showering experience while seamlessly integrating the shower into your outdoor space. Here are some key factors to guide your decision:
- Privacy: Select a location that offers privacy. Whether it’s shielded by lush foliage, a fence, or a strategically positioned wall, feeling comfortably secluded while showering outdoors is essential.
- Drainage: Choose an area with proper drainage to prevent water from pooling around the shower. Gravel or a sloped surface can help direct water away from the shower area.
- Accessibility: Consider the proximity to your home and outdoor activities. The location should be convenient to access from both the indoor and outdoor spaces, especially if it’s near a pool or hot tub.
- Views: Embrace the surrounding views. Whether it’s a serene garden, a picturesque landscape, or a glimpse of the ocean, positioning the shower to take advantage of the scenery can elevate the overall experience.
- Sun and Shade: Balance sun exposure and shade. Depending on your preference, you may want to bask in the sun’s warmth during your showers or seek shelter from its intense rays. Consider the sun’s path throughout the day to determine the optimal orientation.
Once you’ve identified the perfect location, take note of the existing water supply and plumbing lines. Access to these utilities will influence the practicality of the chosen spot. Additionally, be mindful of local building codes and regulations that may dictate the permissible distance from property lines and structures.
By carefully evaluating these factors, you can select a location that harmonizes with your outdoor environment and aligns with your preferences, setting the stage for a delightful outdoor shower experience.
Gathering Necessary Tools and Materials
As you embark on the journey of installing your outdoor shower, it’s essential to gather the right tools and materials to ensure a smooth and efficient process. Here’s a comprehensive list of what you’ll need:
Tools
- Adjustable wrench: For tightening and loosening plumbing connections.
- Tape measure: To ensure precise measurements during construction and installation.
- Hacksaw or pipe cutter: For cutting pipes to the required lengths.
- Level: To ensure that the shower structure is plumb and level during assembly.
- Shovel: For digging trenches if necessary for plumbing installation.
- Power drill: For drilling holes and driving screws.
- Adjustable pliers: Useful for various tasks, including gripping and turning pipes and fittings.
- Concrete mixing tools: If you're installing a concrete pad for the shower base.
Materials
- Pipes and fittings: Depending on your design, you'll need PVC or copper pipes and corresponding fittings for the plumbing.
- Showerhead and valves: Choose a durable, weather-resistant showerhead and appropriate valves for outdoor use.
- Concrete or pavers: For creating a stable base for your outdoor shower.
- Waterproofing materials: Ensure that any wood used in the construction is properly sealed and consider waterproofing the shower walls if necessary.
- Fasteners: Screws, bolts, and anchors for securing the shower structure and fixtures.
- Decorative elements: Optional elements such as tiles, stones, or decorative panels to personalize the appearance of the shower.
Before purchasing materials, it’s advisable to finalize your design and take accurate measurements to determine the quantity of each item required. Additionally, consider the climate and weather conditions in your area when selecting materials to ensure durability and longevity.
By gathering the right tools and materials, you’ll be well-prepared to bring your outdoor shower to life, infusing your outdoor space with functionality and style.
Read more: How To Install A Steam Shower
Preparing the Area
Before diving into the installation process, it’s crucial to prepare the designated area for your outdoor shower. This involves several key steps to ensure a solid foundation and proper integration with your outdoor space:
Clearing and Leveling
Begin by clearing the area of any debris, vegetation, or obstacles that may interfere with the installation. Use a shovel and rake to level the ground, ensuring a stable and even surface for the shower base. If you’re planning to install a concrete pad, excavation may be necessary to create a level area for pouring the concrete.
Water Supply
If the outdoor shower is located near your home, you’ll need to tap into the existing water supply. This may involve extending the water lines to reach the shower area. Alternatively, if the shower is situated farther from your home, you may need to consider options such as a dedicated water tank or rainwater collection system for a sustainable water source.
Drainage Considerations
Proper drainage is essential to prevent water from accumulating around the shower area. If the ground naturally slopes away from the shower location, this can aid in drainage. Alternatively, you may need to create a gravel or sand base to facilitate water runoff. For more complex drainage requirements, consulting with a professional can ensure effective water management.
Utility Access
If your outdoor shower design includes additional features such as a foot wash or a hose bib, ensure that the necessary utility connections are accessible and integrated into the overall plan. This may involve extending plumbing lines and installing fixtures to accommodate these features.
By meticulously preparing the area, you’ll establish a solid foundation for the installation process, setting the stage for seamless integration of your outdoor shower into your outdoor living space.
Installing the Plumbing
With the area prepared, it’s time to tackle the essential step of installing the plumbing for your outdoor shower. Proper plumbing ensures a reliable water supply and efficient drainage, laying the groundwork for a functional and enjoyable showering experience. Here’s a guide to navigating this crucial phase:
Water Supply
If your outdoor shower is located near your home, you can extend the existing water lines to supply the shower. This typically involves connecting to a cold-water line, but if you desire a warm water option, you may need to integrate a hot water line as well. Consider using durable, weather-resistant pipes such as PVC or copper to withstand outdoor conditions.
Drainage System
Establishing an effective drainage system is vital to prevent water accumulation around the shower area. Depending on the terrain and local regulations, you may need to install a French drain, a gravel bed, or a sloped surface to facilitate proper water runoff. It’s essential to ensure that the drainage system aligns with local building codes and environmental guidelines.
Read more: How To Drain Outdoor Shower
Frost Protection
If you reside in a region prone to freezing temperatures, it’s imperative to safeguard the plumbing against potential frost damage. This may involve burying the pipes below the frost line, insulating them, or incorporating a shut-off valve that allows you to drain the water from the pipes during colder months to prevent freezing and bursting.
Pressure Regulation
Installing a pressure regulator can help maintain consistent water pressure for your outdoor shower, ensuring a satisfying showering experience. This component is especially valuable if your home’s water pressure is higher than what’s suitable for the shower fixtures.
Throughout the plumbing installation process, it’s advisable to consult with a licensed plumber, particularly when dealing with complex connections, local codes, and considerations specific to outdoor plumbing. By ensuring that the plumbing is expertly installed, you’ll lay the groundwork for a reliable and efficient outdoor shower system.
Building the Shower Structure
As the plumbing takes shape, it’s time to turn your attention to constructing the shower structure, a pivotal phase that will bring your outdoor shower to life. Whether you opt for a simple and functional design or a more elaborate and decorative structure, the following steps will guide you through the process:
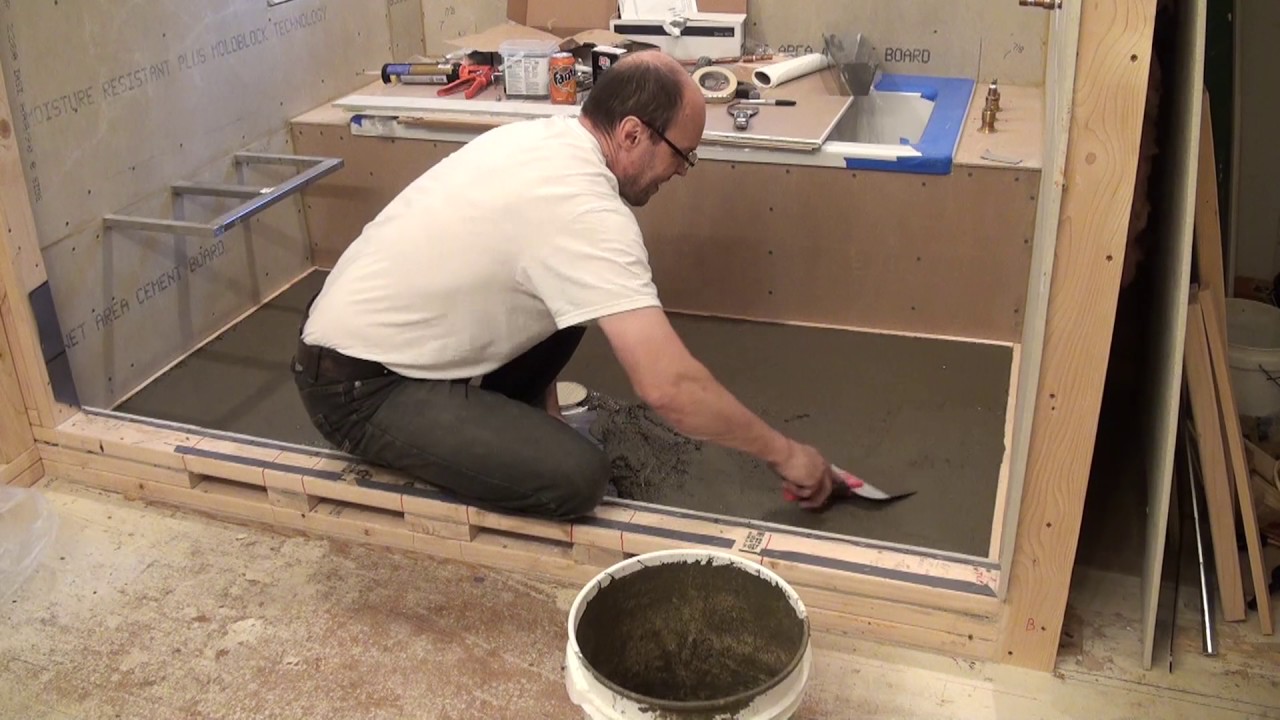
Base Construction
For a sturdy and durable foundation, consider creating a concrete pad or using pavers to establish the base of your outdoor shower. Ensure that the base is level and properly aligned with the plumbing connections to facilitate seamless installation.
Read more: How To Install A Shower In A Basement
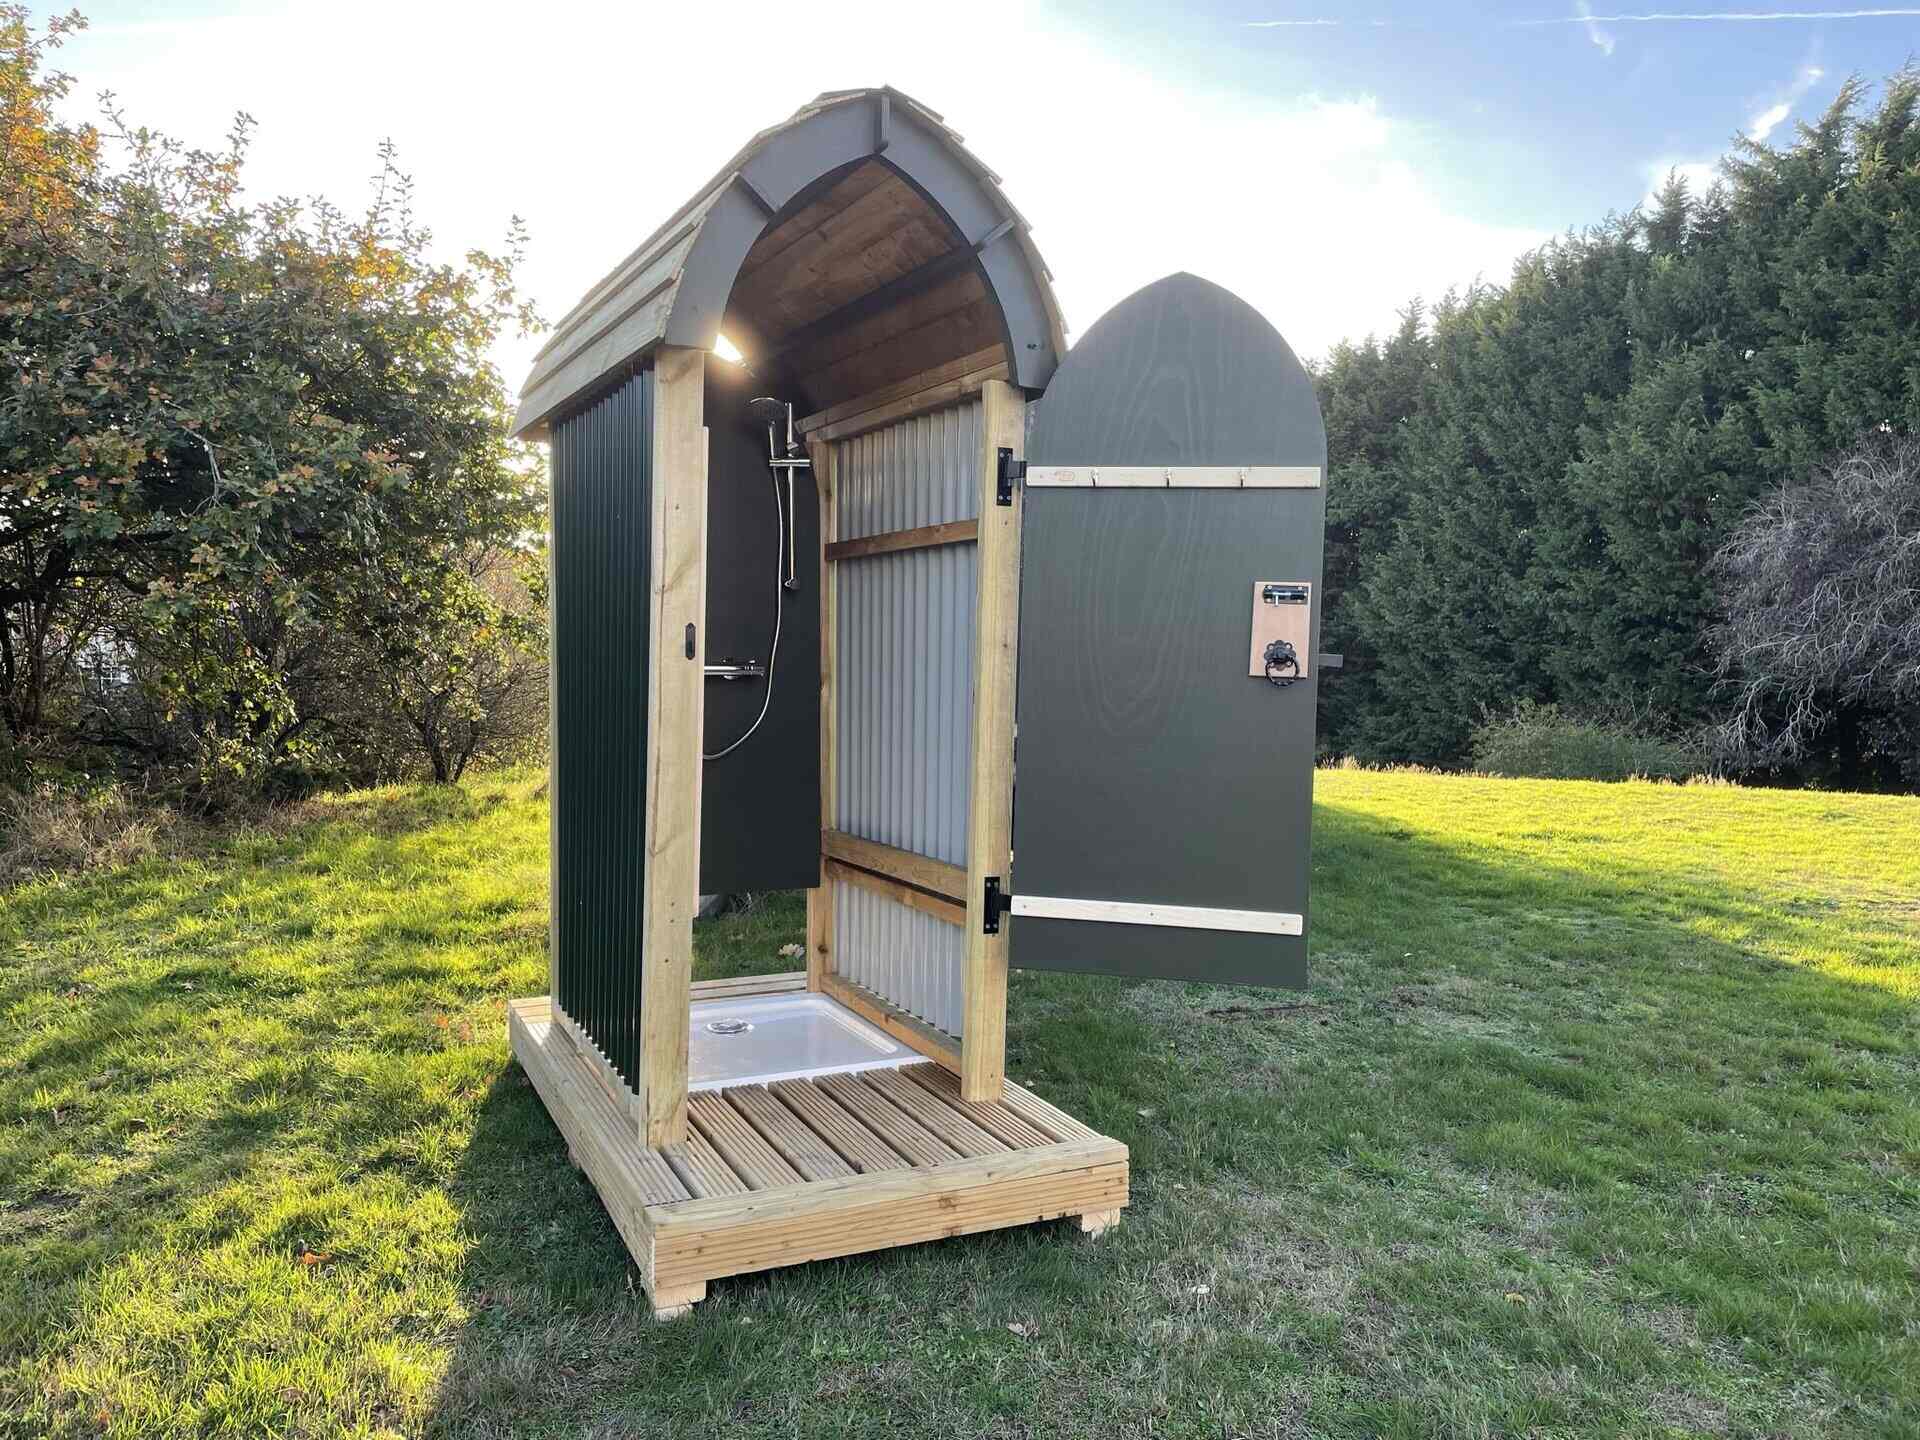
Enclosure Design
When designing the enclosure, consider the level of privacy and protection from the elements you desire. This could range from a fully enclosed structure with walls and a door to a more open and airy design. If you opt for walls, materials such as weather-resistant wood, composite panels, or PVC boards can provide both functionality and aesthetic appeal.
Roof or Canopy
Depending on your preference, you may choose to incorporate a roof or canopy into your outdoor shower design. This can provide shade, shelter from rain, and a sense of intimacy. Consider materials such as bamboo, thatch, or weather-treated fabric for a natural and inviting ambiance.
Ventilation and Airflow
Ensuring adequate ventilation is essential to prevent moisture buildup and maintain a fresh and comfortable showering environment. Incorporating slatted walls, louvered panels, or strategically positioned openings can facilitate airflow while preserving privacy.
Finishing Touches
Once the basic structure is in place, consider adding personal touches to enhance the aesthetic appeal and functionality of your outdoor shower. This could involve installing hooks for towels, incorporating a shelf for shower essentials, or integrating decorative elements such as mosaic tiles or artistic accents that reflect your style.
Throughout the construction process, prioritize safety, durability, and weather resistance to ensure that your outdoor shower stands the test of time. By infusing your creativity and attention to detail into the construction of the shower structure, you’ll craft a captivating and inviting space for your outdoor oasis.
Read more: How To Install A Shower Caddy
Attaching the Showerhead and Fixtures
With the shower structure taking shape, it’s time to focus on the installation of the showerhead and fixtures, a pivotal stage that will bring functionality and convenience to your outdoor shower. Here’s a step-by-step guide to seamlessly integrating these essential components:
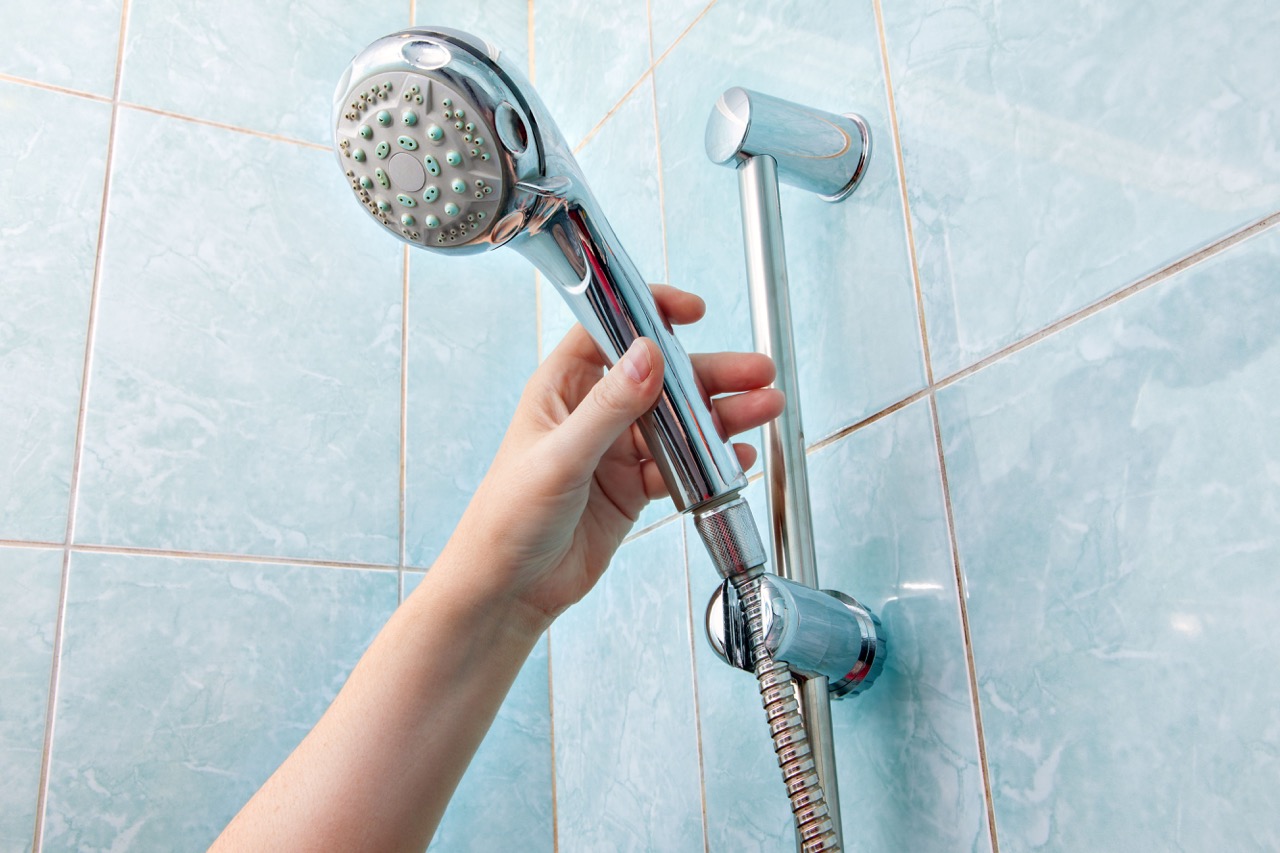
Showerhead Selection
Choose a high-quality, weather-resistant showerhead designed for outdoor use. Consider options such as rainfall showerheads, handheld sprayers, or multifunctional models to suit your preferences. Opt for materials that can withstand exposure to the elements, such as stainless steel, brass, or corrosion-resistant plastics.
Fixture Installation
Ensure that the fixtures, including the showerhead, valves, and handles, are securely attached to the shower structure. Use appropriate fasteners and waterproof seals to guard against leaks and corrosion. If your design includes additional features such as a foot wash or a hose bib, integrate these fixtures into the plumbing system at this stage.
Waterproofing Measures
Implement waterproofing measures to protect the shower structure and surrounding areas from water damage. Apply a weatherproof sealant to the seams and joints of the shower walls, ensuring a watertight enclosure. Consider incorporating a sloped floor or a drainage system to direct water away from the shower area and prevent standing water.
Read more: How To Build An Outdoor Shower
Functional Testing
Before finalizing the installation, conduct a thorough functional test to ensure that the showerhead and fixtures operate smoothly. Check for leaks, proper water flow, and effective drainage. Adjust the positioning and alignment of the showerhead to achieve optimal coverage and comfort during showering.
Accessibility and Convenience
Consider the user experience when positioning the fixtures. Ensure that the showerhead height and angle cater to users of varying heights, and position the valves and handles within easy reach. Additionally, incorporate storage solutions for shower essentials, such as hooks for towels and a shelf for soaps and shampoos, to enhance convenience.
By meticulously attaching the showerhead and fixtures, you’ll bring functionality and comfort to your outdoor shower, creating a space where you can indulge in the simple pleasure of showering amidst the beauty of the outdoors.
Testing and Finishing Touches
As your outdoor shower nears completion, it’s time to carry out thorough testing and add the finishing touches to ensure that every element aligns seamlessly, creating a captivating and functional space. Here’s how to bring your outdoor shower to its full potential:
Comprehensive Testing
Prior to declaring your outdoor shower ready for use, conduct comprehensive testing to validate its functionality and performance. Test the water pressure, temperature control, and drainage system to ensure that everything operates as intended. Address any issues promptly to guarantee a smooth and satisfying showering experience.
Read more: How To Install Delta Shower Faucet
Sealing and Waterproofing
Apply a final coat of weatherproof sealant to all exposed surfaces, including the shower structure, fixtures, and any decorative elements. This additional layer of protection will safeguard the materials against the elements, prolonging their lifespan and preserving the aesthetic appeal of your outdoor shower.
Landscaping Integration
Integrate your outdoor shower seamlessly into the surrounding landscape. Consider incorporating planters, decorative stones, or landscaping elements that complement the design of the shower and enhance its visual appeal. This integration will create a harmonious and inviting outdoor oasis.
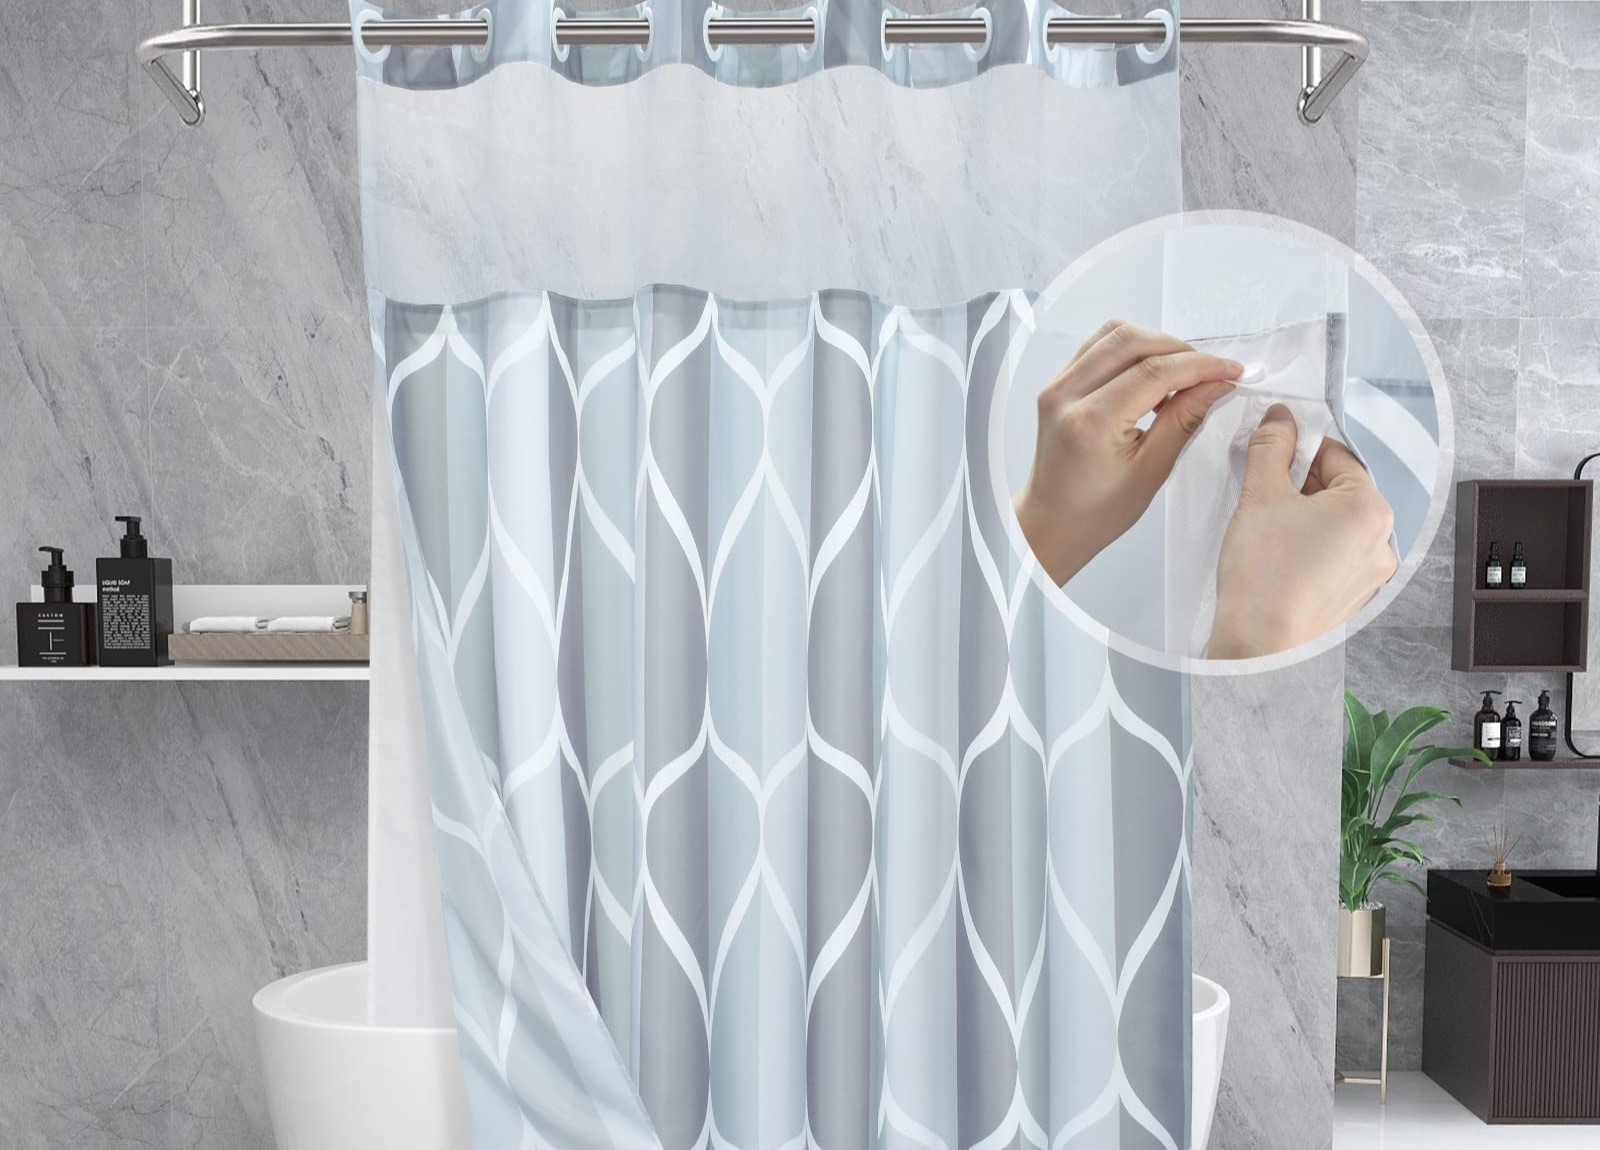
Personalization and Comfort
Add personal touches to enhance the comfort and ambiance of your outdoor shower. Consider installing lighting fixtures for evening use, adding a privacy screen or curtains, or incorporating a seating area nearby to create a relaxing and inviting atmosphere. These thoughtful additions will elevate the overall experience of your outdoor shower.
Celebrating Your Achievement
Once the finishing touches are in place, take a moment to celebrate your achievement. Your outdoor shower is not only a practical addition to your outdoor space but also a testament to your creativity and dedication. Embrace the satisfaction of bringing your vision to life and creating a captivating retreat in your own backyard.
By meticulously testing and adding the finishing touches, you’ll unveil a captivating and fully functional outdoor shower, ready to provide moments of relaxation, rejuvenation, and bliss amidst the beauty of the outdoors.
Frequently Asked Questions about How To Install An Outdoor Shower
Was this page helpful?
At Storables.com, we guarantee accurate and reliable information. Our content, validated by Expert Board Contributors, is crafted following stringent Editorial Policies. We're committed to providing you with well-researched, expert-backed insights for all your informational needs.
0 thoughts on “How To Install An Outdoor Shower”