Articles
How To Replace Shower Faucet Valve
Modified: August 16, 2024
Learn how to replace a shower faucet valve with this comprehensive guide. Get expert tips and step-by-step instructions in our informative articles.
(Many of the links in this article redirect to a specific reviewed product. Your purchase of these products through affiliate links helps to generate commission for Storables.com, at no extra cost. Learn more)
Introduction
Replacing a shower faucet valve may seem like a daunting task, but with the right tools and a little know-how, you can do it yourself. Whether your current valve is leaking, malfunctioning, or just outdated, installing a new one can improve the functionality and style of your shower. This article will guide you through the step-by-step process of replacing a shower faucet valve, helping you to upgrade your shower experience.
Before we begin, it’s important to note that shower faucet valves can vary depending on the type and brand of your existing shower fixture. It’s always a good idea to consult the manufacturer’s instructions or seek professional advice if you are unsure about your specific setup. Additionally, remember to exercise caution and turn off the water supply before attempting any plumbing work to prevent any potential water damage.
In this article, we will outline the tools and materials you’ll need, provide detailed instructions on how to remove the old shower faucet valve, explain the installation process for the new valve, and guide you through testing and reassembling the shower fixtures.
So, if you’re ready to take on this DIY project and give your shower a much-needed upgrade, let’s get started! Gather your tools, put on your handyman (or handywoman) hat, and let’s dive into the world of shower faucet valve replacement.
Key Takeaways:
- Replacing a shower faucet valve is a DIY project that can enhance your shower’s functionality and style. With the right tools, careful steps, and testing, you can achieve a successful upgrade.
- Prioritize safety by shutting off the water supply and wearing protective gear. Thorough testing and attention to detail ensure a leak-free, customized showering experience.
Read also: 15 Amazing Shower Faucet Valve for 2025
Step 1: Gather the necessary tools and materials
Before you begin replacing the shower faucet valve, it’s essential to gather all the necessary tools and materials. Having everything you need on hand will make the process smoother and more efficient. Here’s a list of items you’ll need for this project:
1. Adjustable wrench: This tool will help you remove and install various components of the shower faucet valve. Make sure to choose a wrench that fits the size of the nuts and bolts in your specific fixture.
2. Screwdrivers: You may need both a Phillips and flathead screwdriver to remove any screws holding the valve in place.
3. Allen wrench: Some shower faucet valves use Allen screws to secure the handle. Check if your valve requires an Allen wrench and have one ready if needed.
4. Plumber’s tape: Also known as Teflon tape, plumber’s tape creates a watertight seal between threaded connections. This will help prevent any leaks once the new valve is installed.
5. New shower faucet valve: You will need a replacement valve that matches the specifications of your existing shower fixture. Consult the manufacturer’s instructions or take note of the model number to ensure you select the correct valve.
6. Bucket or towels: To catch any water that may drip during the removal and installation process, it’s a good idea to have a bucket or towels on hand.
7. Safety goggles and gloves: Protecting your eyes and hands is crucial when working with plumbing fixtures. Wear safety goggles to shield your eyes from debris and gloves to prevent any injuries.
8. Flashlight: If your shower area is dimly lit, a flashlight will help you see more clearly during the process.
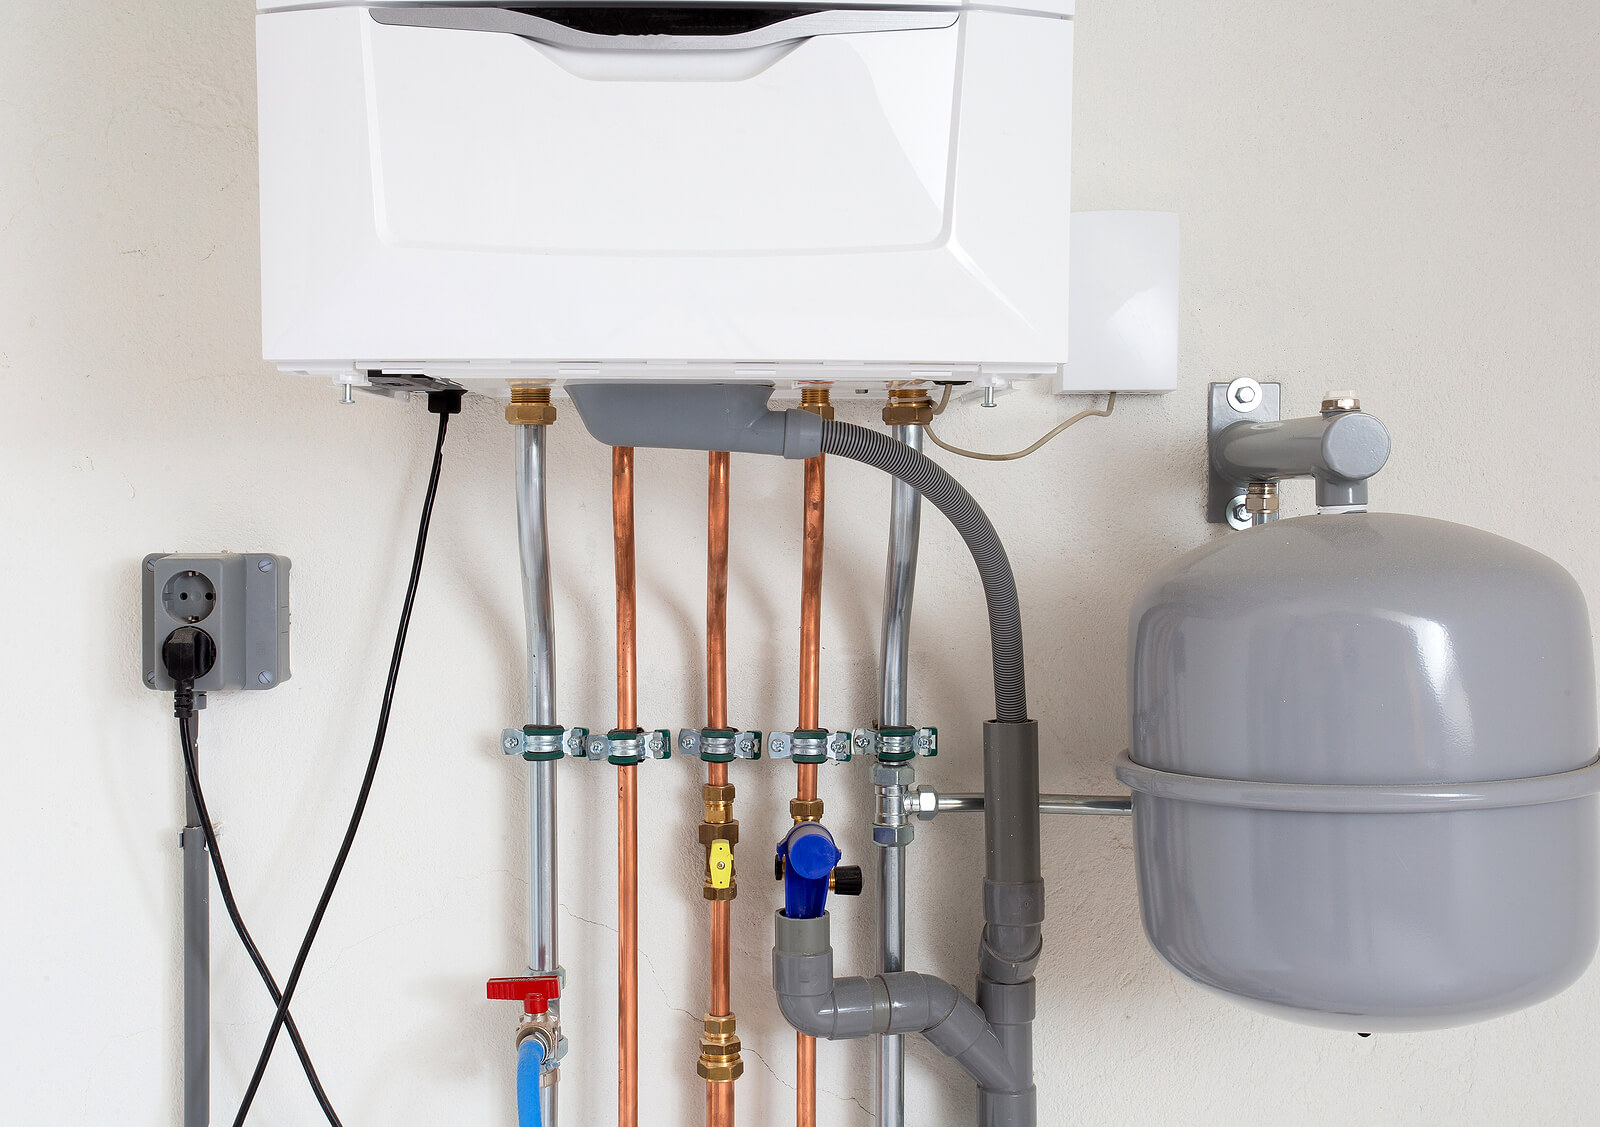
Before you start gathering your tools, it’s a good idea to turn off the water supply to the shower. Locate the shut-off valve for your shower, typically found near the water meter or in the basement. Turn the valve clockwise to shut off the water flow.
By ensuring you have all the necessary tools and materials ready before starting the project, you can save time and avoid any unnecessary trips to the hardware store. With everything in hand, you’re ready to move on to the next step: shutting off the water supply.
Step 2: Shut off the water supply
Before you begin removing the old shower faucet valve, it’s crucial to turn off the water supply. Shutting off the water will prevent any potential leaks or accidents during the replacement process. Here’s how to shut off the water supply:
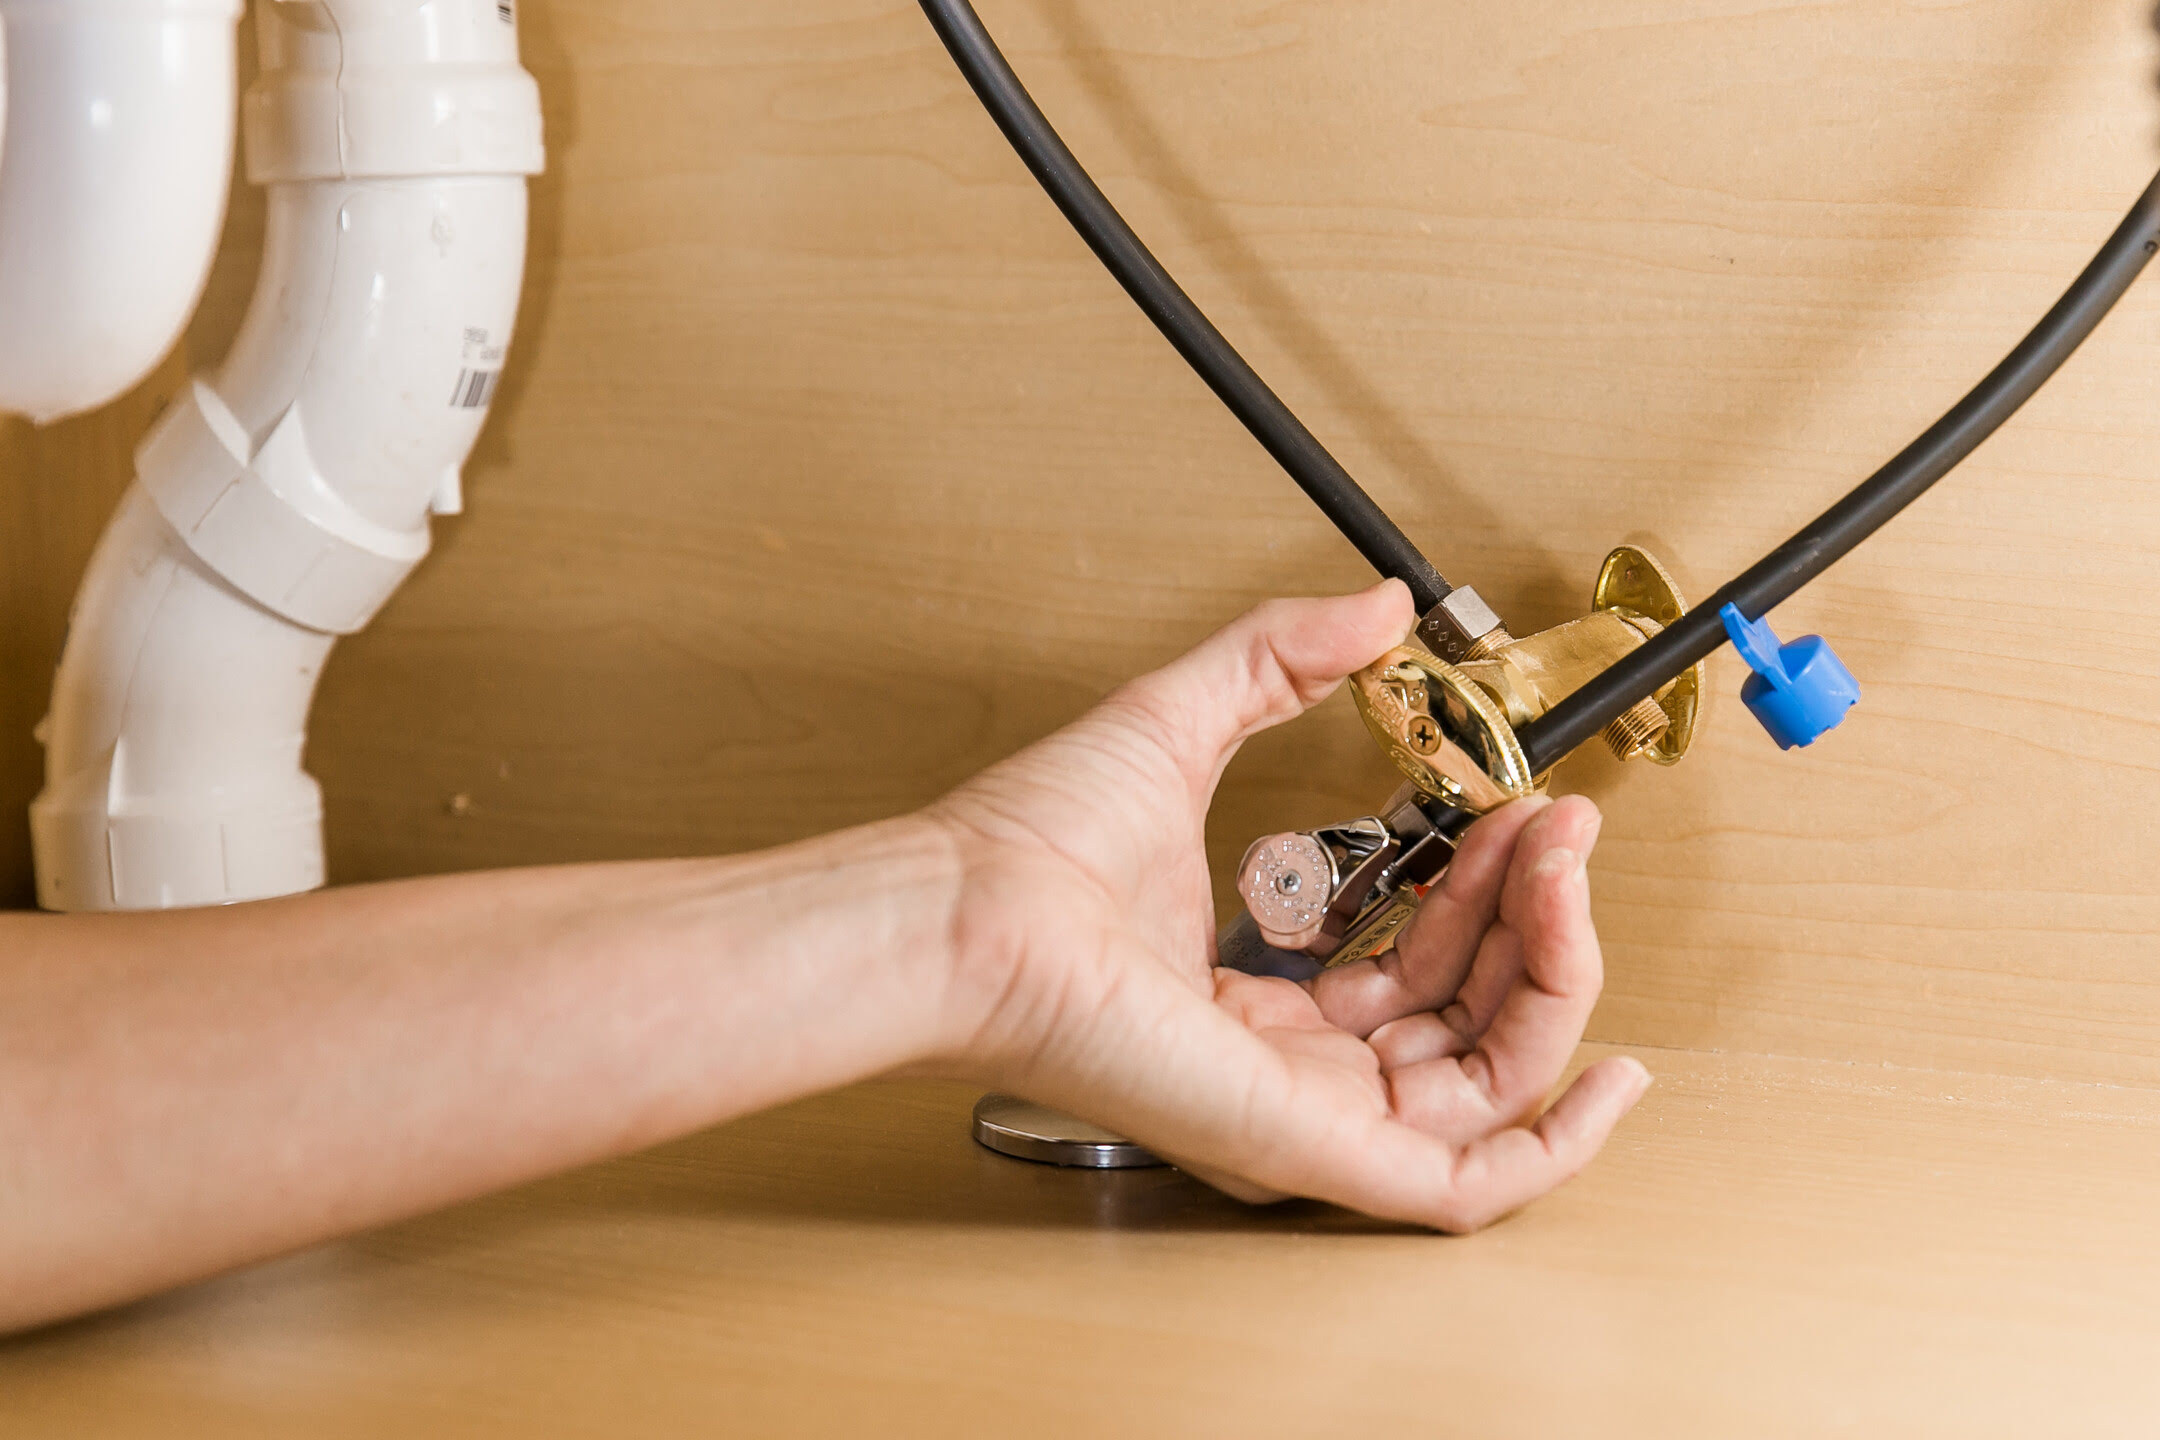
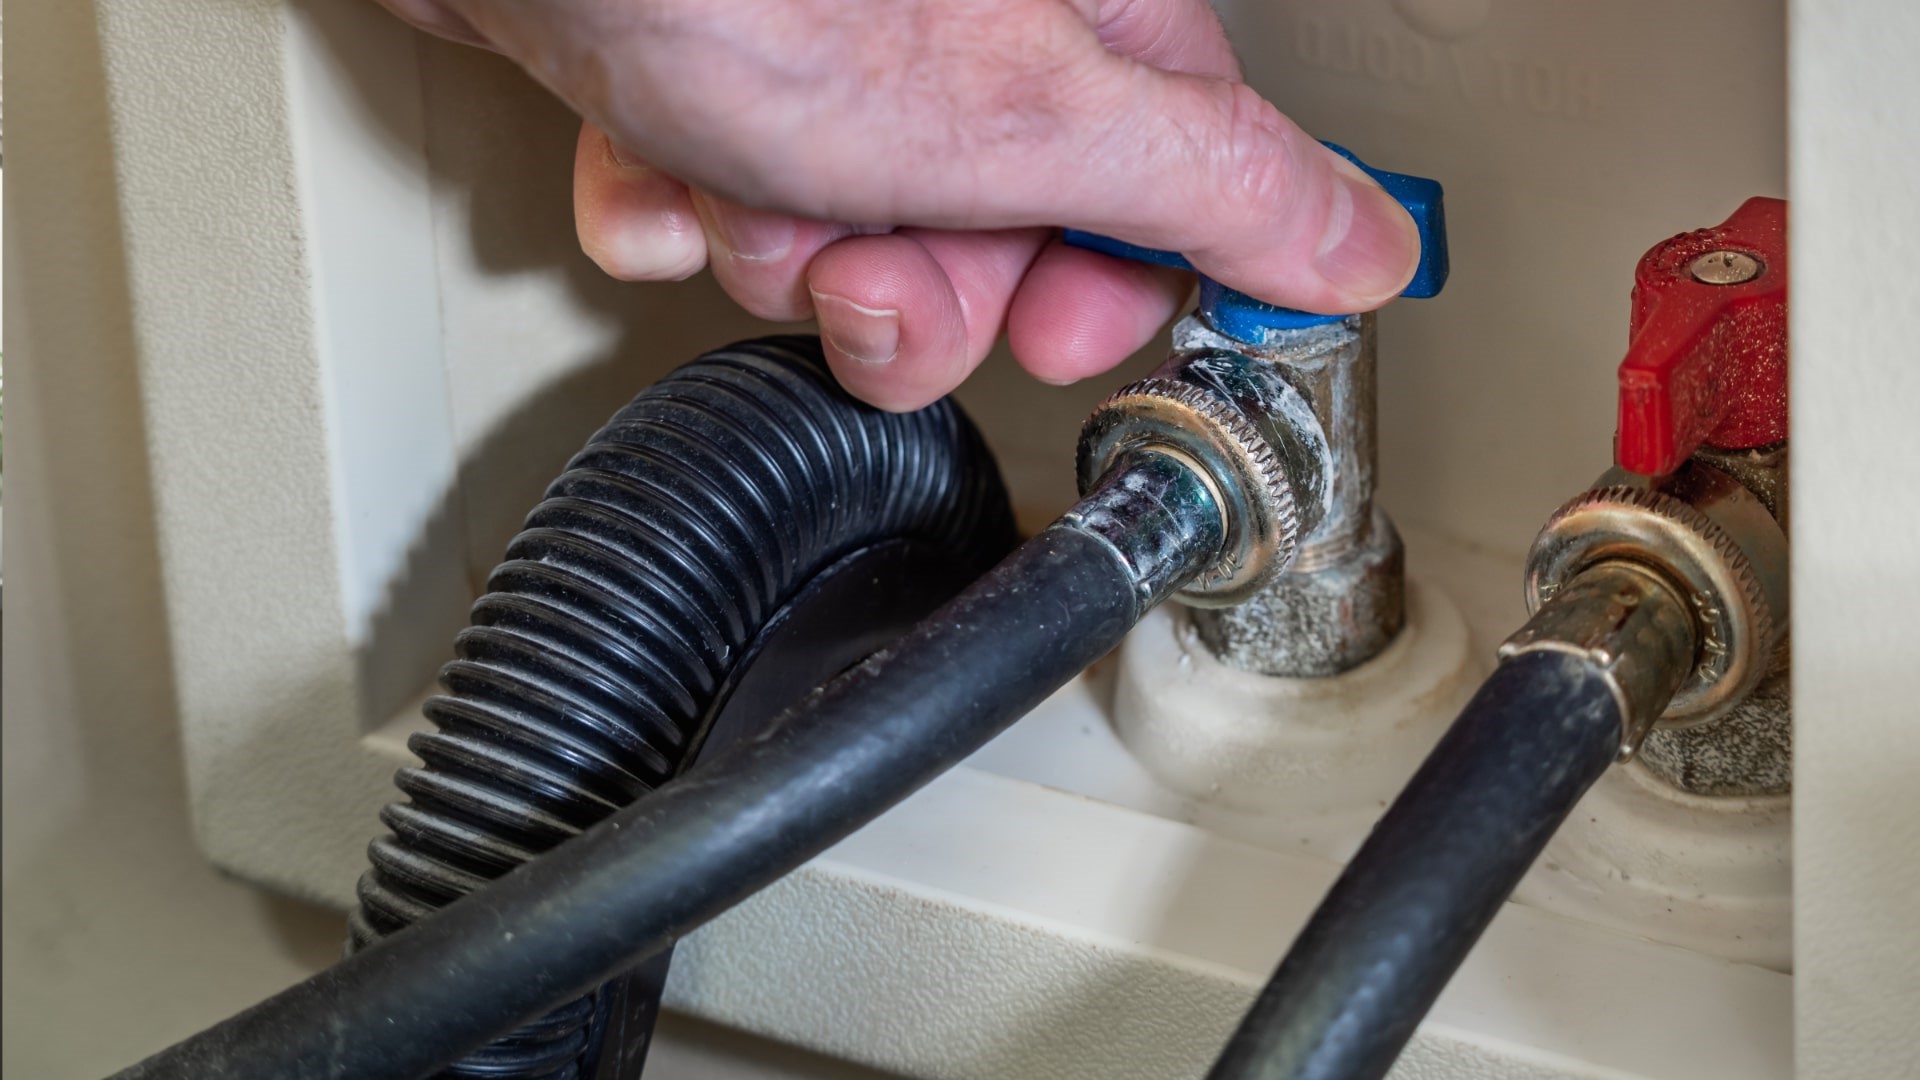
1. Locate the water shut-off valve: The shut-off valve for your shower is typically located near the water meter or in the basement. It may be labeled or identified as the water supply valve for the bathroom or shower.
2. Turn off the water supply: Once you’ve located the shut-off valve, turn it clockwise to shut off the water flow. This will stop the flow of water to your shower fixtures and prevent any water from gushing out when you remove the old valve.
3. Drain any remaining water: After shutting off the water supply, open the shower faucet to drain any water remaining in the pipes. This will help minimize any residual water that may leak out during the removal process. You can place a bucket or towels beneath the faucet to catch any dripping water.
4. Test the water supply: To ensure that the water supply is completely shut off, turn on the shower faucet and verify that no water is flowing. If you see any water leaking, immediately double-check that the shut-off valve is fully closed. It’s crucial to have a dry working area before proceeding to the next steps.
Remember, safety is paramount when working with plumbing fixtures. Turning off the water supply minimizes the risk of water damage and provides a safer environment for replacing the shower faucet valve.
Now that you’ve successfully shut off the water supply, you’re ready to move on to the next step: removing the old shower faucet valve.
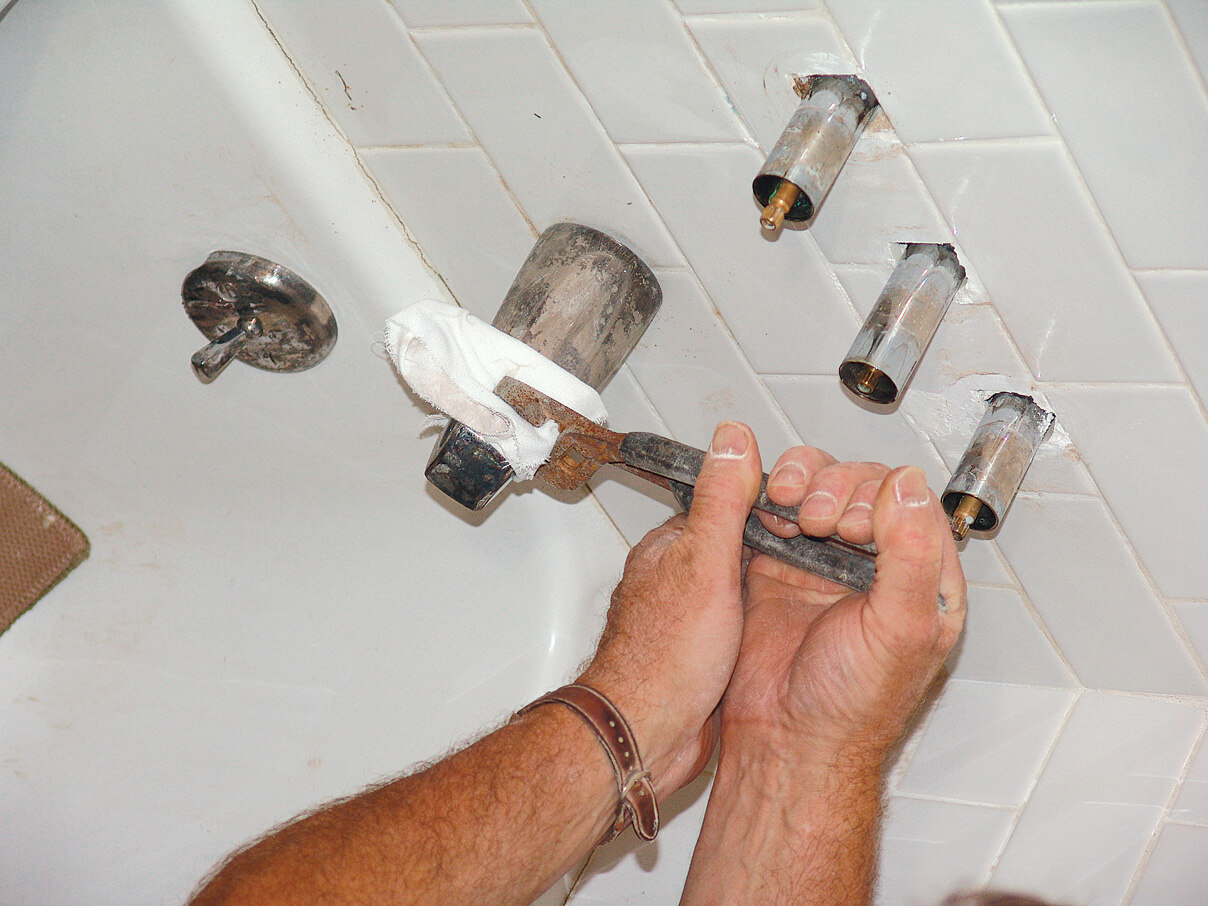
Step 3: Remove the old shower faucet valve
Now that you have turned off the water supply, it’s time to remove the old shower faucet valve. Removing the old valve requires careful attention to detail and a systematic approach. Follow these steps to successfully remove the old shower faucet valve:
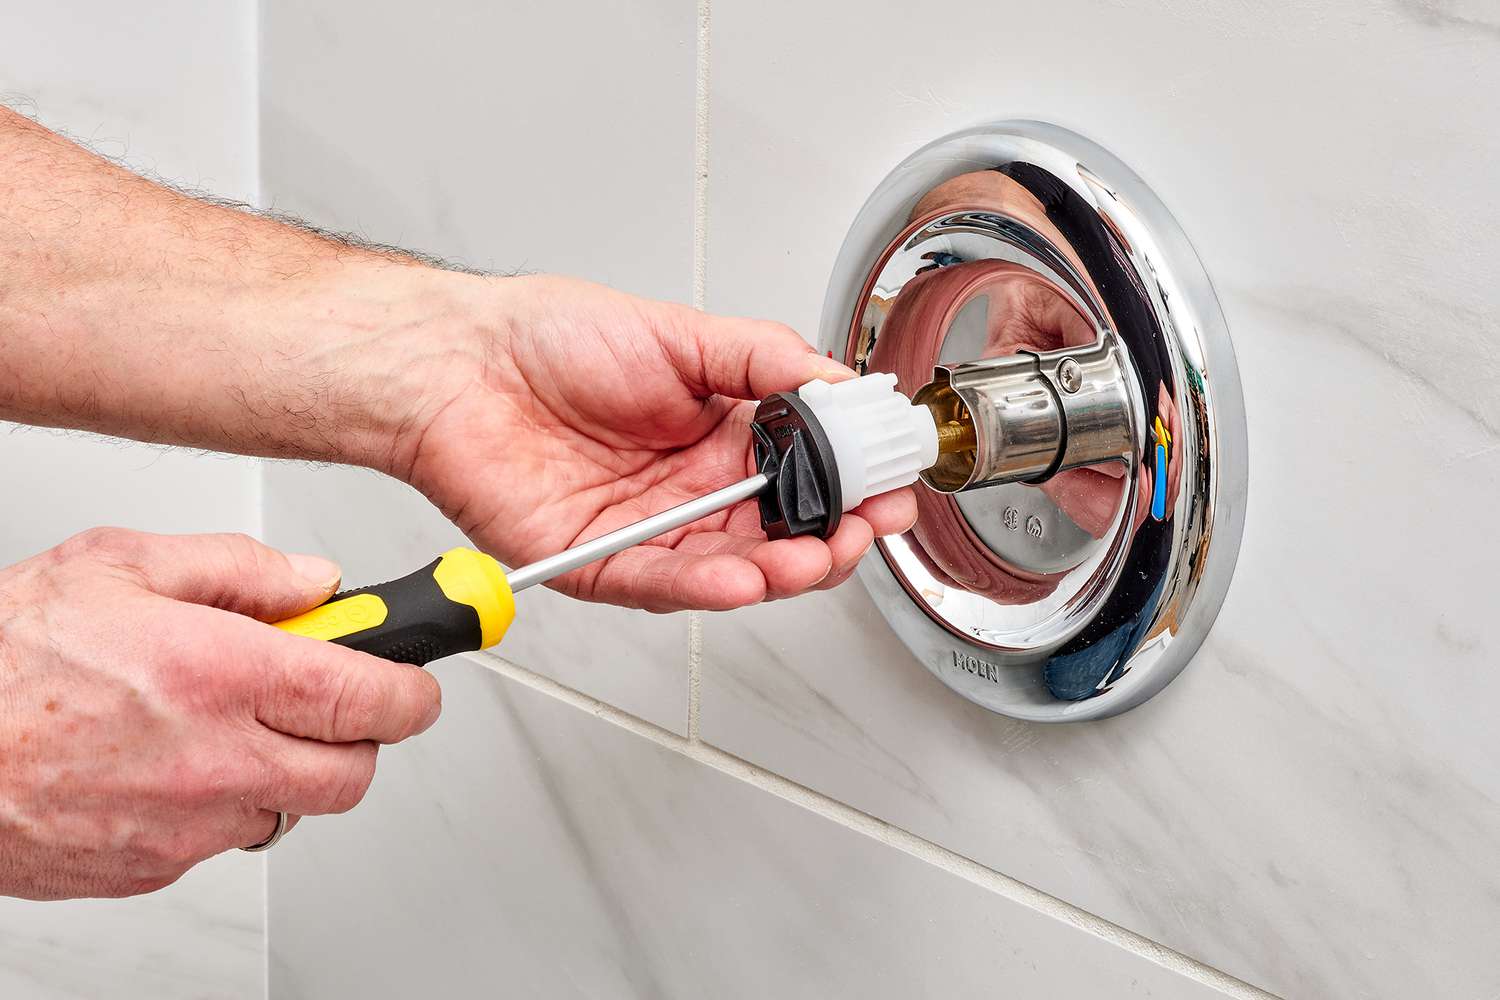
1. Access the valve assembly: Start by removing any decorative caps or covers from the shower handle. These are typically located on the front of the handle or escutcheon plate. Use a flathead screwdriver or an appropriate tool to pry them off gently.
2. Remove the handle: After exposing the handle, look for a screw securing it to the valve stem. The screw may be visible or hidden beneath a cover plate. Use a screwdriver to remove the screw and carefully pull off the handle.
3. Remove the escutcheon plate: With the handle removed, you’ll see the escutcheon plate. This plate covers the access point to the valve assembly. Look for any screws holding the escutcheon plate in place and remove them using a screwdriver. Once the screws are removed, gently pry the plate away from the wall.
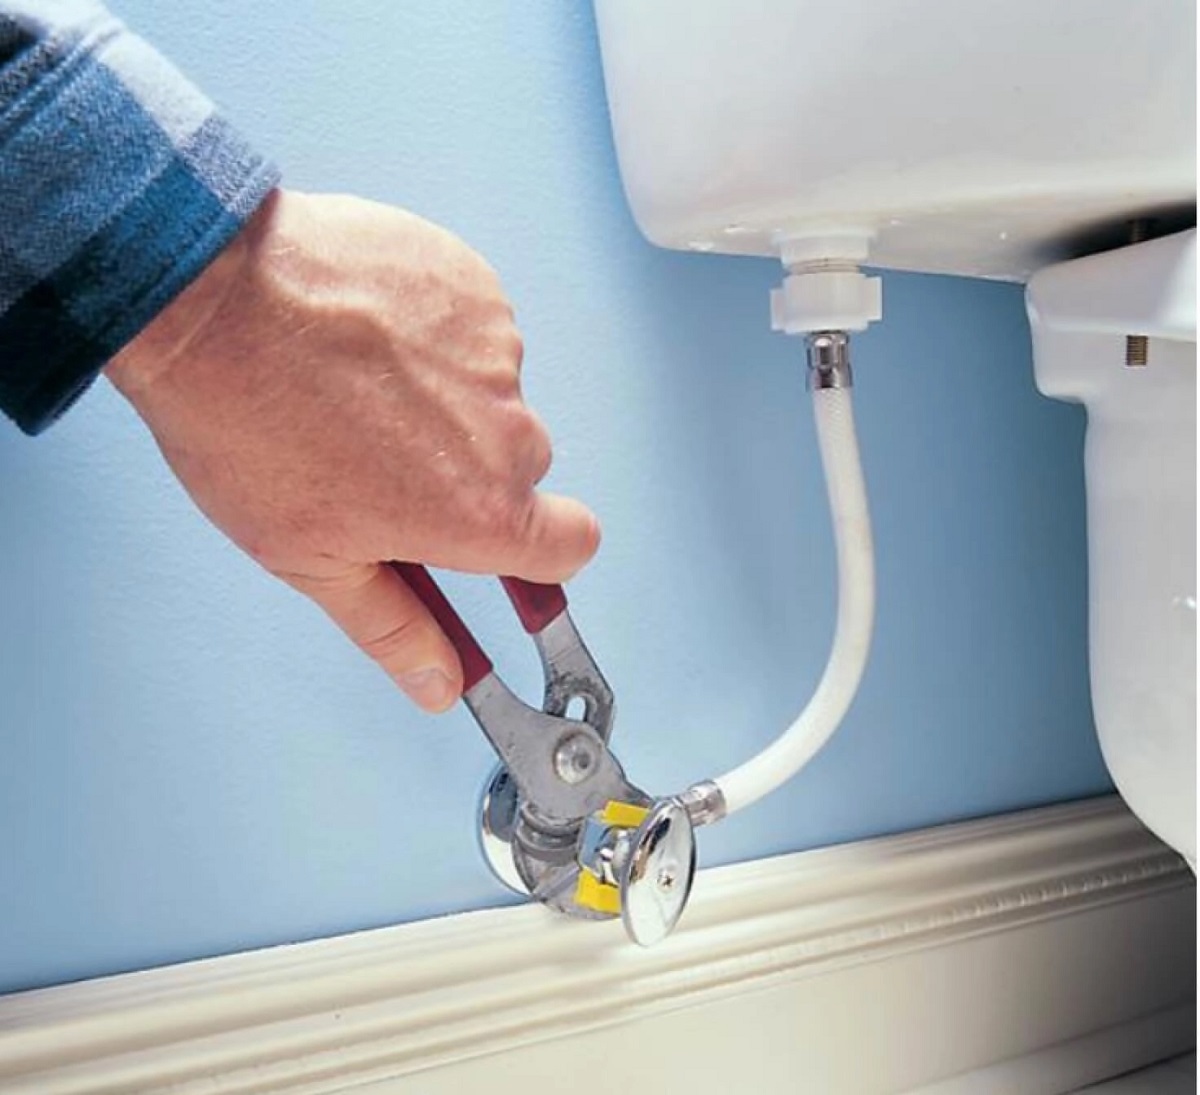
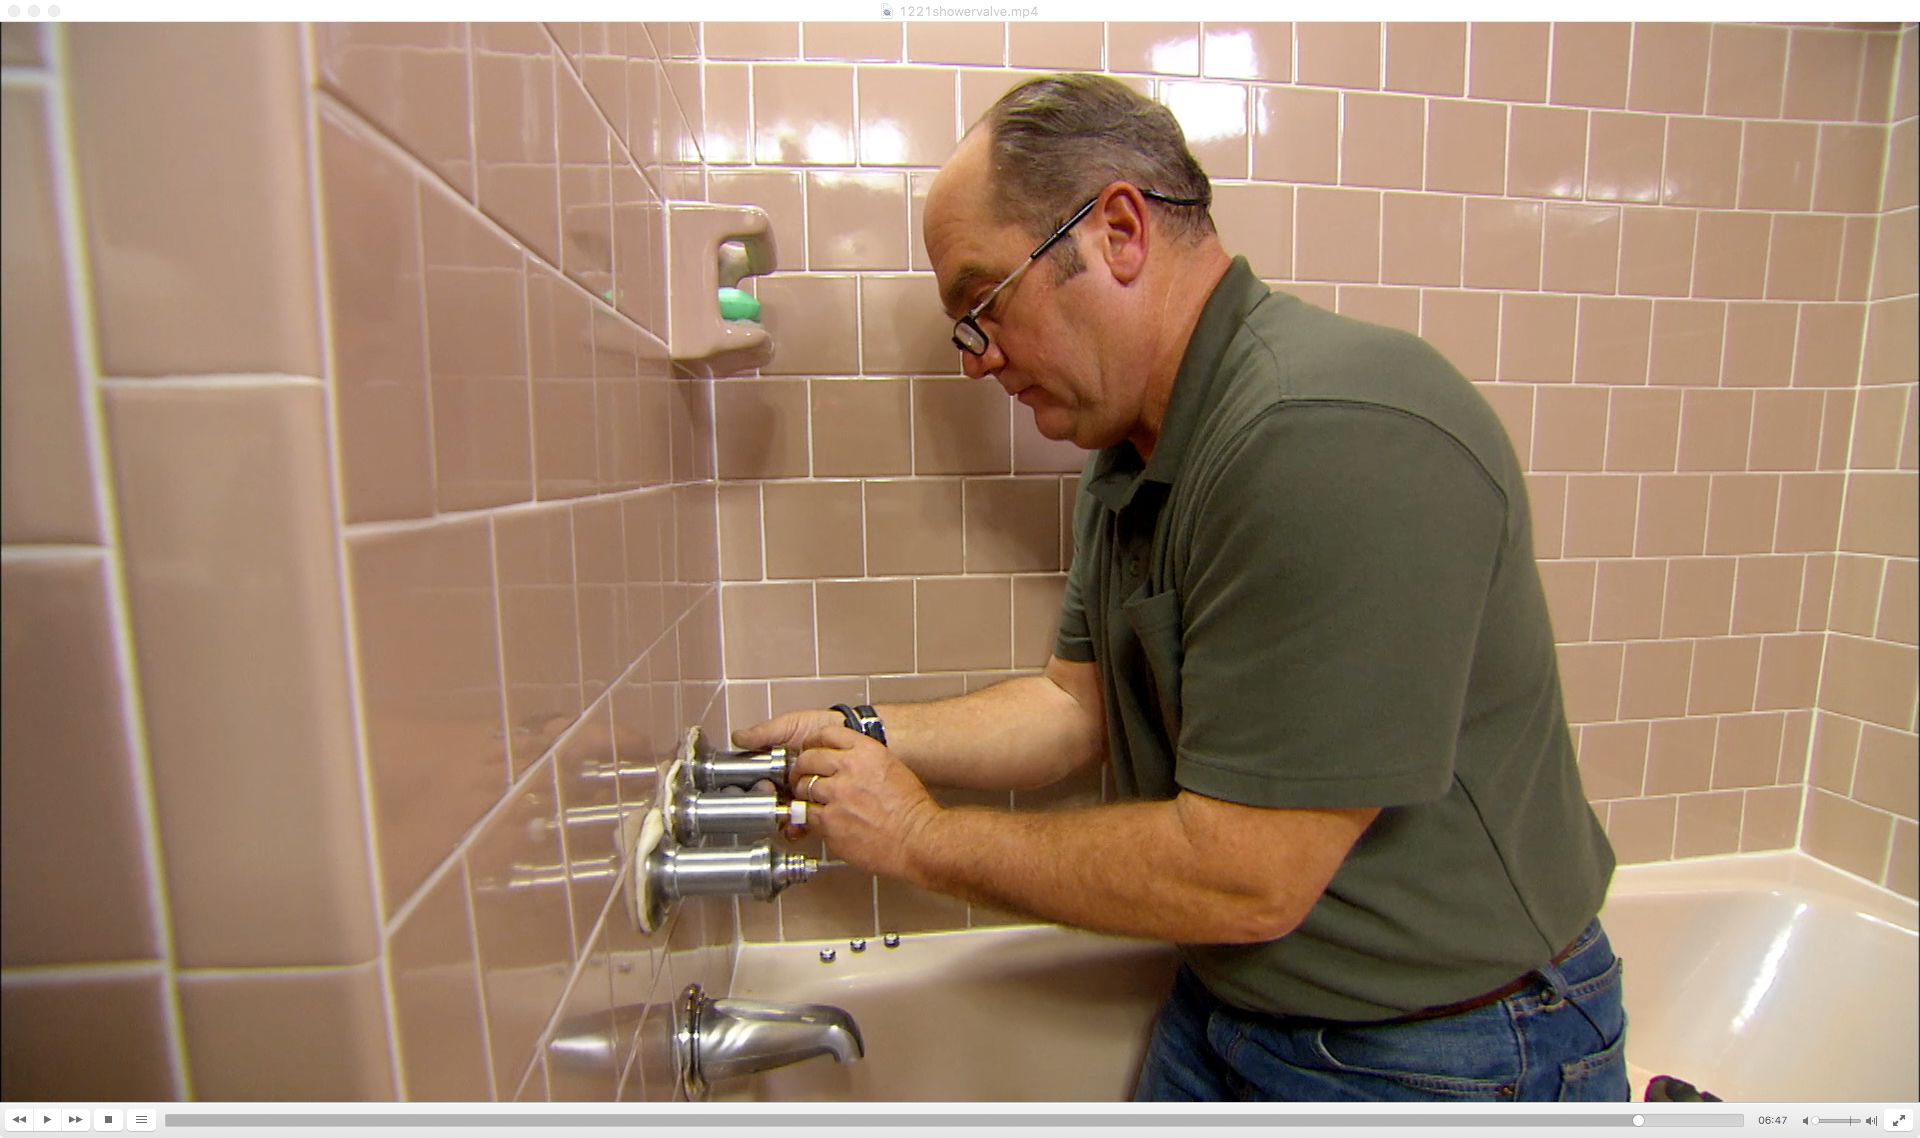
4. Disconnect the valve: After exposing the valve, inspect it for any connecting nuts or bolts. These may be located on the top, bottom, or sides of the valve. Use an adjustable wrench to loosen and remove these nuts or bolts, disconnecting the valve from the pipes.
5. Inspect the valve: Once the valve is disconnected, carefully examine it for any signs of damage or wear. Look for any cracks, corrosion, or mineral deposits that may have contributed to its malfunction. If necessary, take note of the valve model or specifications for purchasing a suitable replacement.
6. Clean the area: Before installing the new valve, clean the exposed pipes and surrounding area. Remove any debris or old plumber’s tape from the pipe threads to ensure a proper seal with the new valve.
By following these steps, you should now have successfully removed the old shower faucet valve. Take your time during this process to avoid any damage to the plumbing or surrounding fixtures. With the old valve removed, you’re ready to move on to the next step: installing the new shower faucet valve.
When replacing a shower faucet valve, make sure to turn off the water supply to the shower before starting. This will prevent any water from leaking out while you work on the valve.
Step 4: Install the new shower faucet valve
With the old shower faucet valve successfully removed, it’s time to install the new valve. Installing the new valve requires precise measurements and proper alignment to ensure a secure and leak-free connection. Follow these steps to install the new shower faucet valve:
1. Prepare the valve: Before installing the new valve, make sure it is the correct replacement for your specific shower fixture. Verify that the valve matches the model, brand, and specifications of your previous valve. If necessary, refer to the manufacturer’s instructions for guidance.
2. Apply plumber’s tape: To create a watertight seal, wrap several layers of plumber’s tape clockwise around the threaded ends of the valve. This tape will help prevent any leaks from occurring once the valve is installed.
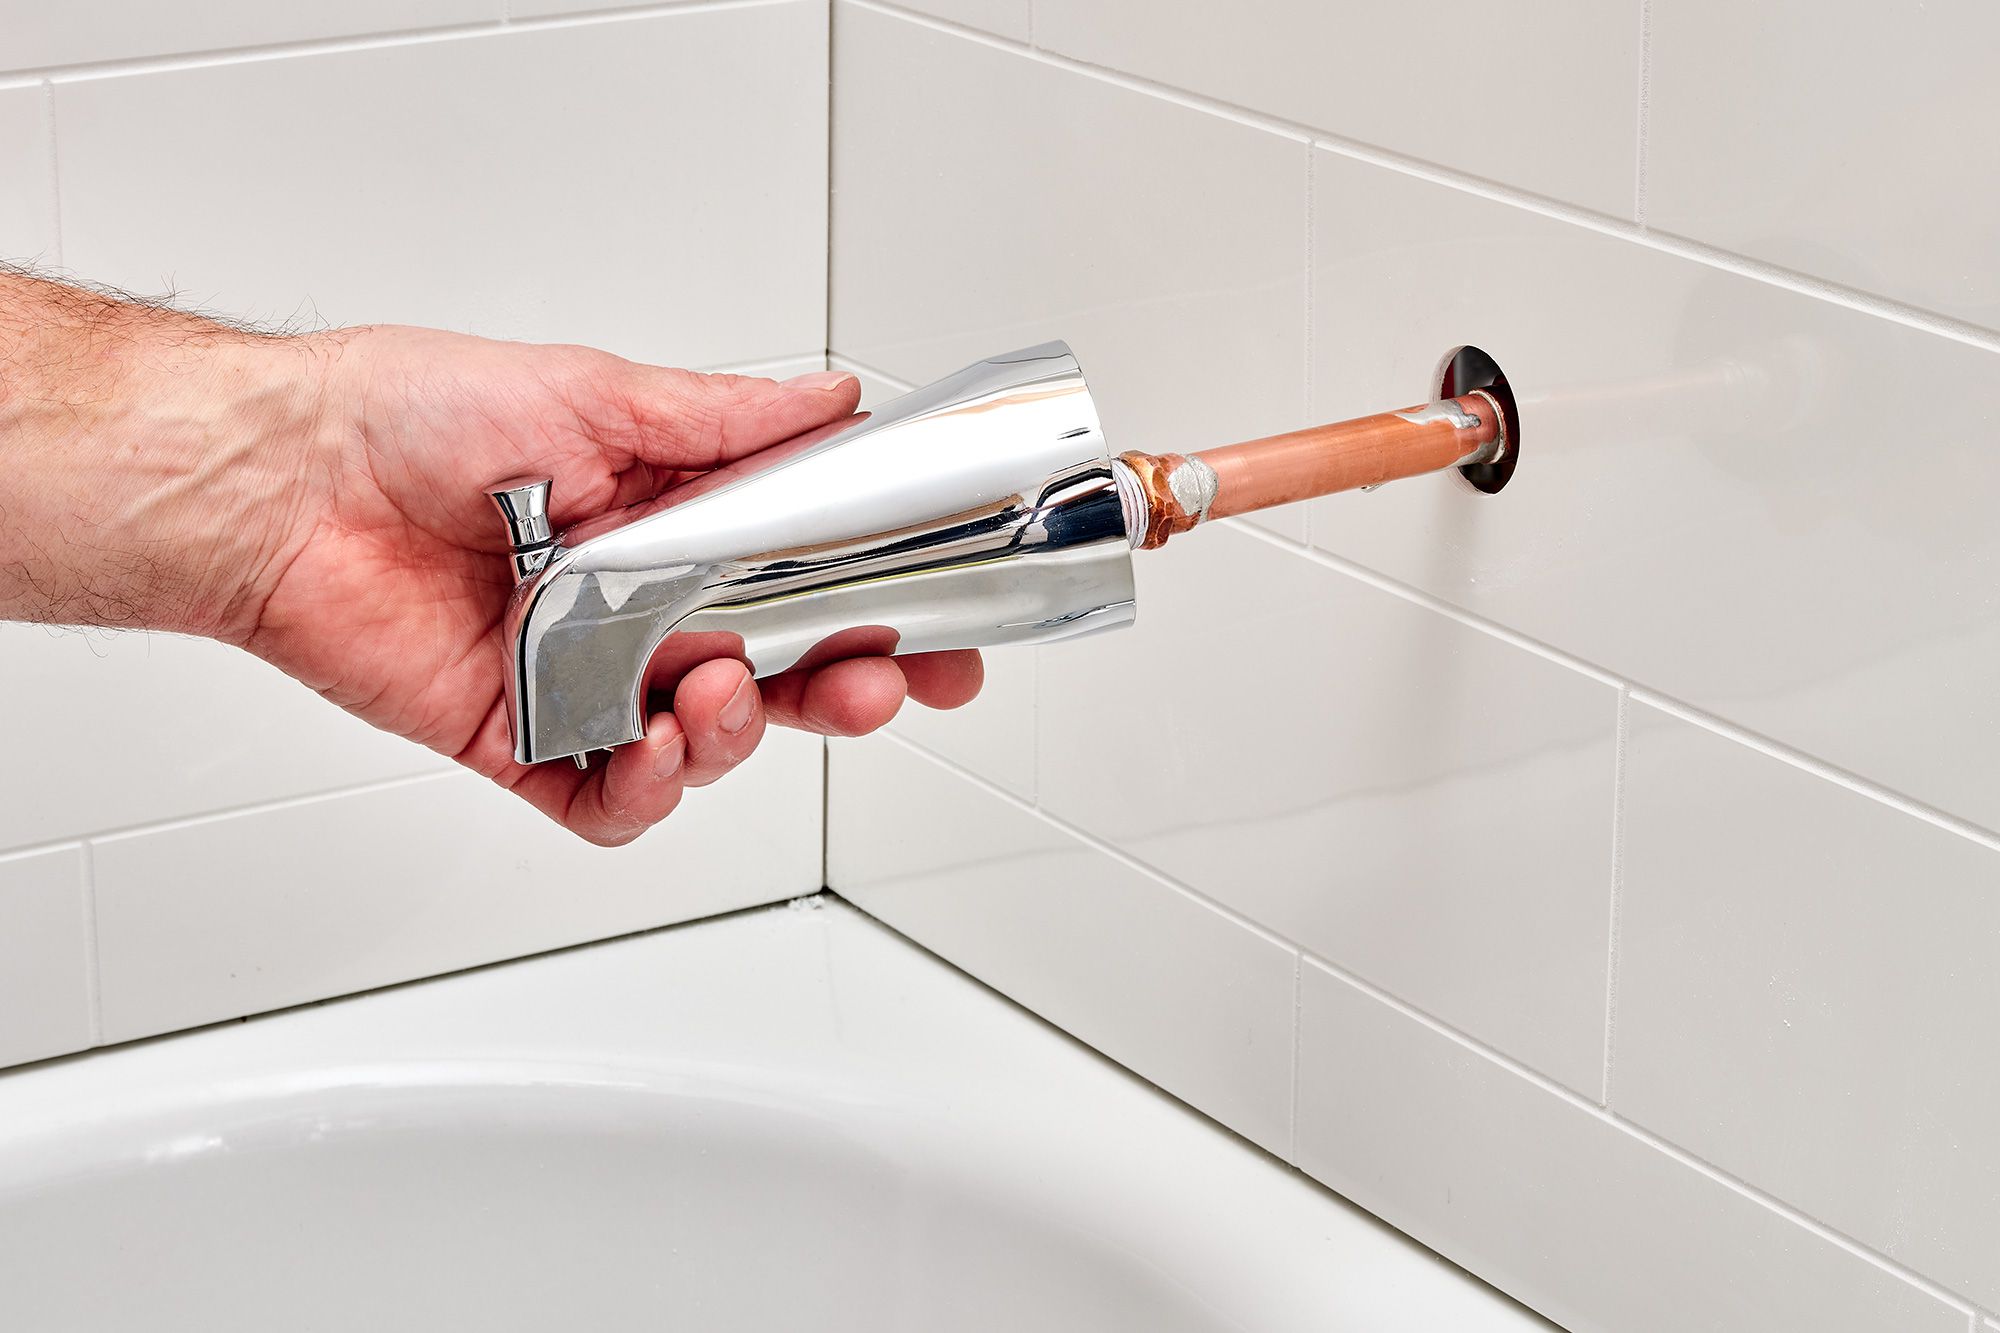
3. Insert the valve: Carefully insert the new valve into the access point, aligning it with the mounting holes in the wall. Ensure that the valve is oriented correctly, with the hot and cold water inlets facing the appropriate direction.
4. Secure the valve: Once the valve is properly aligned, secure it in place by tightening the connecting nuts or bolts. Use an adjustable wrench to ensure a snug and secure fit, but be careful not to overtighten, as this may cause damage to the valve or pipes.
5. Test for leaks: After securing the valve, turn on the water supply to check for any leaks. Allow the water to flow through the valve and inspect all connections for signs of dripping or leakage. If you notice any leaks, tighten the connections further or reapply plumber’s tape as needed until the leaks are resolved.
6. Reinstall the escutcheon plate: Once the valve is securely installed and there are no leaks, reattach the escutcheon plate. Align the plate with the mounting holes and use the screws previously removed to secure it in place. Ensure that the plate sits flush against the wall for a seamless appearance.
7. Attach the handle: Finally, attach the handle to the valve stem. Align the handle with the stem and insert the screw provided, tightening it with a screwdriver. Ensure that the handle operates smoothly and securely.
By following these steps, you should have successfully installed the new shower faucet valve. Take your time during the installation process to ensure proper alignment and tight connections. Now that the new valve is securely in place, you can move on to the next step: testing the new shower faucet valve.
Step 5: Test the new shower faucet valve
After installing the new shower faucet valve, it is vital to test it to ensure proper functionality and identify any potential issues. Testing the valve will allow you to address any leaks or adjustments before reassembling the shower fixtures. Follow these steps to test the new shower faucet valve:
1. Turn on the water supply: Slowly turn on the water supply to restore water flow to the shower. Allow the water to run for a few minutes to flush out any debris or air from the pipes.
2. Check for leaks: While the water is running, closely inspect all connections, including the valve, handle, and escutcheon plate, for any signs of leakage. Pay special attention to the areas where the new valve connects to the pipes. If you notice any leaks, tighten the connections or apply plumber’s tape as needed to resolve them.
3. Test the temperature control: Adjust the hot and cold water handles to different positions to test the temperature control. Ensure that the water temperature changes accordingly, allowing you to achieve a comfortable level of hot and cold water.
4. Test the water flow: Check the water flow by fully turning on the shower faucet. Ensure that the water flows evenly from both the showerhead and any additional water outlets, such as a hand-held showerhead or body jets. If you notice any issues with uneven water flow, it may indicate a problem with the valve or plumbing setup.
5. Verify functionality: Test the functionality of any additional features your shower may have, such as a diverter to switch between different water outlets. Ensure that each feature operates smoothly and without any obstructions or malfunctions.
6. Make adjustments if necessary: If you encounter any issues during the testing process, such as leaks, inconsistent water flow, or malfunctioning controls, make the necessary adjustments. This may involve tightening connections, replacing faulty components, or seeking professional assistance if needed.
By thoroughly testing the new shower faucet valve, you can ensure that it functions properly and meets your expectations. Identifying and resolving any issues before proceeding to reassemble the shower fixtures will save you time and effort in the long run. Once you are satisfied with the performance of the new valve, you are ready to move on to the final step: reassembling the shower fixtures.
Step 6: Reassemble the shower fixtures
With the new shower faucet valve installed and tested successfully, it’s time to reassemble the shower fixtures. Reassembling the fixtures involves putting back the handle, escutcheon plate, and any other components that were removed during the initial steps. Follow these steps to reassemble the shower fixtures:
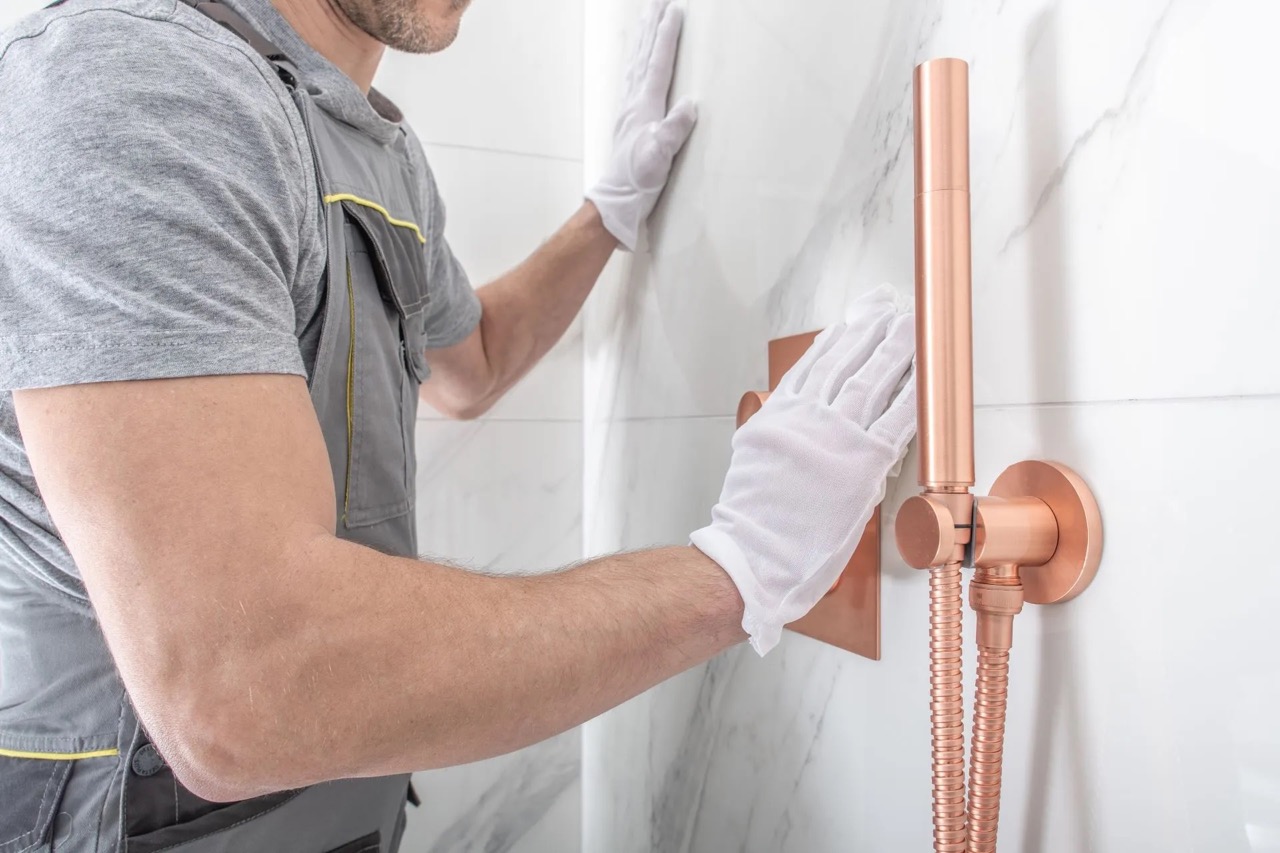
1. Attach the escutcheon plate: Begin by aligning the escutcheon plate with the mounting holes on the wall. Ensure that it fits securely and sits flush against the wall. Use the screws previously removed to attach the plate, tightening them gently to avoid damaging the plate or walls.
2. Install the handle: Once the escutcheon plate is in place, position the handle onto the valve stem. Align the handle with the correct orientation (typically designated as “H” for hot and “C” for cold) and insert the screw provided. Tighten the screw with a screwdriver until the handle is firmly attached.
3. Decorative covers and caps: If your shower fixture includes decorative covers or caps, now is the time to put them back in place. Gently press the covers or caps onto the handle or escutcheon plate until they snap securely.
4. Restore the water supply: Double-check that all connections are tight and secure before restoring the water supply. Slowly turn on the water supply and allow the water to flow through the new valve. Check for any signs of leaks and ensure that the water flows smoothly and evenly from the showerhead.
5. Test the functionality: Verify that the handle operates smoothly and that the water temperature and flow can be adjusted to your desired settings. Test any additional features your shower may have, such as a diverter for different water outlets, to ensure their proper functionality.
6. Make final adjustments: If you notice any issues during the reassembly process, such as loose fittings or malfunctioning components, make any necessary adjustments. Tighten connections, replace faulty parts, or seek professional assistance if needed.
With the shower fixtures reassembled and the new shower faucet valve in place, you have successfully completed the replacement process. Take a moment to admire your handiwork and enjoy the improved functionality and aesthetic appeal of your shower. If you encounter any ongoing issues or concerns with the new valve, consult the manufacturer’s instructions or seek the advice of a plumbing professional.
By following these steps carefully, you can confidently and successfully reassemble your shower fixtures, completing the process of replacing the shower faucet valve.
Conclusion
Congratulations! You have successfully replaced the shower faucet valve, enhancing both the functionality and style of your shower. By following the step-by-step instructions outlined in this article, you were able to gather the necessary tools and materials, shut off the water supply, remove the old valve, install the new valve, test its functionality, and reassemble the shower fixtures.
Replacing a shower faucet valve may seem like a daunting task, but with the right knowledge and approach, it is entirely possible to do it yourself. Not only does replacing a faulty or outdated valve improve the performance of your shower, but it also allows you to customize the features and aesthetics to suit your preferences.
Throughout the process, it is essential to exercise caution and pay attention to detail. Taking the time to gather the necessary tools, shut off the water supply, and carefully remove the old valve sets a strong foundation for a successful replacement. Installing the new valve with precision and testing its functionality ensures an optimal showering experience, free from leaks or other issues.
Remember, when in doubt, consult the manufacturer’s instructions or seek professional assistance. Plumbing can be complex, and every shower fixture may have its unique characteristics and requirements. If you encounter any challenges or feel uncertain about the process, it’s always best to seek expert advice.
By successfully replacing the shower faucet valve, you have taken a significant step in maintaining and upgrading your bathroom. Your efforts will result in improved water efficiency, reliable temperature control, and a showering experience that meets your expectations.
Now, sit back, relax, and enjoy your renewed shower experience, knowing that you accomplished this DIY project with skill and confidence.
Frequently Asked Questions about How To Replace Shower Faucet Valve
Was this page helpful?
At Storables.com, we guarantee accurate and reliable information. Our content, validated by Expert Board Contributors, is crafted following stringent Editorial Policies. We're committed to providing you with well-researched, expert-backed insights for all your informational needs.


0 thoughts on “How To Replace Shower Faucet Valve”